How To Sew a Flat-Bottom Tote Bag | Free Printable Pattern
This tote bag is a little more labour-intensive, but the finished product feels a little more elevated and gift-worthy.
The binding finished edges on the bag’s handles and along the top edge are what take a little extra time.
If you’ve worked with bias tape or binding, you’ll find this project easy.
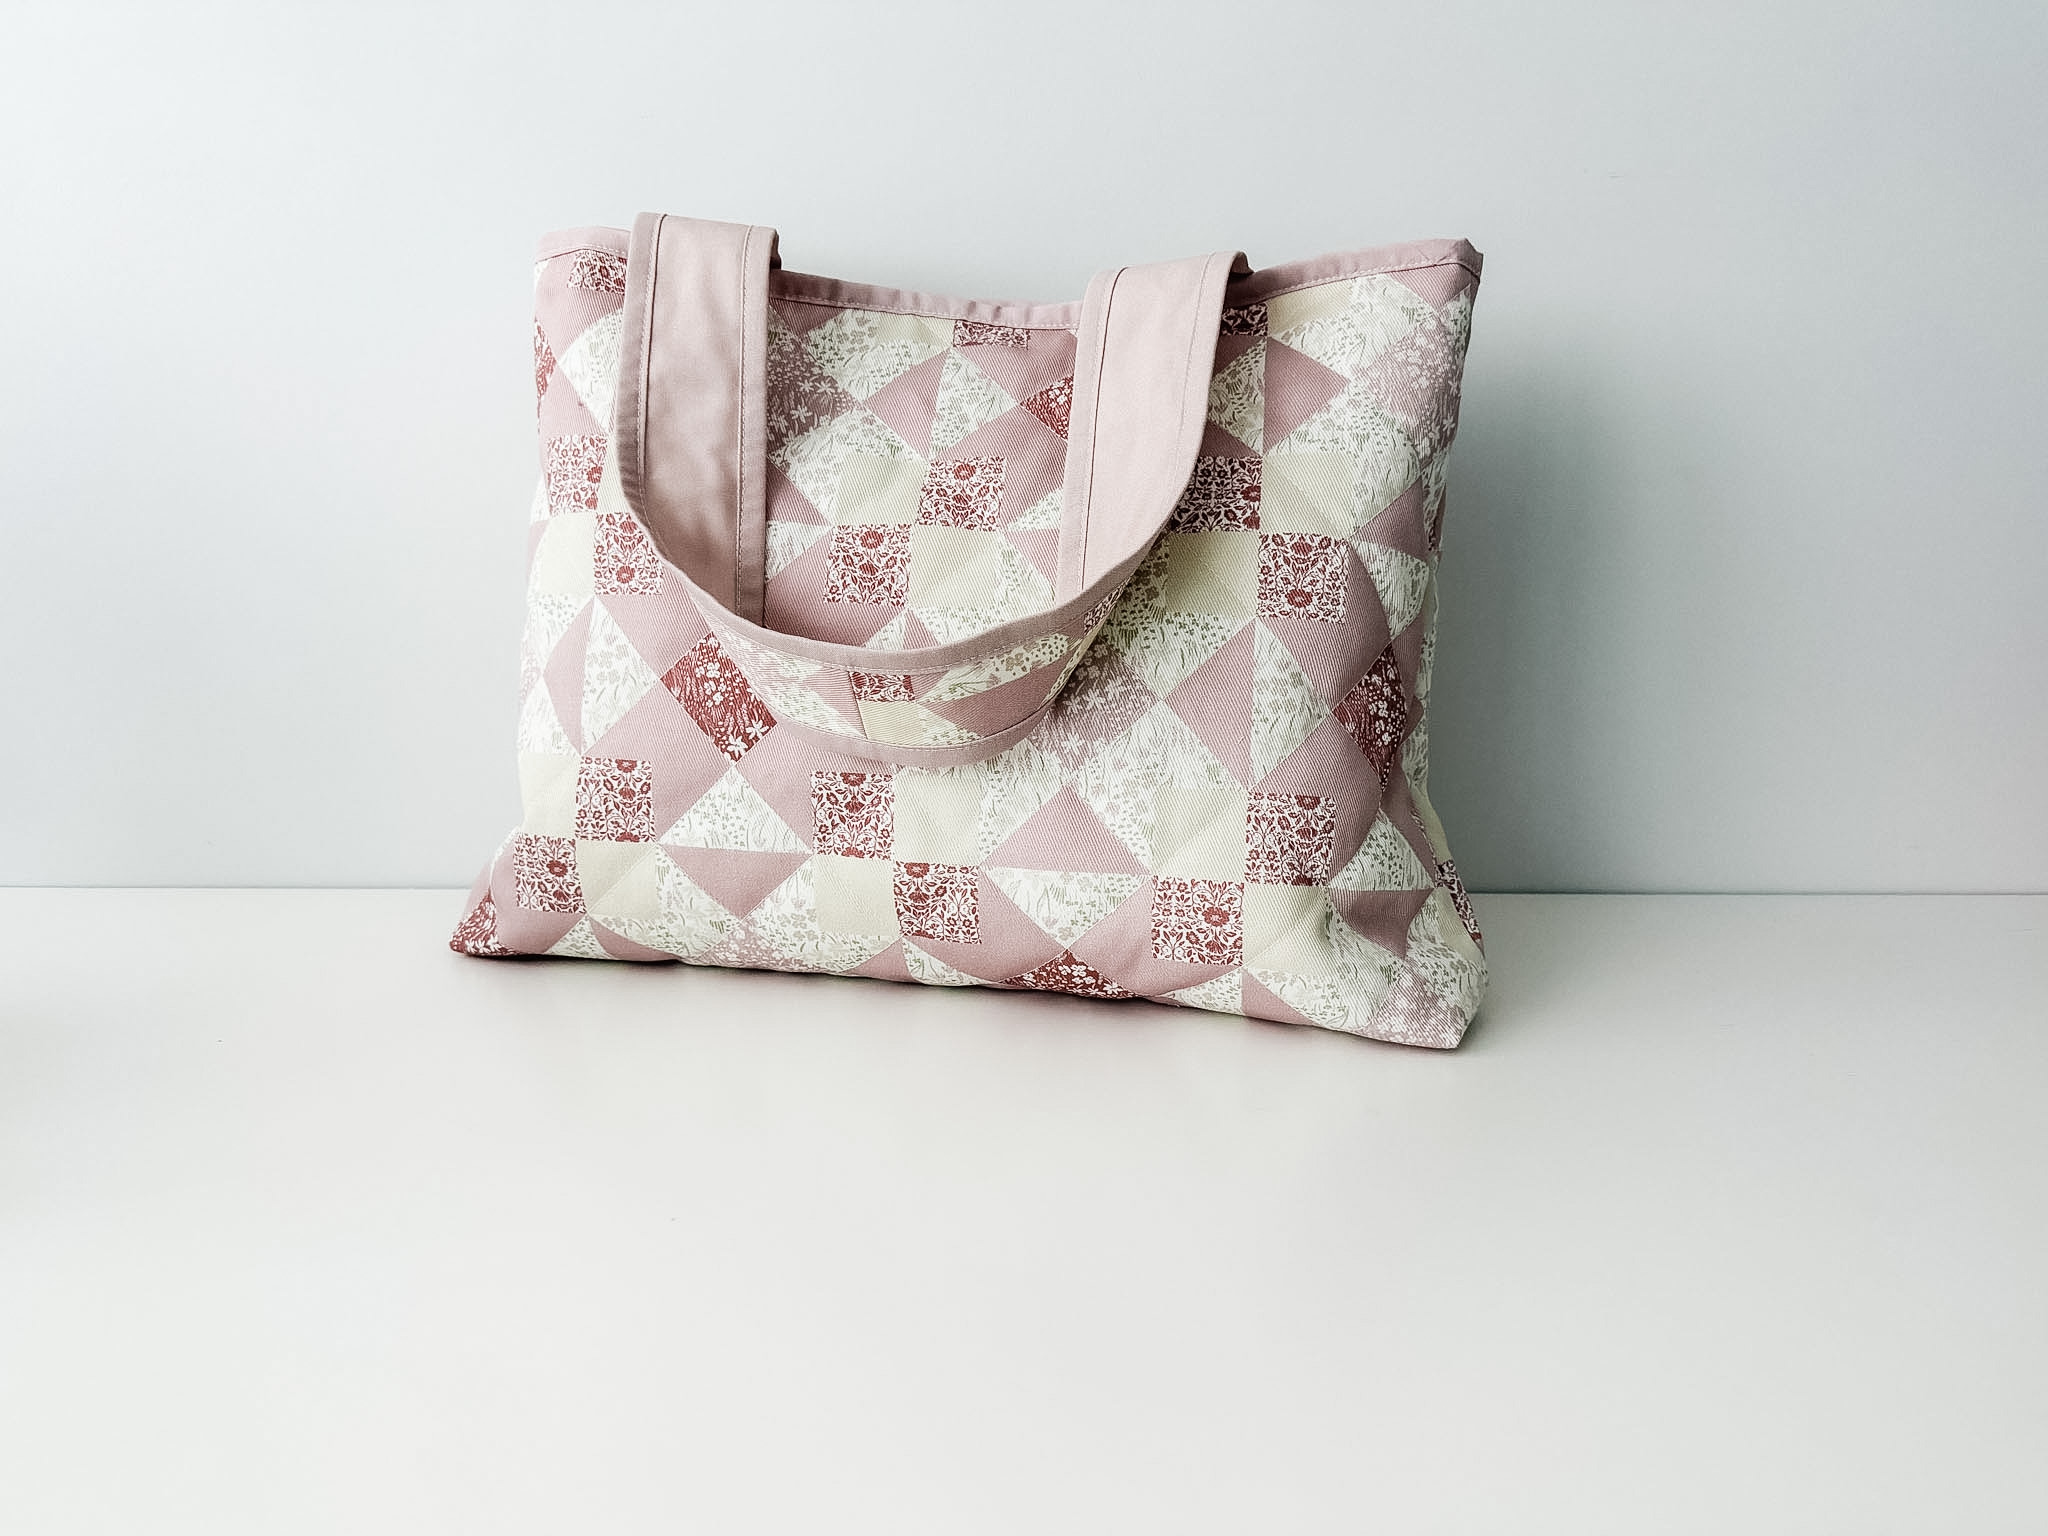
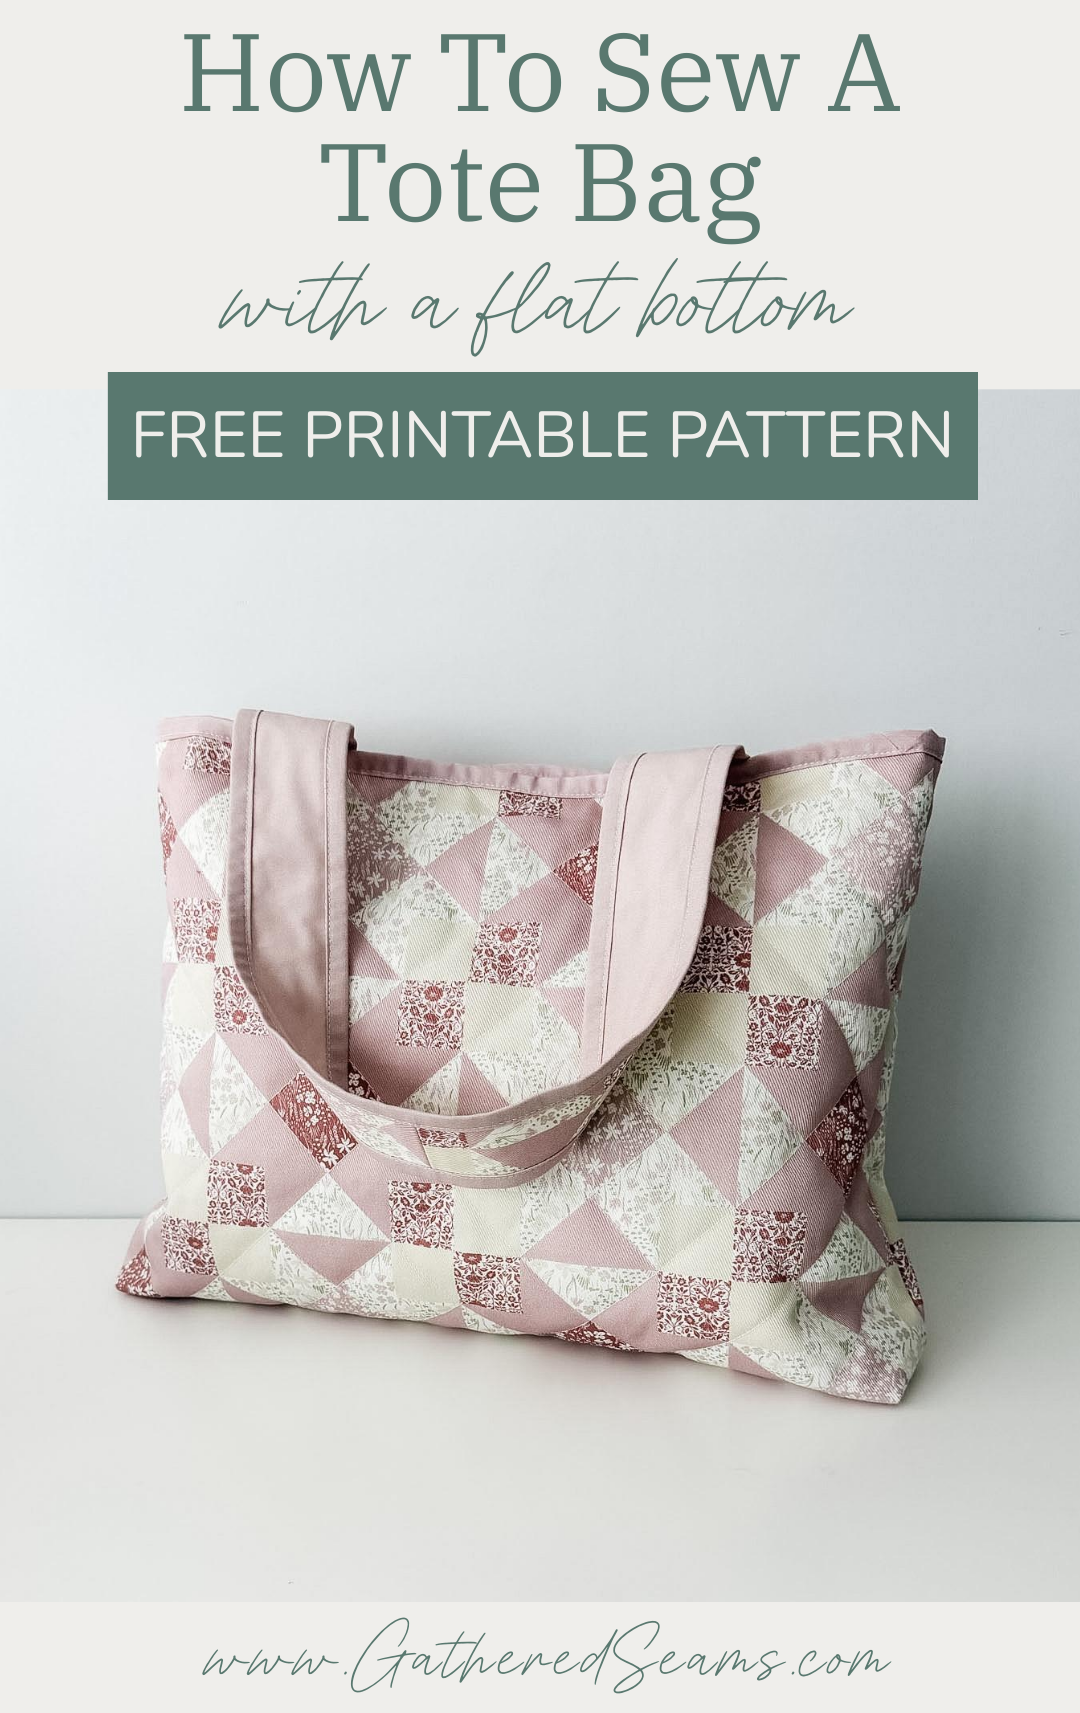
It has boxed corners at the bottom, making it a flat-bottom tote bag that will sit up on its own.
The finished bag is approximately 19″ wide x 14″ tall, and the bottom of the bag is 4″ deep.
Other items to add to the gift
If you’re sewing this tote bag as a gift, here are a few other items you could add:
To sew:
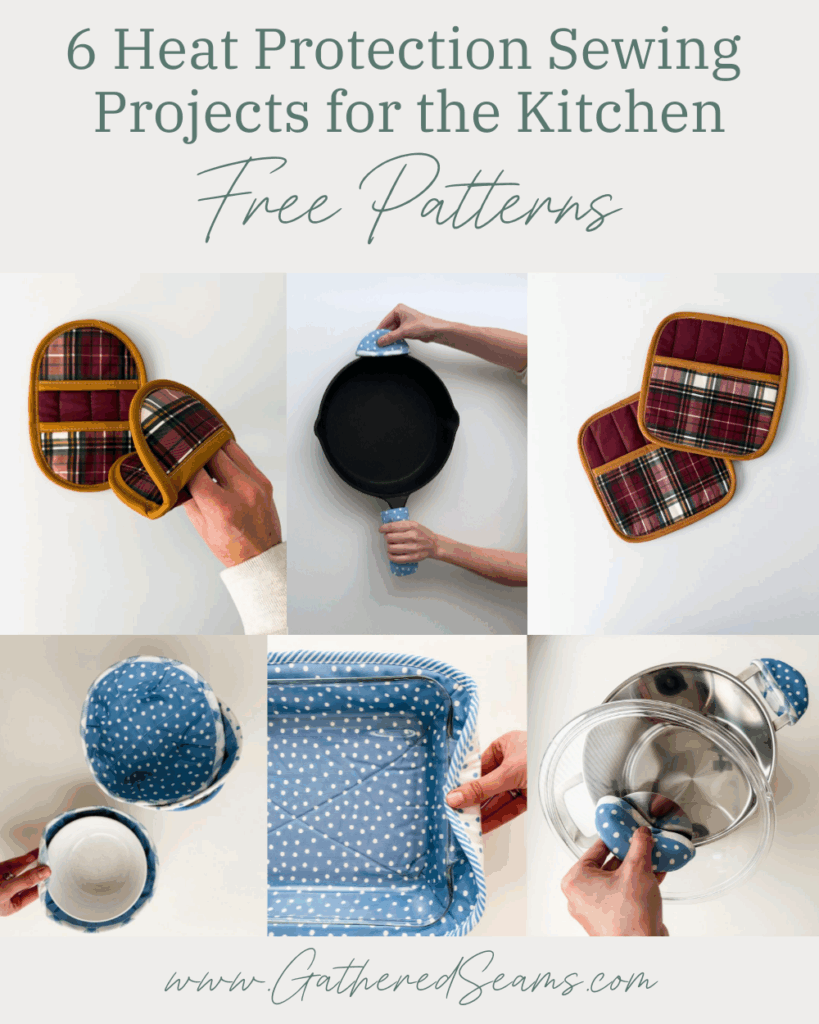
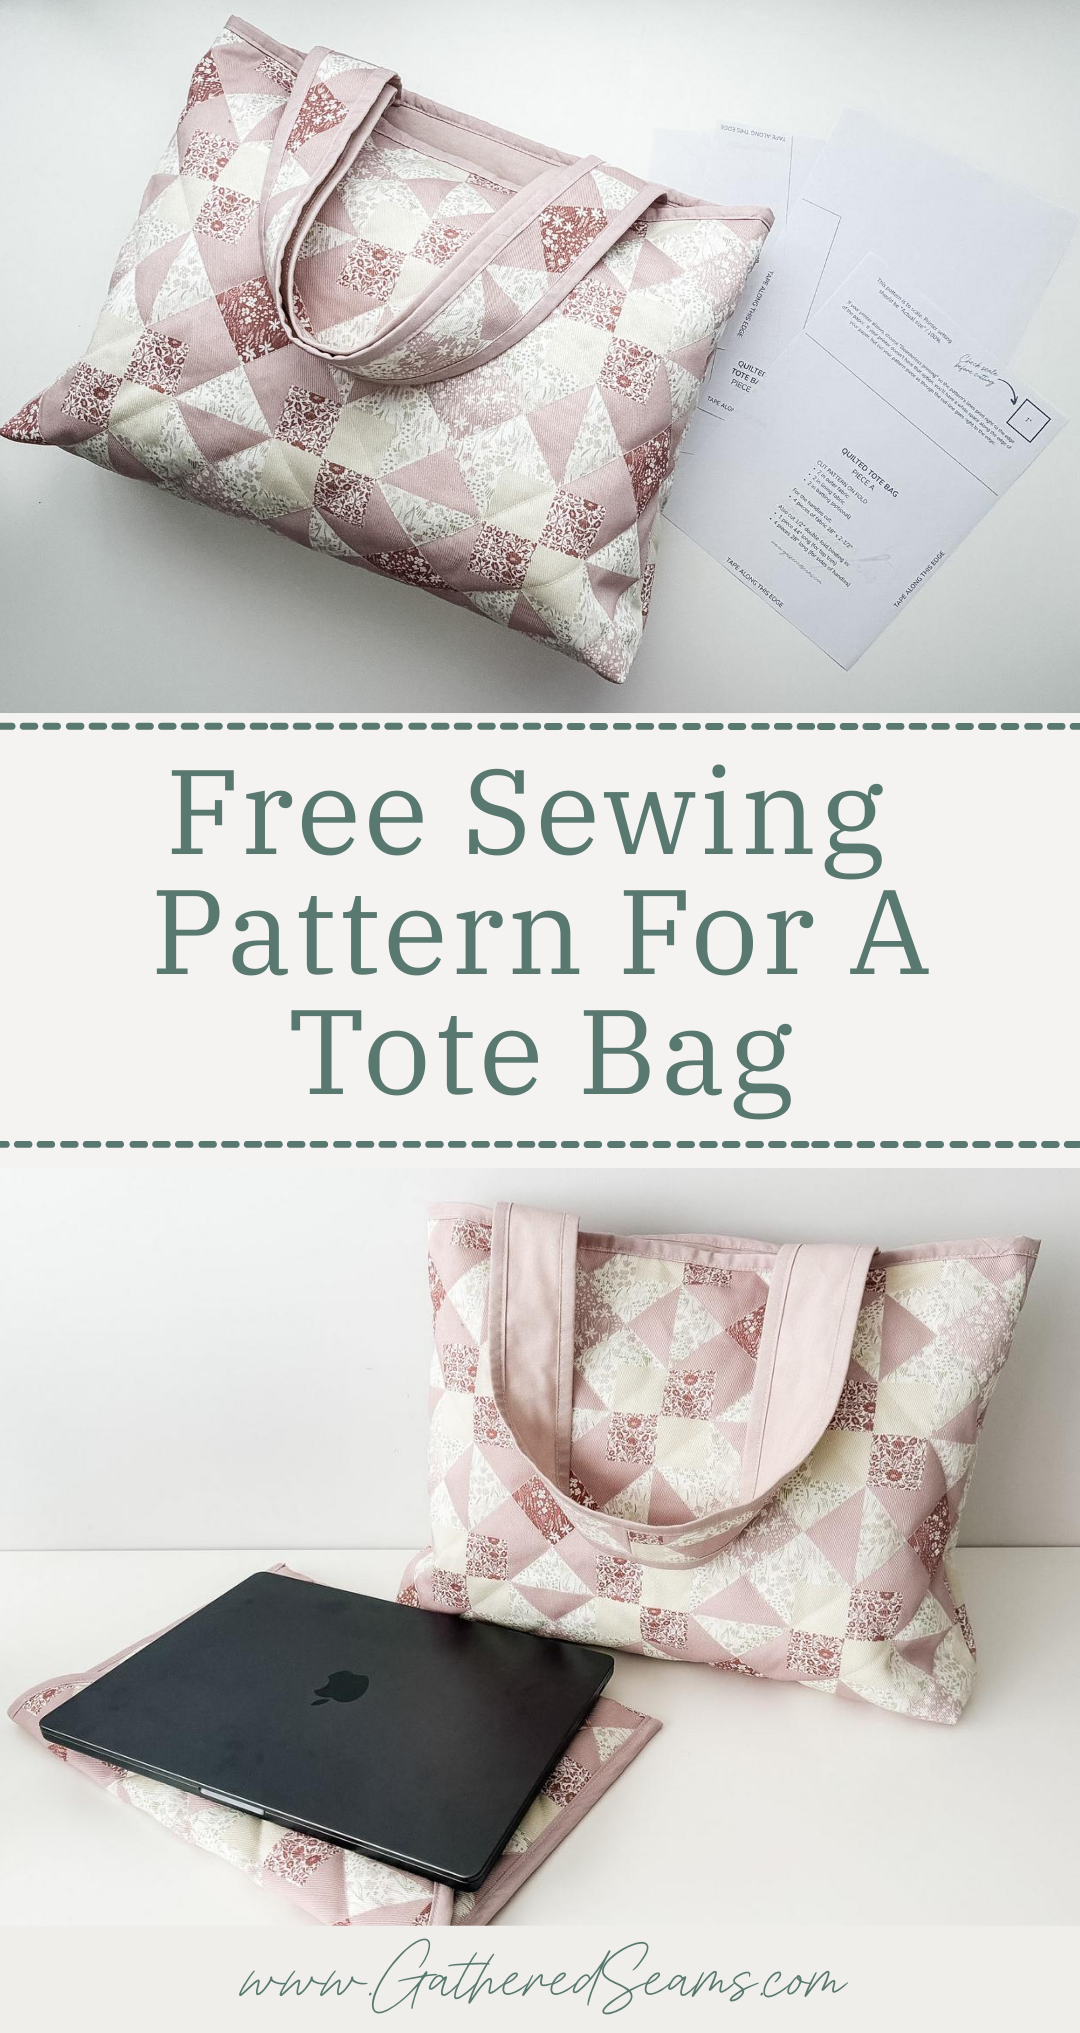
- Laptop sleeve (free pattern) (this tote bag pattern will fit the laptop sleeve)
- Book sleeve (free pattern)
- Pencil case (free pattern)
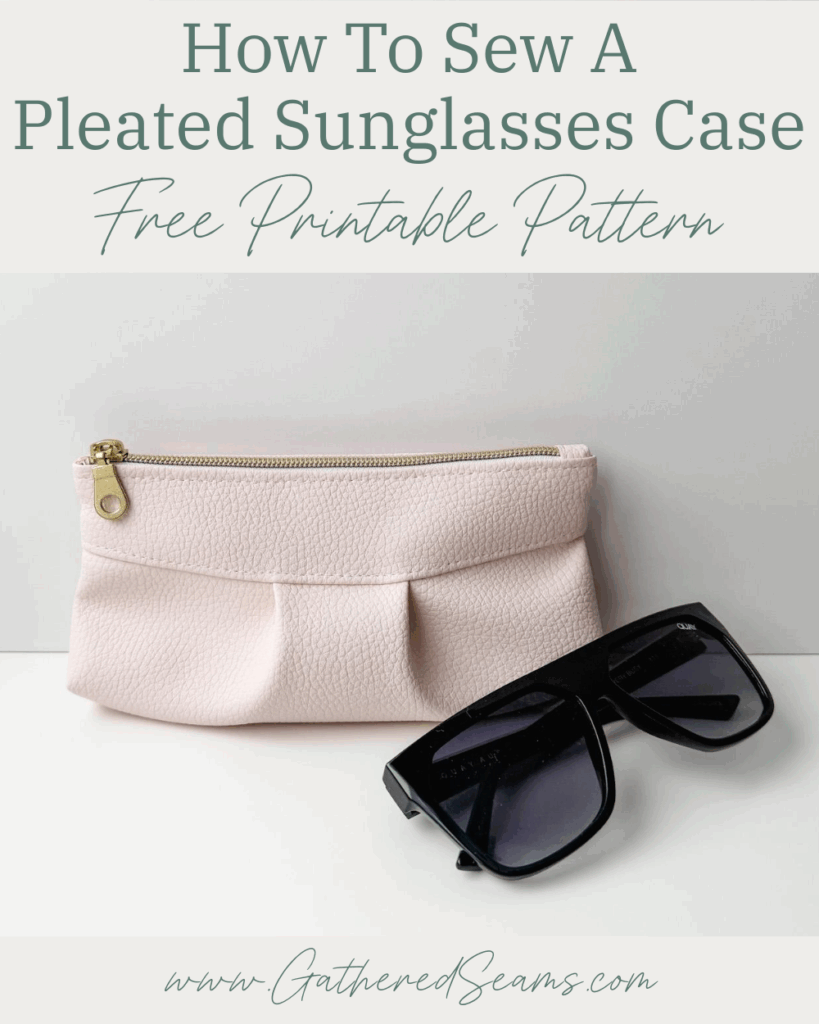
- Glasses case (free pattern) (this one’s quick & easy)
- Zipper pouch (free pattern)
- Keychain
- Notebook cover
To buy:
- Notebook/stationery
- Tumbler mug
- Travel-themed items
Materials
As an Amazon Associate, I earn from qualifying purchases (see full disclosure here).
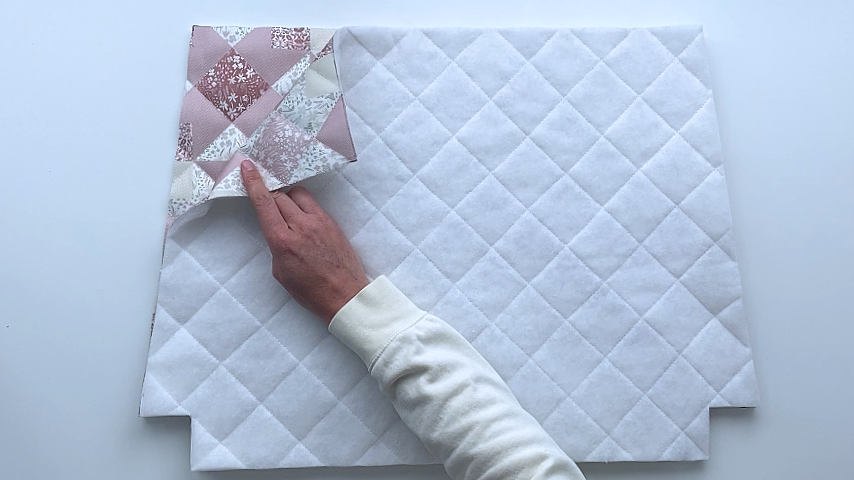
- Outer material (I used a dogwood denim in a “cheater quilt” pattern, found here)
- Lining material (I used a quilting cotton, found here)
- Batting (this is the one I used) – this is optional but recommended if you want the bag to have more structure. If you don’t want to add quilting stitches, you could use a fusible fleece or foam stabilizer.
- 1/2” double-fold binding (2” wide when unfolded) – here’s how to make your own: How To Make Bias Tape
- Optional – snap closure or magnetic closure (I didn’t add one to this project but you can attach it to the top of your lining before you begin sewing
- Thread
Tools
- Sewing machine
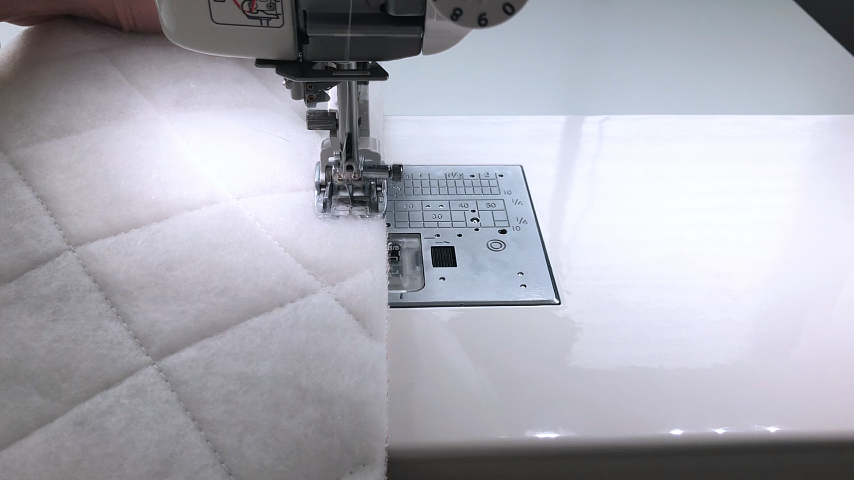
- Walking foot (highly recommended if you’re sewing quilting stitches. This is the universal one I purchased for my Baby Lock, which is a different machine than what’s shown in the photos)
- Hera marker/point turner (for marking quilting lines and pushing corners out)(this is the one I use)
- Ruler
- Clips/pins
- Temporary fabric marker (these are the ones I use)
- Scissors
- Iron
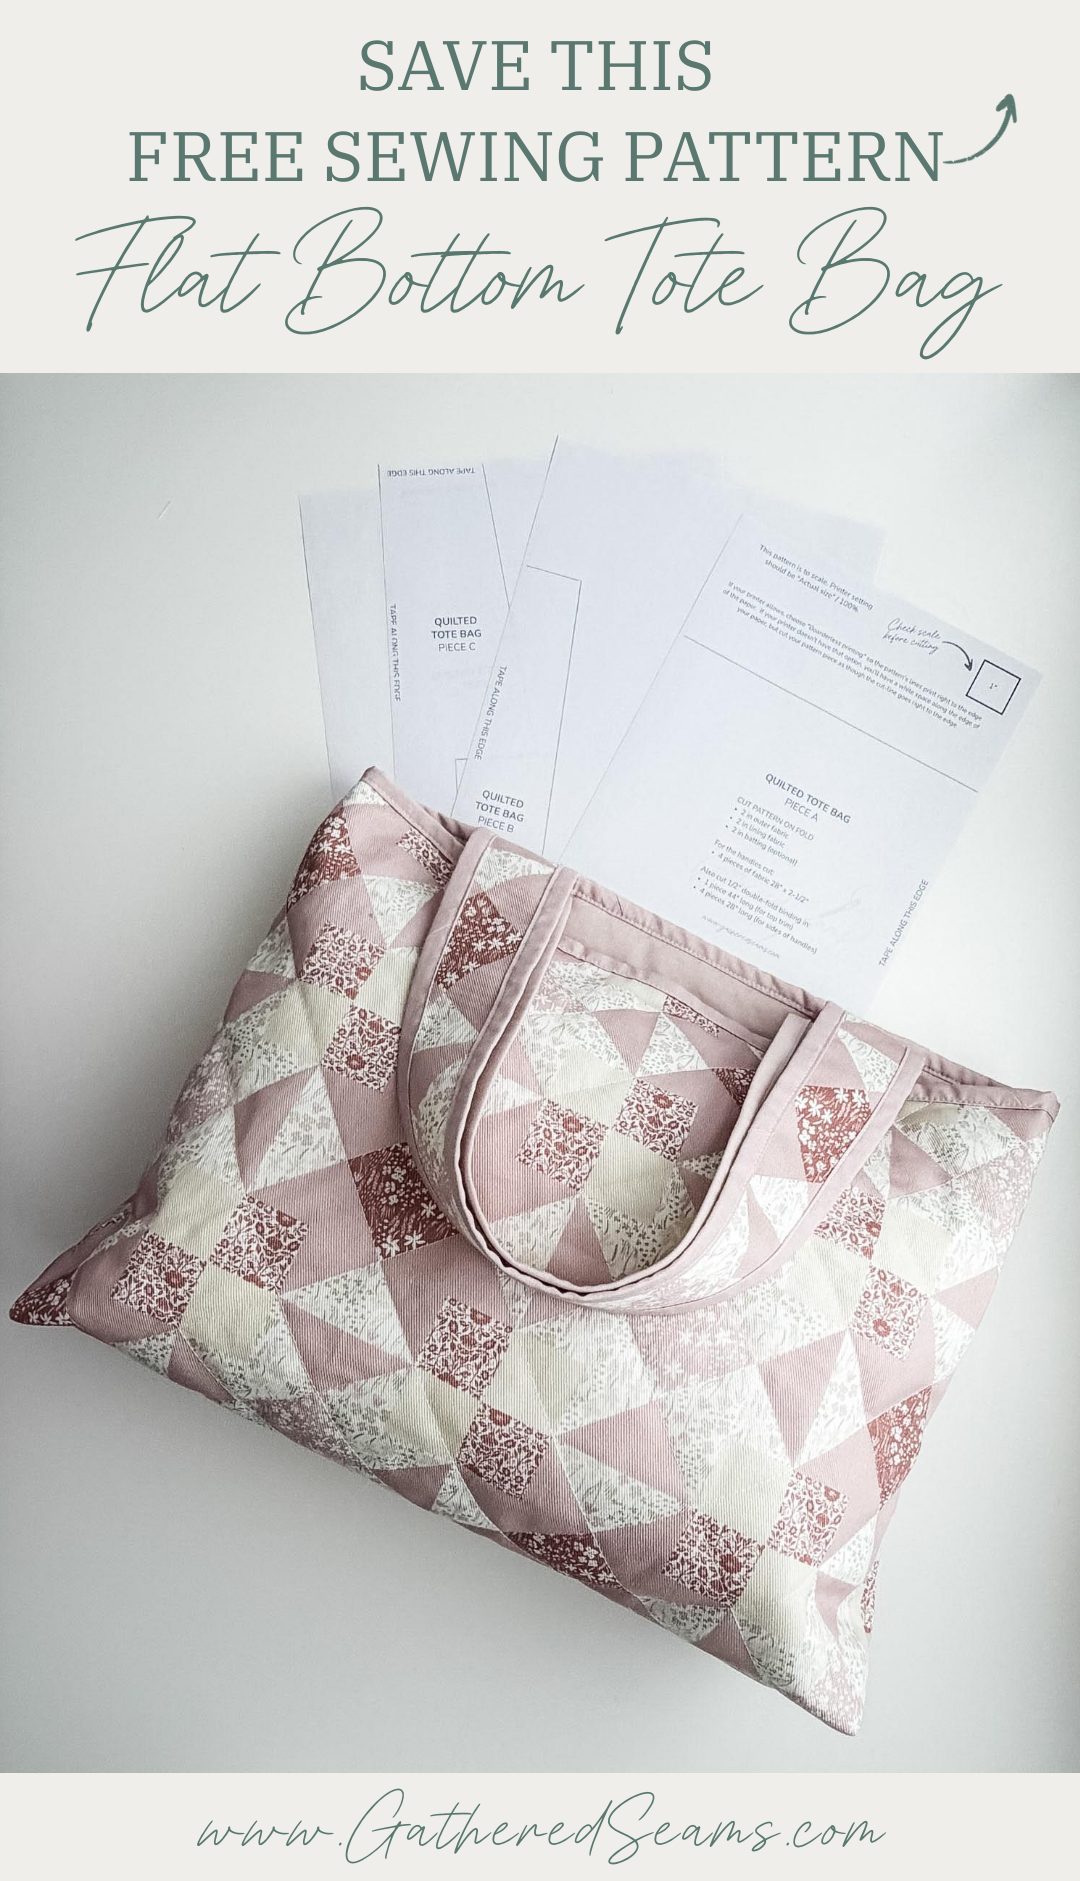
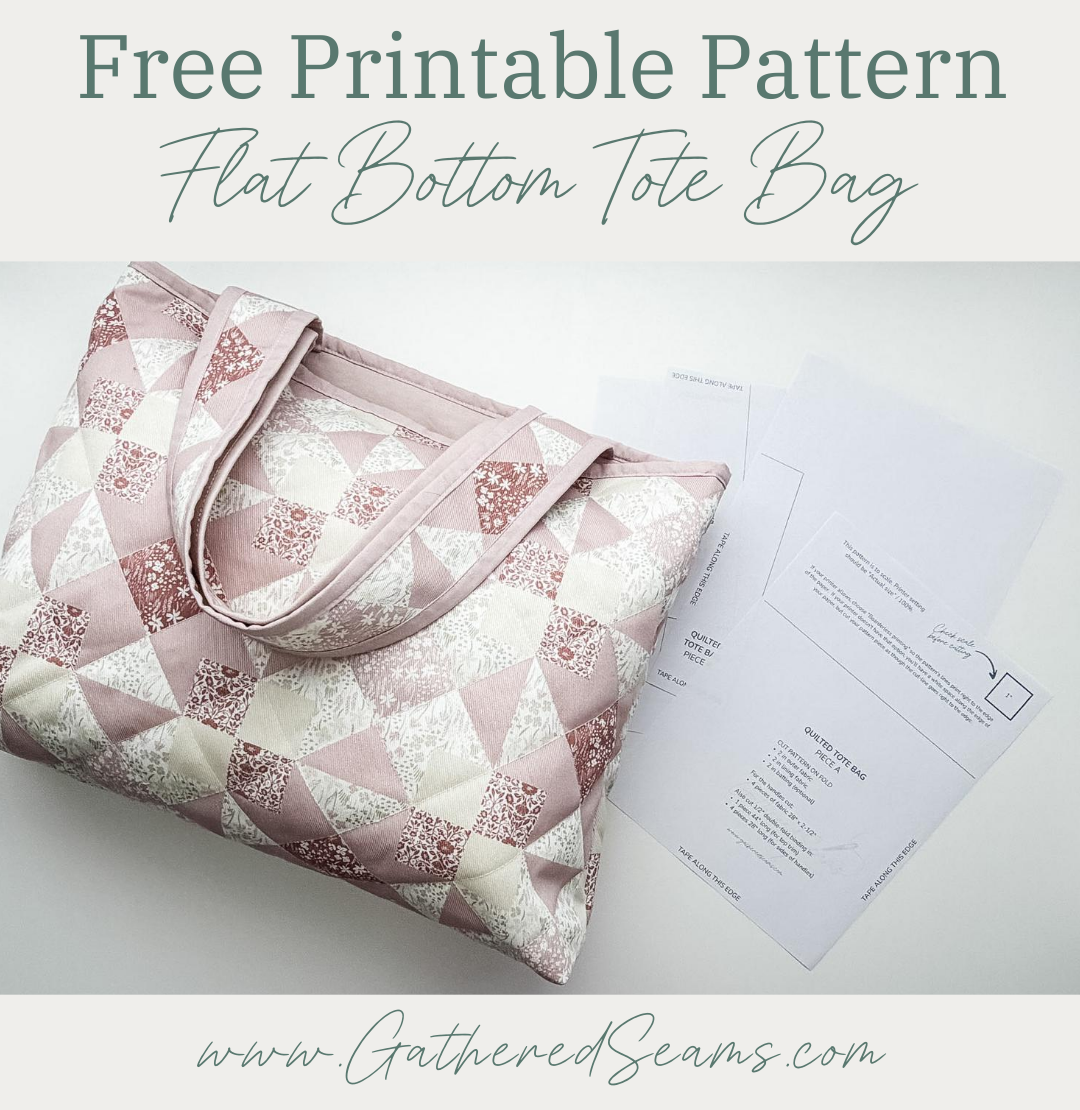
Free Printable Pattern for a Tote Bag

Steps to sew a flat-bottom tote bag w/ binding
Step 1
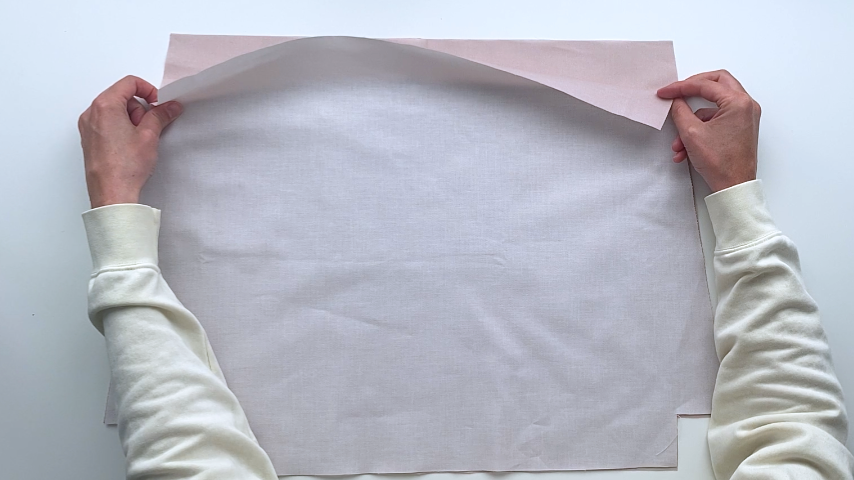
Download the free printable pattern, tape the pieces together, and cut it out.
The edges of the paper should not overlap; they should simply butt up against each other.
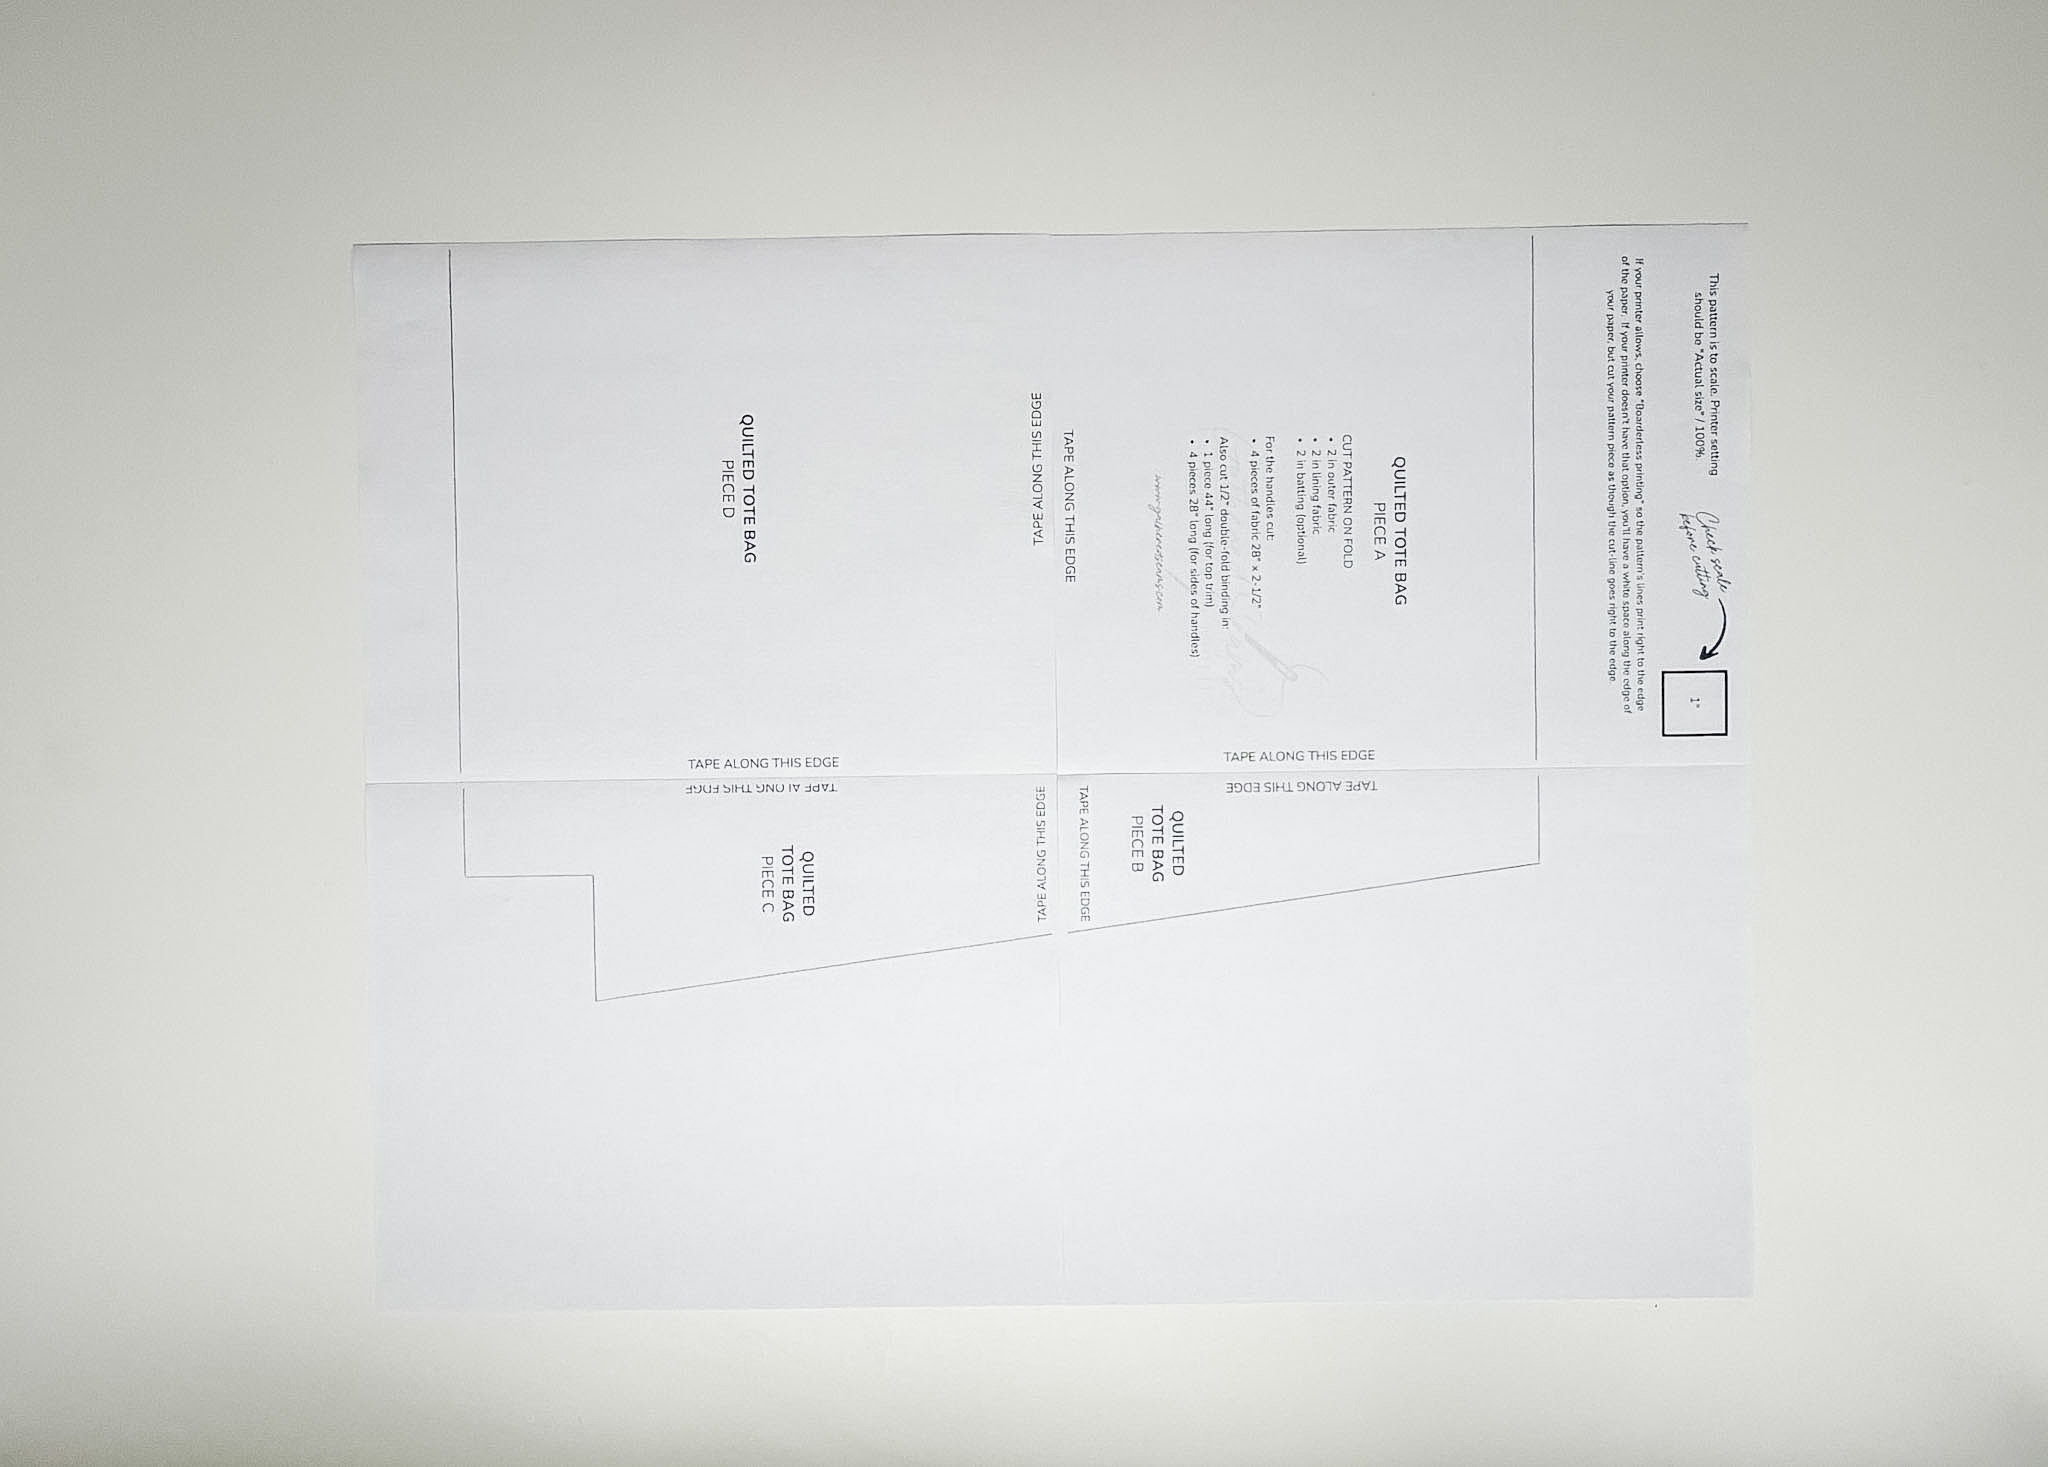
You will cut your fabric pieces on a fold, lining up the edge of the pattern that shows “CUT ON FOLD” with the edge of the fabric’s folded edge.
If you are adding quilting stitches, cut your outer fabric and batting slightly larger than the pattern pieces (to account for shifting). Then cut to the proper size after you’ve completed the quilting stitches.
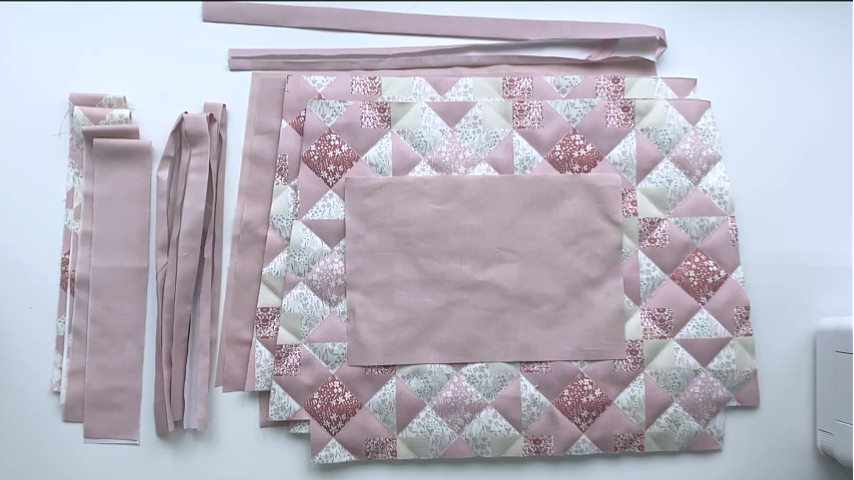
Cut out the pattern piece:
- 2 in outer fabric
- 2 in lining fabric
- 2 in batting (optional)
You’ll also need to cut:
- 4 pieces of fabric for the handles that are 28″ x 2-1/2″ each (I used my outer fabric for the top of the handles and the lining fabric for the bottom). If you’re using fat quarters for this project, you can cut 8 strips that are 14-1/2″ x 2-1/2″ and stitch two strips together to get one 28″ x 2-1/2″ handle.
- Optional – rectangular piece of lining fabric to add a pocket to the interior (I cut mine to about 14″ x 8″)
To finish the edges in binding, you’ll need to cut 1/2″ double-fold binding in:
- 44″ piece
- 4 pieces that are 28″ long
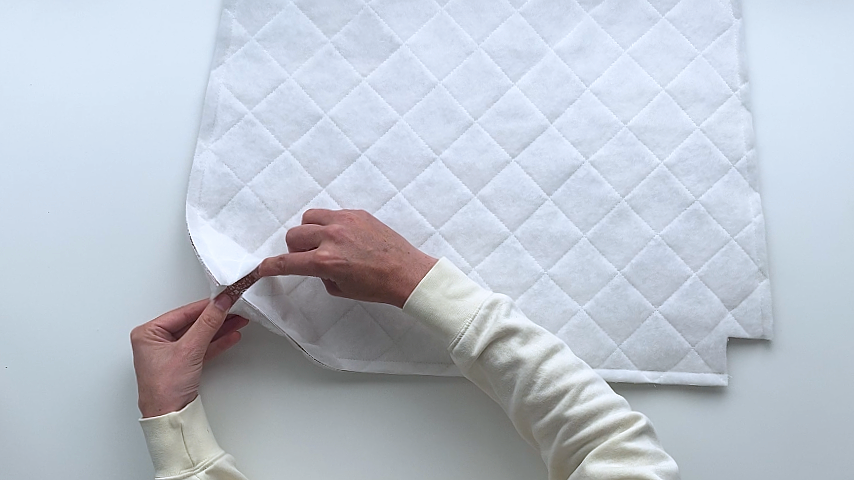
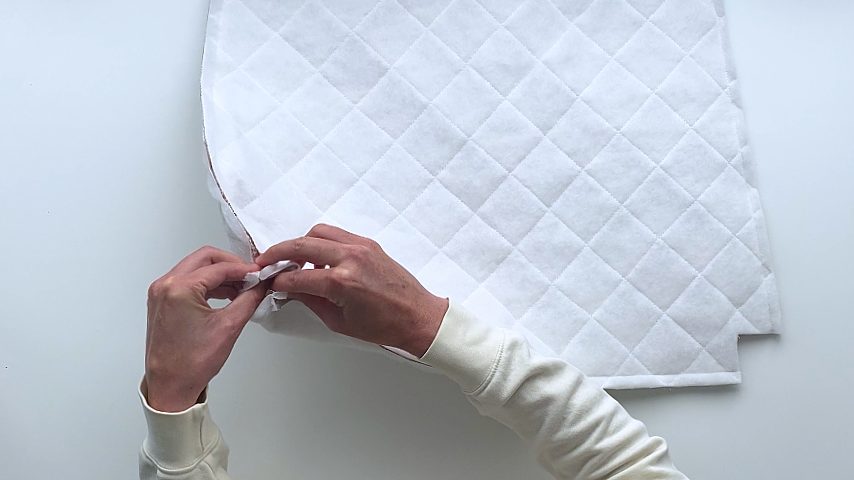
If adding quilting stitches, place your outer fabric and batting together, complete quilting stitches, then cut the outer pieces to the size of the pattern piece.
Step 2
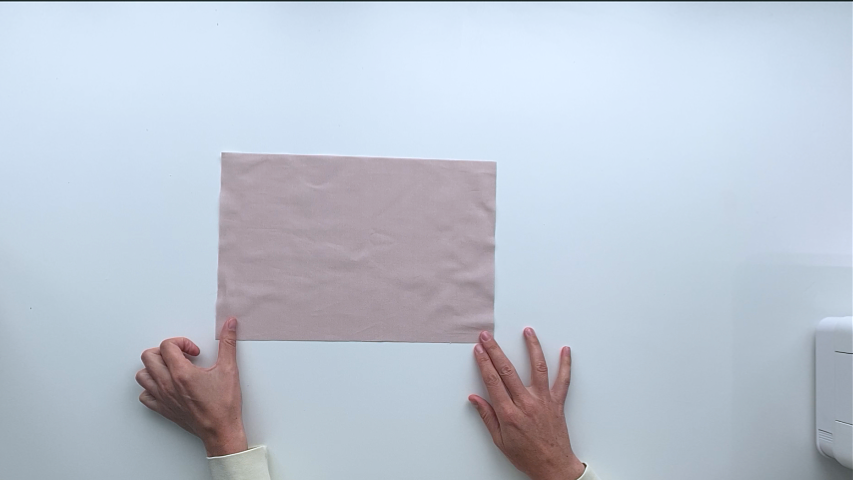
If you’re going to add a pocket, complete that step first. I folded my rectangle in half so that right sides were together, then stitched around the 3 cut edges, leaving a 3″ – 4″ opening along one side.
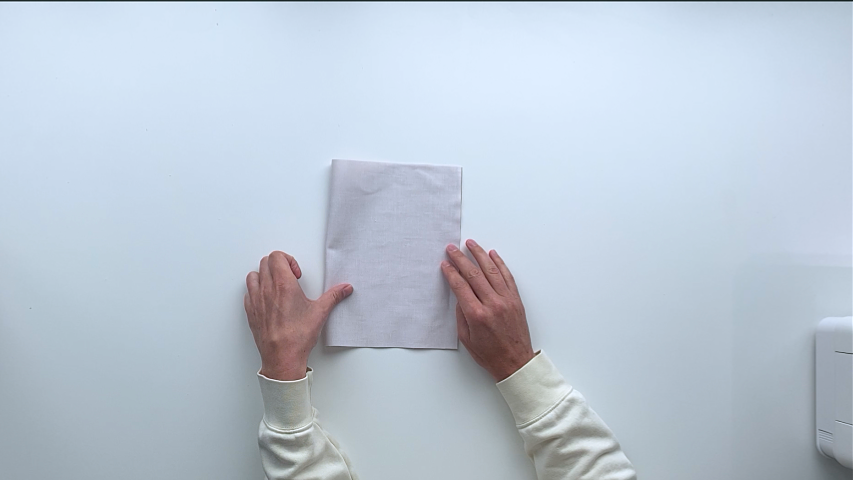
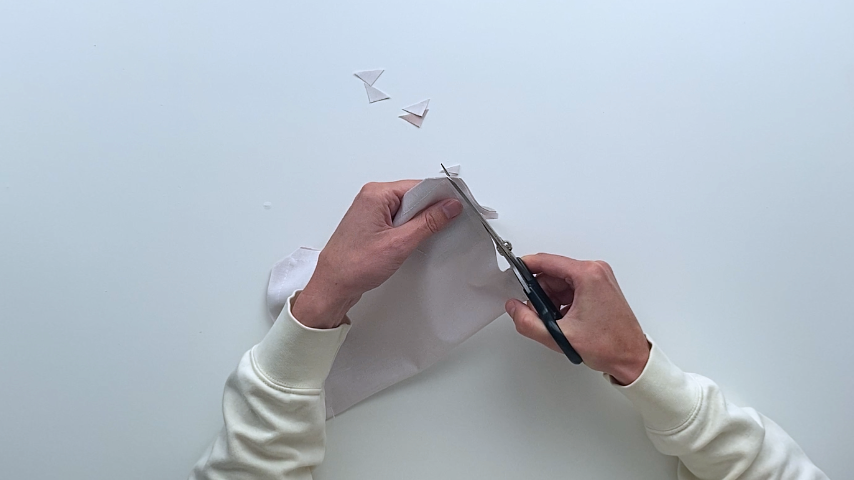
Trim the seam allowance and clip corners, then turn right side out and press.
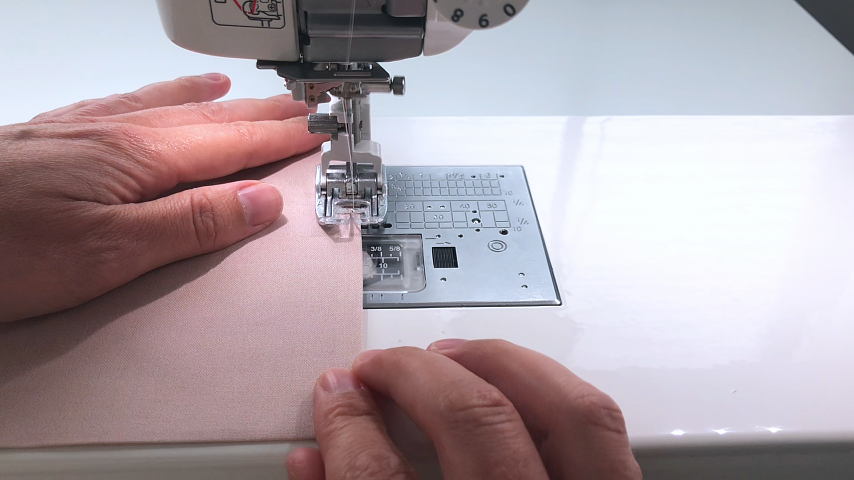
Topstitch around all 4 edges.
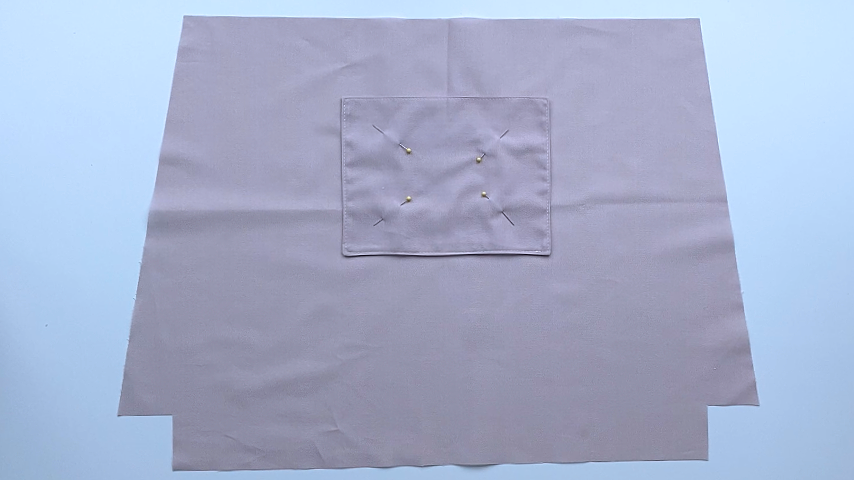
Then pin in the center of one of your lining pieces 3″ – 4″ from the top and stitch around the sides and bottom of the pocket.
Step 3
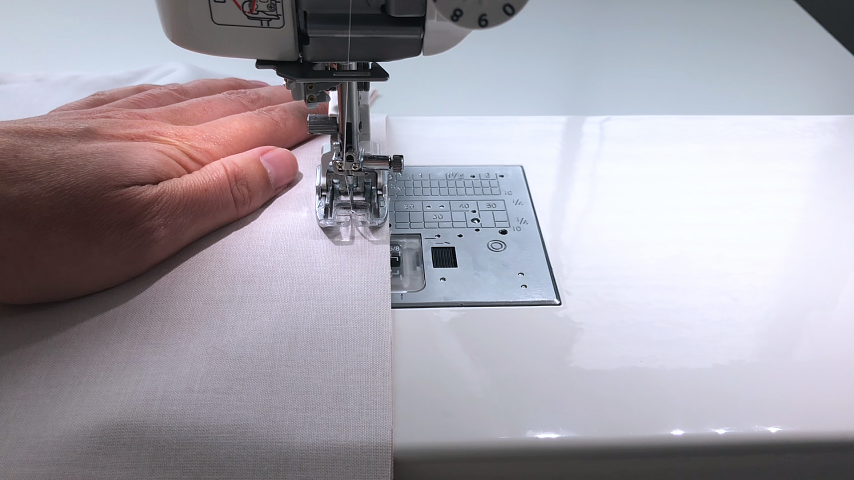
To complete the lining, place the two pattern pieces right sides together and, using a 1/2″ seam allowance, sew down both sides and the bottom of the bag.
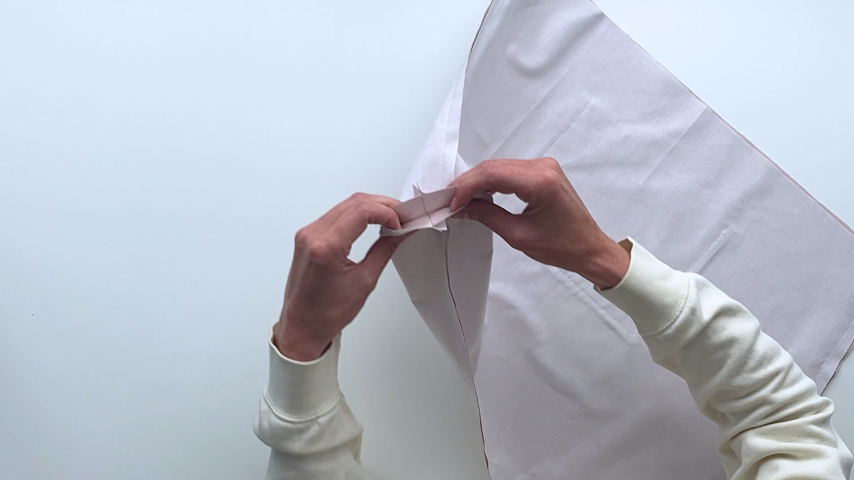
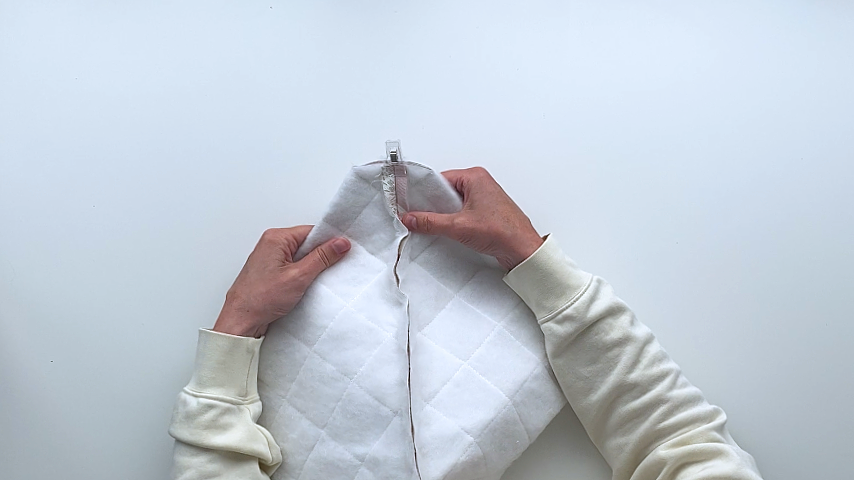
Open one of the corners and line up the side seam with the bottom seam. Clip into place then sew across the corner to close it, using a 1/2″ seam allowance.

Repeat on the other corner, then set the lining aside.
Step 4
If you don’t want to use binding on the handles, you can simply place two handle pieces right sides together and sew down either side. Use a safety pin or bodkin to turn the tube right side out. Press the handle, then topstitch on either side. Repeat for the other handle.
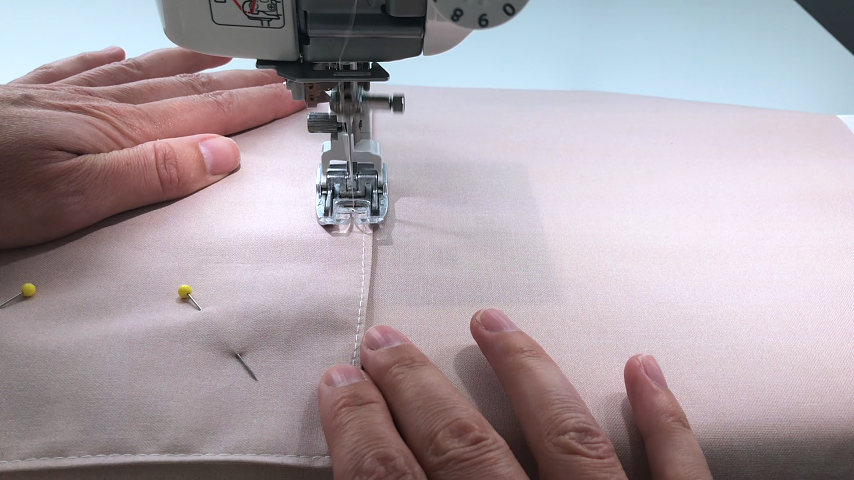
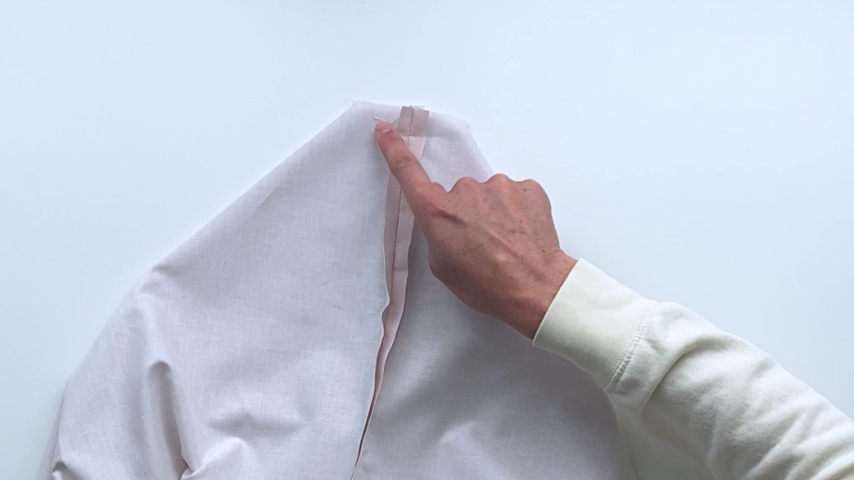
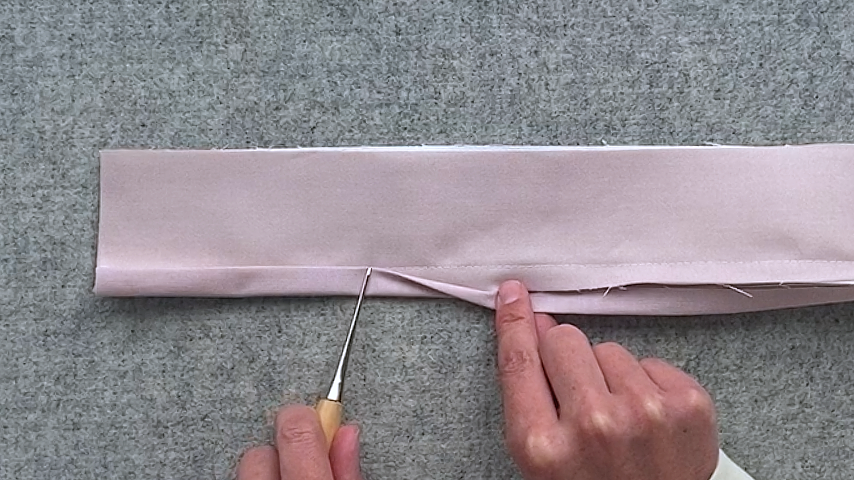
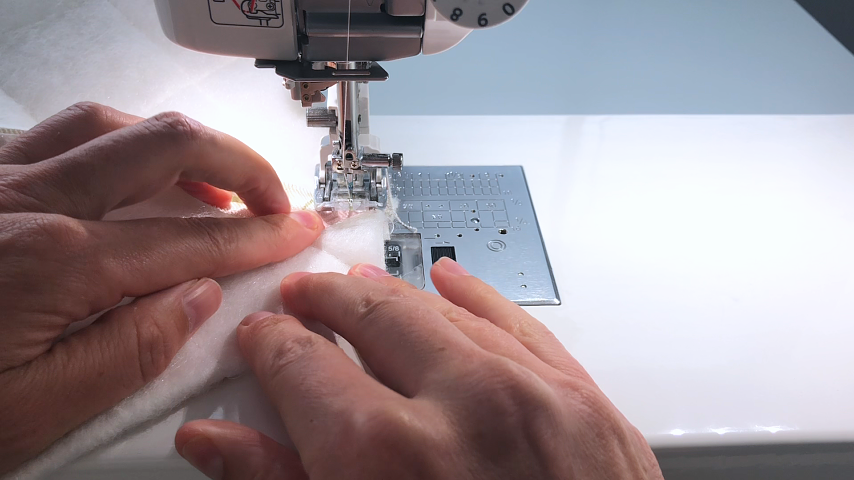
For the binding finished handles, place two 28″ x 2-1/2″ pieces wrong sides together, lining up the cut edges.
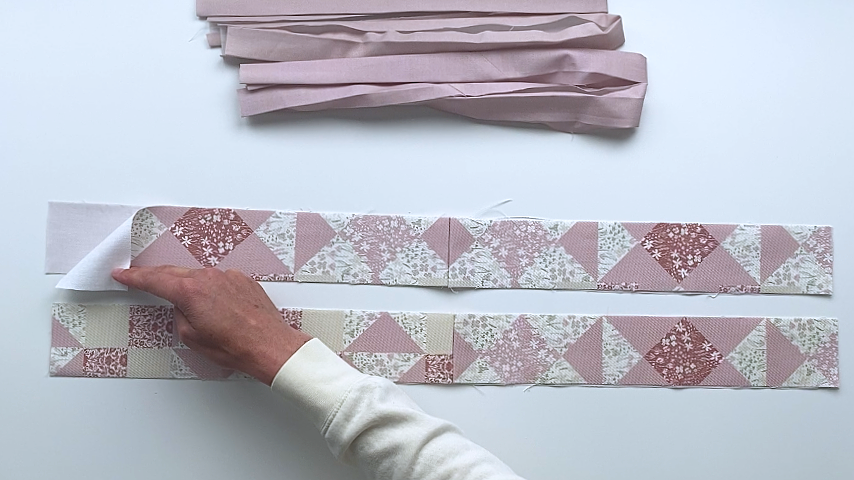
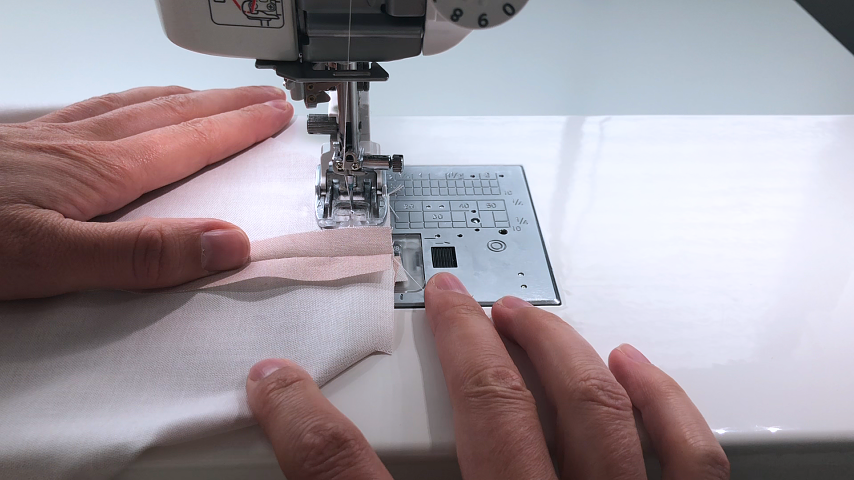
Unfold a piece of 28″ binding, line up the edge of it with the edge of the handle, then sew in the first fold.

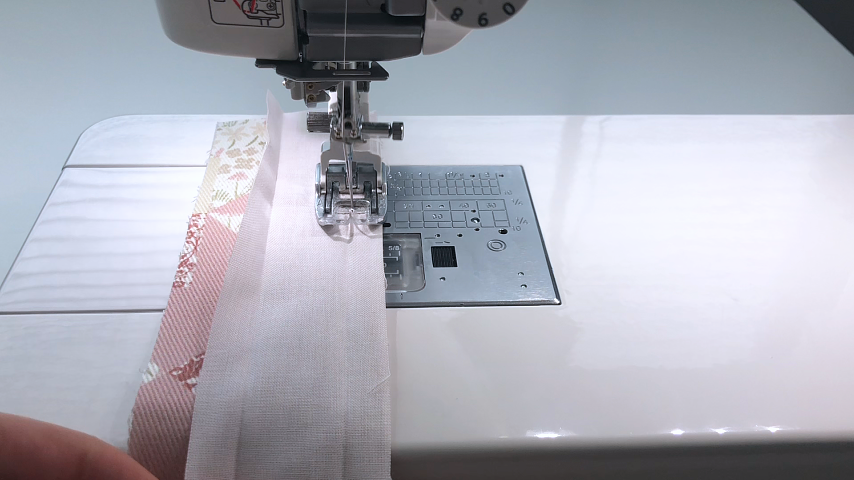
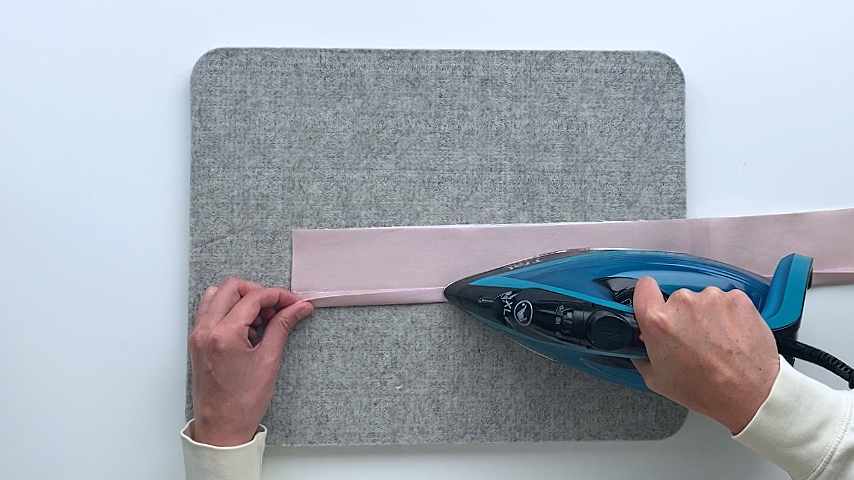
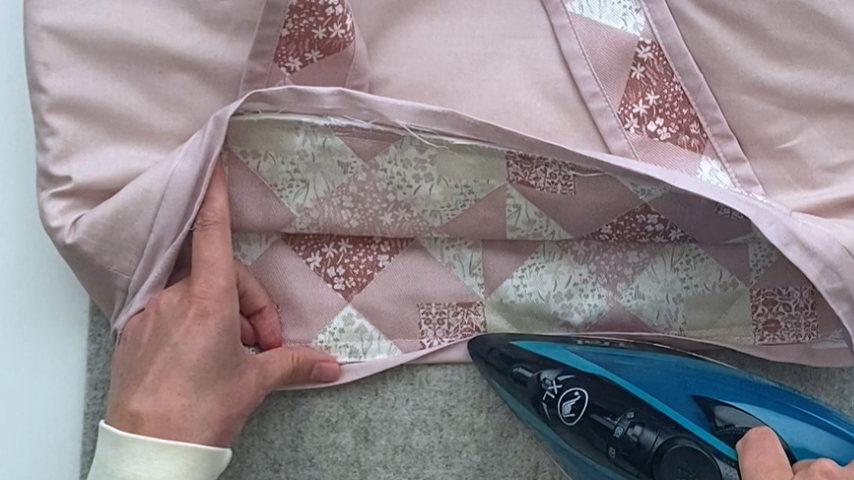
Fold the binding over to the other side and press into place so the inside fold of the binding is sitting on top of the stitching, just slightly covering it.
Topstitch about 1/8″ in from the inside edge of the binding.
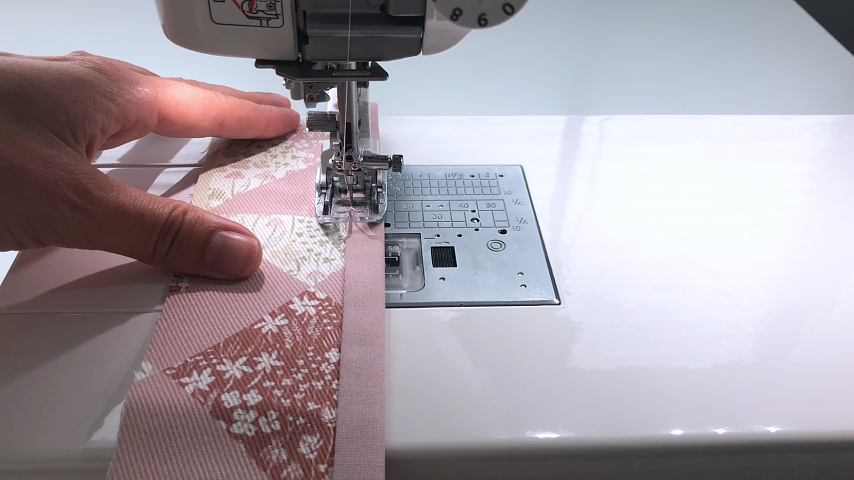
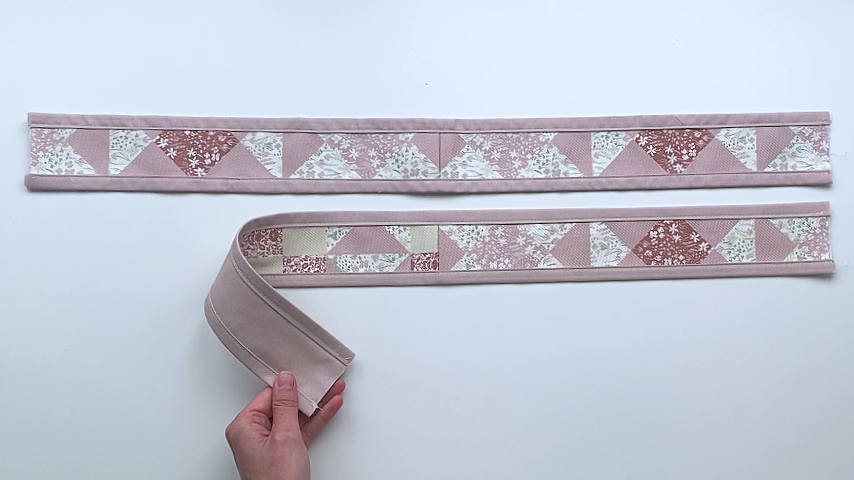
Repeat these steps to add binding to both sides of the two handles.
Step 5
Place the two outer pieces right sides together and sew the sides and bottom using a 1/2″ seam allowance.
Open one of the corners and line up the side seam with the bottom seam. Make sure the seam allowance is open. Sew across the corner using a 1/2″ seam allowance.
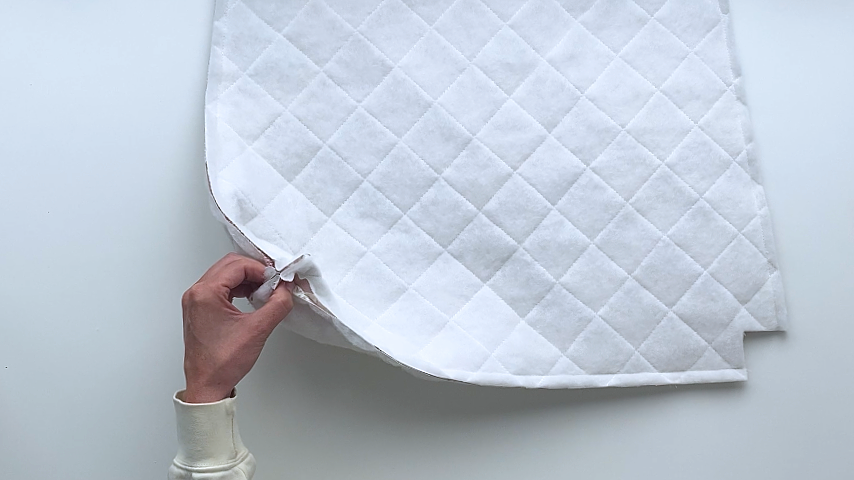
Repeat on the other corner.
Turn the bag right side out.
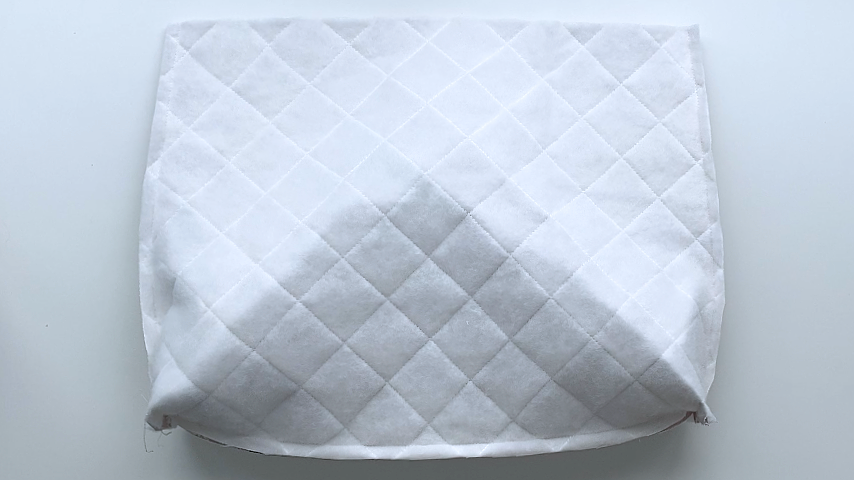
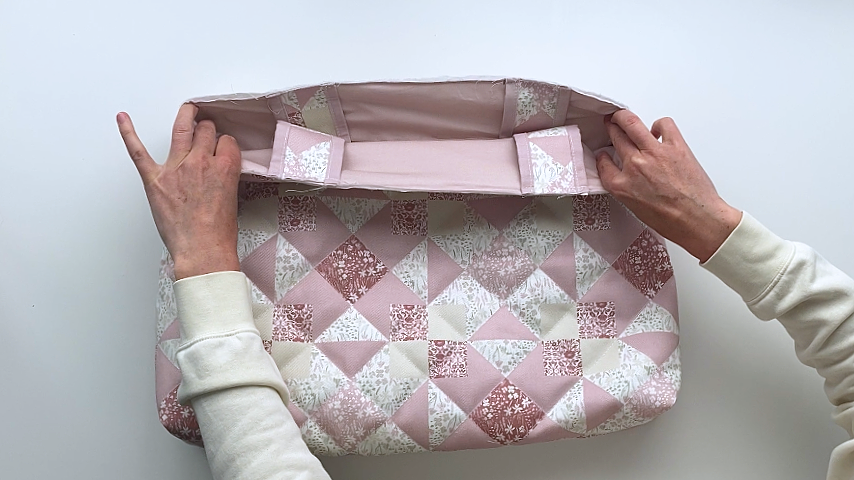
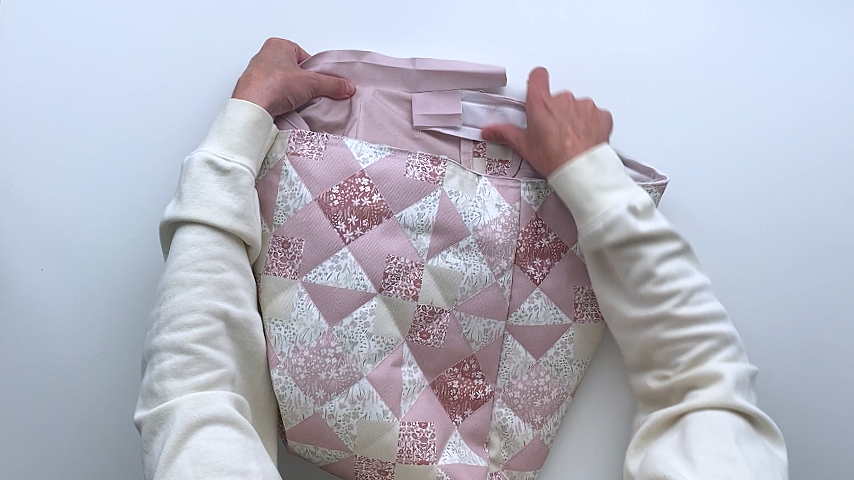
Set the lining inside the outer bag so wrong sides are together, line up the top edges and side seams and clip together.
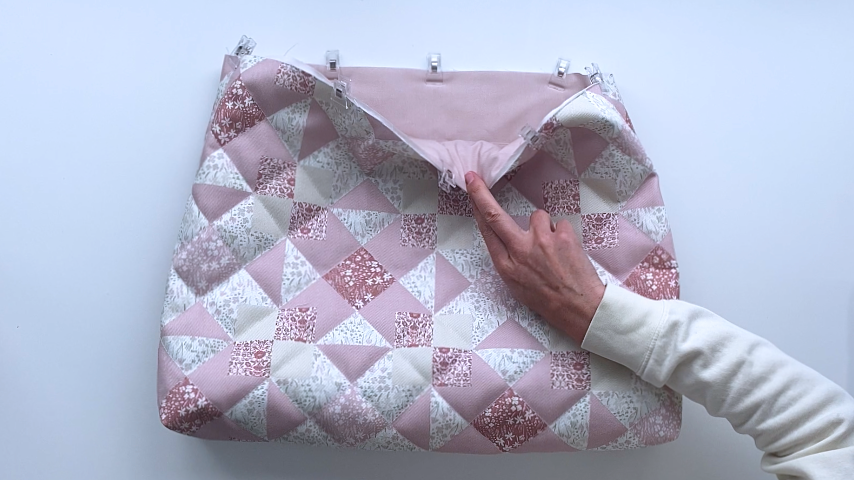
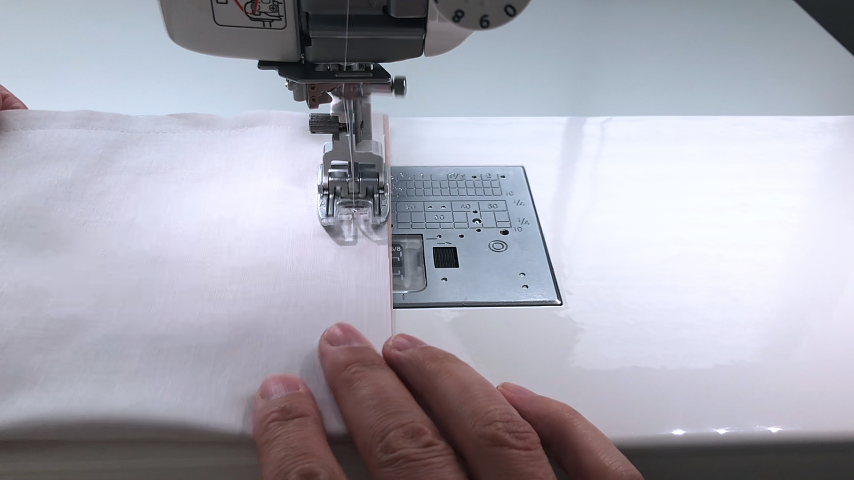
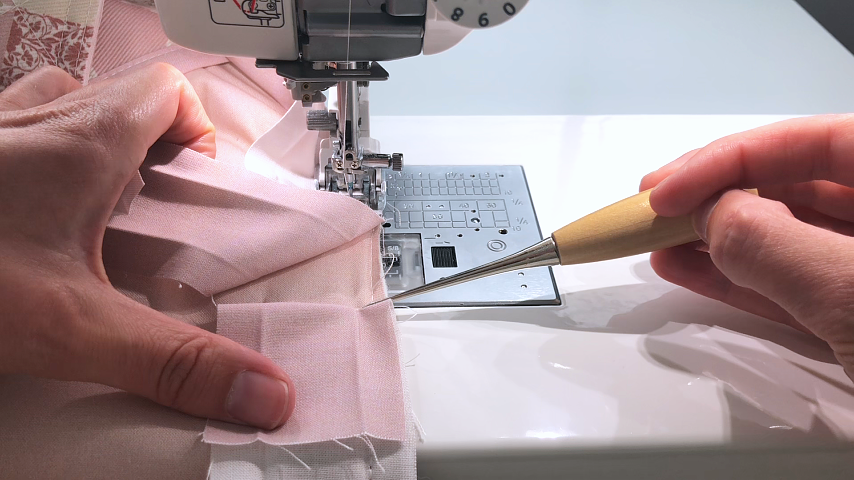
Baste around the top edge of the bag.

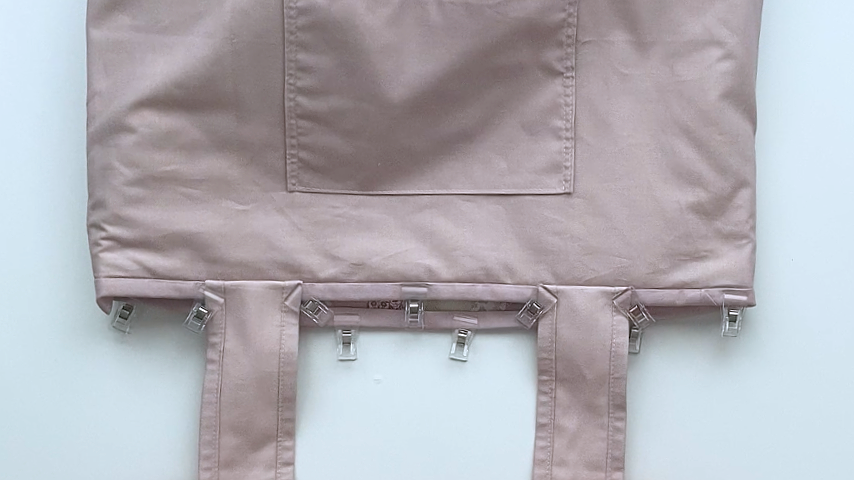
Step 6
Clip your handles to the inside of the bag. I placed mine 6-1/2″ apart.
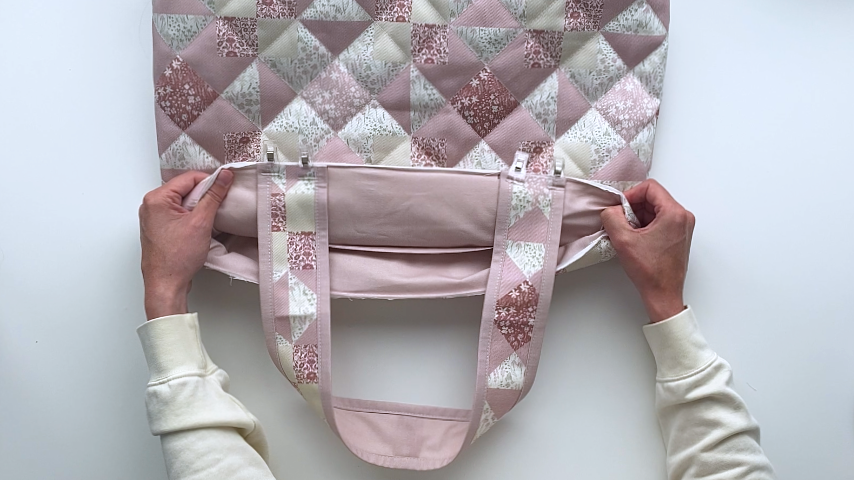
If your handles have a top and bottom (like mine do, with the outer material on the top) be sure to clip the handles so that the top of the handle is facing up. After clipping into place, flip the handles up to make sure they’re how you want to them look from the outside of the bag.
Baste the tops of the handles into place.
Step 7
Take your 44″ piece of binding and mark a line 2″ from one end. This is where you’ll start sewing it on.
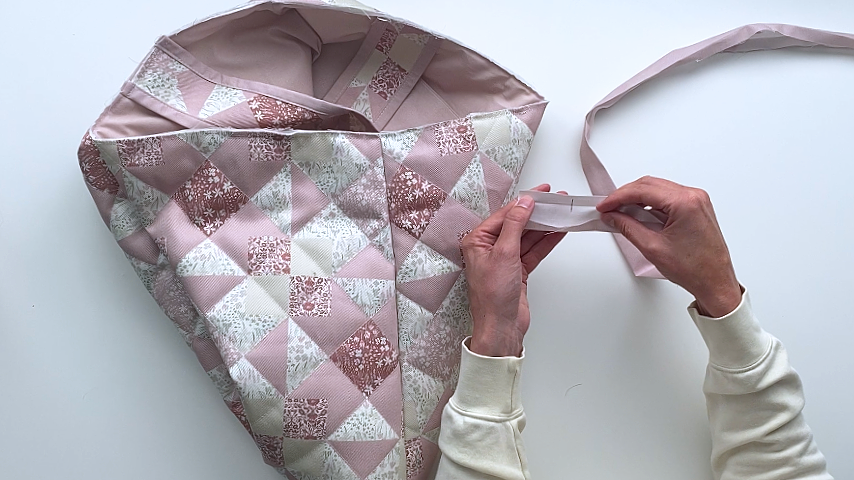
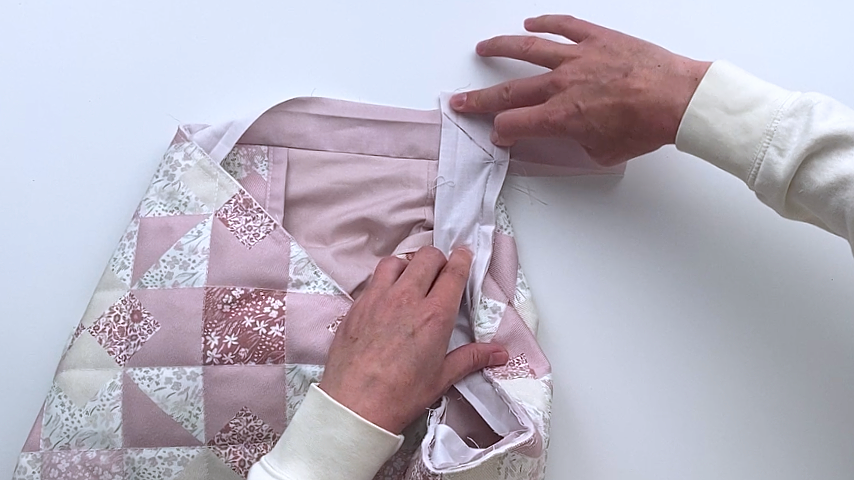
Line the edge of the binding with the top edge of the bag, placing the binding on the lining side. I also like to set the start of the binding closer to a side seam, so the binding’s joining seam is on the side.
Start sewing your binding on at that 2″ mark, sewing in the first fold and backstitching to start.
When you come back around to the start of the binding, fold the 2″ loose piece toward you, set the end of the binding on top, and sew right up to the start of your stitching (don’t go over and don’t stop before it. Shorten your sewing machine’s stitch length to make it easier to stop in the right spot). Backstitch at the end.
Unfold the end piece of the binding then fold the bag so you can position the start of the binding on top and at a 90-degree angle.
You’ll sew at a 45-degree angle from where the two layers of binding intersect up to the stitching.
Check to make sure the joining seam looks good, then trim the binding’s seam allowance and finger-press the seam open.
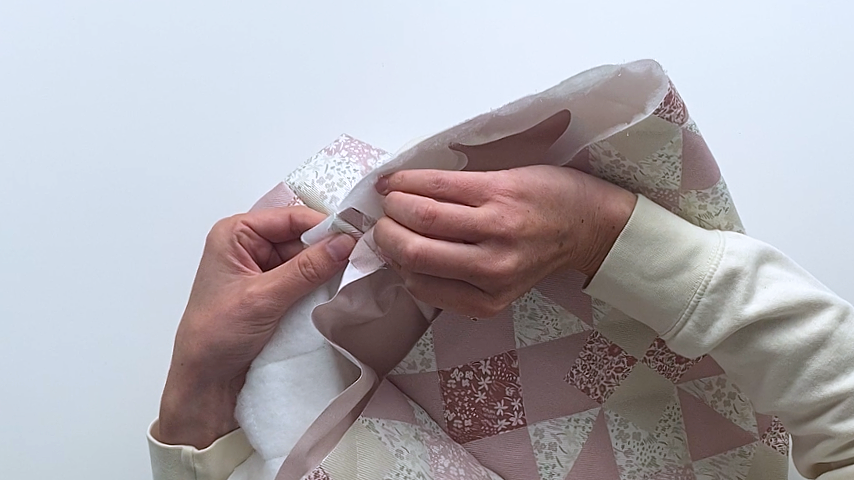
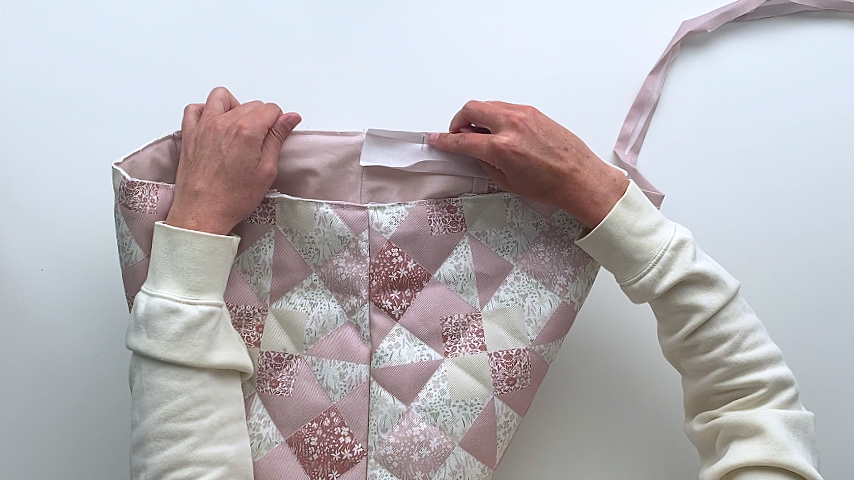
Flip the bag so the lining is right side out. Then fold the binding over to cover the line of stitching.
Make sure the fold of the binding is sitting on top of the line of stitching (just slightly covering it) and press into place. You can also clip it into place as you go.
Step 8
Before stitching the binding in place, flip the handles up and clip them into place, making sure they look good from the front and back.
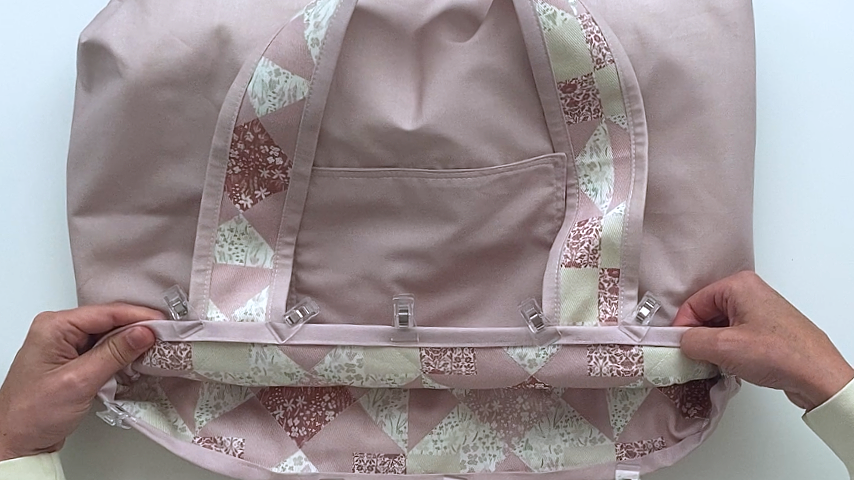
When you topstitch the binding, you’ll secure the handles as well.
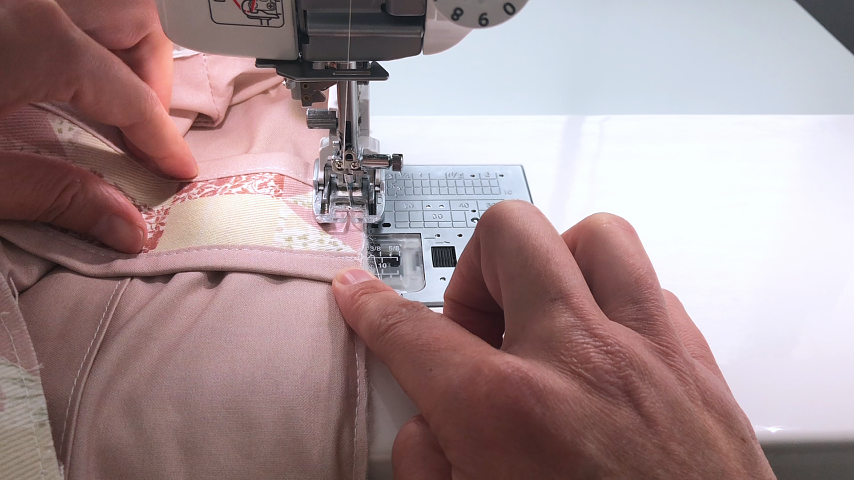
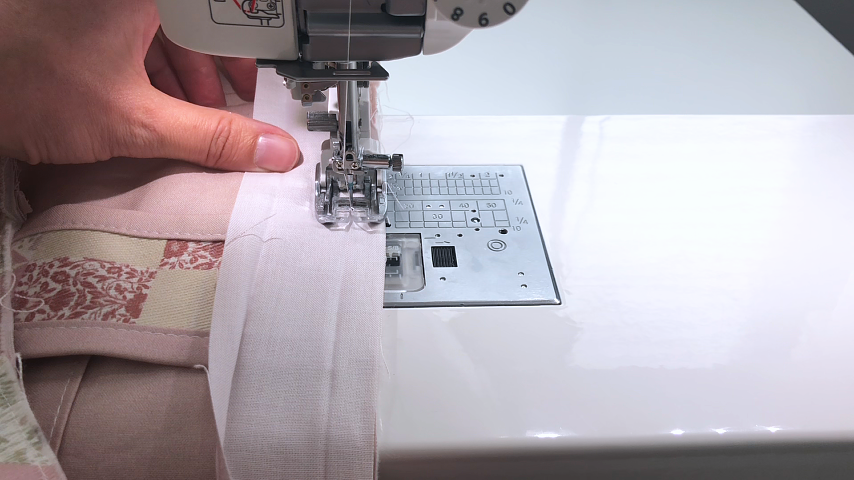
Sew about 1/8″ in from the inside edge of the binding and from the side that isn’t secure yet (outside of the bag; not the lining side).
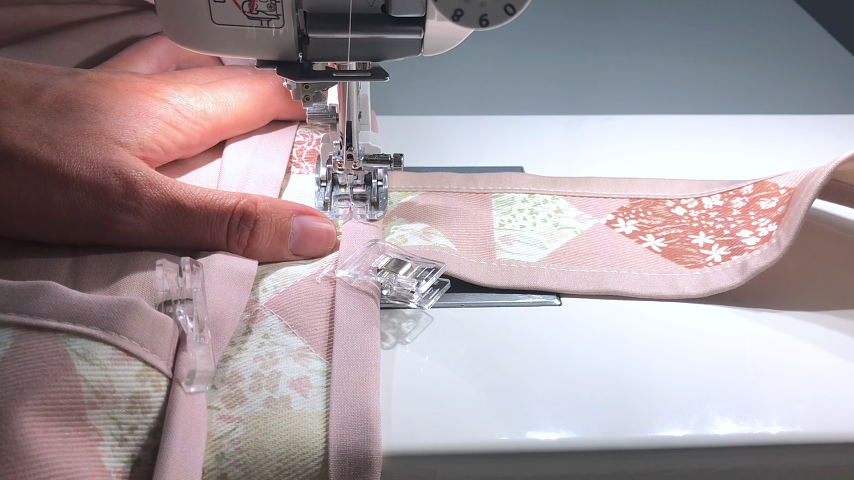
As I sew, I adjust my binding to make sure the edge of it is sitting on top of the line of stitching. This ensures my topstitching will look good on both sides.
Your tote bag is complete!