How To Sew a Flat-Bottom Zipper Pouch | Free Patterns
Zipper pouches are so handy, which is why they make a great product to sew and sell. Once you get the hang of them, it’s easy to adjust the size, based on what you want to fit inside.
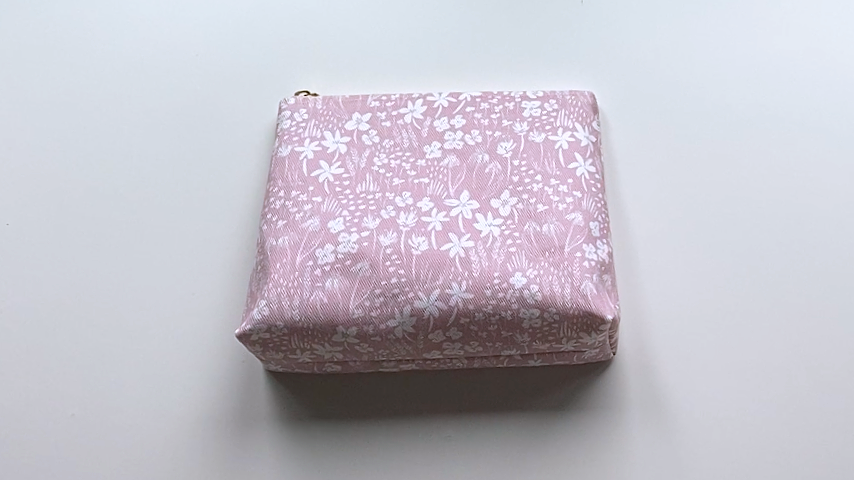
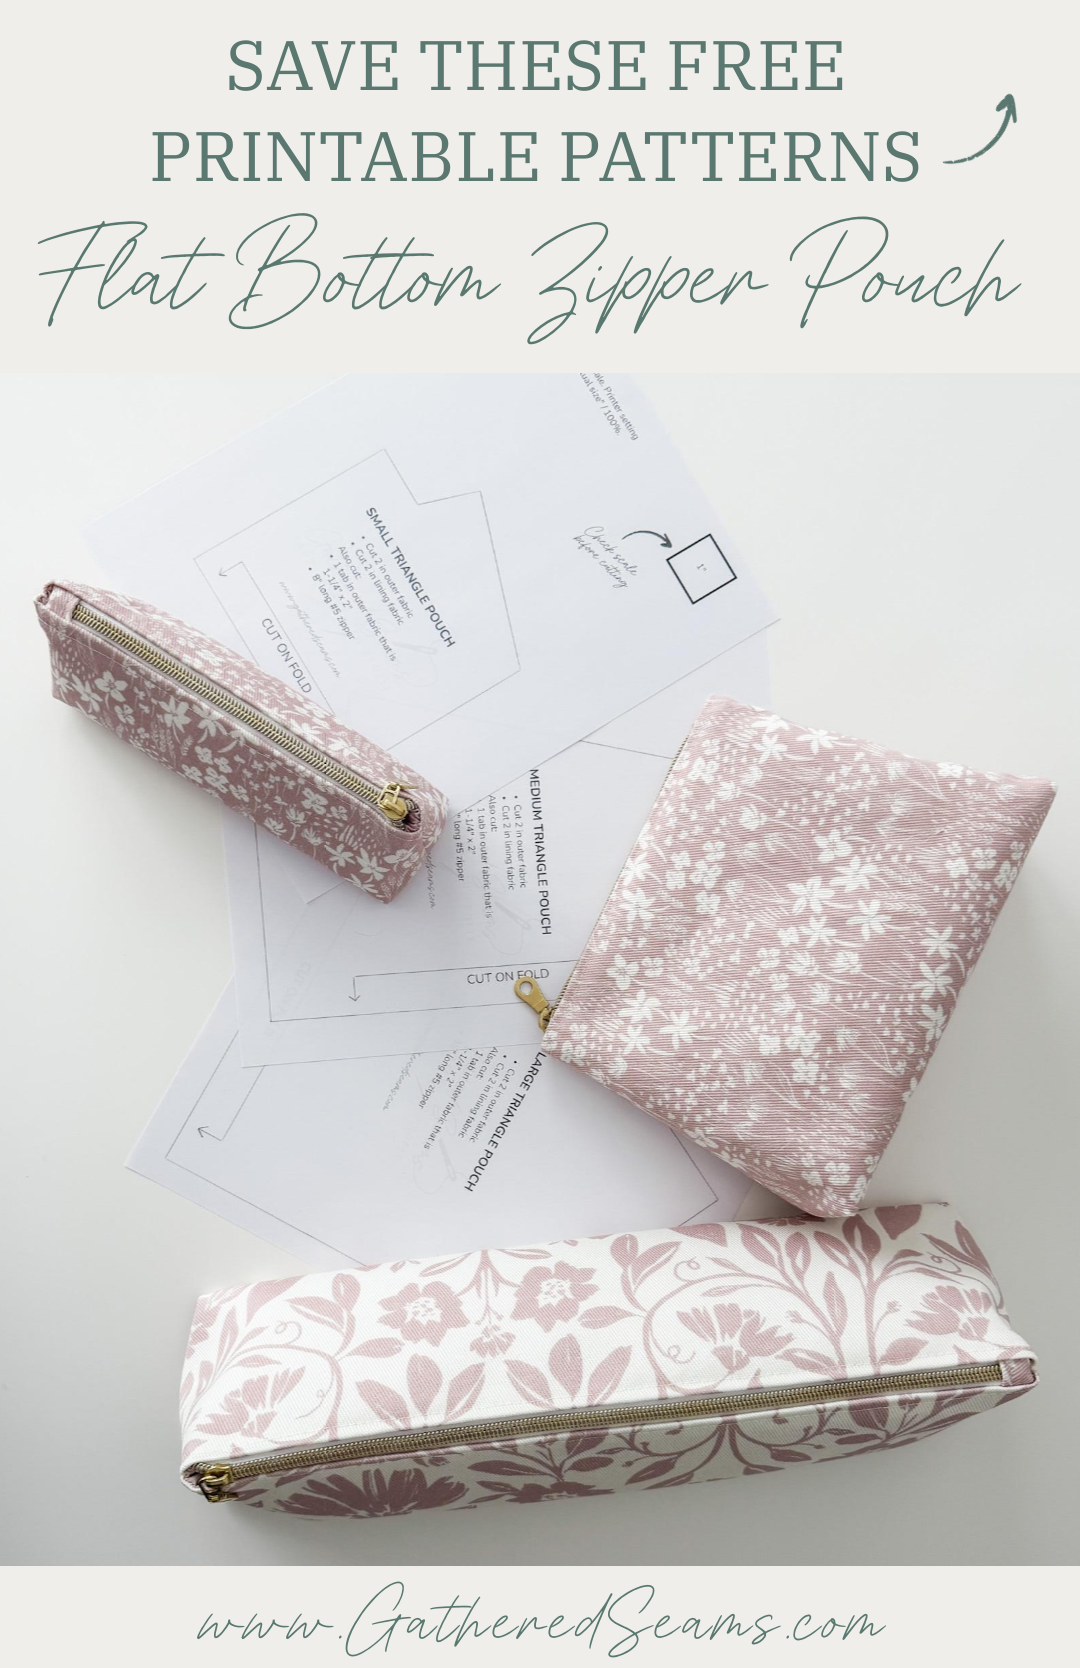
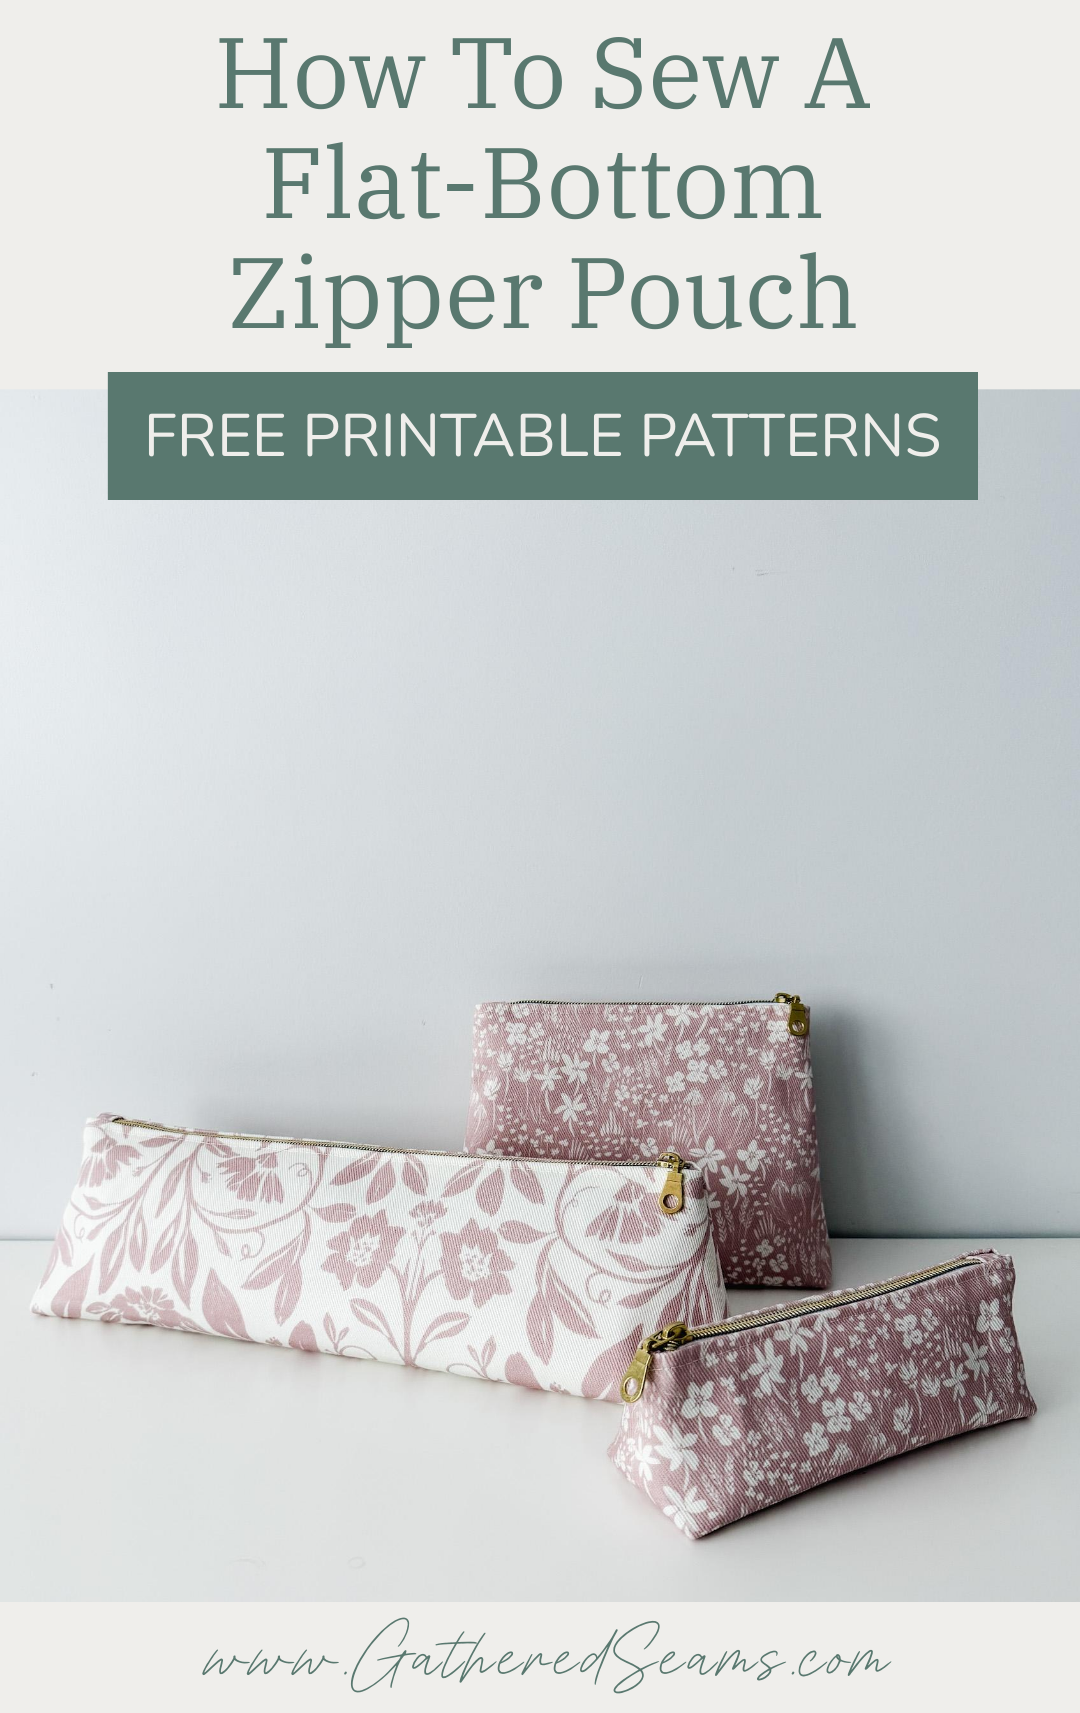
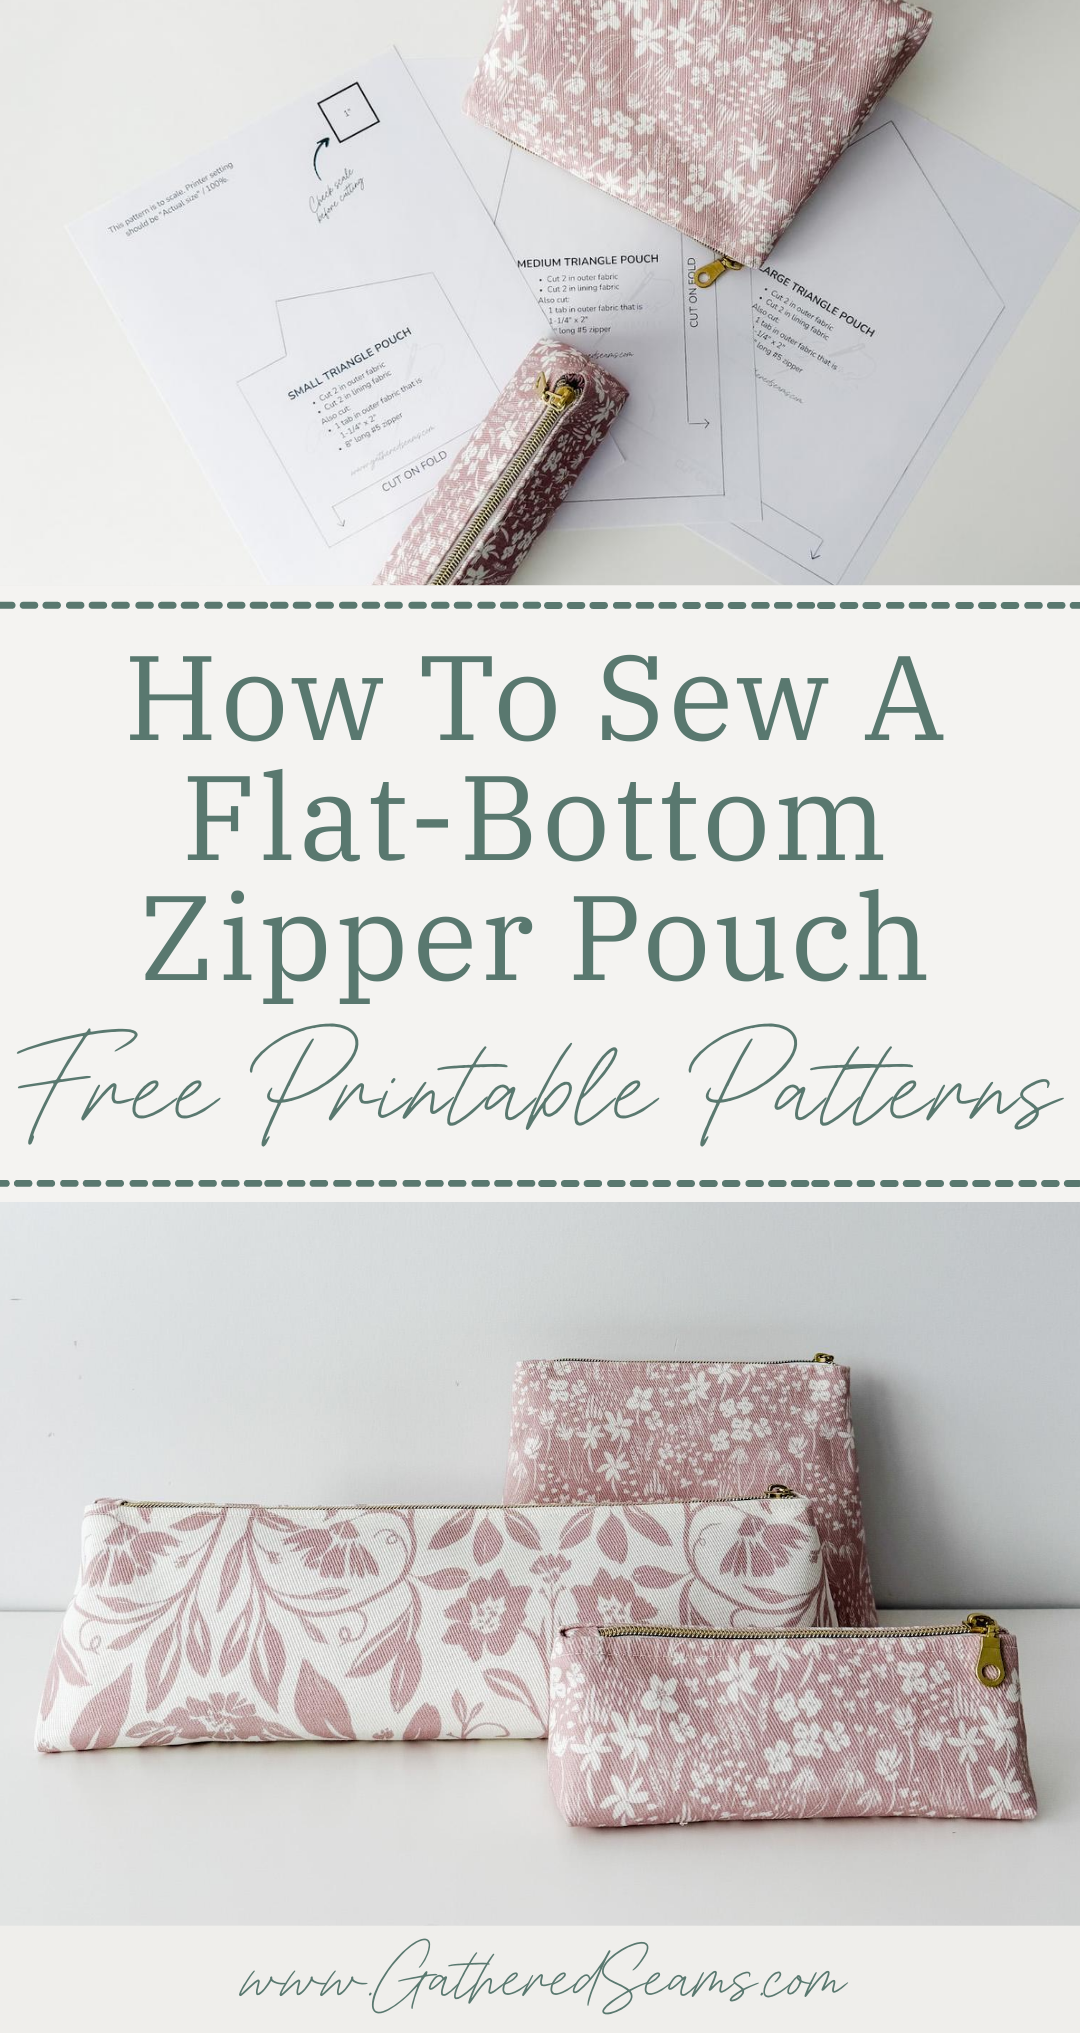
I’ve created 3 sizes of flat-bottom zipper pouches:
- Small (approx. 3″ tall x 7.5″ wide x 2.5″ deep) – ideal for pens and pencils or smaller makeup brushes
- Medium (approx 6.5″ tall x 8.5″ wide x 3″ deep) – a versatile size for art supplies, makeup, or to organize smaller items in a purse
- Large (approx 4.5″ tall x 15″ wide x 4″ deep) – this size should fit most hair tools, such as curling irons and flat irons
Sewing the pleated triangle pouch to sell
These types of pouches tend to be popular at craft shows. They don’t take long to make so you can keep the price point a little lower; ideal for craft show shoppers.
These pouches could work into a product line or product collection in a few ways.
- Add-ons to purses and bags – sew these in sizes that will fit in bags/purses you currently offer. Be sure to create the zipper pouches in coordinating or matching fabrics to the bags, so shoppers immediately make the connection that the bag and zipper pouch work together.
- Makeup/Toiletry bag line – you could expand on the sizes you offer (e.g. 5 size variations) and create an entire product line of flat bottom zipper pouches, designed to store and organize makeup and/or toiletries.
- Travel cases – these could also be marketed as travel cases to organize toiletries, makeup, clothes, etc. in luggage. You may want to explore a few other styles of cases (such as a boxy bag, flat zipper pouches, shoe bags, etc.) to create a more complete product line.
- School bags – these could fit well into a line of bags and cases designed for school. Adjust the sizes of the flat-bottom zipper pouch for common school supplies, and then add a few more items to round out your product line. Which items you add would depend on your target market. For example, if you’re targeting high school or university students, you might offer laptop case, reusable lunch bag, glasses case, etc.

Materials
As an Amazon Associate, I earn from qualifying purchases (see full disclosure here).
- Exterior fabric – a heavier-weight fabric is ideal (such as vinyl, denim, canvas), or you can add interfacing or batting for more structure
- Lining fabric
- Thread
- #5 plastic zipper
Tools
- Sewing machine
- Walking foot (highly recommended if you’re sewing with vinyl. This is the universal one I purchased for my Baby Lock, which is a different machine than what’s shown in the photos)
- Clips
- Temporary fabric marker (these are the ones I use)
- Ruler
- Scissors
- Soft-faced hammer (optional; helps flatten seams when working with vinyl; use it in place of an iron for “pressing” seams)
- Hump jumper (optional; helps your sewing machine get over thick seams or zipper teeth)
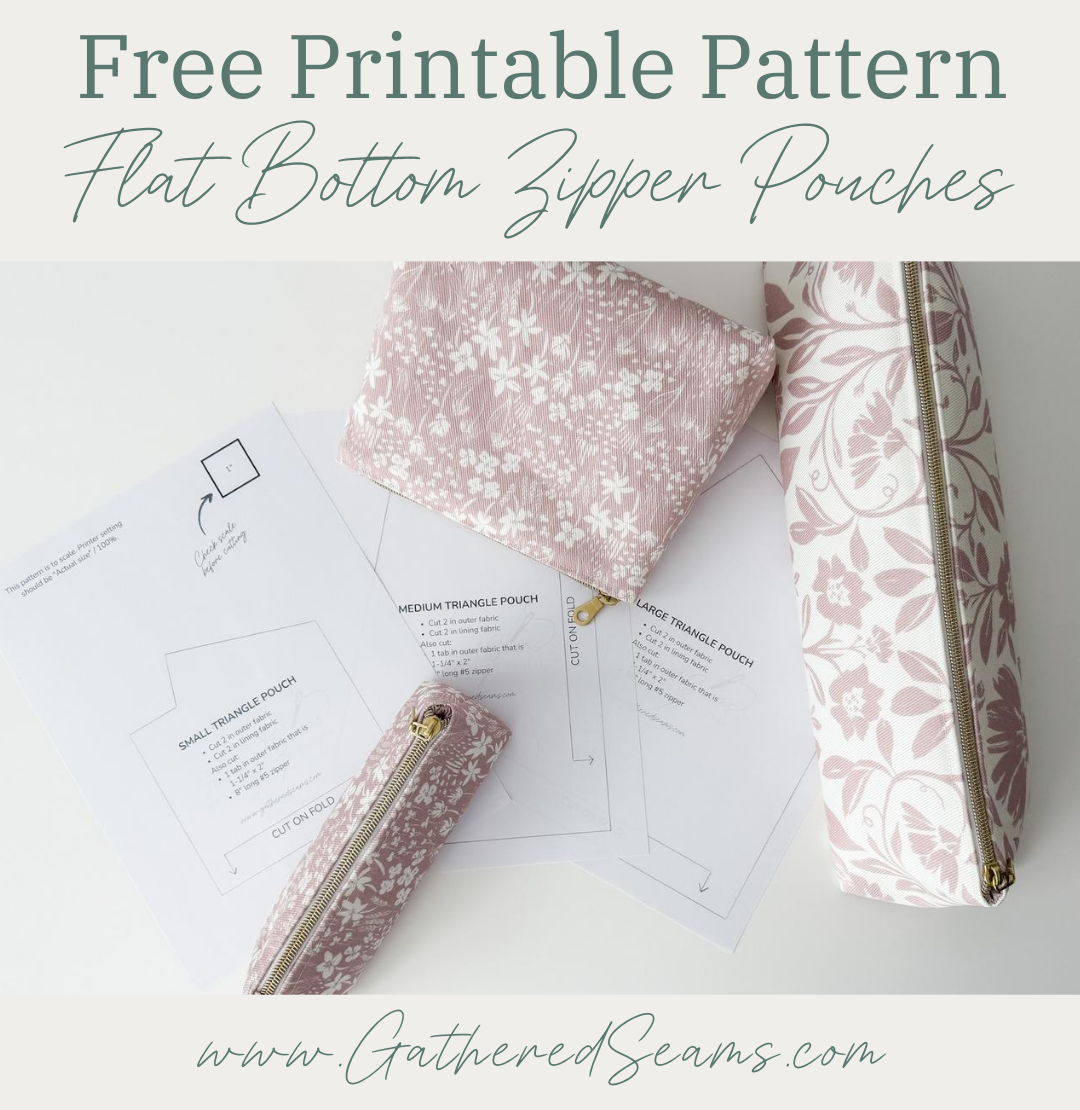
Step 1
Download the free pattern and cut out the pattern pieces.
In addition to the pattern pieces, you’ll also need:
- #5 plastic zipper cut to the length indicated on each pattern piece (it will vary depending on the size you’re making)
- A 1-1/4″ x 2″ piece of exterior fabric for the zipper end tab
This pattern uses a 1/2” seam allowance unless mentioned otherwise.
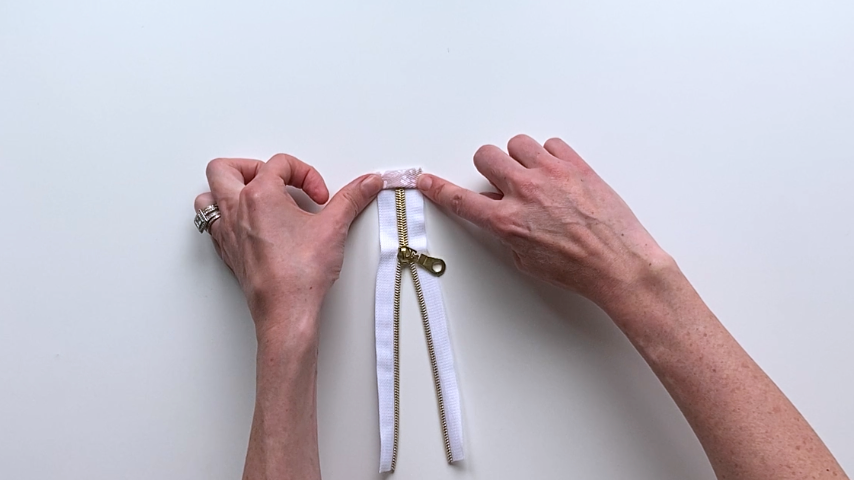
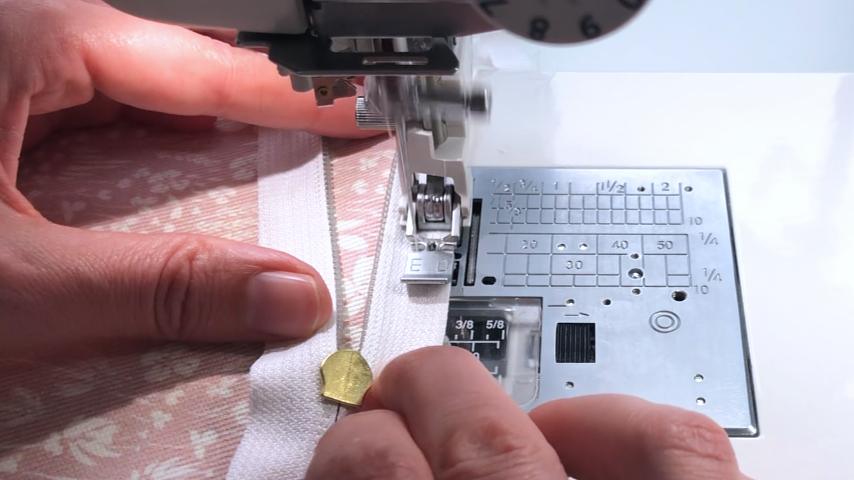
Step 2
Fold the zipper tab in half so that it is 1-1/4″ x 1″ and finger press to make the center crease. Then open the tab back up and fold each end into that center crease, then fold in half again. Press to keep the folds in place.
Put the closed end of the zipper into the center of that folded tab and topstitch into place.
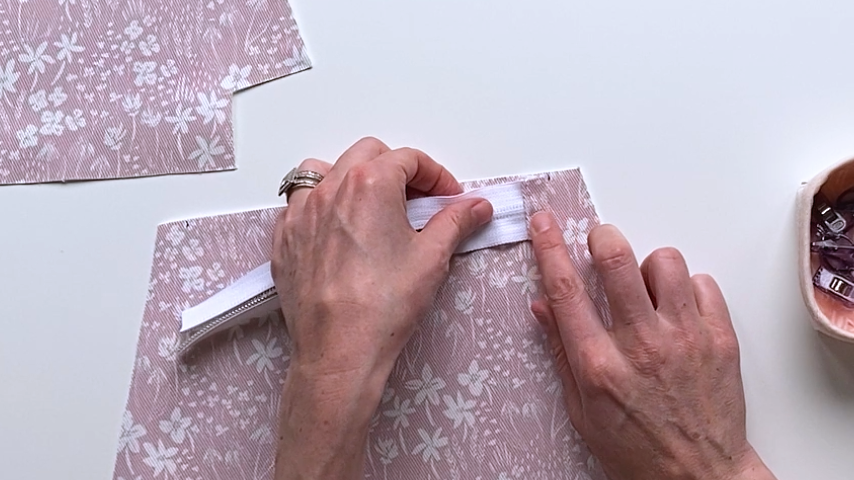
Step 3
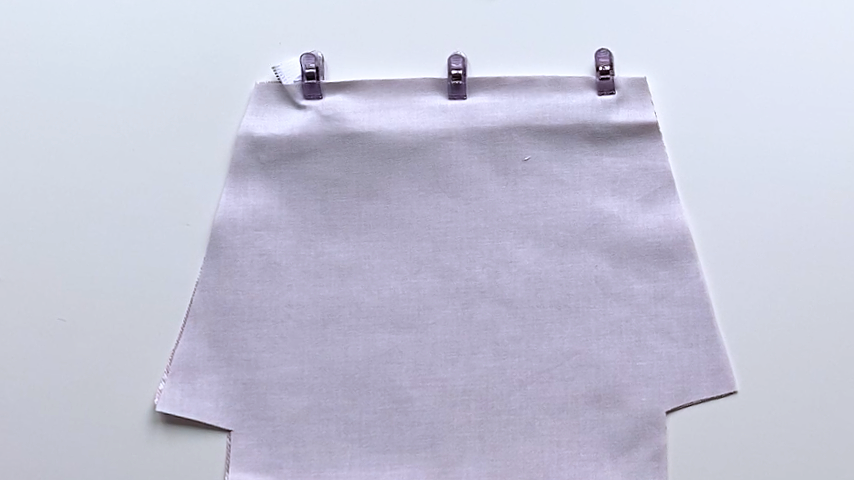
Using a temporary fabric marker, mark two lines on either end, at the top of your outer pieces that are 5/8″ away from the end. Your zipper will start and end within these lines.
Clip the zipper into place (right side of the zipper placed on the right side of the outer panel), and on the open end of the zipper, fold the zipper at a 90-degree angle so that the zipper teeth end right before the mark.
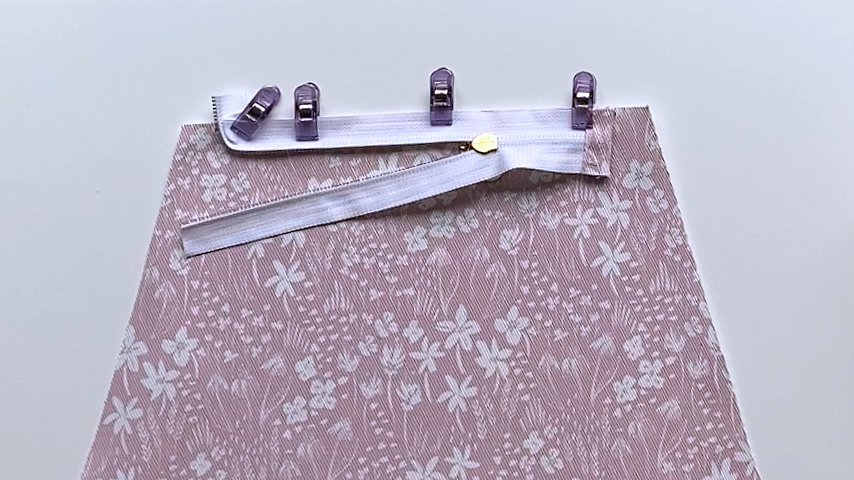
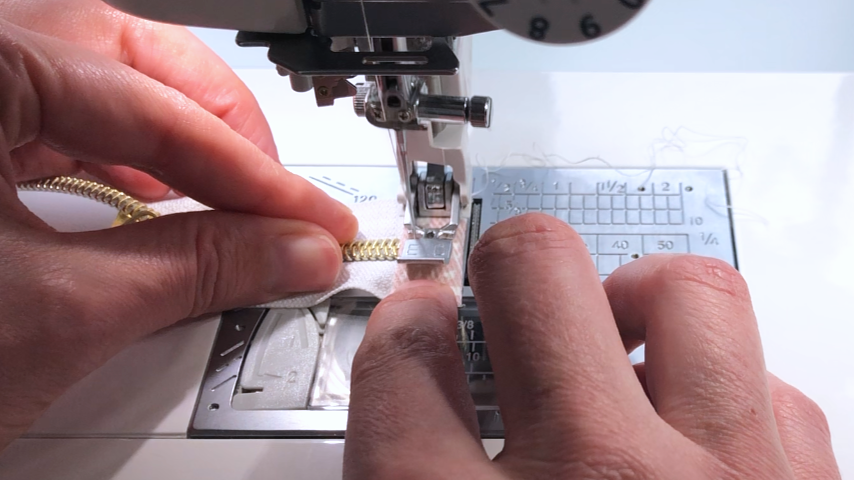
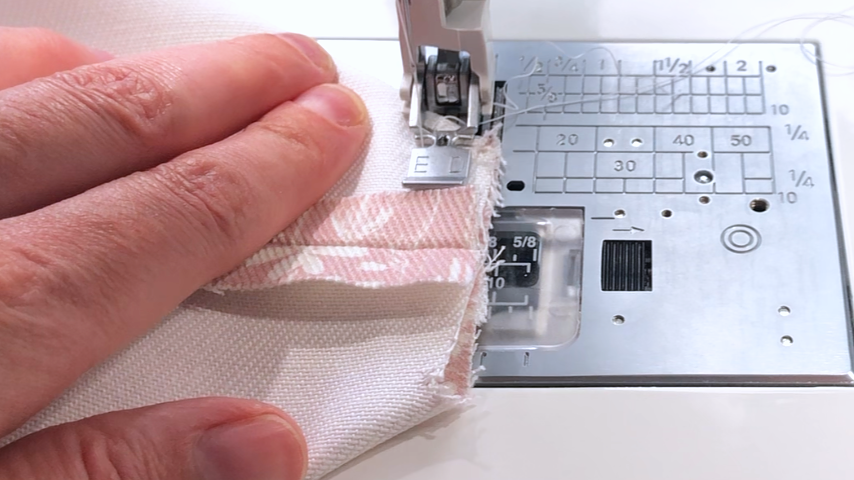
Baste the zipper into place.
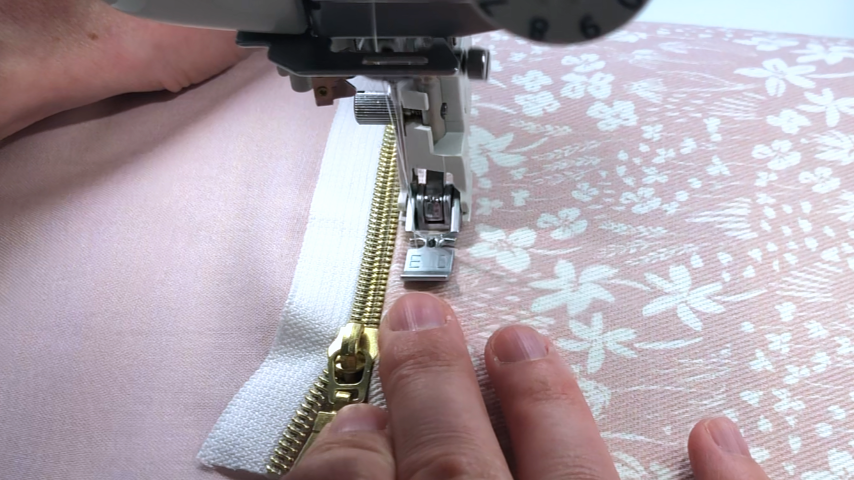
Place the lining right sides together with the outer piece, lining up the top and side edges and clip into place. Then sew into place, using a zipper foot to sew close to the zipper teeth. You may also need to use a hump-jumper to sew over the start and end of the zipper.
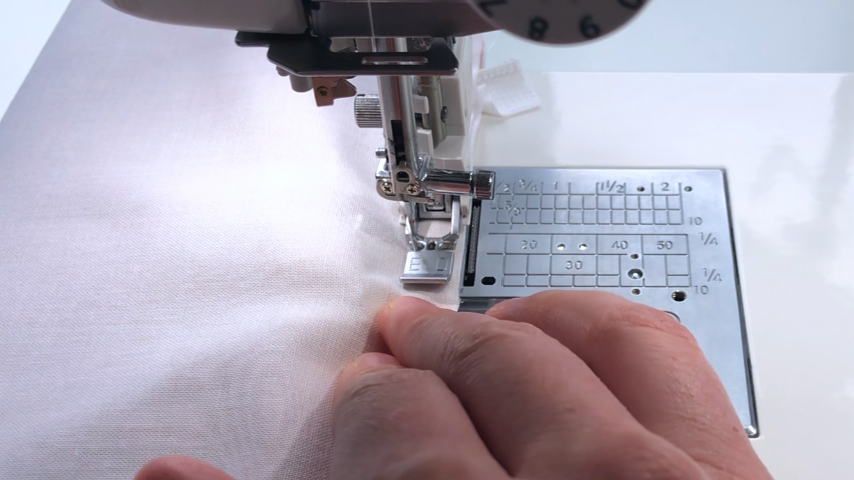
Trim the excess zipper on the end with the 90-degree fold.
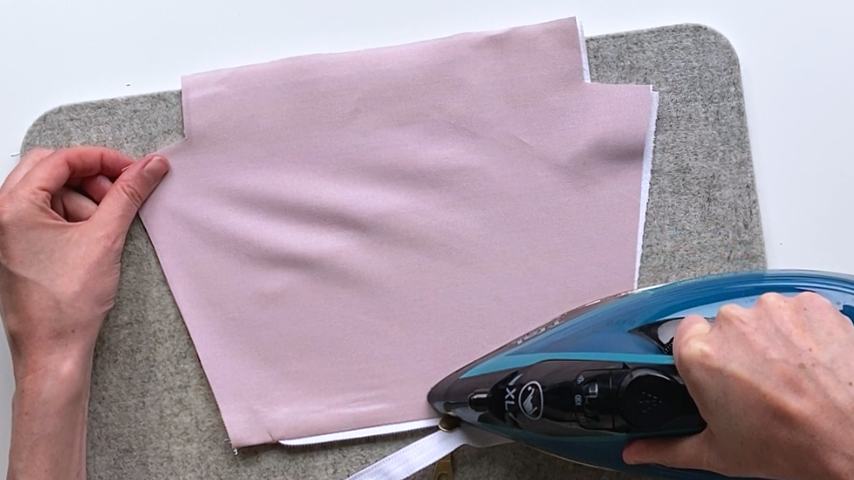
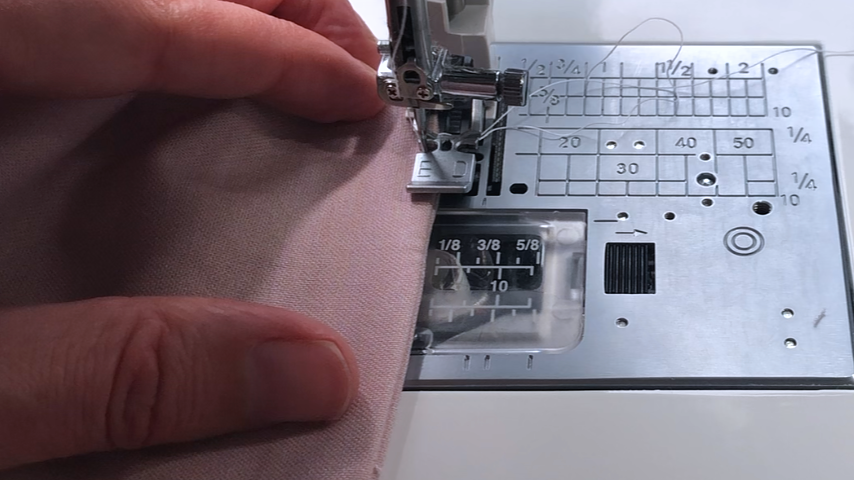
Then fold the lining to the opposite side of the outer fabric, and press the outer edge to get a crisp finish before topstitching. I keep the lining folded to the opposite side as I sew so that the lining is not topstitched. This helps get a cleaner finish at the start and end of the zipper.
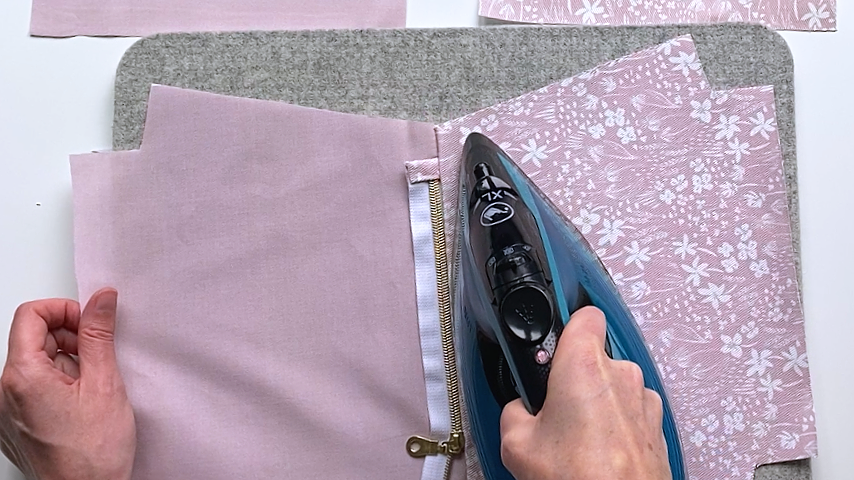
Fold the lining down, so the lining and outer piece are wrong sides together and iron along the top edge to press the lining into place.
Repeat these steps to sew the other side of the zipper to the other outer piece and lining piece.
Step 4
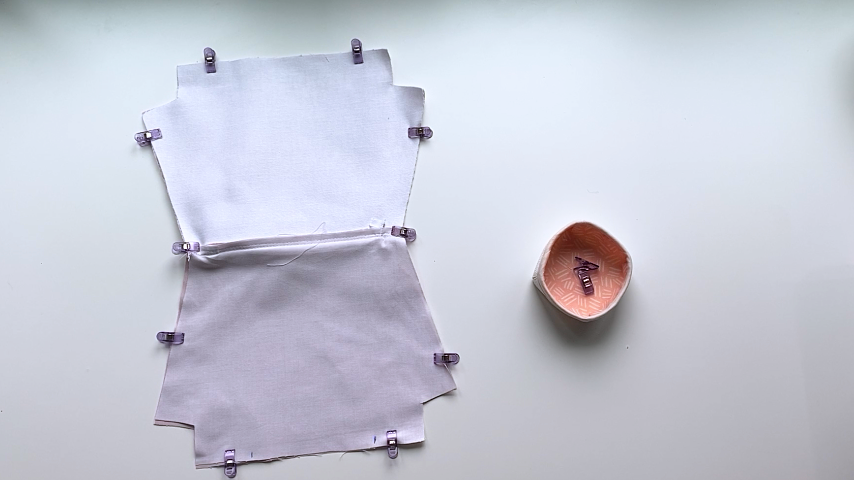
Fold the pieces so that the two outer pieces are right sides together and the two lining pieces are right sides together.
Make sure the top edges of your outer pieces are lining up at each end. Clip into place.
Mark two lines along the bottom of the lining pieces to indicate where you won’t sew, so there is an opening to turn the bag right side out.
Sew along the sides and bottoms.
I like to sew my outer pieces using a 1/2″ seam allowance, and then transition to a 5/8″ seam allowance for sewing the sides and bottom of the lining pieces. This helps ensure the lining is just slightly smaller than the outer bag and will fit inside the bag without extra bulk.

Step 5
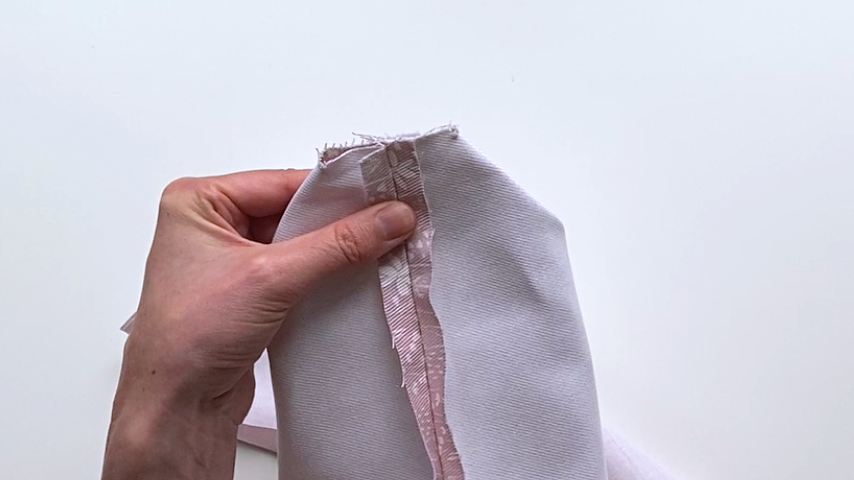
Open the corners and line up the seams (side seam and bottom seam) and clip the corners into place so the top edges line up.
Using a 1/2″ seam allowance, sew the corners closed.
Do this for both the outer bottom corners and the lining’s bottom corners. Again, I use a 5/8″ seam allowance for the lining corners.
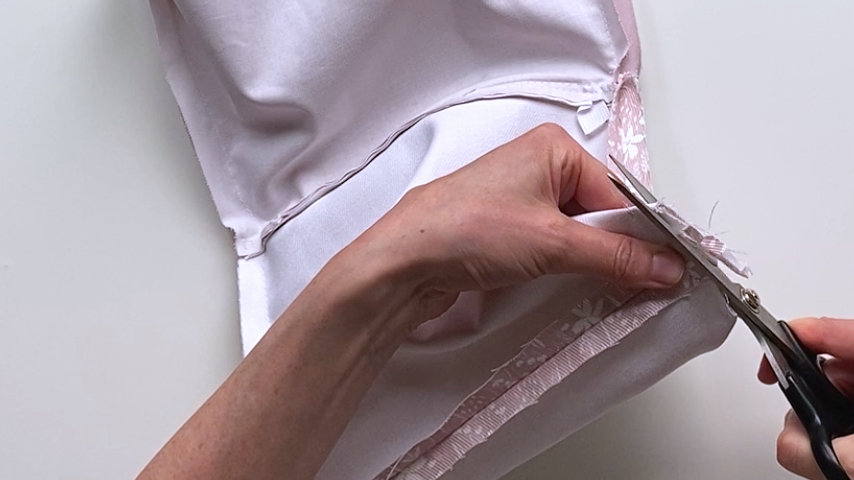
Step 6
Trim the seam allowance around the bag, except for where the opening in the lining is.
Turn the bag right side out, then sew the opening in the lining closed.
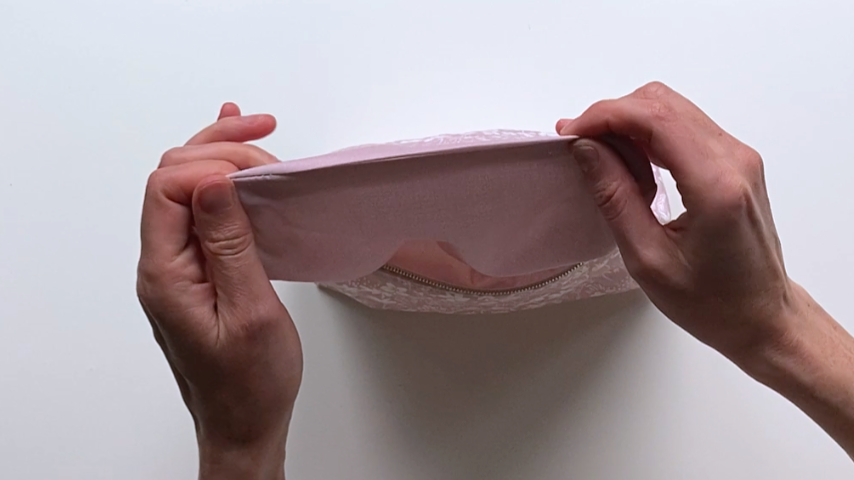
And your flat-bottom zipper pouch is finished!