How To Sew A Bread Basket | Beginner Friendly
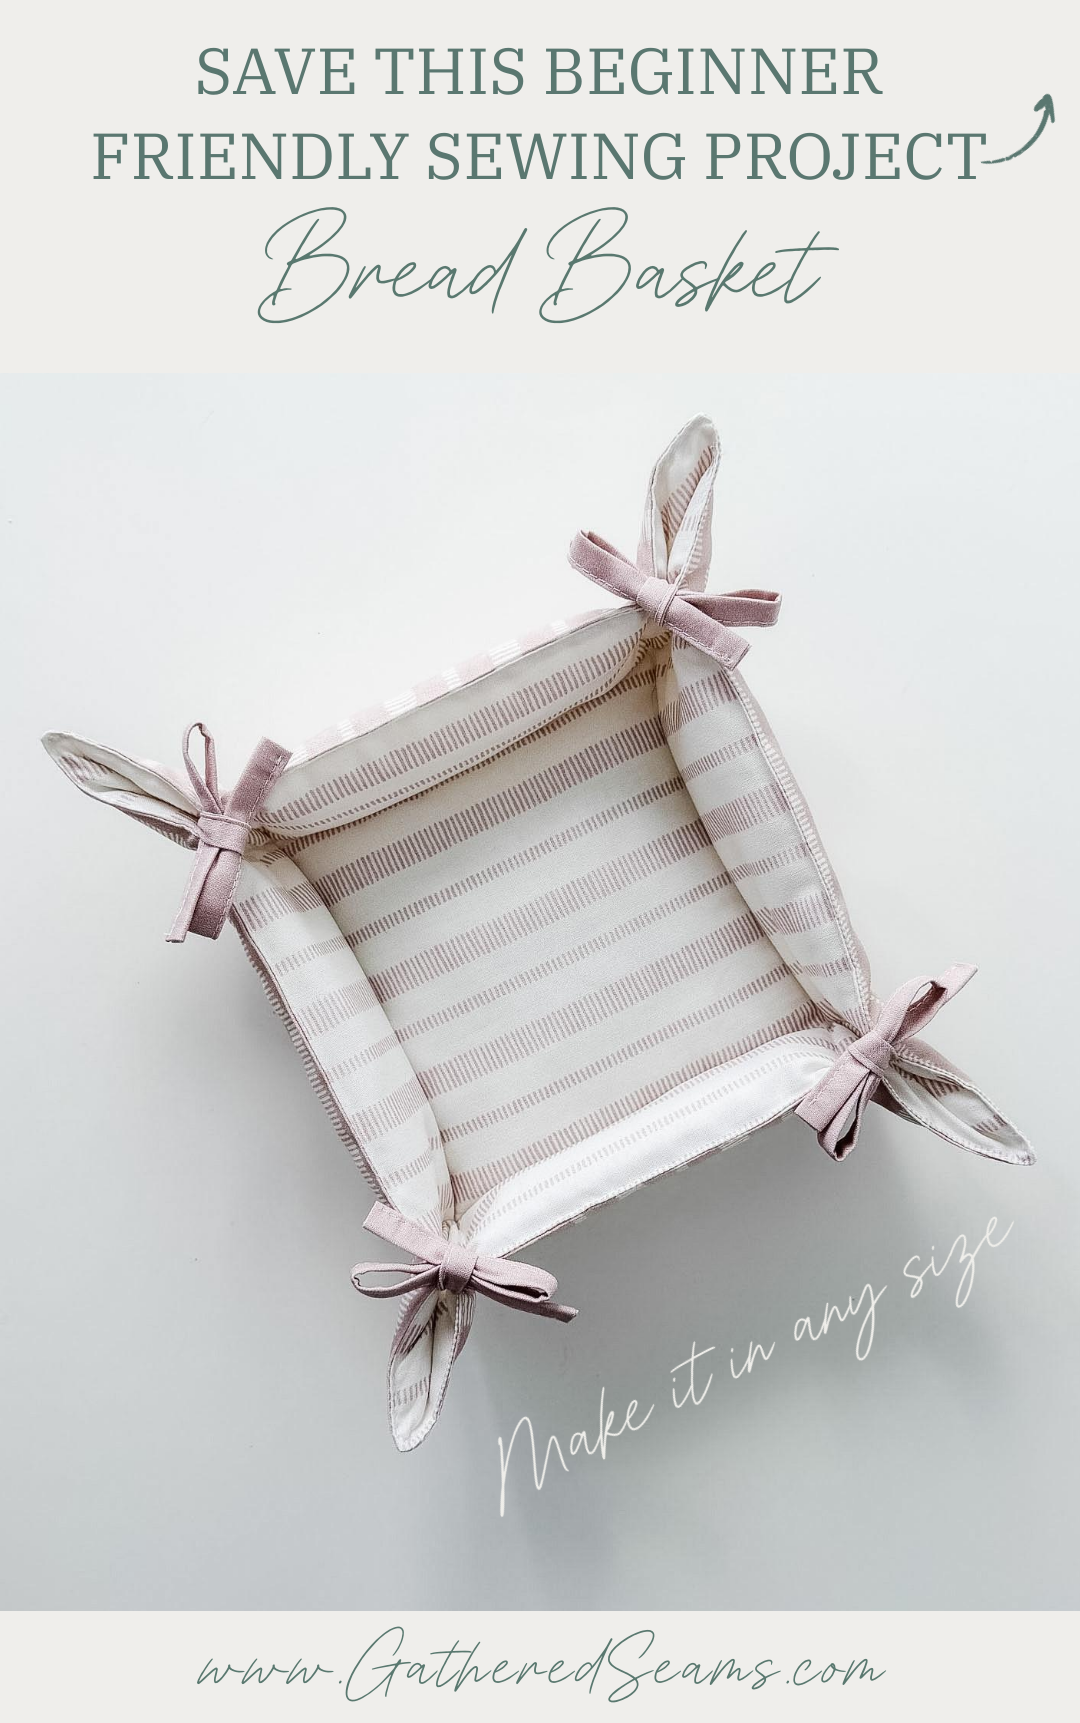
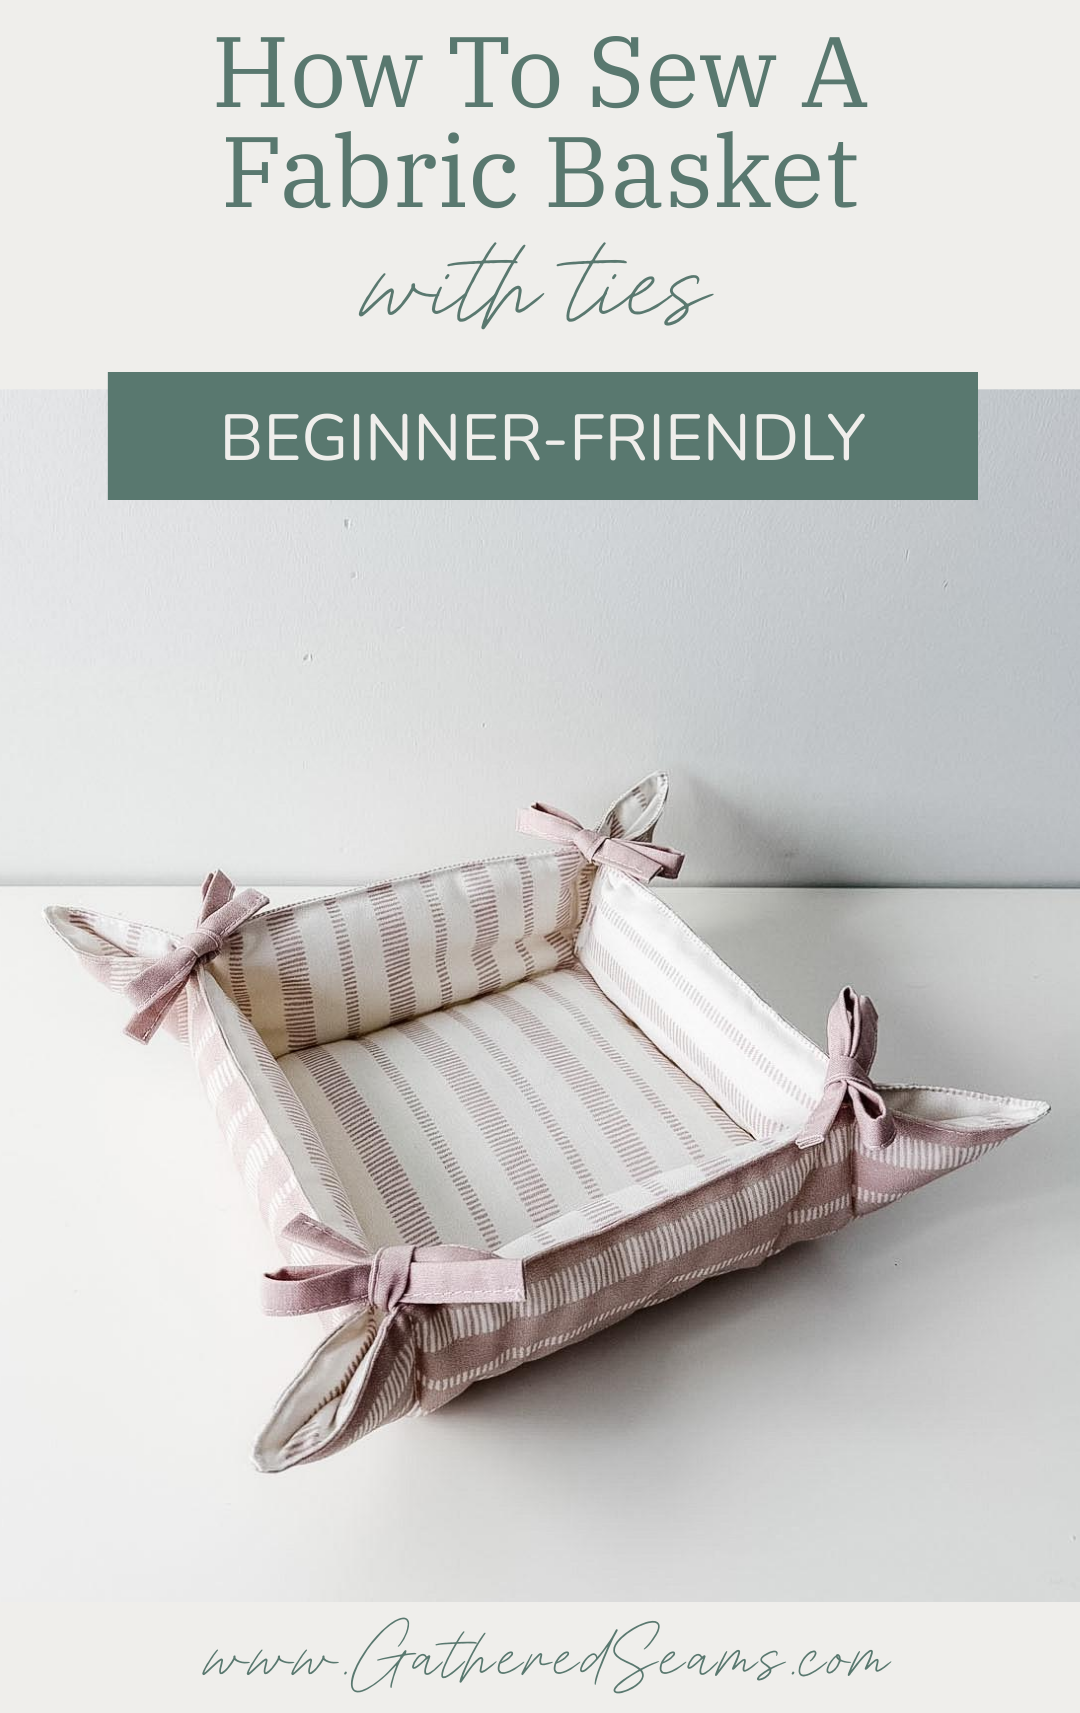
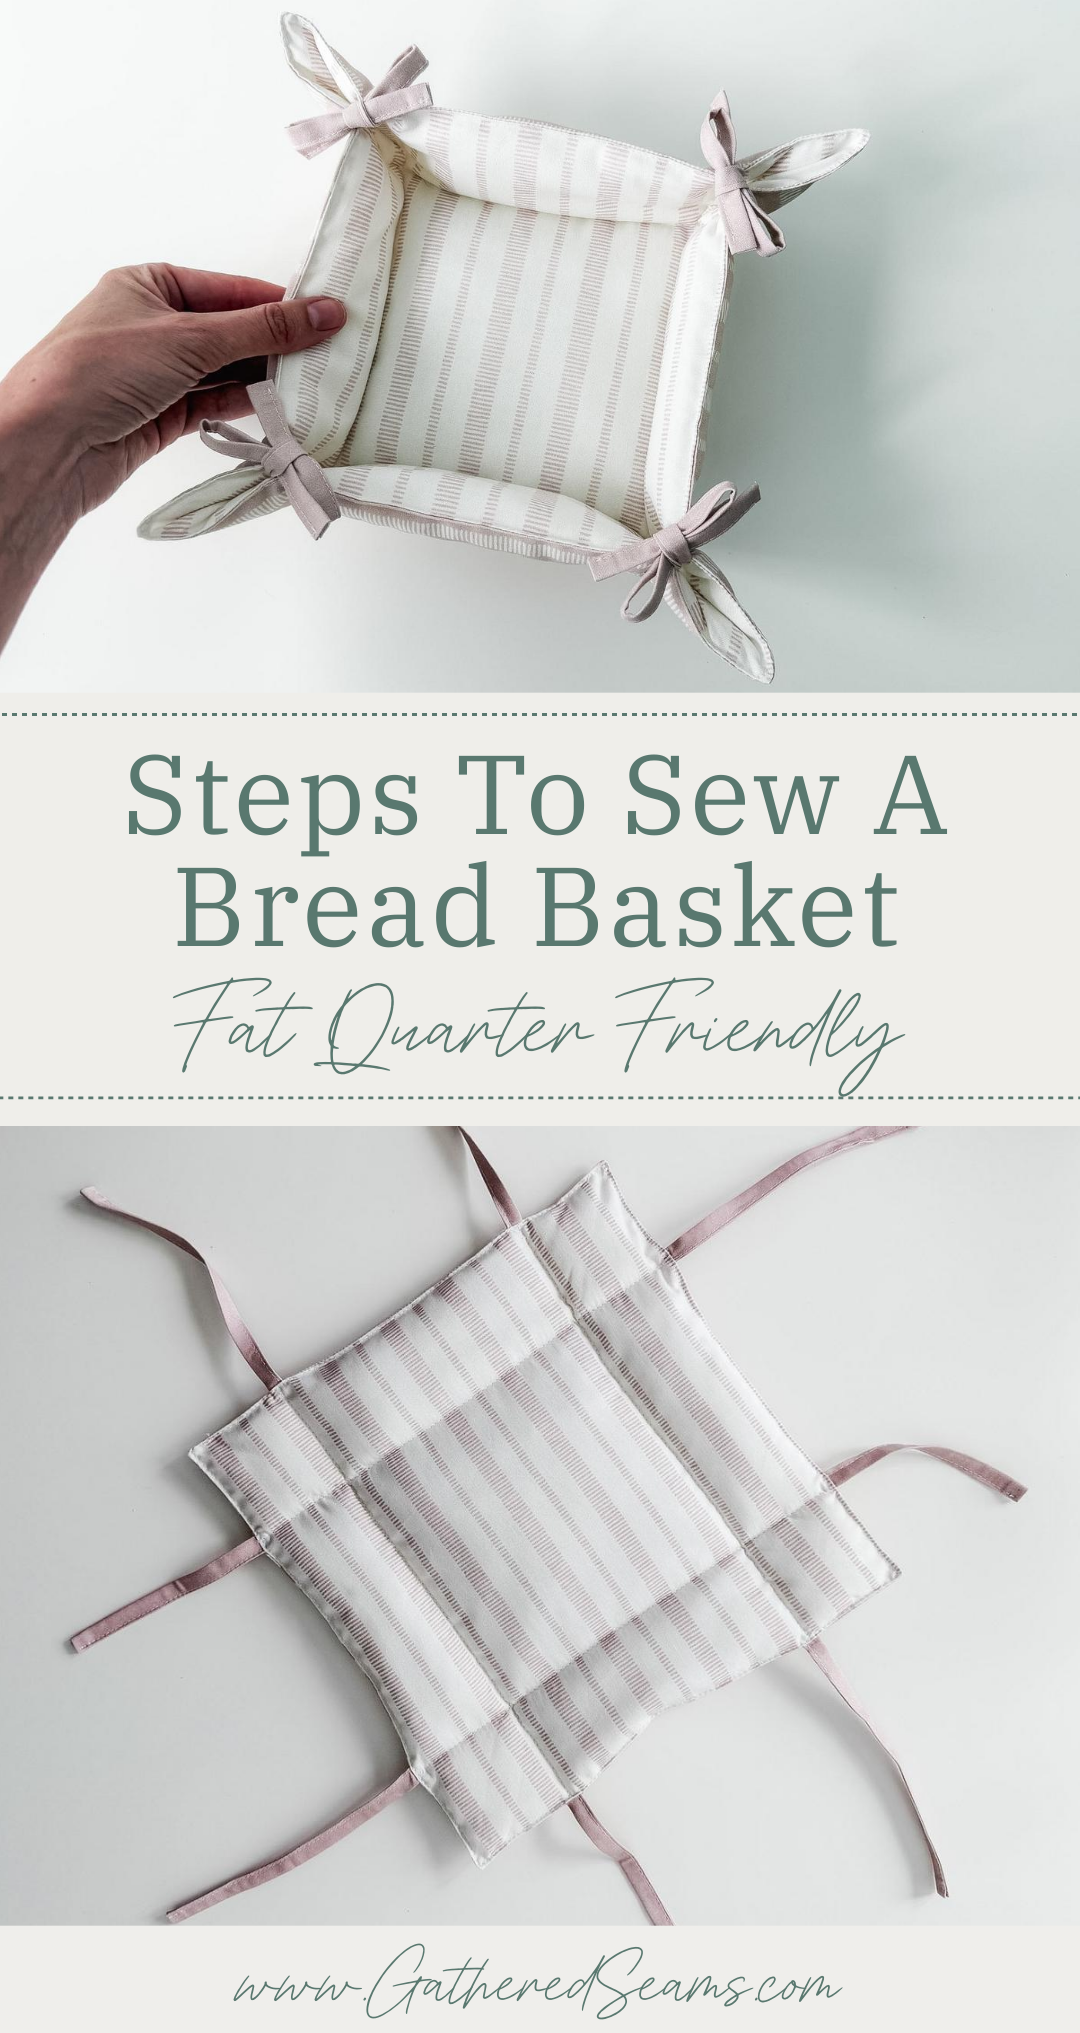
I’m not sure why this particular style of fabric basket is often called a bread basket, but I’m referencing the tied corners when I call it a bread basket, rather than its purpose.
I like that it can store flat if you untie the bows.
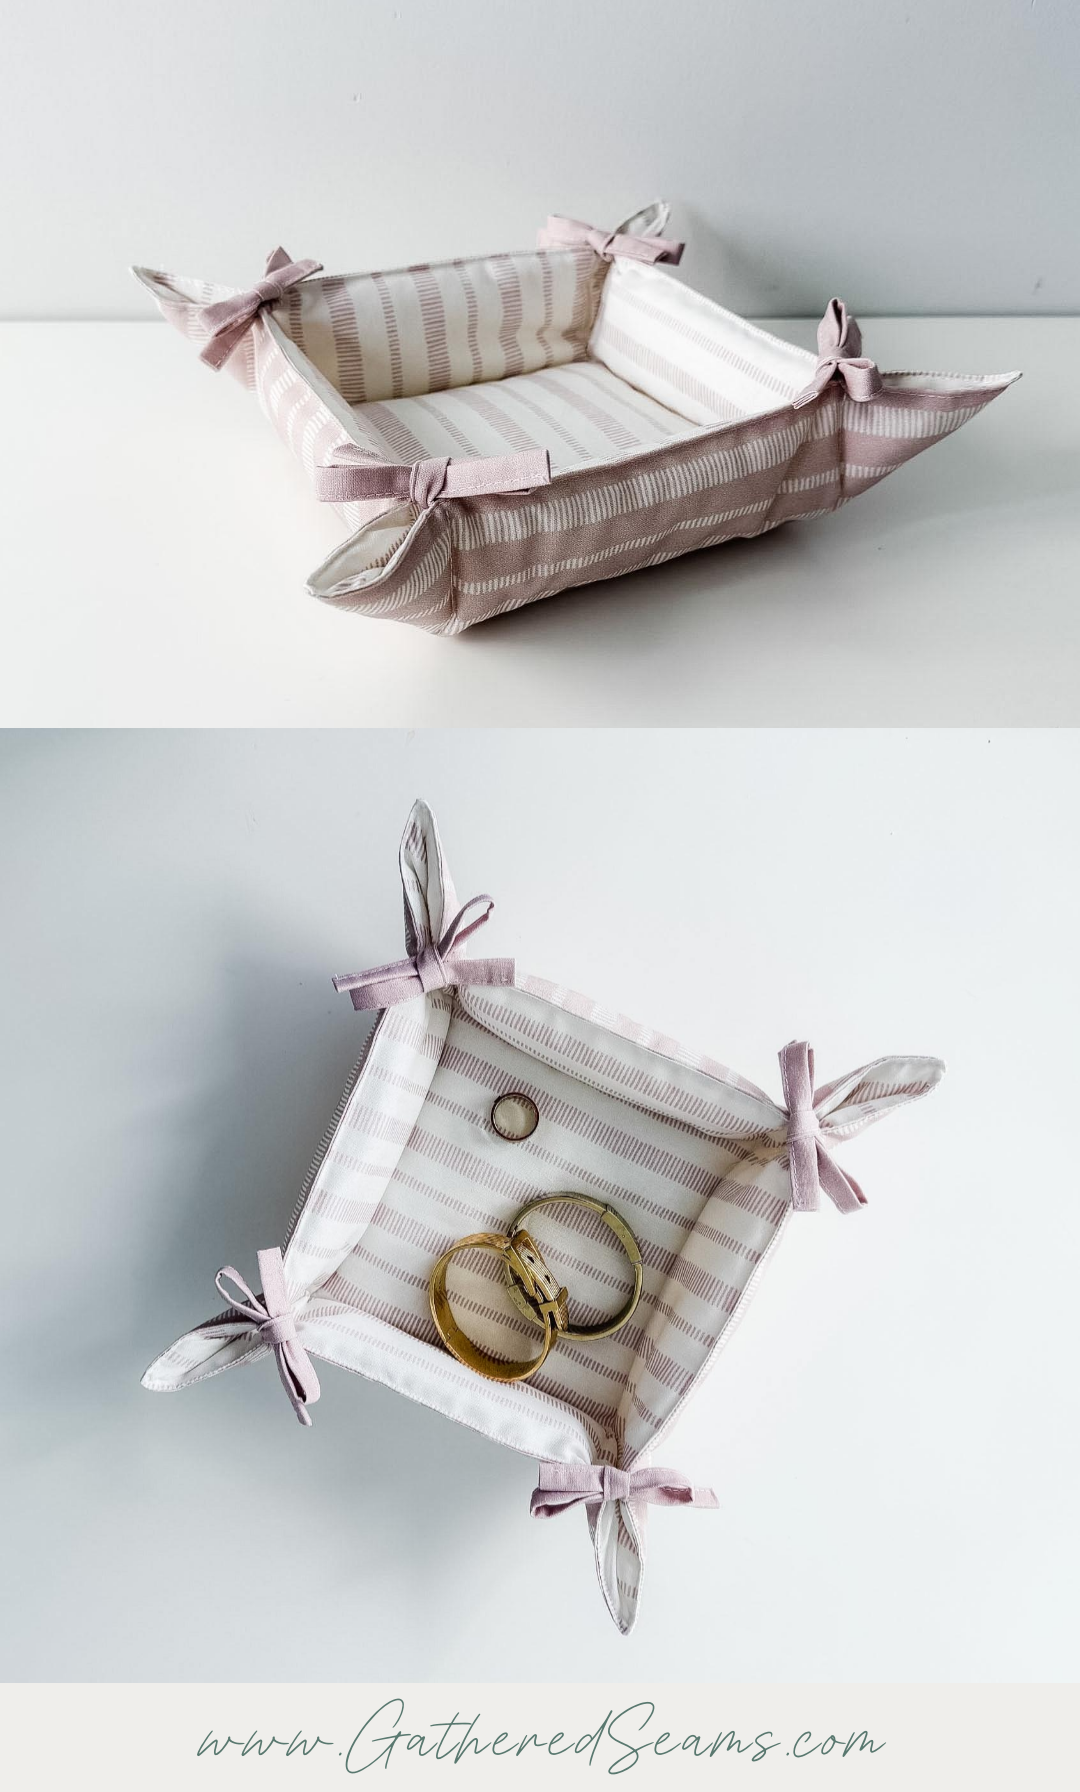
I made mine in a size that’s perfect to hold some jewelry, trinkets, keys, or other smaller items.
These baskets would also be great in an office. Create a set in a variety of sizes to hold small items like paper clips, pens, papers that need to be filed, etc.
Instructions to make this basket in any size are below.
This project is beginner-friendly. Use ribbons instead of making fabric ties for an even easier and quicker sewing project.
I fell in love with the pillow-style when I made my pillow coaster. So I wanted to try something different for my pattern and create a pillow basket.
If you don’t like the fluffy style, you can skip the batting and use a heavier-weight fabric, or use a lower-loft batting (e.g. fusible fleece) or interfacing.
Materials
As an Amazon Associate, I earn from qualifying purchases (see full disclosure here).
- Fabric for exterior and lining
- Batting or interfacing for structure (I used 2 layers of extra loft batting)
- Ribbon or fabric for ties
- Thread
*The batting is optional, but it does give the basket some structure. If you’re going to skip the batting, go with a heavier-weight fabric, such as canvas, denim, etc.
Tools
- Sewing machine
- Walking foot (this makes sewing with thicker materials, like batting, easier. This is the universal one I purchased for my Baby Lock, which is a different machine than what’s shown in the photos)
- Point turner (I like this one which is also a Hera Marker to crease lines instead of using chalk)
- Temporary fabric pen or chalk
- Iron
- Scissors
- Pins or clips
Sewing pattern for a bread basket
You can make this basket in any size you like. Here’s how to determine your pattern pieces:
Determine the width, depth, and height of your basket, as well as your seam allowance, then plug those numbers into this equation.
-
- Total width of pattern piece: Width + 2(Height) + 2(Seam Allowance)
- Total depth of pattern piece: Depth + 2(Height) + 2(Seam Allowance)
- Batting size:
- Depth + 2(Height)
- Width + 2(Height)
- Tie placement from each corner is: Height + Seam Allowance
For example, let’s say I want to make a basket that is 10″ x 10″ and 2-1/2″ high (1/2″ seam allowance).
- Total width: (Width) 10″ + (2 x Height) 5″ + (2 x Seam Allowance) 1″ = 16″
- Total depth: (Depth) 10″ + (2 x Height) 5″ + (2 x Seam Allowance) 1″ = 16″
- Batting width & depth:
- (Depth) 10″ + (2 x Height) 5″ = 15″
- (Width) 10″ + (2 x Height) 5″ = 15″
- Tie placement (Height) 2-1/2″ + (Seam Allowance) 1/2″ = 3″ (I’ll place a tie on either side of each corner, 3″ away from the corner.
You will need to cut:
- Top & bottom fabric in total width x total depth (e.g. 16″ x 16″)
- Batting width & depth (e.g. 15″ x 15″)
- 8 pieces of ribbon (or fabric; dimensions below) for corner ties
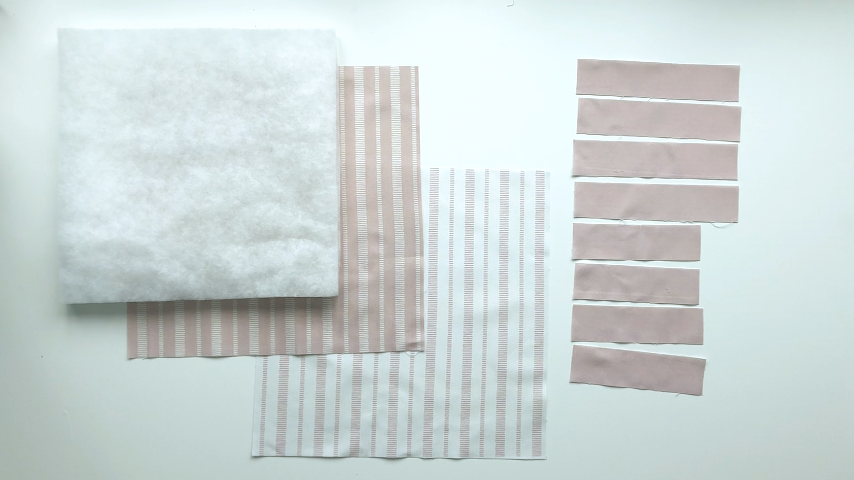
My finished basket is about 6″ x 6″ and 2-1/2″ high because I don’t plan to use it for bread; I want to use it to hold jewelry and trinkets in my bedroom.
My pattern pieces are:
- 12″ x 12″ piece for the top
- 12″ x 12″ piece for the bottom
- 11″ x 11″ piece of batting (I used 2 pieces of high-loft batting for a pillowy-look)
- *Fabric for ties:
- 4 pieces that are 5-3/4″ x 1-1/2″
- 4 pieces that are 7″ x 1-1/2″
*Alternatively, you can use ribbon for your ties, in which case, I suggest cutting each piece to 7″ long and then cutting to size once you tie the corners at the end.
*Using my dimensions for the fabric ties ensures that the piece that wraps around the bow is a bit longer so each end of the bow is the same length. Once tied, the loops of my bows are approximately 1-1/4″ wide each and the ends of the bow are approximately 1-1/4″ long. You can cut your fabric longer if you prefer bigger bows with longer ends.
Steps to sew a bread basket
Step 1
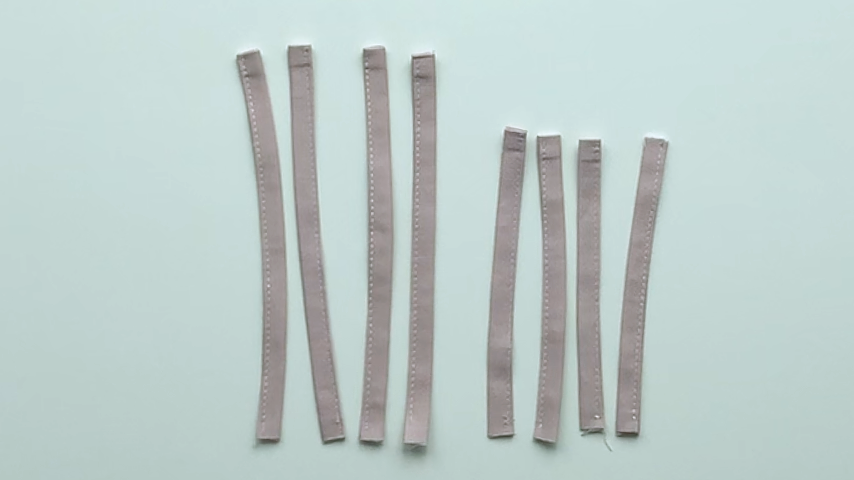
If you’re using ribbon for the ties, you can skip this step. Simply cut 8 pieces of ribbon to 7″ long.
Fold one end of your fabric piece in by 1/2″ and press.
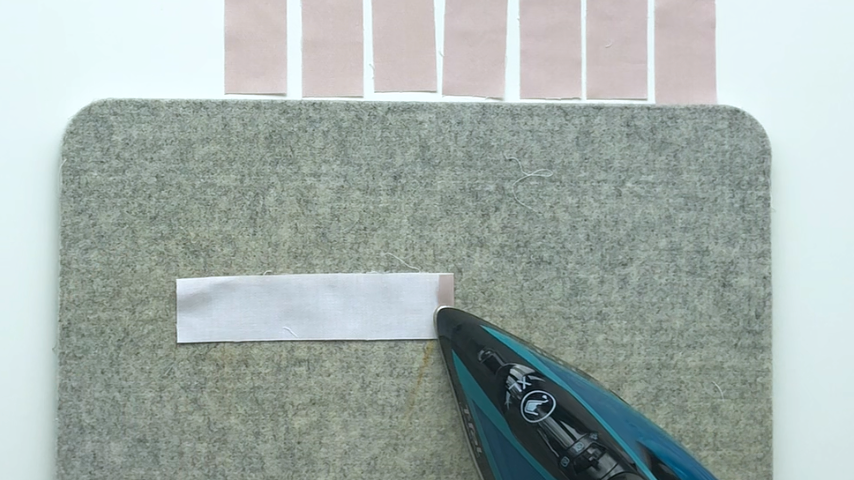
Fold your piece in half, lengthwise, wrong sides together and press.
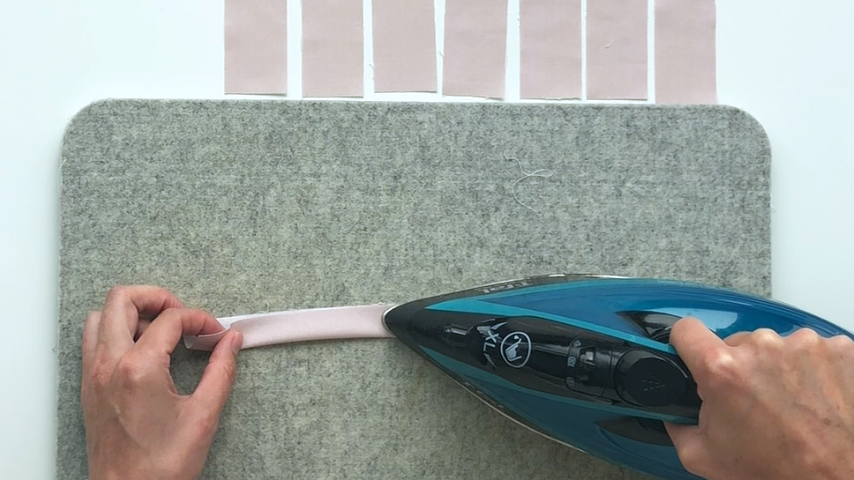
Fold the bottom edge and the top end in to meet the center crease.
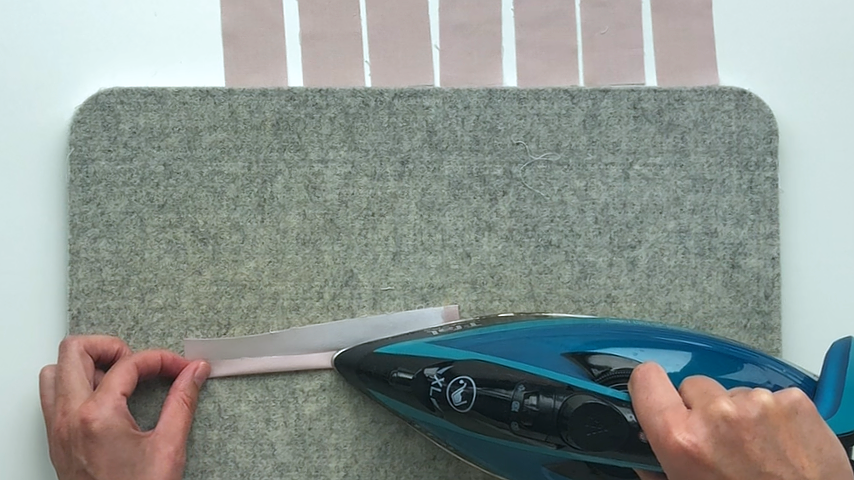
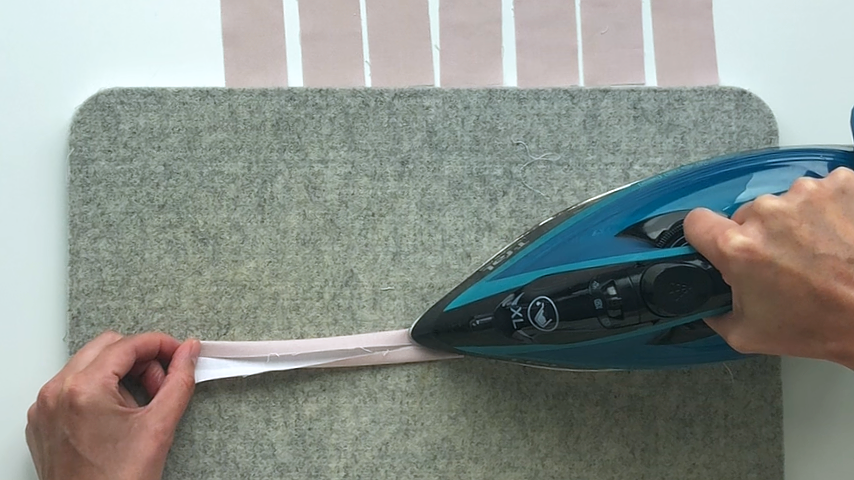
Then fold in half lengthwise again and press.
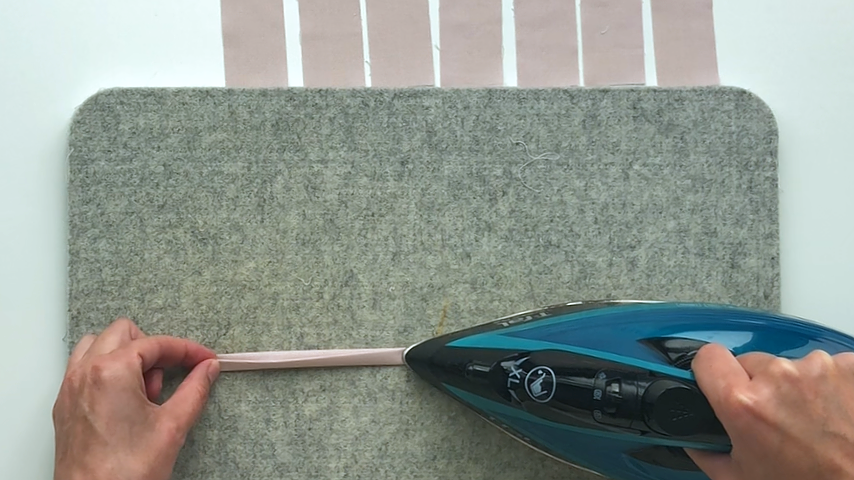
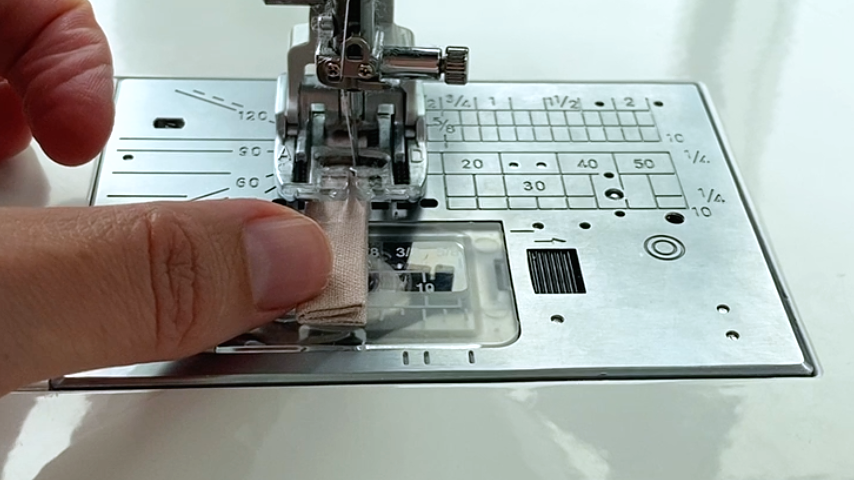
Sew the folded edges together, backstitching at the start and end. I find it easiest to start at the end without the folded-in hem; my sewing machine has an easier time feeding the less bulky fabric through.
Step 2
Use a temporary fabric pen to mark lines on the right side of your top fabric piece (the fabric on the inside of your basket), on either side of each corner.
The distance these lines are away from the corner will be: Height of your basket plus seam allowance.
For example, my basket’s height is 2-1/2″ and my seam allowance is 1/2″, so my lines are 3″ away from the corner.
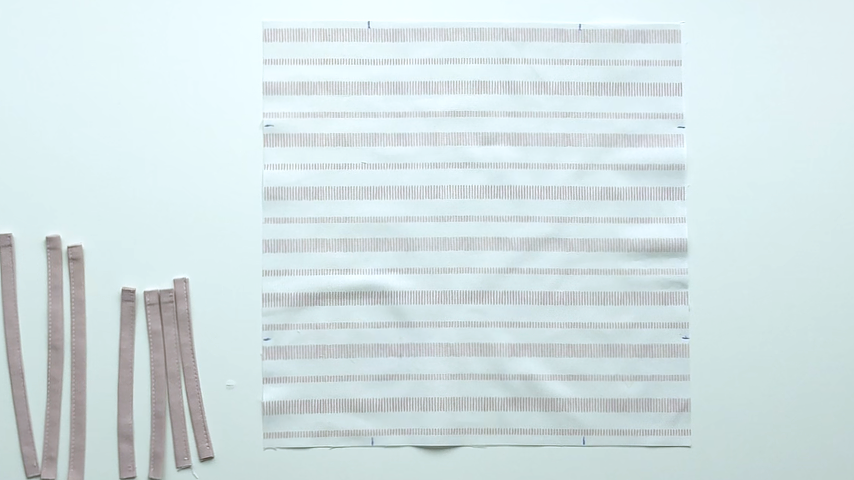
The way I tie my bows, the tie on the left needs to be longer because it wraps around the center of the bow.
So I place my 7″ long pieces to the left of each corner, and my 5-3/4″ pieces to the right of each corner.
Center each tie/ribbon on the marked line, lining up the raw edge of the tie with the edge of the fabric.
If you’re using ribbon, you can just cut the ends so they’re even after you tie the bows.
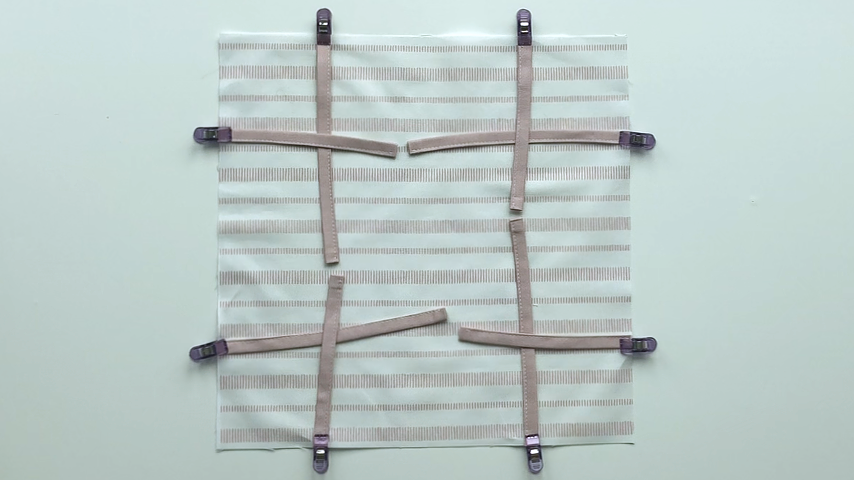
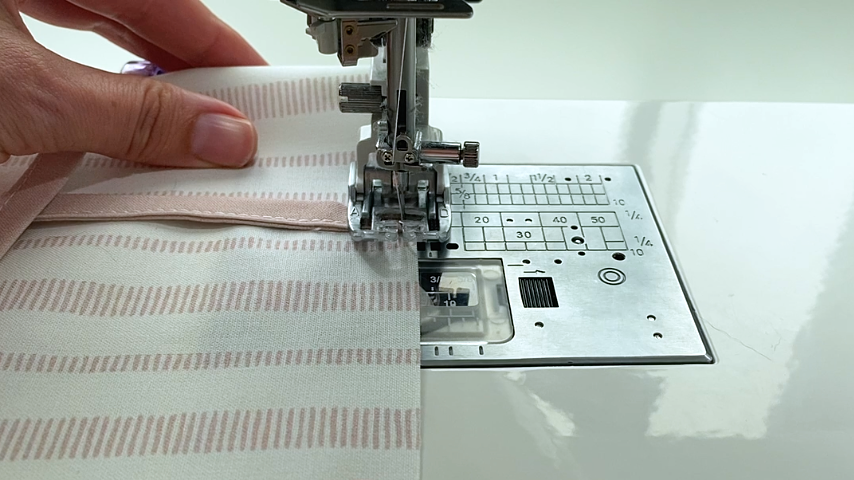
Baste your ties into place.
Step 3
Place your top and bottom fabric right sides together and line up the edges.
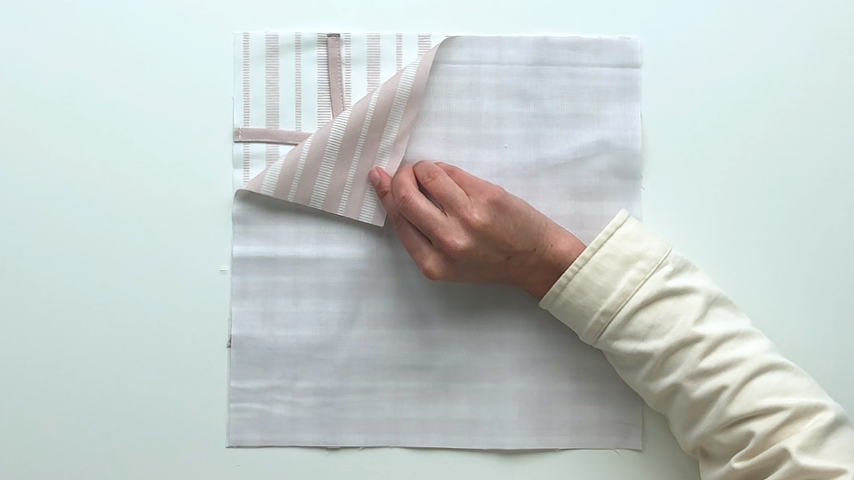
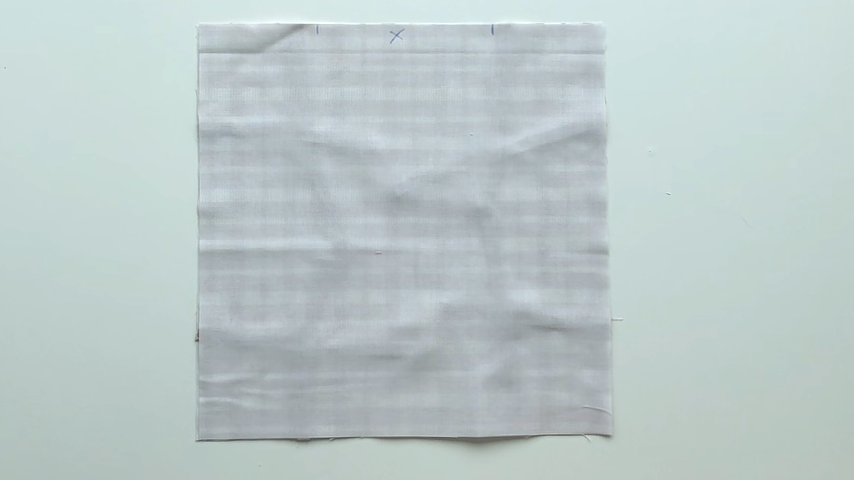
Use a temporary fabric pen to mark two lines along one edge, indicating where your opening to turn the fabric right side out will be.
Try to make the opening wide enough that you can fit your hand through it, which will make it easier to adjust the batting in the next step.
I sew across my opening, however I backstitch at the start and end and increase my stitch length to the longest stitch as I sew between the lines. This helps me create an accurate seam when it’s time to topstitch.
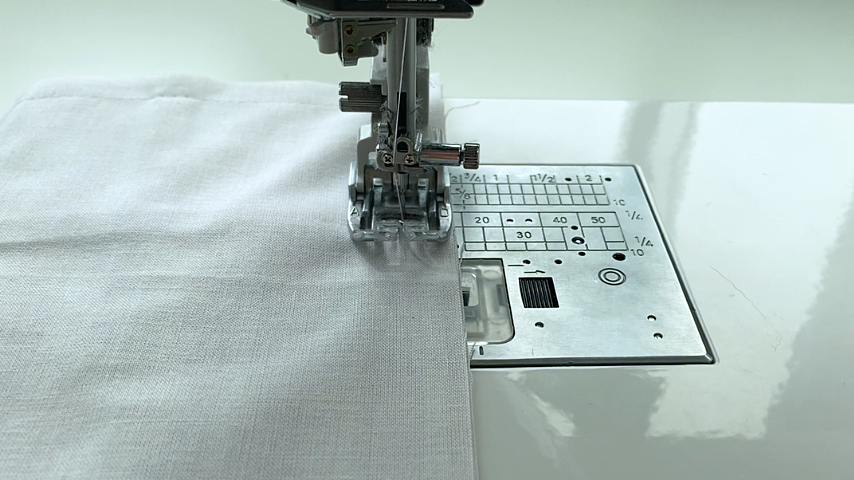
Sew around the square using a 1/2″ seam allowance.
Trim the seam allowance in half along all four sides, leaving the seam allowance above the opening as is.
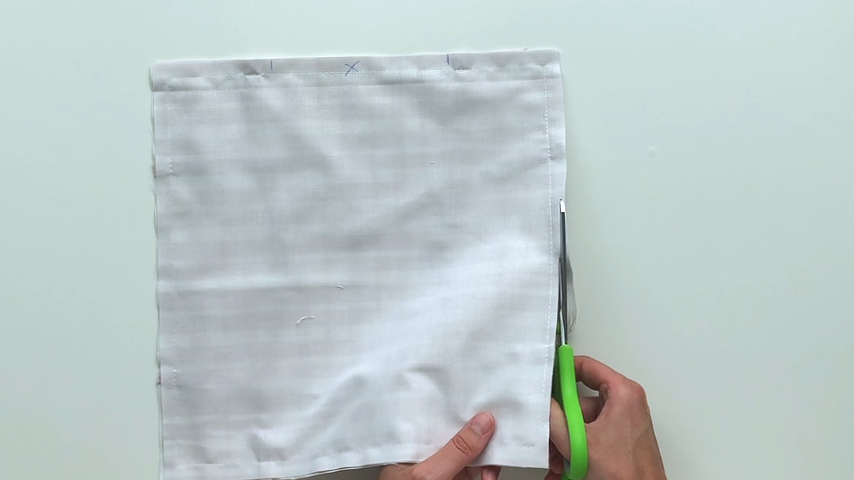
Clip the corners.
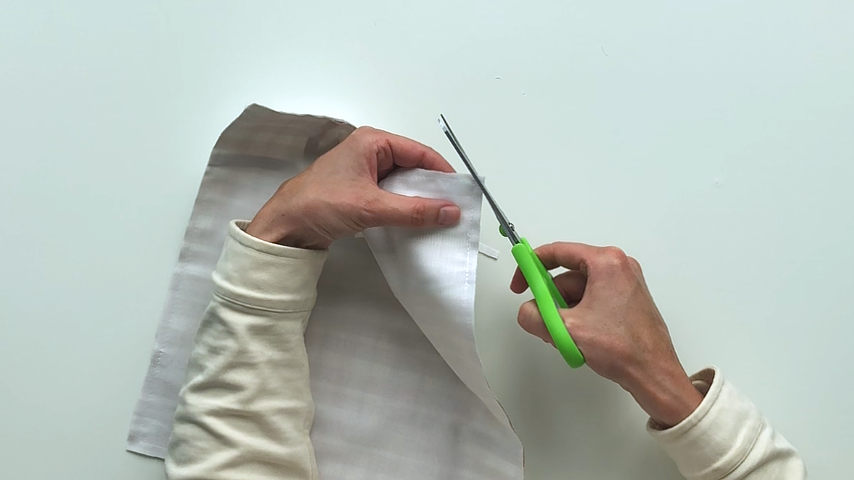
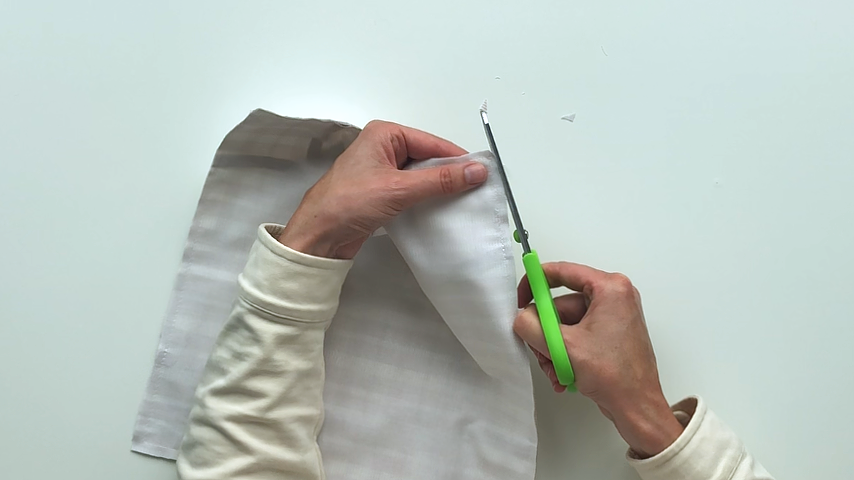
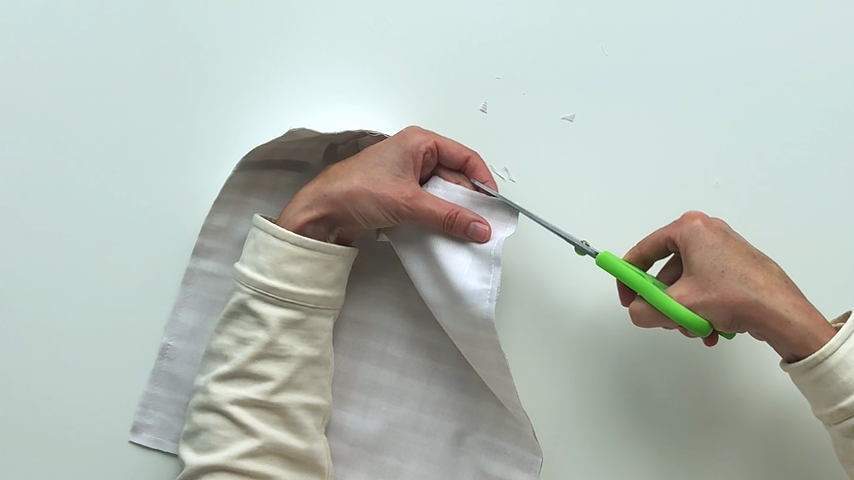
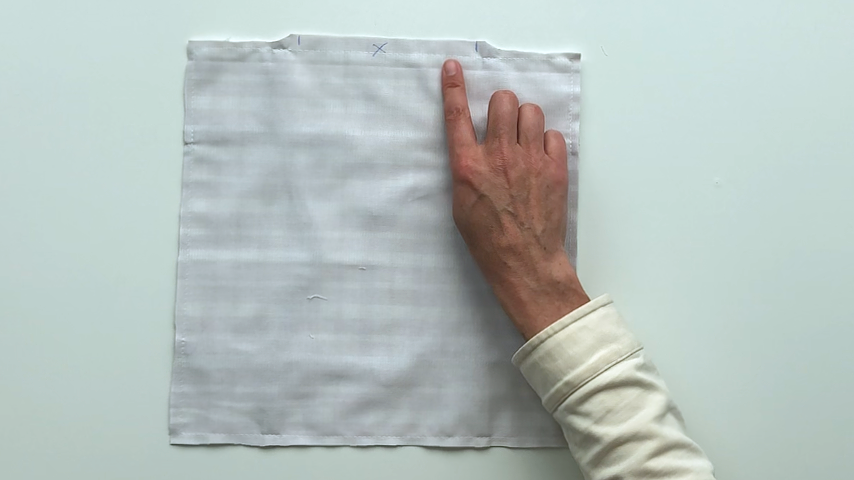
Press the seam allowance open where the opening is.
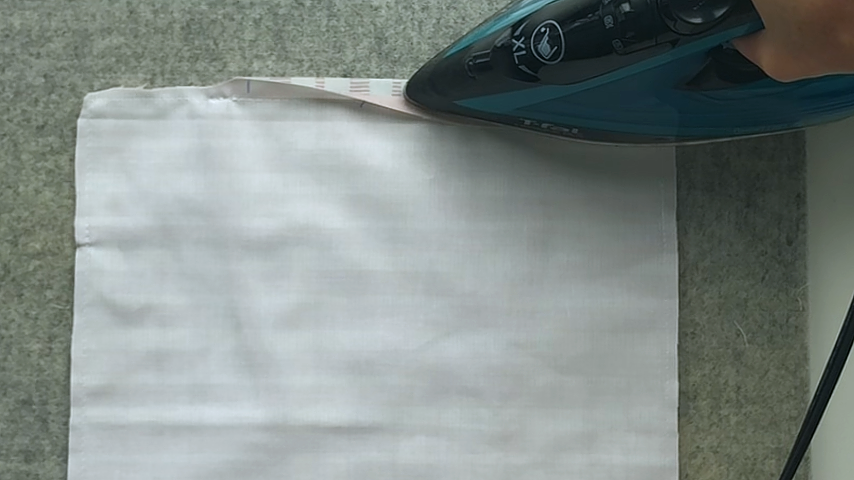
Use a seam ripper to remove the basting stitches.
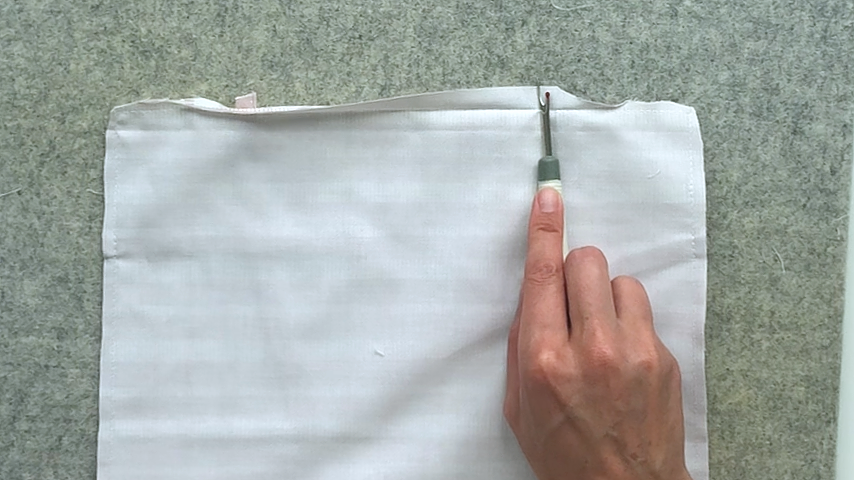
Step 4
Use the opening to turn the fabric right side out. Use a point turner to get the corners fully pushed out and then press the fabric to remove any wrinkles and crease the seams.
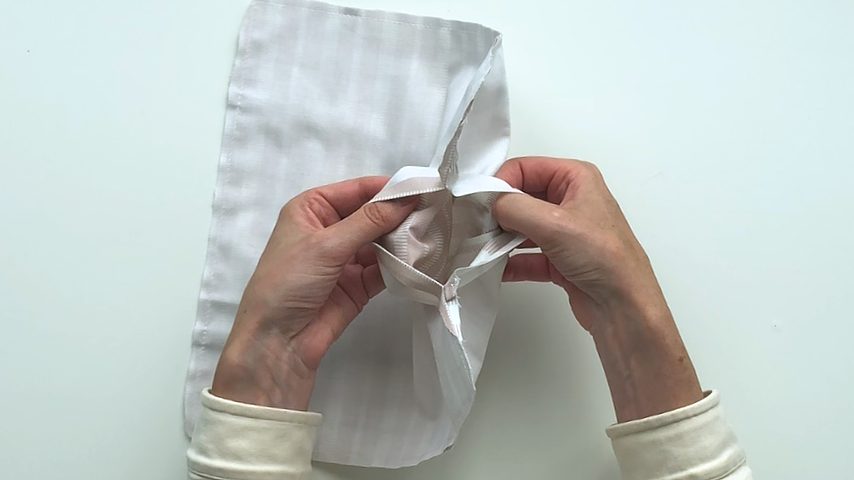
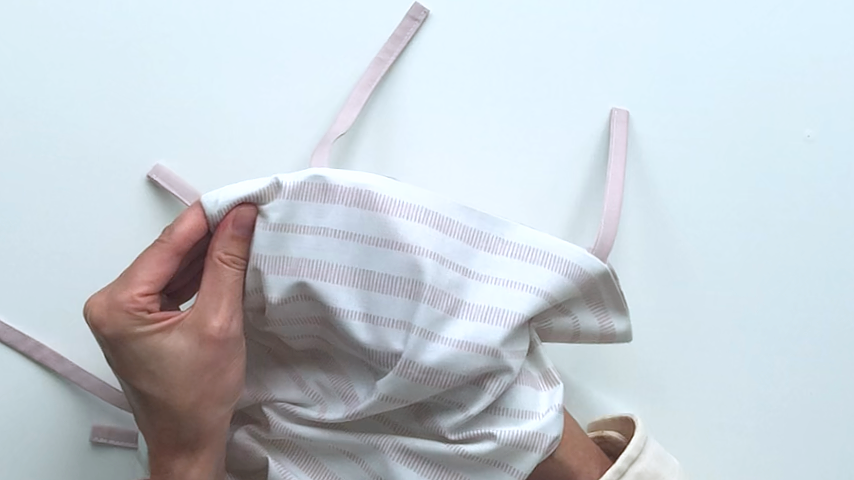
Use the opening to feed the batting in. Use one hand to place a corner of the batting into a corner of the fabric, then pinch the fabric and batting with the other hand as you smooth the batting out. Repeat this for all four corners and adjust until your batting is smooth inside the pocket.
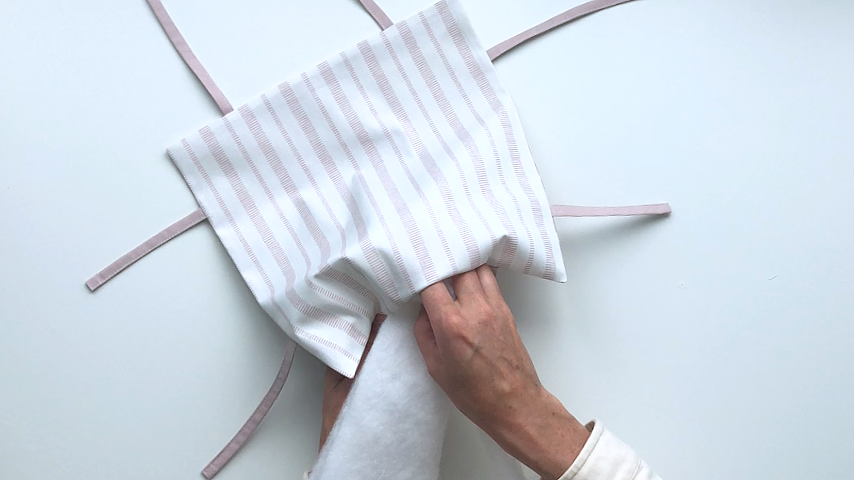
Step 5
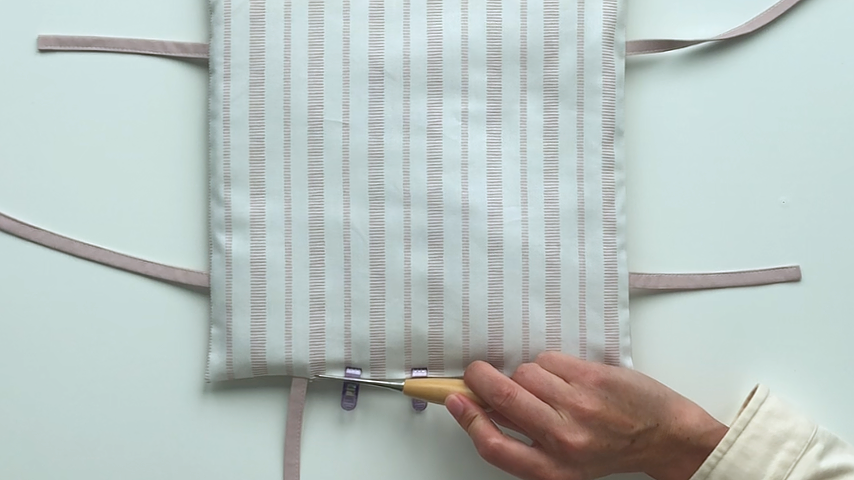
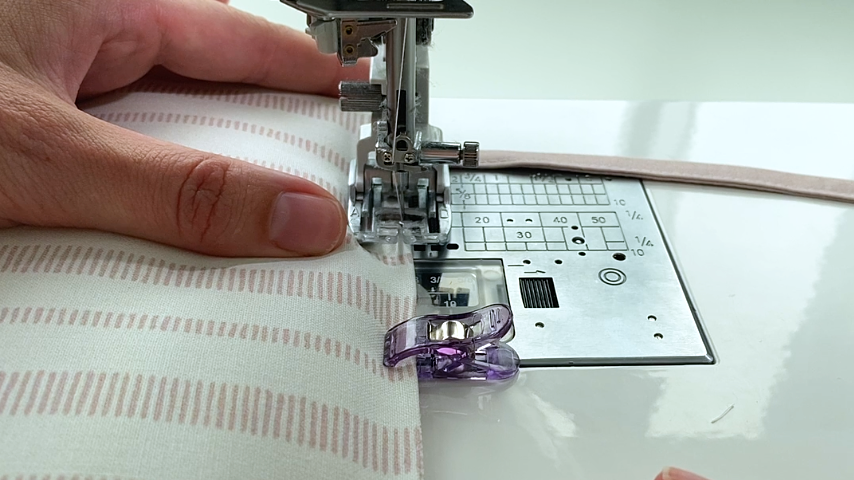
Topstitch around the square, as close to the edge as possible, to close the opening.
Alternatively, you can hand-stitch the opening closed.
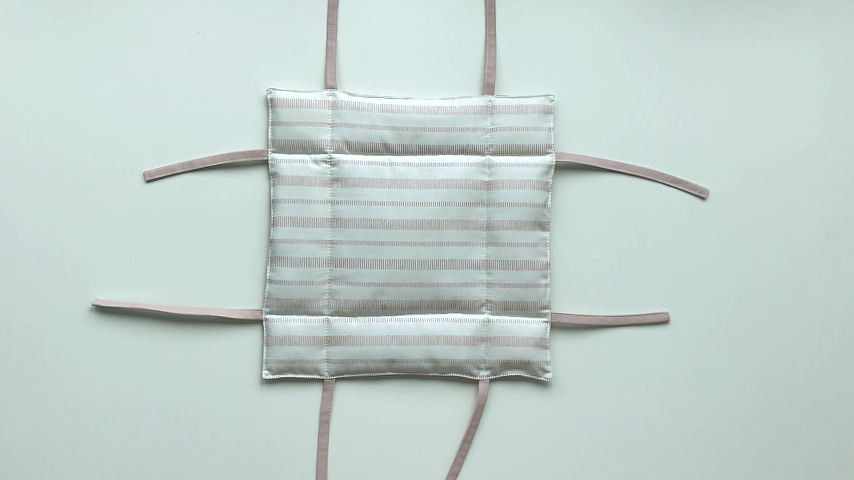
Use a temporary fabric pen or Hera marker to mark lines around each edge of the square. The distance these lines are away from each edge is the height of your basket.
For example, my basket is 2-1/2″ high, so each line is 2-1/2″ away from an edge.
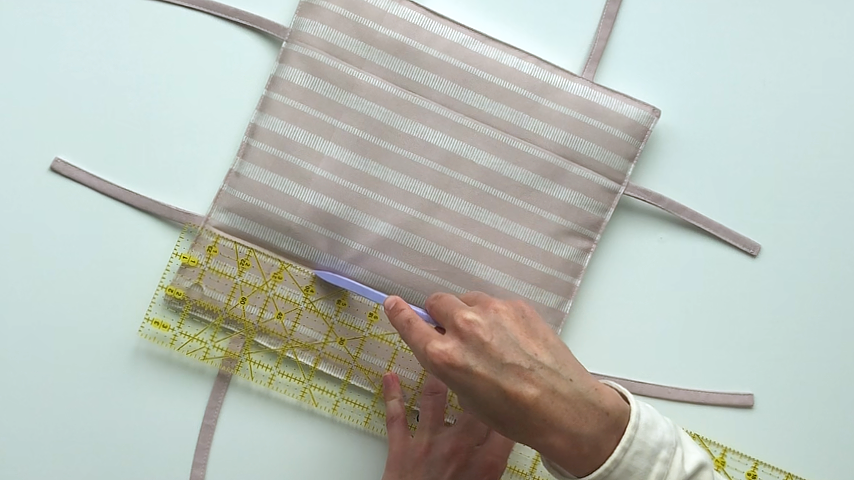
Sew along these lines, backstitching at the start and end.
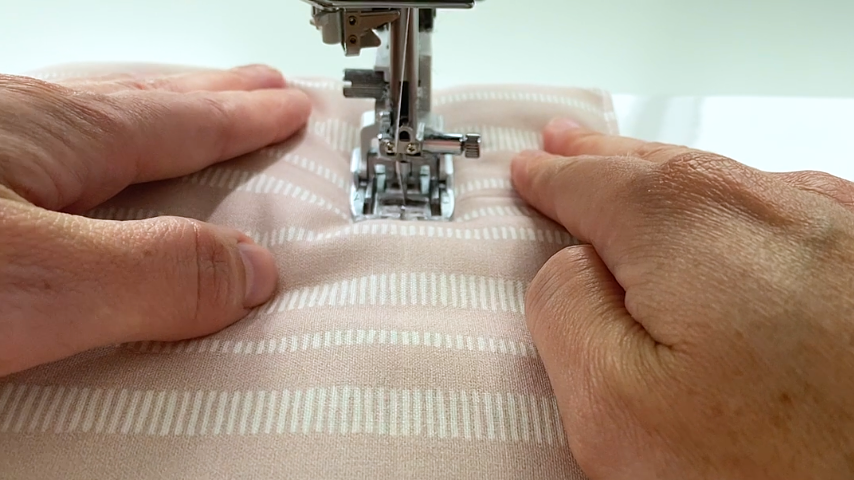
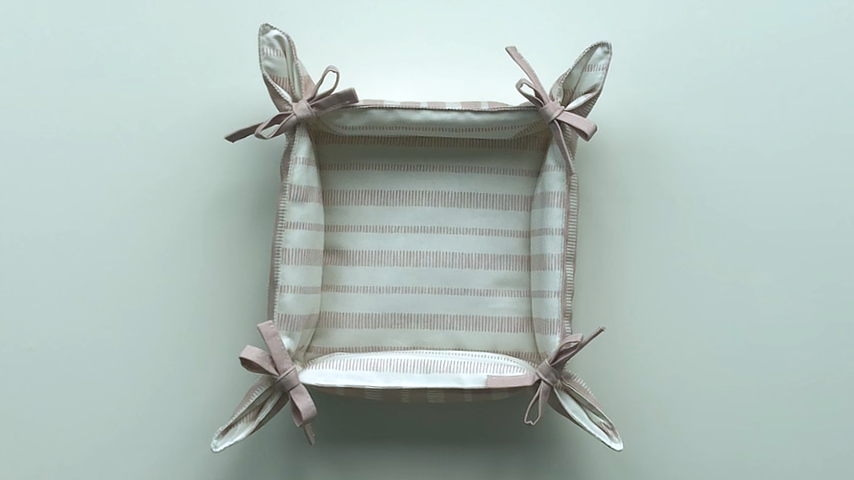
Now you can tie your ties into bows to assemble your basket.