How To Sew A Toaster Cover | Free Sewing Pattern
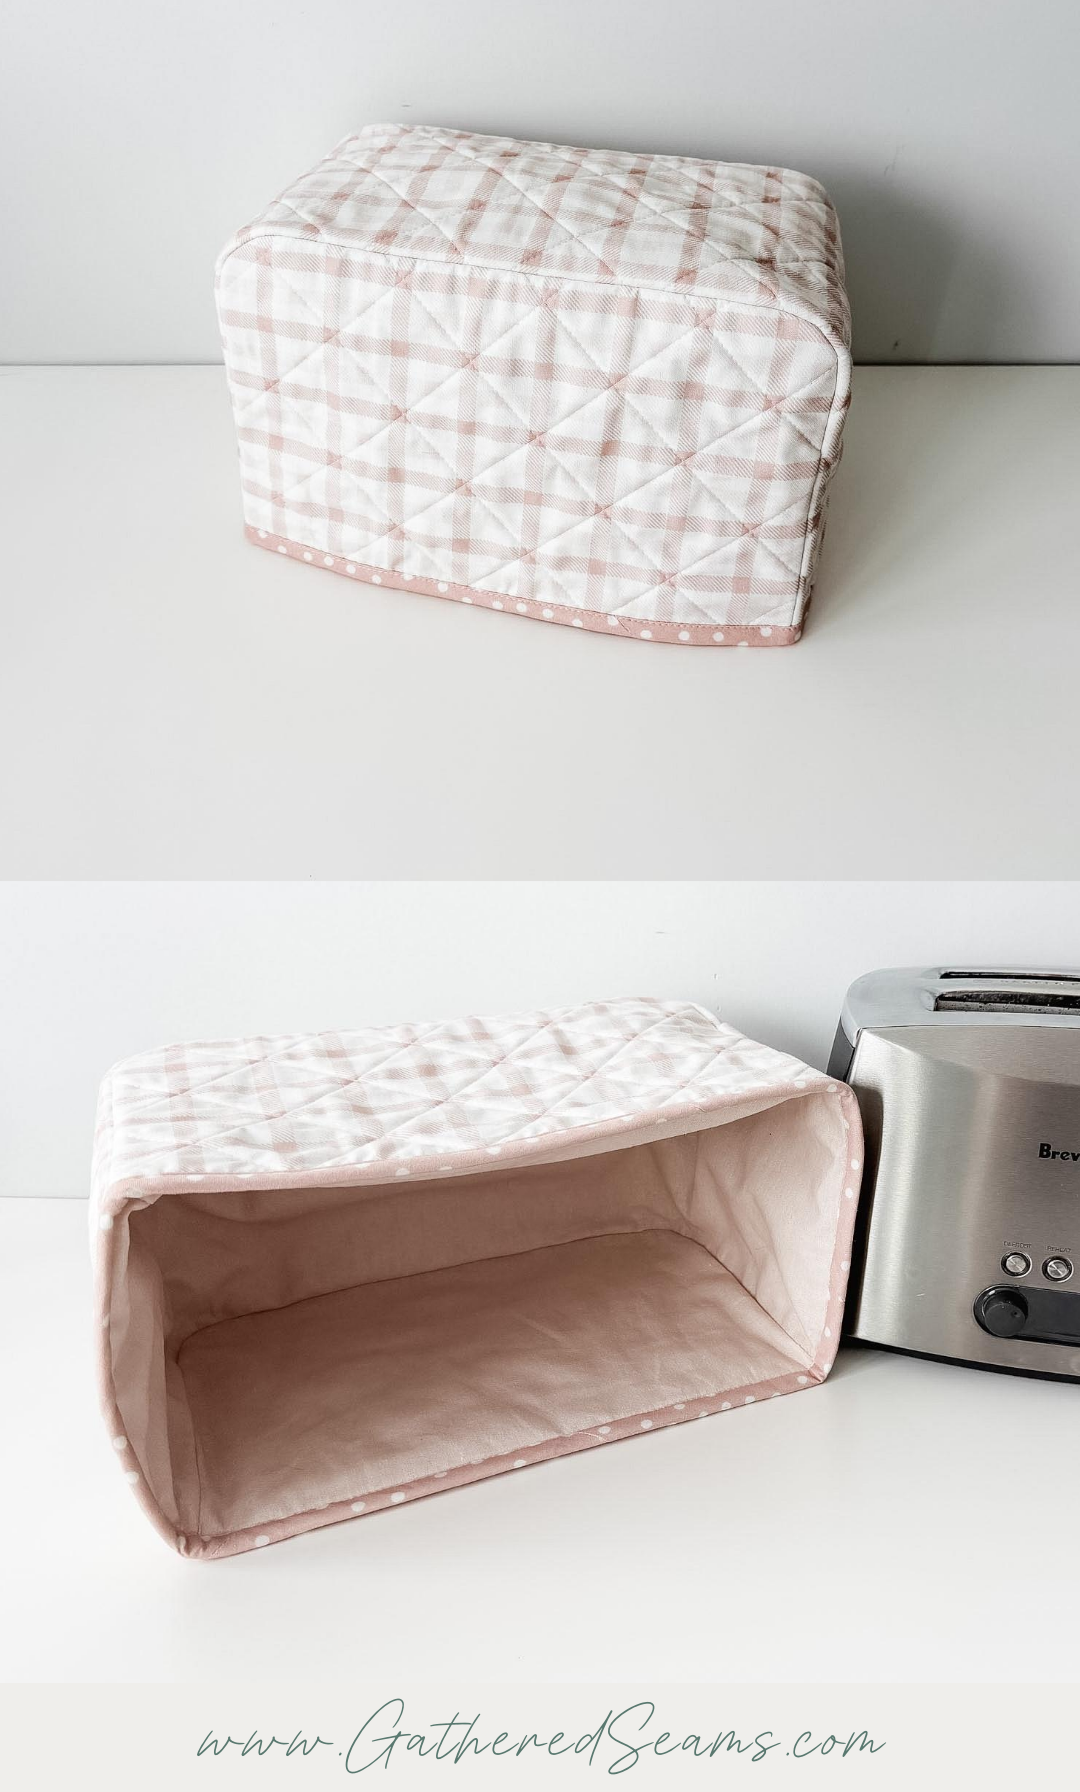
If you’re someone who leaves their toaster on the counter and you want to keep dust out of it…and you want it to look a little cuter, a toaster cover is a must.
This is an easy sewing project, and can be made even easier by skipping the bias tape and simply sewing the outer piece and lining right sides together, leaving an opening to turn right side out, then topstitching around the bottom edge.
Sewing around the rounded corners does take a little practice, but I’ll share some tips to help give you a polished finish and create a toaster cover you’ll be proud to display on your counter 🙂
Materials
As an Amazon Associate, I earn from qualifying purchases (see full disclosure here).
- Fabric for exterior and lining (avoid synthetic materials)
- Thermal batting (optional)
- 1/2″ double-fold bias tape (2″ wide when unfolded)
- Cotton thread
*The batting is optional, but it does give the cover some structure. If you’re going to skip the batting, go with a heavier-weight fabric, such as canvas, denim, etc. If you are adding batting, it’s important to use a thermal batting or cotton batting; polyester batting could melt if the cover is placed on a hot toaster.
Tools
- Sewing machine
- Walking foot (this makes sewing with thicker materials, like batting, easier. This is the universal one I purchased for my Baby Lock, which is a different machine than what’s shown in the photos)
- Temporary fabric pen or chalk
- Iron
- Scissors
- Pins or clips
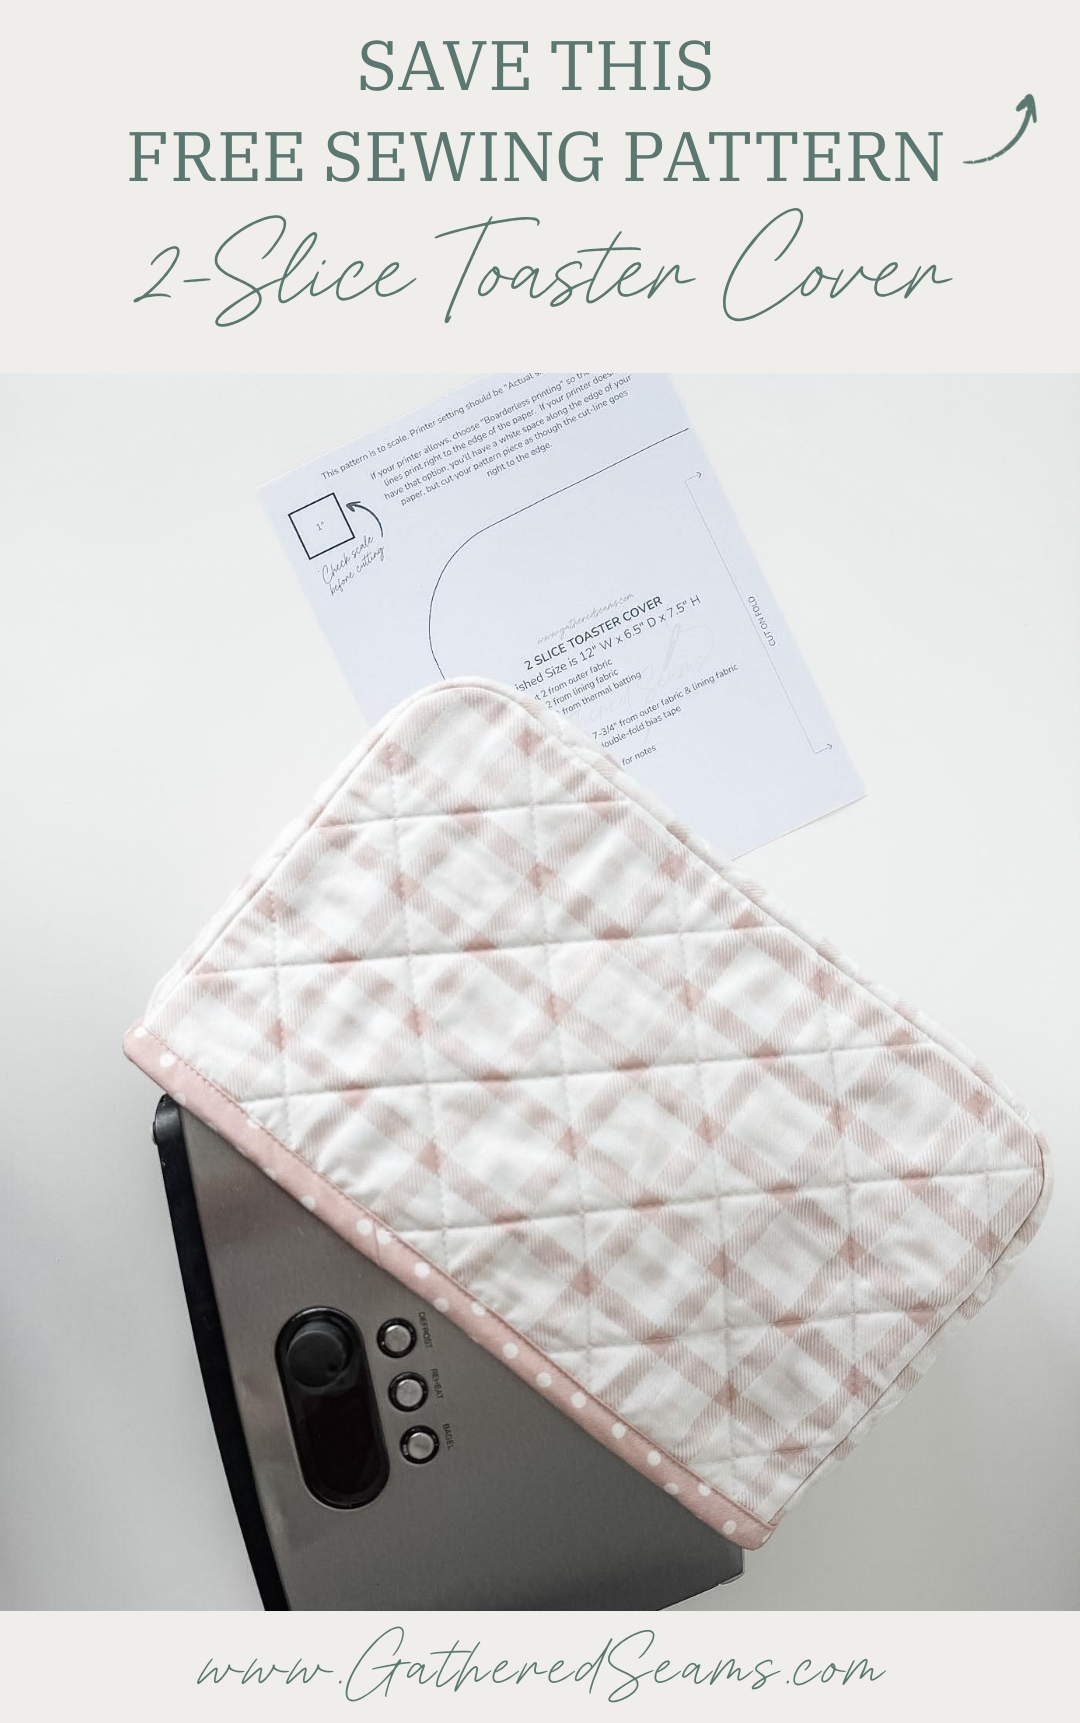
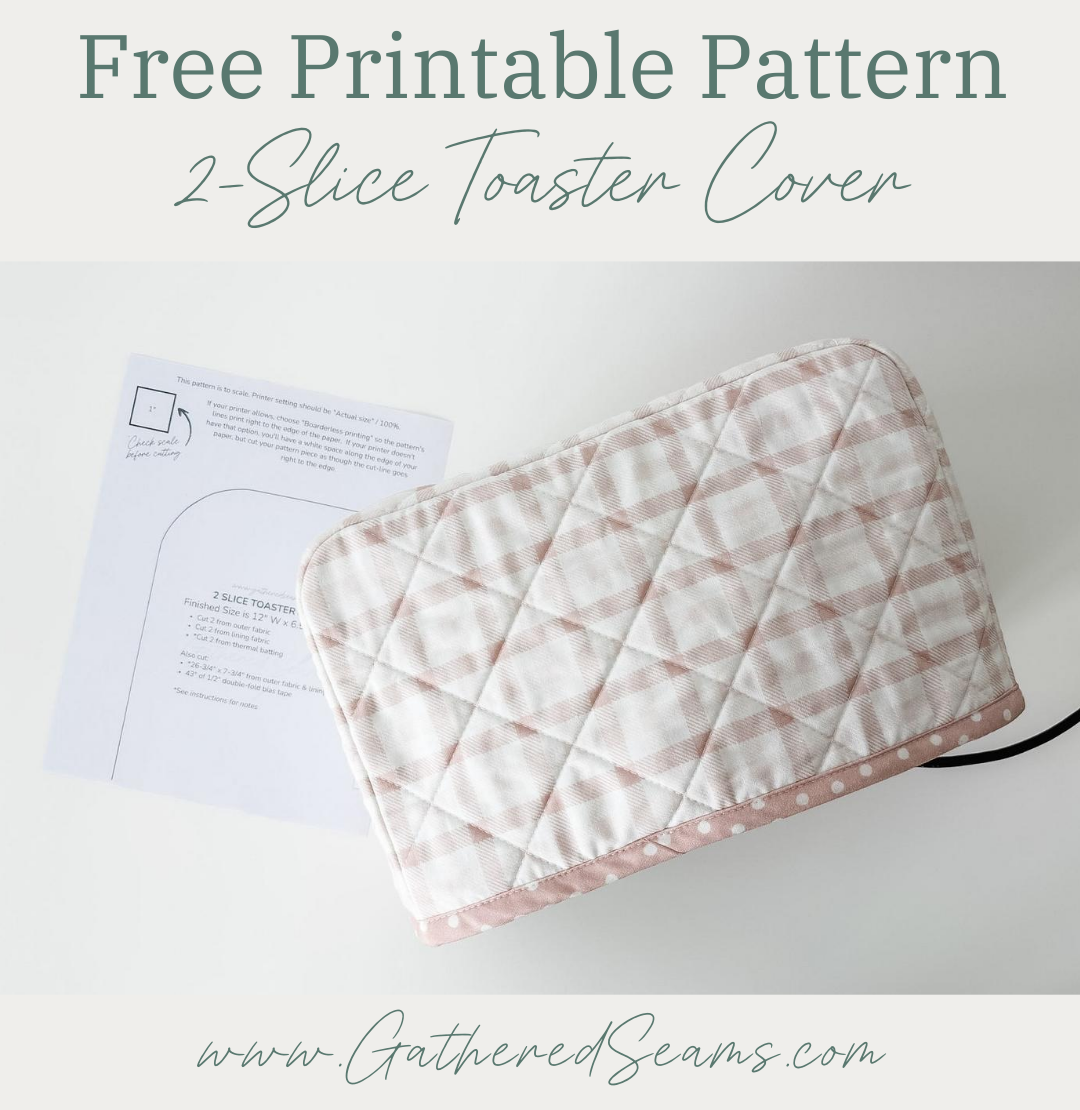
Free pattern for a 2-slice toaster cover

Steps to sew a toaster cover
Step 1
Download the free printable pattern and cut out your pattern pieces.
You will need to cut the pattern piece:
- 2 from outer fabric
- 2 from lining fabric
- 2 from thermal batting (optional)
You will also need to cut:
- *A fabric strip that is 26-3/4″ x 7-3/4″
*The length can vary depending on whether you’re using batting or not and how thick that batting is. It’s safest to cut your strip a little longer (e.g. 27″) and then clip it into place and cut off any excess length if needed.
You will also need:
- 43″ of 1/2″ double-fold bias tape.
If you’re adding batting and quilting stitches, cut your exterior pieces and batting slightly larger than the pattern pieces, complete the quilting stitches, then cut to size (since quilting stitches will shrink the fabric in slightly).
I added several quilting stitches so I started with larger rectangles.
When adding my quilting stitches, I didn’t backstitch at the start and end of them, because I wanted to be able to separate my layers to grade the seam allowance in a future step.
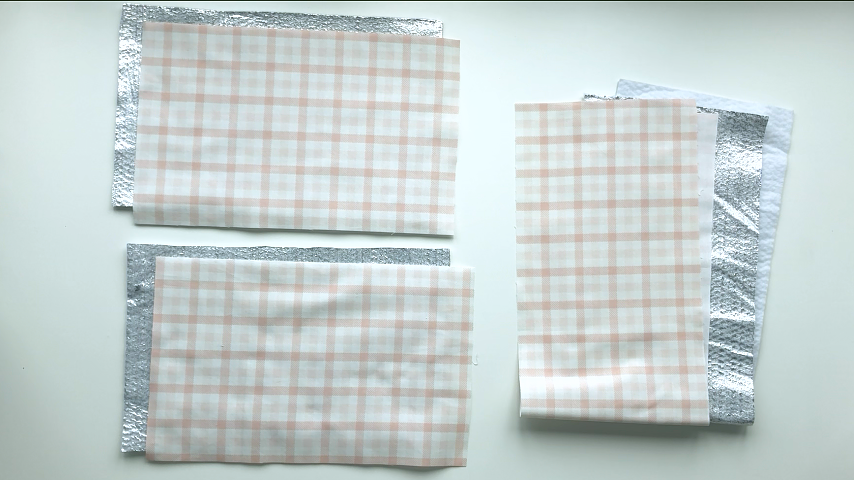
Once my quilting stitches were complete, I cut the outer pieces to size.
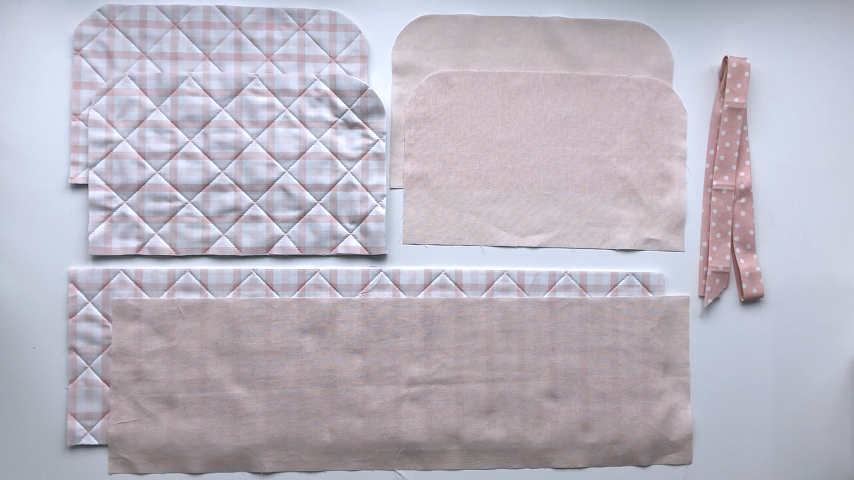
Step 2
Mark the center points at the top of your front and back pieces, as well as the two sides of your center panel.
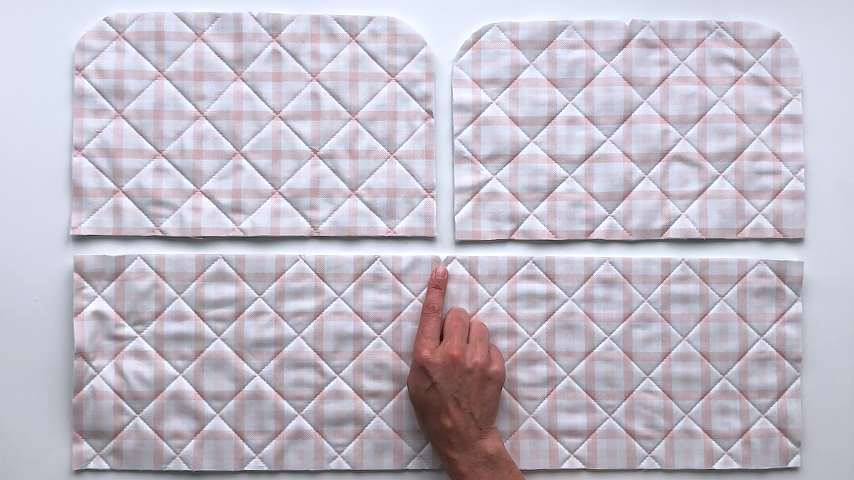
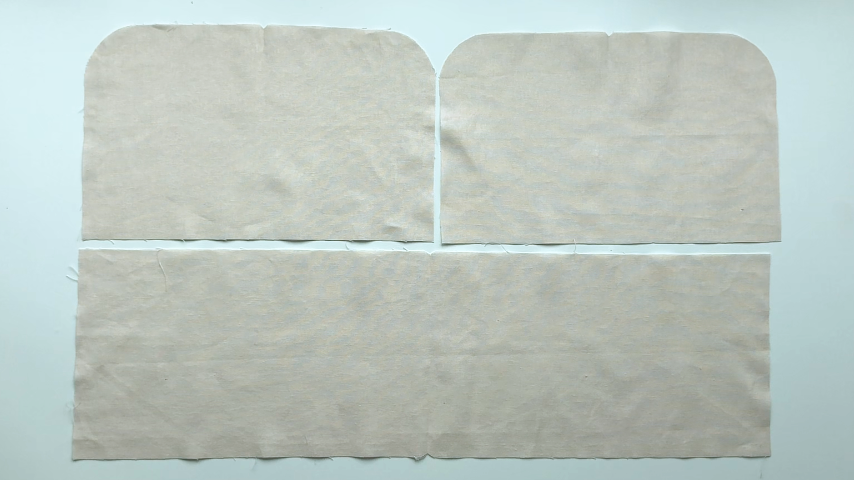
Line up the center points of the front panel and one side of the center panel, right sides together and clip the edges together.
If your center panel is too long, you can trim it off at this point (or trim it once you’ve sewn the seam).
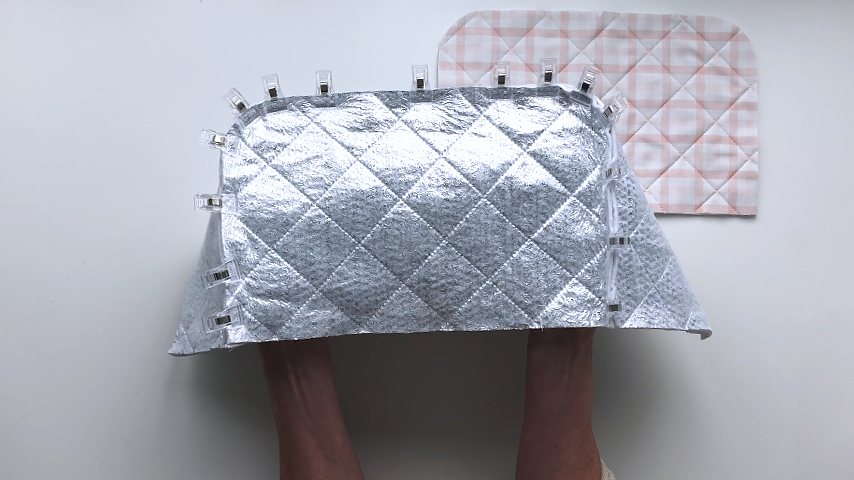
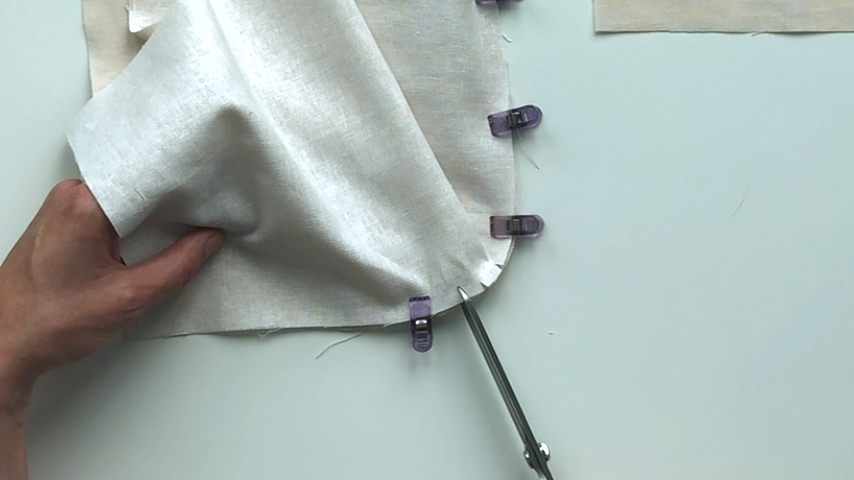
If your panel is a little too short, or you want it to ease it around the corner and make it a little easier to sew, snip a few lines into the seam allowance of the center panel.
You’ll be sewing with a 1/2″ seam allowance for the outer pieces, and 5/8″ seam allowance for the lining, so be sure you don’t cut past that.
Tips for getting a smooth corner
Shorten your stitch length (e.g. 2 – 2.5 mm), which will help you sew around the corner and keep your curved seam looking smooth.
Sew using a 1/2″ seam allowance.
Sew with the center panel on top, so you can adjust it around the curved corner as you sew.
When you come to a corner, distribute the center panel’s excess material evenly (so it’s not all folded in one direction and you have several small folds distributed along the curve).
You can stop with your needle down and lift your presser foot to distribute the material.
Sew a few stitches, then stop with your needle down, lift the presser foot and pull the top panel back (to behind the needle) to distribute the fabric and get rid of folds.
What’s important is that the fabric is smooth along your sewing line; you don’t want to sew over any folded fabric, or you’ll have creases in your seam when you turn it right side out.
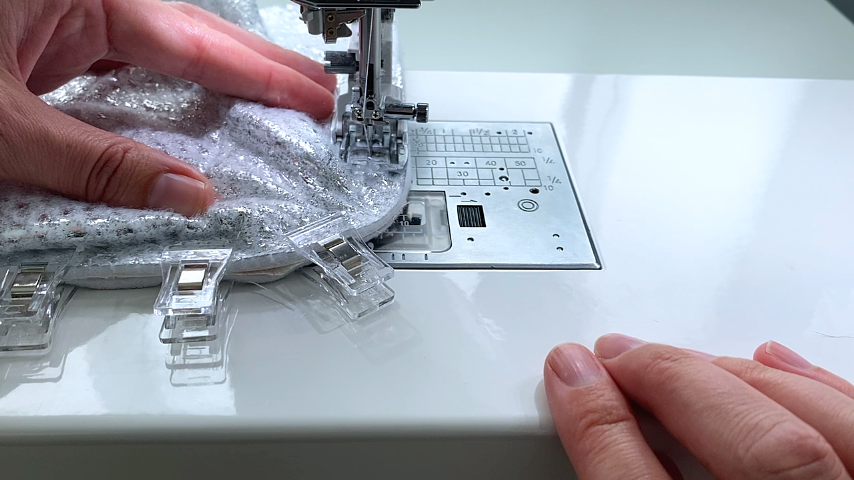
This photo better shows how to distribute the excess fabric and create a flat surface along the seam line:
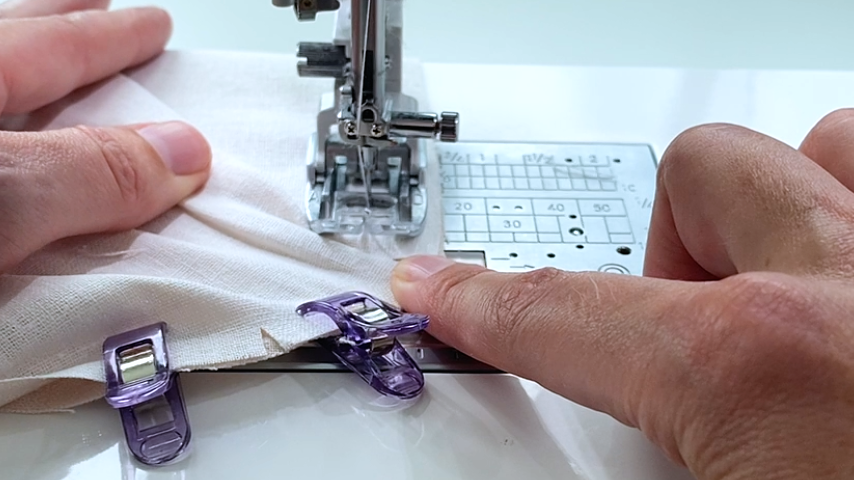
Repeat to clip the back piece to the other side of the center panel and sew into place.
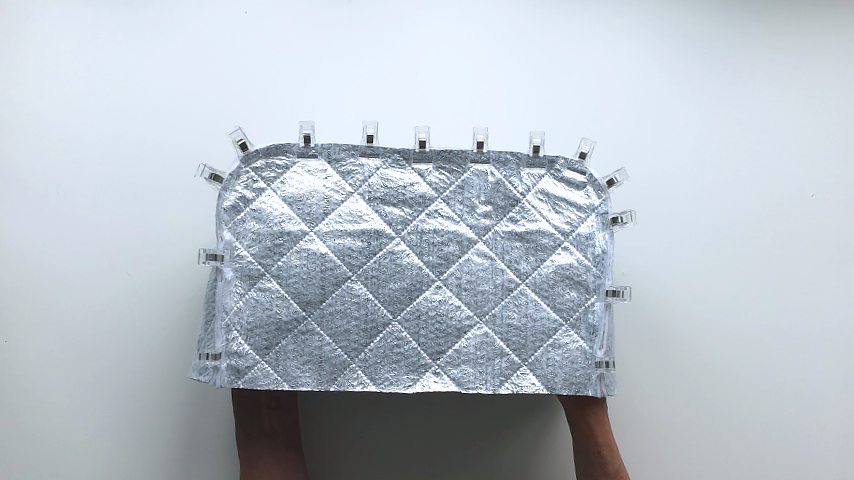
Repeat these steps to sew the front, back, and middle of your lining pieces. This time using a 5/8″ seam allowance. This will ensure your lining will fit snugly inside the outer piece, which takes up more space due to the batting.
*I increased my lining’s seam allowance by 1/8″ because that’s the thickness of my batting. If your batting is thicker, you may want to increase your seam allowance by more. If you’re not adding batting, you may only want to increase your seam allowance slightly (e.g. by 1/16″).
Step 3
Check to make sure the corners look good from the outside/right side, and you don’t have any creases or folds where the center panel wraps around the curved corner before trimming and grading the seam allowance.
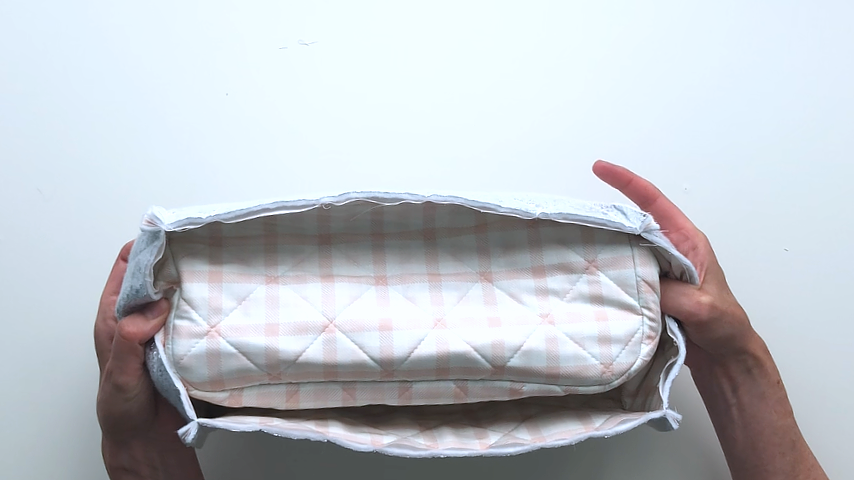
If you added quilting stitches, gently pull where those meet the edge of your fabric and batting to separate them.
This step is to be able to grade the thermal batting to reduce bulk in the seams.
Alternatively, you can skip this step and simply trim the seam allowance of the fabric and batting together.
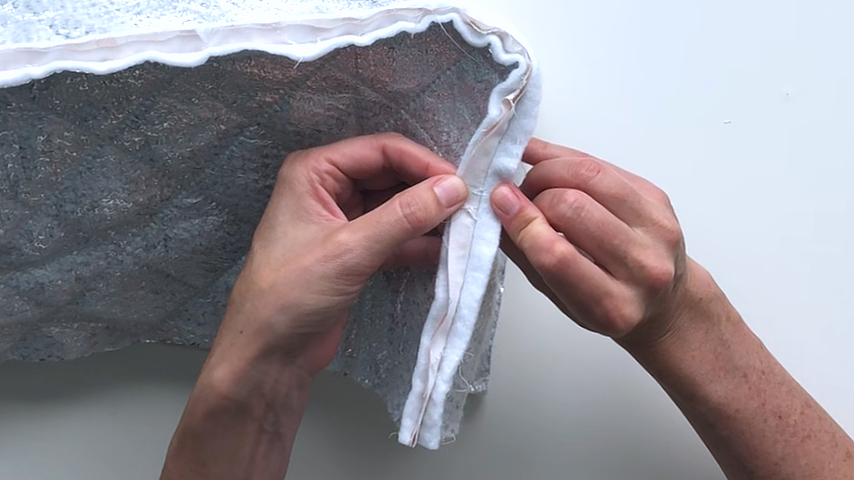
Grade your batting by holding your scissors almost parallel to your fabric and cutting the batting close to the stitching. Holding the scissors parallel helps ensure you can get really close to the stitching, without cutting into it.
Repeat this on both sides of the 2 seams.
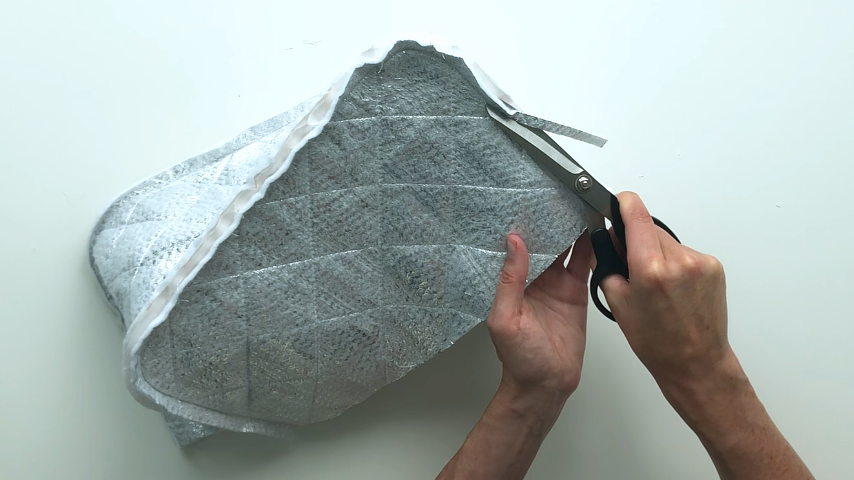
Then trim the fabric’s seam allowance by half.
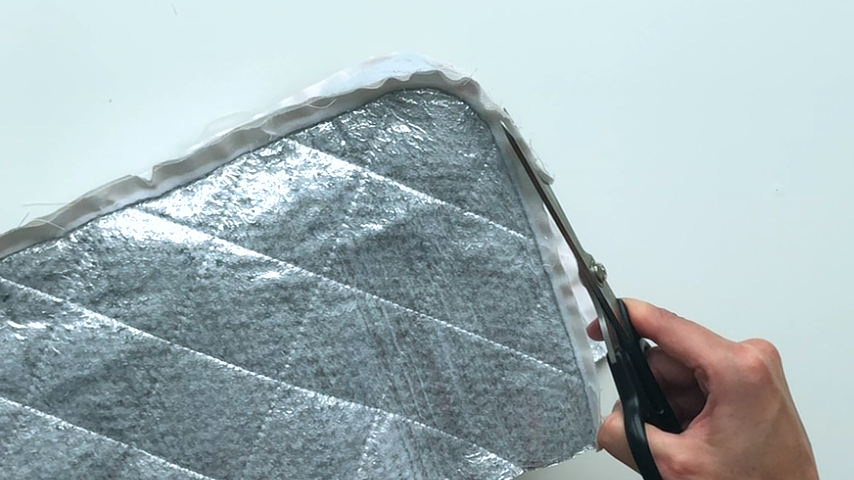
Clip notches around the corners, being careful not to cut into the stitching.
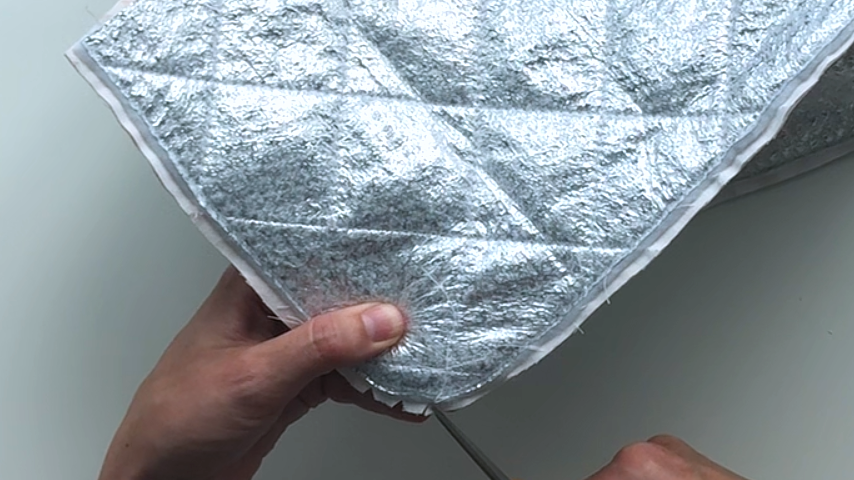
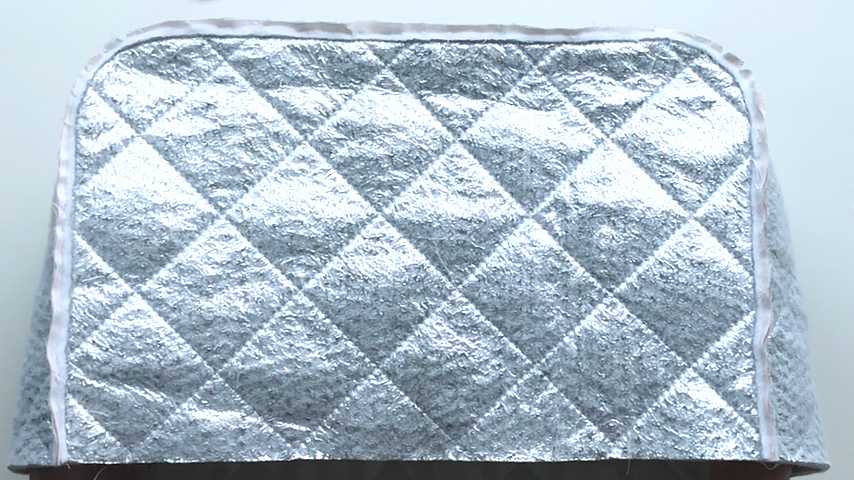
Trim the seam allowance in half around your lining. There’s no need to clip notches into the corners because we aren’t turning it right side out.
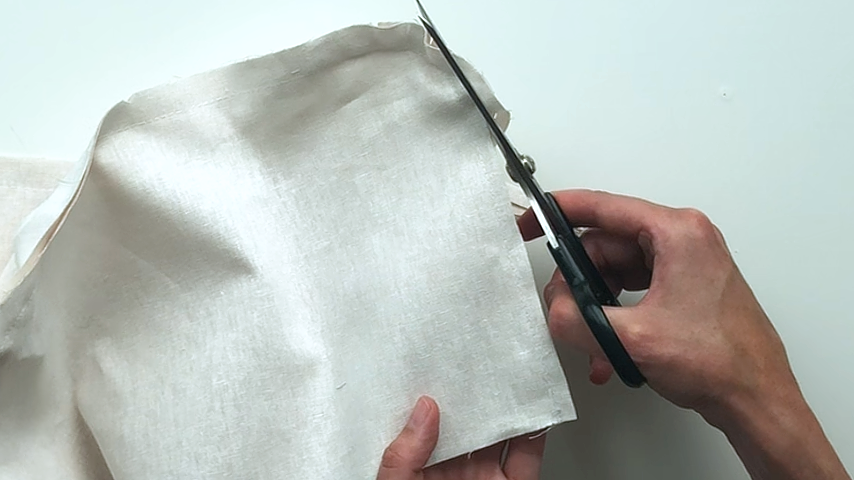
Step 4
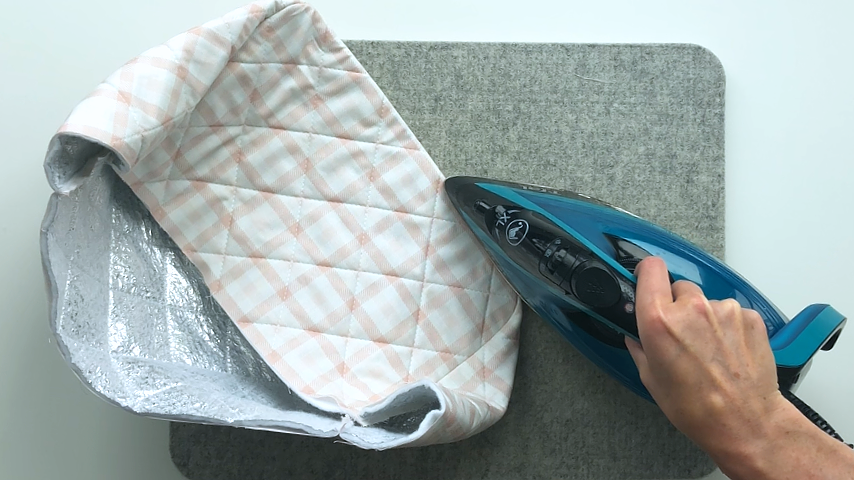
Turn your outer piece right side out and press the seams to get them sharp.
I’ve found that my thermal batting will melt if I hold my iron in one place for too long, so I move quickly during this step.
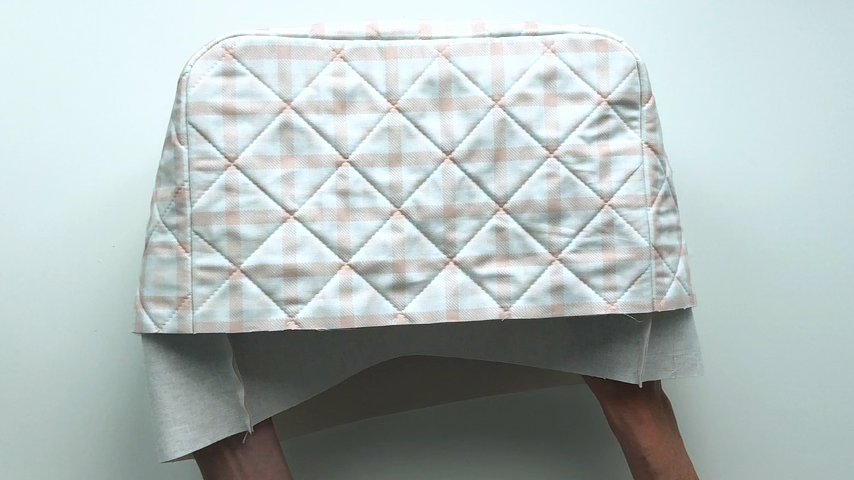
Place the lining inside the outer piece, with wrong sides together.
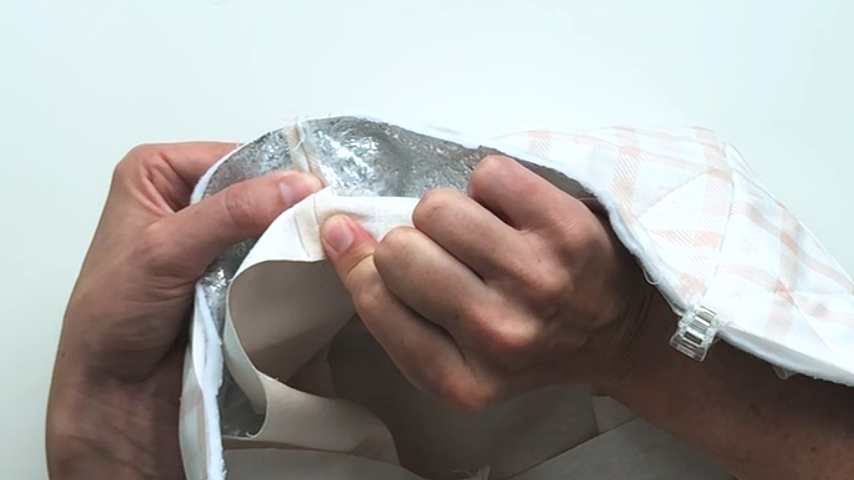
If you can, open the seam allowance and line up each seam. Clip the seams and bottom edges together.
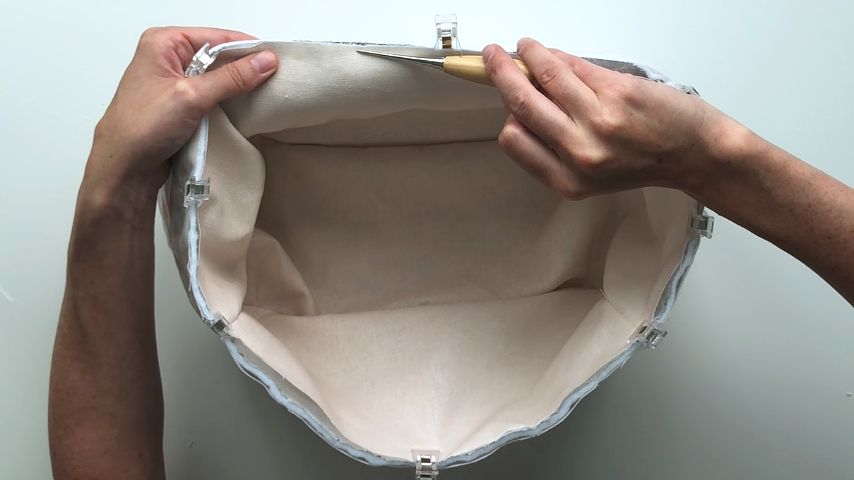
Use a basting stitch to secure the bottom outer and lining edges together.
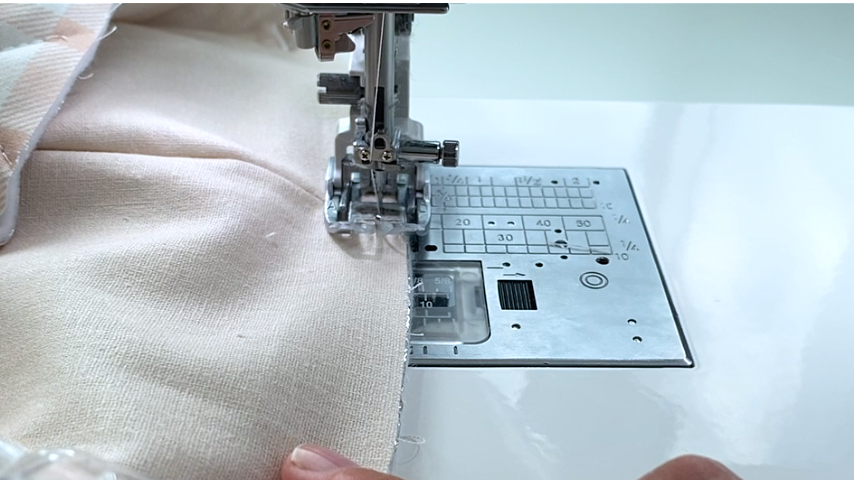
Step 5
Using a temporary fabric pen, mark a line 2″ away from one end of your bias tape.
Start sewing the bias tape to the bottom edge of your cover at that line, sewing in the first fold.
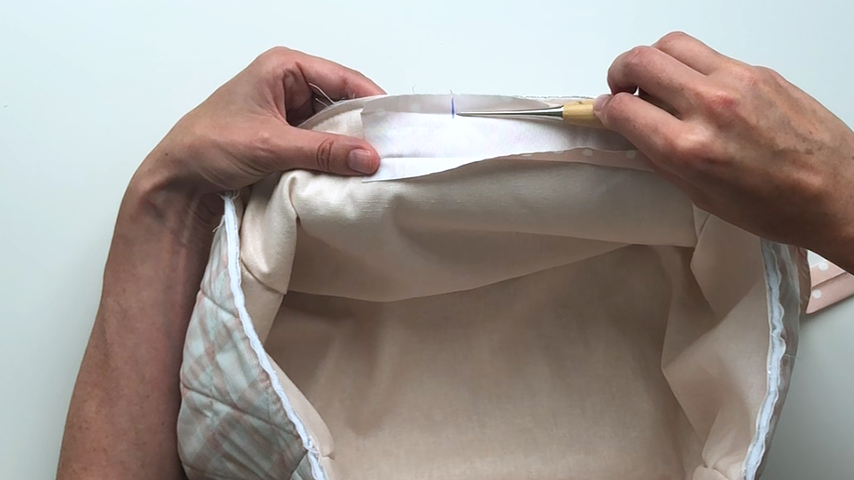
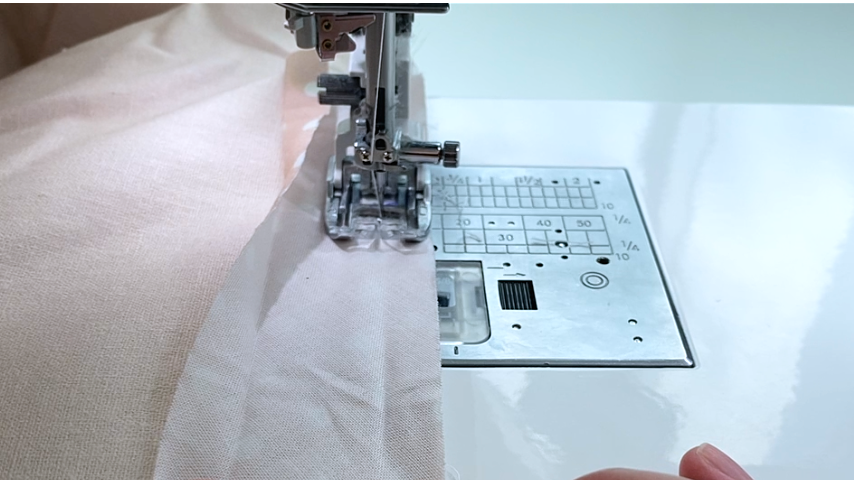
When you come back around to the start of your bias tape, fold the loose 2″ end back toward you.
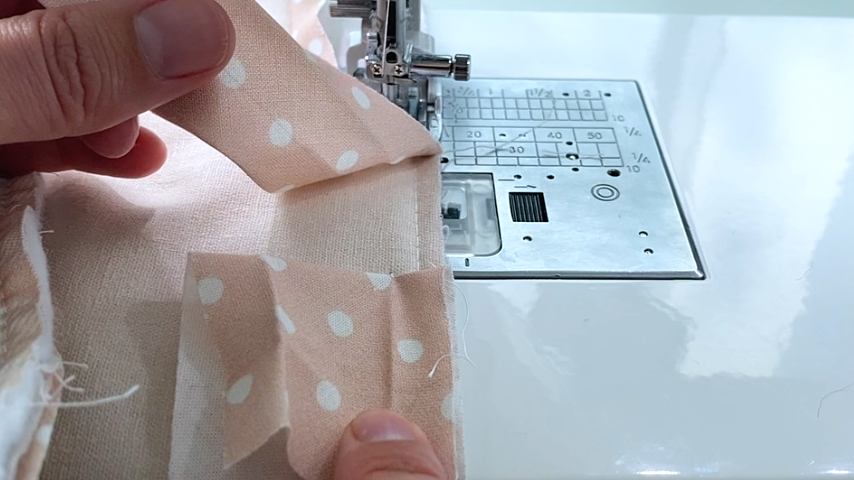
Then place the end of the bias tape on top, sewing right up to the start of the stitching, without going past it.
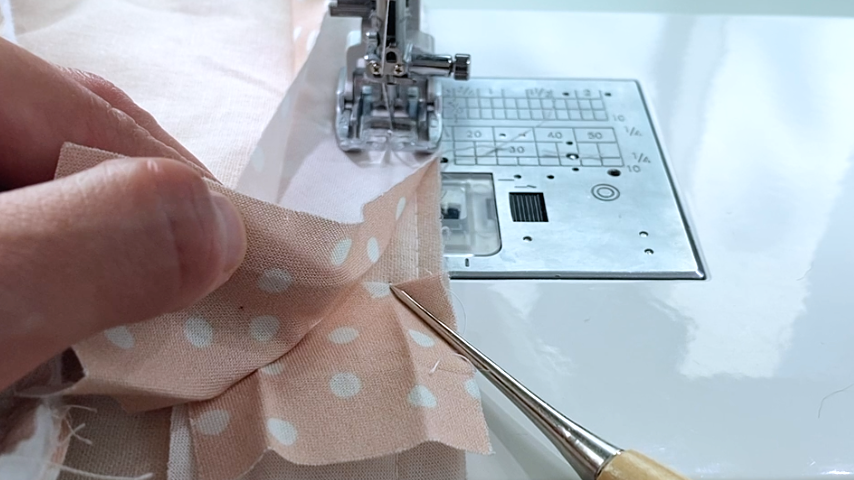
This is how the start and end of your bias tape should meet:
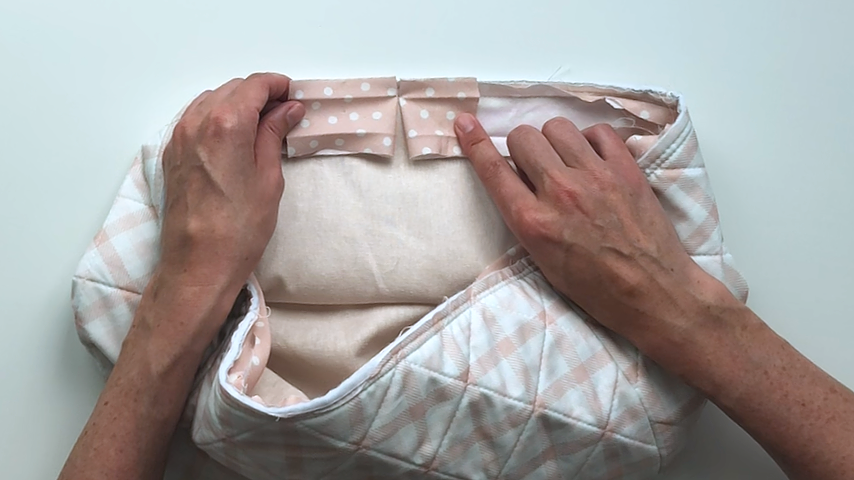
Unfold the end of your bias tape.
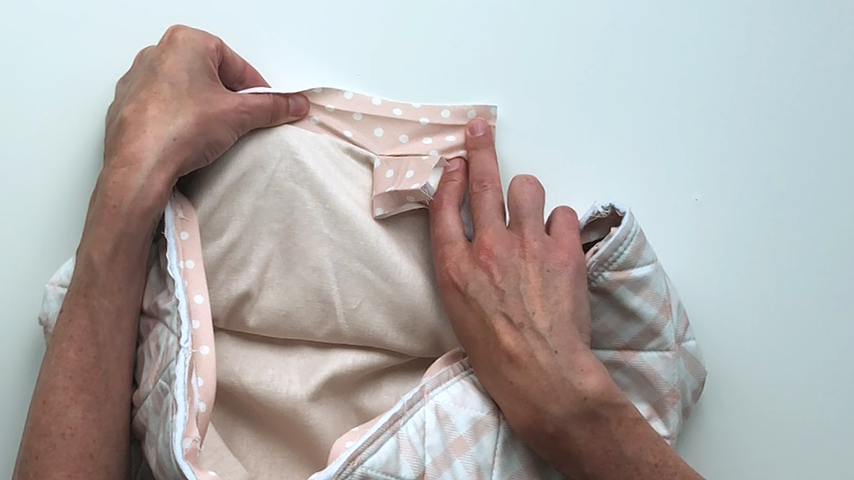
Then place the start of your bias tape on top, at a 90-degree angle to it, and sew at a 45-degree angle across the two pieces.
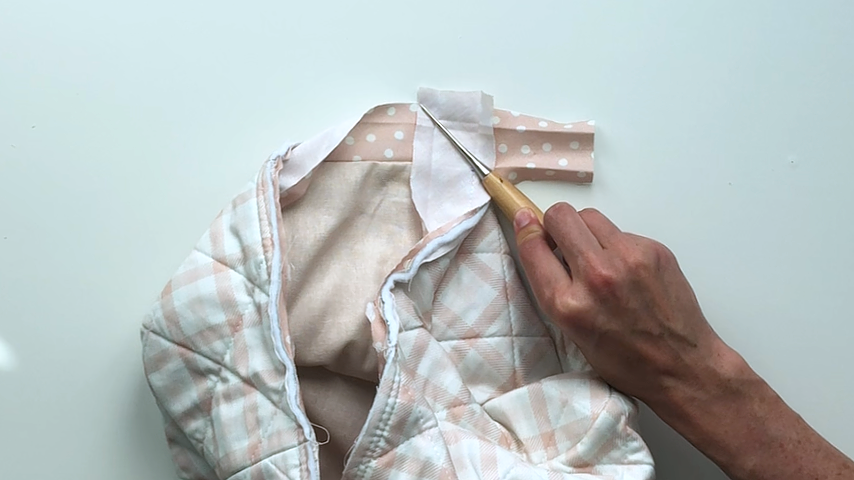
Shorten your stitch length so you don’t have to backstitch at the start, and sew up to the line of stitching.
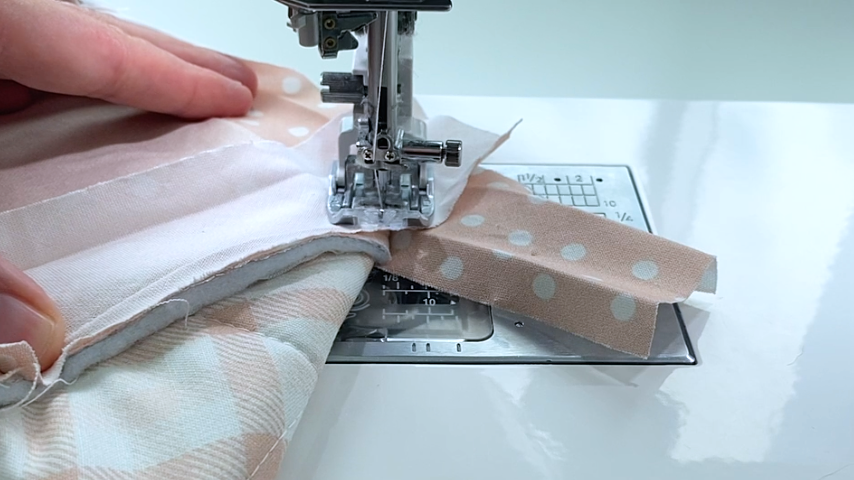
Check to make sure the joining seam looks good.
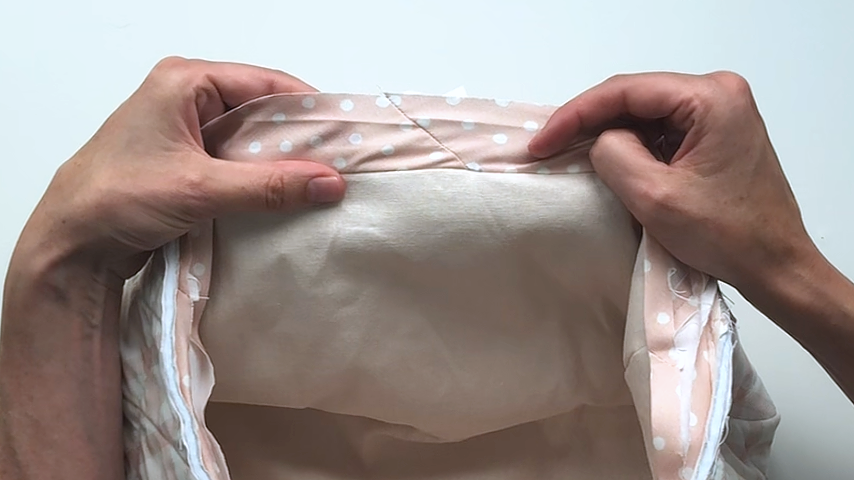
Then trim the excess fabric and finger press the seam allowance open.
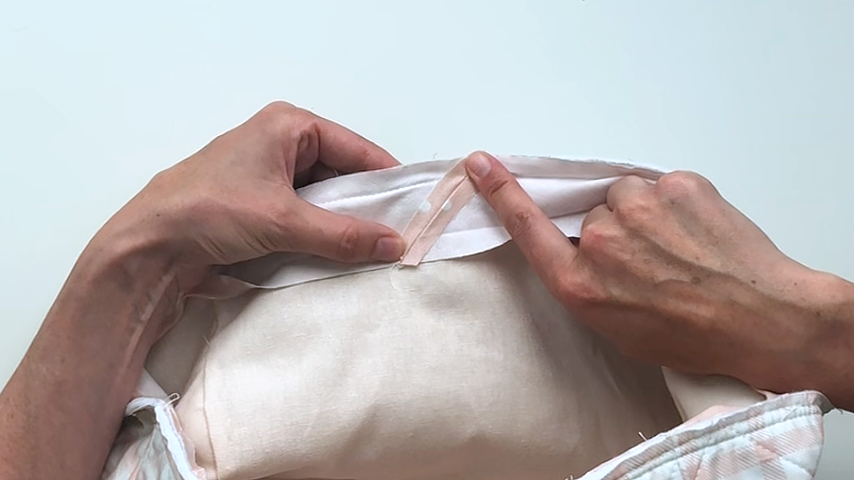
Fold your bias tape to the other side (I find it easier to flip the cover inside out) and press the bias tape into place so the inside folded edge is just slightly covering the line of stitching.
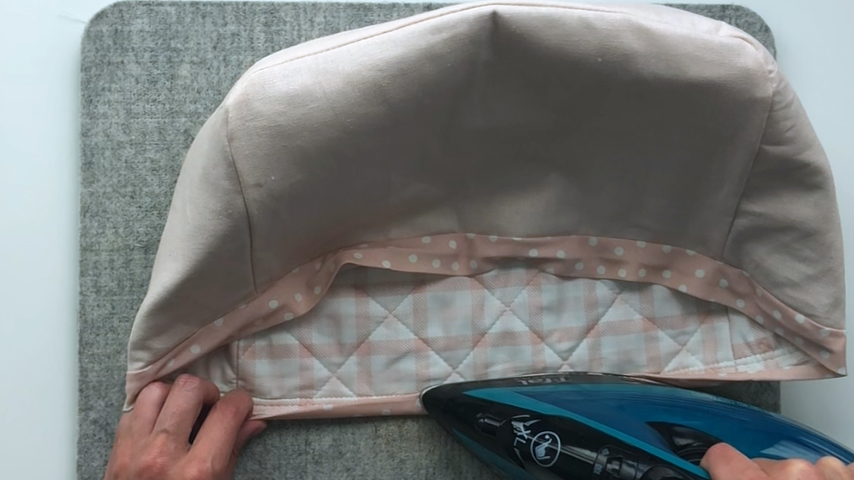
Sew the other side of the bias tape into place, by sewing about 1/8″ in from the inside edge of the bias tape.
I stop and check as I sew, to ensure the edge of the bias tape is just slightly covering the line of stitching. This will ensure your topstitching looks even on both sides, and you’re catching the bias tape on the top and bottom.
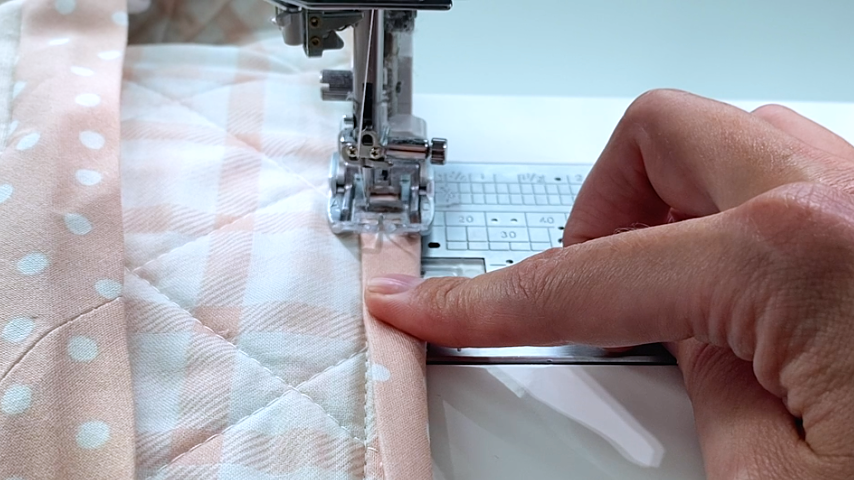
The last step I take is to fold each corner and press at the bias tape to give it more of a box shape.
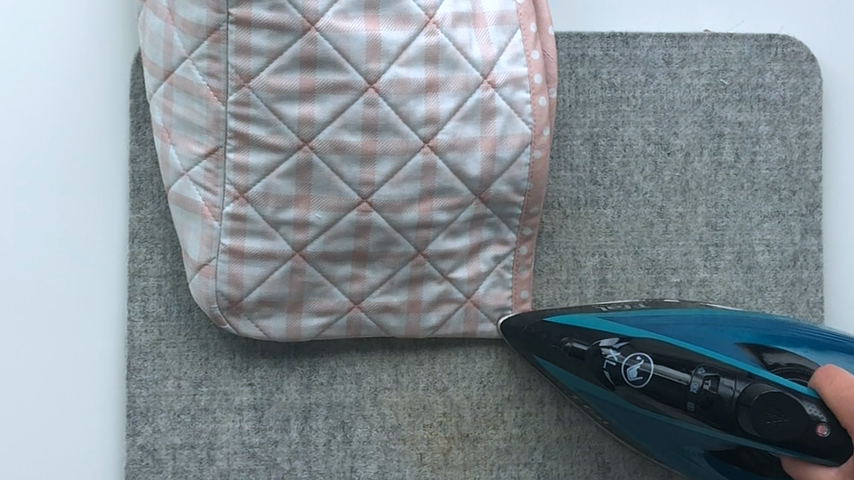
Your toaster cover is complete!