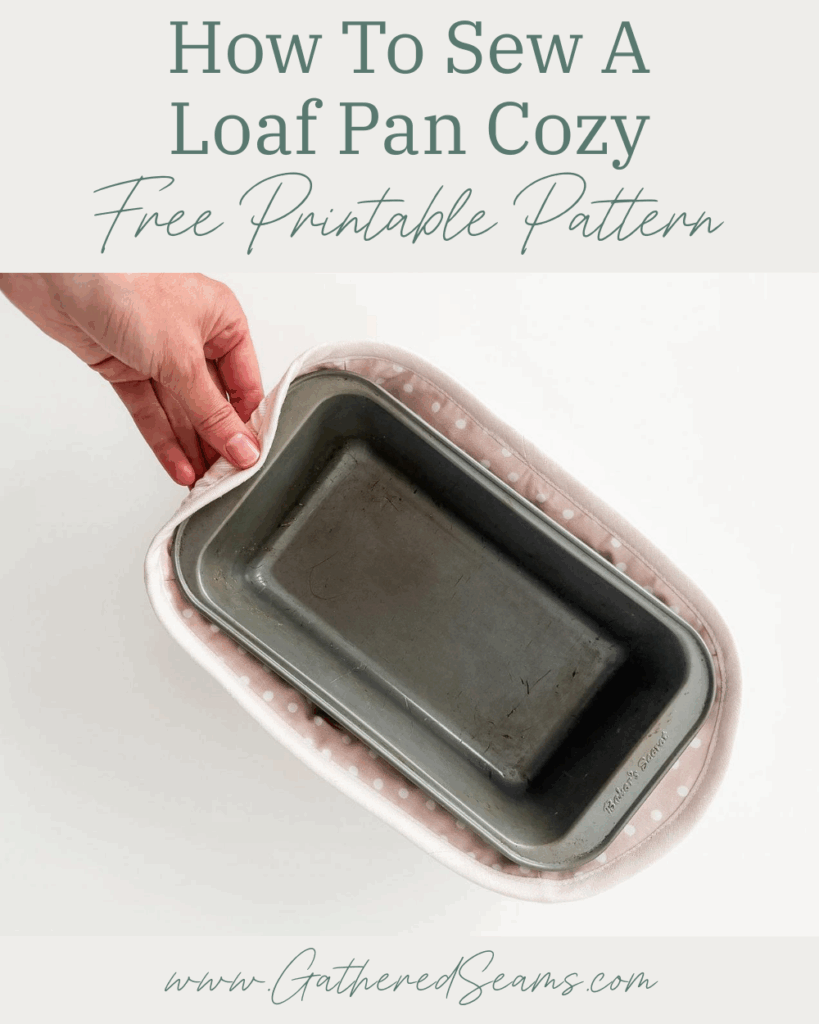
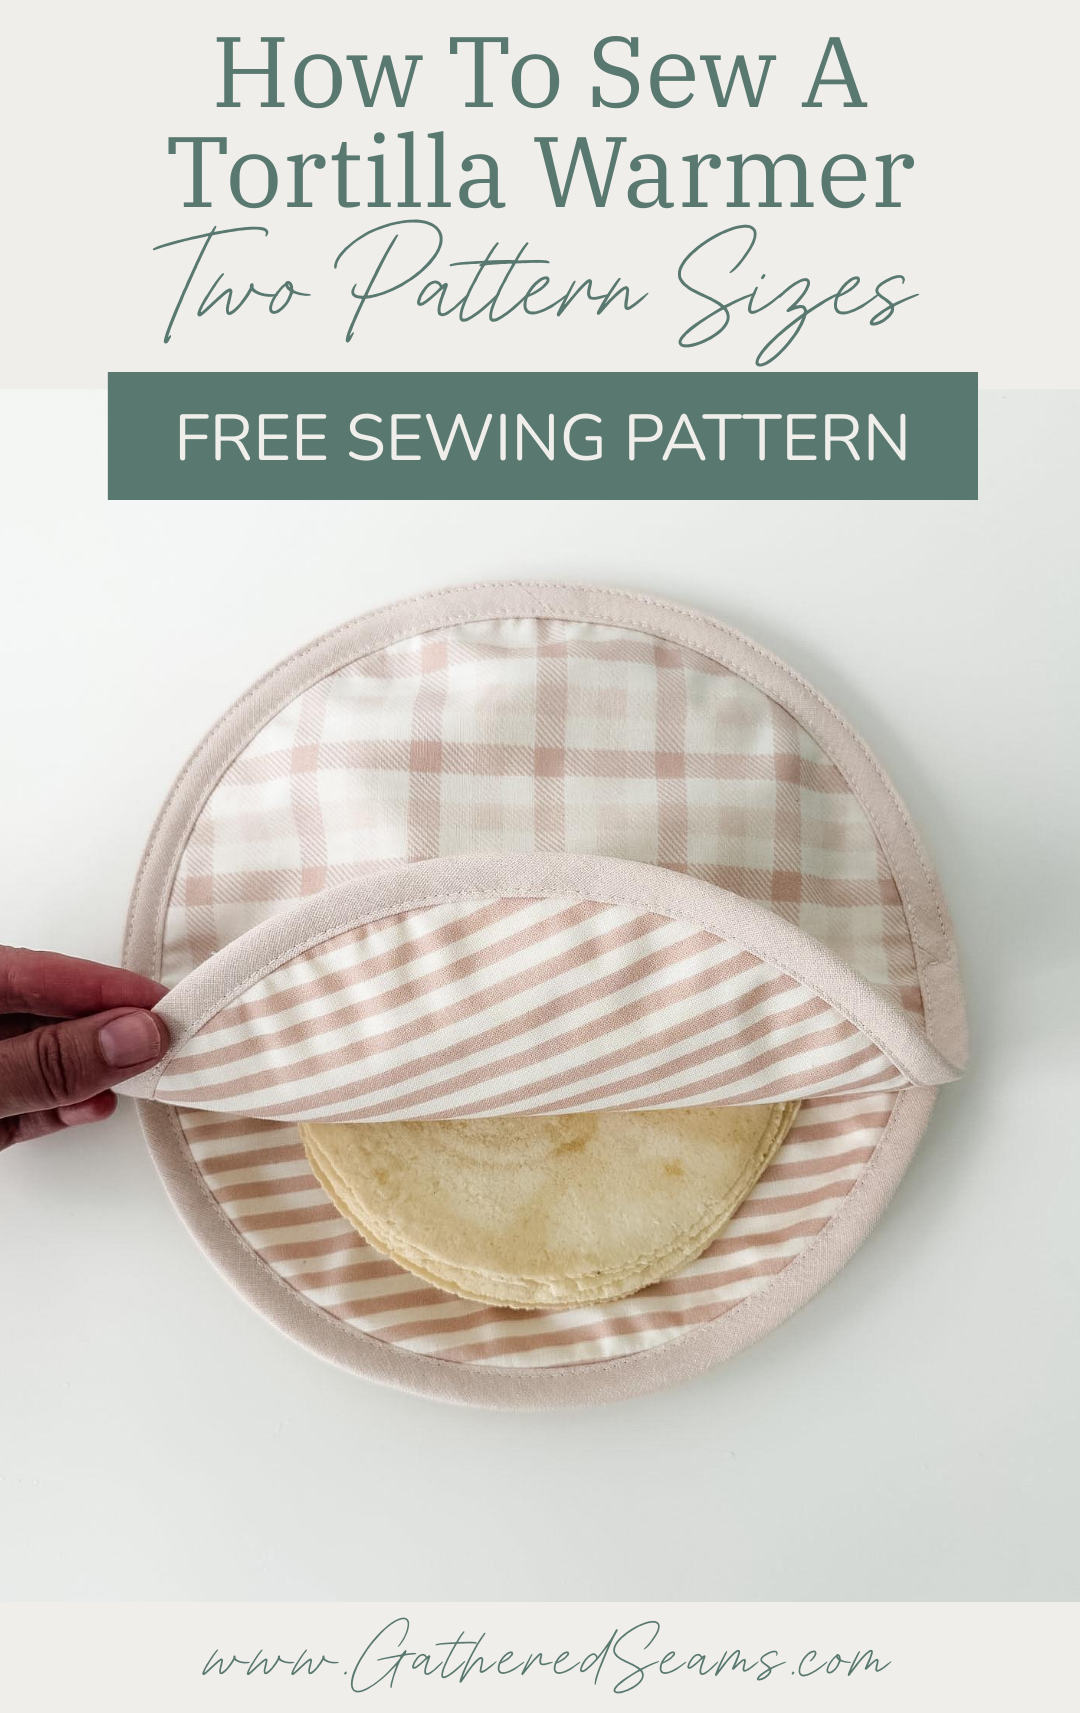
How To Sew A Tortilla Warmer | Free Sewing Pattern
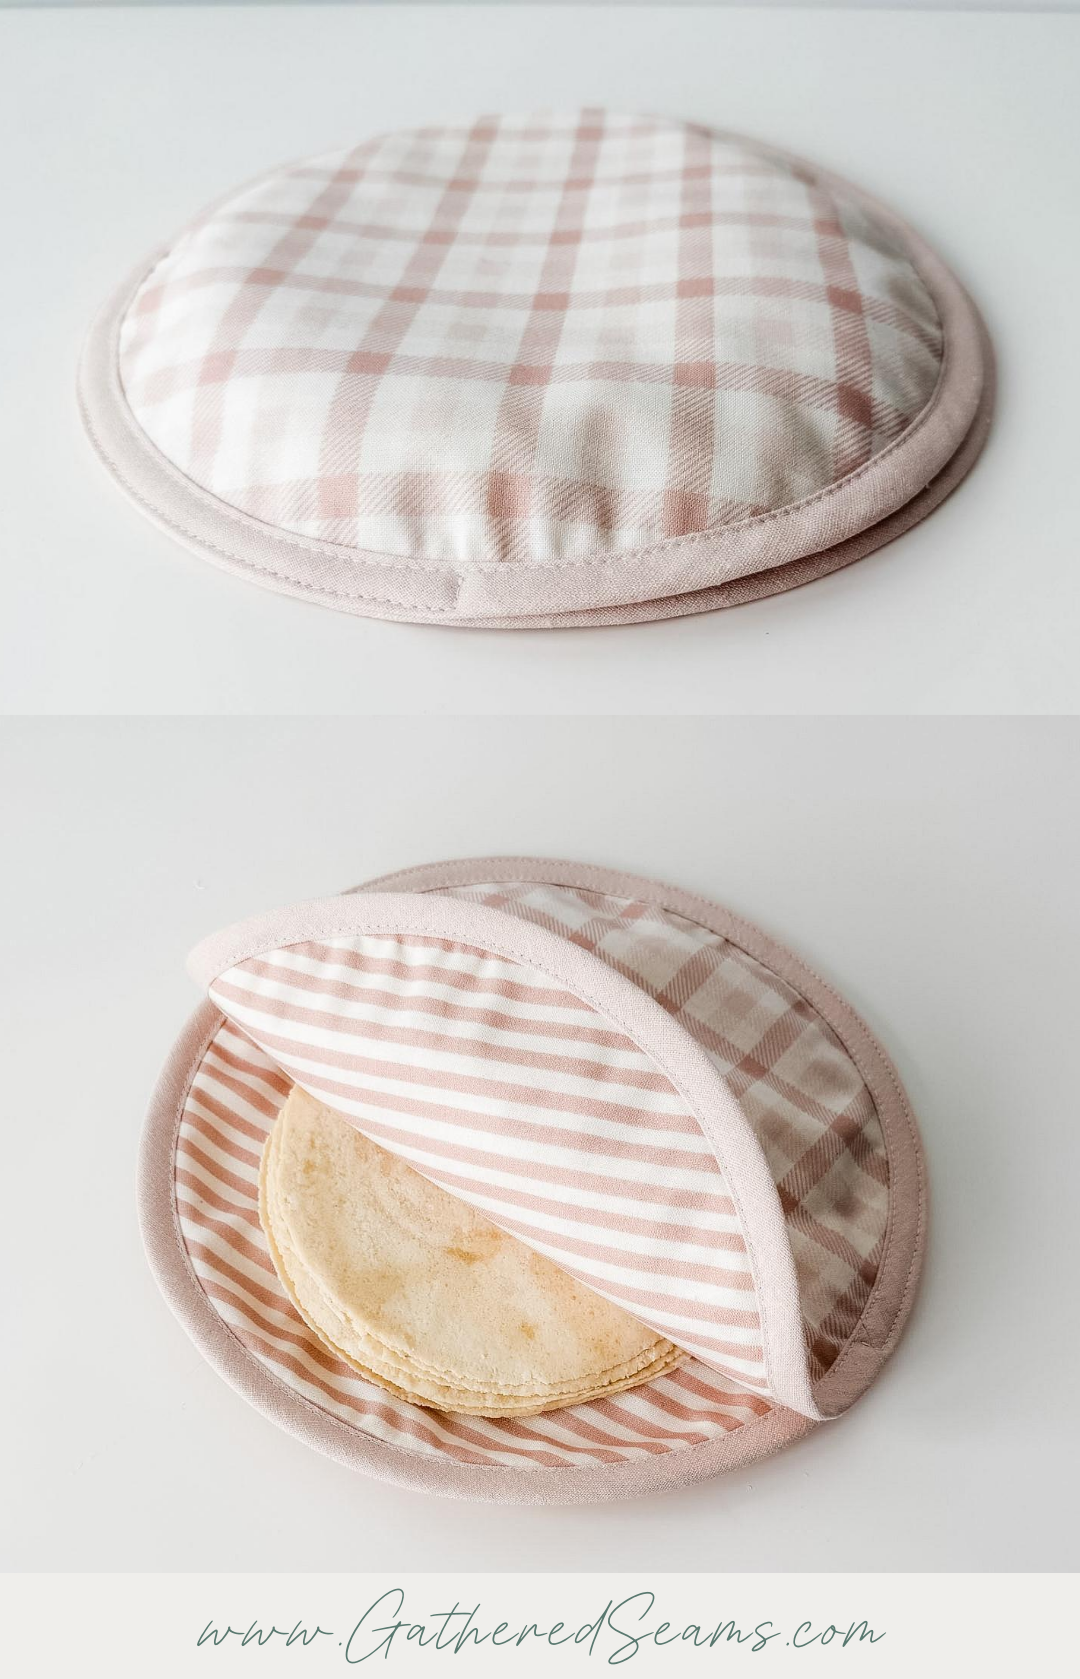
I love this reusable tortilla warmer to replace the tin foil I previously used to cover my plate of tortillas.
This pattern was created based on the construction of some of the bigger brand-name tortilla warmers.
It does use a little extra bias tape than other patterns out there. But I find this method (sewing the bias tape all the way around both pieces) much easier than sewing bias tape to just half of the circles.
I made patterns for a:
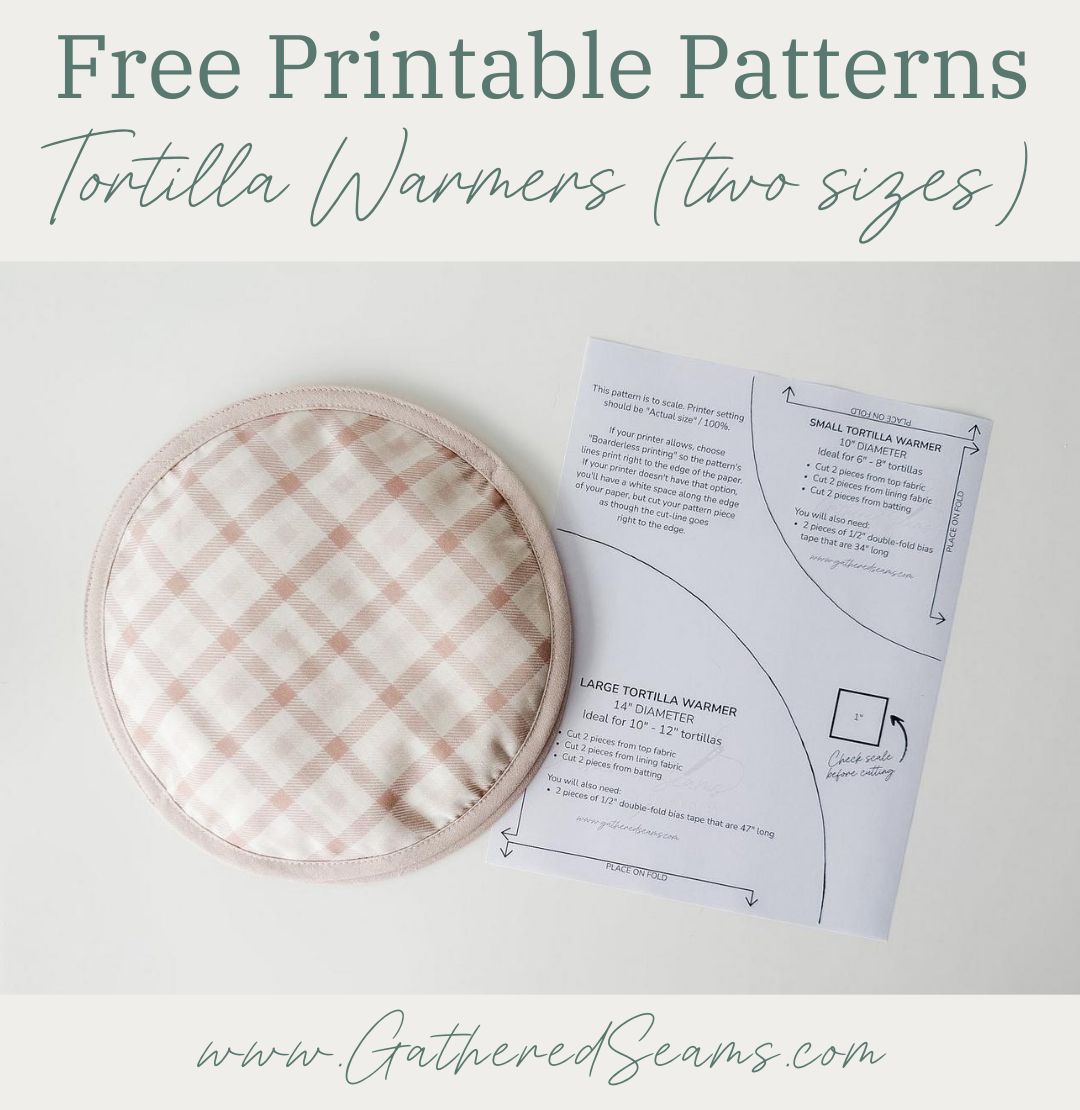
- Small tortilla warmer – ideal for 6″ – 8″ tortillas (the warmer is 10″ in diameter total)
- Large tortilla warmer – ideal for 10″ – 12″ tortillas (the warmer is 14″ in diameter total)
You can decide on what type of batting to use. If you want to be able to warm your tortillas in the microwave, in the warmer, then you’ll need to use Wrap-N-Zap for the batting (which is 100% cotton and microwave safe) and 100% cotton material, as well as 100% cotton thread.
I heat my tortillas in the frying pan, so I just used cotton batting (Warm & Natural).
If you wanted a little extra insulation to ensure the tortillas stay warm longer, you could use a layer of thermal batting (e.g. Insul-Bright) as well as a layer of cotton batting. This would mean your warmer won’t be microwave-safe.
Materials
As an Amazon Associate, I earn from qualifying purchases (see full disclosure here).
- Cotton fabric (avoid synthetic materials; it must be 100% cotton if making a microwave-safe warmer)
- Batting (Use Wrap-N-Zap if you want your warmer to be microwave-safe. If you never plan to put your warmer in the microwave, you can use thermal batting and/or cotton batting.)
- Cotton thread (it must be 100% cotton if making a microwave-safe warmer)
*I would suggest a non-directional print so you don’t have to worry about getting top and bottom layers of fabric, and top and bottom layers of the warmer lined up.
If you fry your tortillas in oil, I might also suggest a darker print of fabric for the lining, so it doesn’t show grease stains.
Tools
- Sewing machine
- Walking foot (this makes sewing with thicker materials, like batting, easier. This is the universal one I purchased for my Baby Lock, which is a different machine than what’s shown in the photos)
- Temporary fabric pen or chalk
- Iron
- Scissors
- Pins or clips
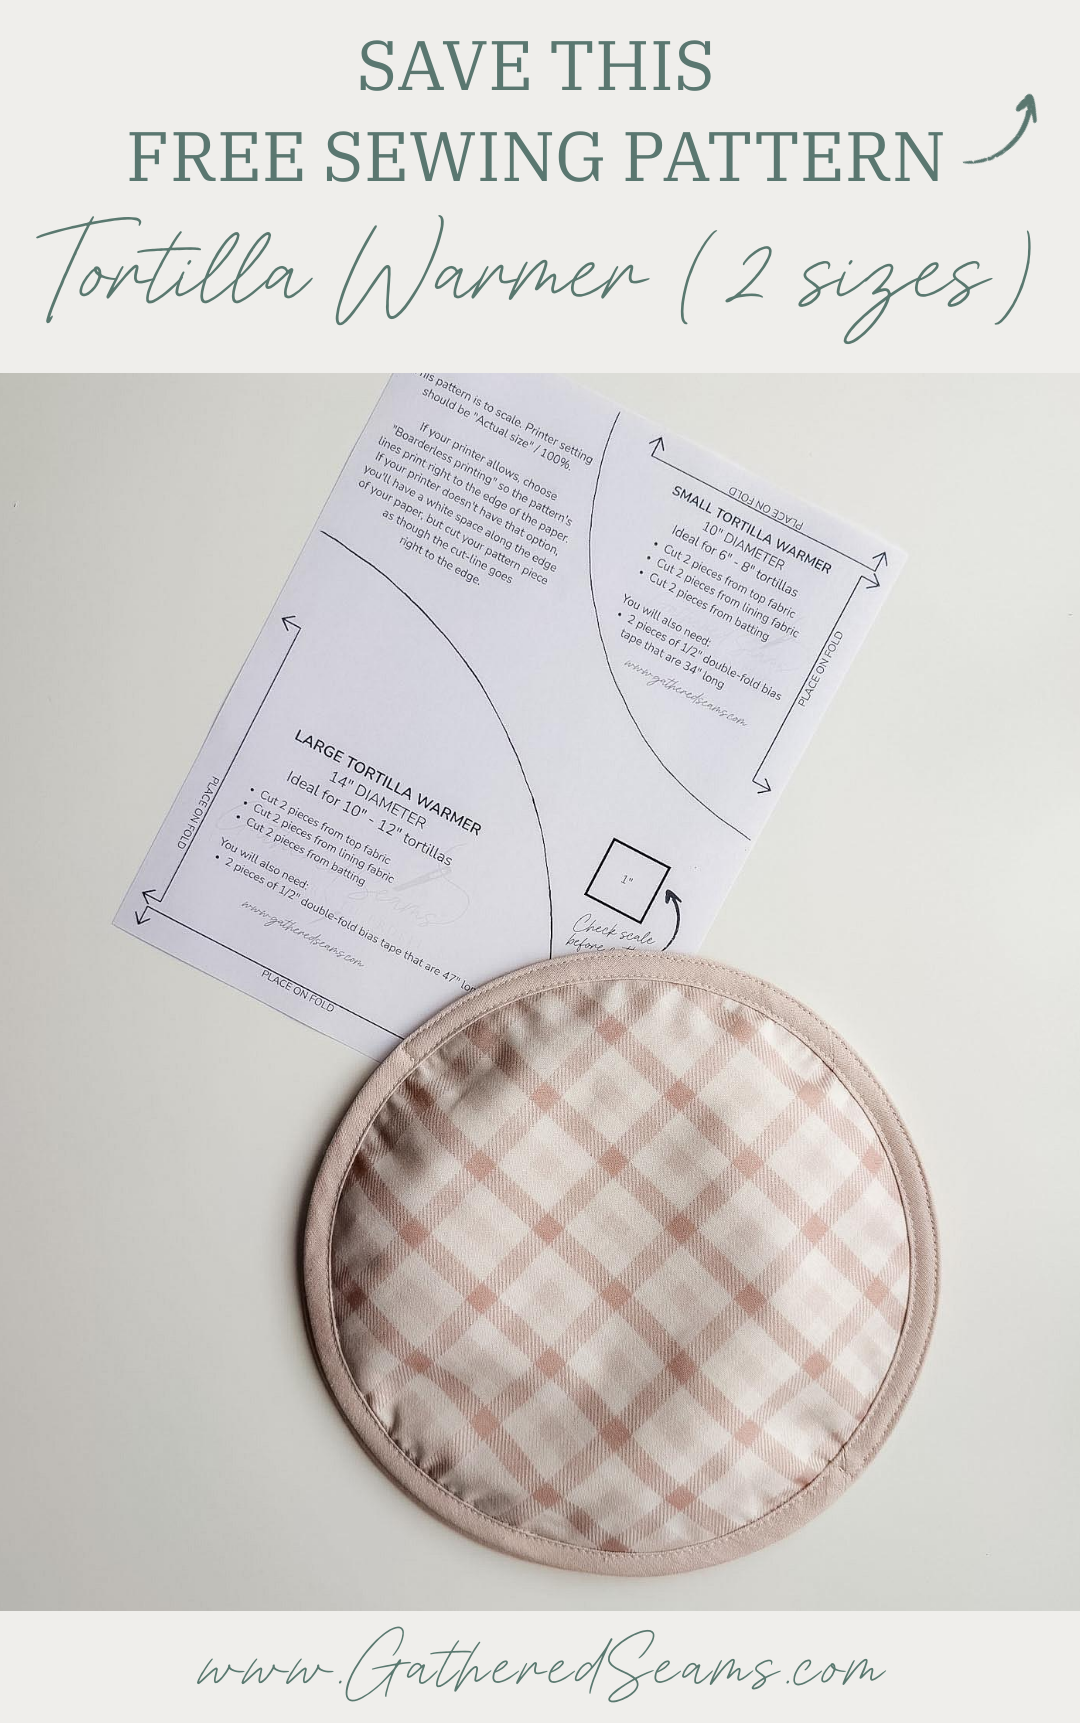
Free printable sewing pattern for small and large tortilla warmers

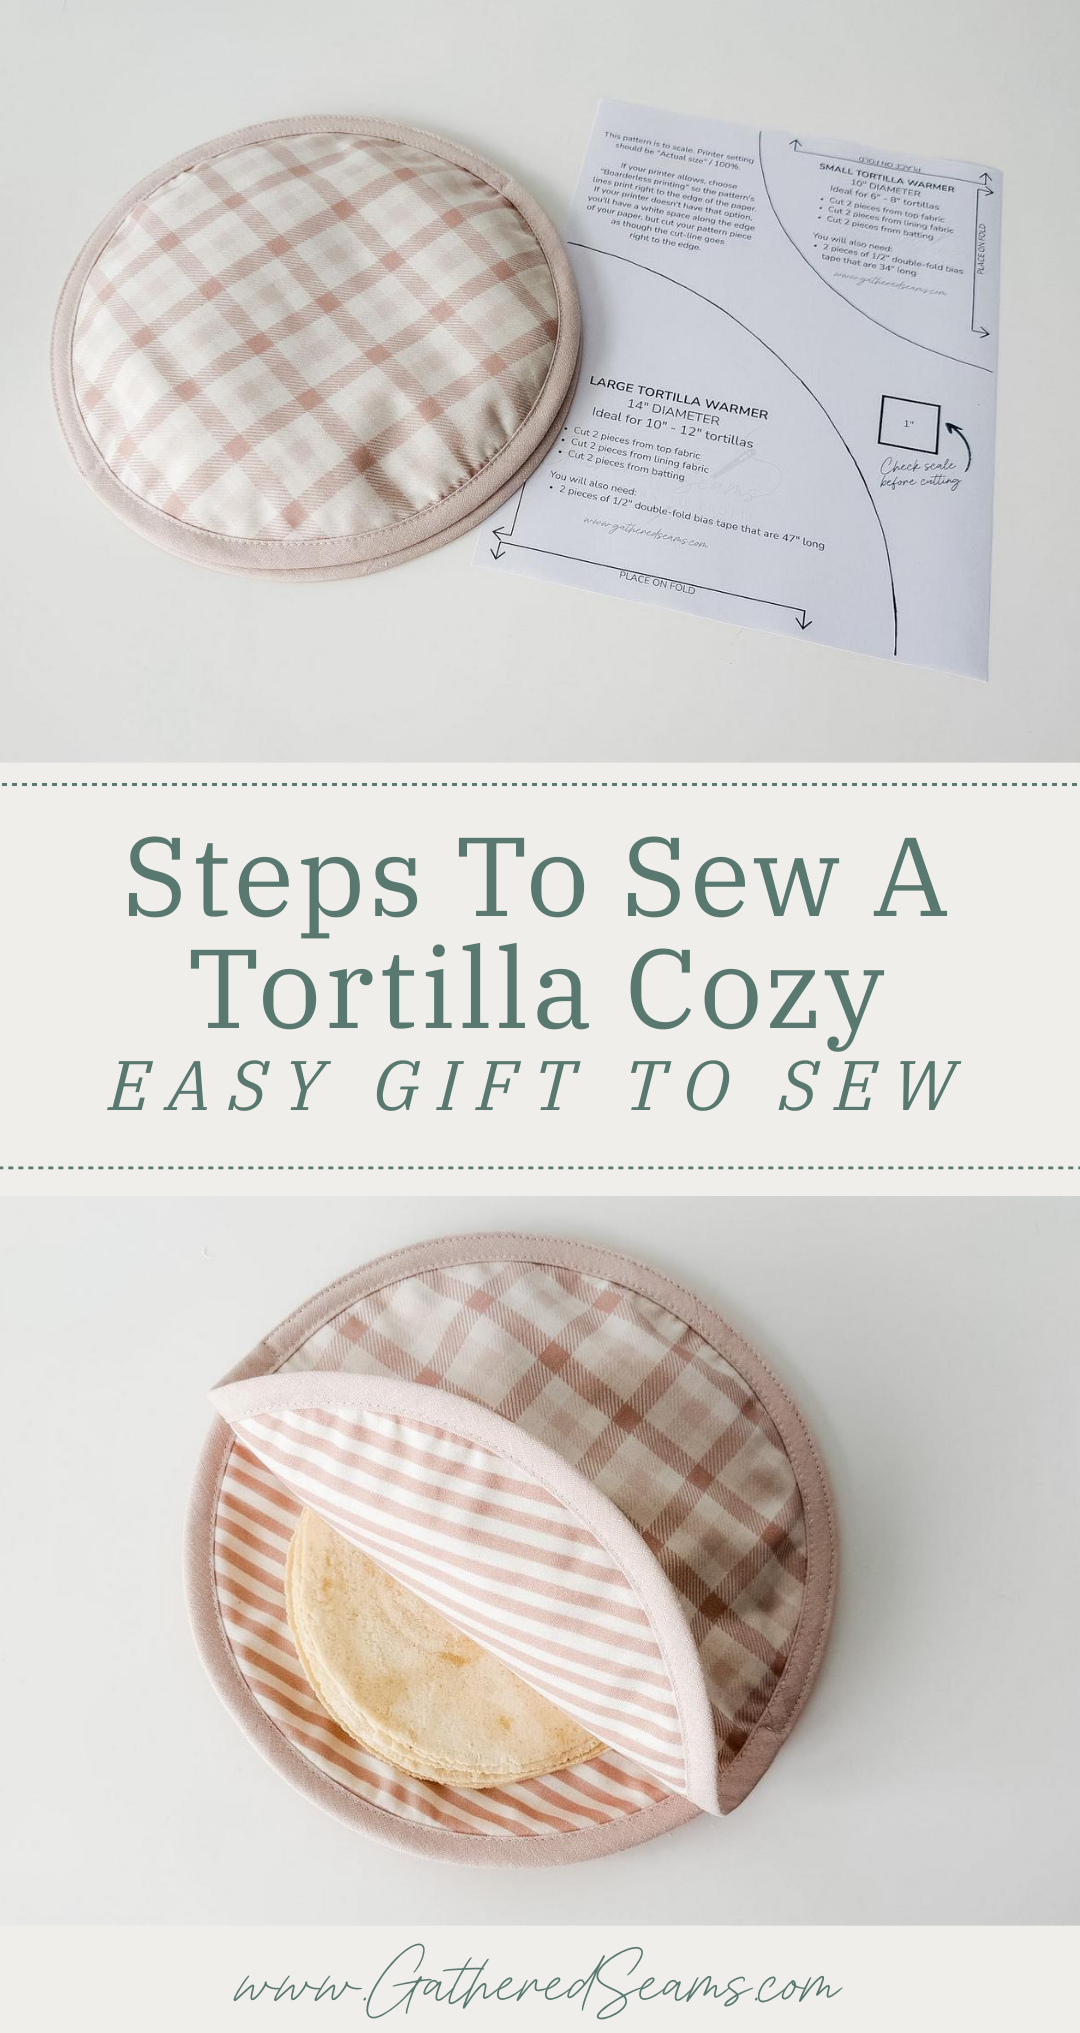
Steps to sew a tortilla warmer
Step 1
Download the free sewing pattern, print it, and cut out the paper pattern piece.
You’ll fold your fabric twice so the two sides of the pattern piece can be placed on a fold.
Alternatively, you can fold your fabric in half once, place one straight edge of the pattern piece on the fold, and use a temporary fabric pen to trace around the curved edge of the pattern. Then flip the pattern piece over and trace around the curved edge of the pattern piece.
Once you have one pattern piece cut out, use that full circle as a template to cut out your other pattern pieces.
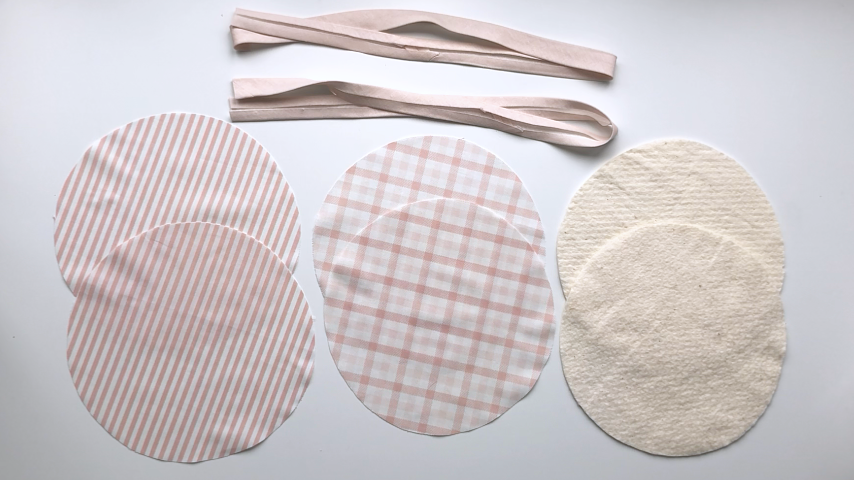
Step 2
Layer one set of your pattern pieces.
Top layer facing down, batting, lining facing right side up.
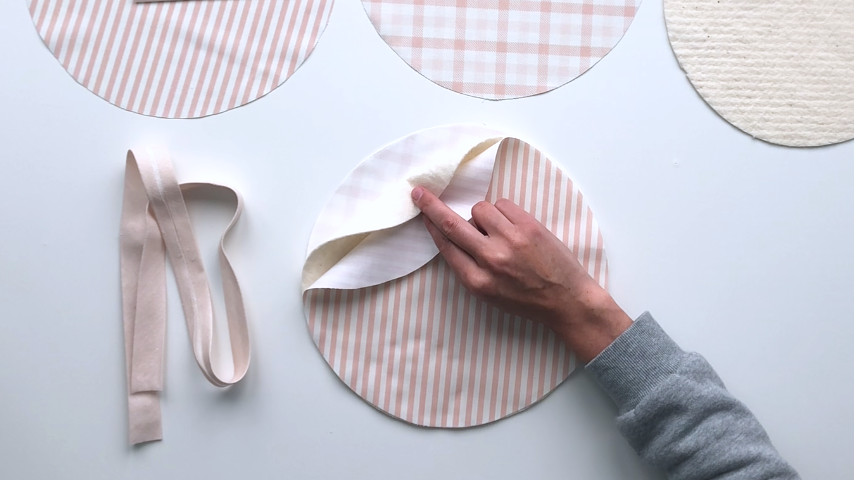
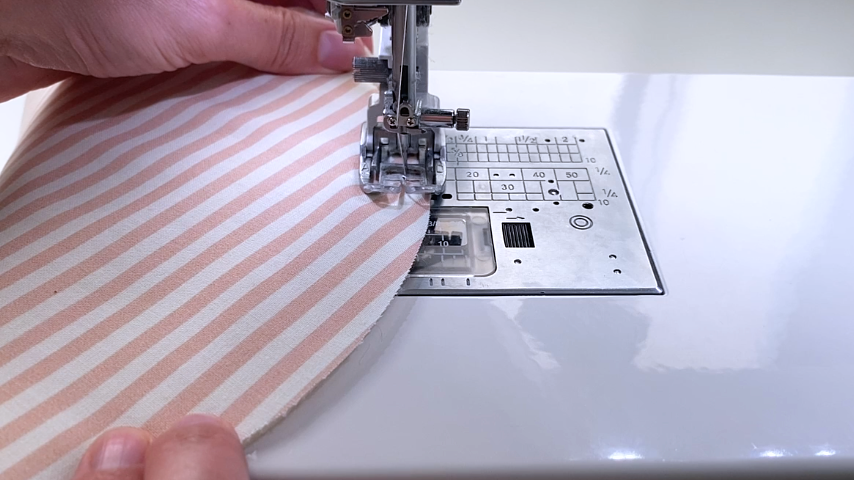
Use a basting stitch (longest stitch length and 1/4″ seam allowance) to sew around the edge of the circle.
Step 3
Use a temporary fabric pen to mark a line 2″ from one end of the bias tape. You’ll start sewing it to the circle at this mark, and in the first fold.
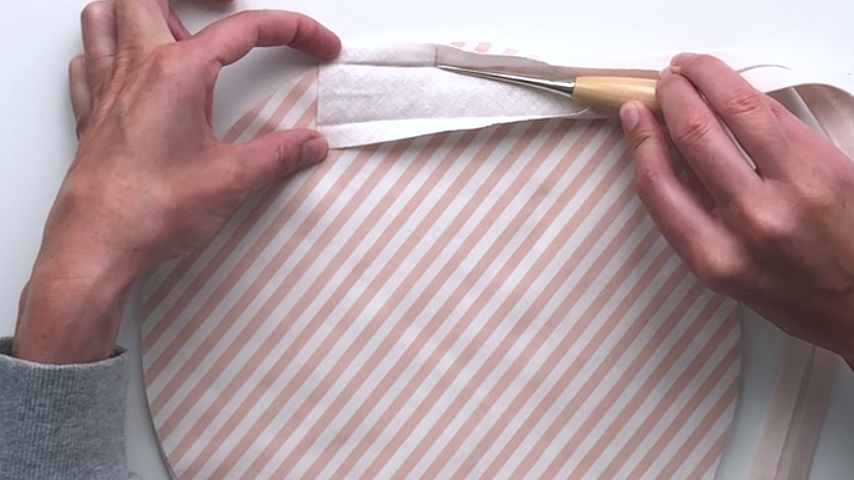
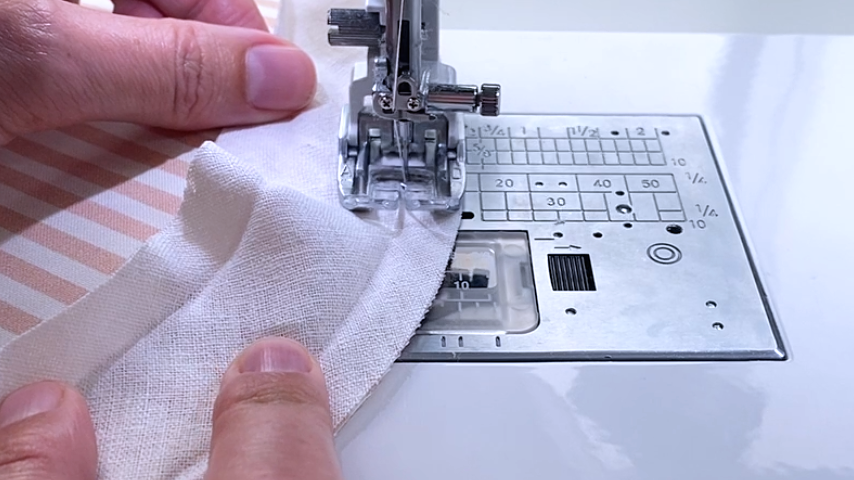
When you come back to the start of your bias tape, fold the 2″ loose end straight back.
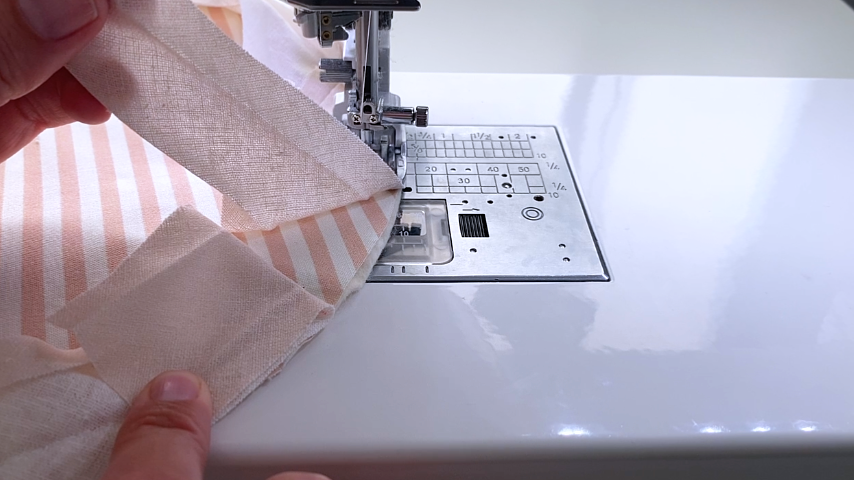
Set the end of the bias tape on top and sew right up to the start of your stitching, without going past it.
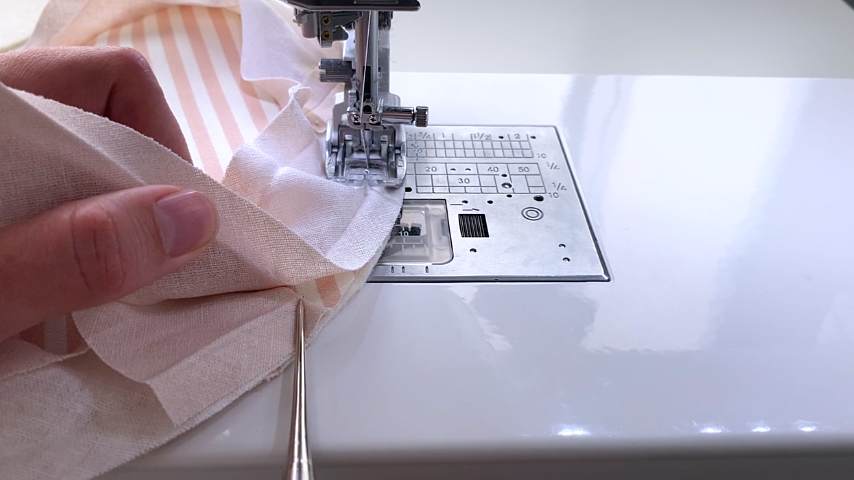
This is how your bias tape ends should look:
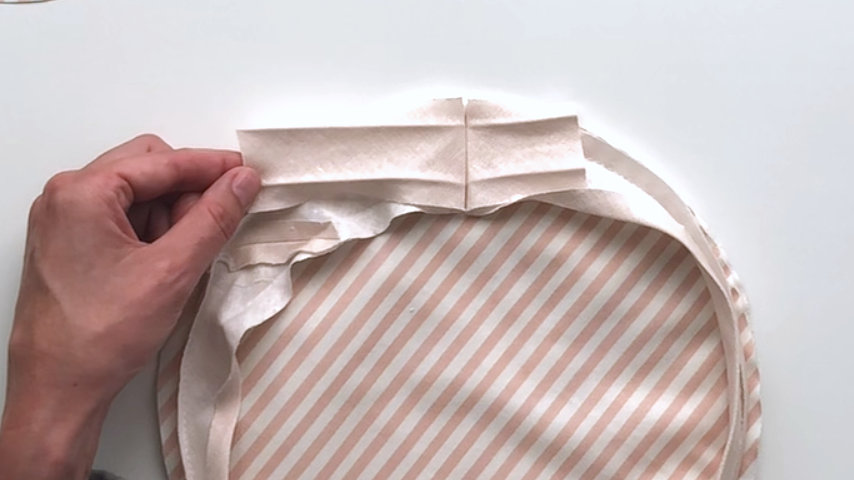
Unfold the end of your bias tape.
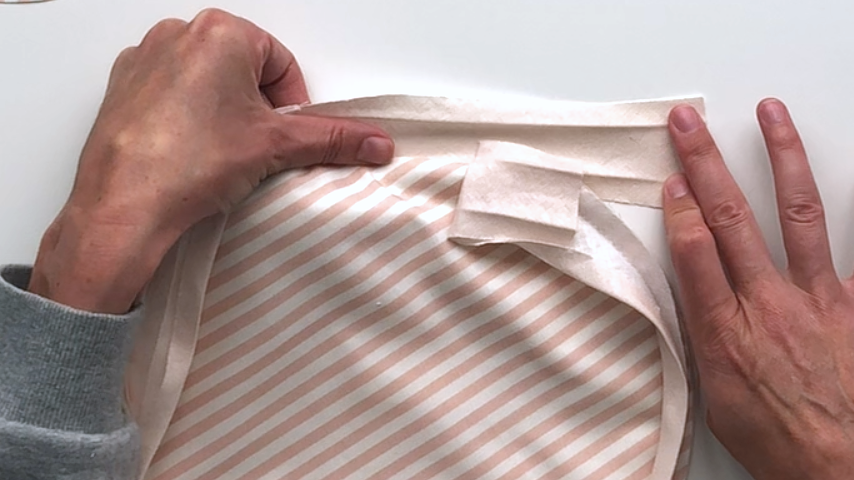
Then fold your circle so you can set the start of your bias tape on top, at a 90-degree angle.
Sew across the two pieces of bias tape at a 45-degree angle.
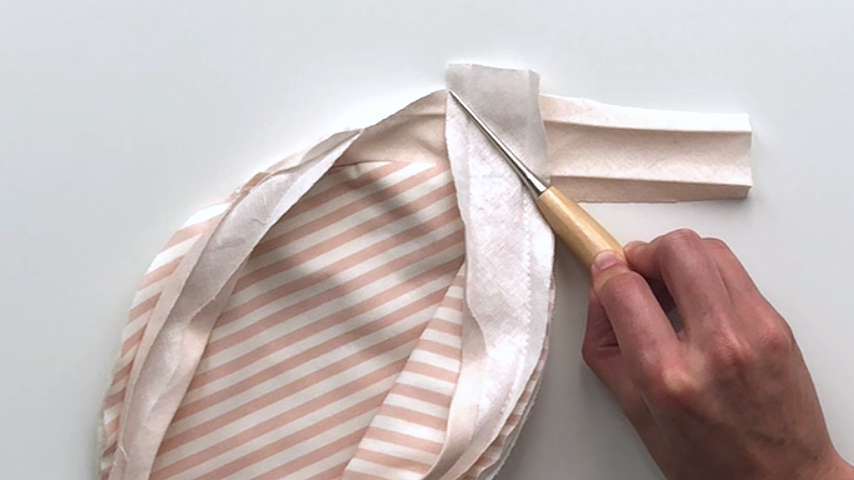
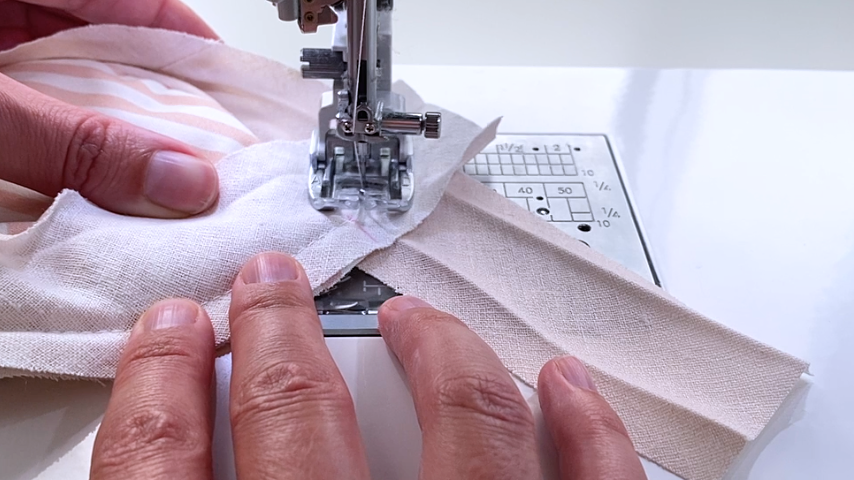
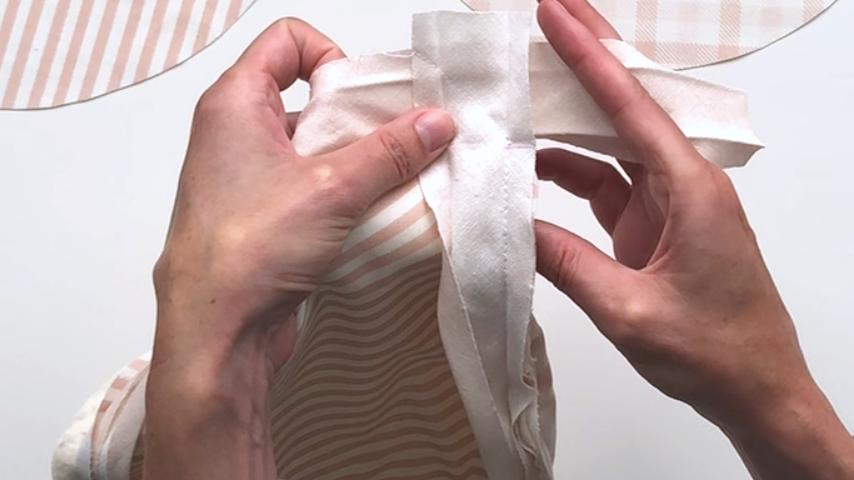
Check to make sure the seam looks good, then trim the excess bias tape off and finger press the seam open.
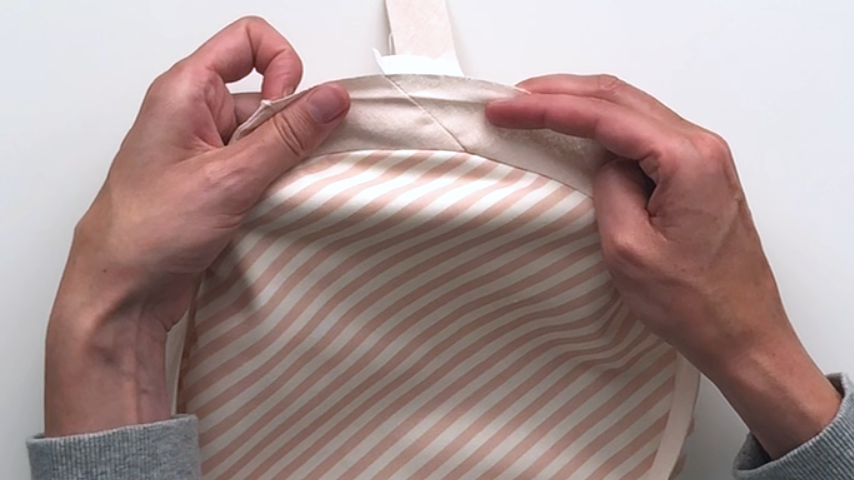
Flip the bias tape to the other side of the circle and press into place, so the inside folded edge is just slightly covering the line of stitching.
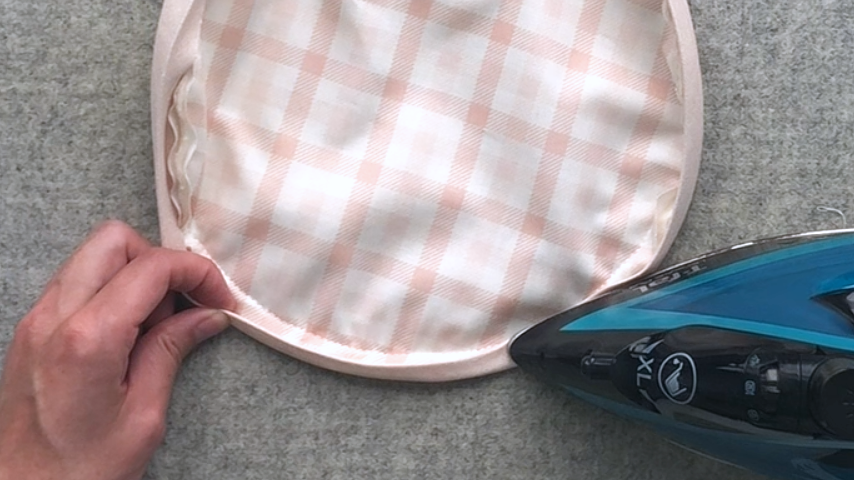
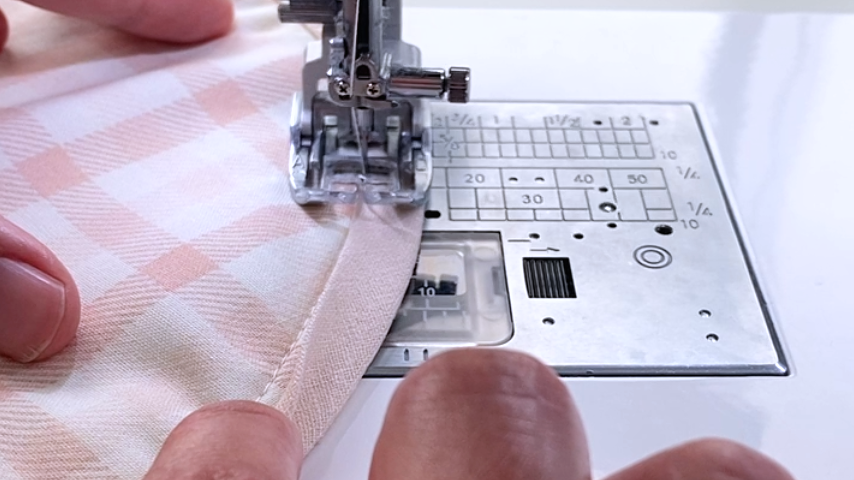
Sew the other side of the bias tape on, sewing about 1/8″ in from the inside edge of the bias tape.
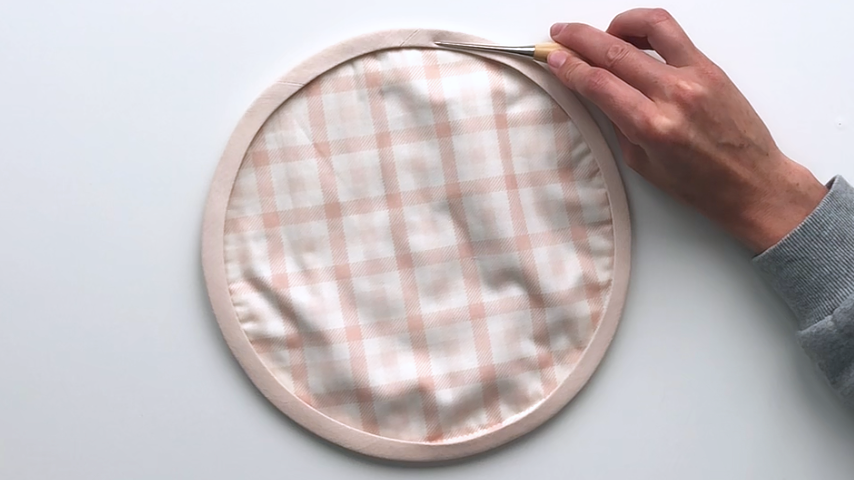
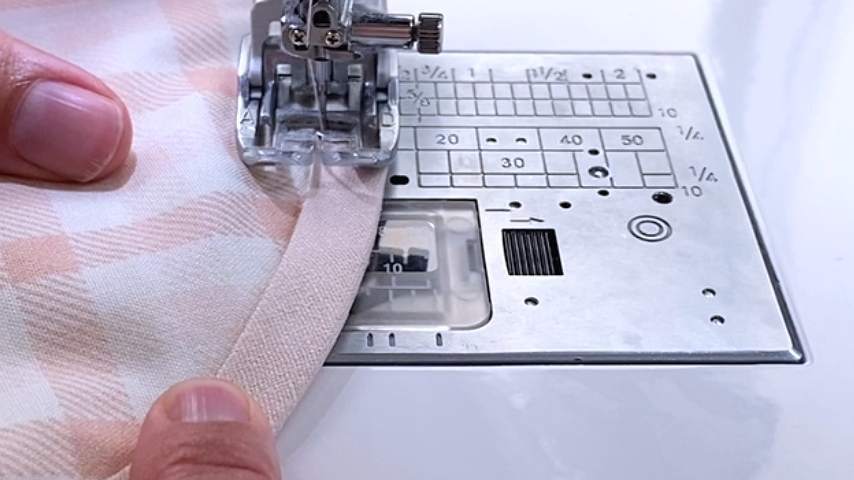
I check as I go to ensure the inside folded edge is just slightly covering the line of stitching. This will ensure your stitching looks even on both sides.
Step 4
Repeat steps 2 and 3 for the other set of pattern pieces.
Step 5
Fold one of your pieces in half and use a temporary fabric pen to mark the halfway point on both sides of the circle, in the bias tape.
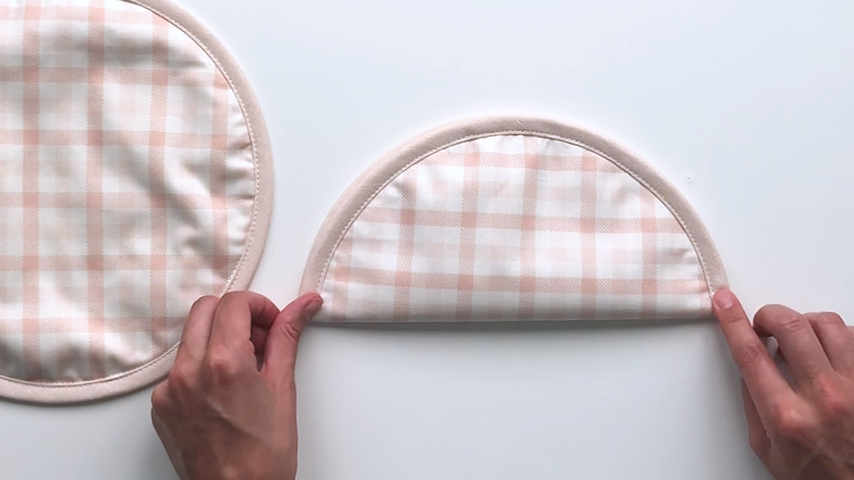
Clip half your circles together and sew across the halfway marks and around the outside edge of the circle, about 1/8″ away from the outside edge.
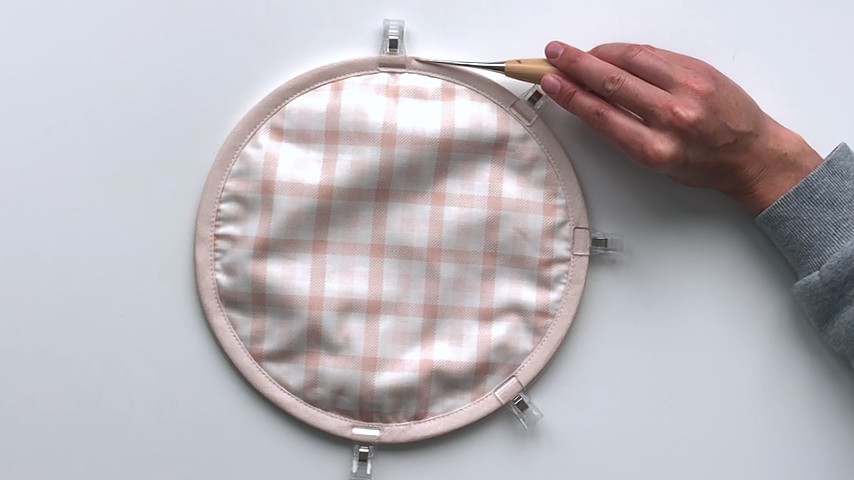
Start by sewing across the halfway marking.
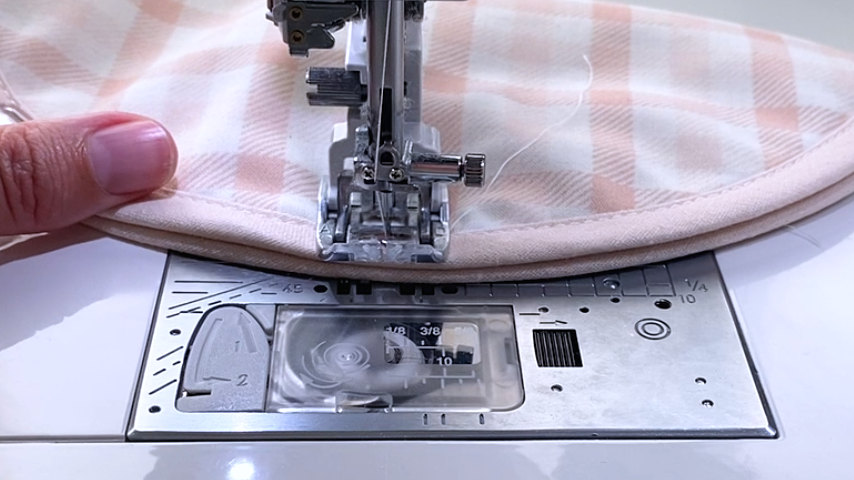
Then sew around half the circle to the other halfway marking.
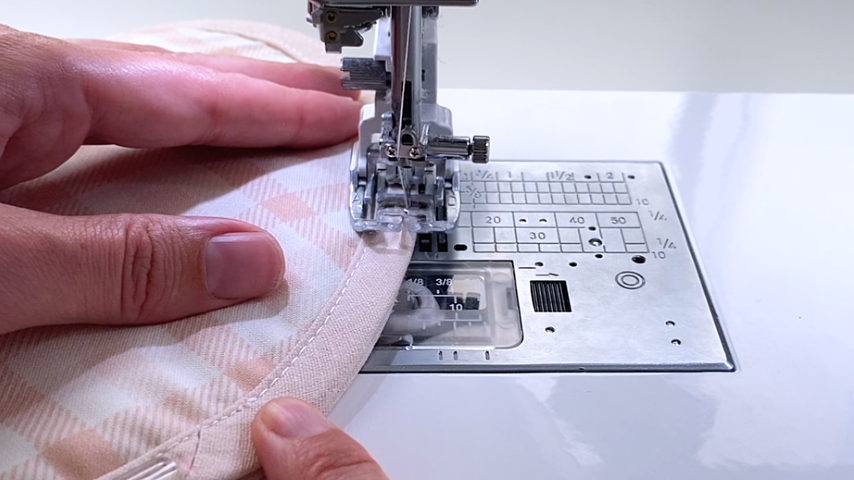
Then back across the other halfway marking. Backstitch at the start and end.
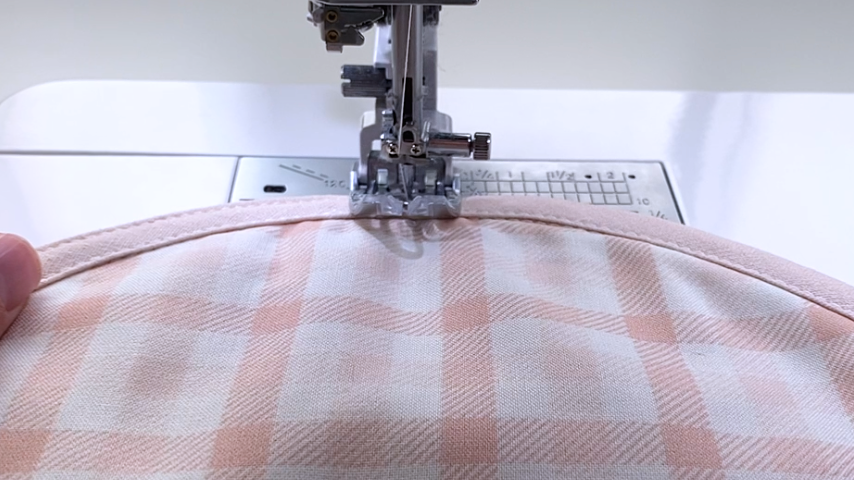
Your tortilla warmer is complete!