How To Sew A Loaf Pan Cozy | Free Printable Pattern
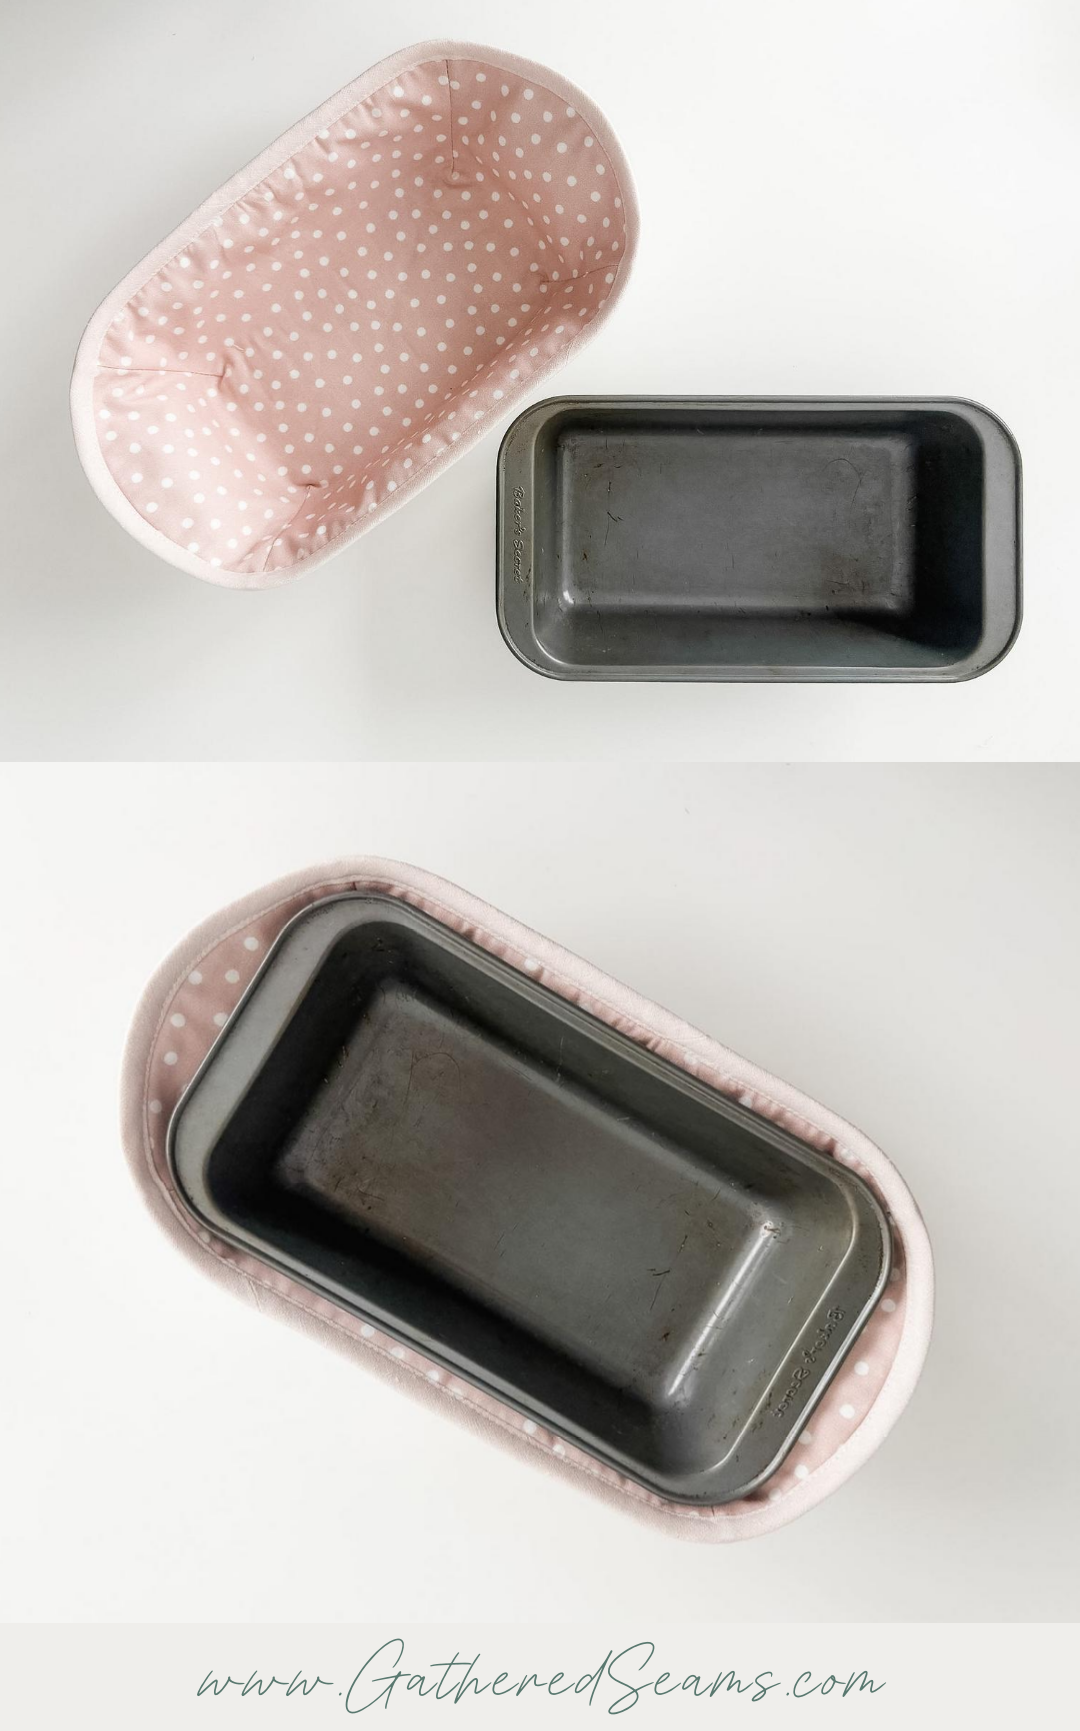
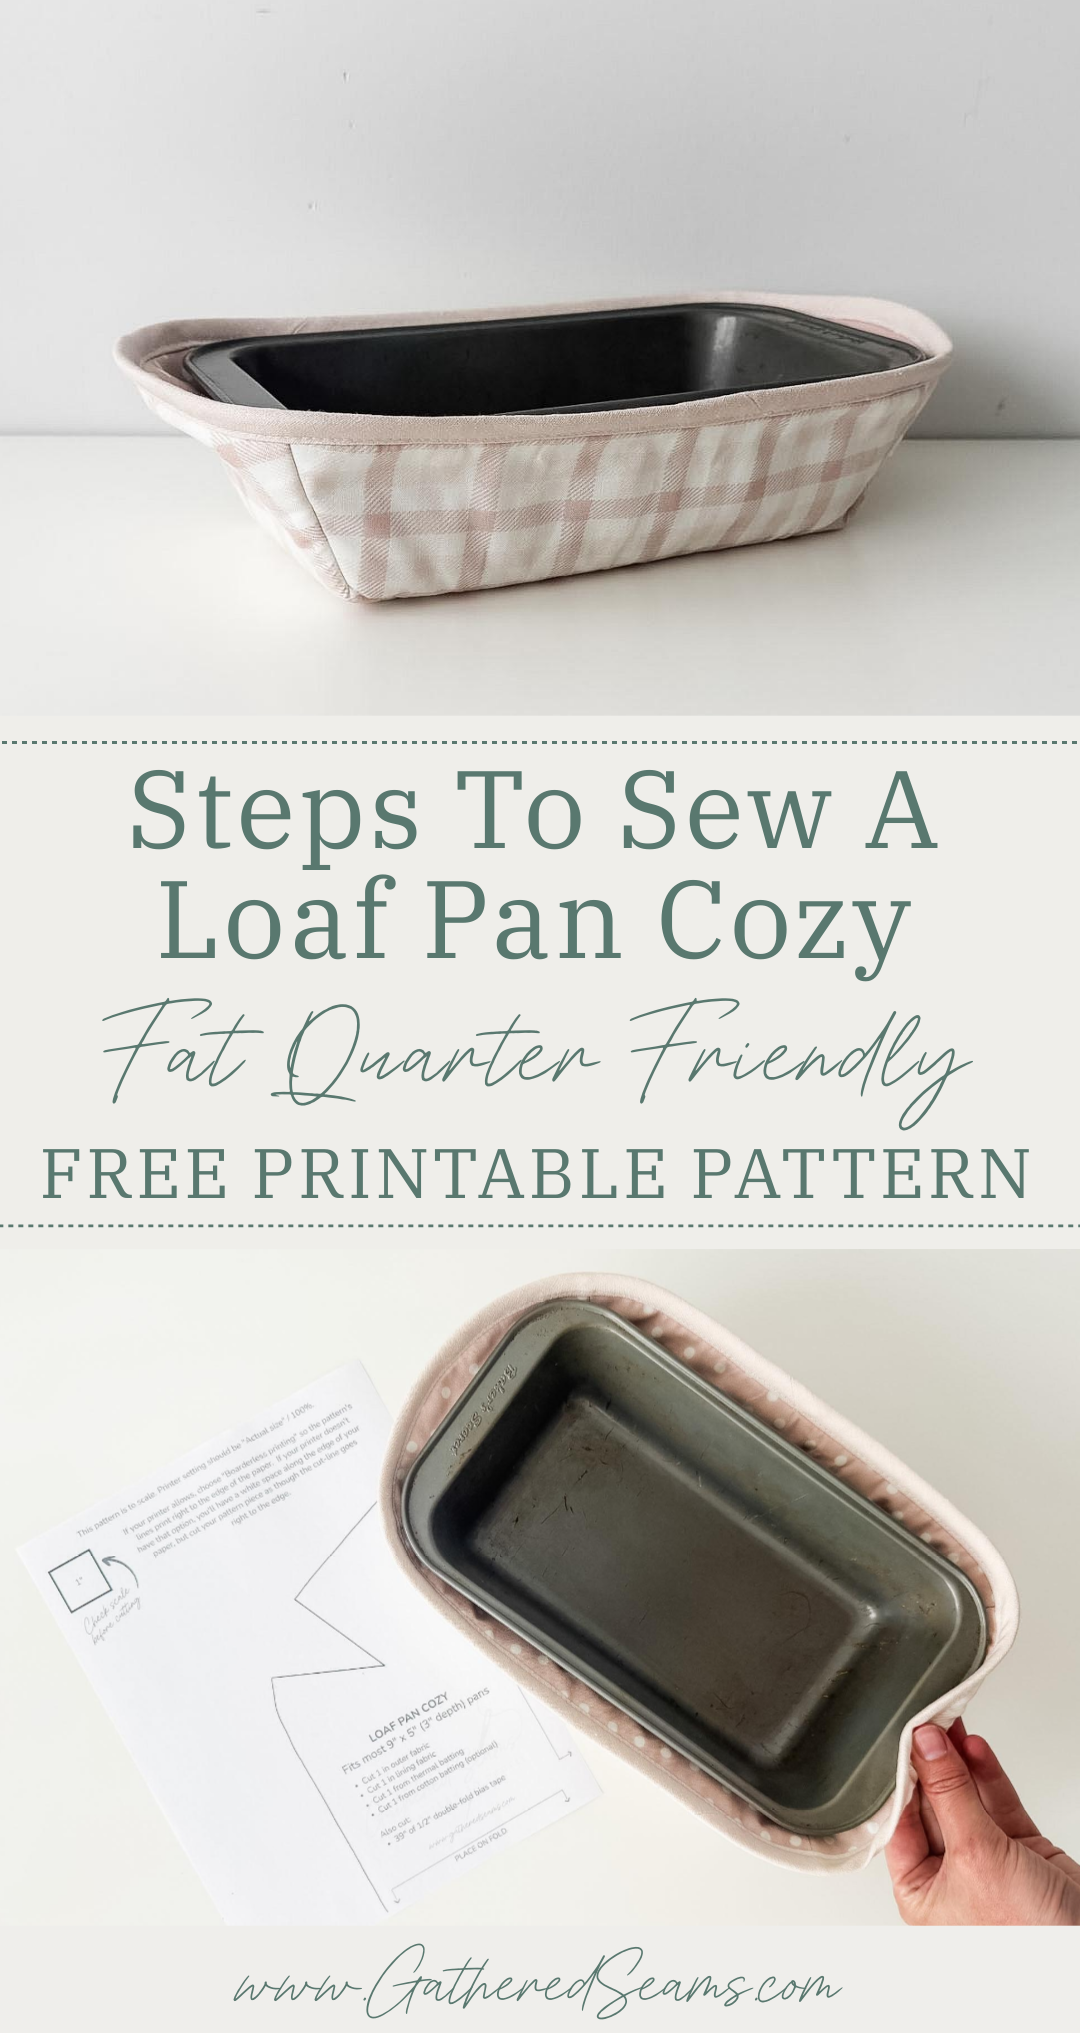
I mostly cook meatloaf in my loaf pan, so I find this loaf pan cozy handy for taking the meatloaf out of the oven, into the cozy, and taking it right to the table.
The cozy makes it easy to pass the meatloaf around the table and set it down anywhere without worrying about damaging the tabletop.
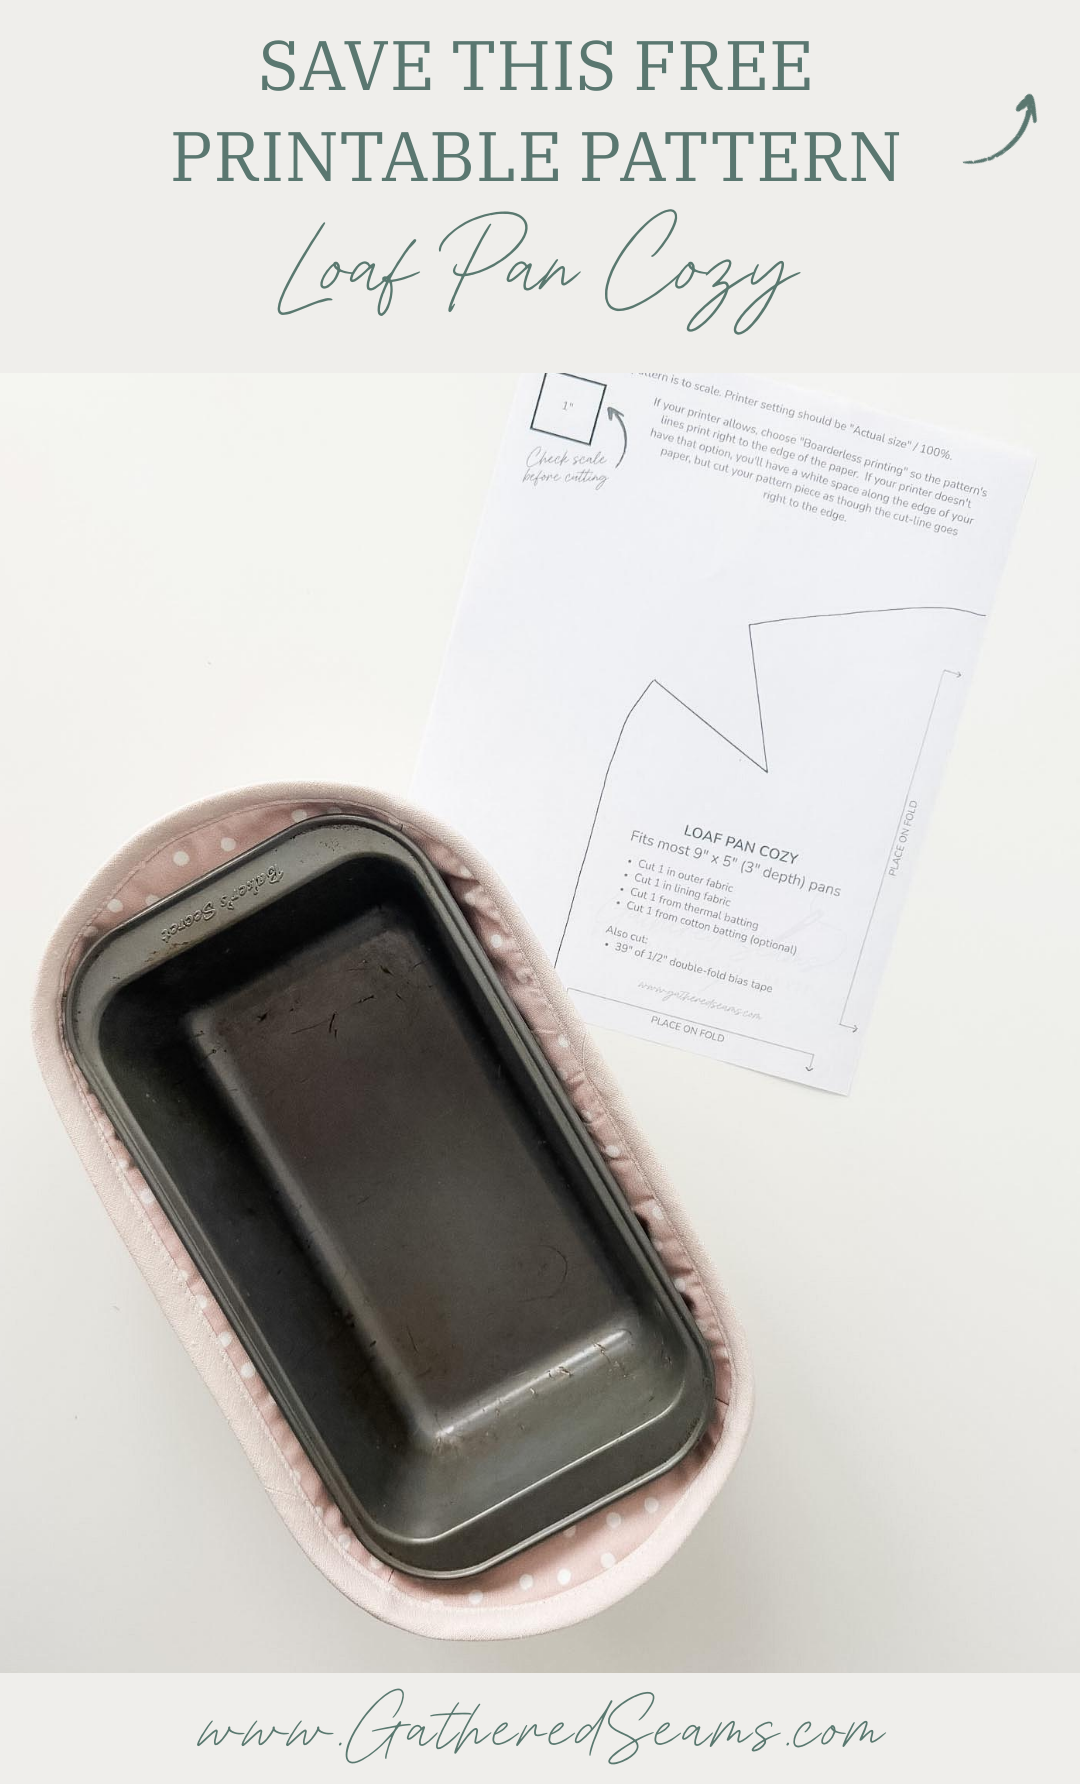
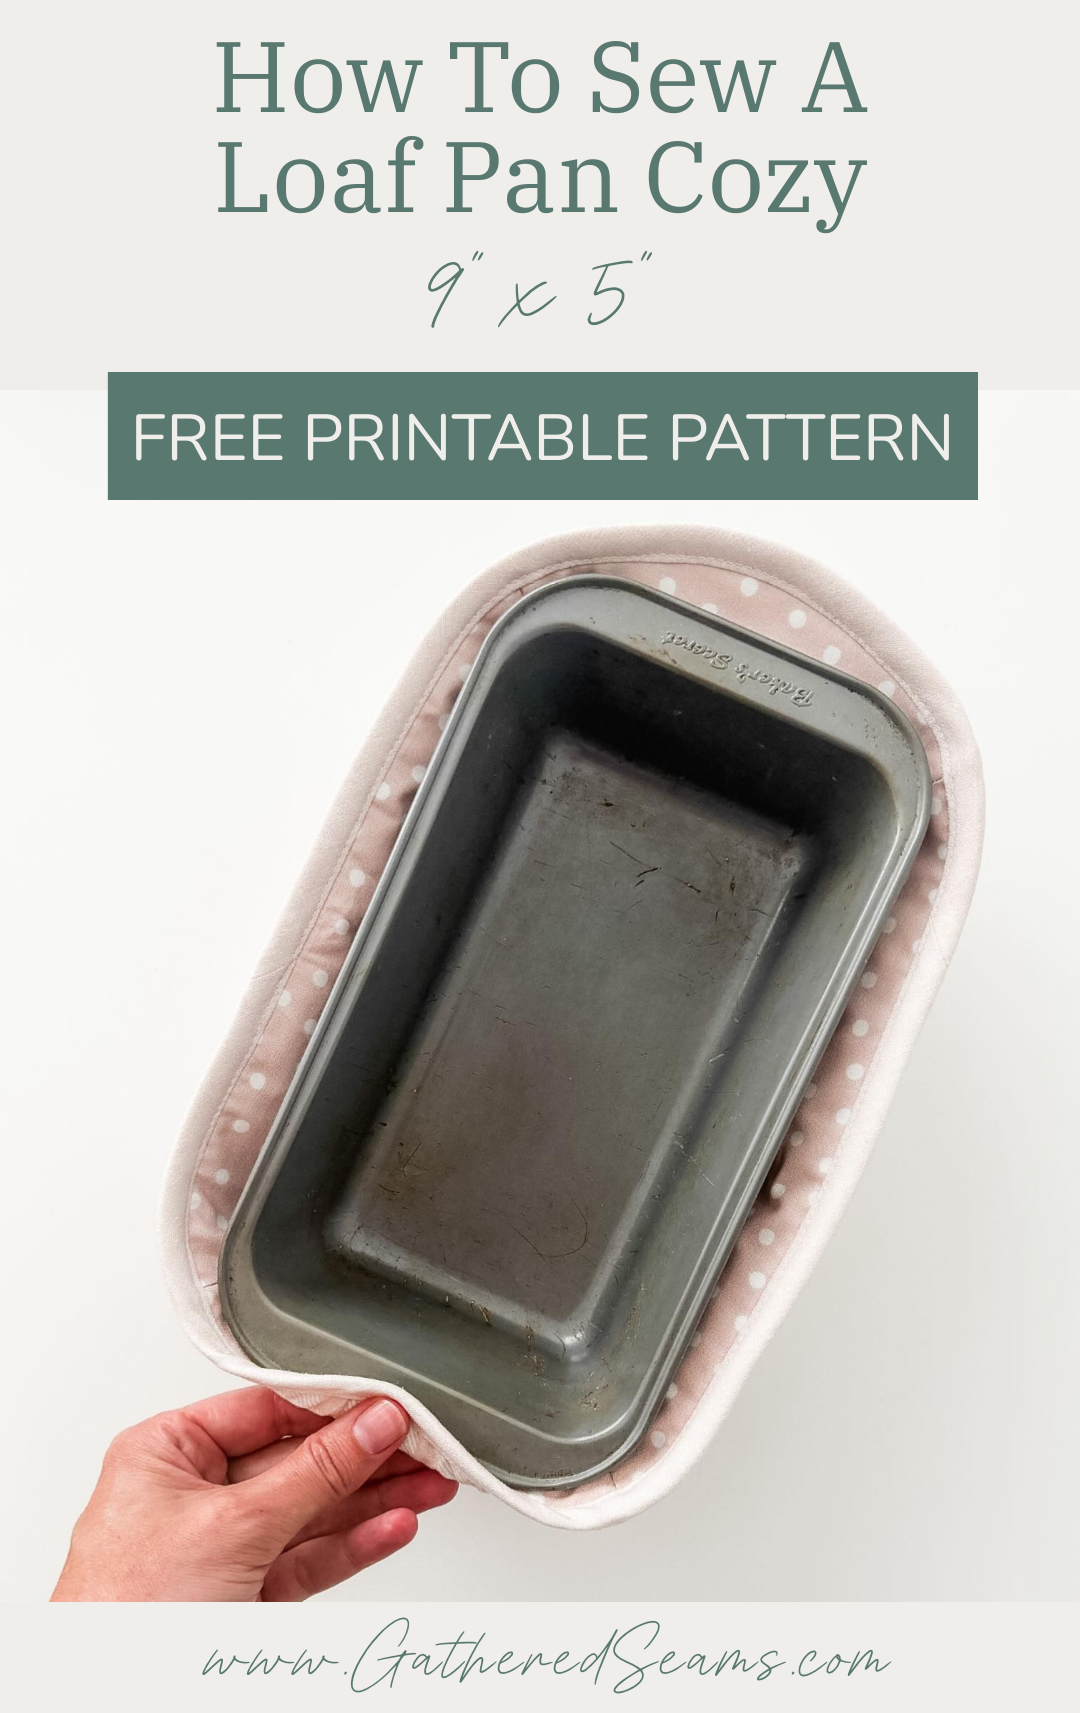
The size of the cozy should fit most 9″ x 5″ loaf pans. Print the pattern piece and compare it to your loaf pan before cutting your materials, to ensure it will be a fit.
Materials
As an Amazon Associate, I earn from qualifying purchases (see full disclosure here).
- Fabric for the outside and lining
- Thermal/heat-resistant batting (Insul-Bright or something similar)
- Cotton batting
- 1/2″ double-fold bias tape (2″ wide when unfolded)
- Thread
Tools
- Sewing machine
- Walking foot (this makes sewing with thicker materials, like batting, easier. This is the universal one I purchased for my Baby Lock, which is a different machine than what’s shown in the photos)
- Temporary fabric pen or chalk
- Temporary fabric adhesive
- Ruler
- Iron
- Scissors
- Pins or clips
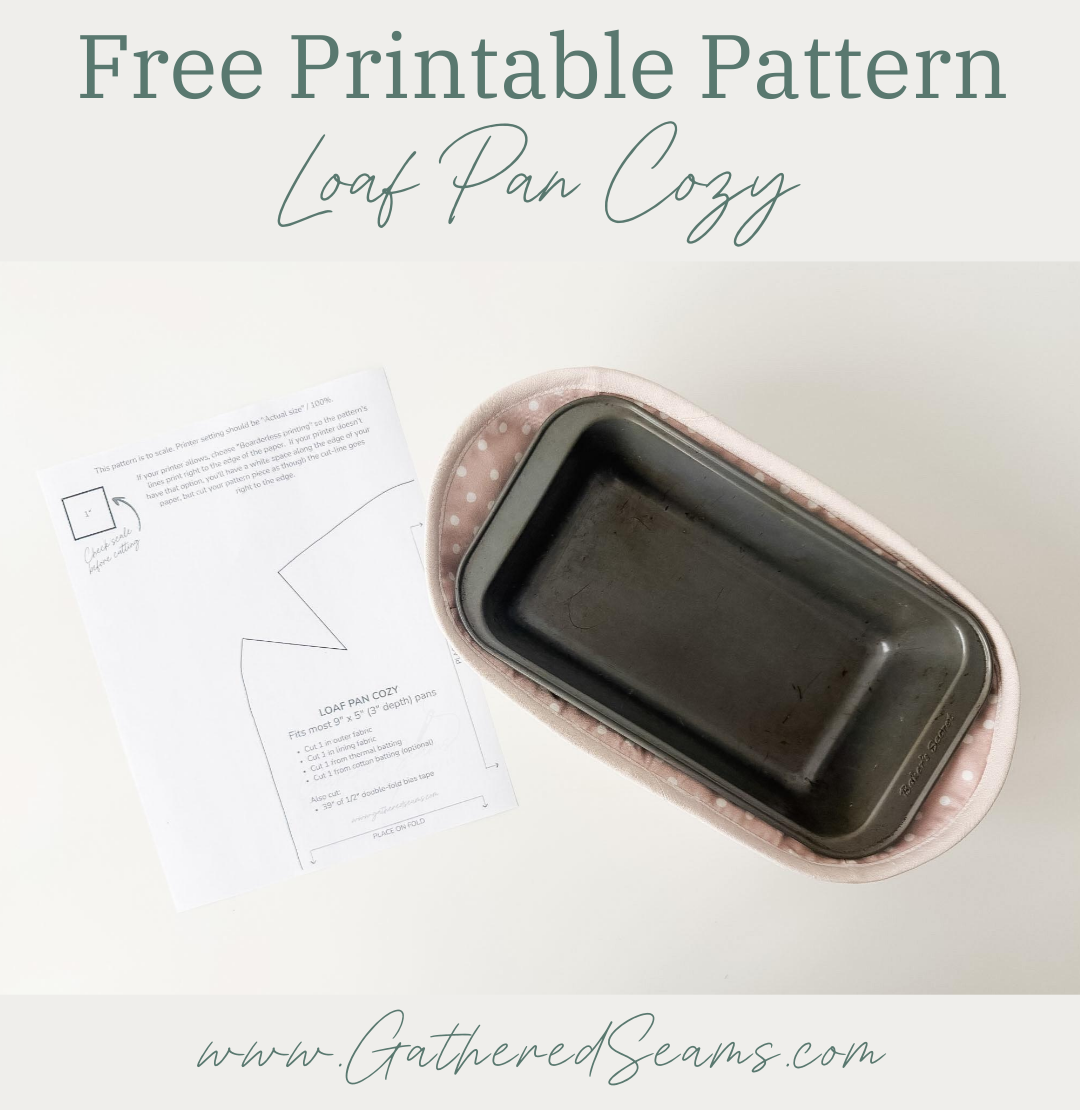
Free sewing pattern for a loaf pan cozy

Steps to sew a loaf pan cozy
Step 1
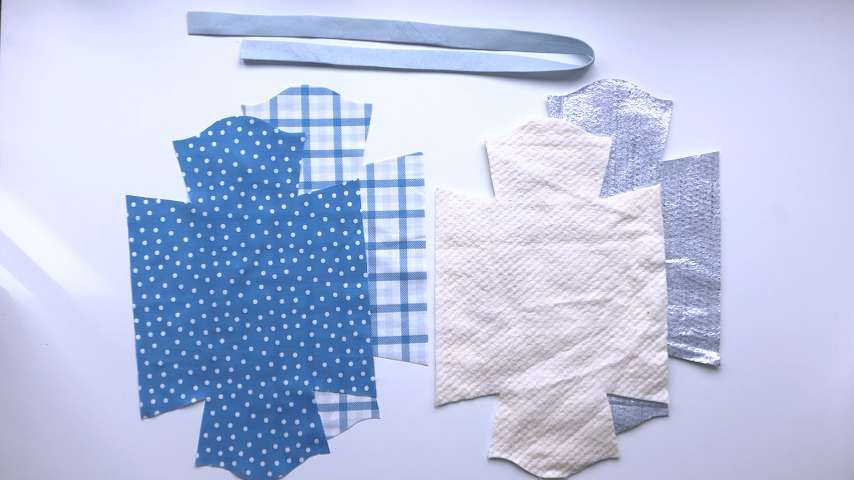
Download the free printable pattern, print it and cut it out.
Fold your fabric in half left to right and in half again top to bottom so you can place the two edges of the pattern on a fabric fold.
I like to cut out one piece of fabric this way, then use that full pattern piece as a template to cut my lining and batting.
You will need to cut the pattern piece in:
- Outer fabric
- Lining fabric
- Thermal batting
- Cotton batting
You will also need to cut:
- 40″ of 1/2″ double-fold bias tape
Step 2
Layer your outer material and batting as follows:
- Thermal batting (mine has a shiny side, which I place so it will be facing the hot dish)
- Cotton batting
- Outer piece (right side up)
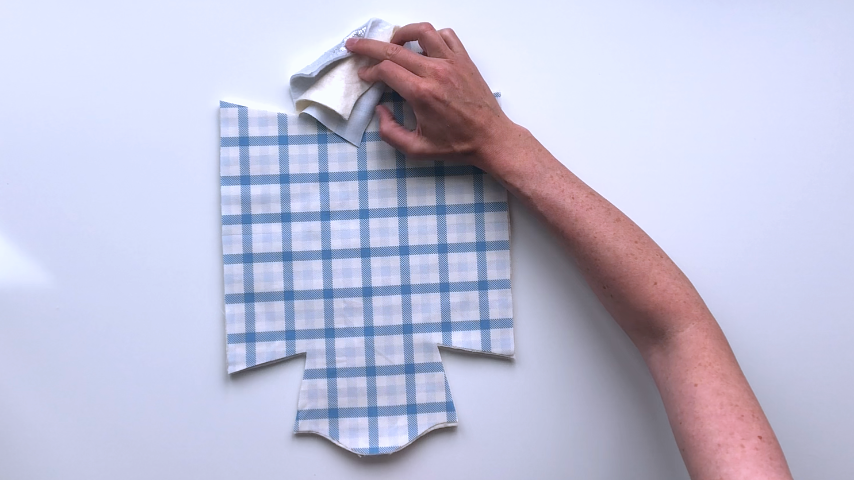
Use temporary fabric spray adhesive to hold the layers together, or add quilting stitches. I’ve added an X stitch from the bottom of one dart to another, which I prefer (rather than no quilting stitch as shown below).
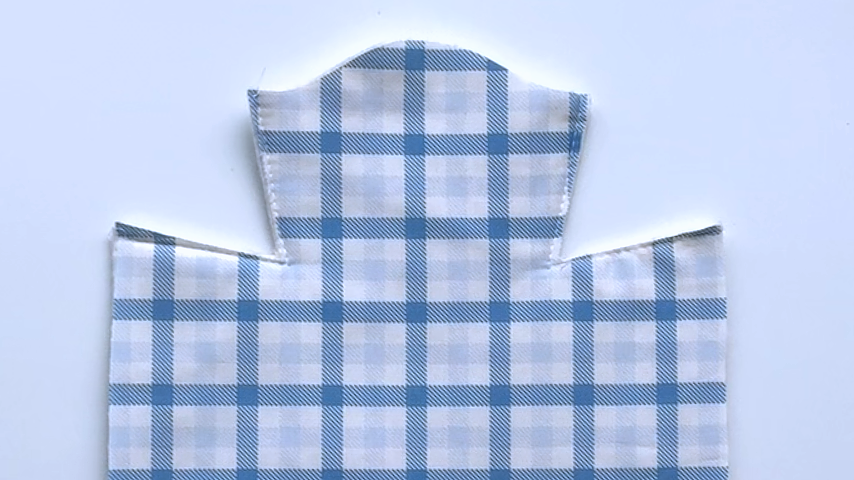
I also like to add basting stitches on either side of each dart. I sew as close to the cut edge as possible and use my sewing machine’s longest stitch length.
This step makes it easier to sew the darts accurately.
Step 3
Fold your cozy so the two sides of a dart come together, lining up the cut edges. Sew the darts using a 1/2″ seam allowance. Repeat to complete all 4 corners.
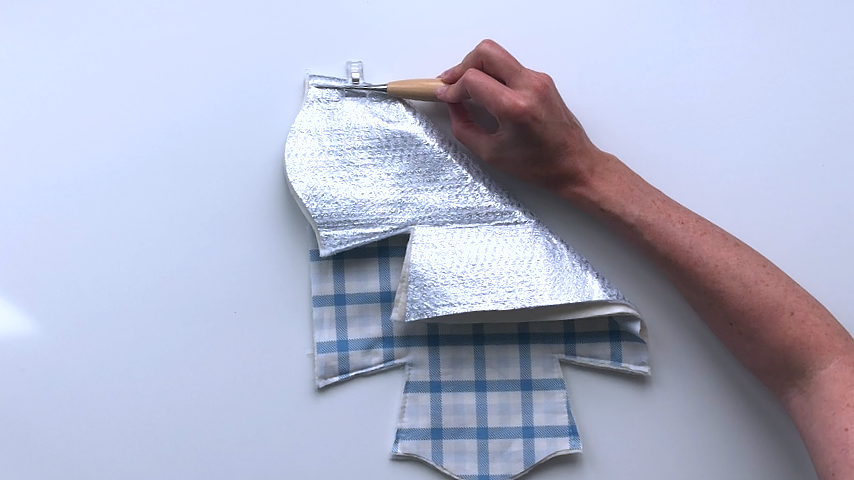
Remove the basting stitches you added close to the edge of each dart by either cutting away the 1/8″ – 1/4″ of fabric with the stitches, or use a seam ripper to remove them.
Then, cutting the batting only, snip to the point of the dart:
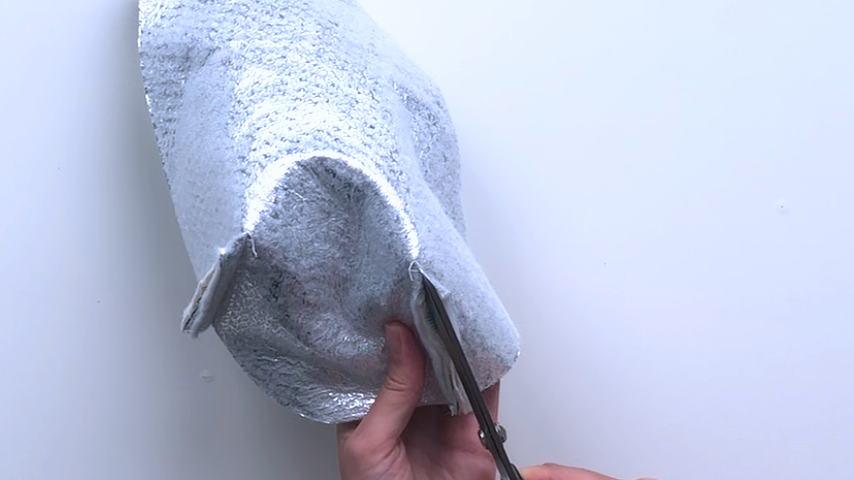
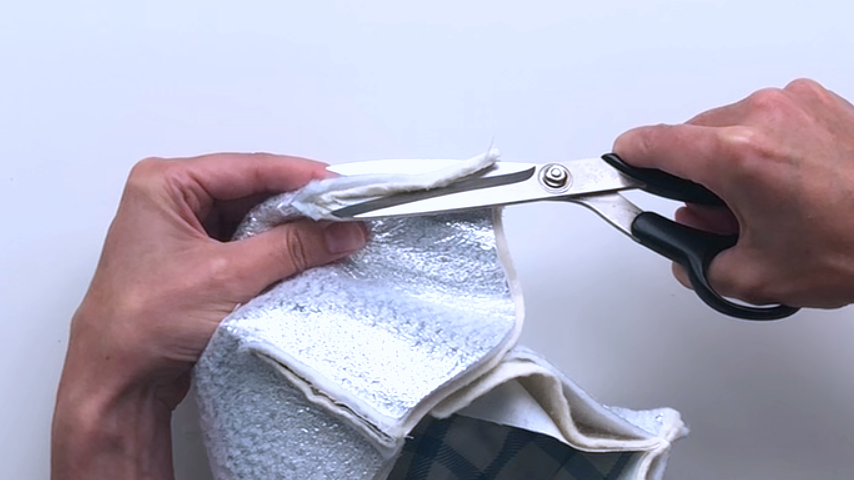
Then trim the batting’s seam allowance close to the stitching, on either side of the seam. Repeat for all 4 corner seams.
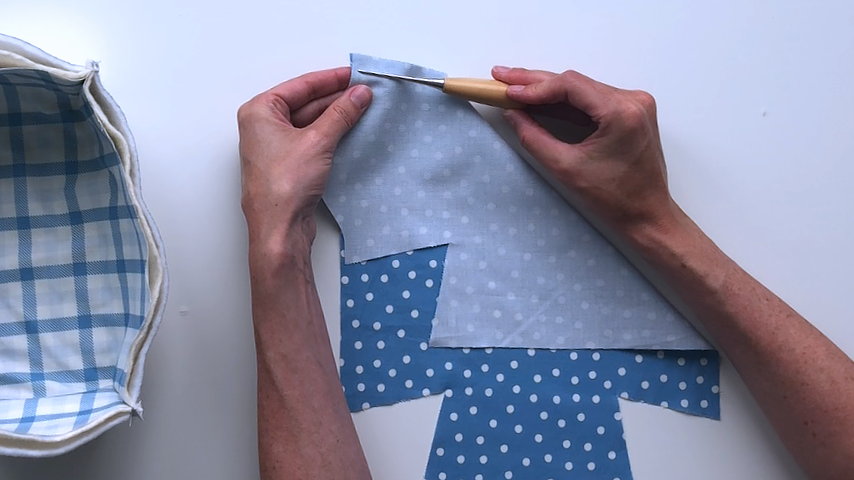
Sew each corner of your lining. This time, use a 5/8″ seam allowance, which will help the lining sit inside the outer piece and account for the bulk of the batting.
Step 4
Alternate which way your seam allowances sit from your lining to your outer piece.
For example, on my lining, I’ve folded my seam allowances away from the short ends.
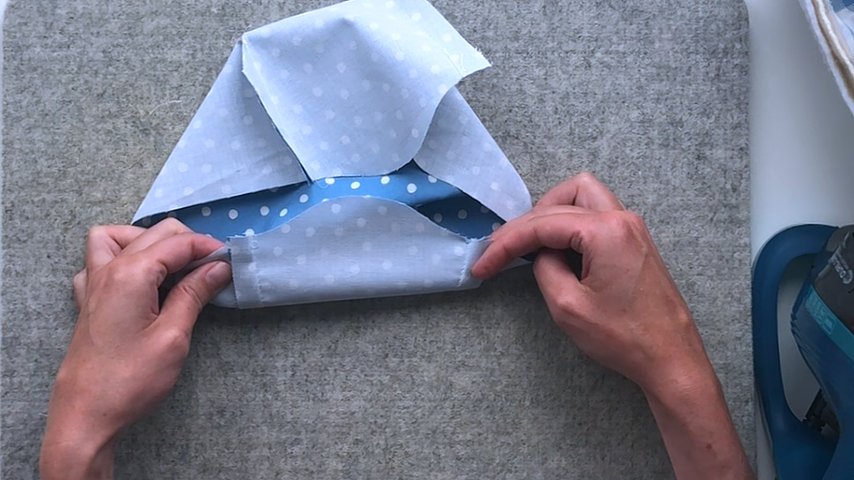
Then on my outer piece, I’ve folded my seam allowances in toward the short end.
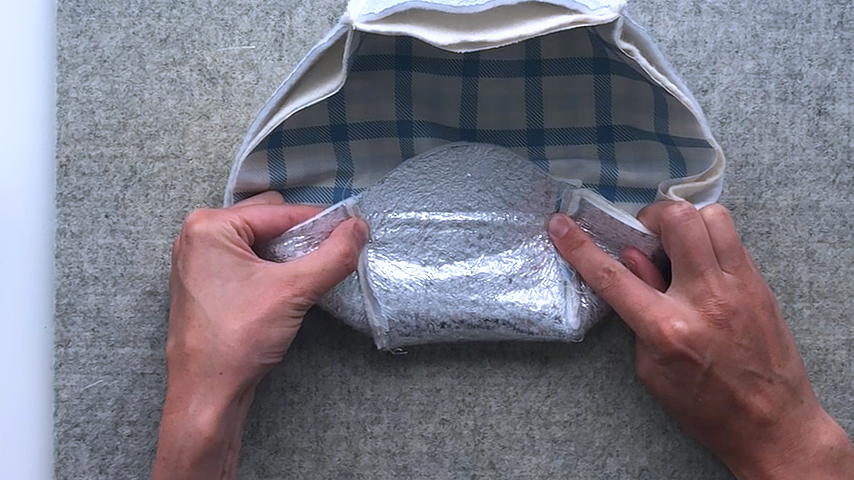
Press the seams and seam allowances in the right direction.
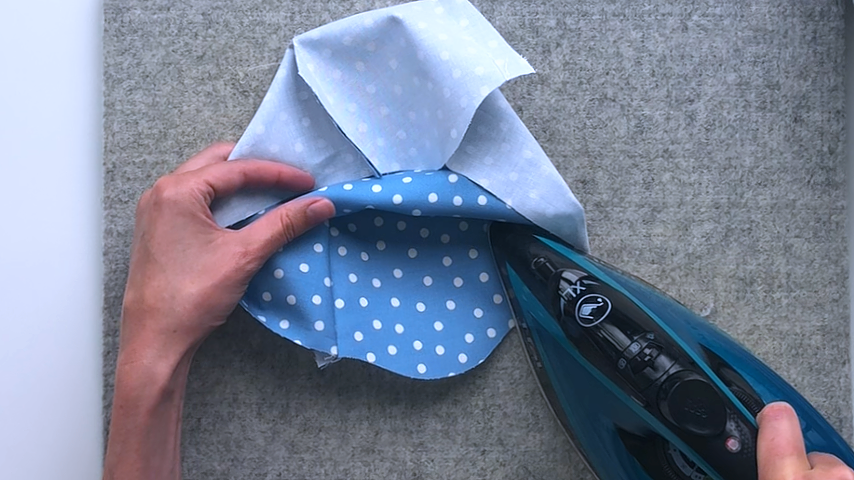
Step 5
Nest the lining inside the outer piece with wrong sides together. Line up the corner seams and clip into place.
The top edge of your lining will likely sit a little above the top edge of your outer piece.
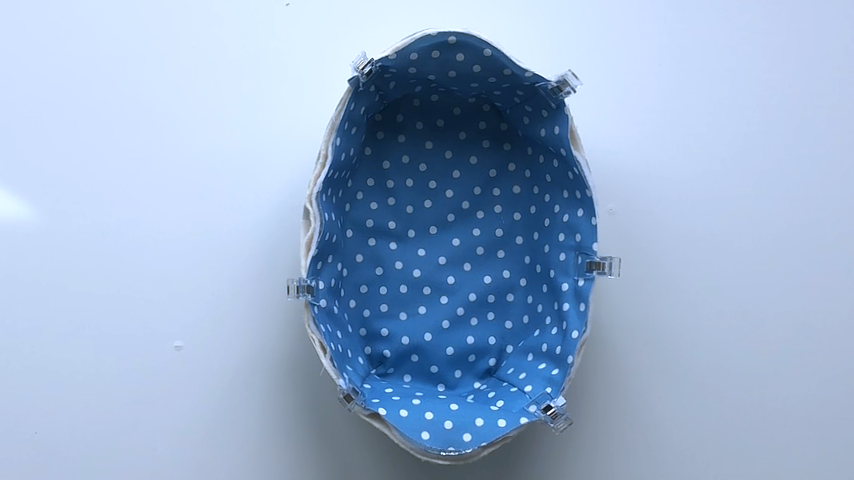
Use a basting stitch (longest stitch length and 1/4″ seam allowance) to secure the layers together around the top edge.
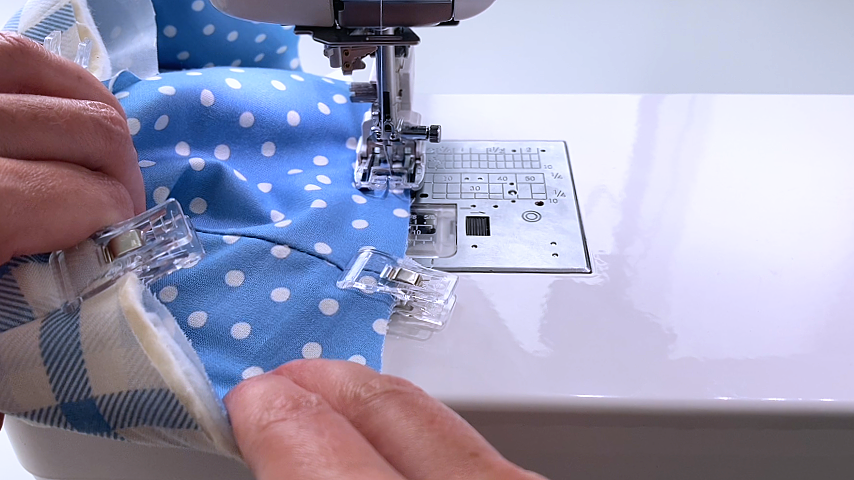
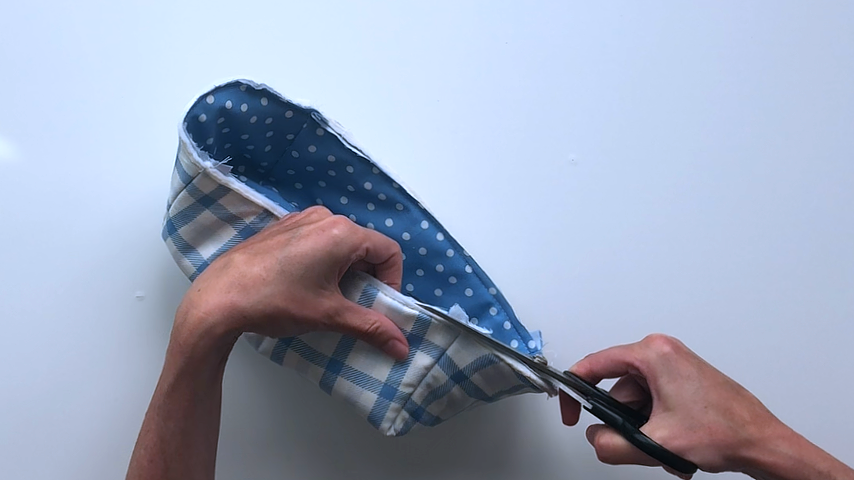
Trim the lining where needed so the top edge is in line with the outer piece.
Step 6
Mark a line 2″ away from one end of your bias tape. This is where you’ll start sewing it to your cozy. Sew in the first crease.
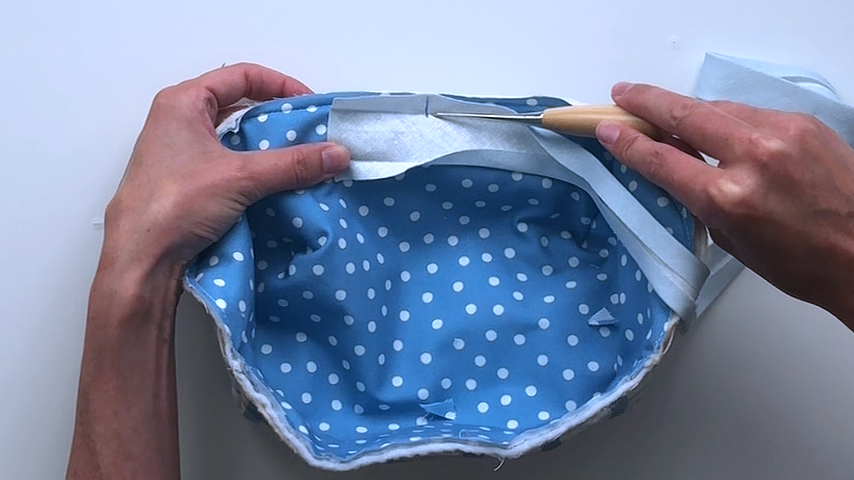
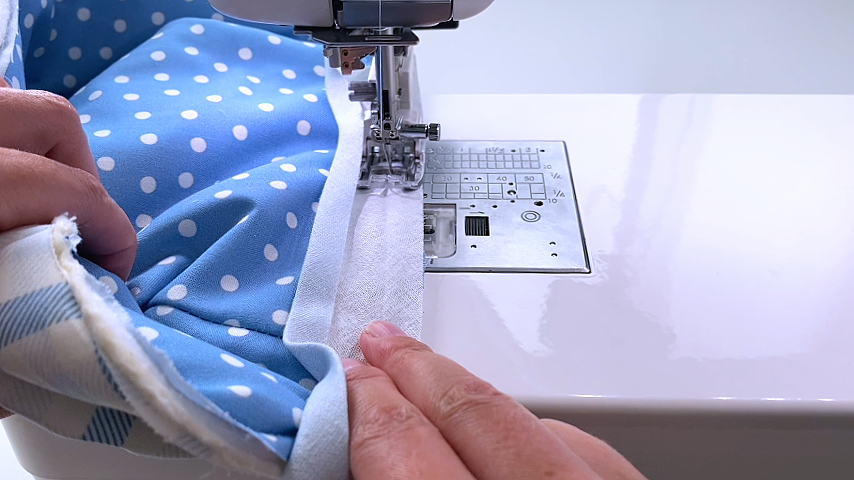
When you come back around to the start of your bias tape, fold the 2″ end straight back.
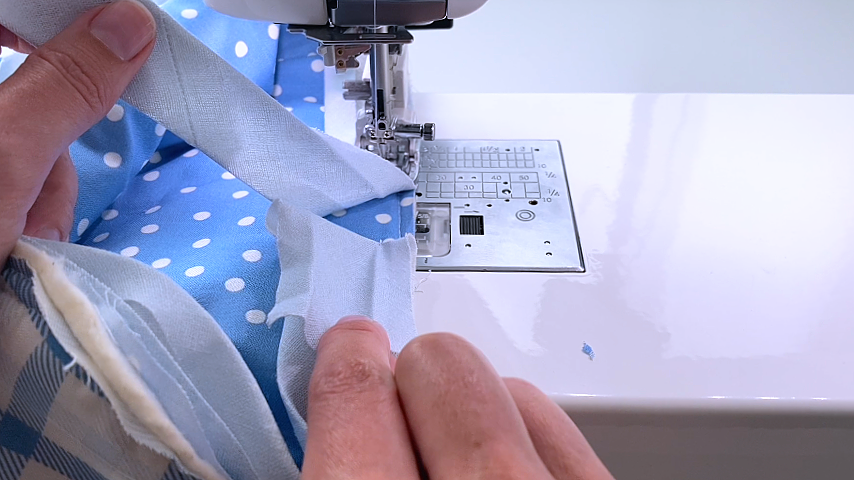
Then place the end of your bias tape on top, and sew right up to the start of your stitching, being careful not to go past it.
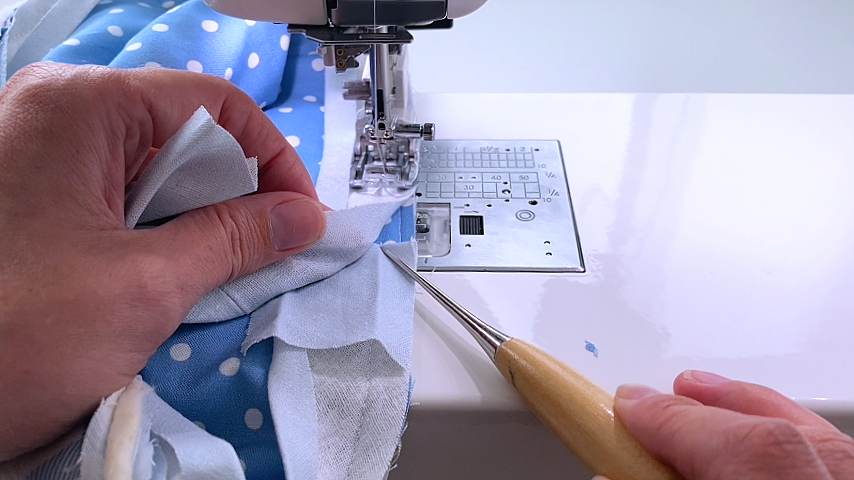
Unfold the end of your bias tape:
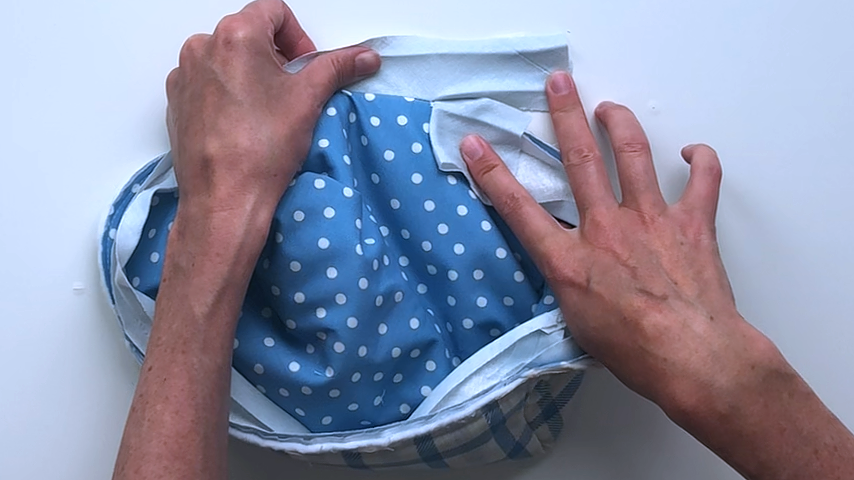
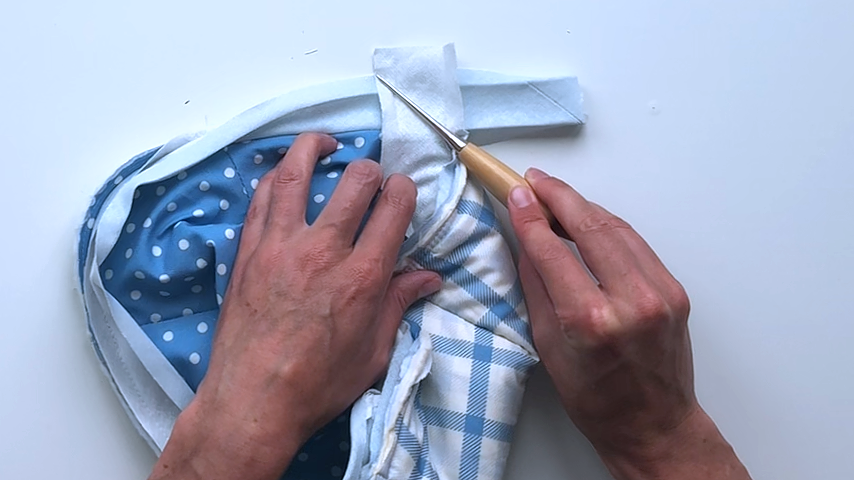
Then fold your cozy so you can place the start of your bias tape on top, at a 90-degree angle to the end piece.
You’ll sew across the bias tape at a 45-degree angle:
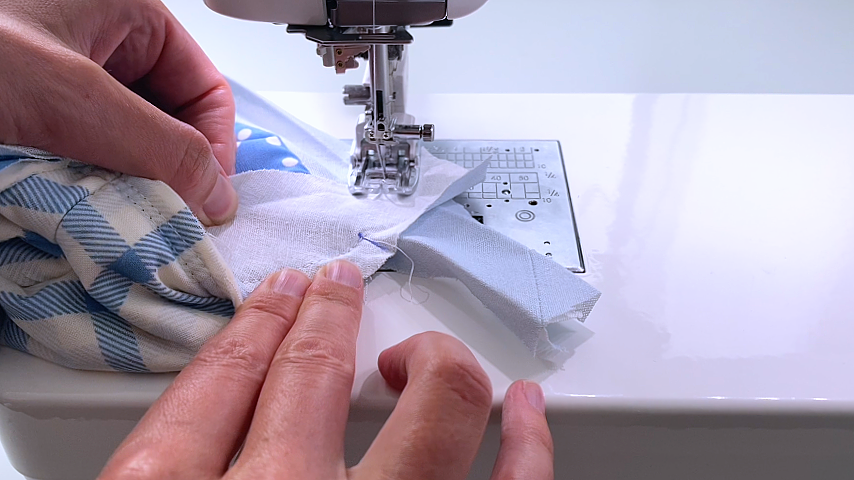
Check to make sure the seam looks good, then trim the excess bias tape away.
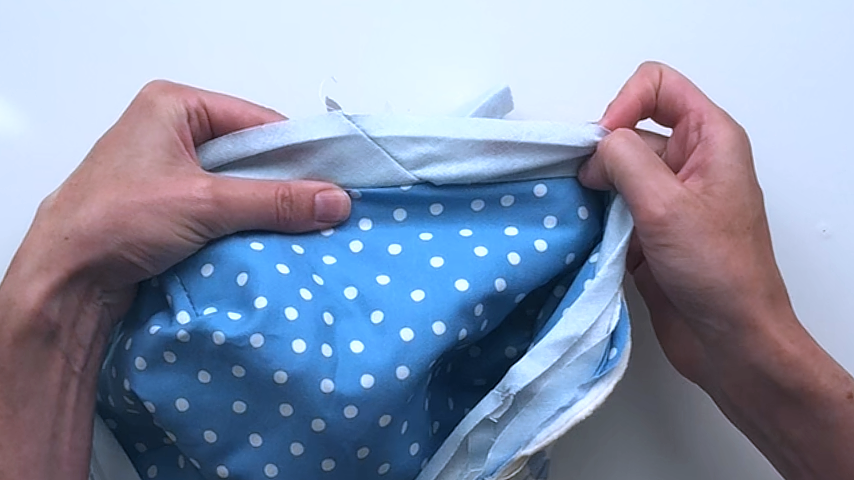
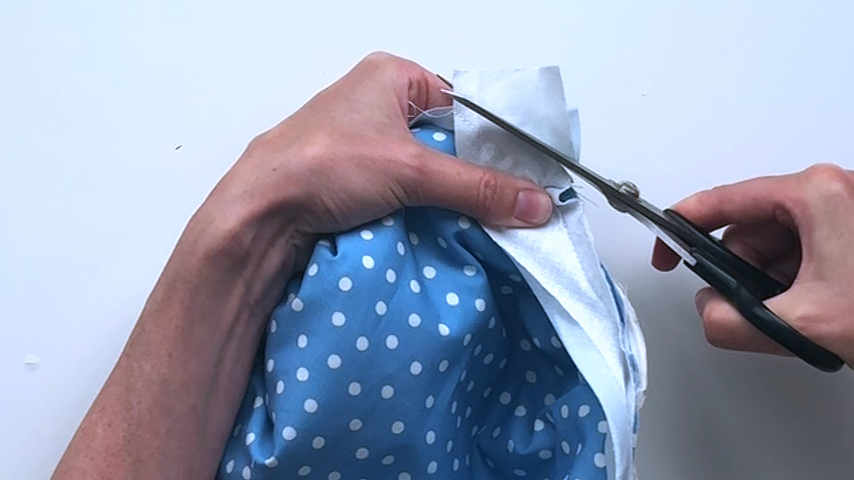
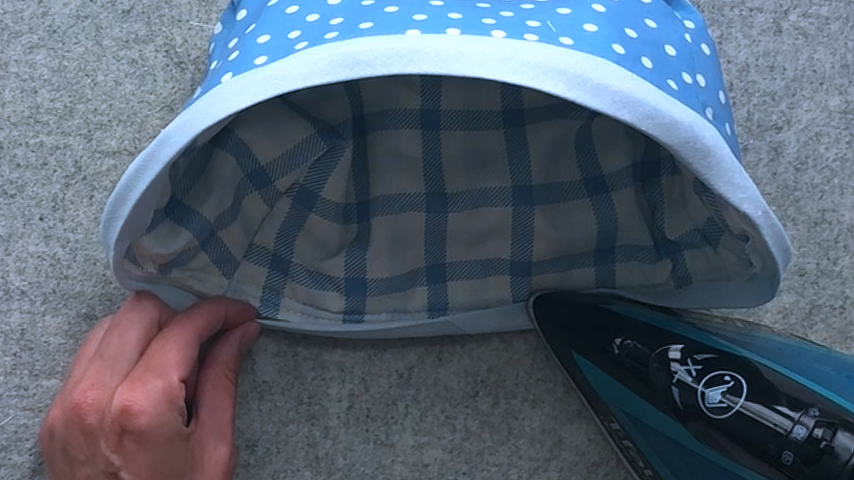
Fold the bias tape over to the other side and press it into place, ensuring the folded edge of the bias tape is just slightly covering the line of stitching.
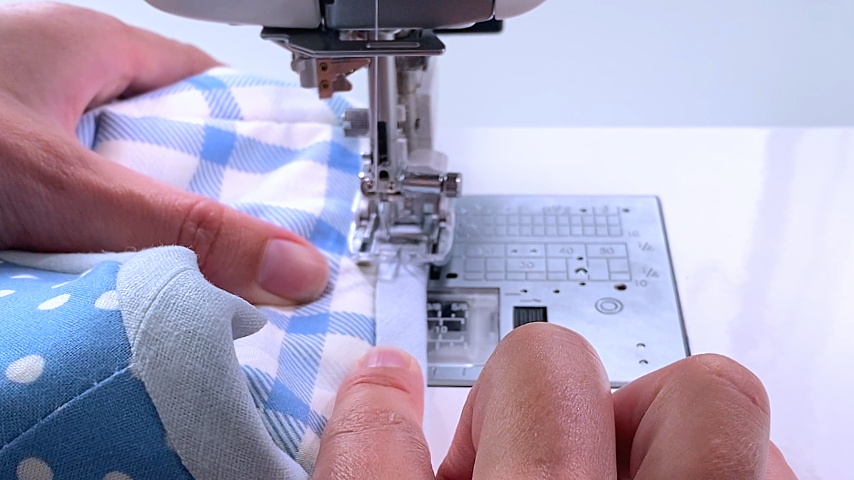
Sew about 1/8″ inside the inside edge of the bias tape.
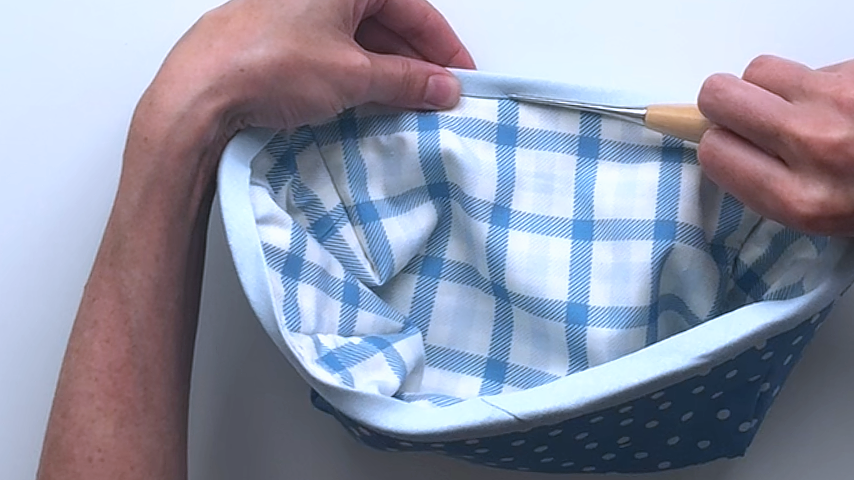
Your loaf pan cozy is complete!