How To Sew A Can Cozy | Free Printable Pattern
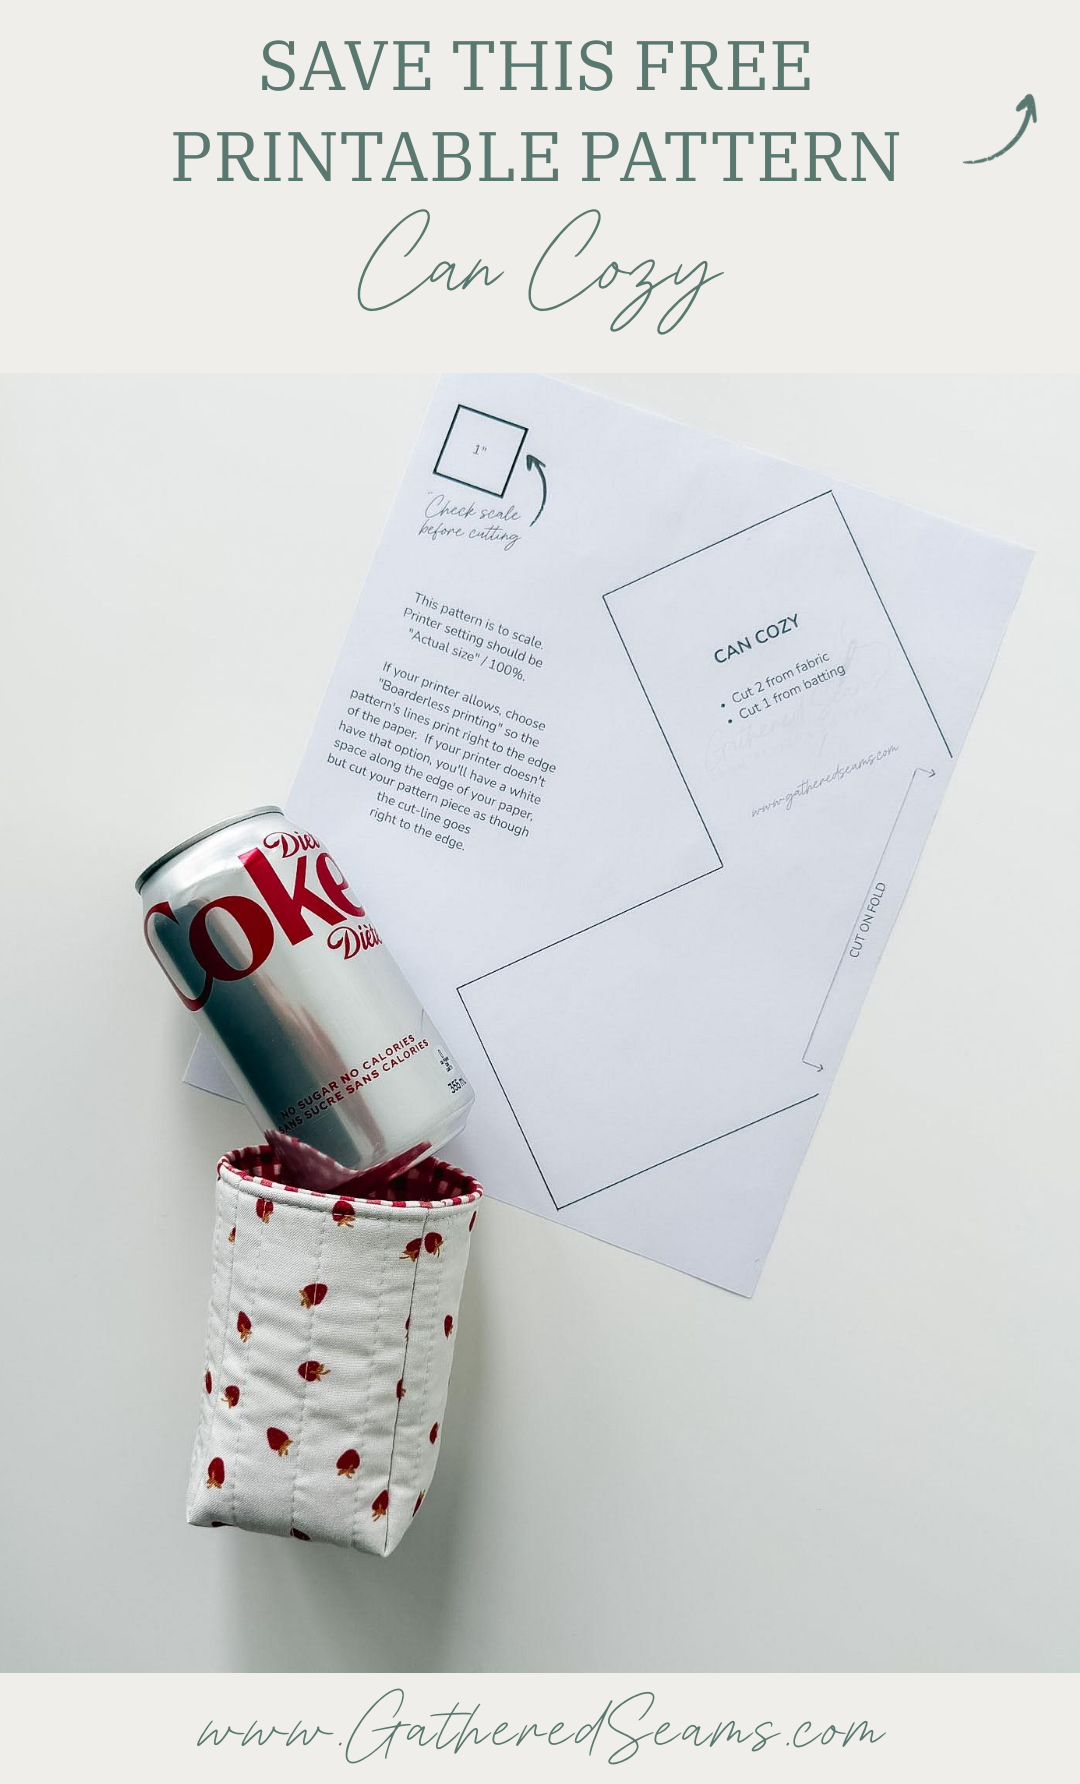
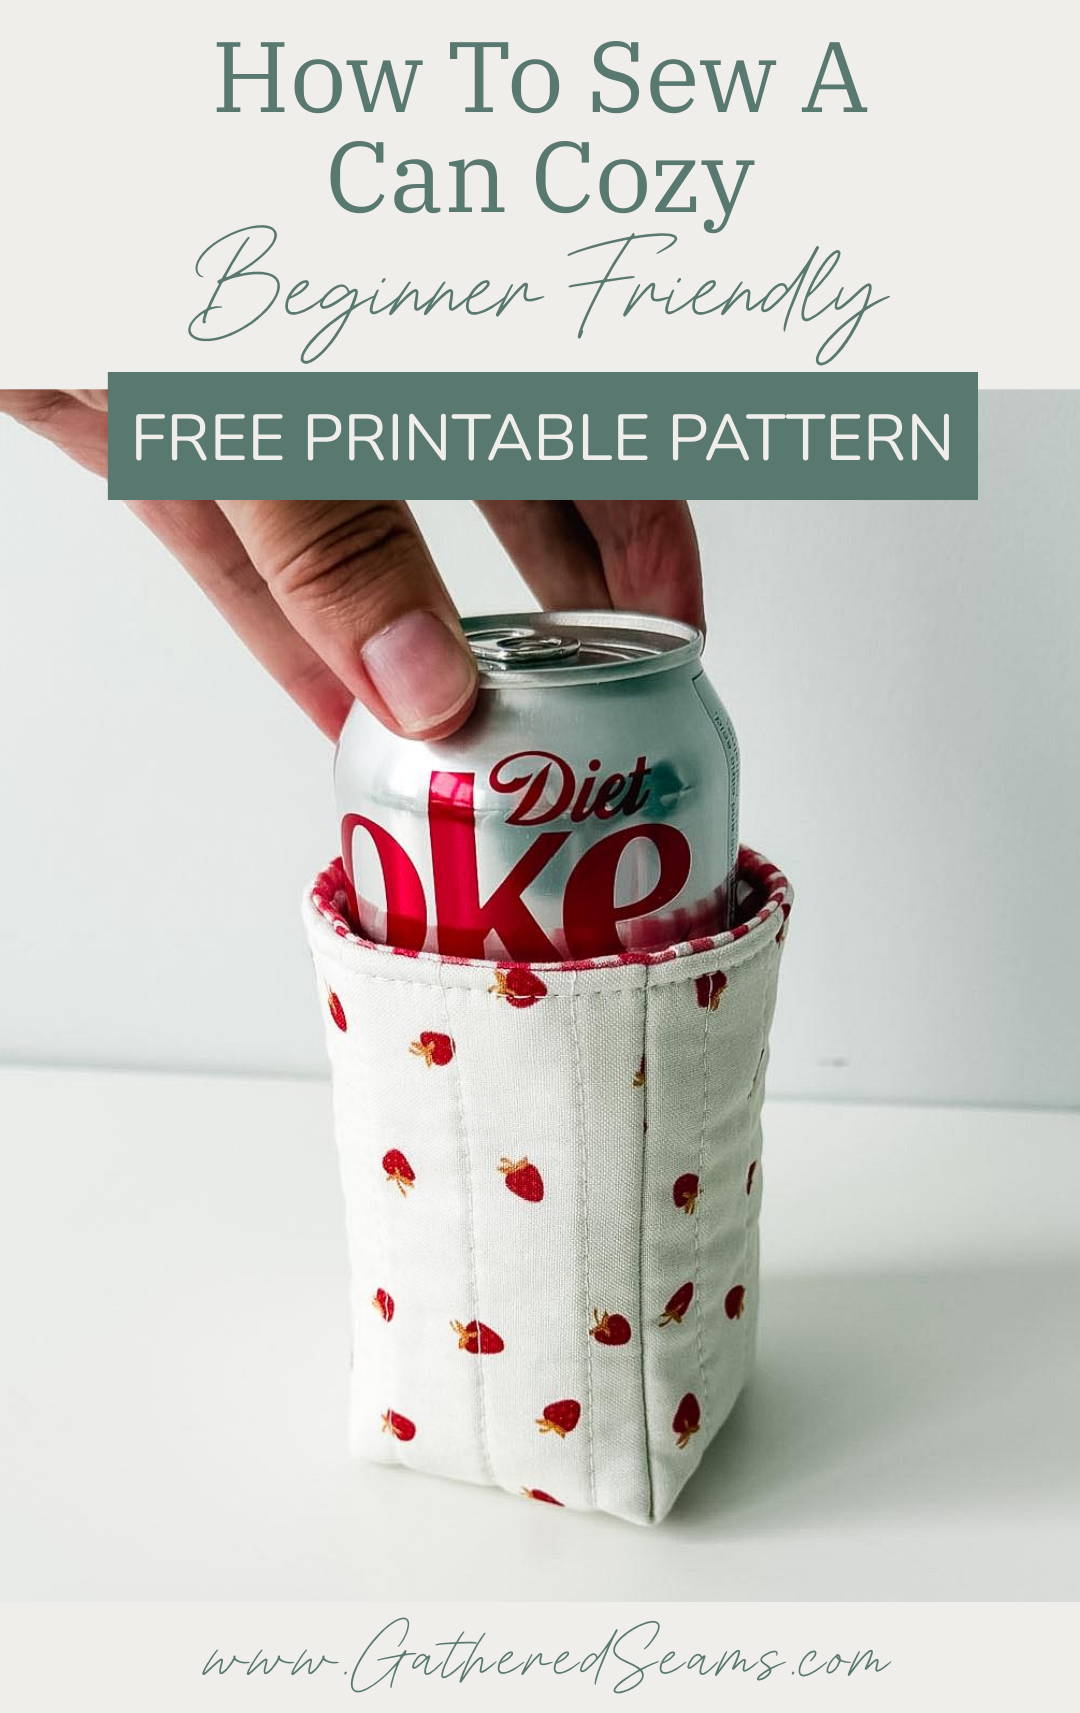
This cozy fits a standard 355 ml can of pop or beer. Perfect for the summer, to keep the soda or beer cold, and to keep condensation off your hands. Or to keep your hands warm when holding a cold can on a chilly night.
My can cozy pattern has a bottom, so there’s a built-in coaster.
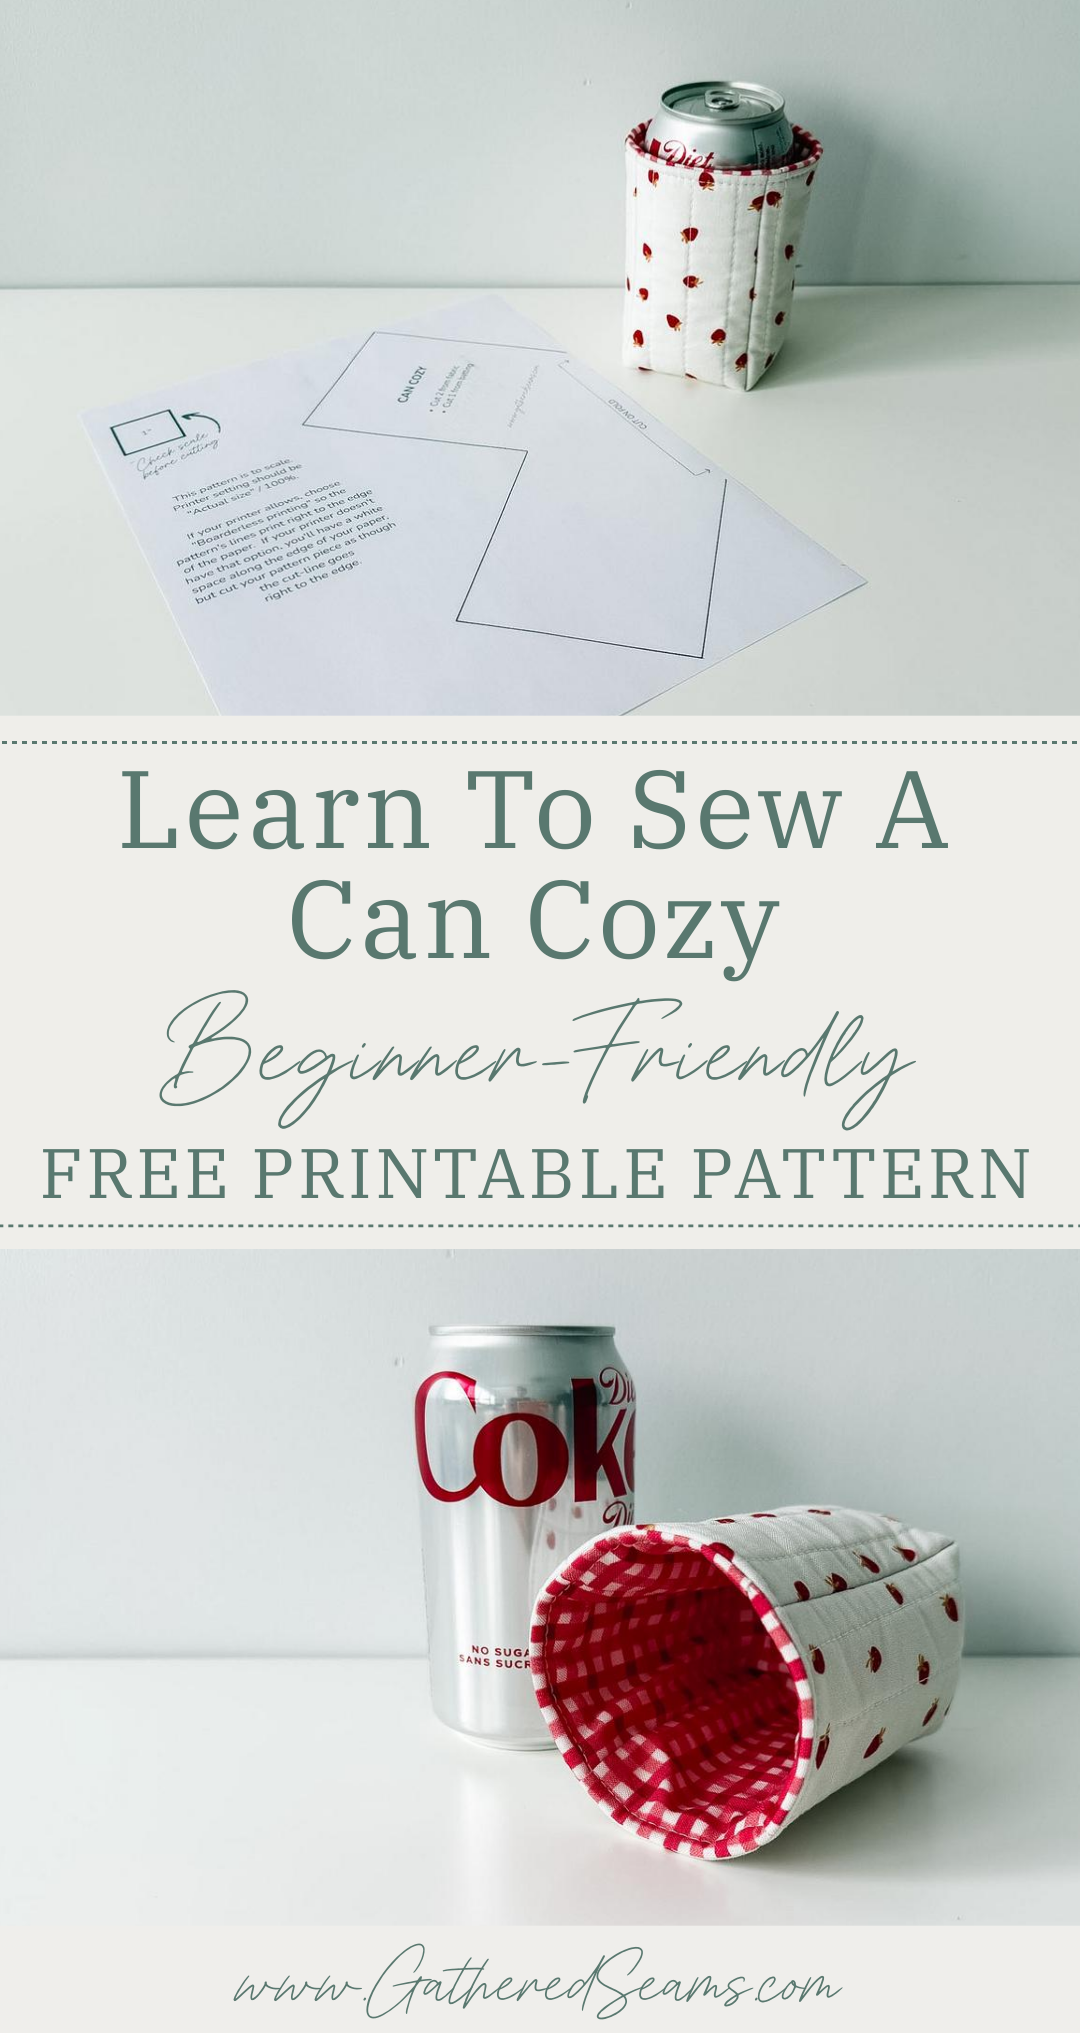
It’s quick and easy to sew; a great project for beginners.
Pattern notes
- I used 1 layer of thermal batting. If you want to add a layer of cotton batting to ensure the condensation is absorbed by the batting, you may want to reduce the seam allowance from 1/2″ to 3/8″ or 1/4″, depending on how snug/loose you want your cozy to be. Layer the batting so the cotton batting will be closest to the can and the thermal batting will be closest to the hand.
- With the 1 layer of thermal batting and using a 1/2″ seam allowance, this cozy fits snug around the can, so it won’t slip off, but isn’t difficult to get on. If you want a looser fit (or are adding another layer of batting), you can reduce the seam allowance to 3/8″.
- If you want the cozies to be reversible, leave an opening when sewing the top edges together (instead of in the side seam of the lining). Use the opening in the top edge to turn the cozy right side out and then when you topstitch around the top edge, it will close the opening.
Materials
As an Amazon Associate, I earn from qualifying purchases (see full disclosure here).
- Fabric for outer layer and lining
- Thermal batting (Insul-Bright or something similar)
- Thread
Tools
- Sewing machine
- Walking foot (this makes sewing with thicker materials, like batting, easier. This is the universal one I purchased for my Baby Lock, which is a different machine than what’s shown in the photos)
- Temporary fabric pen or chalk
- Temporary fabric adhesive
- Ruler
- Iron
- Scissors
- Pins or clips
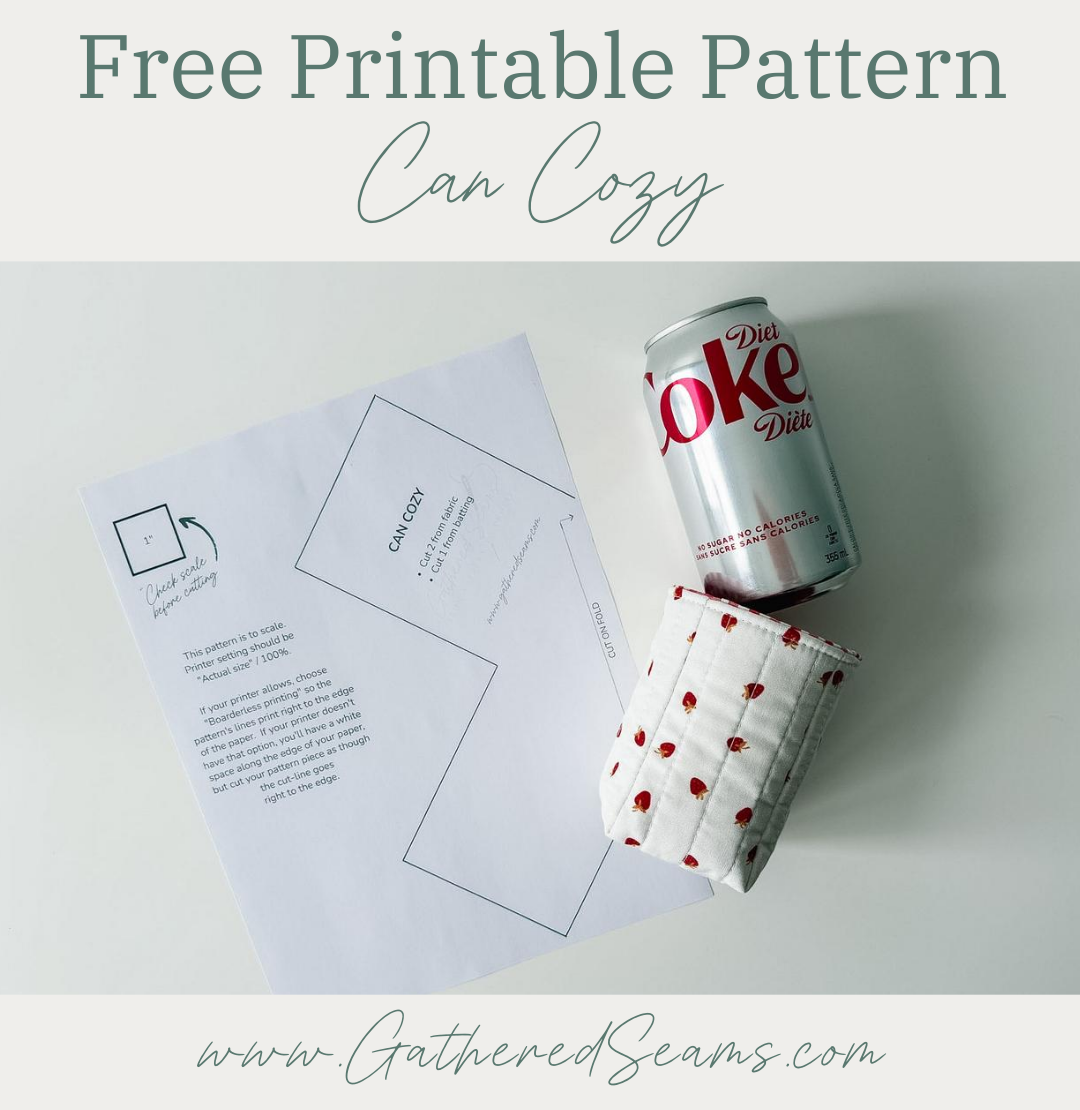
Free sewing pattern for a can cozy

Steps to sew a can cozy
Step 1
Download the free printable sewing pattern, print it, and cut it out.
If you plan to add several quilting stitches, you may want to cut your fabrics slightly larger, add the quilting stitches, then cut according to the pattern piece.
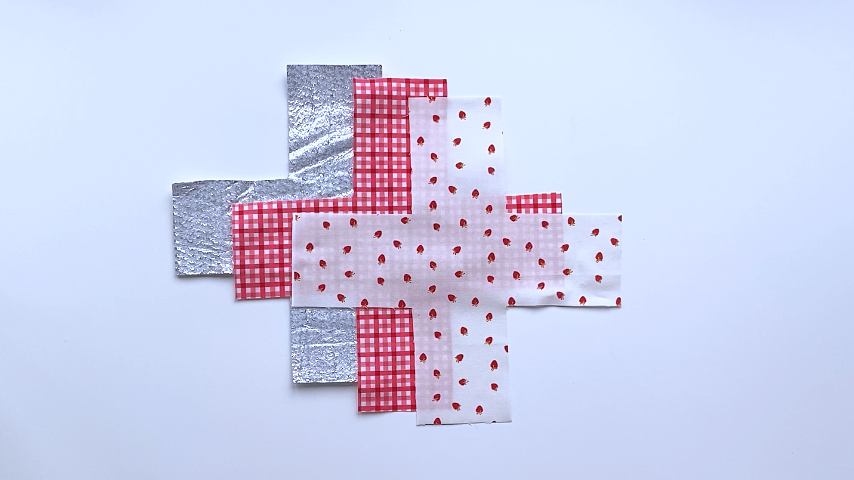
You will need to cut the pattern piece in:
- Outer fabric
- Lining fabric
- Thermal batting
Step 2
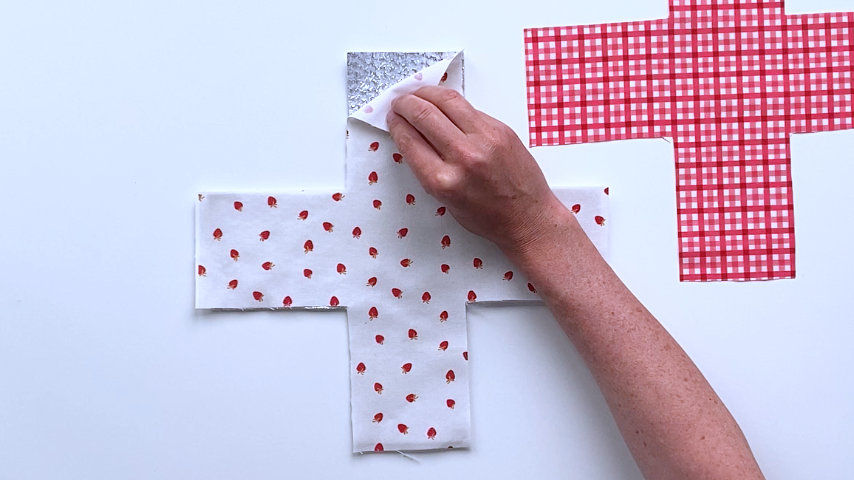
Start by trimming the batting. The top of each panel of the batting should be 1/4″ – 3/8″ shorter than the fabric, to reduce bulk, as it’s harder to trim the batting’s top seam allowance after side seams are sewn.
Place the outer fabric and thermal batting together.
Add quilting stitches (in any pattern you like) to secure the layers together or use temporary adhesive to hold them together while you sew the side seams.
Step 3
Fold your cozy in half so the center fold is at a 45-degree angle, and the two edges that are next to each other meet. Sew the two sides together using a 1/2″ seam allowance.
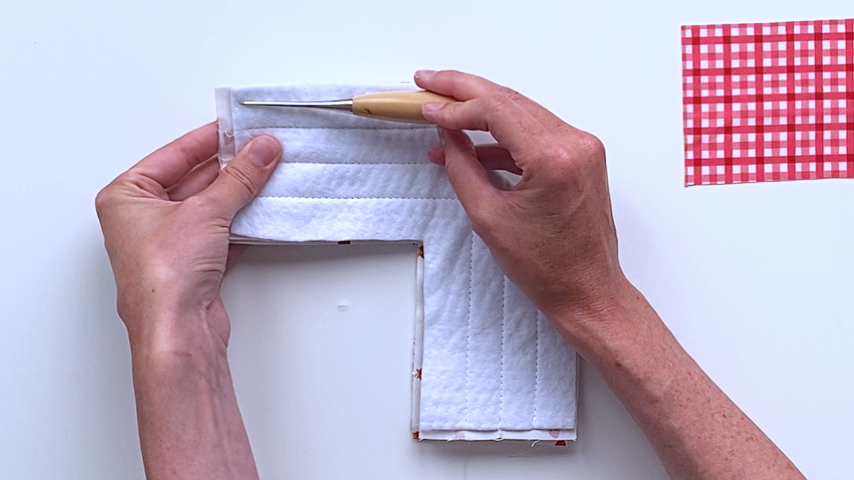
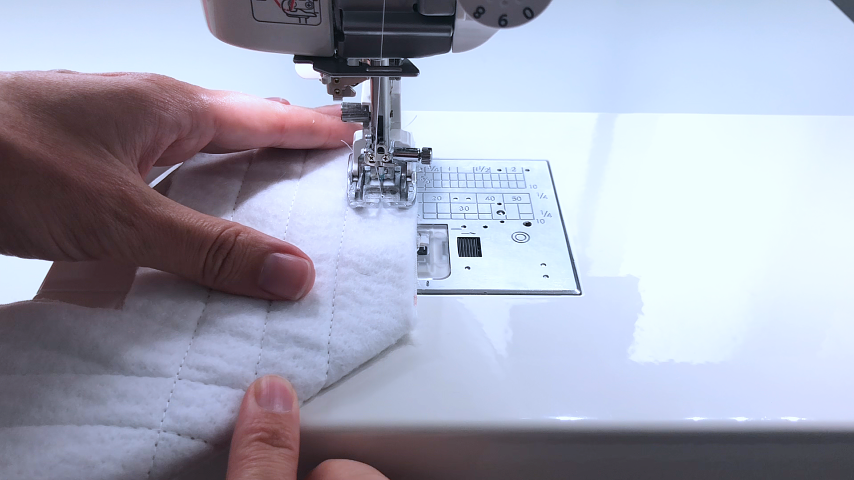
Repeat to sew the other 3 sides together.
Repeat these steps for the lining; however, I increase my seam allowance just slightly to account for the bulk of the batting and to ensure the lining will fit smoothly inside the cozy without wrinkling.
I only increased my seam allowance by about 1/16″, so right in between 1/2″ and 5/8″, and the lining fit perfectly. If you’re using thermal batting and cotton batting, you may want to increase your lining’s seam allowance by 1/8″.
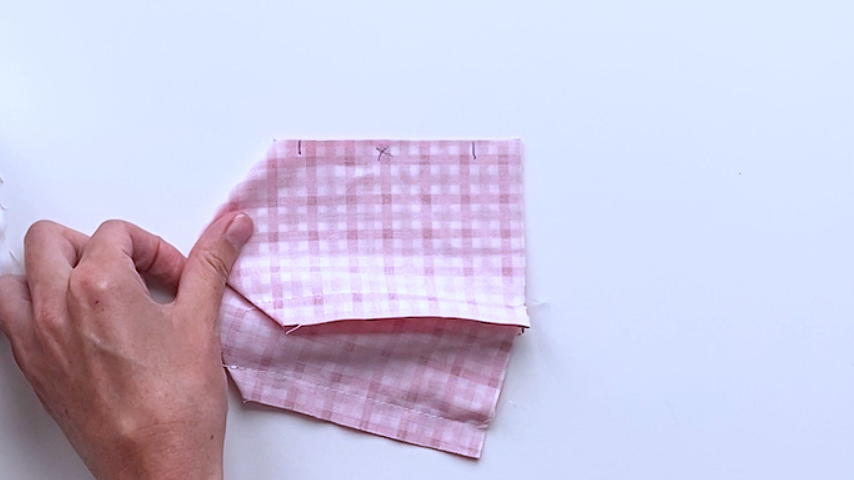
You also want to leave an opening in one side seam so you can turn the cozy right side out.
As mentioned, if you want the cozy to be reversible, place the opening in the top seam instead.
Step 4
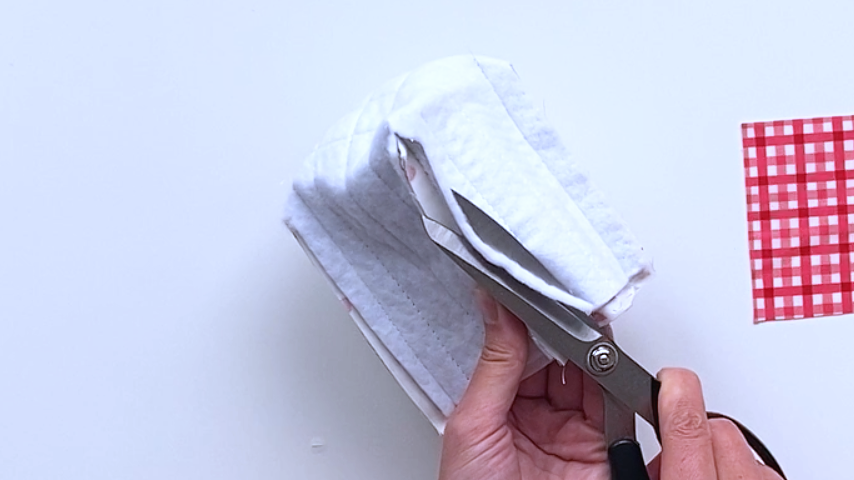
Trim the batting’s seam allowance.
Snip at the bottom of the seam up to the stitching so you can open the batting.
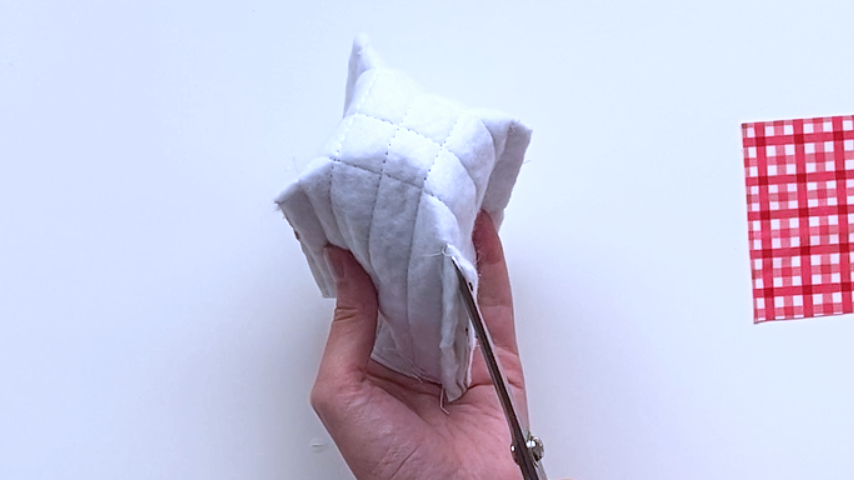
Then cut the batting back on either side of the seam to reduce bulk.
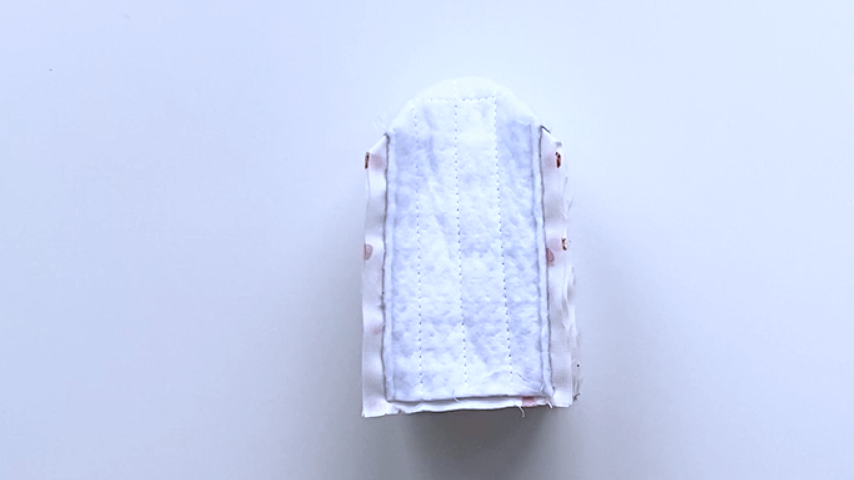
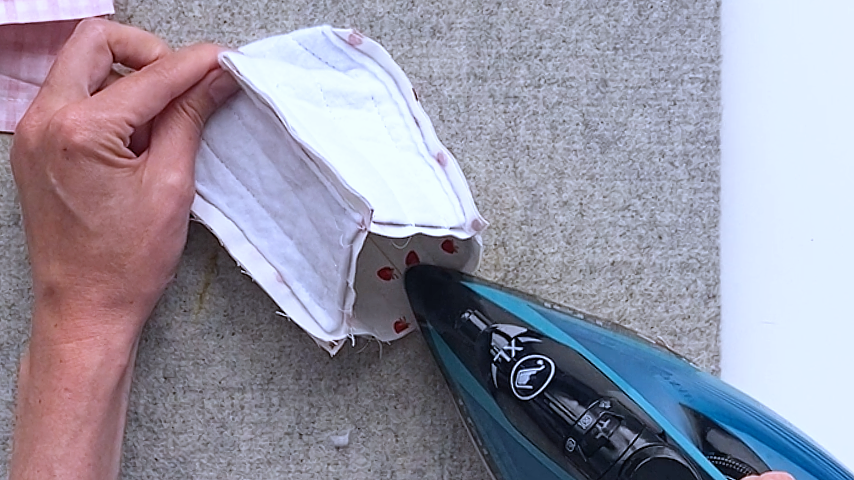
Quickly press the seams of your outer and lining piece.
I like to alternate which way I press the seam so when the lining and outer cozy go together, one seam folds to the left and the other to the right, which will reduce bulk.
Step 5
Turn the outer piece right side out and fit it into the lining.
Line of the seams and clip together so the lining and outer fabric’s seam allowances fold in opposite directions to each other.
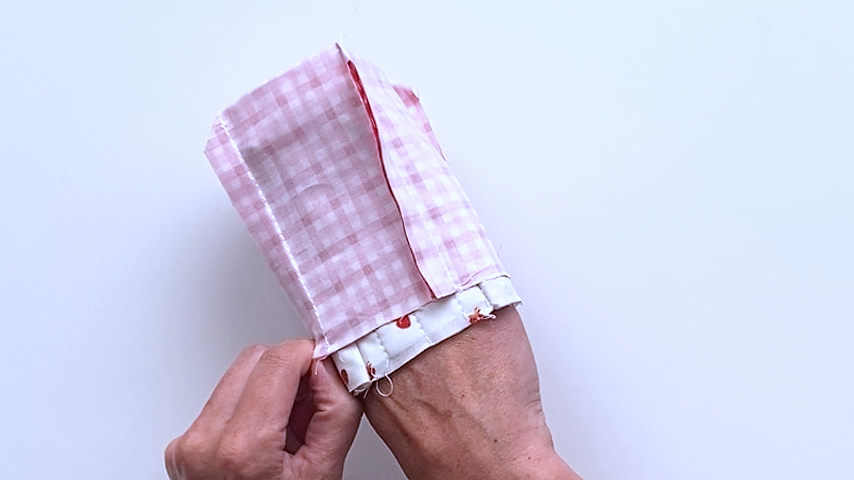
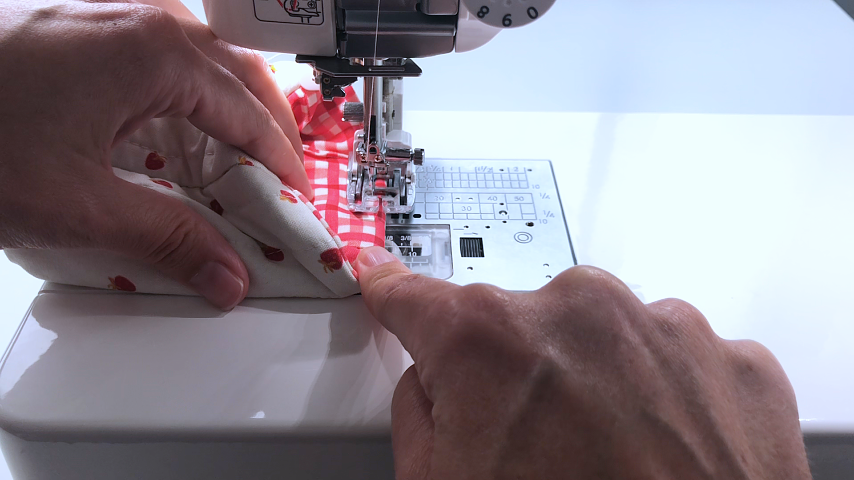
Sew the top edge together. Move your needle position to the left, and you may want to reduce your seam allowance so it’s easier to sew around the circle.
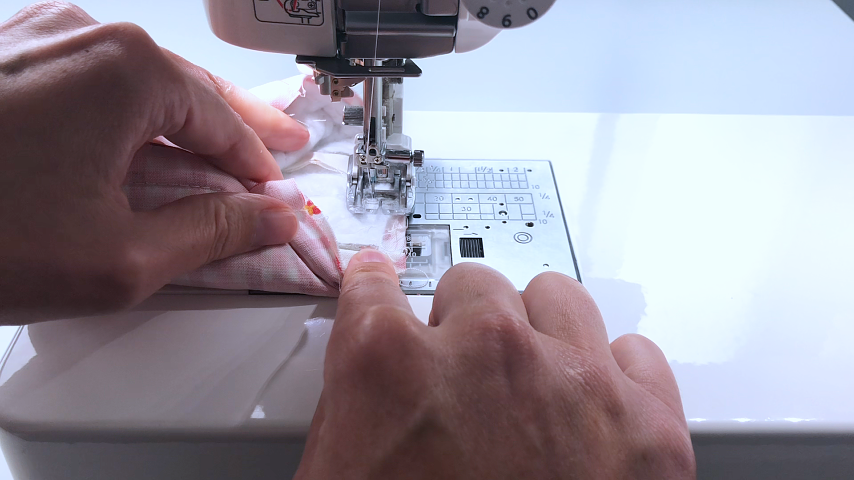
Use the opening in the lining’s side seam to turn the cozy right side out.
Sew the opening closed.
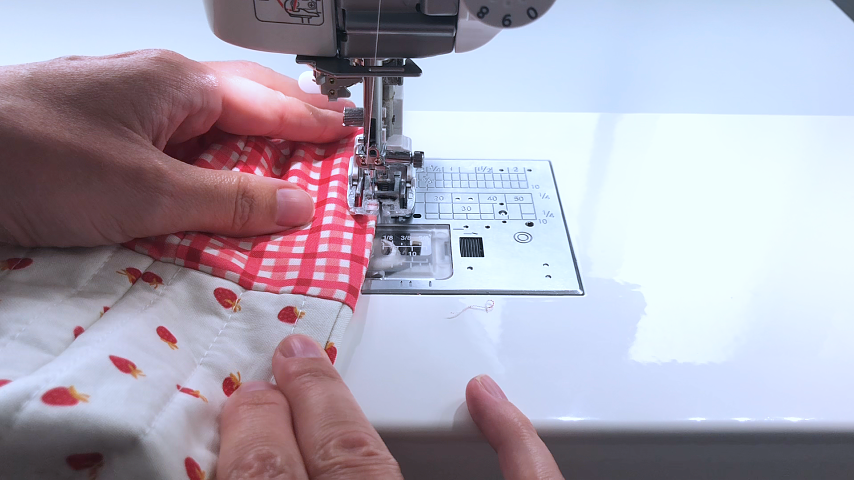
Fit the lining into the cozy and press the top edge.
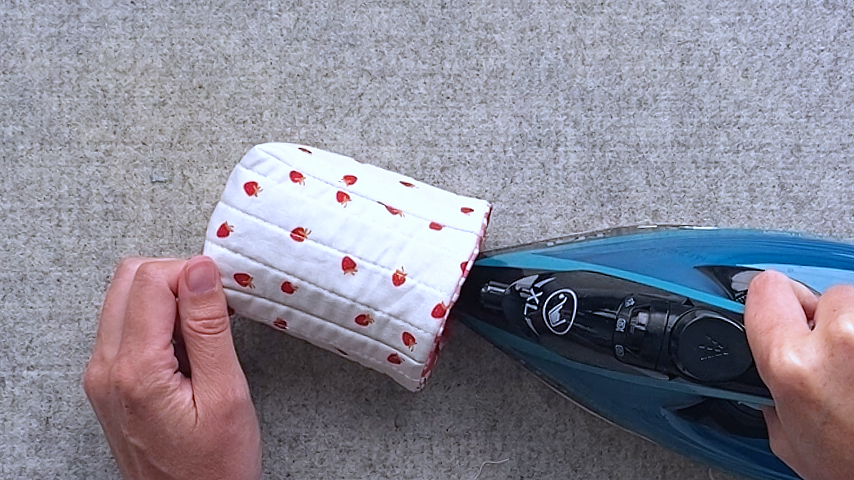
Topstitch around the top edge. Again, move your needle position to the left to make it easier to sew around the opening.
Your can cozy is complete!