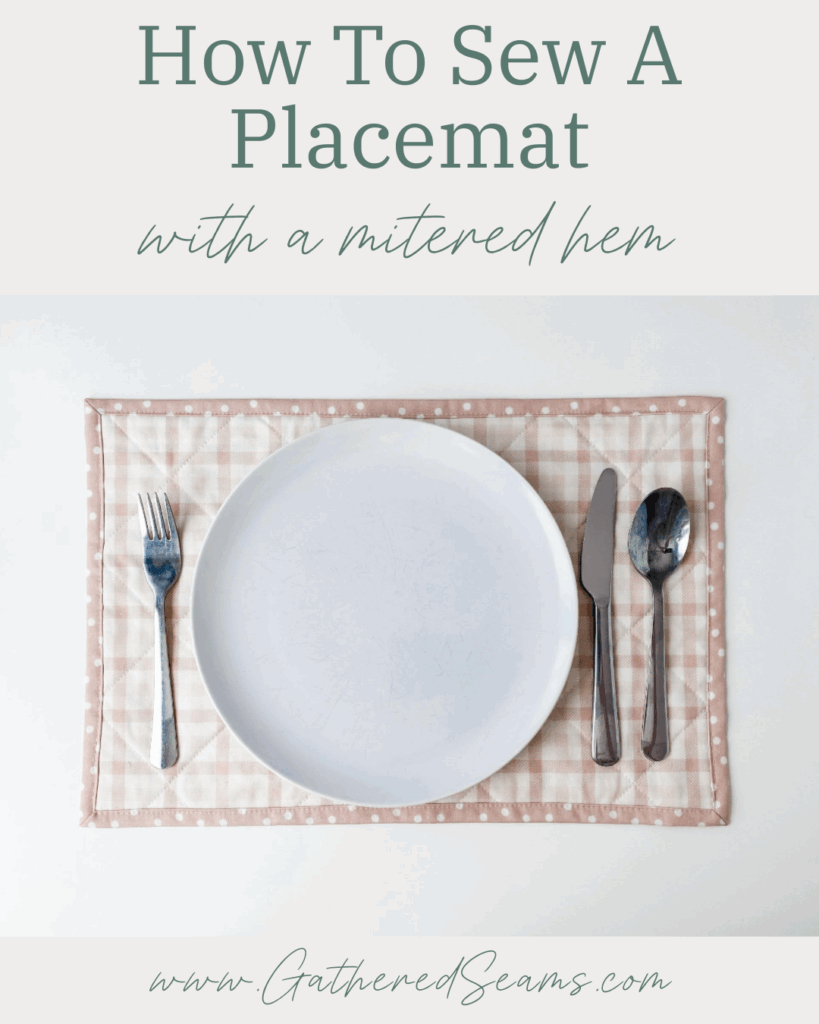
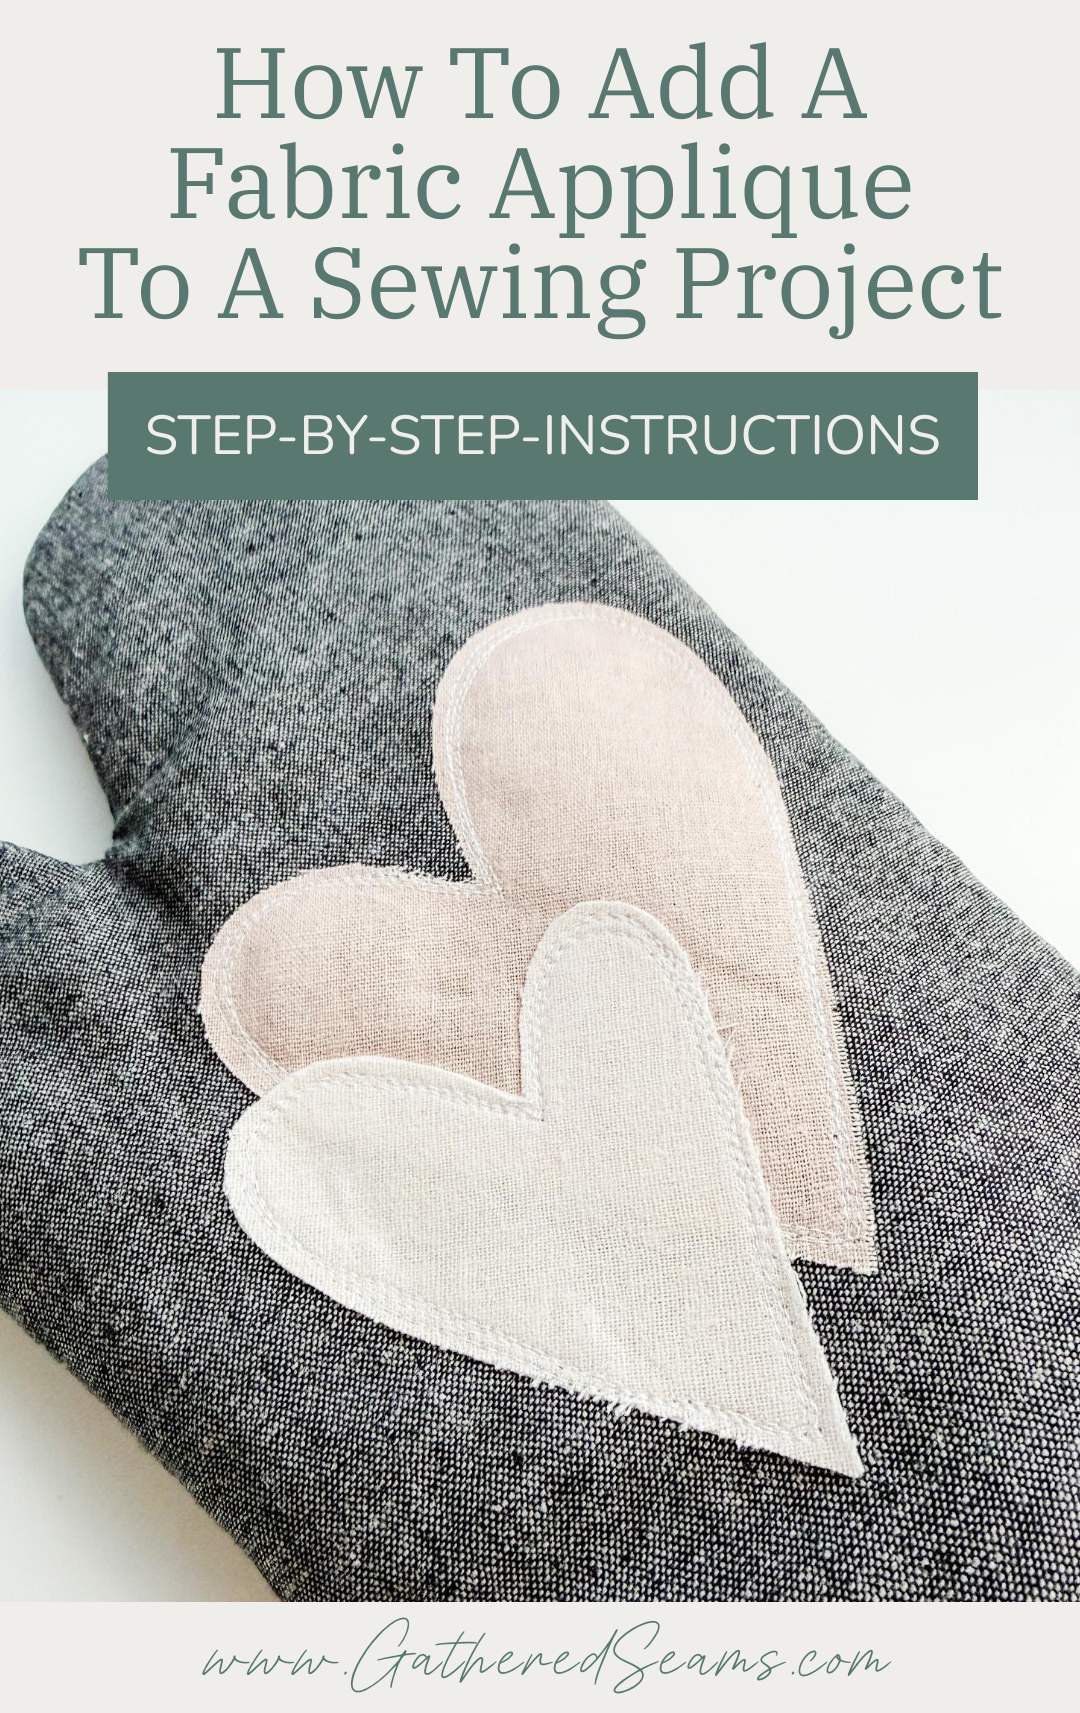
How To Add a Fabric Applique To A Sewing Project
Fabric appliqués are a great way to add a little personality to a sewing project and use up scraps of fabric.
What I love most about the technique I’m sharing in this article is that the less perfect the stitching is, the better it looks.
It creates a rustic, handmade feel.
If you want more of a polished look (clean edges, even stitching around the edges, etc.), you may opt for appliqué stickers or vinyl shapes that adhere to fabric with heat. Or you might use felt or vinyl so the edges don’t fray and handstitch the appliqué on.
You can also follow the steps in this article, but use a product called Steam-A-Seam. These are sheets of paper that can go through your printer (if you want to print your shape onto them), have adhesive on both sides of the paper, and bond to fabric with the heat from an iron (here’s a quick video on how to use it).
Steam-A-Seam will help prevent the edges of the appliqué from fraying, but only temporarily. If it’s an item that will be washed or that gets a lot of wear, the fabric will still fray, up until the line of stitching.
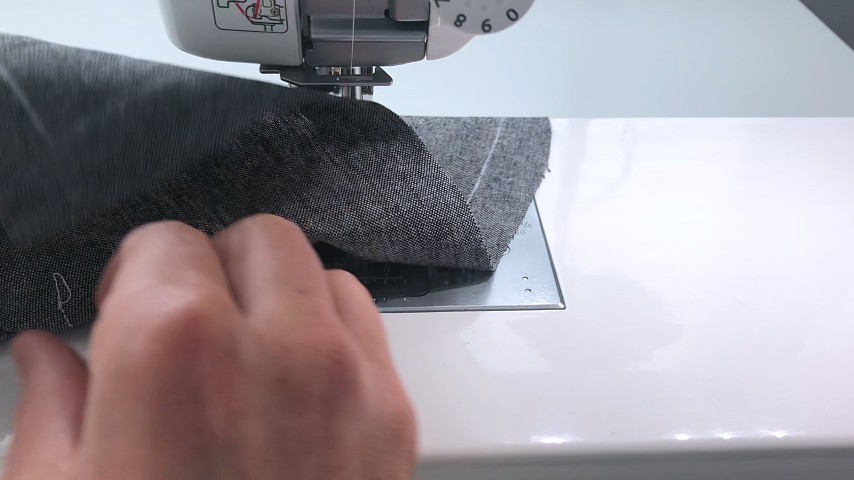
Step 1
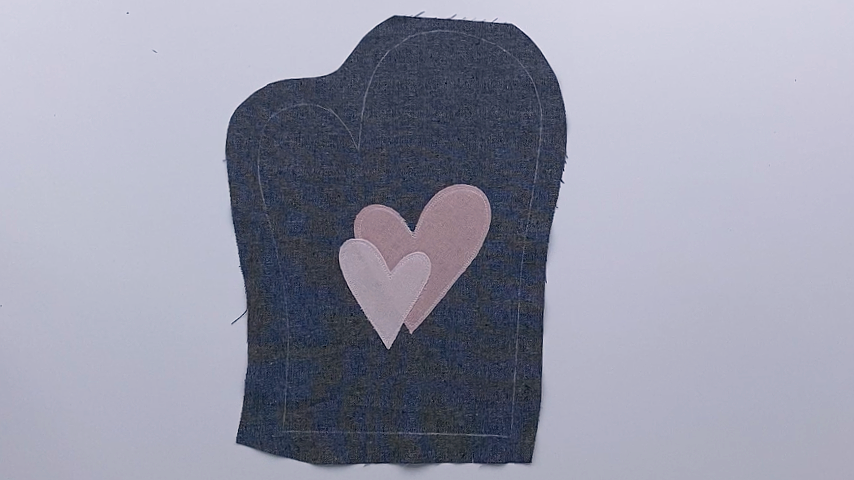
Cut out your fabric shape. You can draw your shape on your fabric using a temporary fabric pen or find a shape online, print it, then trace it.
As mentioned, what I like about this style of applique is: the less perfect, the better. So freehand your designs and see what you come up with!
If you’re using a product like Steam-A-Seam (or a lightweight fusible interfacing to give the applique a little more structure), fuse the interfacing to the back of the fabric first, then cut the shape out.

Step 2
If you’re using Steam-A-Seam, remove the paper backing so you have a sticky surface on the back of the fabric shape. Position it where you like on your sewing project, and when you’re happy with the placement, iron it into place.
You can also use a temporary fabric glue spray or glue stick (which doesn’t require ironing).
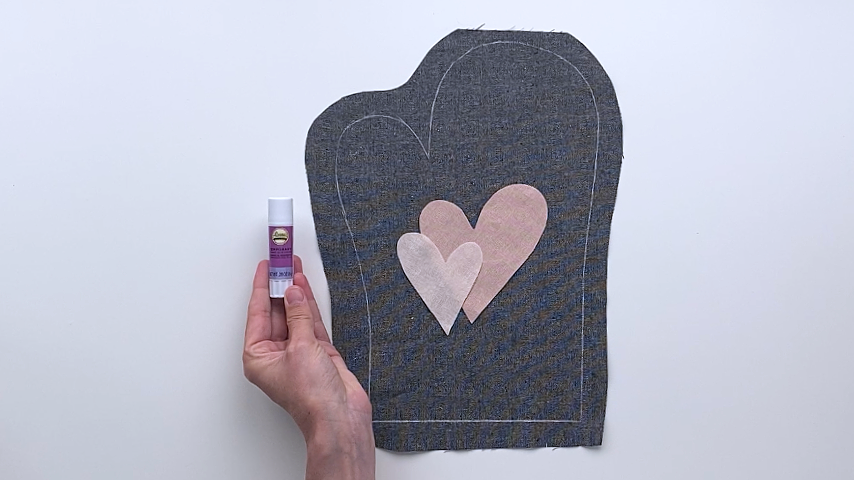
If you’re applying more than one shape, you may choose to place them all at once and sew around the edges, or apply them in stages.
For the hearts, I stitched the bottom heart first, then repeated these steps to sew the top/smaller heart on.
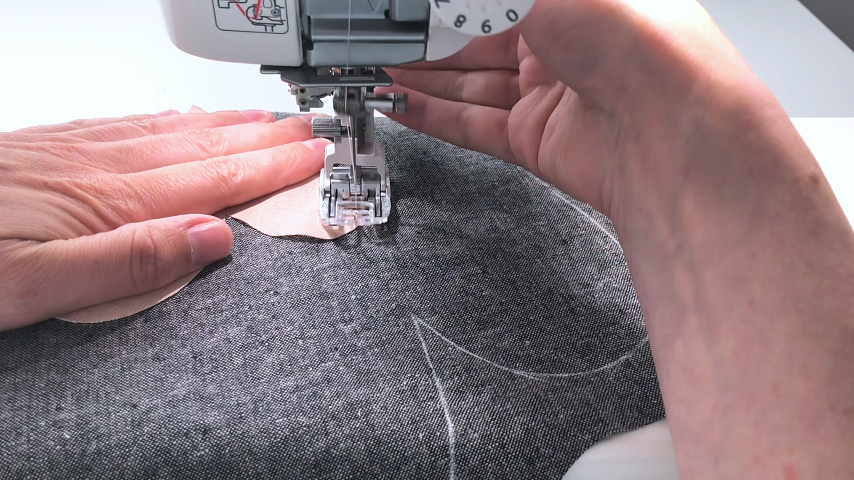
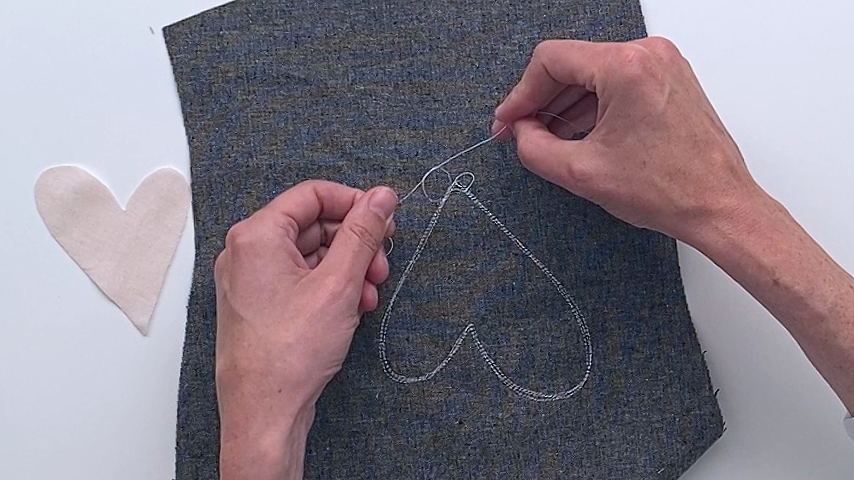
Step 3
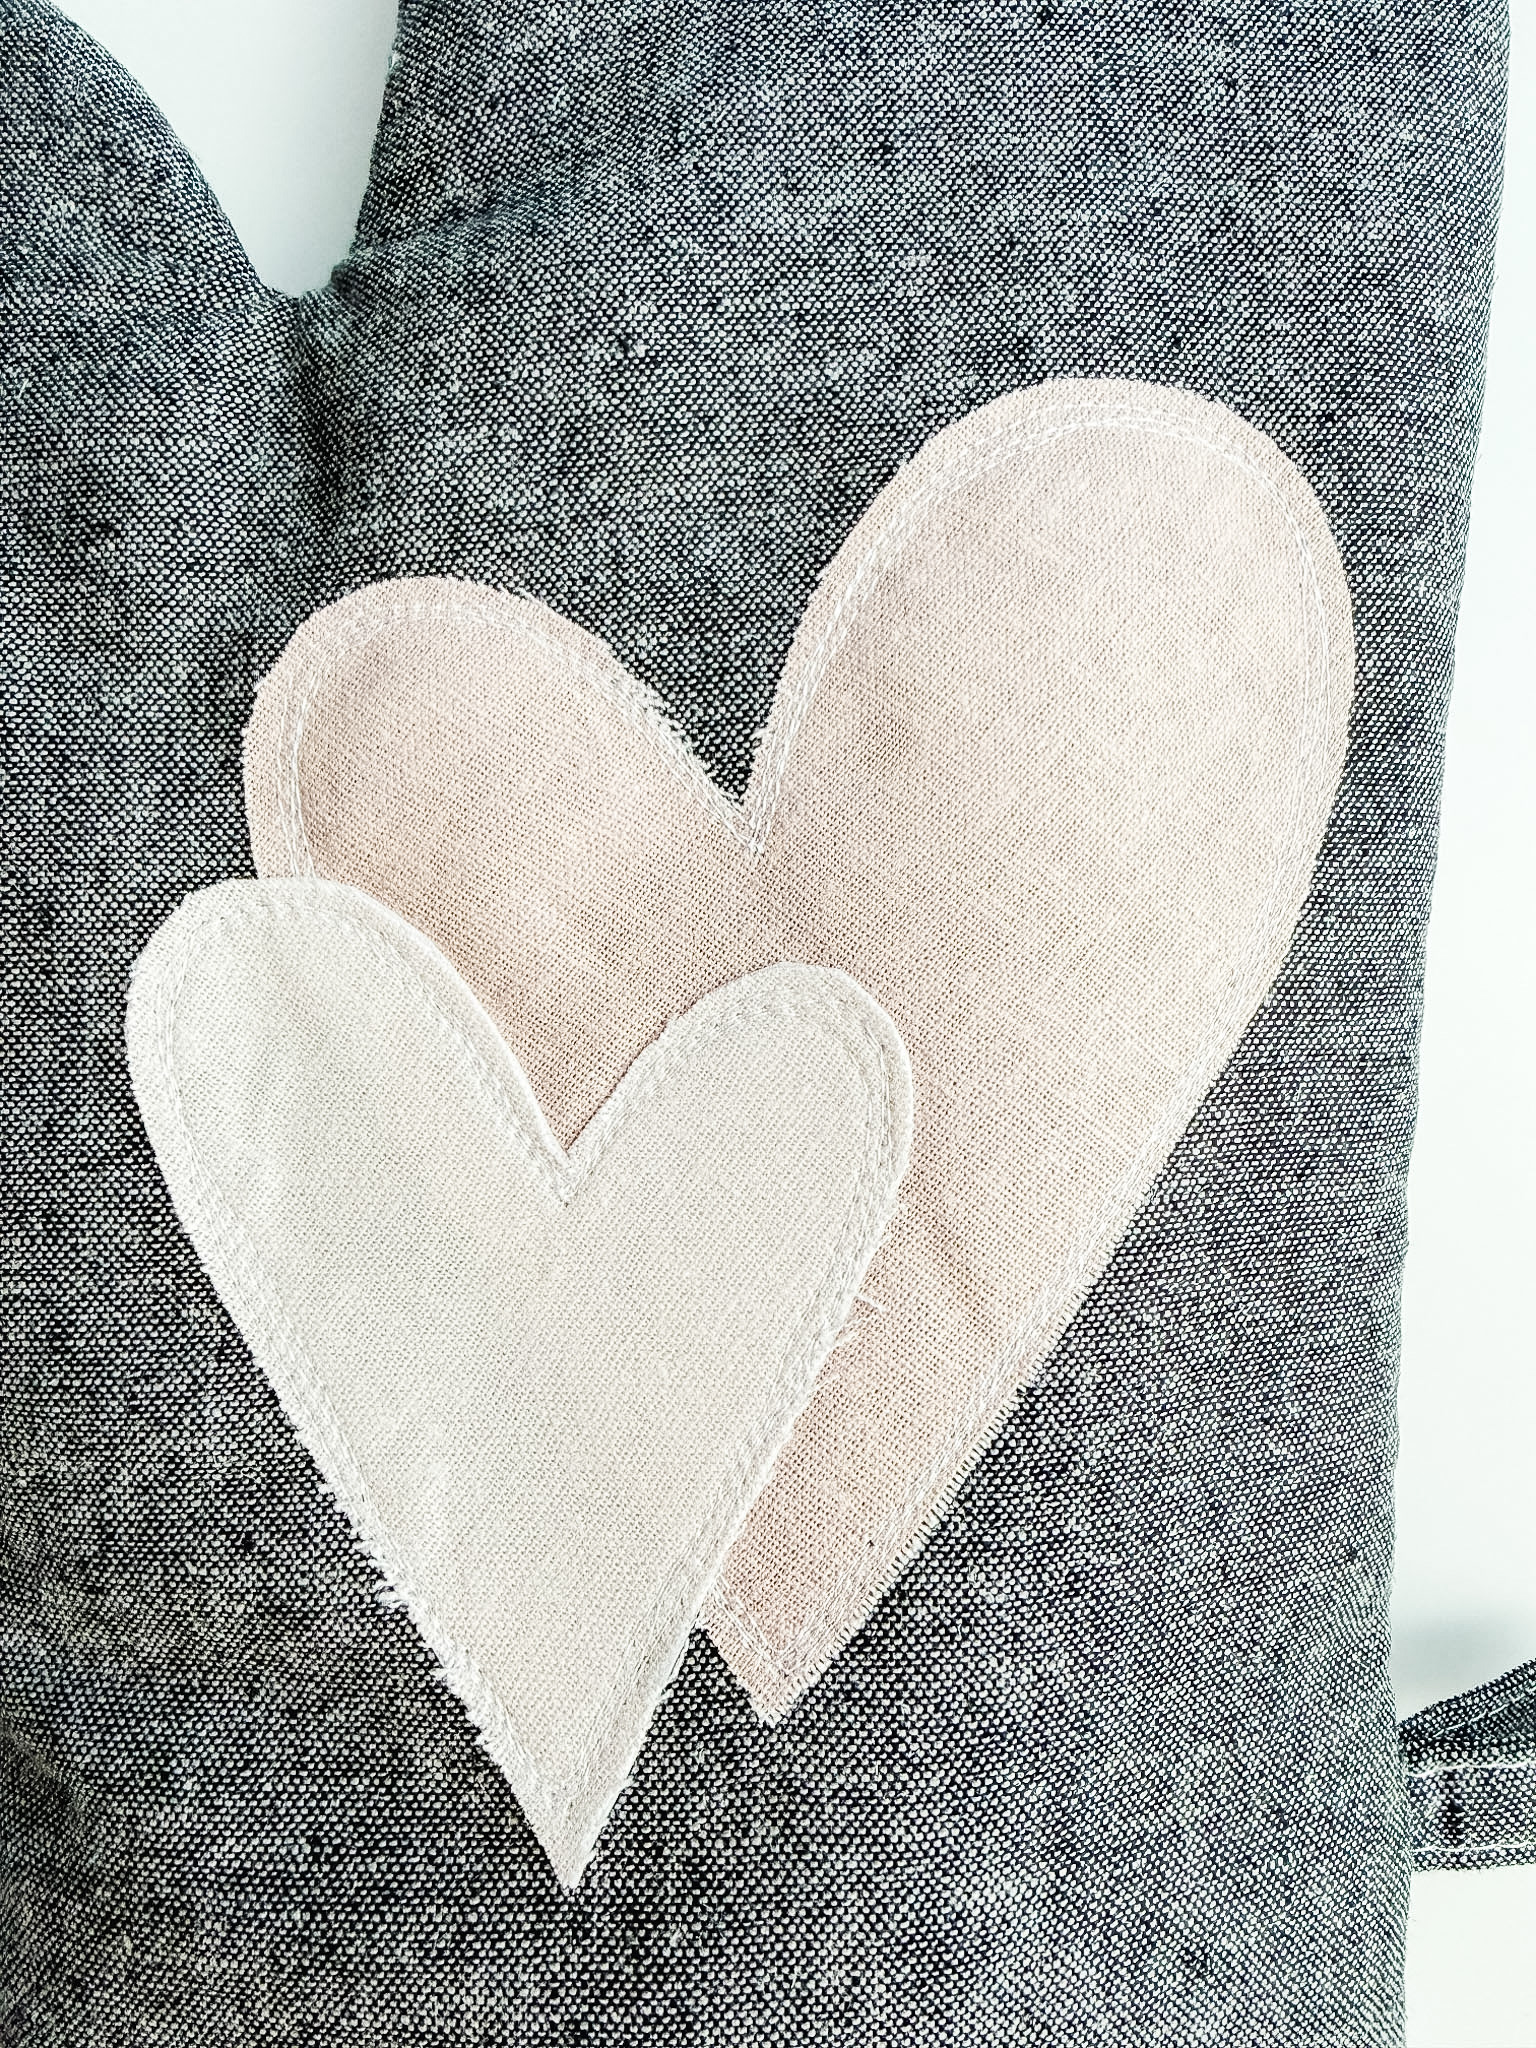
Adjust your sewing machine’s stitch length to a shorter stitch (2mm – 2.5mm).
This will help you sew around curved edges and create a tight line that prevents the edges from fraying beyond the stitching.
Leave the tails of your thread long at the start and end of your stitching so you can pull the top threads to the bottom and knot them off for a cleaner look.
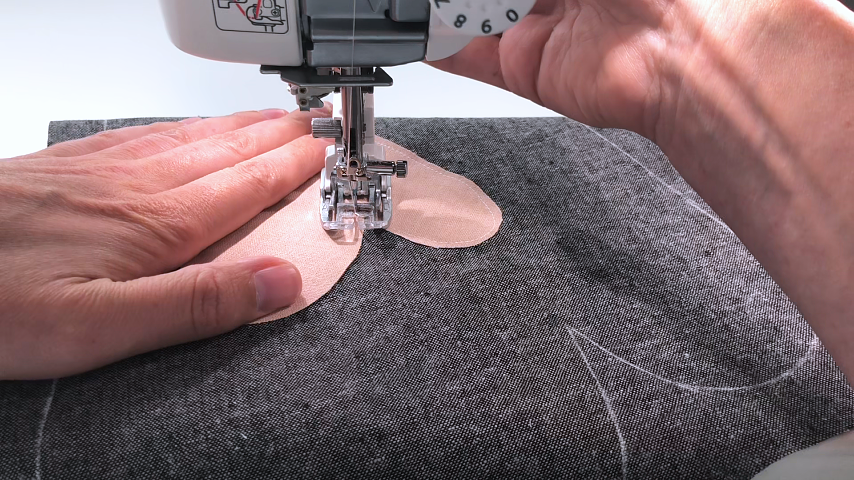
Sew around the edge of your applique…there are no rules here.
If you want more fraying around the edges, sew between 1/4″ – 1/2″ away from the edge of the applique. If you want less fraying around the edges, sew closer to 1/8″ – 1/4″ away from the edge.
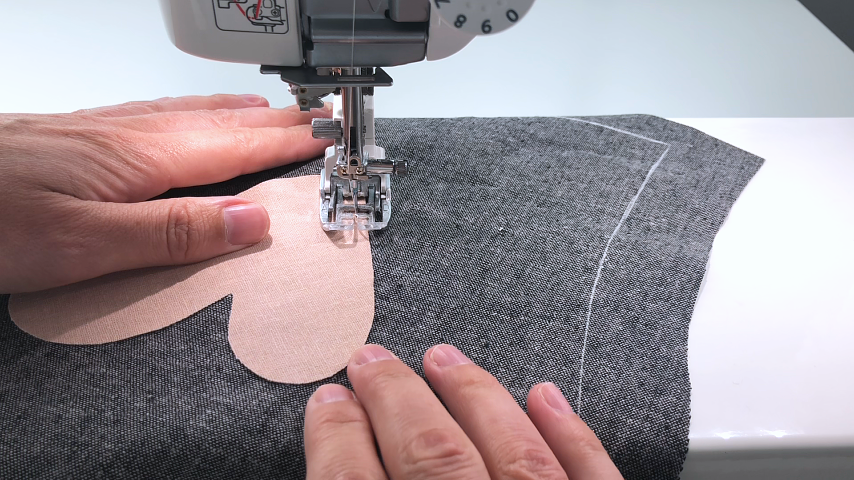
If you can, before you come back around to the start of the stitching, pull your top thread to the bottom, so it doesn’t get sewn over.
When going around tight curves, take your time and, with your needle down, lift your presser foot to pivot the fabric.
If you’re going around a curve (rather than a corner, like the point of a heart), don’t make big pivots with your fabric, or your stitch line will look jagged. Instead, lift the presser foot and let the fabric settle, so it’s not bunched, and make several small adjustments.
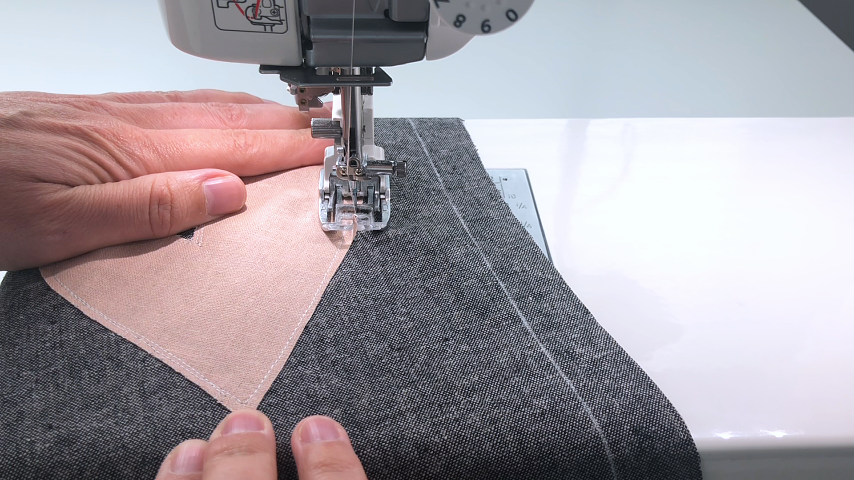
When sewing around the tops of the hearts, I stop and lift my presser foot at least 5 or 6 times.
When I come to the middle or bottom point, I’ll again, stop with my needle down, lift the presser foot and pivot my fabric so I’ll be sewing up the other side of the heart.
You can also go around the shape more than once with your stitching. This helps create that rustic look.
I went around 3 times and I purposely crisscrossed my stitch lines and was uneven with how far away from the edge I stitched.
At the end, leave your threads long.
Step 4
From the back side of the fabric, pull on the bobbin threads to pull the top thread to the back. Then tie the top thread and bobbin thread in a knot to secure them.
If you’re adding more than one shape, layer it on top and repeat the steps.