How To Sew A Binder Pencil Pouch | Free Pattern
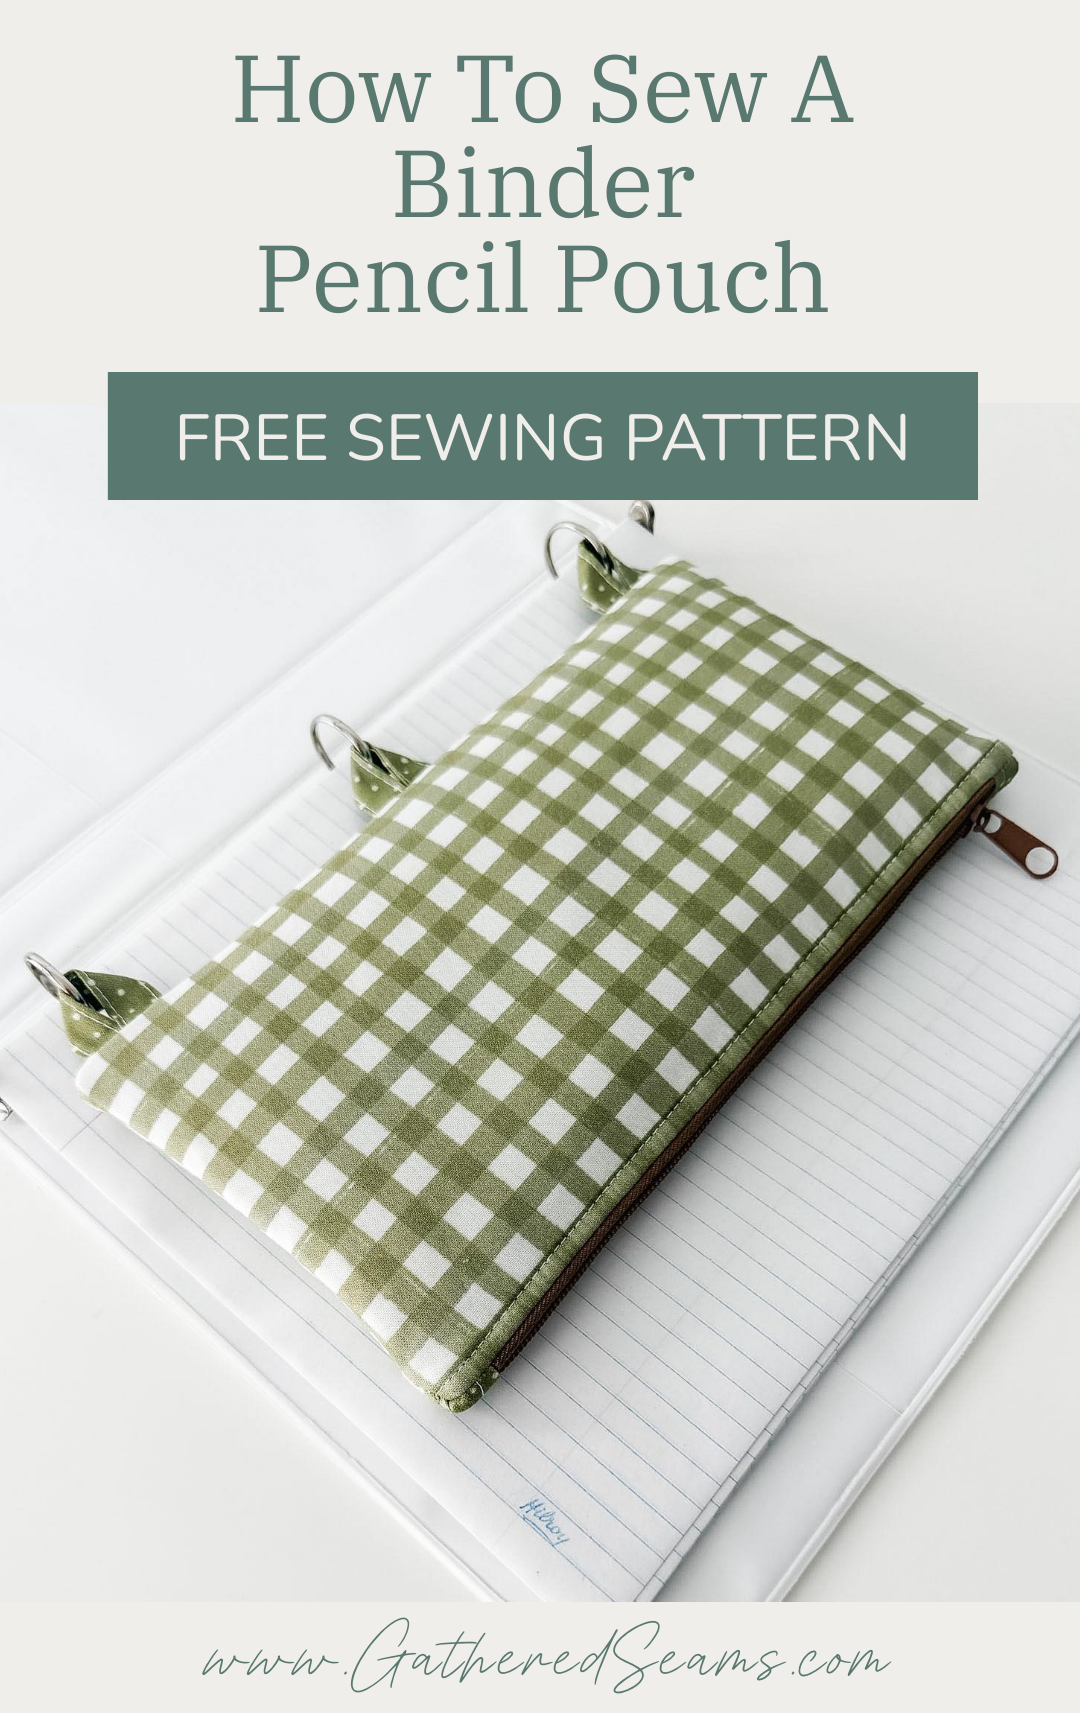
I think this binder pencil pouch is a great sewing project for back-to-school and is something I wish I had growing up.
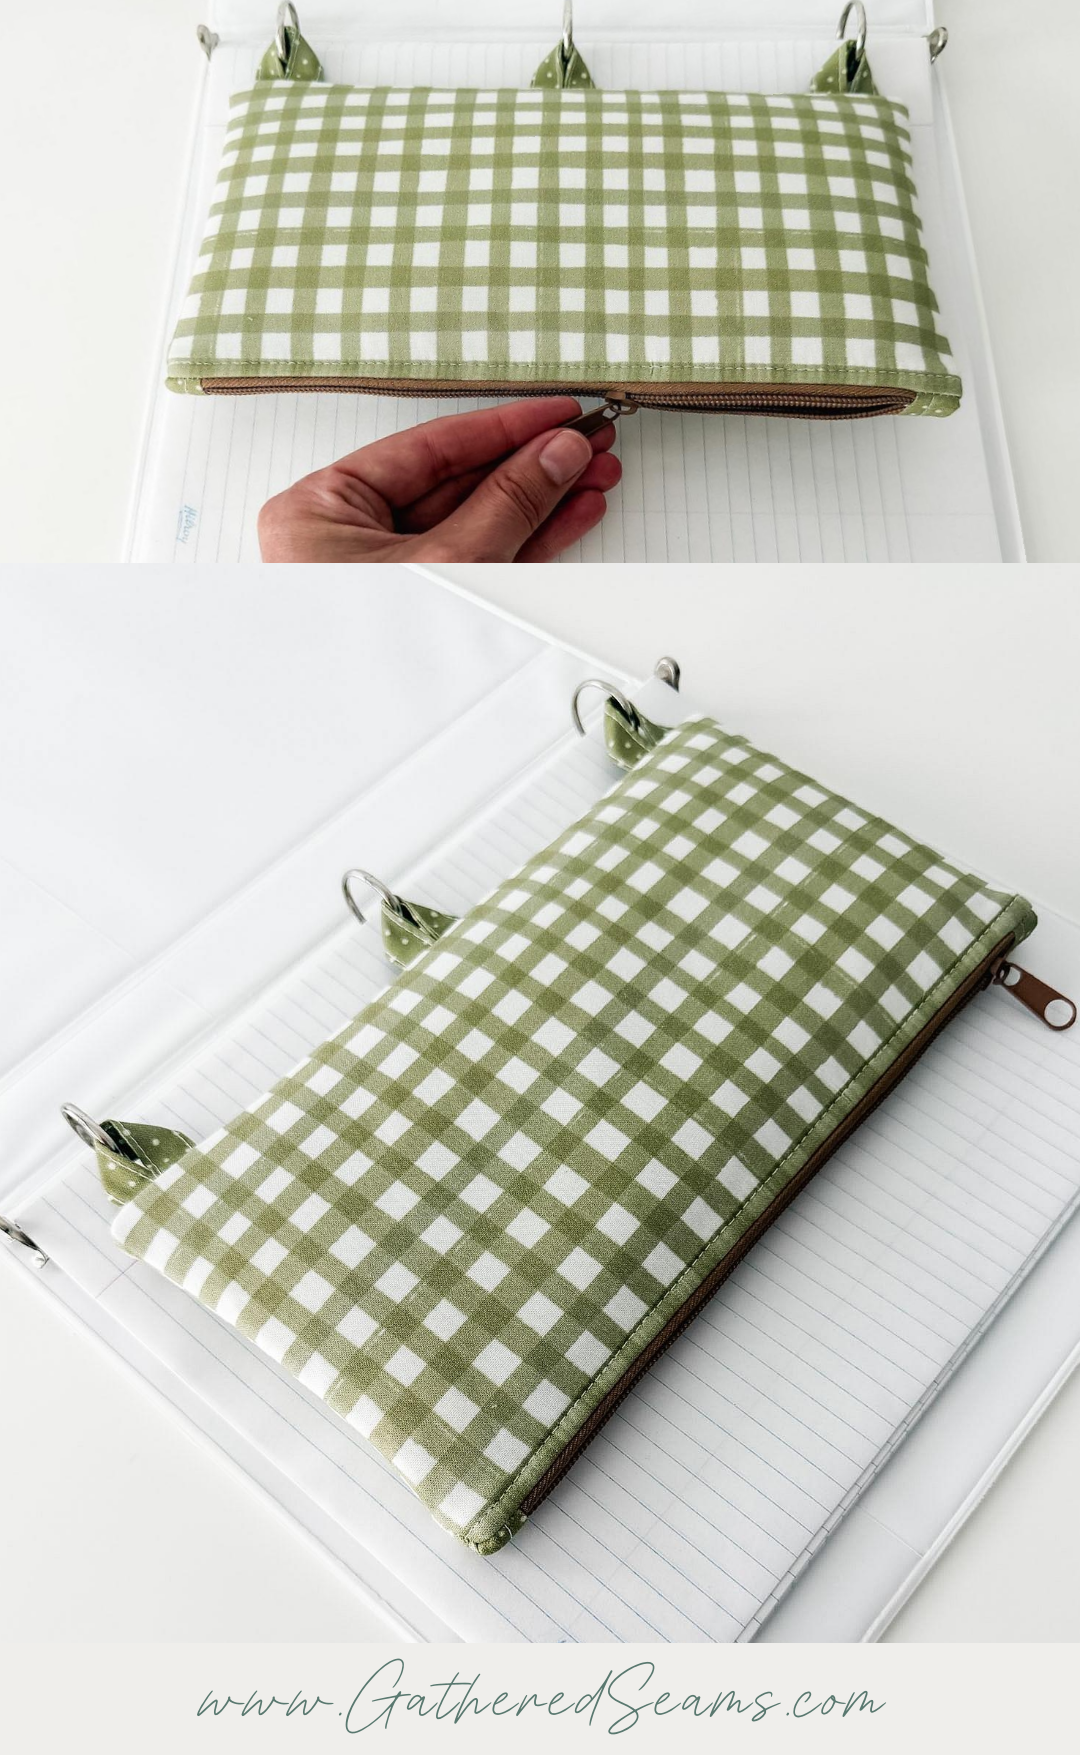
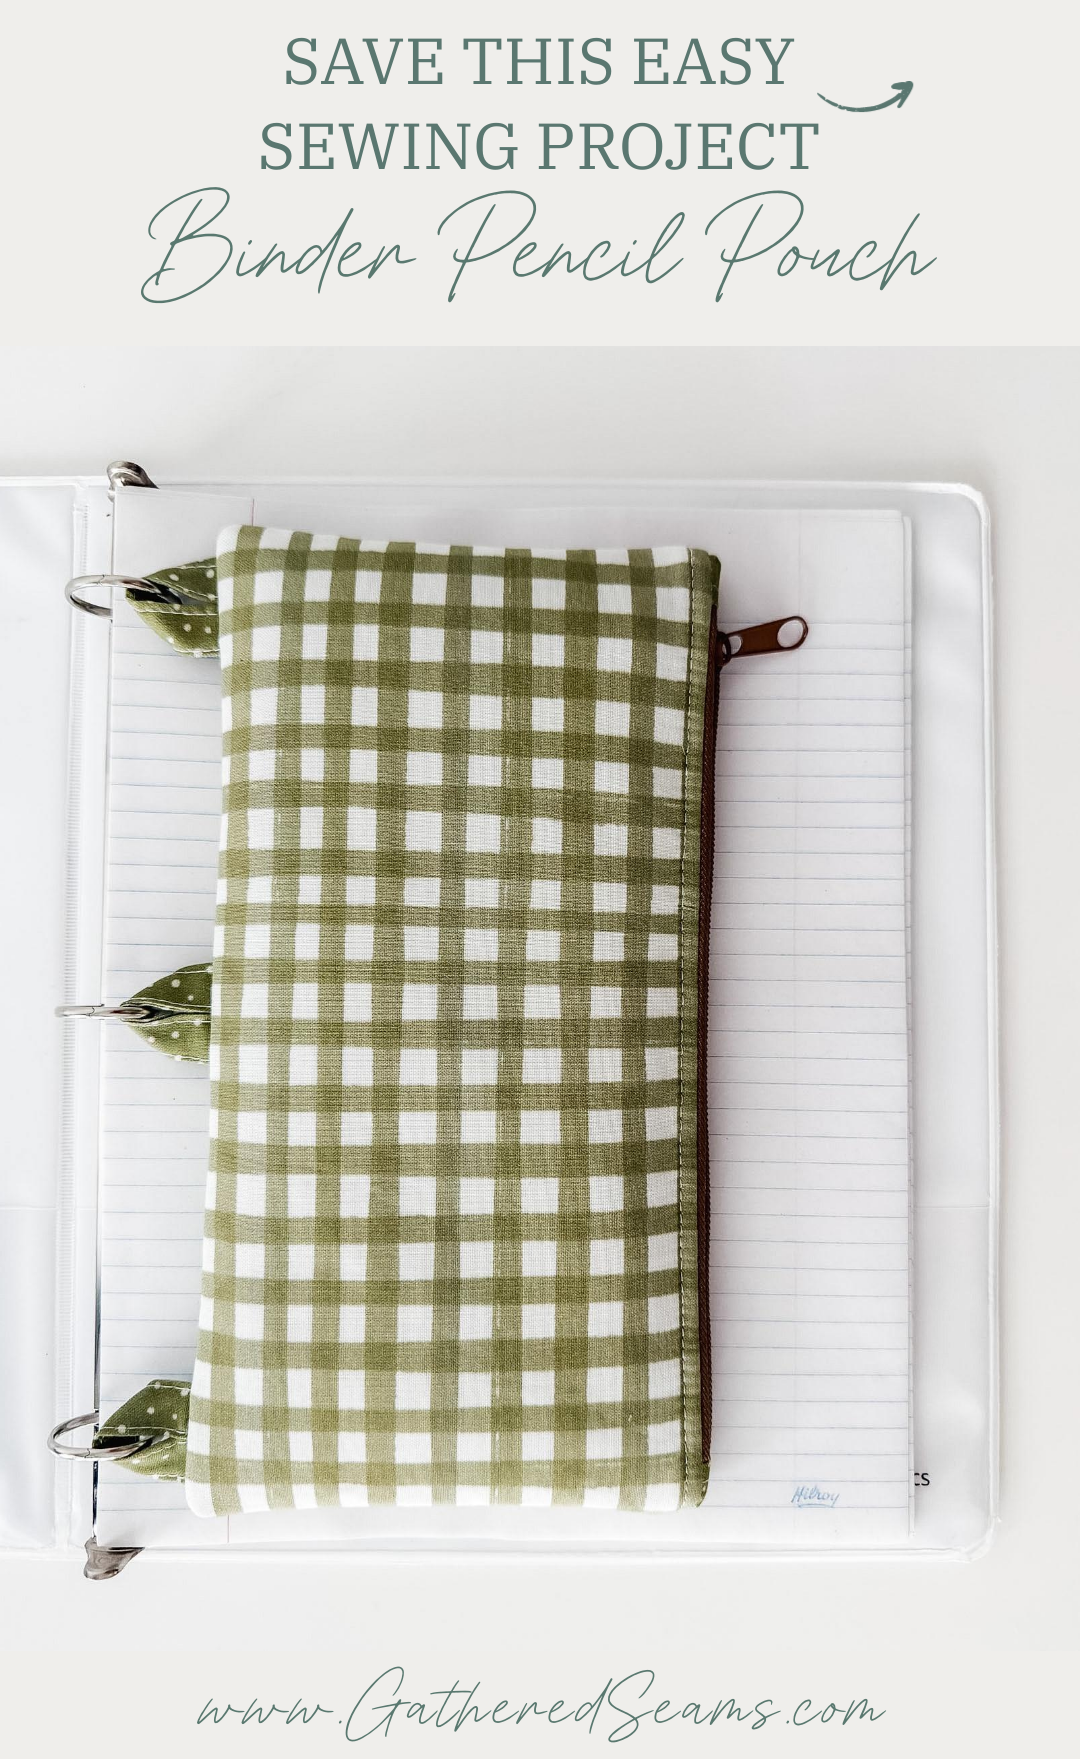
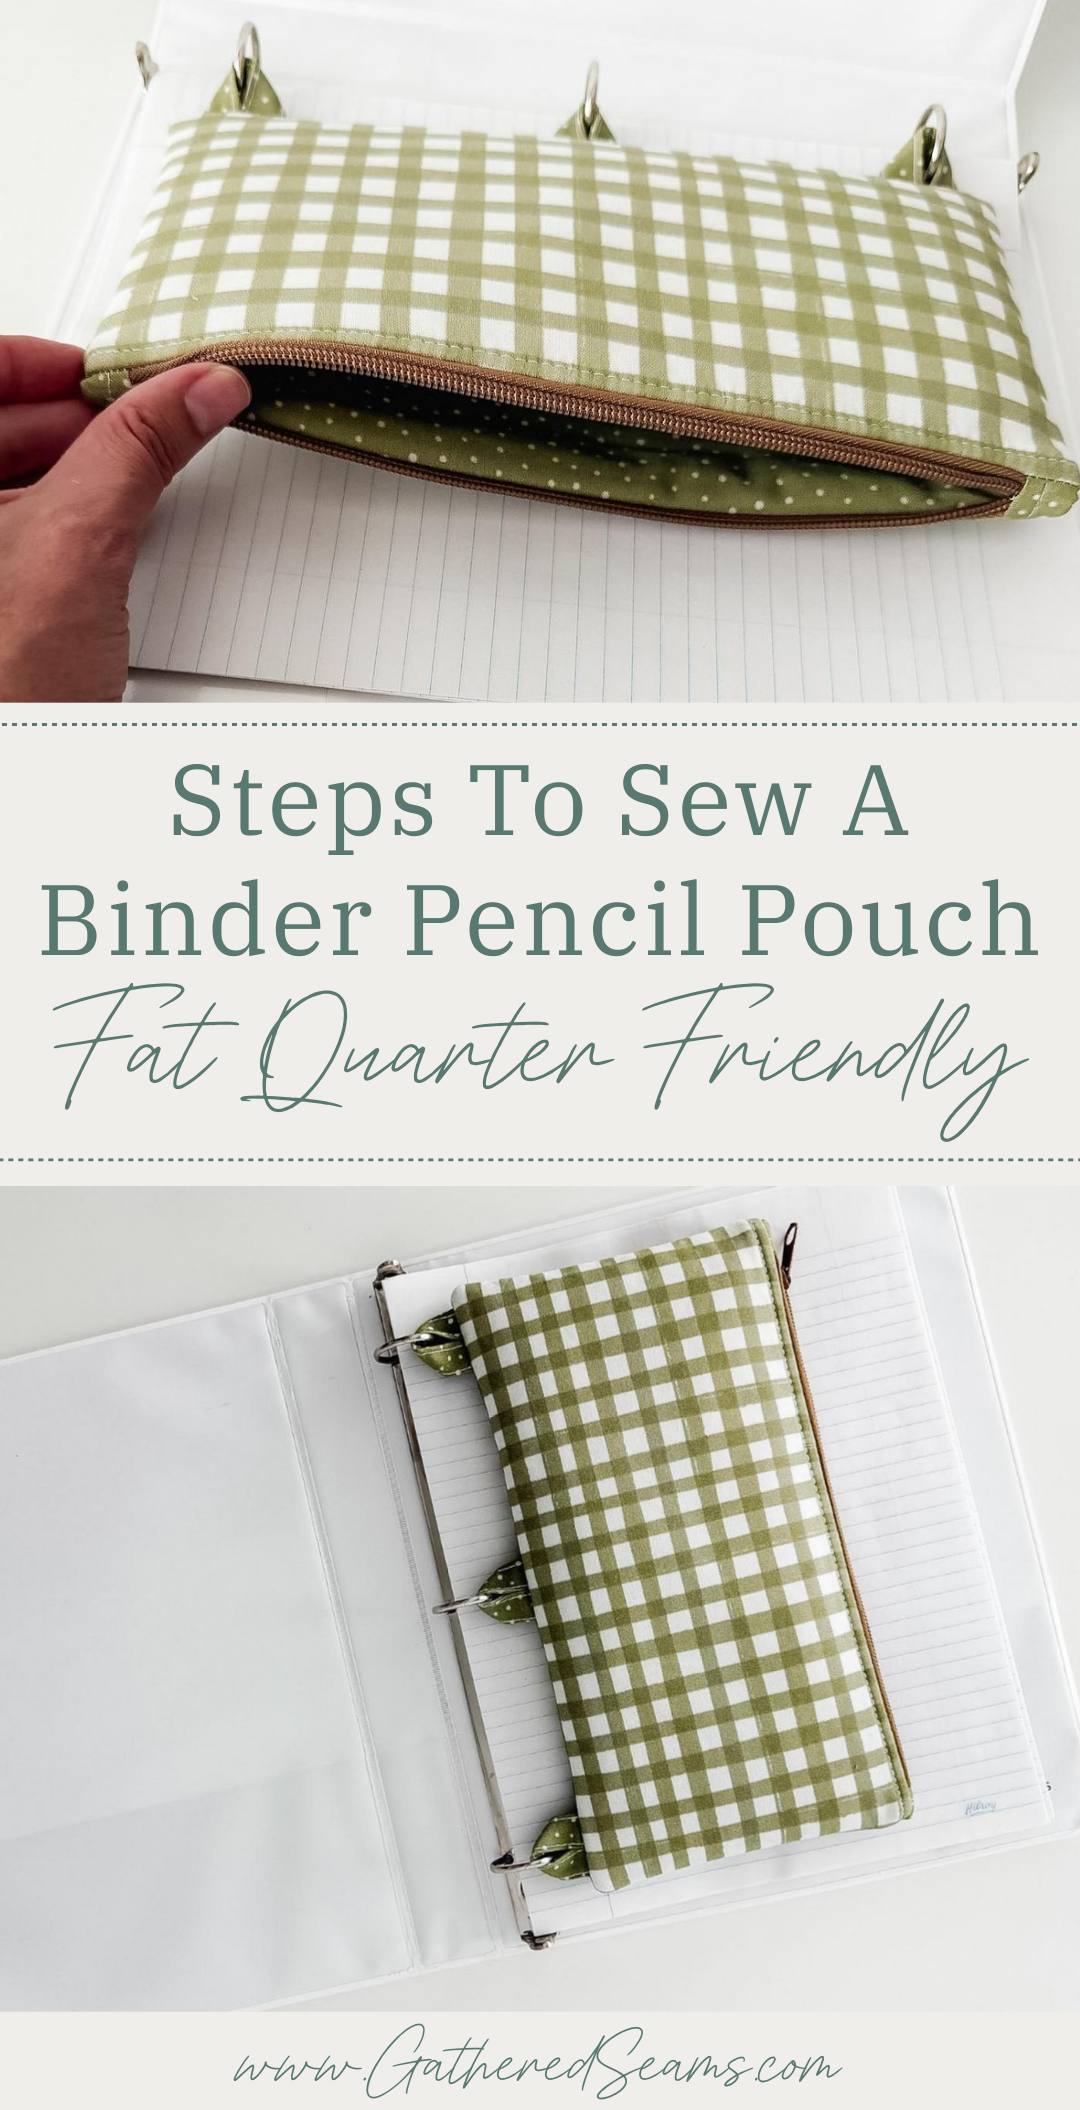
The pencil case is big enough to fit a variety of stationery items, and I love how it clips into a 3-ring binder so you never have to search for it in a backpack or book bag.
This sewing project is considered intermediate due to the zipper.
Its finished size is approximately 10″ x 5″.
Materials
As an Amazon Associate, I earn from qualifying purchases (see full disclosure here).
- Fabric for outside and lining
- Fusible fleece (optional; you can add this to your outer fabric if you want more structure, but it will make this a little more challenging to sew.)
- Ribbon, webbing, or fabric for binder ring loops
- #5 zipper (and zipper pull) (I use continuous zippers so I can cut them to length. You will need a zipper that is 10″ long)
- Thread
Tools
- Sewing machine
- Zipper foot for sewing machine
- Temporary fabric pen or chalk
- Ruler
- Iron
- Scissors
- Pins or clips
- Seam ripper
Pattern pieces for a binder pencil pouch
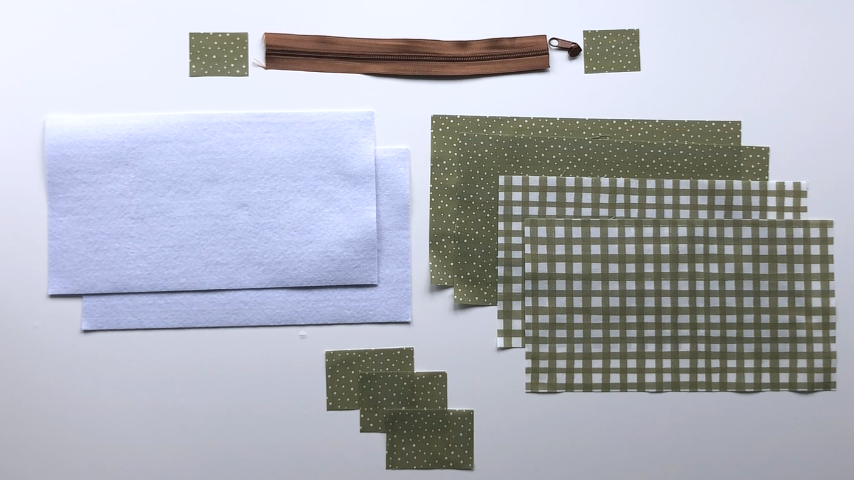
To make a binder pencil pouch, you will need the following pattern pieces:
- 2 pieces in outer fabric: 11″ x 6″
- 2 pieces in lining fabric: 11″ x 6″
- (Optional) 2 pieces in fusible: 11″ x 6″
- 3 pieces of fabric that are 2″ (wide) x 3″ (long) for binder ring loops. Or cut 3 pieces of ribbon that are 3″ long
- 2 pieces of fabric that are 1-1/4″ (wide) x 1-3/4″ (long) for zipper tabs
- 10″ long #5 zipper (and zipper pull)
Steps to sew a binder pencil pouch
Step 1
Prepare your outer fabric, binder loops, and zipper tabs.
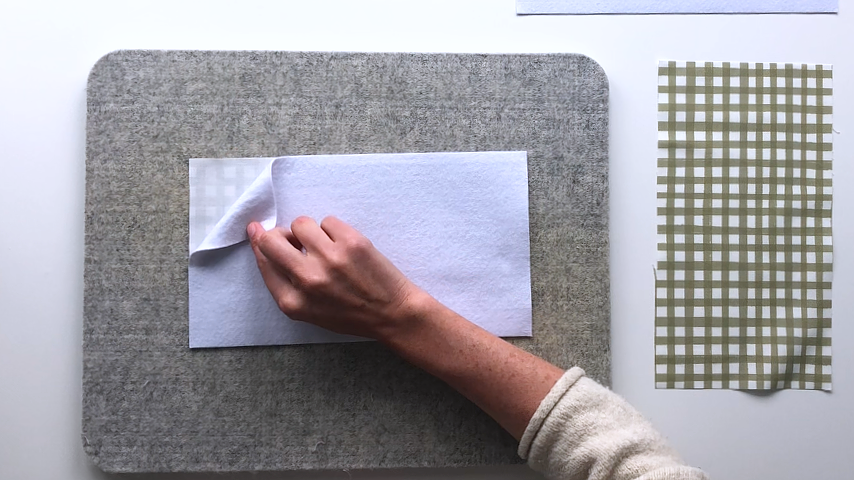
If using fusible fleece or interfacing for structure, iron that to the back of your 2 outer pieces of fabric.
To make your binder ring loops, fold your three 2″ x 3″ pieces of fabric in half lengthwise, so the two longer edges meet, and press to create a center crease.
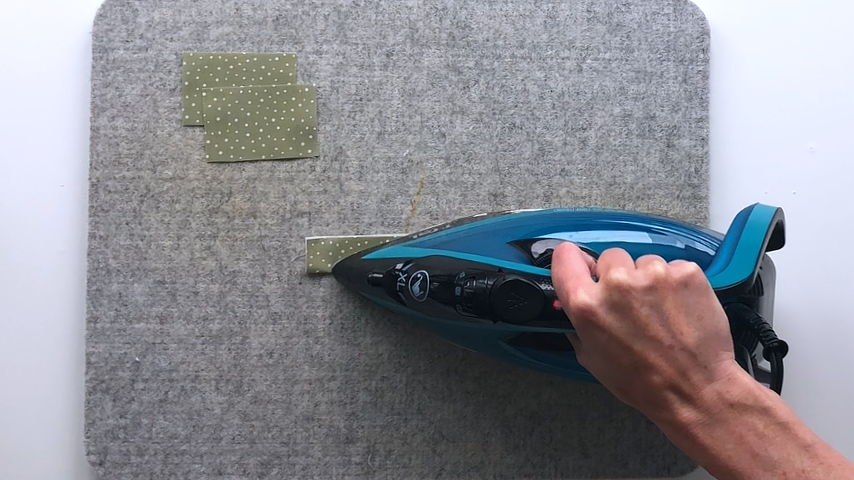
Fold the bottom edge up to meet the center crease and press.
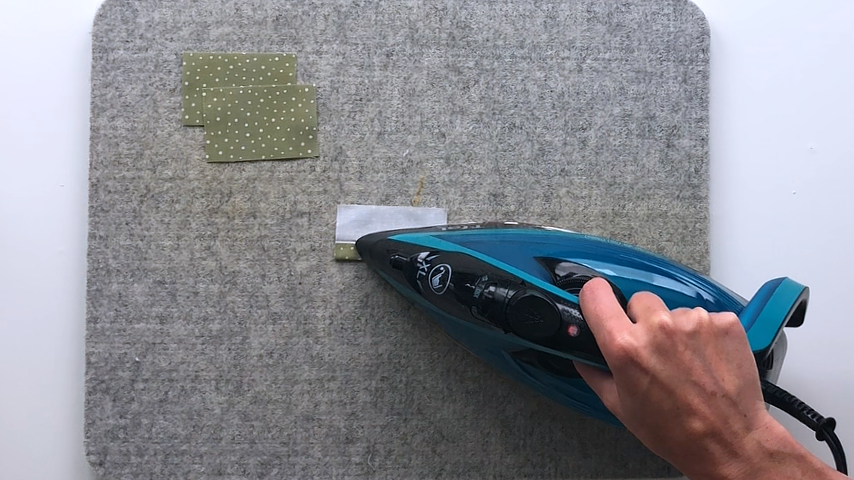
Fold the top edge down to meet the center crease and press.
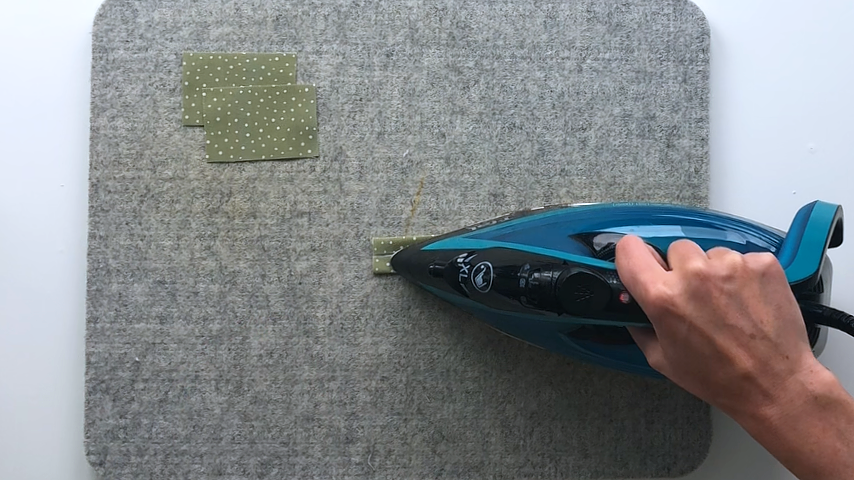
Fold in half again lengthwise and press.
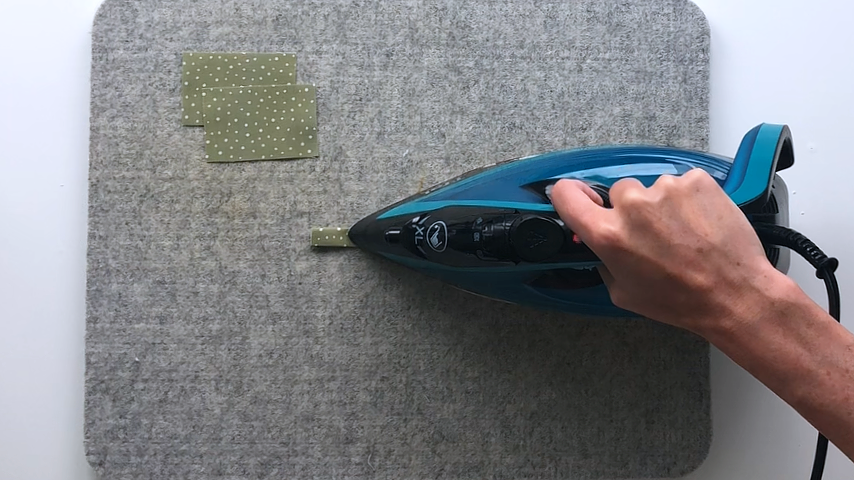
Topstitch along both edges.
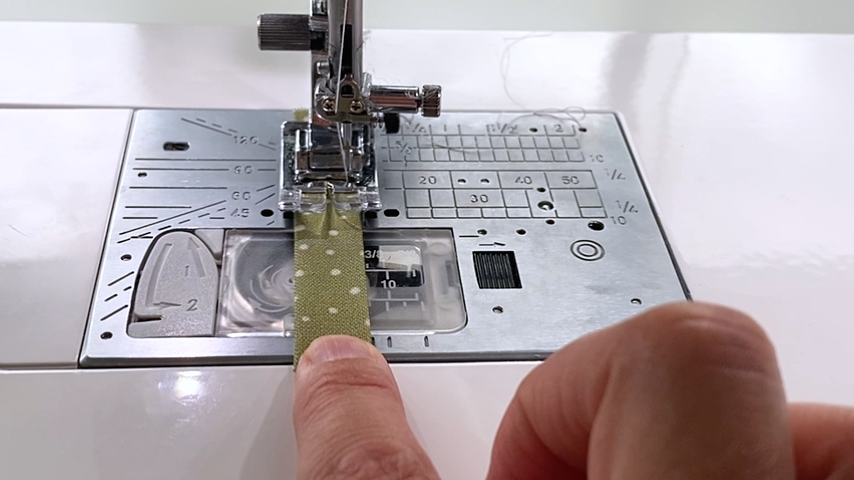
To add zipper tabs, place the right side of your fabric tab with the right side of your zipper, lining up the 1-1/4″ wide end of your tab with the end of your zipper.
Using a 1/2″ seam allowance, sew along the end of the zipper.
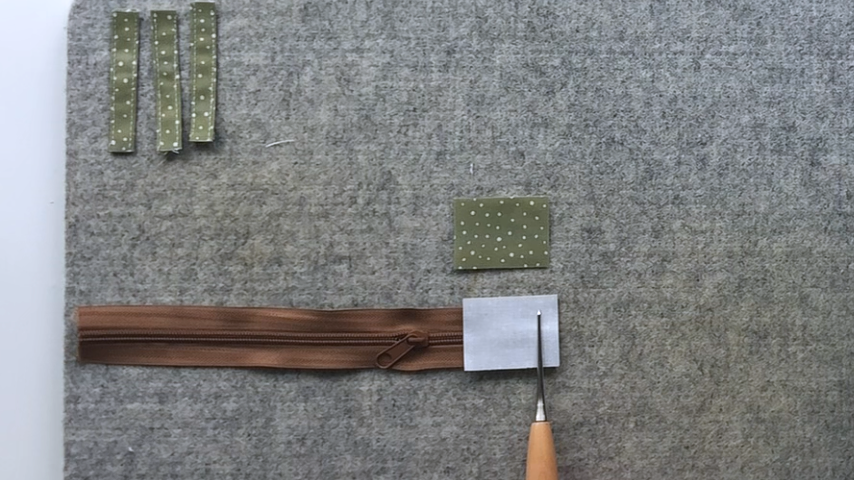
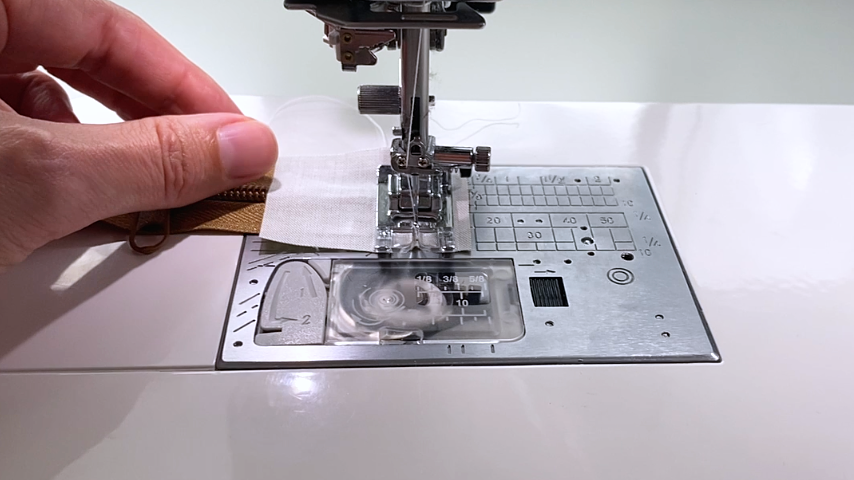
Fold the tab back, so right side is up, and topstitch into place.
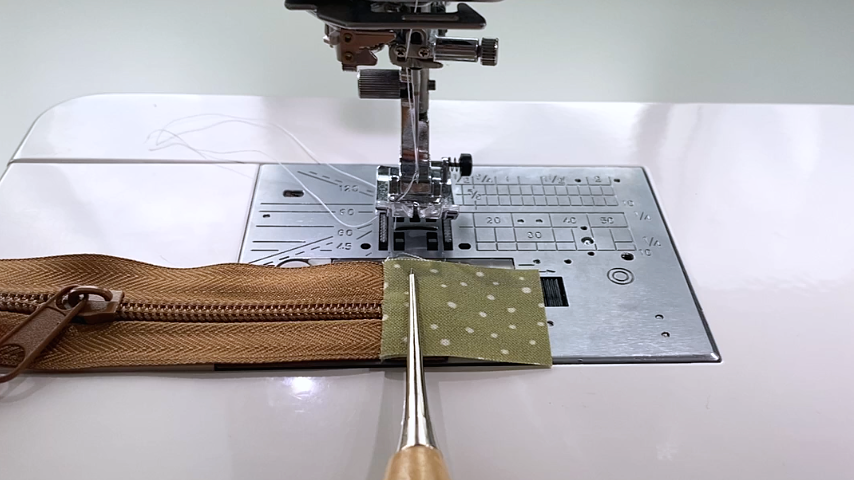
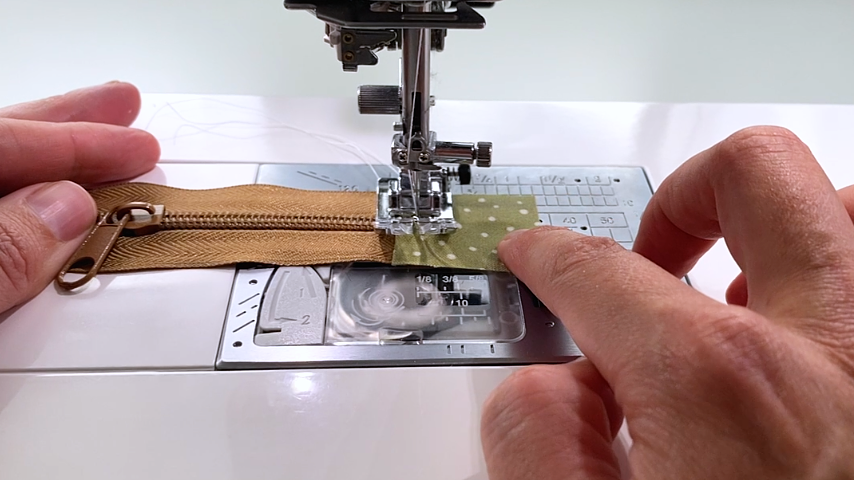
Repeat to add the other fabric tab to the other end of the zipper.
Step 2
Place the zipper and one outer panel right sides together, so the edge of the zipper lines up with the top edge of your outer panel.
Baste the zipper and outer panel together.
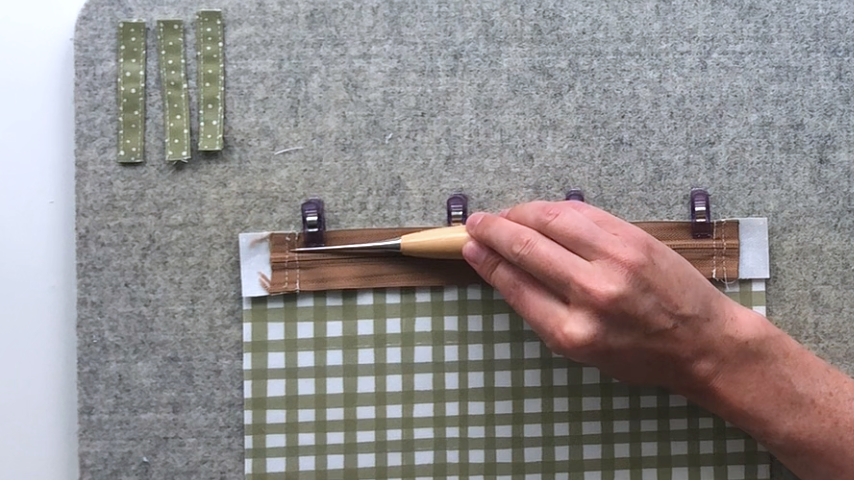
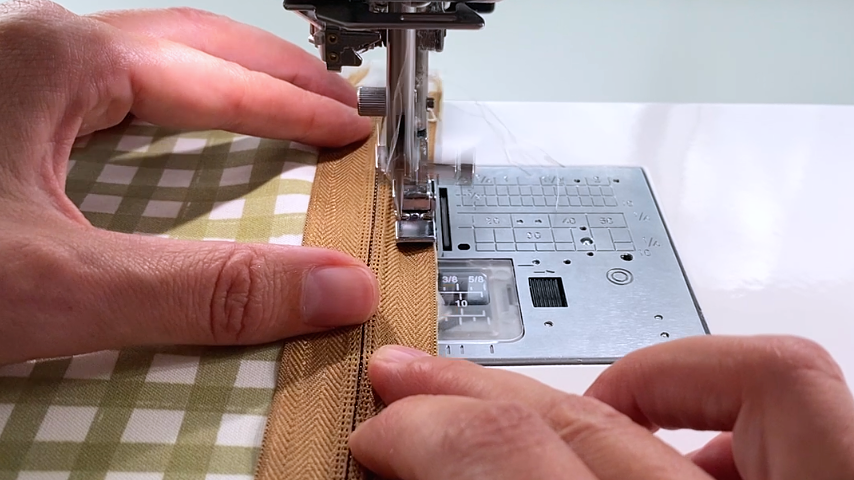
Place one of your lining panels so it is right sides together with your outer panel, top edges aligned, and your zipper is sandwiched between the outer and lining panels.
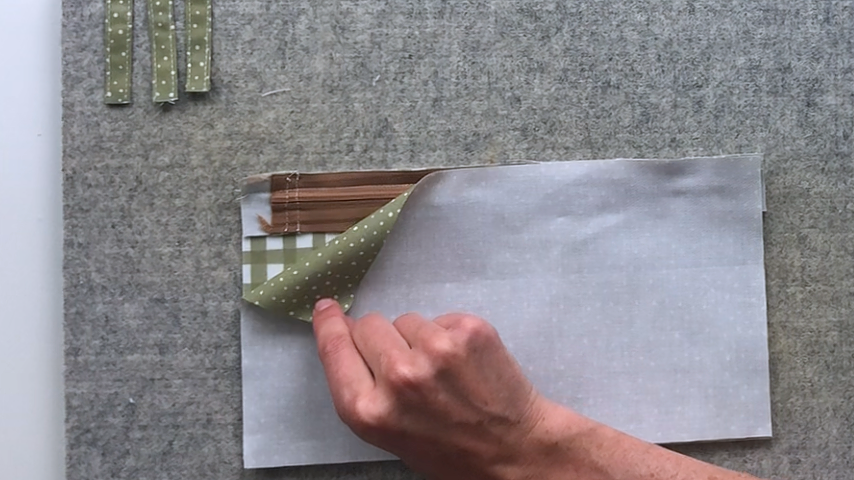
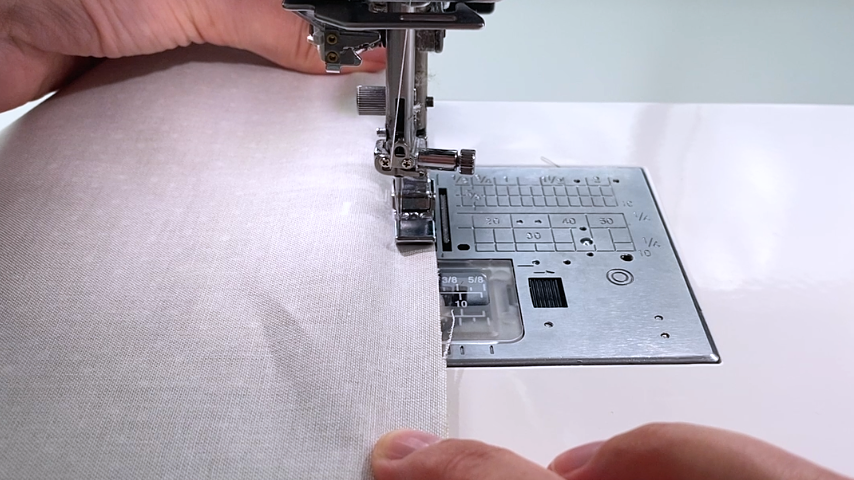
Sew the lining into place using a zipper foot and sewing close to the zipper teeth. When you come up to the zipper pull, stop with your needle down, lift your presser foot, then slide the zipper pull away from you so it’s behind the needle and presser foot. Lower the presser foot and continue sewing.
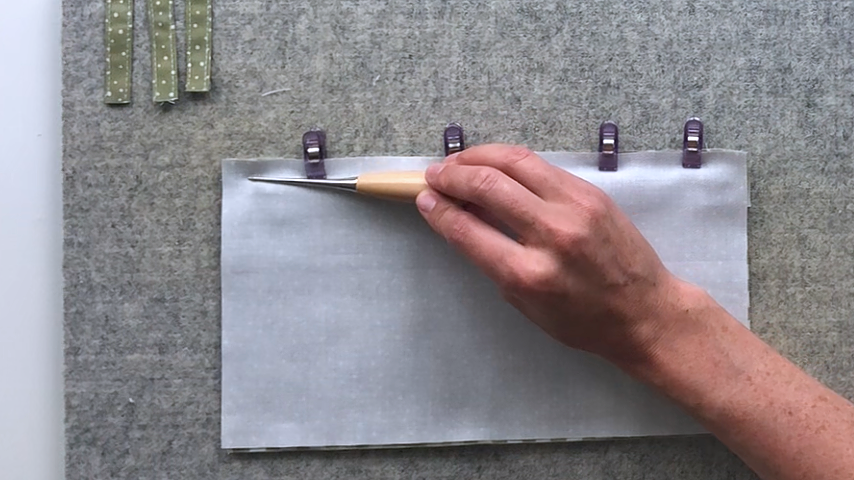
Press the seam allowance toward the outer fabric.
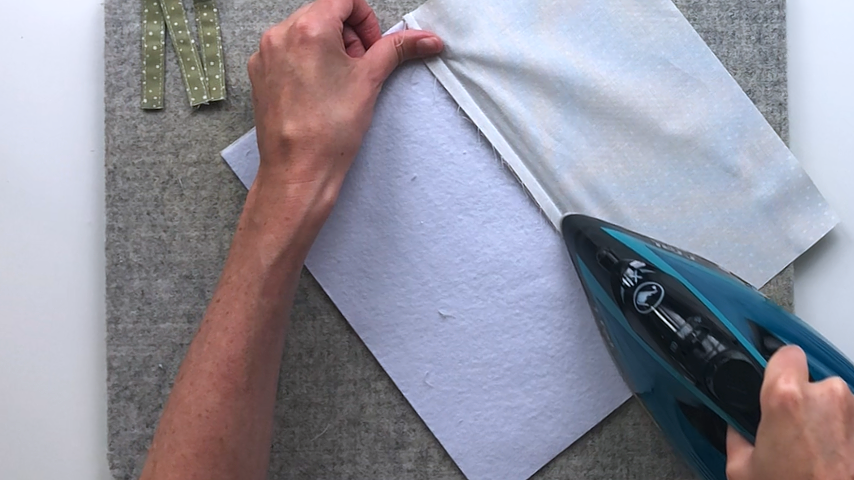
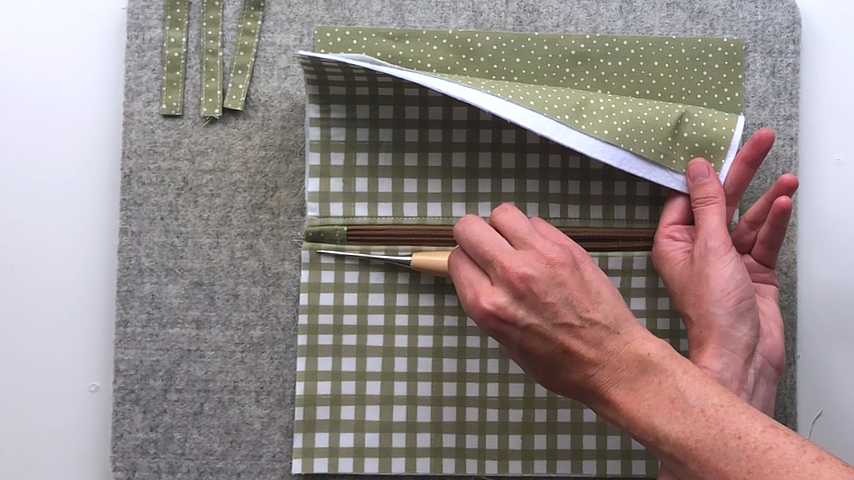
Open the fabric so the lining is out of the way and topstitch the outer panel along the zipper. The zipper and fabric seam allowance should be under where you’re topstitching (ensure it’s not folded toward your lining).
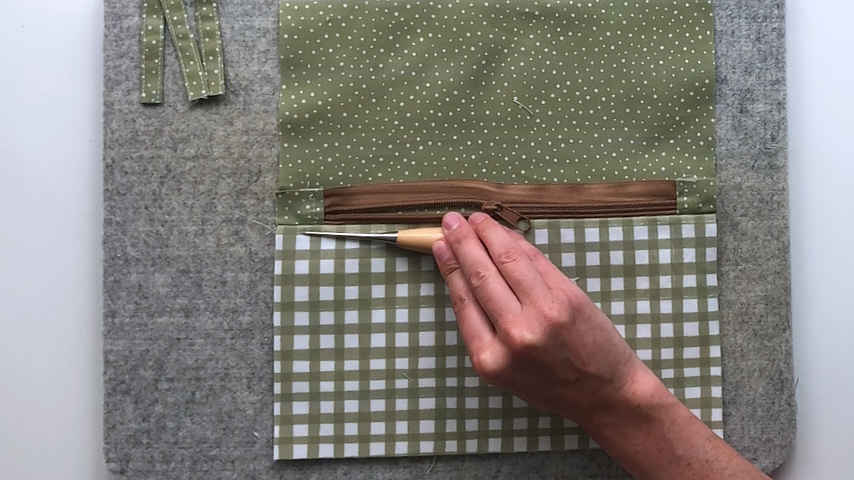
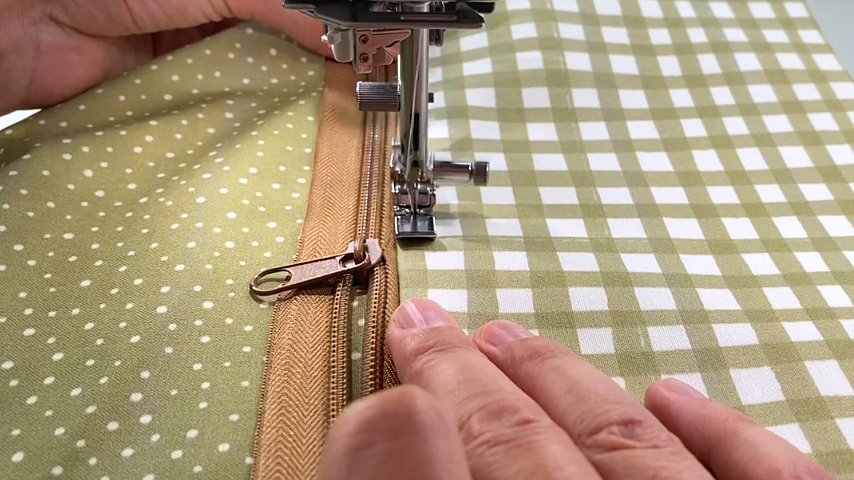
Repeat these steps to sew the other outside panel and lining to the other side of the zipper.
As a reminder, ensure both pieces of the lining are out of the way when you are topstitching along your zipper:
Step 3
Using a temporary fabric pen, mark 3 lines along the bottom of your outer panel. These will line up with the 3 rings on a binder and should be placed at:
- 1-1/4″
- 5-1/2″
- 9-3/4″
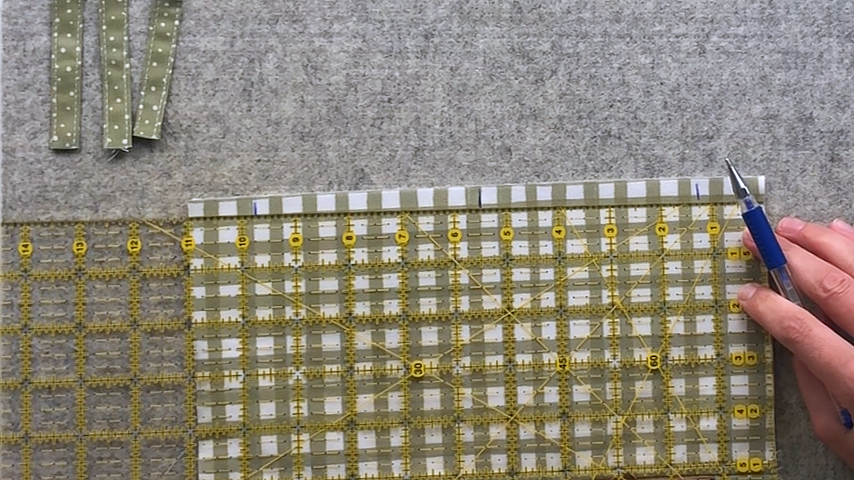
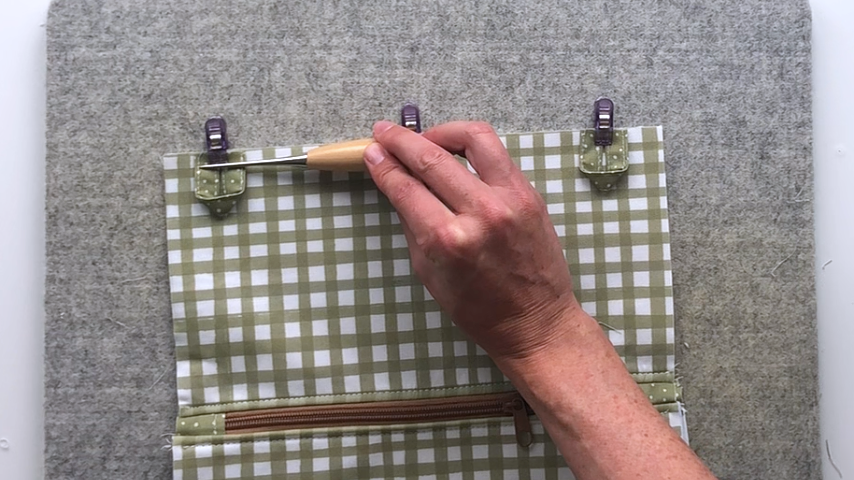
Fold your fabric loops, center them over each line and clip into place.
How I folded my loops was to fold a loop in half, place the two cut ends so they’re flat on a surface, and the cut edges are in line with each other. Then simply press down the top of the loop to flatten it.
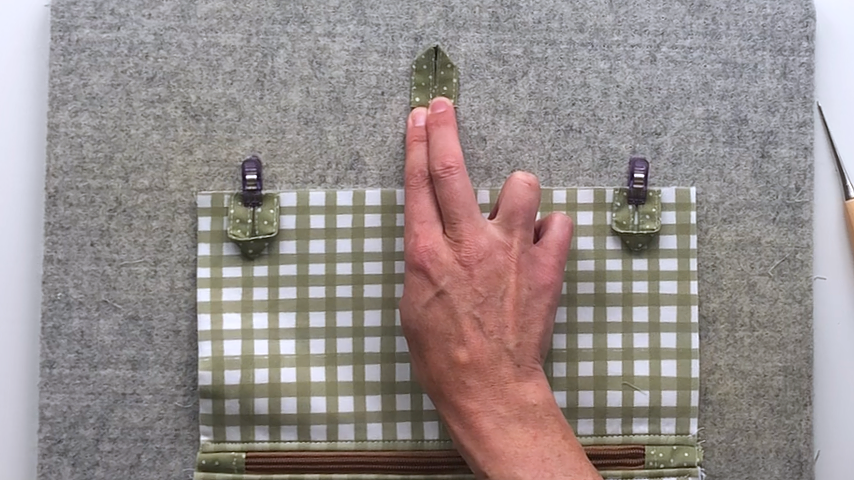
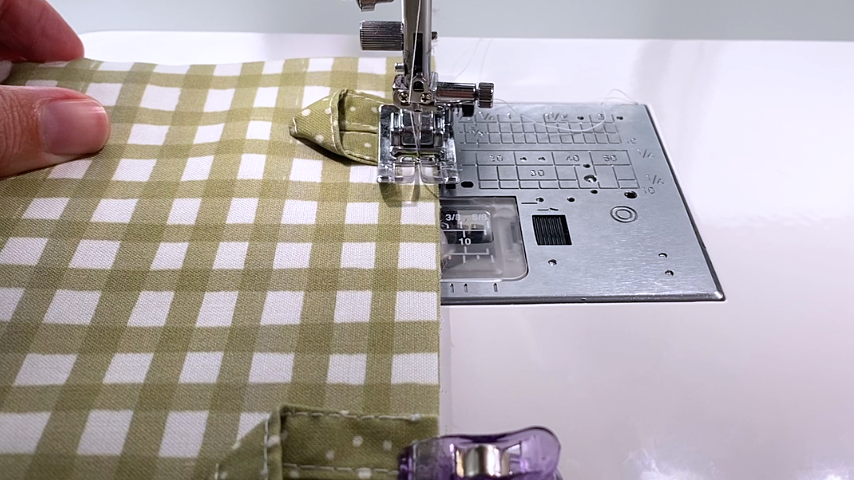
Use a basting stitch to secure the loops in place.
Step 4
Fold your pouch so the 2 outer pieces are right sides together, and the 2 lining pieces are right sides together.
Make sure your zipper is partially open so you can turn the pouch right side out later.
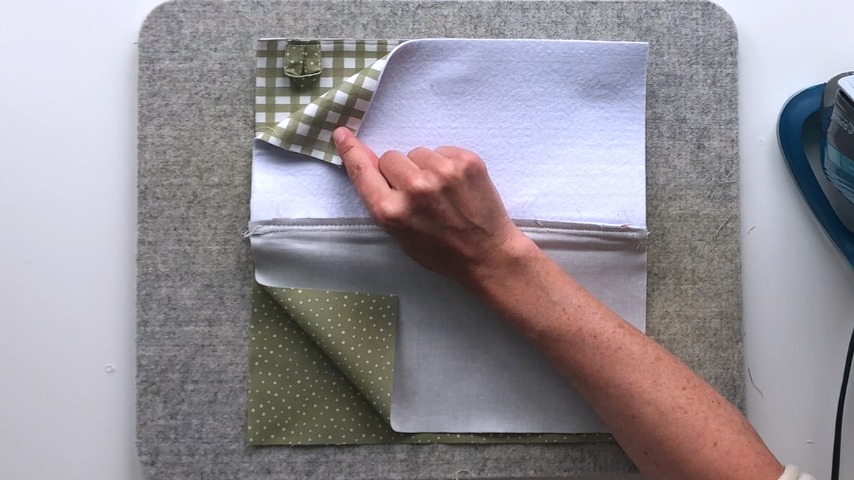
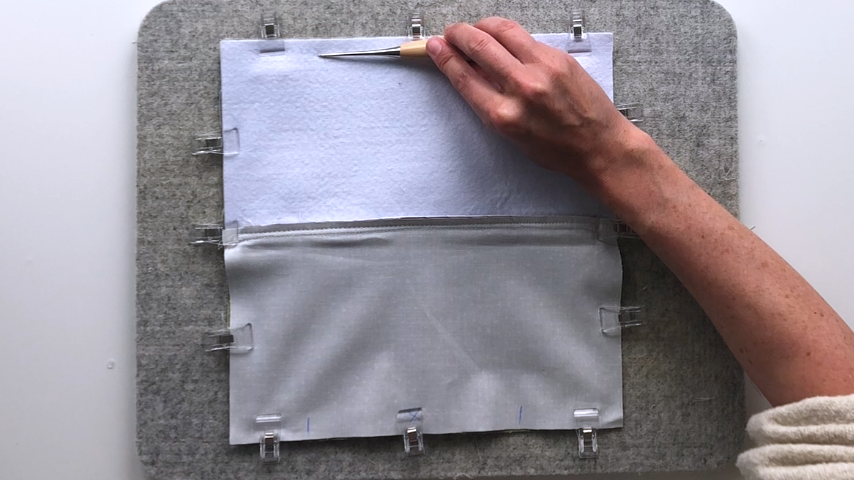
Use a temporary fabric pen to mark 2 lines you won’t sew between along the bottom of the lining. My opening is about 6″ wide.
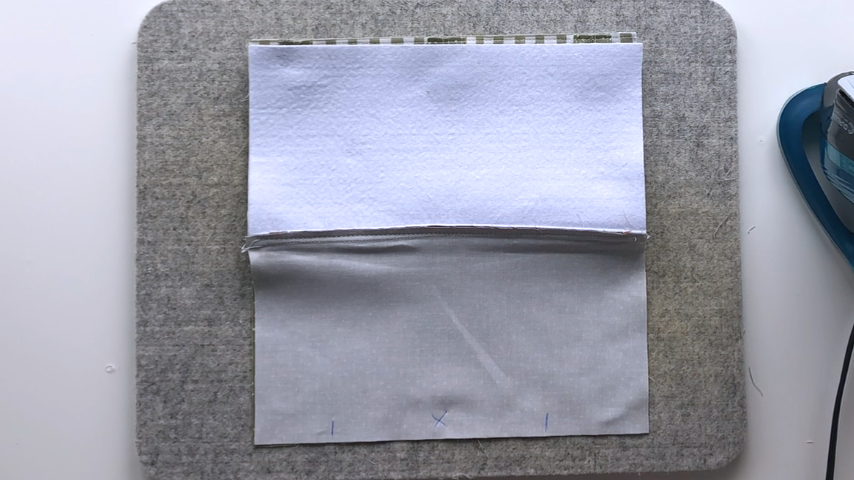
Line up all the edges and clip into place. Make sure the top edge of your outer pieces line up on each side.
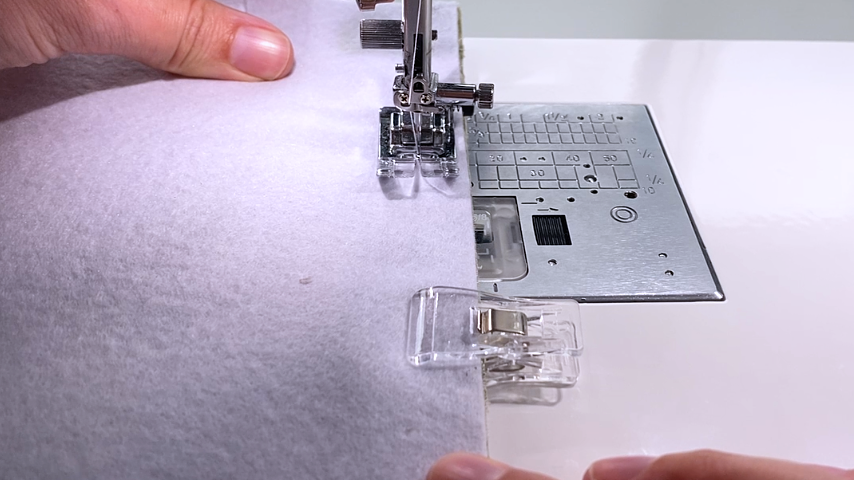
Using a 1/2″ seam allowance, sew around the edges.
A couple of tricks I use for a nicer finish:
- I gradually increase my seam allowance as I sew on the lining so I’m sewing using a 5/8″ seam allowance, instead of a 1/2″ seam allowance. This makes the lining slightly smaller so it fits nicely inside the pouch. When sewing from the lining toward the outer fabric, I gradually decrease the seam allowance back to 1/2″.
- I use a basting stitch (longest stitch length) across the opening in the bottom of the lining. This ensures my fabric will line up and won’t have any puckering when I topstitch it later. And it allows me to accurately press my seam open so I have crisp edges that line up.
Step 5
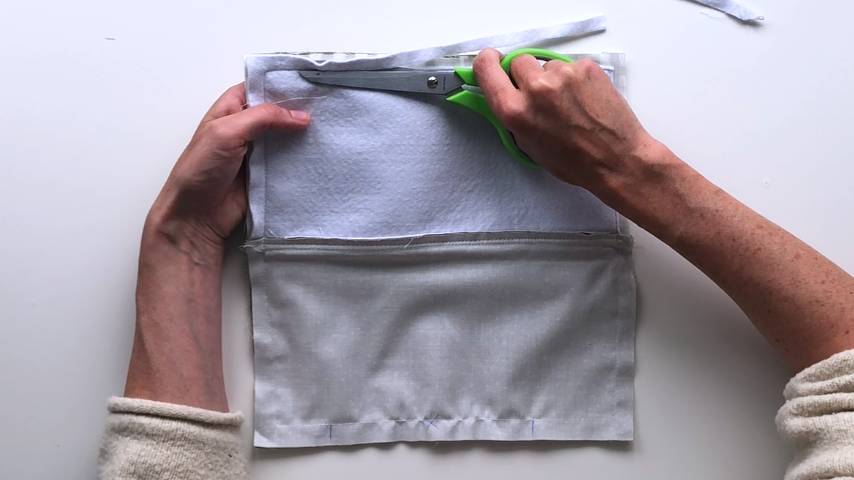
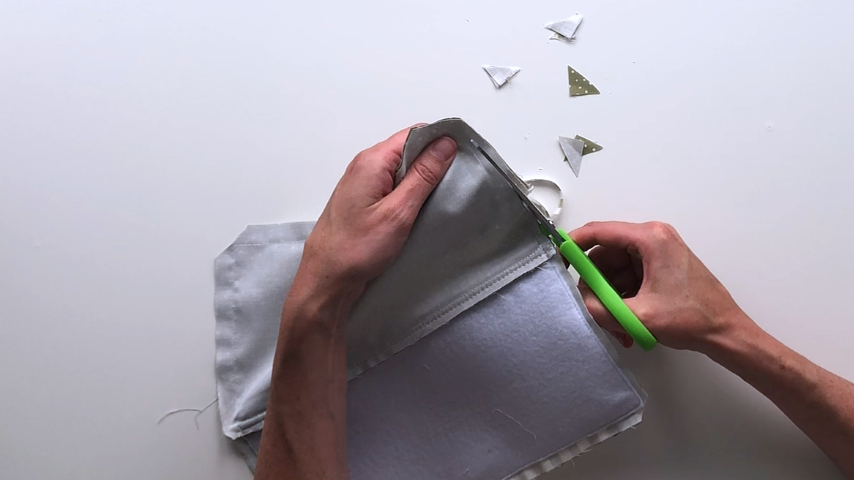
If you added fusible fleece, use your iron to warm up the adhesive along the edges so you can peel the fusible fleece away from the fabric. Then grade the fusible fleece to reduce bulk.
I hold my scissors almost parallel to the fabric and cut the fleece only. Holding my scissors at this angle allows me to cut really close to the stitching, without cutting into it. Trim the fusible fleece around all 3 edges and on both sides of the pouch.
Trim the corners at a 45-degree angle, staying about 1/8″ away from the stitching. Then angle the edges in toward that cut.
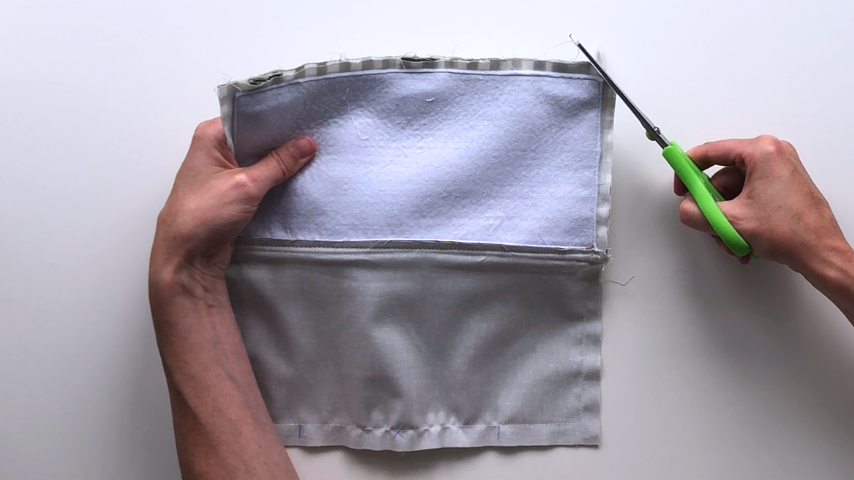
Trim the fabric seam allowance in half around the entire pouch, leaving the seam allowance as is where your opening is.
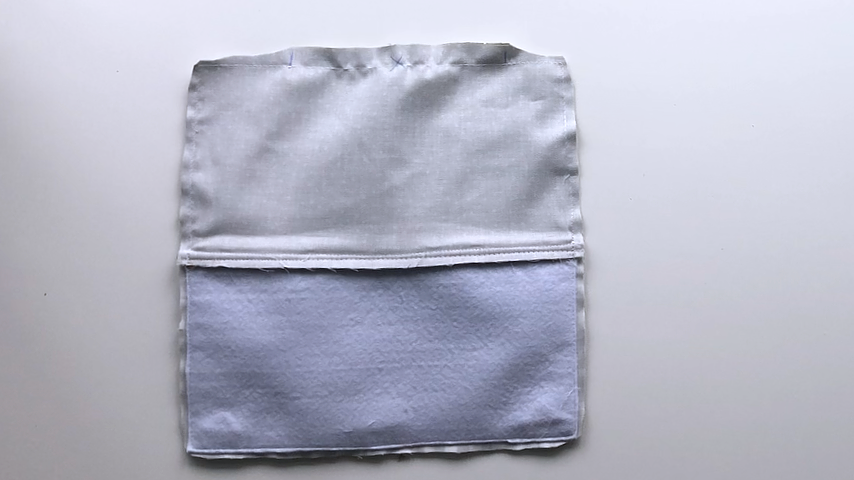
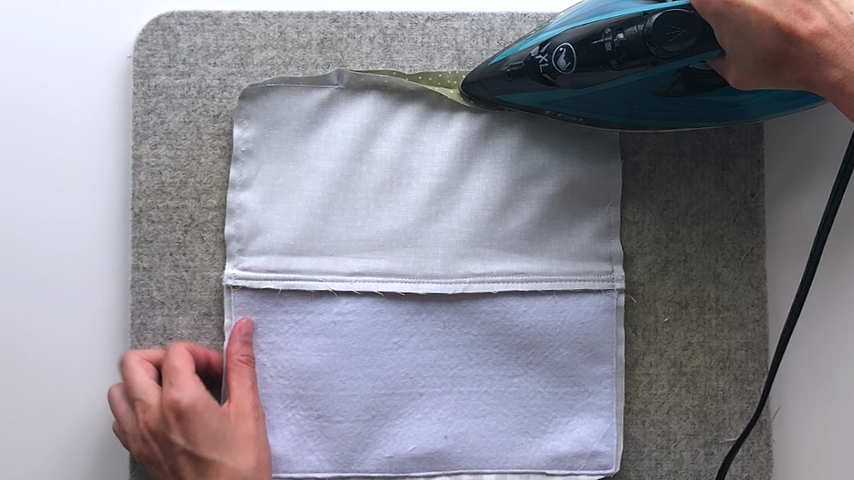
Press the seam allowance open where your opening is to get crisp edges.
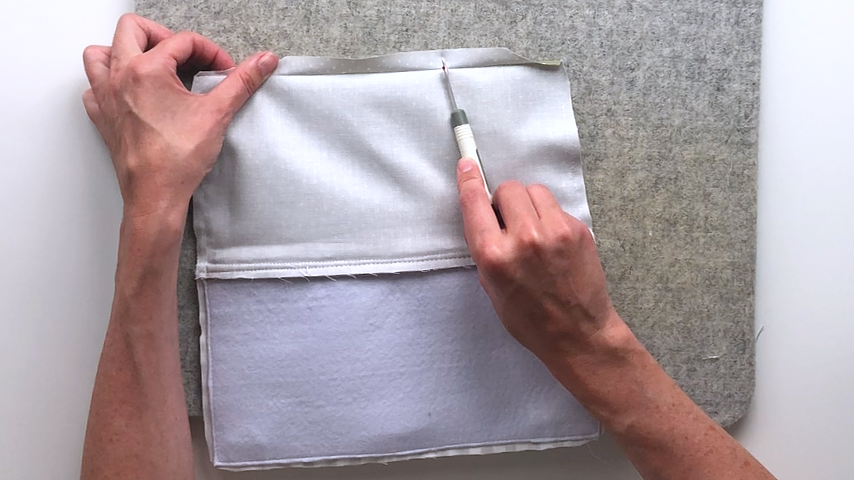
Now you can remove the basting stitches using a seam ripper to create the opening.
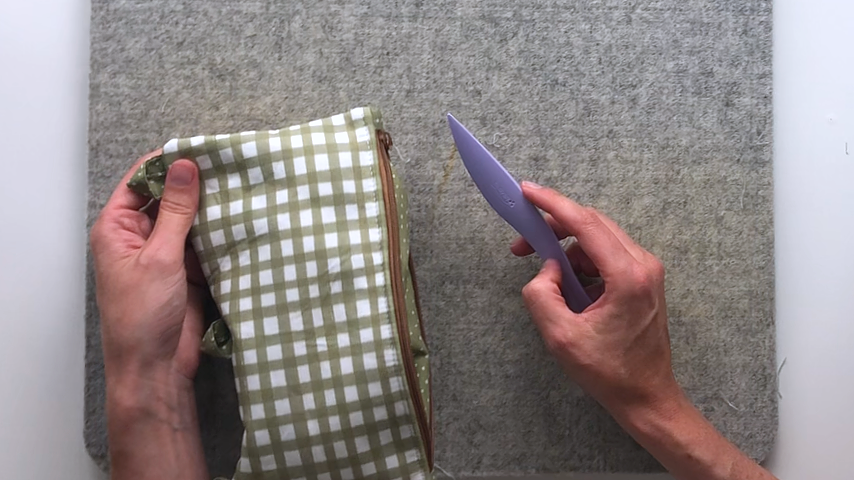
Use that opening to turn the pouch right side out, and a point turner to push the corners out.
Step 6
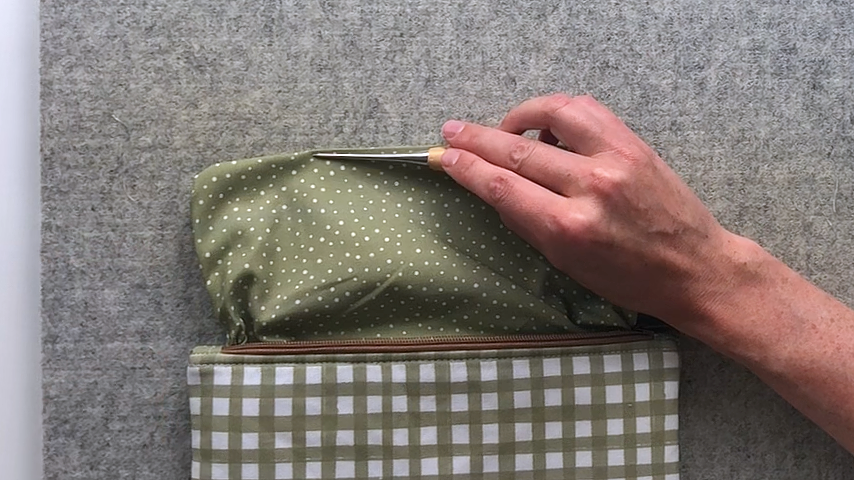
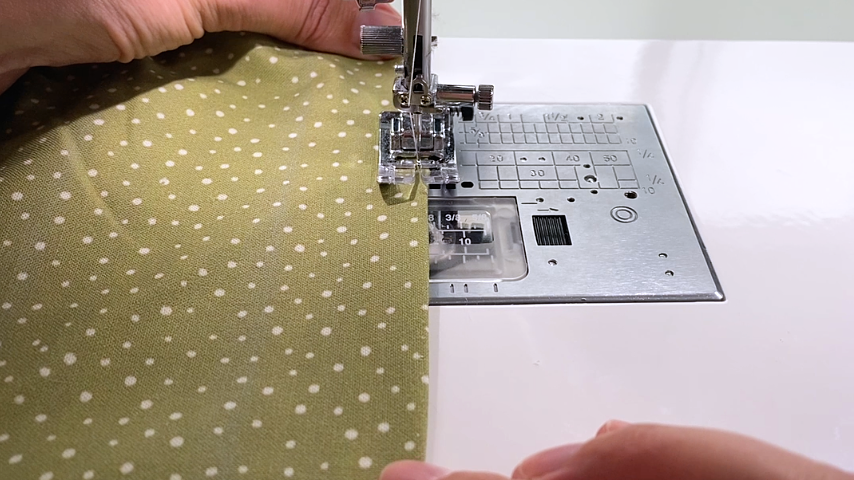
Topstitch along the opening in the lining to close it. Sewing as close to the edge as you can while catching both sides of the lining.
Your binder pencil pouch is complete!