How To Sew a Bowl Cozy | Free Printable Pattern
This article shares instructions for sewing a bowl cozy. A bowl cozy allows you to heat a bowl of food in the microwave and remove it without burning your hands. And to hold the hot bowl in your hands while you eat (if you’re like me and eat more meals on your couch than at the dinner table;).
I’ve altered this free pattern quite a bit from the other patterns out there:
- Shape – I find cozies made from square pieces of fabric have unnecessary bulk with the pointed corners. I made these more of an oval shape, with two ends being slightly longer, so you can grip the top of a bowl.
- Bias tape – I finish the edges of these cozies with bias tape, which gives them a more polished look. If you prefer not to use bias tape, you can place the top and bottom right sides together, sew around the edges, and leave an opening to turn the cozy right side out. Then top-stitch around the top edge of the cozy to close in the opening.
- Batting – I only use one layer of microwave-safe batting, as I find adding another layer of cotton batting (which some patterns suggest) isn’t needed. I use two layers of batting for my casserole cozy because it’s coming straight out of the oven.
If you don’t want to use bias tape to finish the edges, you can try my beginner sewing pattern for bowl cozies:
>> How To Sew A Beginner Bowl Cozy | Free Pattern
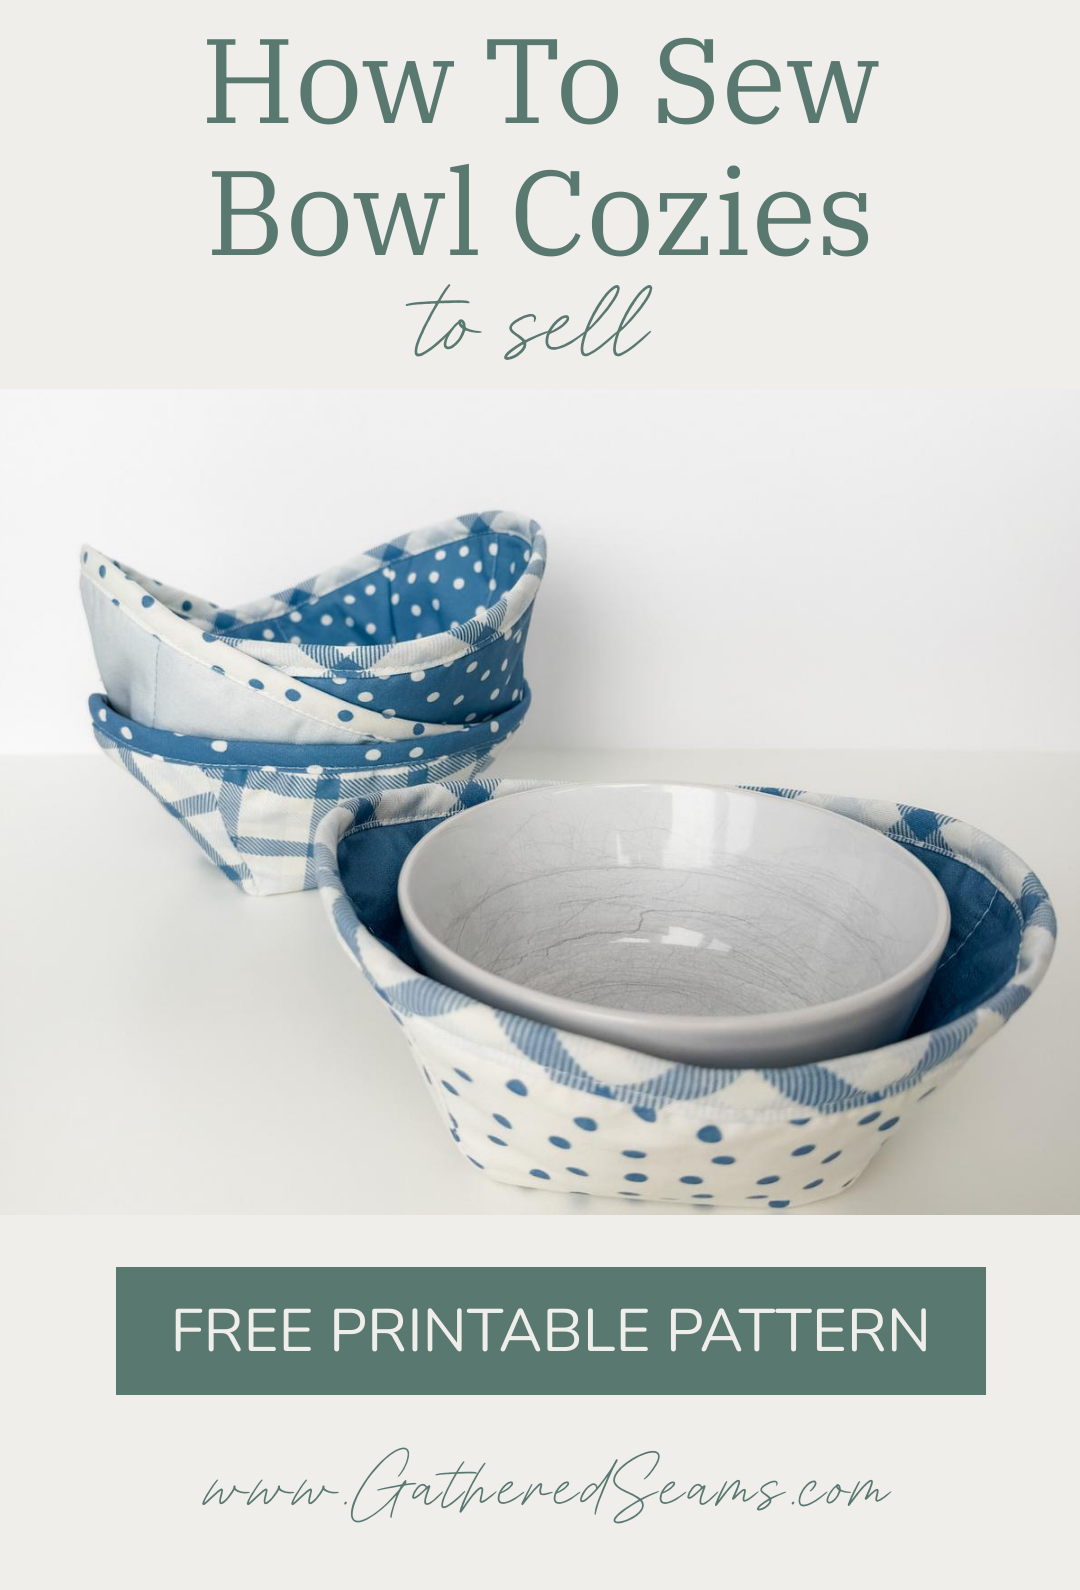
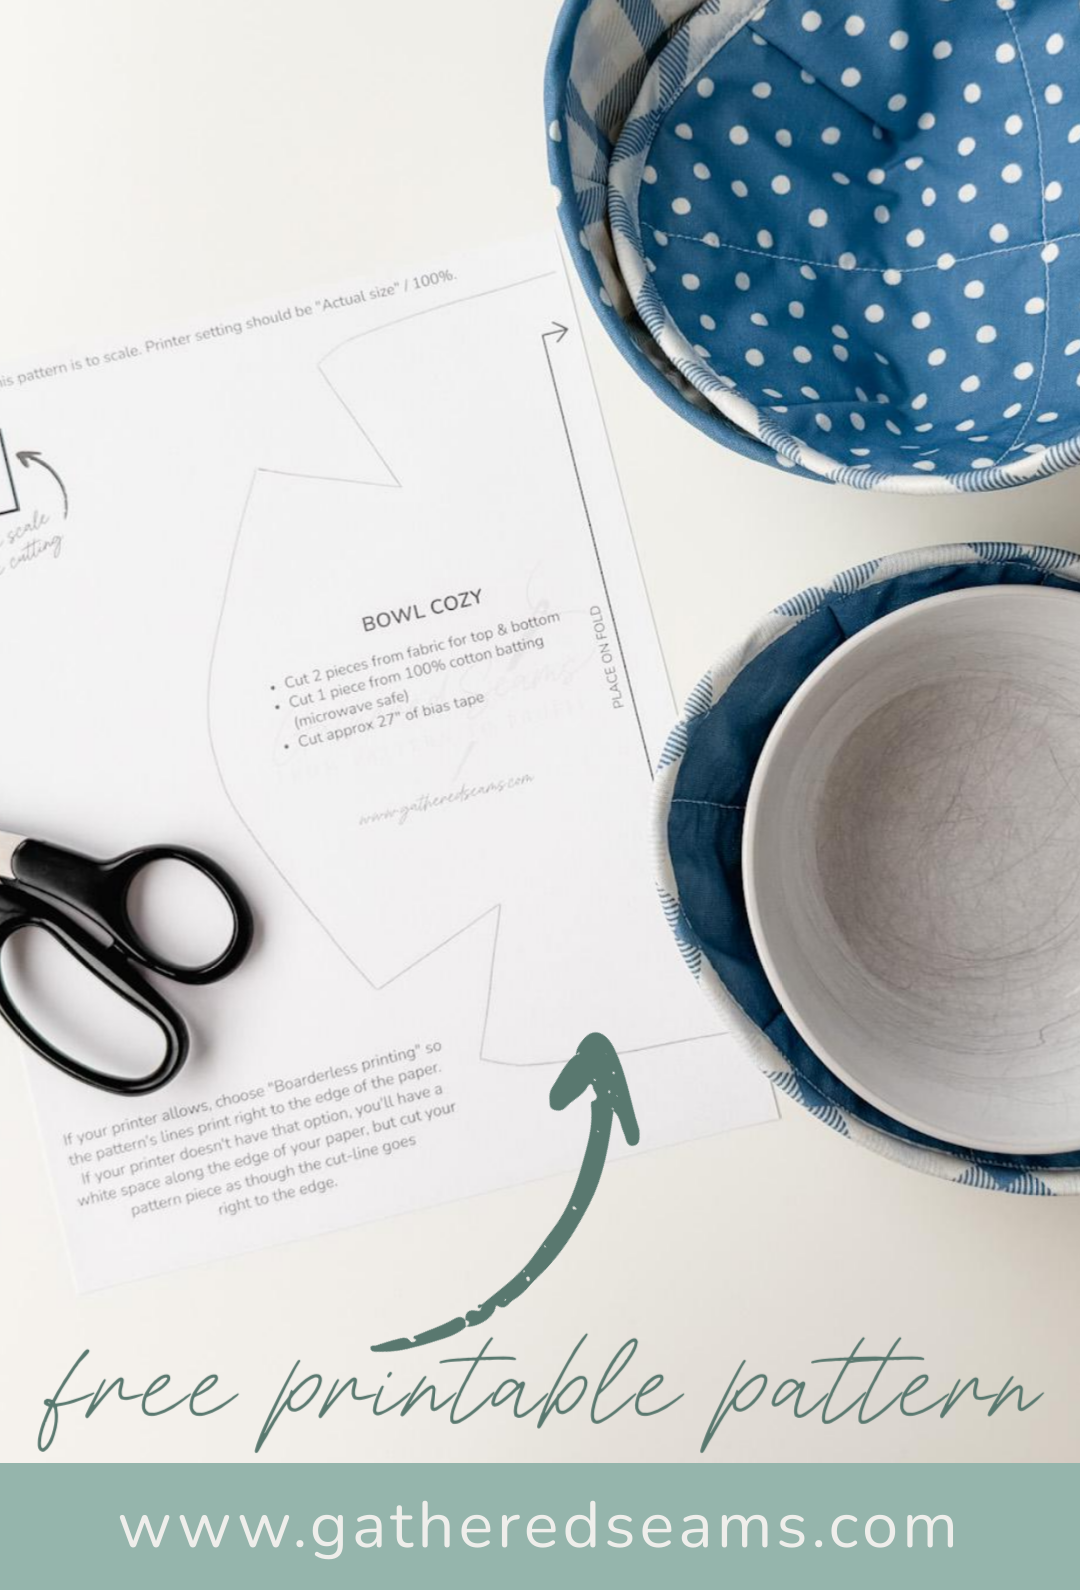
Free Printable Sewing Pattern for a Bowl Cozy

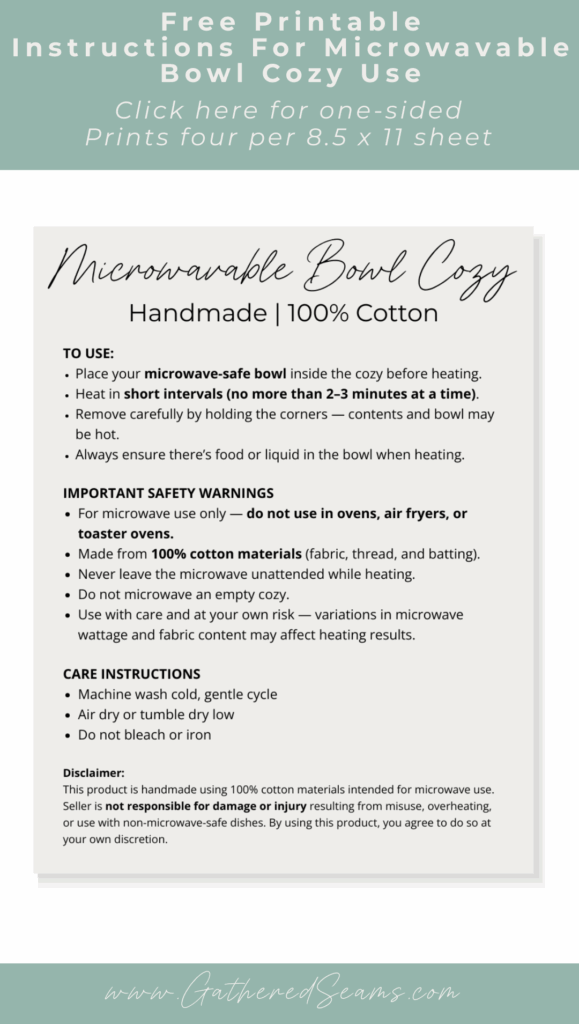
Microwave bowl cozy instructions for use
When sewing microwave-safe bowl cozies to sell, it will be important to include instructions, warnings, and be sure you’re following labelling regulations (for the location you’re selling/shipping to).
Below is an example of instructions and safety warnings.
Please be advised: it’s your responsibility to ensure you’re following local labelling laws and requirements, and that you’re using materials that are microwave safe.
Alternatively, you can market them as “bowl cozies” and remove all suggestions that they can be placed in the microwave. It would still be important to use 100% cotton materials in case customers choose to use them in the microwave at their own risk.
Microwavable Bowl Cozy – Use & Care
Use Safely:
-
-
-
- Place your microwave-safe bowl inside the cozy before heating.
- Heat in short intervals (no more than 2–3 minutes at a time).
- Remove carefully by holding the corners — contents and bowl may be hot.
- Always ensure there’s food or liquid in the bowl when heating.
-
-
Important Safety Warnings:
-
-
-
- For microwave use only — do not use in ovens, air fryers, or toaster ovens.
- Made from 100% cotton materials (fabric, thread, and batting).
- Never leave the microwave unattended while heating.
- Do not microwave an empty cozy.
- Use with care and at your own risk — variations in microwave wattage and fabric content may affect heating results.
-
-
Care Instructions
Machine wash cold, gentle cycle. Air dry or tumble dry low. Do not bleach or iron
Disclaimer:
This product is handmade using 100% cotton materials intended for microwave use. Seller is not responsible for damage or injury resulting from misuse, overheating, or use with non-microwave-safe dishes. By using this product, you agree to do so at your own discretion.
I’ve made printable instructions as well. For the double-sided version, be sure to set your printer to print on both sides of the paper.
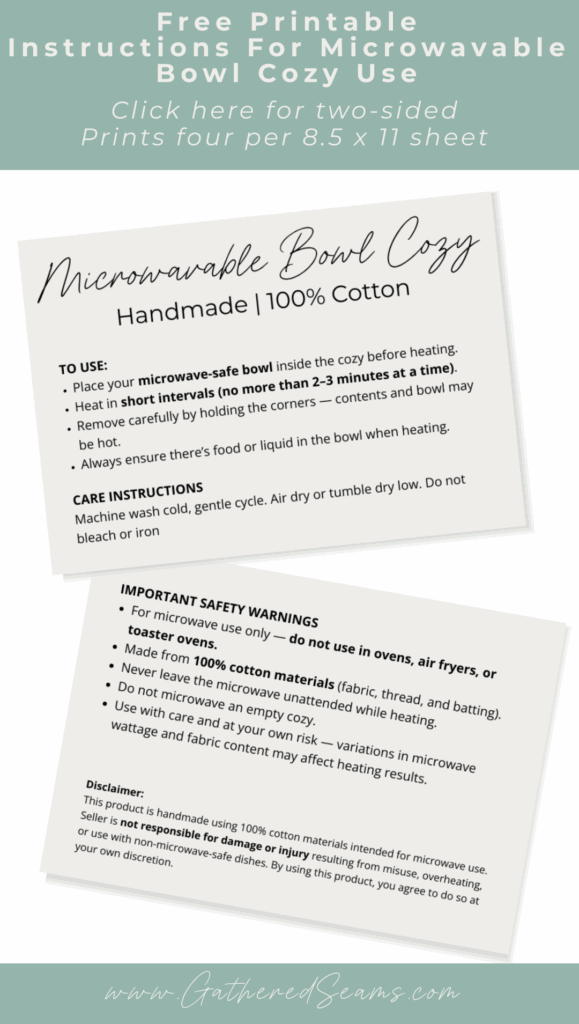
*IMPORTANT PRINTING NOTE
If choosing the two-sided option, test printing before printing multiple copies.
If your printer doesn’t “flip on long edge” when printing two sides, your text will be upside down on the back side. If you experience that, you can use this two-sided version: Alternative two-sided instructions.
Materials
As an Amazon Associate, I earn from qualifying purchases (see full disclosure here).
It’s important to use 100% cotton materials. Polyester and other synthetic materials are flammable when exposed to microwave heat.
If sewing to sell, keep proof of the material’s content (fabric receipts, product listings, product packaging/labels).
- 100% cotton fabric or 100% linen
- 100% cotton batting (I used Wrap-N-Zap)
- 100% cotton thread
- 100% cotton bias tape (1/2″ double-fold; it’s 1/2″ wide when double-folded, 2″ wide when unfolded)
Printed cotton fabric
Typically, dyes used to create prints and patterns on fabric are synthetic, but they bond with the natural cotton fibres, making the fabric itself 100% cotton. Therefore, the dyeing process does not introduce synthetic materials into the fabric.
To keep these cozies microwave-safe, avoid cotton fabric with metallic or foil prints, glitter, or shiny additives, and/or blended fabrics (e.g. poly-cotton blend), as these are unlikely to be microwave-safe.
Tools
- Sewing Machine
- Walking foot (highly recommended when working with batting)
- Fabric clips or pins
- Scissors
- Iron
Steps to sew bowl cozies
Step 1 – Press cotton fabric & cut out pattern pieces
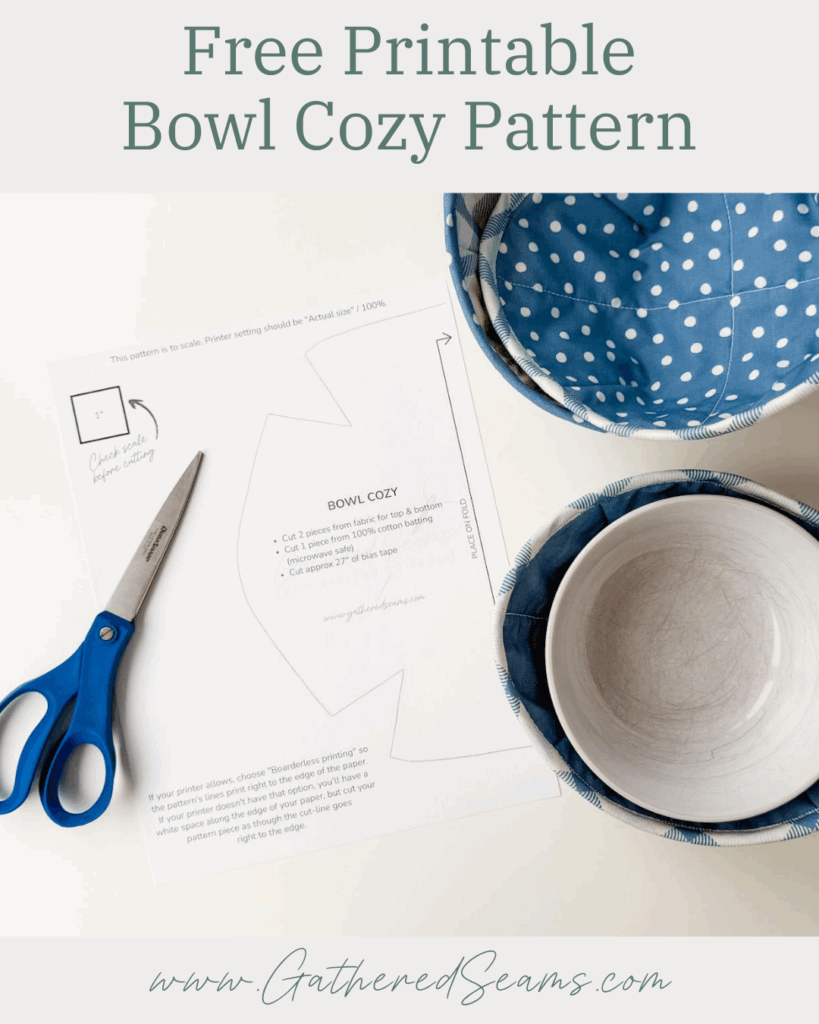
Print your free pattern pieces and cut them out.
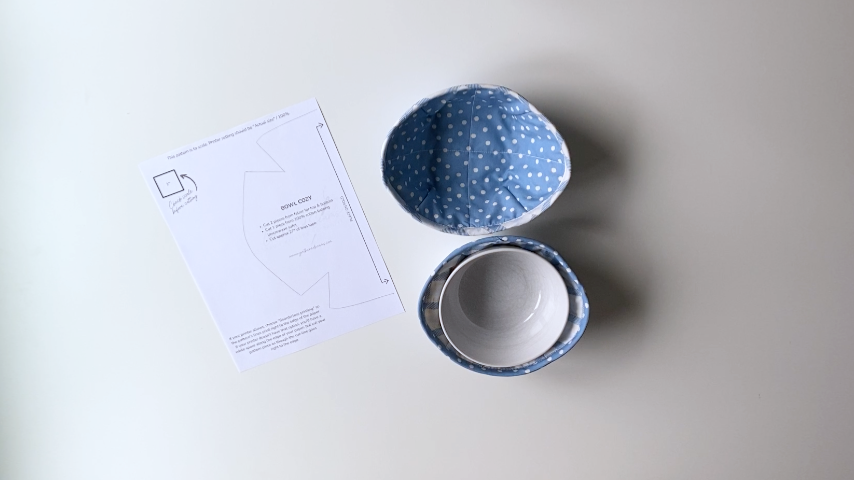
Iron your top and bottom fabric before cutting to be sure your cuts are accurate.
There’s no need to iron your batting.
Your pattern piece will have a “FOLD” indication along the side. Be sure to place that edge on a fold when cutting.
Alternatively, you can print the pattern pieces twice, cut them out, and flip one over to mirror the other, then tape the pattern pieces together with no overlap.
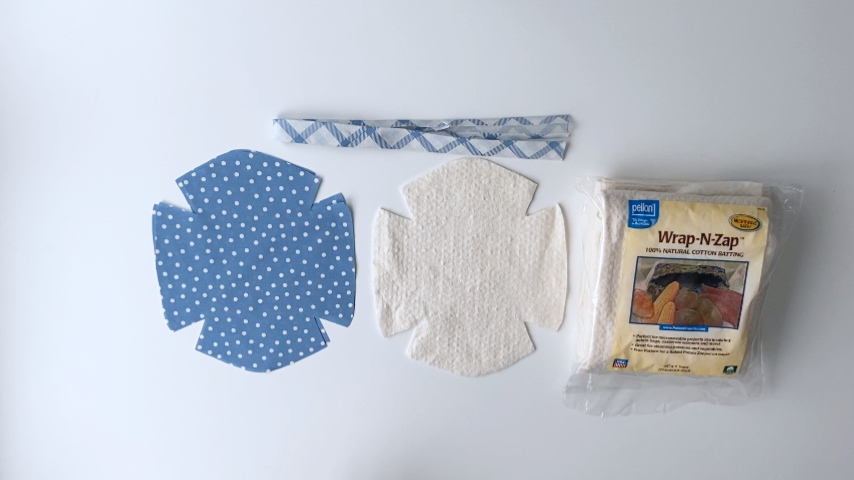
You’ll need:
- 1 piece of 100% cotton fabric for the top of your cozy
- 1 piece of 100% cotton fabric for the bottom of your cozy
- 1 piece of microwave-safe batting (Wrap-N-Zap is ideal)
- Approximately 27” of 100% cotton bias tape that is 1/2″ wide when double-folded (2″ wide strips when unfolded). Here’s how to make your own: How To Make Bias Tape
Step 2 – Stitch batting and top fabric together
Fold your top piece in half lengthwise and press a seam. Then fold it in half widthwise and press a seam. These will be your guides for sewing your quilting stitch. You can add more quilting stitches if you desire.
Using a walking foot, stitch your top pattern piece and your batting together following the creases.
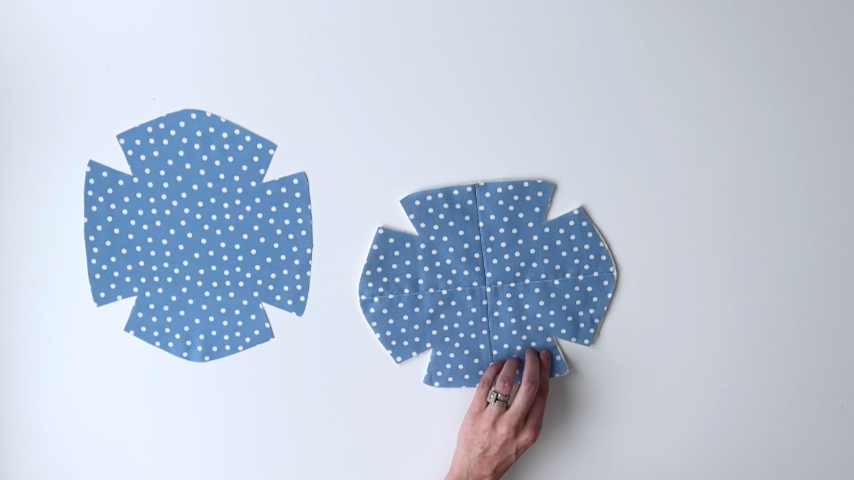
Your batting likely shifted during stitching. Trim away any excess that is showing from underneath your top piece.
Step 3 – Sew darts
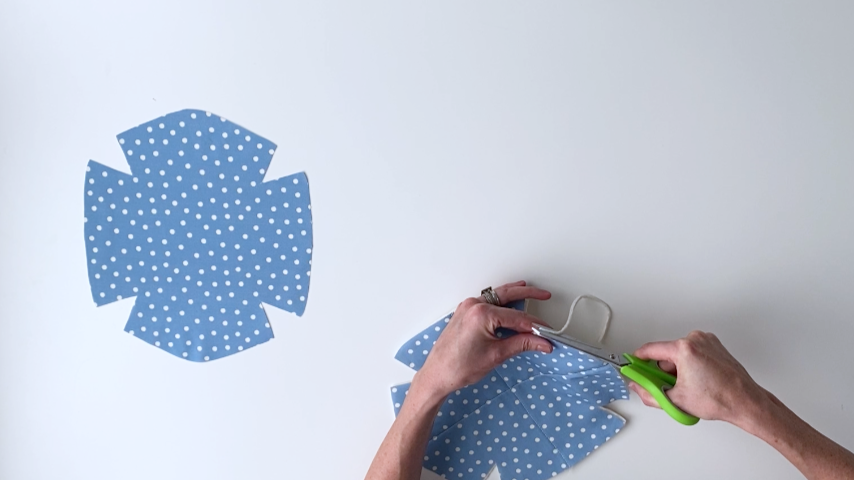
Using a 1/2” seam allowance, sew all four darts on your top piece. Repeat with your bottom piece.
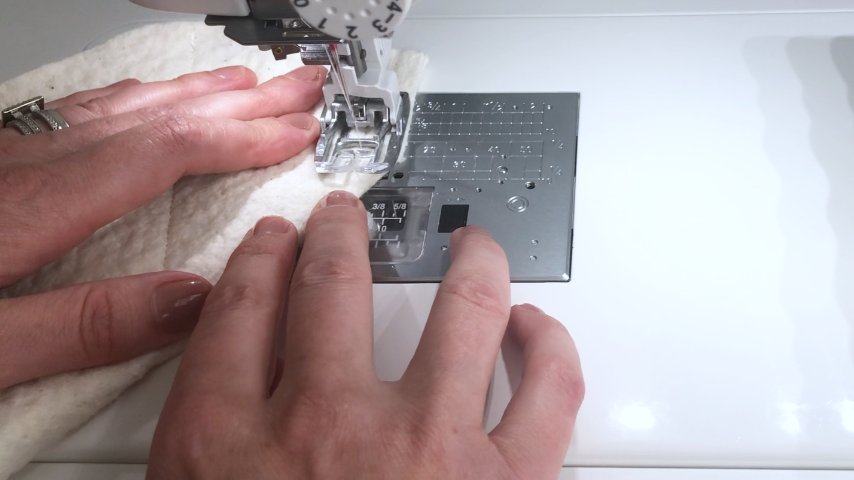
Clip the batting only, to the point of the dart so you can open the batting’s seam. Don’t clip the cotton fabric.
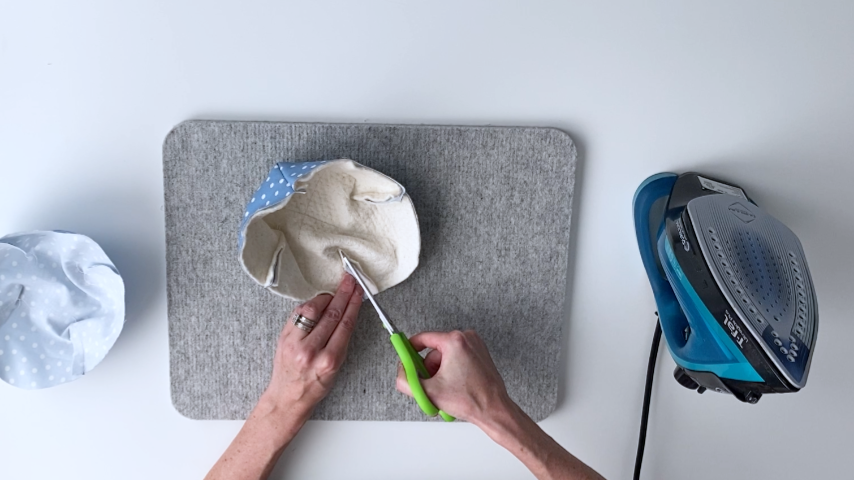
Press the batting open, while pressing your fabric darts to one side. It’s ideal to press the darts on your top piece in the opposite direction of your bottom piece’s darts; this will reduce bulk in the seam.
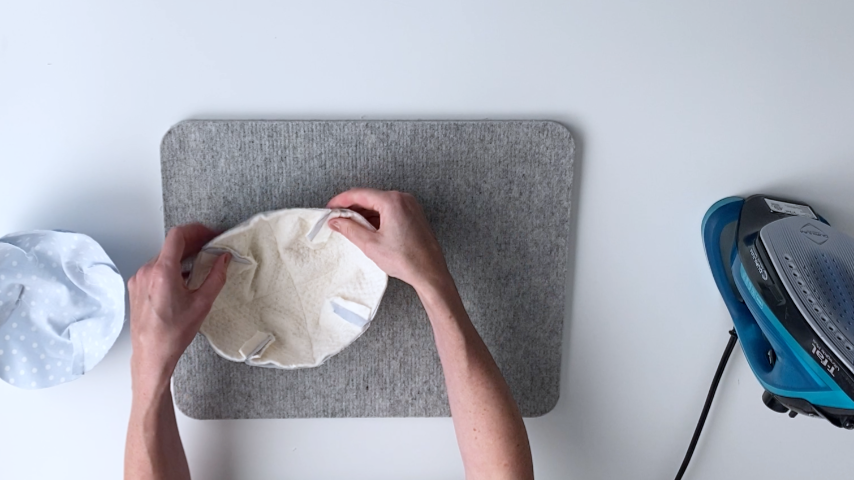
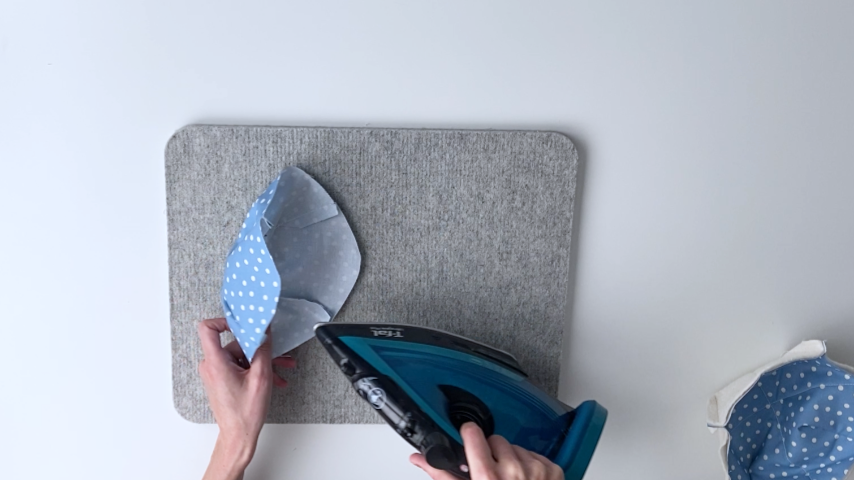
Trim the excess batting on either side of your darts. Don’t cut the fabric darts.
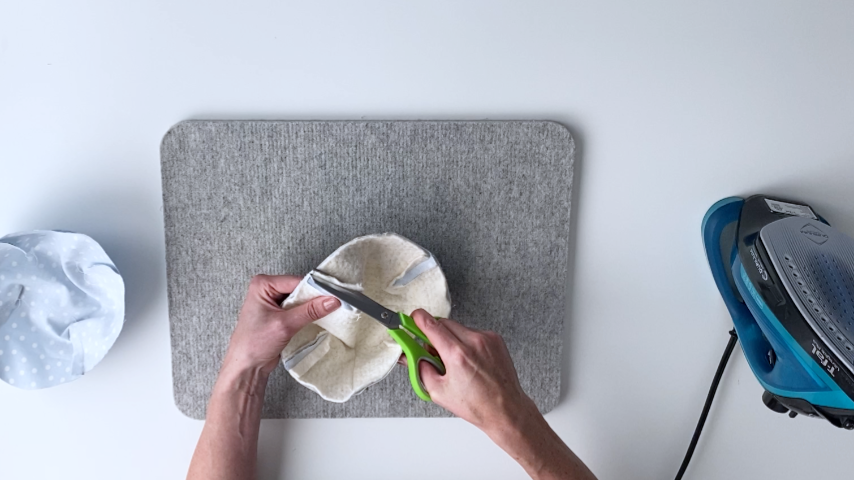
Step 4 – Clip top and bottom together
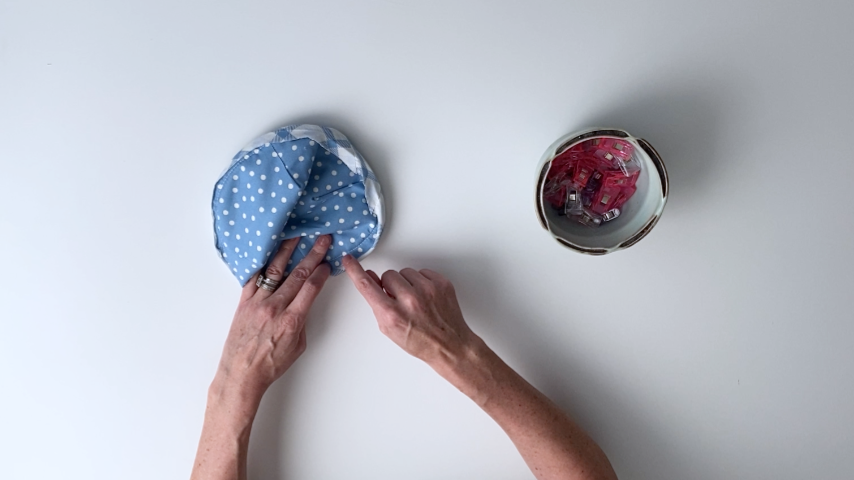
With wrong sides together, nest the top piece into the bottom piece, making sure the two longer ends match up (the cozy is slightly longer than it is wide).
Line up the seams of the darts and clip them into place with:
- The batting seams open
- The top darts folded to one side
- The bottom darts folded to the opposite side of the top
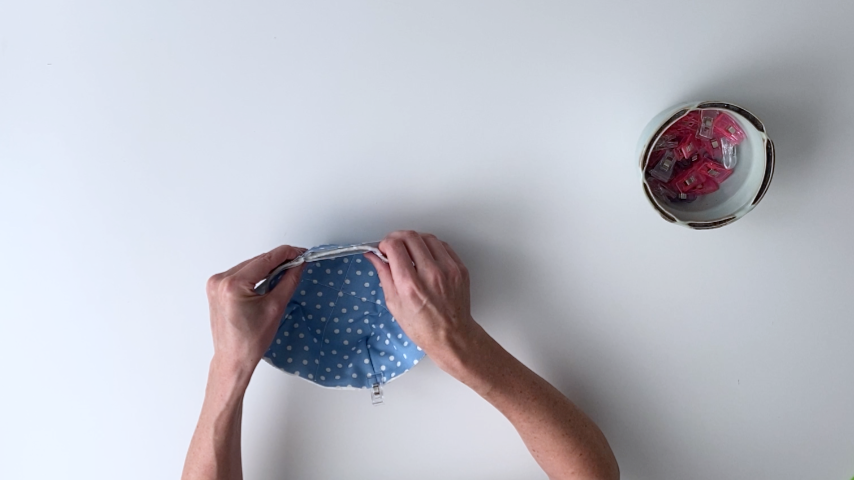
Step 5 – Sew first side of bias tape
Start sewing your bias tape (1/2″ wide when double-folded/2″ wide strip when unfolded) to the top side of your cozy about 3” in from the end of your bias tape. We need this fabric loose to sew the ends of the bias tape together.
Sew in the crease/fold of the bias tape and ensure the raw edge of the bias tape just slightly covers the raw edges of the cozy.
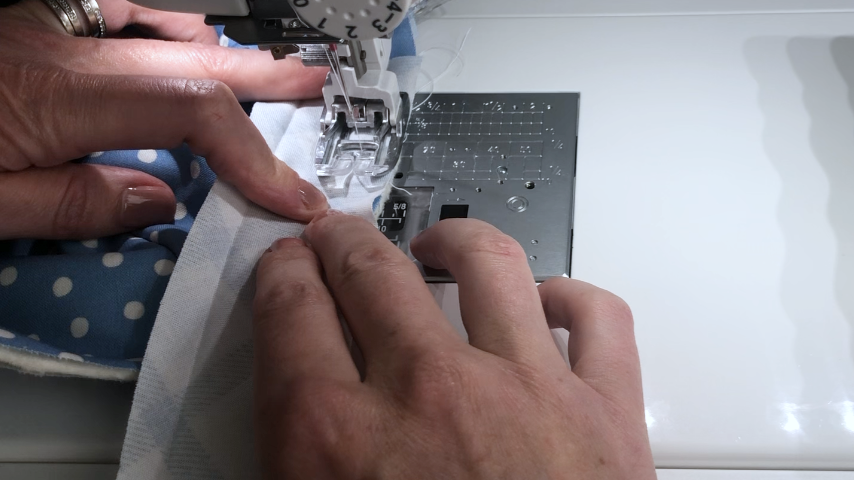
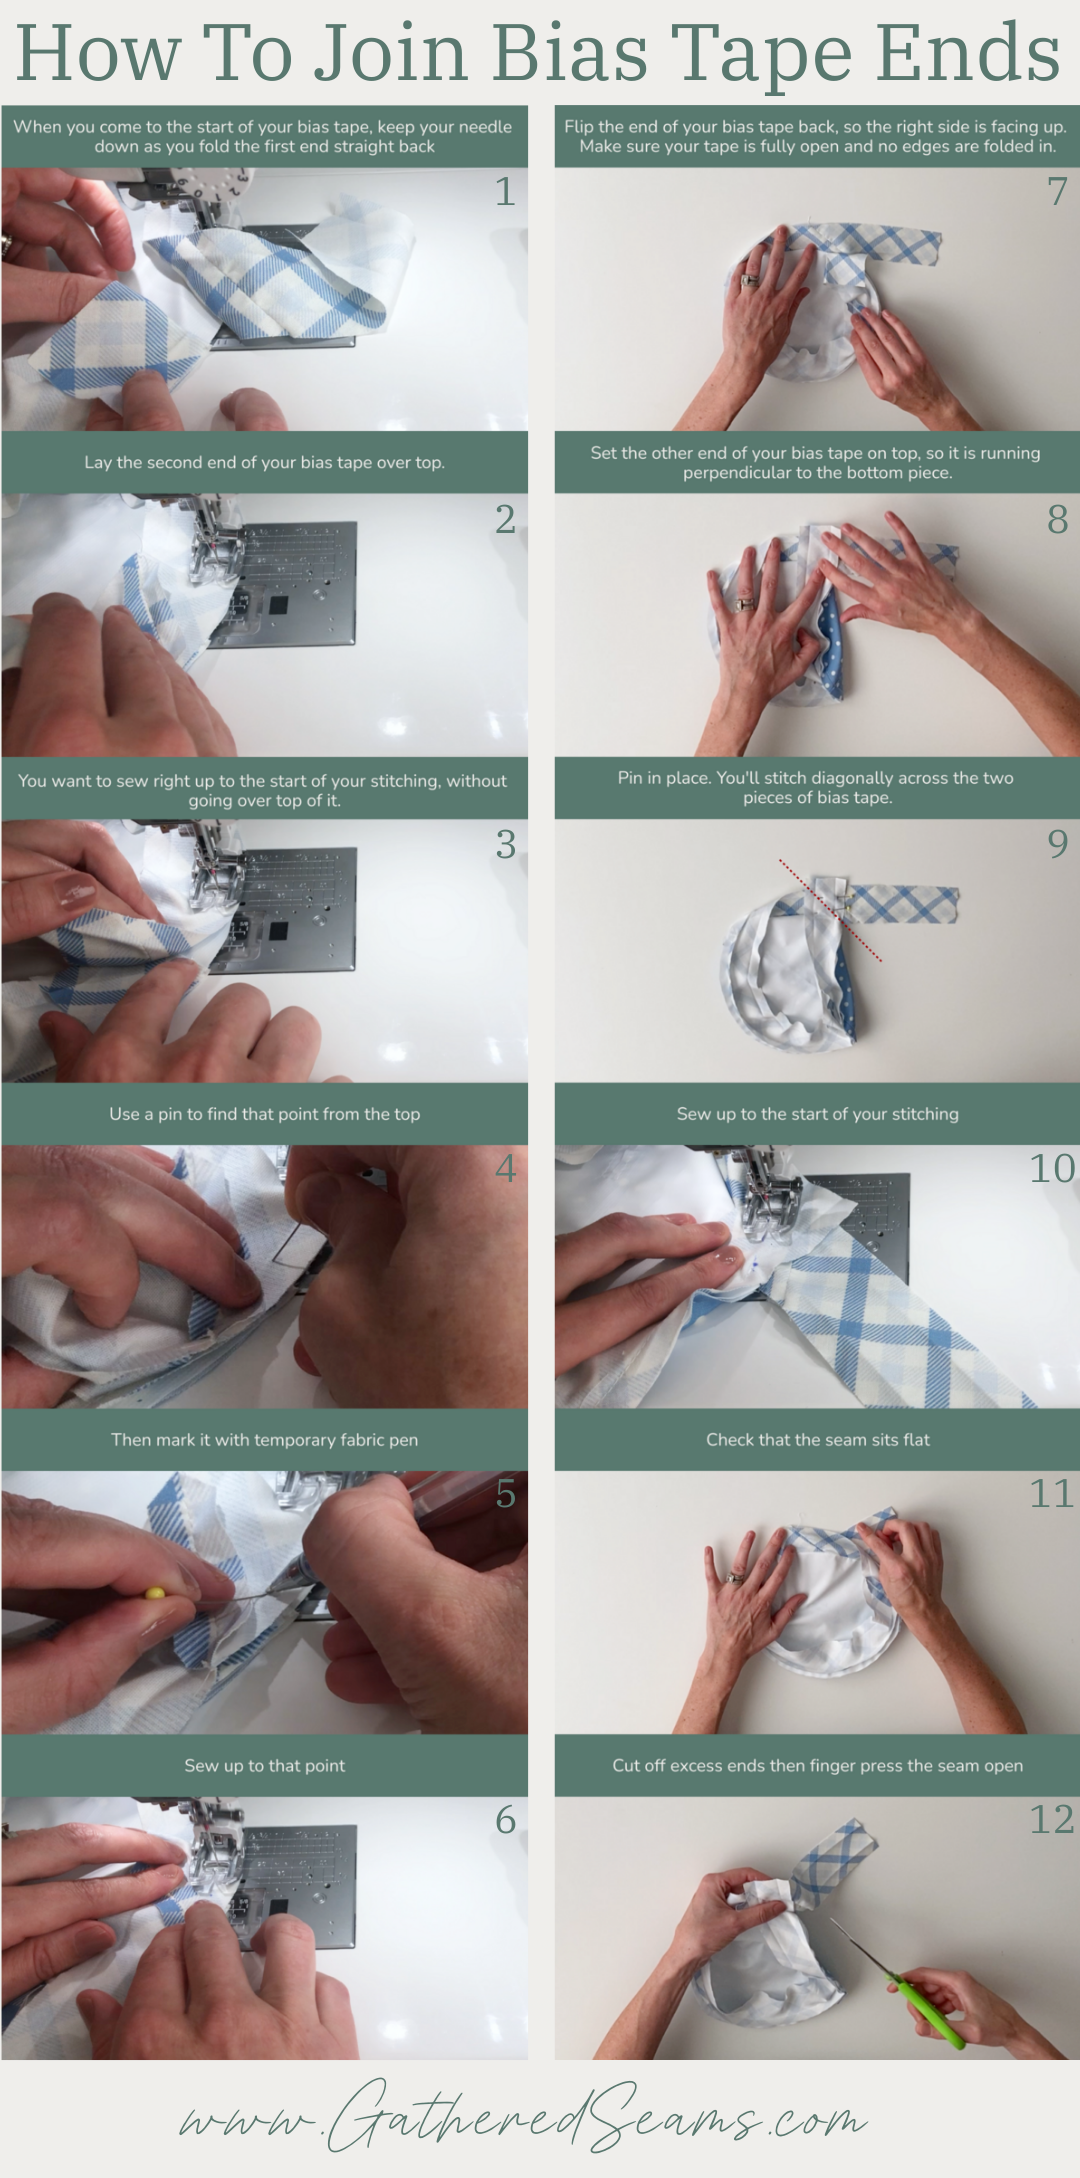
There are many ways to join the ends of your bias tape. Use your preferred method, or please watch the video for clear instructions.
Step 6 – Flip bias tape to other side and clip in place
Fold your bias tape over to the bottom side of the cozy and line it up so the second fold covers the line of stitching you just completed.
Use several clips to hold it in place.
Step 7 – Sew second side of bias tape
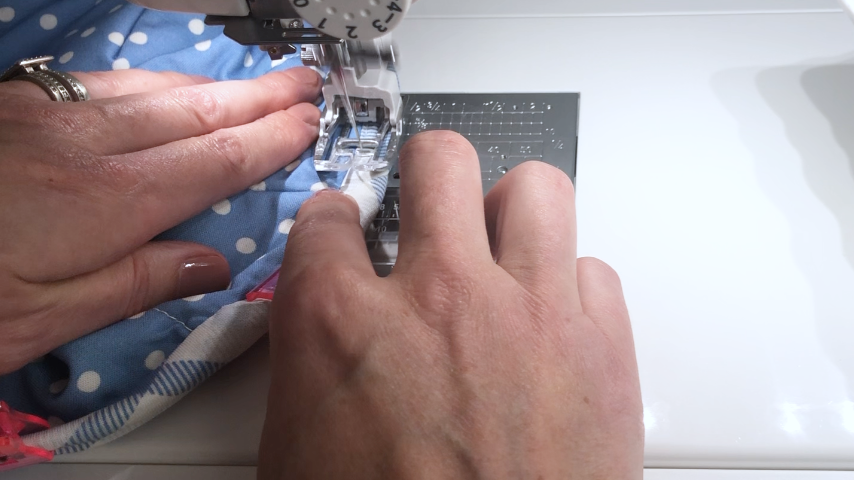
With the top side of your cozy facing up, top-stitch your bias tape, sewing about 1/8” in from the inside edge of the bias tape’s folded edge.
As you sew and remove clips, check to ensure that the other side of the bias tape covers the line of stitching.
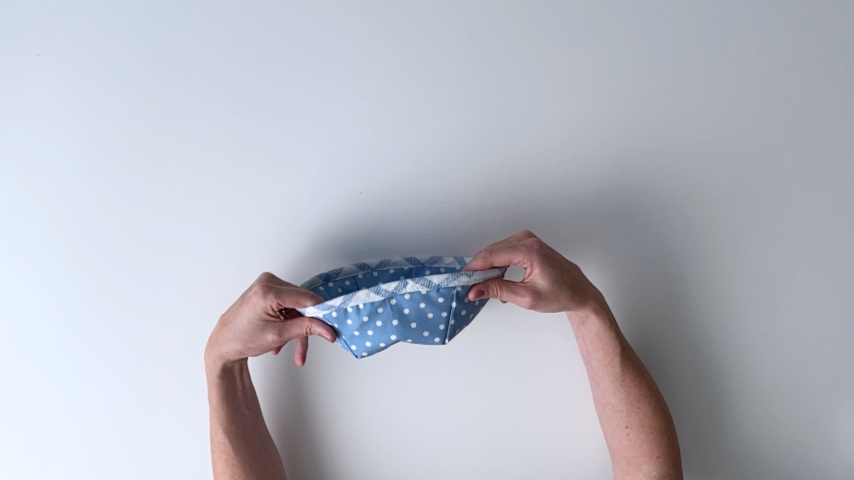
Your bowl cozy is complete!
Here’s what I think you may enjoy sewing next: