How To Sew A Puffy Basket | Beginner-Friendly
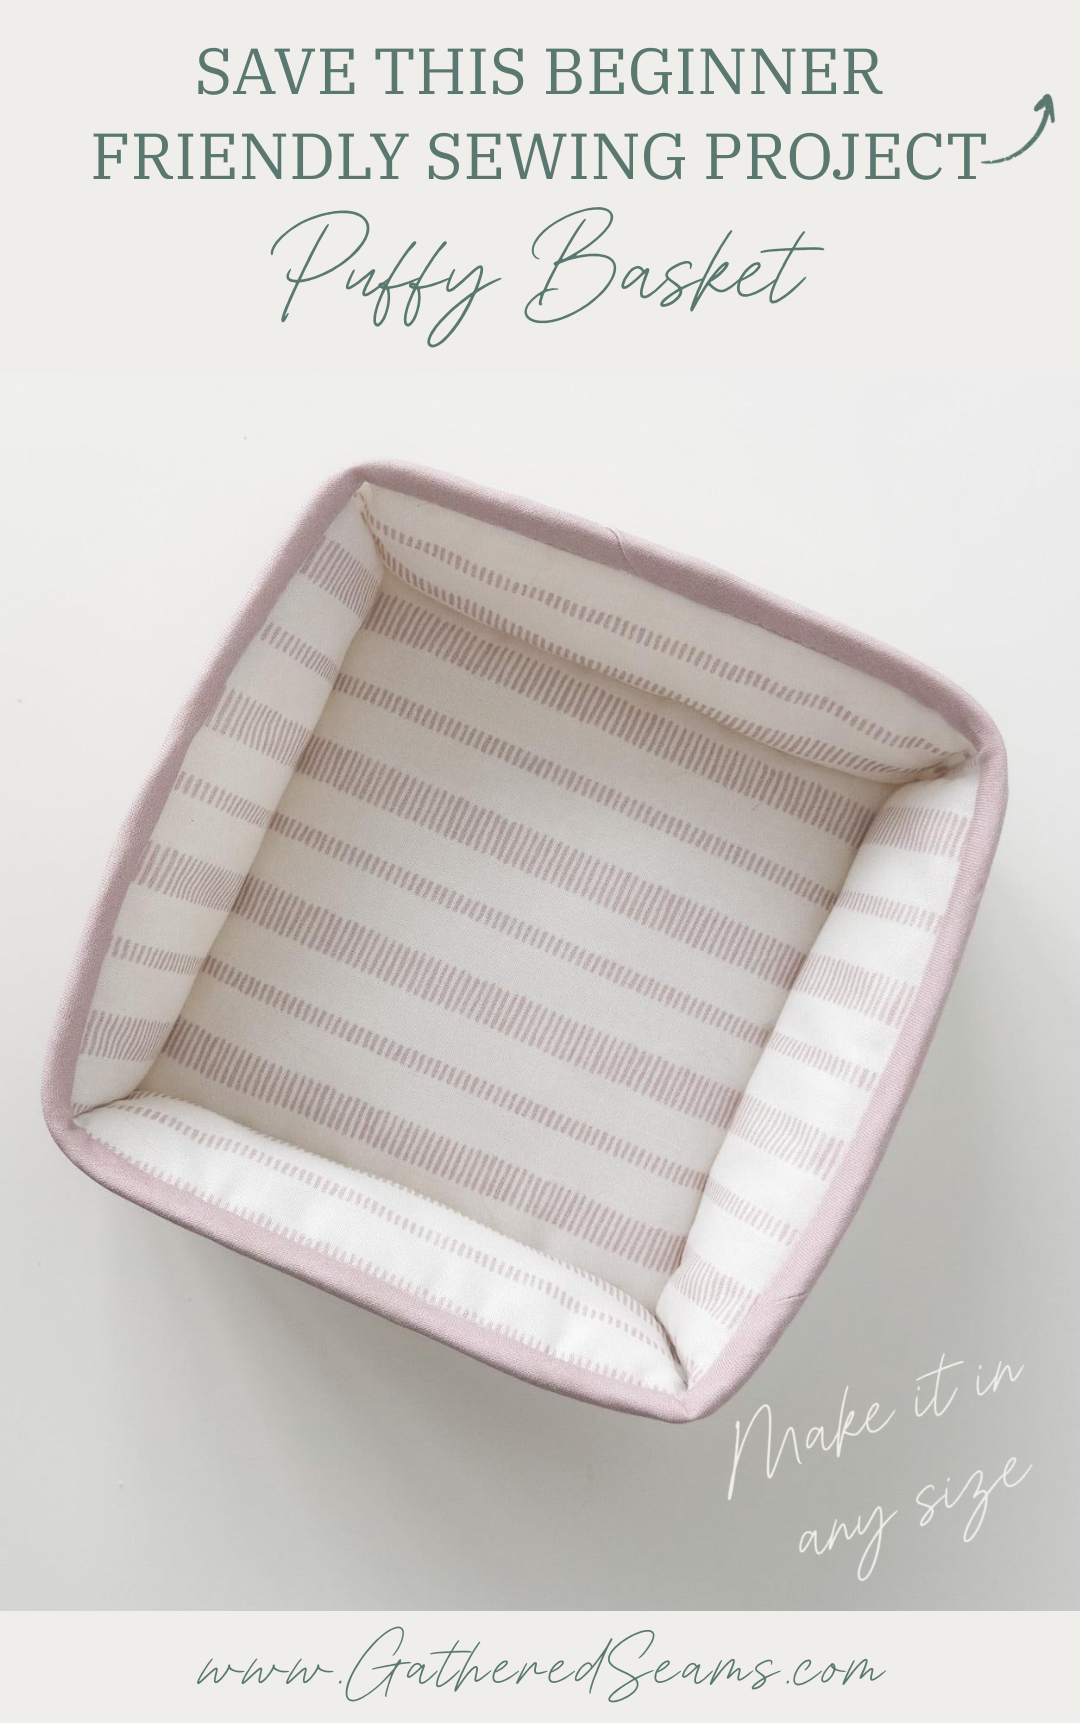
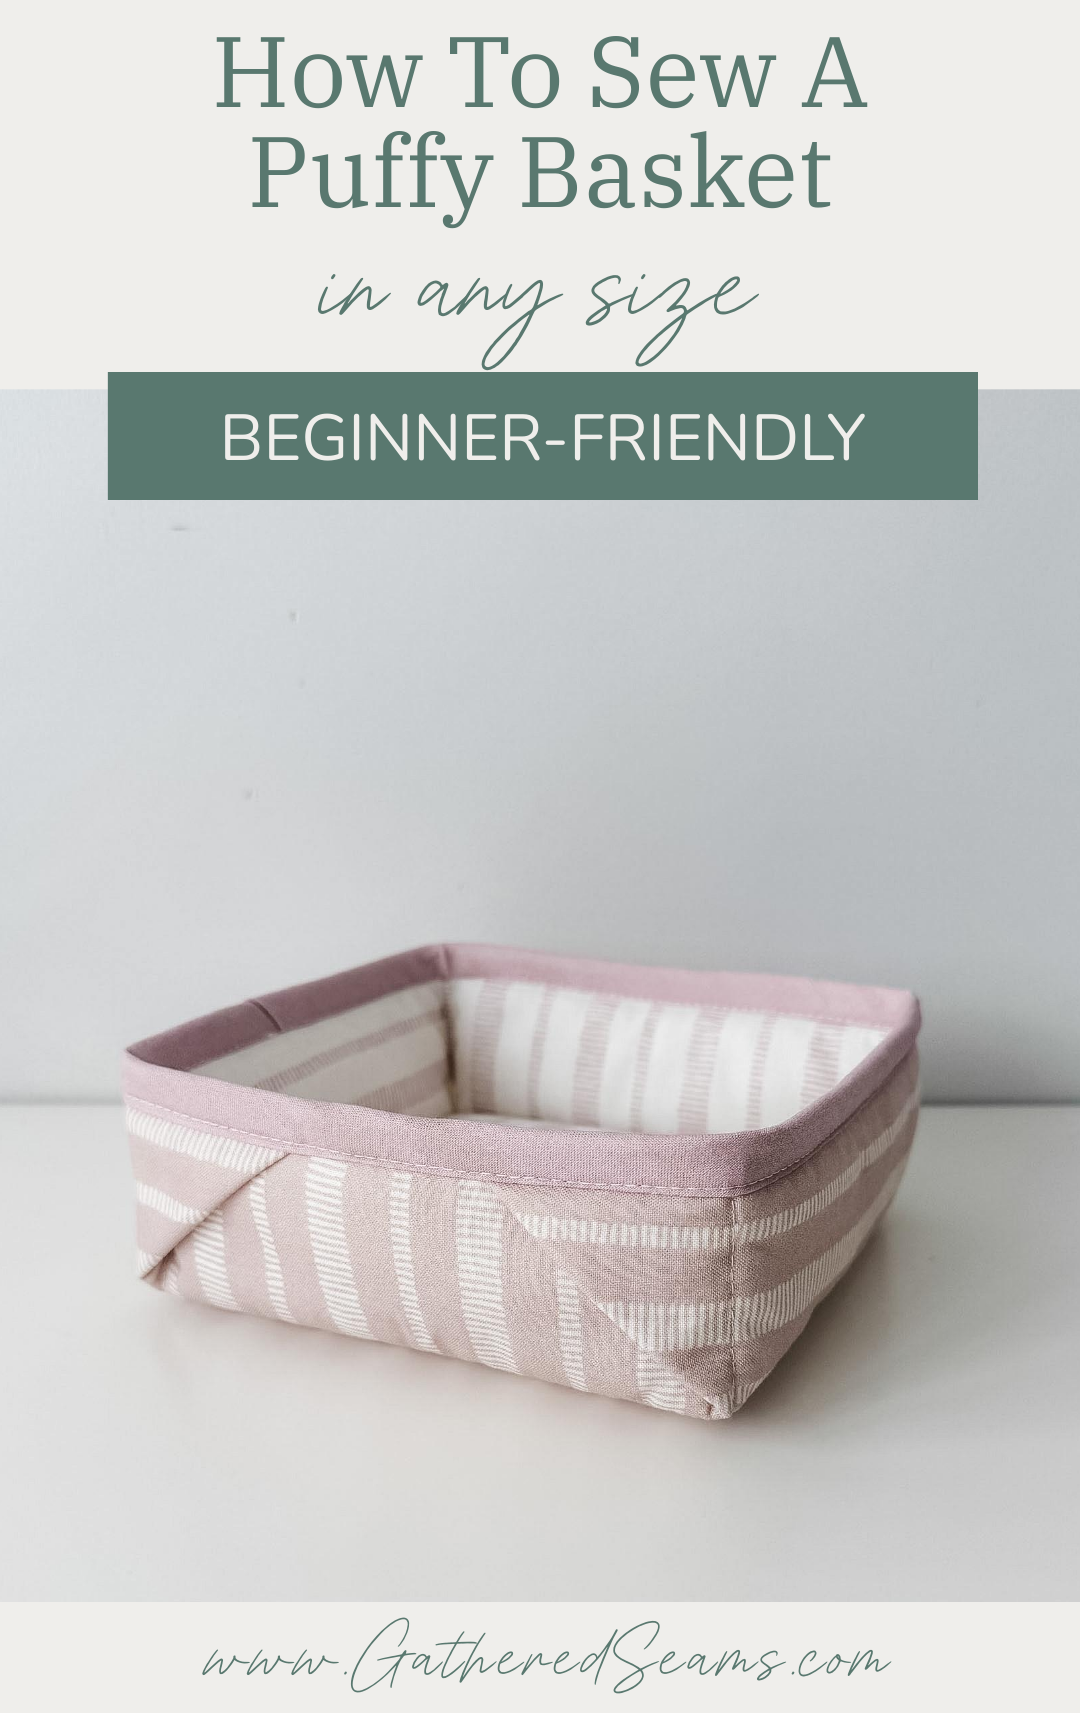
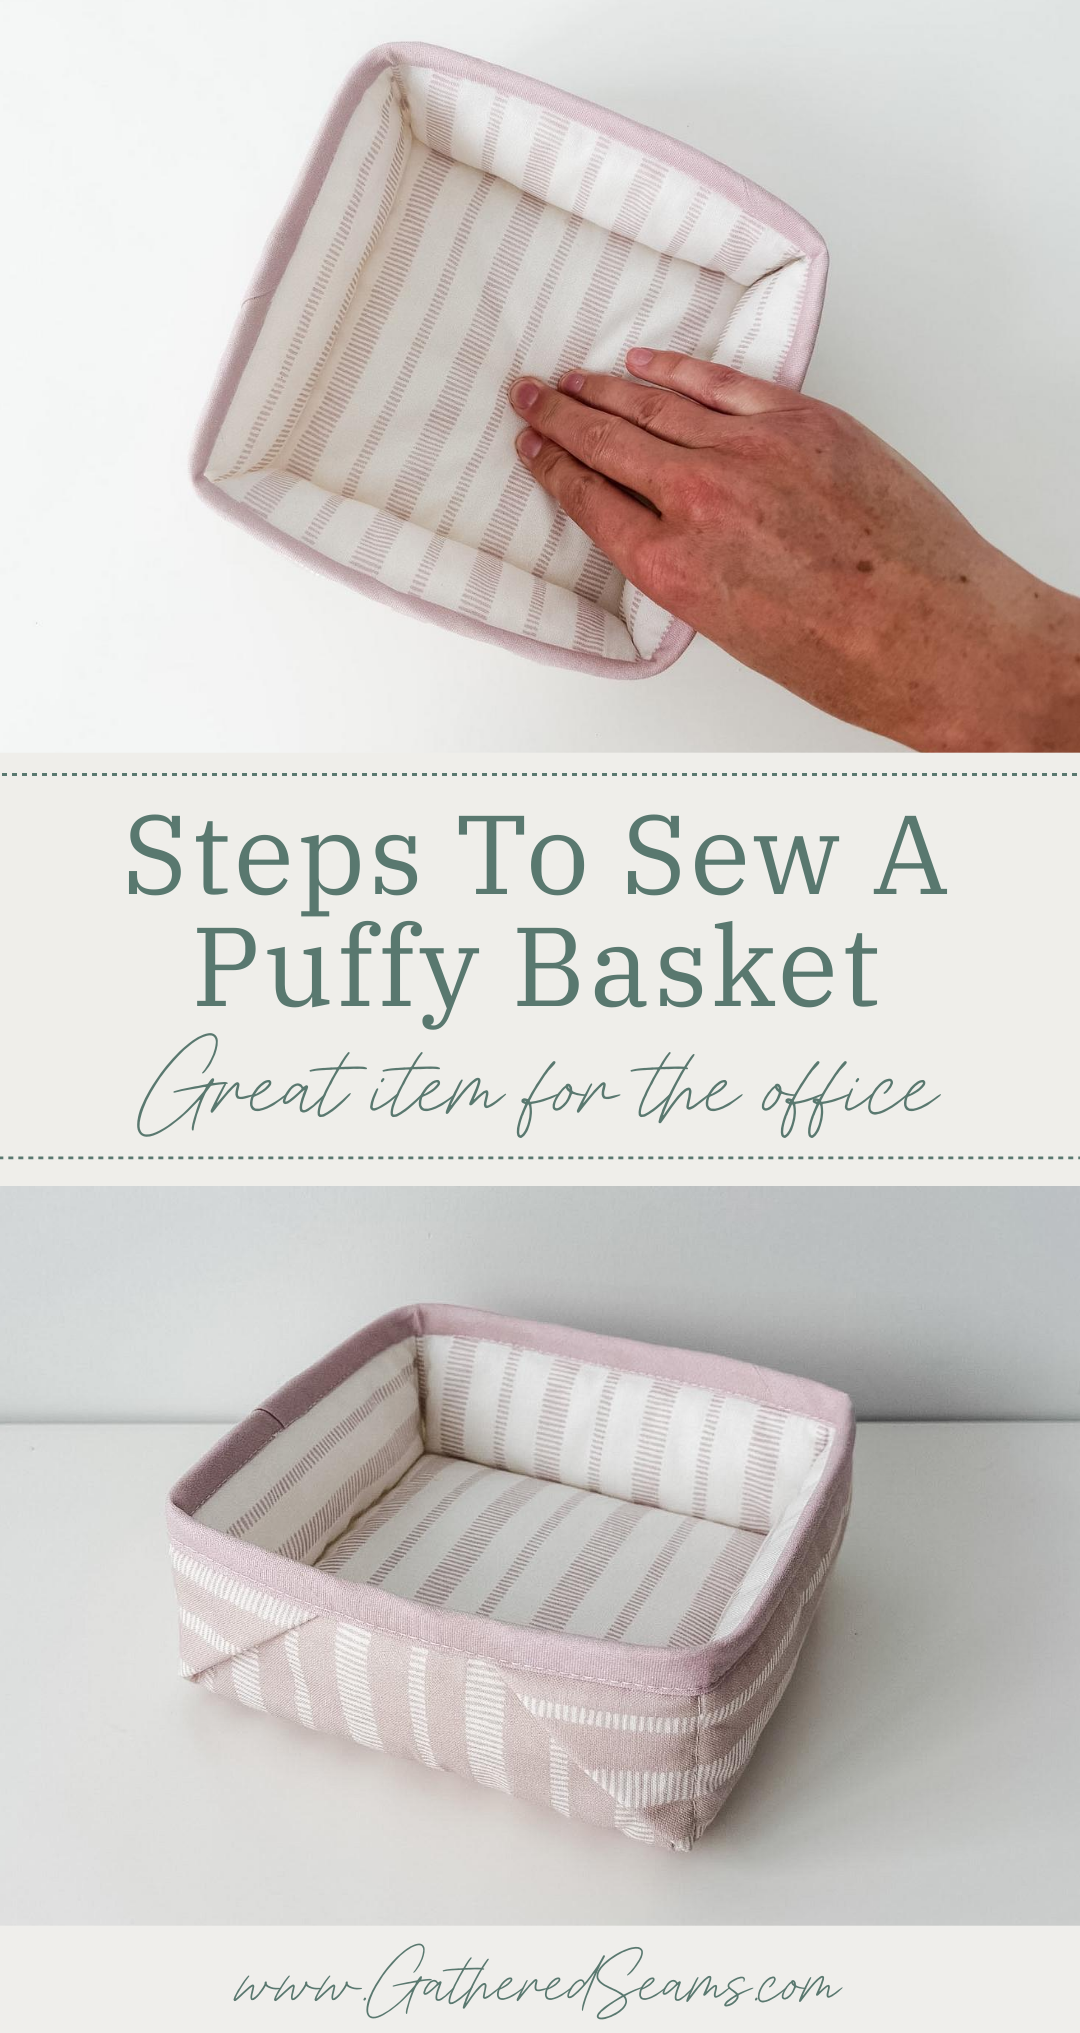
I love this pillowy style, especially for a basket. It has a cozy, feminine feel and has the perfect amount of structure for a basket.
I used two layers of high-loft polyester batting to create the puffy look. Of course, you can make this basket with a low-loft batting, or simply use fusible interfacing or a medium to heavy-weight fabric to get that structure.
This sewing project is beginner-friendly.
Although it uses binding to finish the edges, this project shares a simple way to sew the binding on and tips to get a nice finish.
If you want a different style of basket that doesn’t require binding, you may like:
>> How To Sew A Bread Basket | Beginner Friendly (doesn’t actually have to be used for bread:)
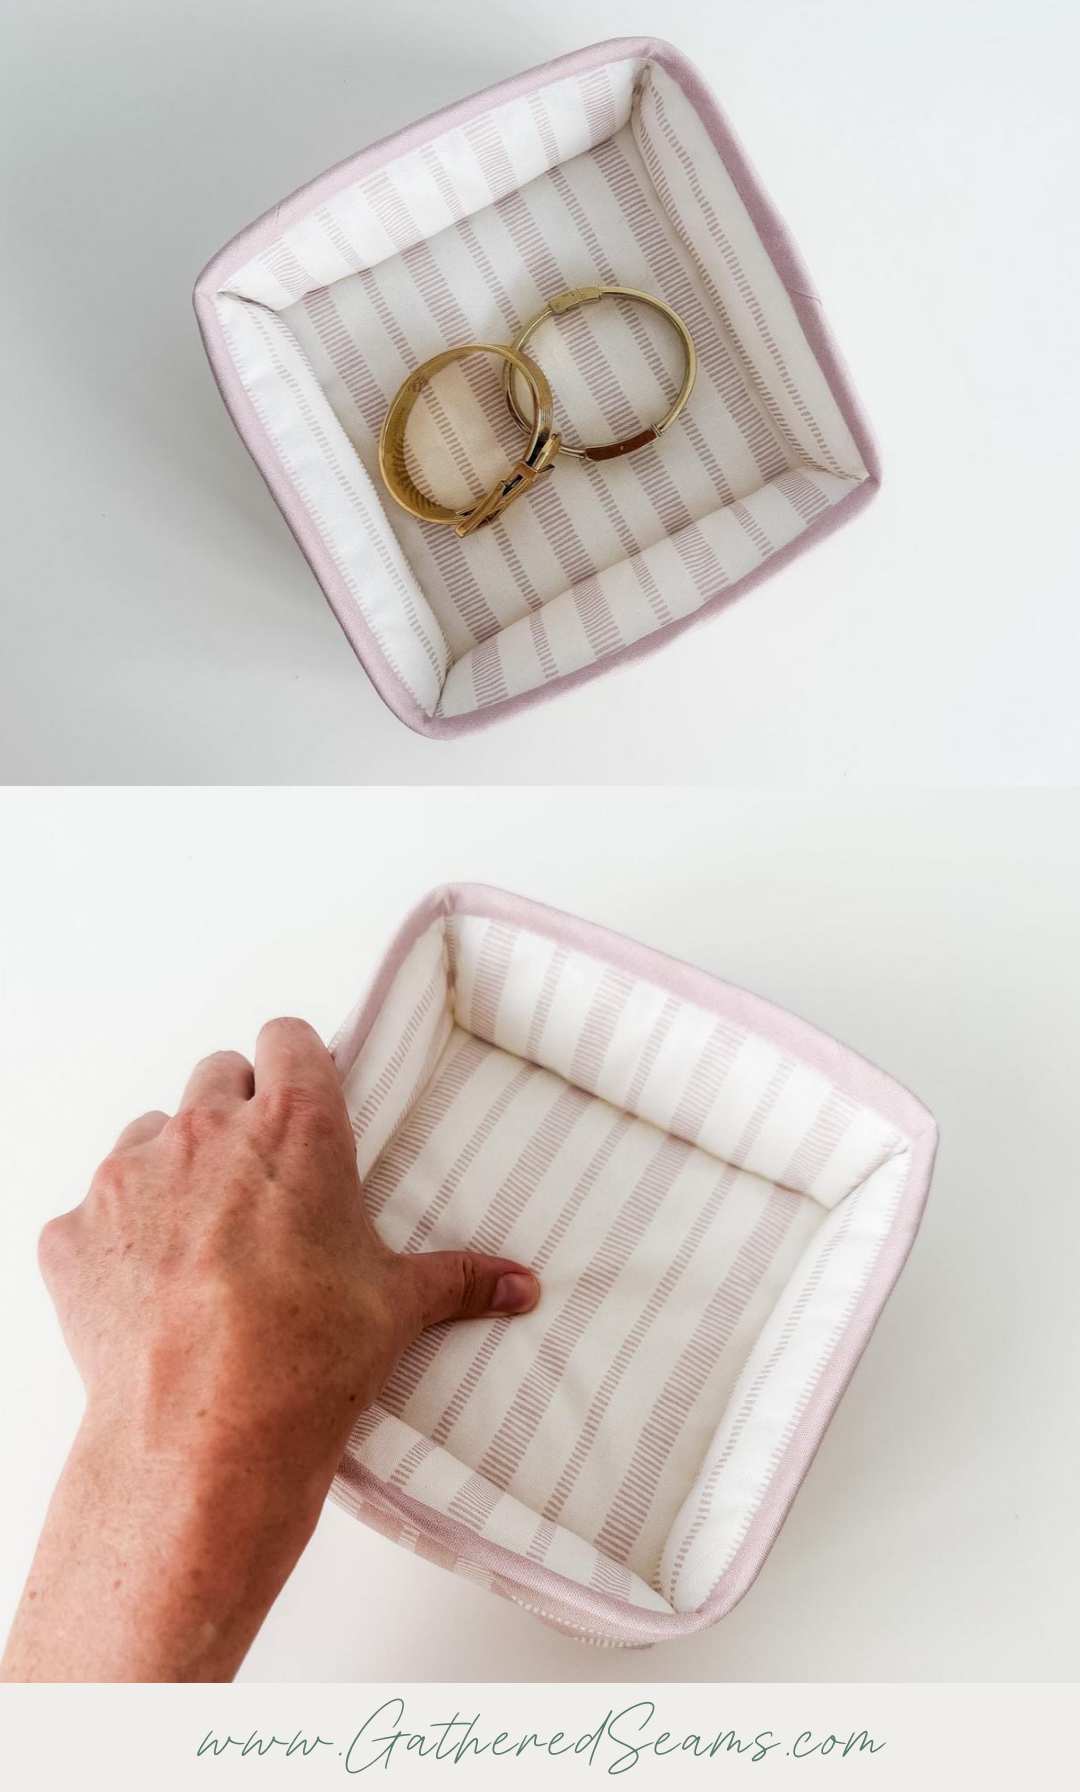
These baskets are great for holding smaller items (such as keys at the front door, jewelry, or makeup on your bathroom counter). Or create a set to organize items in drawers, in the office, or on counters.
Materials
As an Amazon Associate, I earn from qualifying purchases (see full disclosure here).
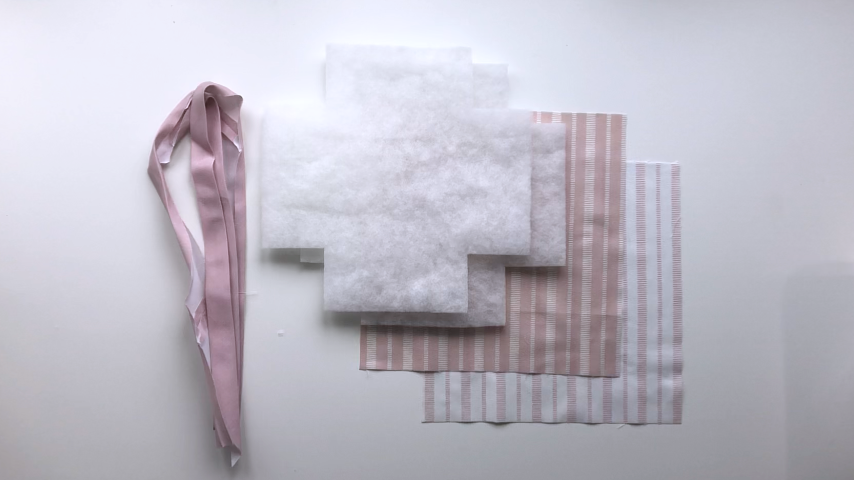
- Fabric for exterior and lining
- Batting or interfacing for structure (I used 2 layers of extra loft batting)
- 1/2″ double-fold binding (2″ when unfolded. Here’s how to make your own. You don’t need to cut the fabric strips on the bias/at a 45-degree angle, since we don’t need stretch. Simply cut 2″ wide pieces of fabric.)
- Thread
*The batting is optional, but it does give the basket some structure. If you’re going to skip the batting, go with a heavier-weight fabric, such as canvas, denim, etc.
Tools
- Sewing machine
- Walking foot (this makes sewing with thicker materials, like batting, easier. This is the universal one I purchased for my Baby Lock, which is a different machine than what’s shown in the photos)
- Point turner (I like this one which is also a Hera Marker to crease lines instead of using chalk)
- Temporary fabric pen or chalk
- Iron
- Scissors
- Pins or clips
Sewing pattern for a puffy basket
This basket can be made in any size you like.
Decide on the width, depth, and height, then plug the numbers into the formula below.
-
- Total width of pattern piece: Width + 2(Height)
- Total depth of pattern piece: Depth + 2(Height)
- Corner cutouts (batting only) = height by height
- Binding: 2(width) + 2(depth) + 5″ (to account for thickness of batting and extra to join ends)
For example, my finished basket is 6″ x 6″ and 2-1/2″ high.
- Total width of pattern piece: 6″ + 5″ (height x 2) = 11″
- Total depth of pattern piece: 6″ + 5″ (height x 2) = 11″
- Corner cutouts for batting: 2-1/2″ x 2-1/2″
- Binding: 12″ (2 x width) + 12″ (2 x depth) + 5″ = 29″
You will need to cut:
- Top & bottom fabric, and batting in total width x total depth (e.g. 11″ x 11″)
- Cut the corners of batting only in height x height (e.g. 2-1/2″ x 2-1/2″)
- Binding to length (e.g. 29″)
I’m using 2 layers of high-loft batting for the puffy look.
Steps to sew a puffy basket
Step 1
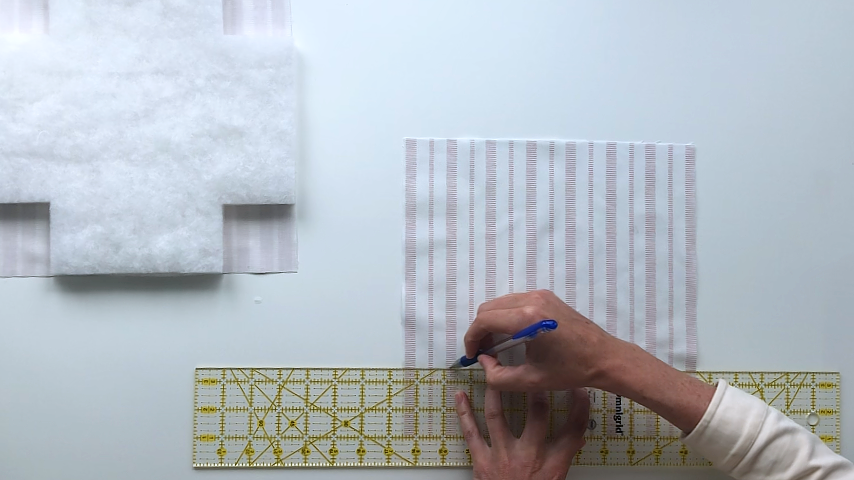
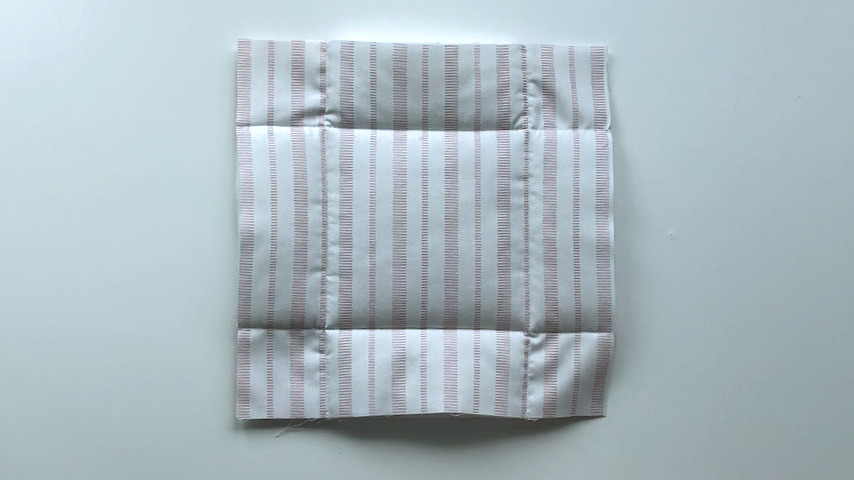
Use a temporary fabric pen to mark lines along each edge on the right side of one of your pieces of fabric. The distance these lines are away from the edge will be equal to the height of your basket.
For example, my basket is 2-1/2″ high, so I’m marking my lines 2-12″ away from each edge.
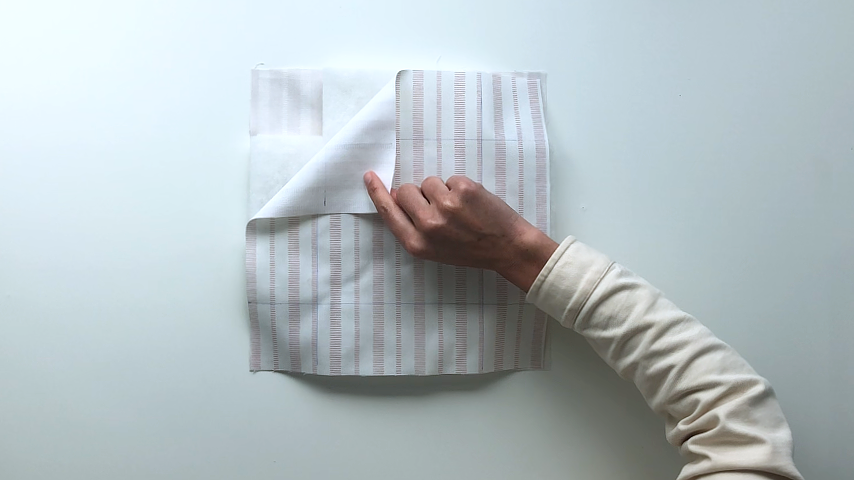
Layer your fabric and batting so the bottom fabric is wrong side up, batting on top, then your other layer of fabric with the wrong side facing down. Line up your edges.
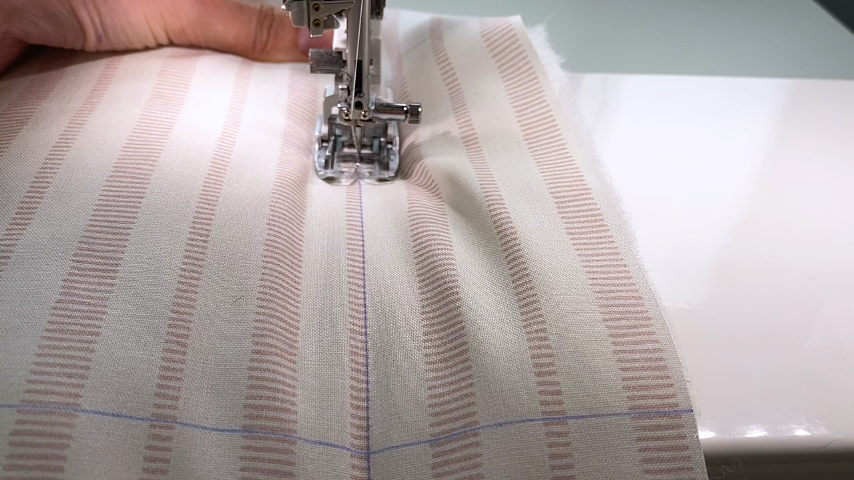
Sew along the marked lines. What’s most important is that the edges of your top and bottom fabric line up. So flatten the batting as you go to ensure those edges will align. If your batting is a little wider than the fabric in places, you can trim that after you finish sewing the lines.
Step 2
Fold up the edges so the corners come together and the two lines of stitching meet.
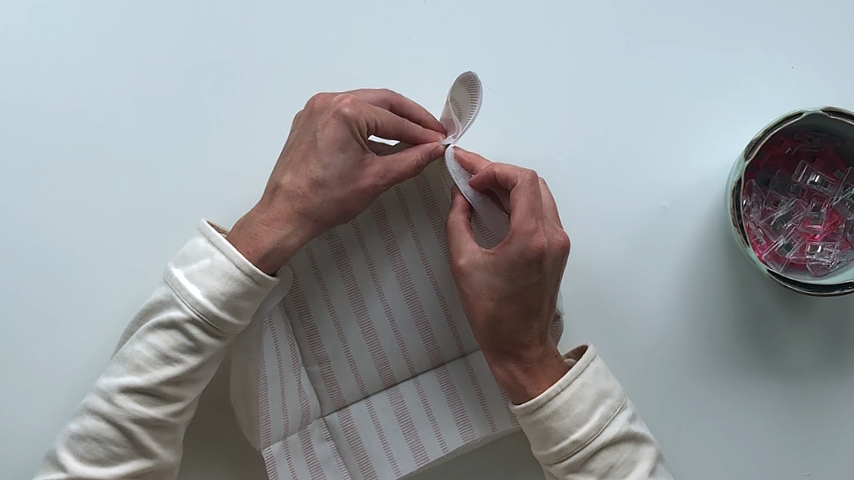
This step is optional, but it does make it easier to sew the corners down: Use a basting stitch to sew along the top edge from the stitching out to the corner.
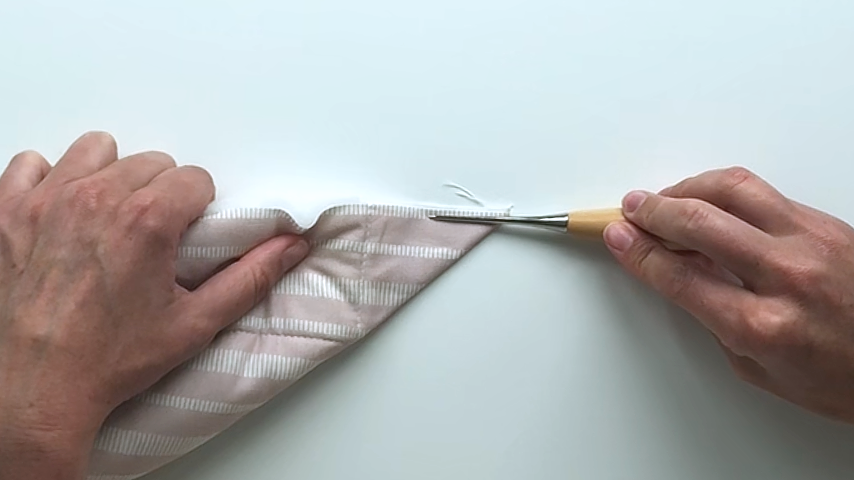
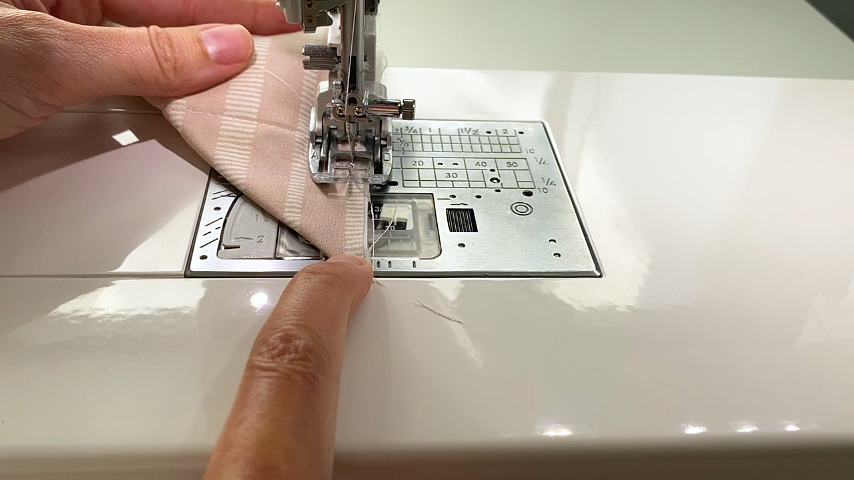
Fold two coners in toward each other on one end of the basket and clip into place. Fold the other two corners in toward the other end.
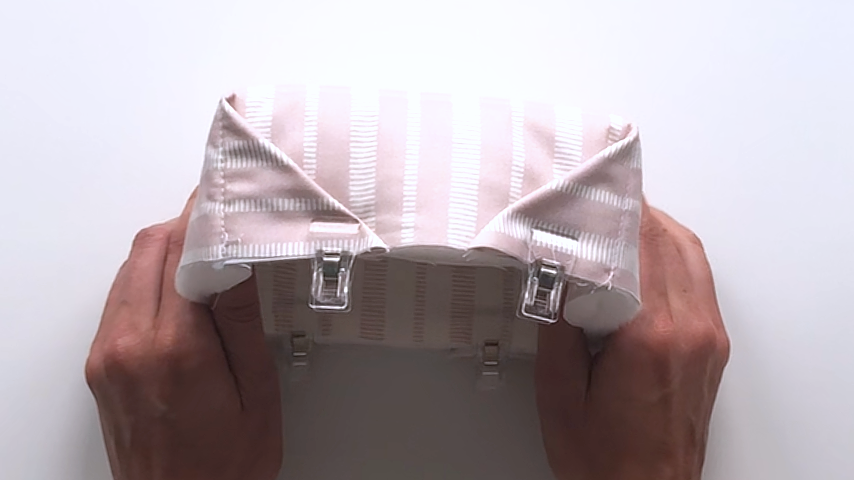
Baste the corners and top edges into place.
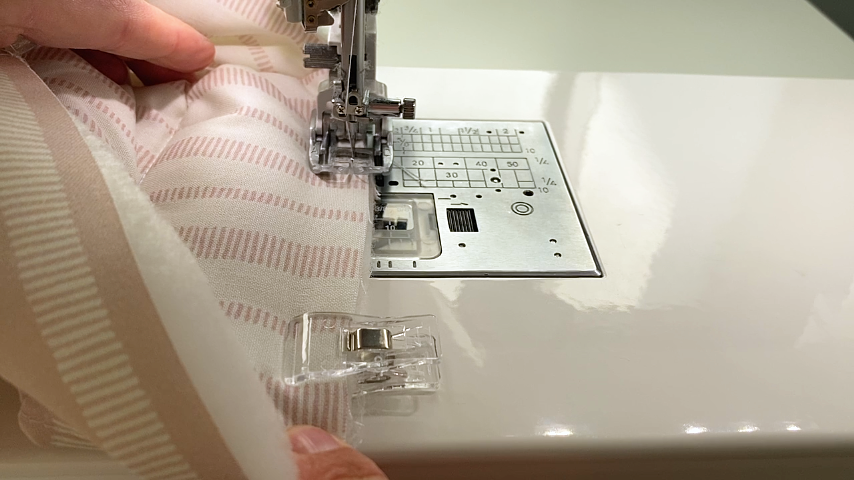
Step 3
Use a temporary fabric pen to mark a line 2″ away from one end of your binding. You’ll start sewing the binding to the top of the basket at that line, sewing in the first crease.
Line up the edge of the binding so it is just slightly covering the top edge of the basket. I sew the binding to the inside of the basket first.
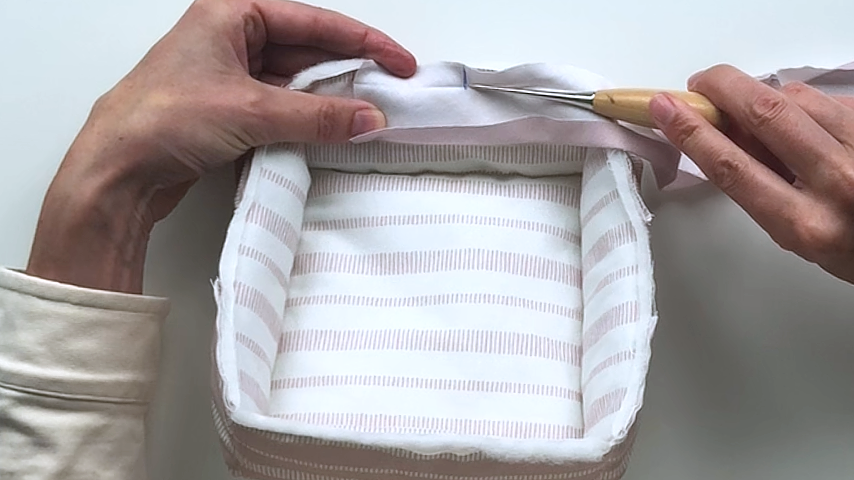
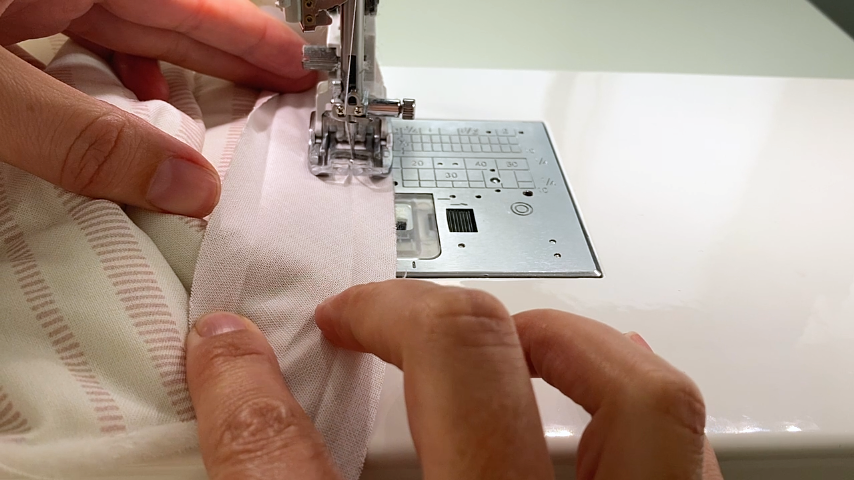
When you come back around to the start of the binding, fold the loose 2″ at a 45-degree angle.
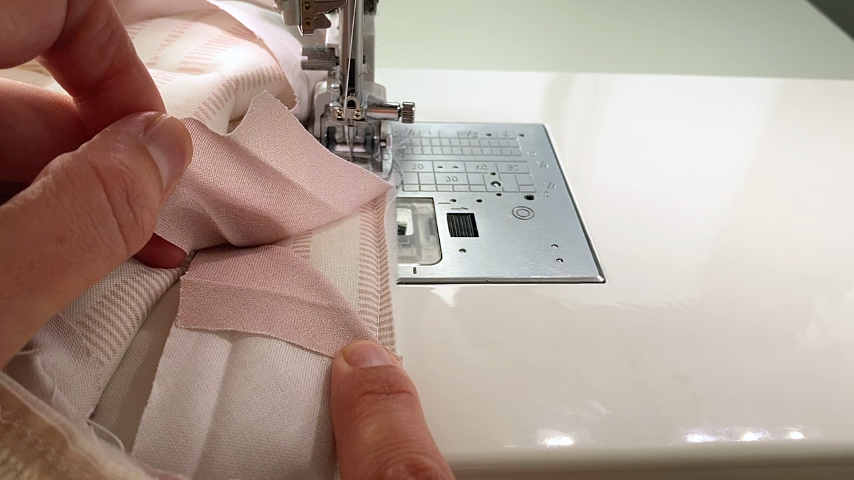
Then place the end of the binding on top and sew about 1/2″ past the start of your stitching.
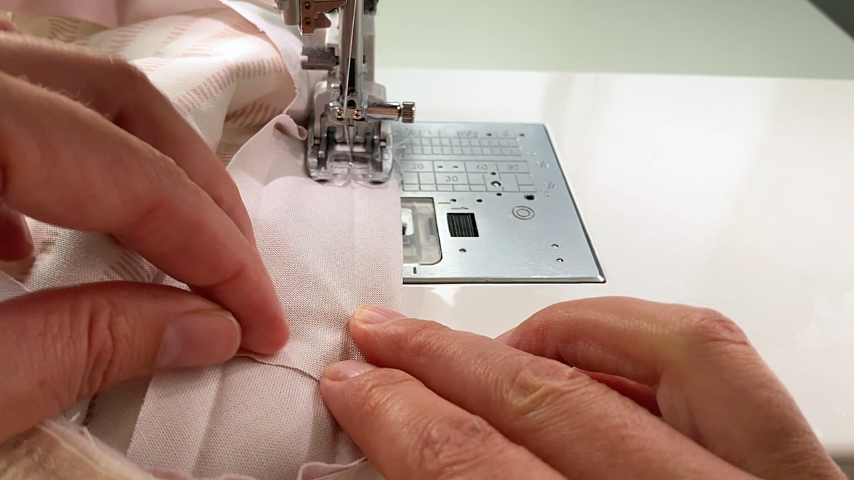
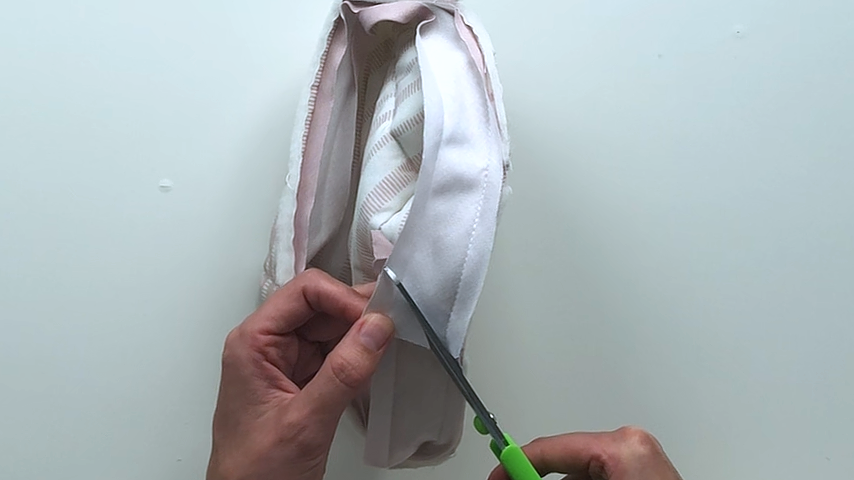
Trim the excess binding at a 45-degree angle, leaving a 1/2″ seam allowance.
Step 4
Flip the basket wrong side out and fold the binding to the otherside.
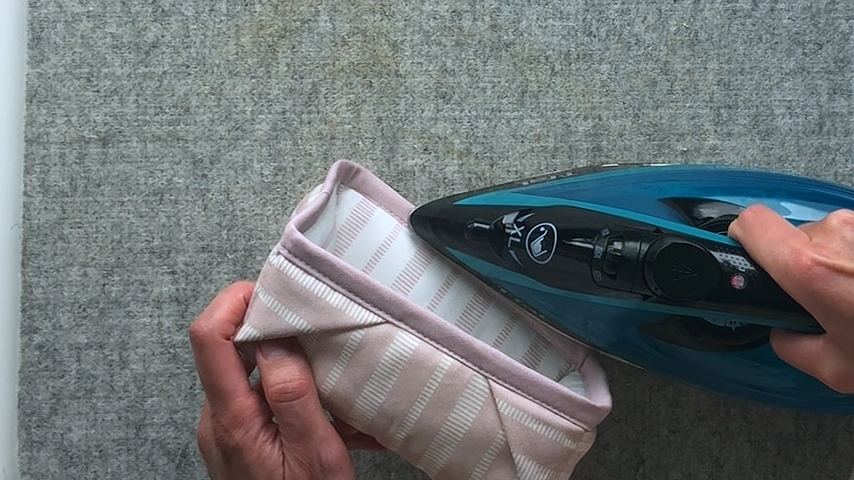
Use the tip of the iron to press the binding so the edge of it just slightly covers the line of stitching.
If you’re using polyester batting, you don’t want to use high heat on your iron, let it sit in one area for longer than a few seconds, or iron past the binding.
Clip the binding into place if you like. I prefer to leave it un-clipped so I can adjust the binding as I sew.
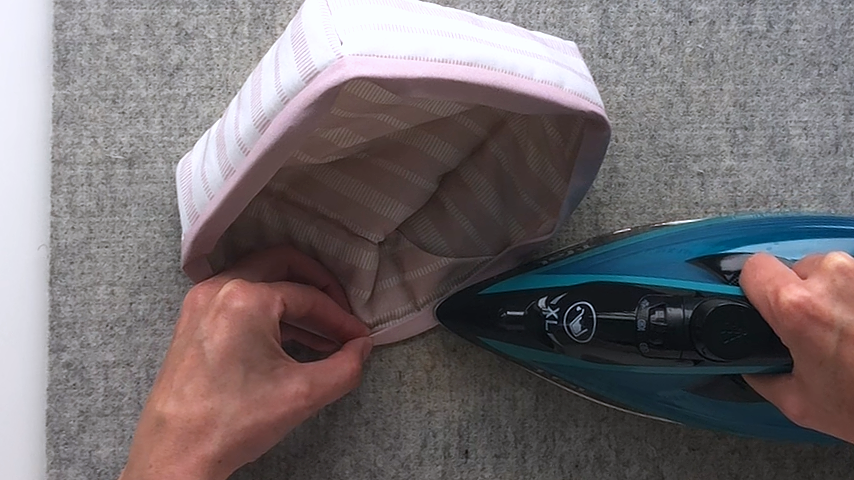
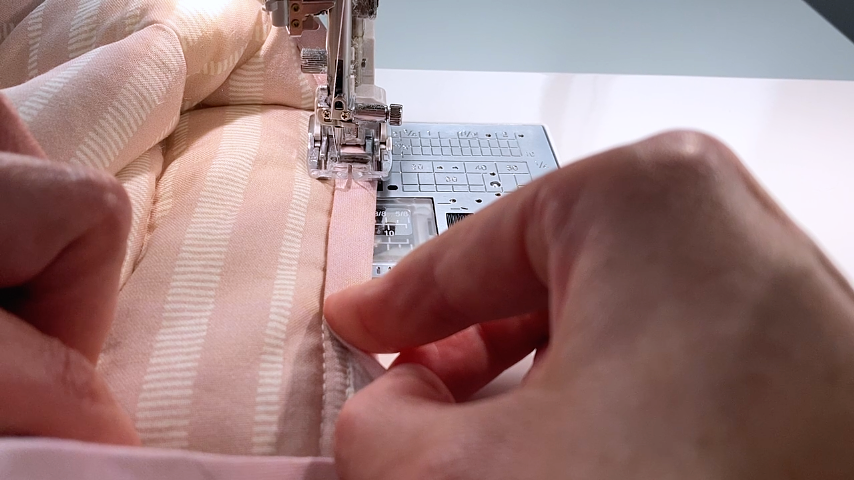
Sew the second side of the binding, sewing about 1/8″ in from the inside edge of the binding. I like to move my needle position to the left.
I check as I go to make sure the edge of my binding is just slightly covering the line of stitching. Sewing a few inches, stopping with my needle down, and adjusting my binding so it’s slightly covering the stitching.
If you keep that even as you sew, and you sew an even distance away from the inside edge, your topstitching will look good from both sides.
To get a crisp top edge, I press the binding only. Don’t iron past the binding or you’ll flatten/melt the batting.