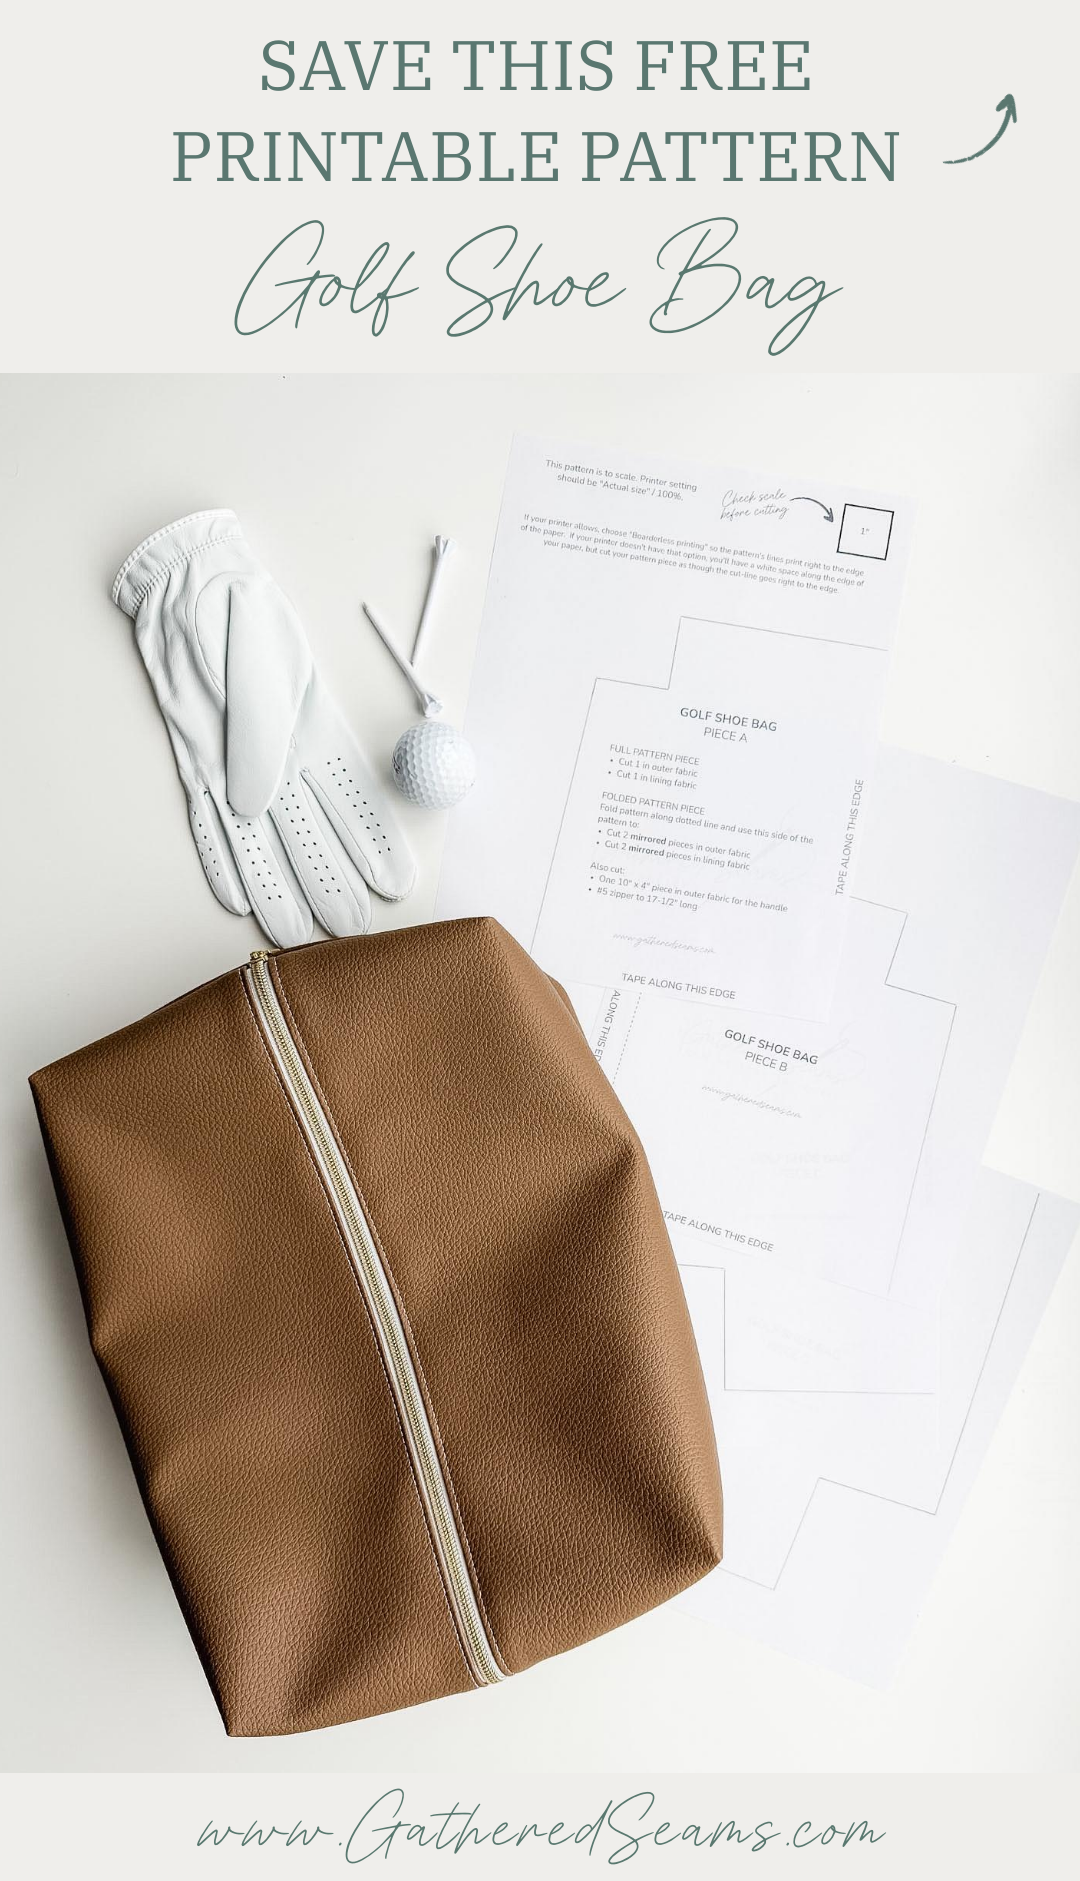
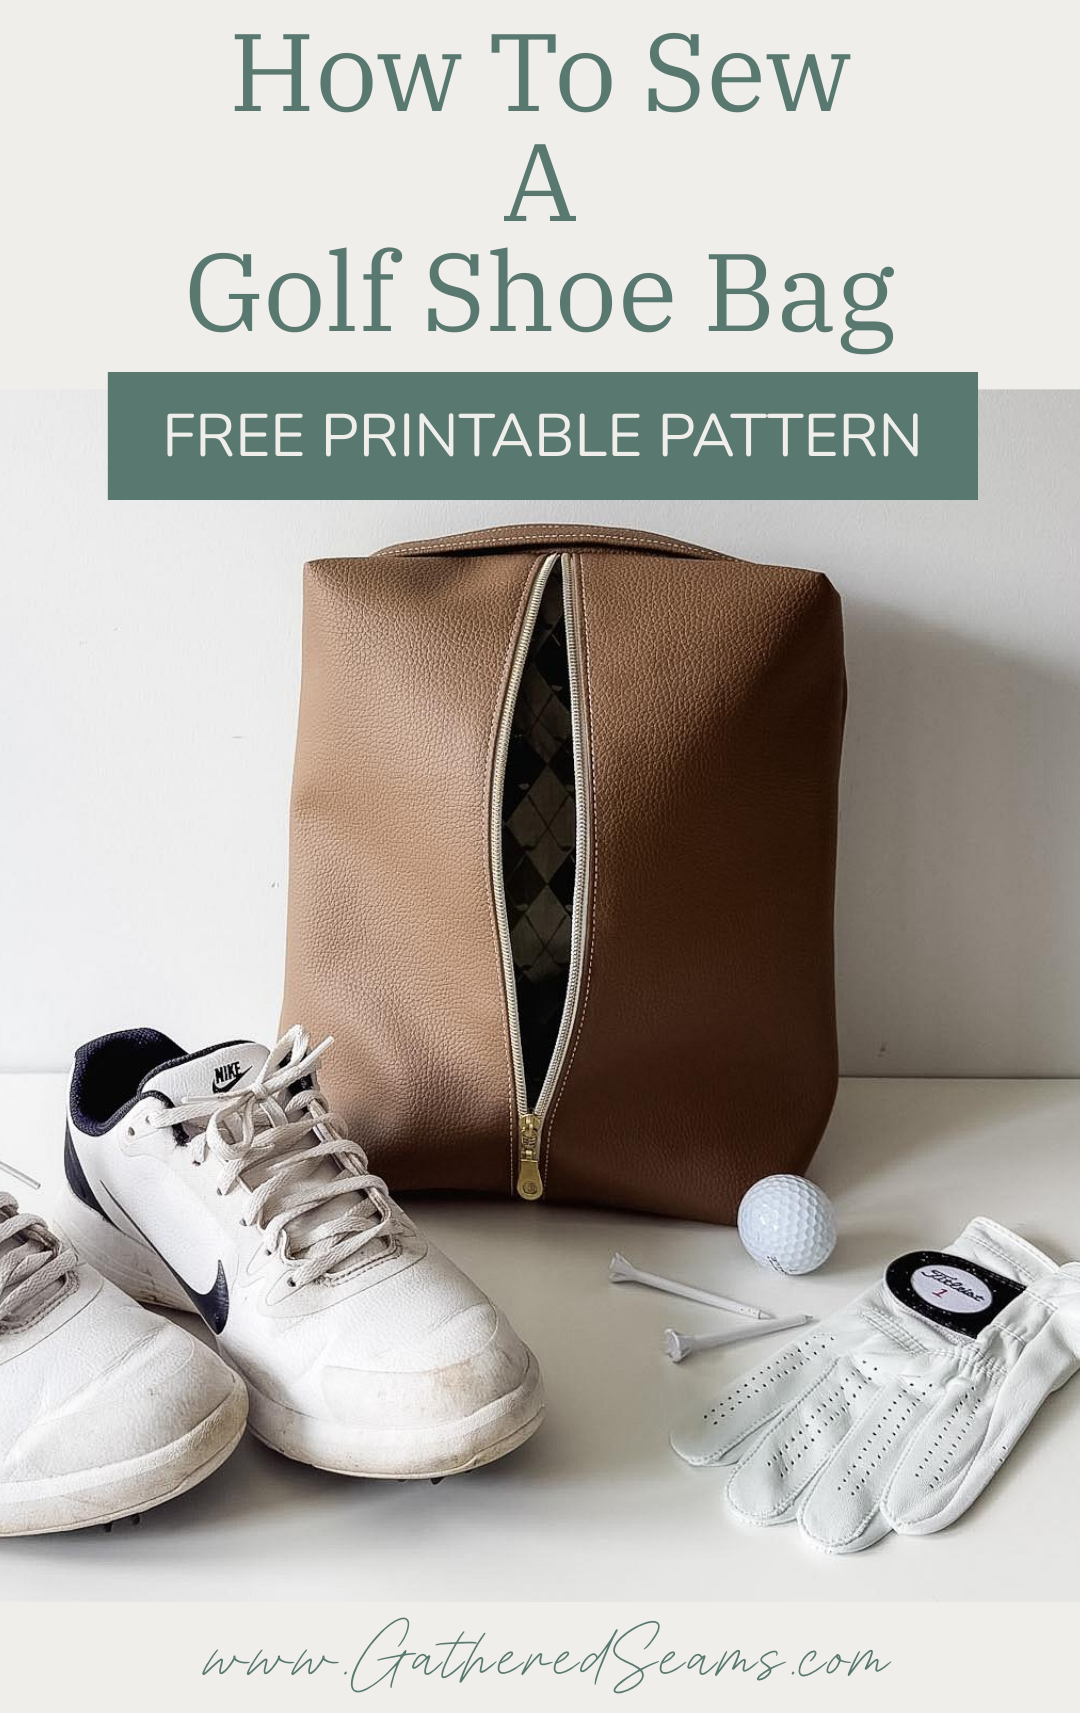
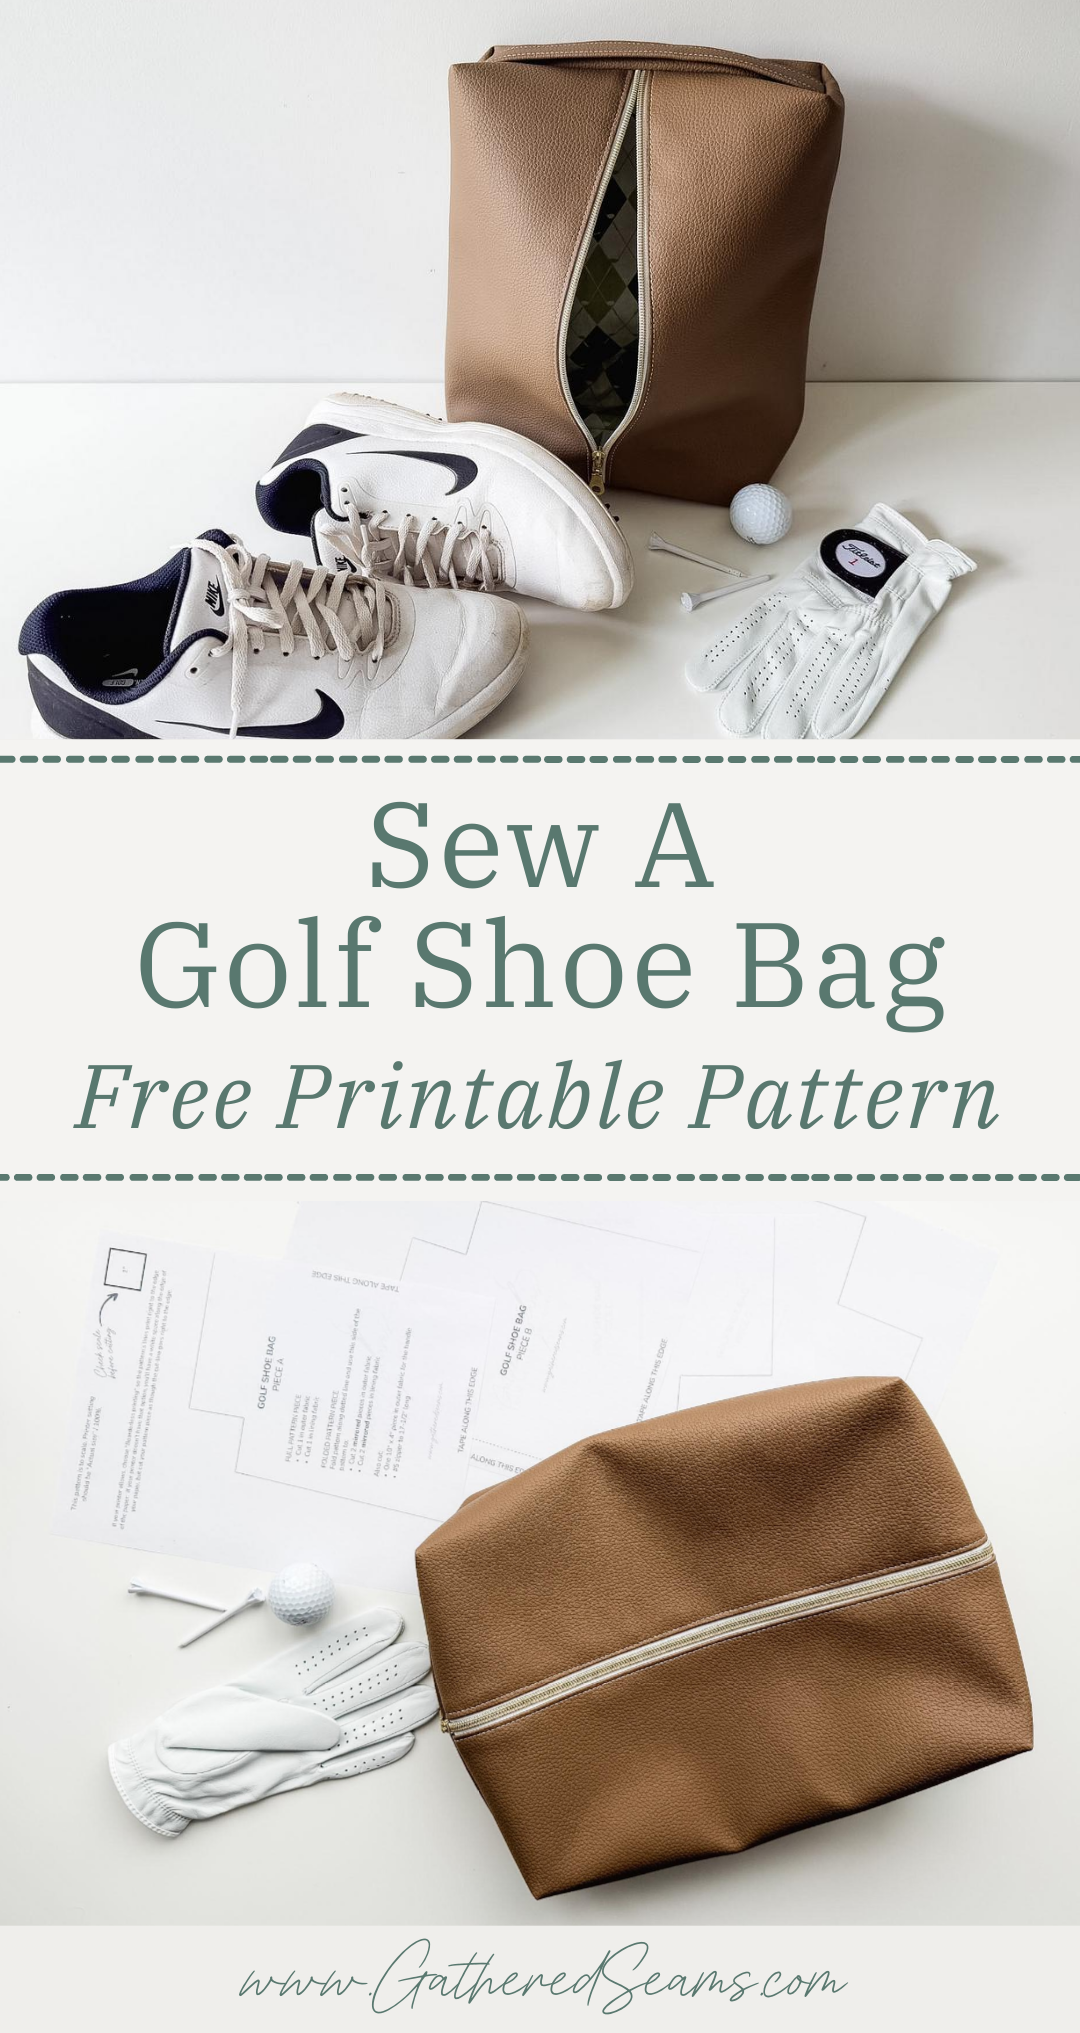
How To Sew a Golf Shoe Bag | Free Printable Pattern
This golf shoe bag is perfect for the golfer who travels, but is also handy for simply taking shoes back and forth to the golf course.
It will keep grass and dirt contained and your shoes together in the trunk of your car.
You can customize this pattern by changing up the fabric, adding batting and quilting stitches, pockets, or loops with hooks so the bag can be hung off the side of a golf bag.
It’s a fairly simple design; however, the zipper and boxed corners do add a level of difficulty.
Materials
As an Amazon Associate, I earn from qualifying purchases (see full disclosure here).
- Outer fabric – use a heavier-weight fabric so the bag has some structure. You may also want to choose something that is easy to wipe clean or that can be thrown in the washing machine. You can use a thinner material and add batting/stabilizer/fusible fleece for structure. I chose vinyl for a little more structure and for a water-resistant material.
- Lining fabric – You may want to use a wipeable fabric such as polyurethane fabric (PU).
- #5 zipper & zipper pull
- Thread
- Optional: 1″ wide webbing for the handle (I used the outer fabric to make my handle, but it did add quite a bit of bulk in the seams. So if your sewing machine has trouble going through several layers, you may want to use webbing to reduce bulk).
Tools
- Sewing machine
- Zipper foot
- Walking foot (recommended if you’re sewing with vinyl or thicker fabrics. This is the universal one I purchased for my Baby Lock, which is a different machine than what’s shown in the photos)
- Hump jumper (this makes it easier to sew over bulky seams and avoid skipped stitches)
- Temporary fabric marker (these are the ones I use)
- Scissors
- Clips/pins

Steps to sew a golf shoe bag
Step 1
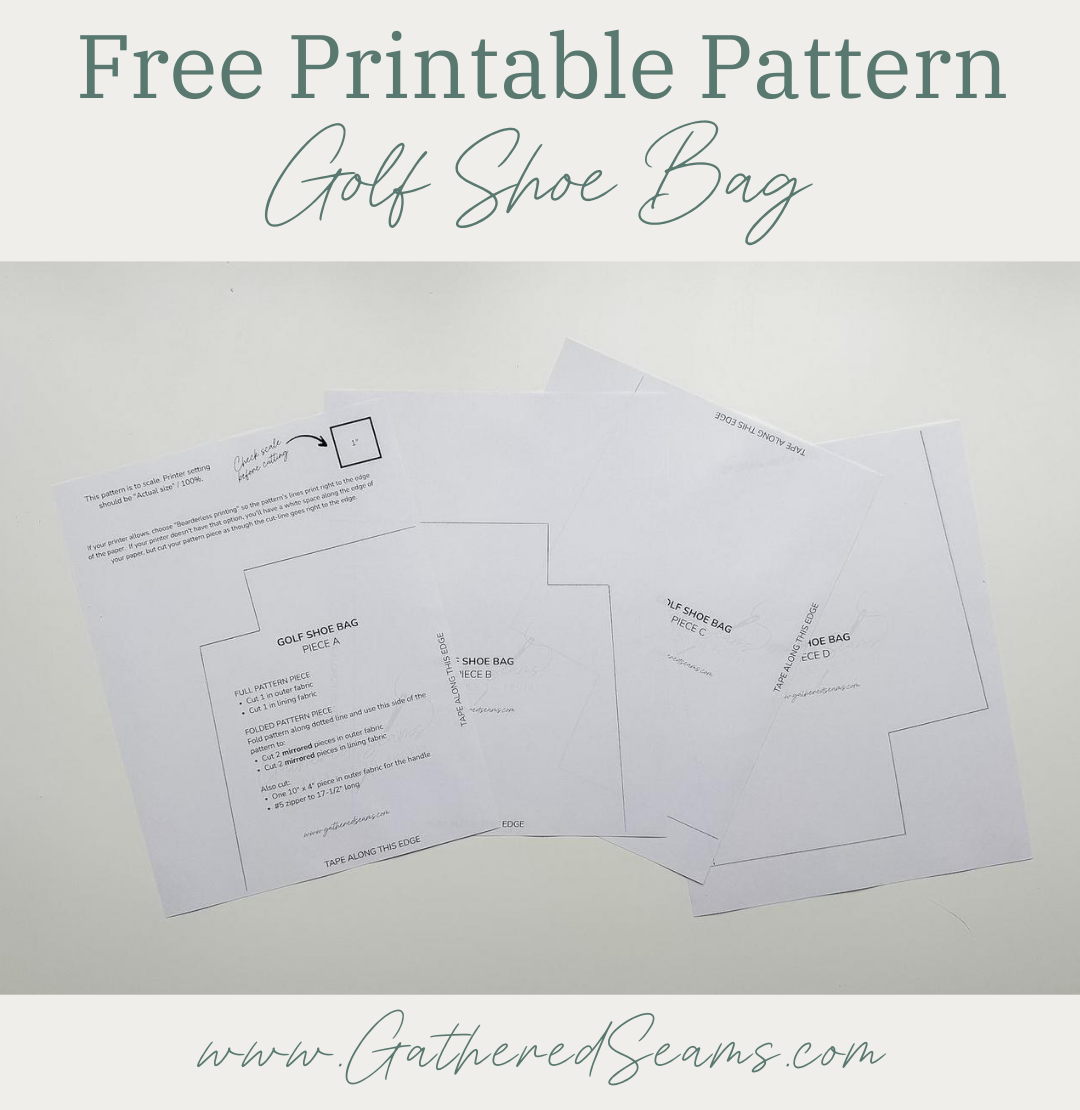
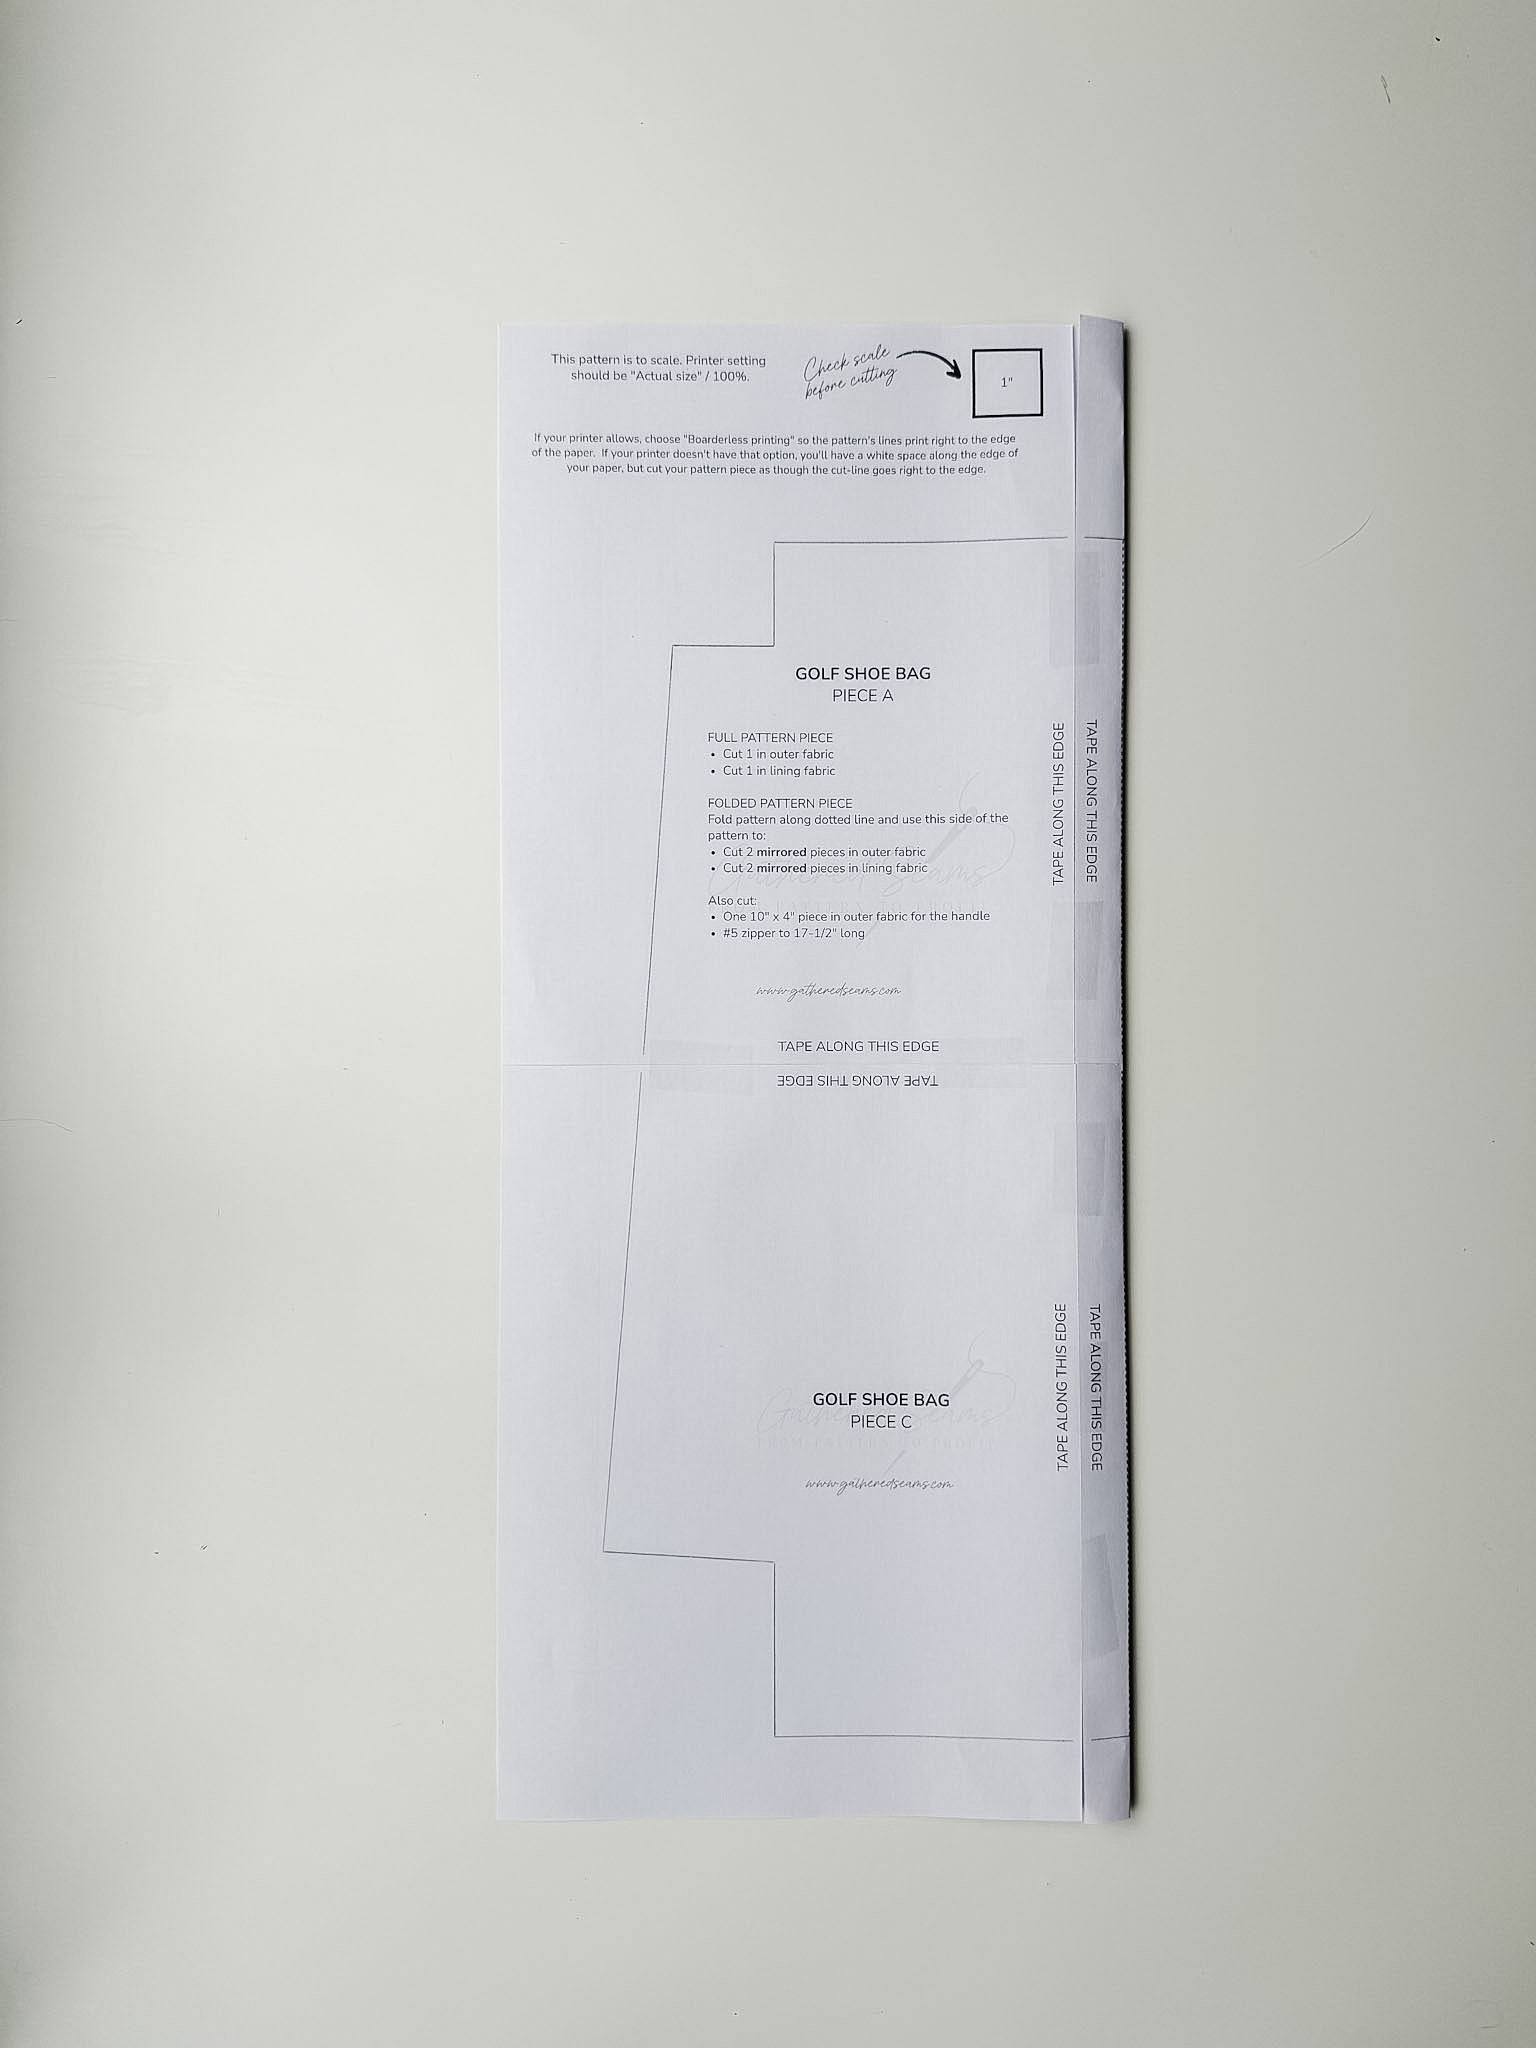
Download your pattern and cut out your pattern pieces.
When taping the 4 pieces of paper together, make sure the pattern lines line up and butt the edges of the paper together (don’t overlap) then tape together.
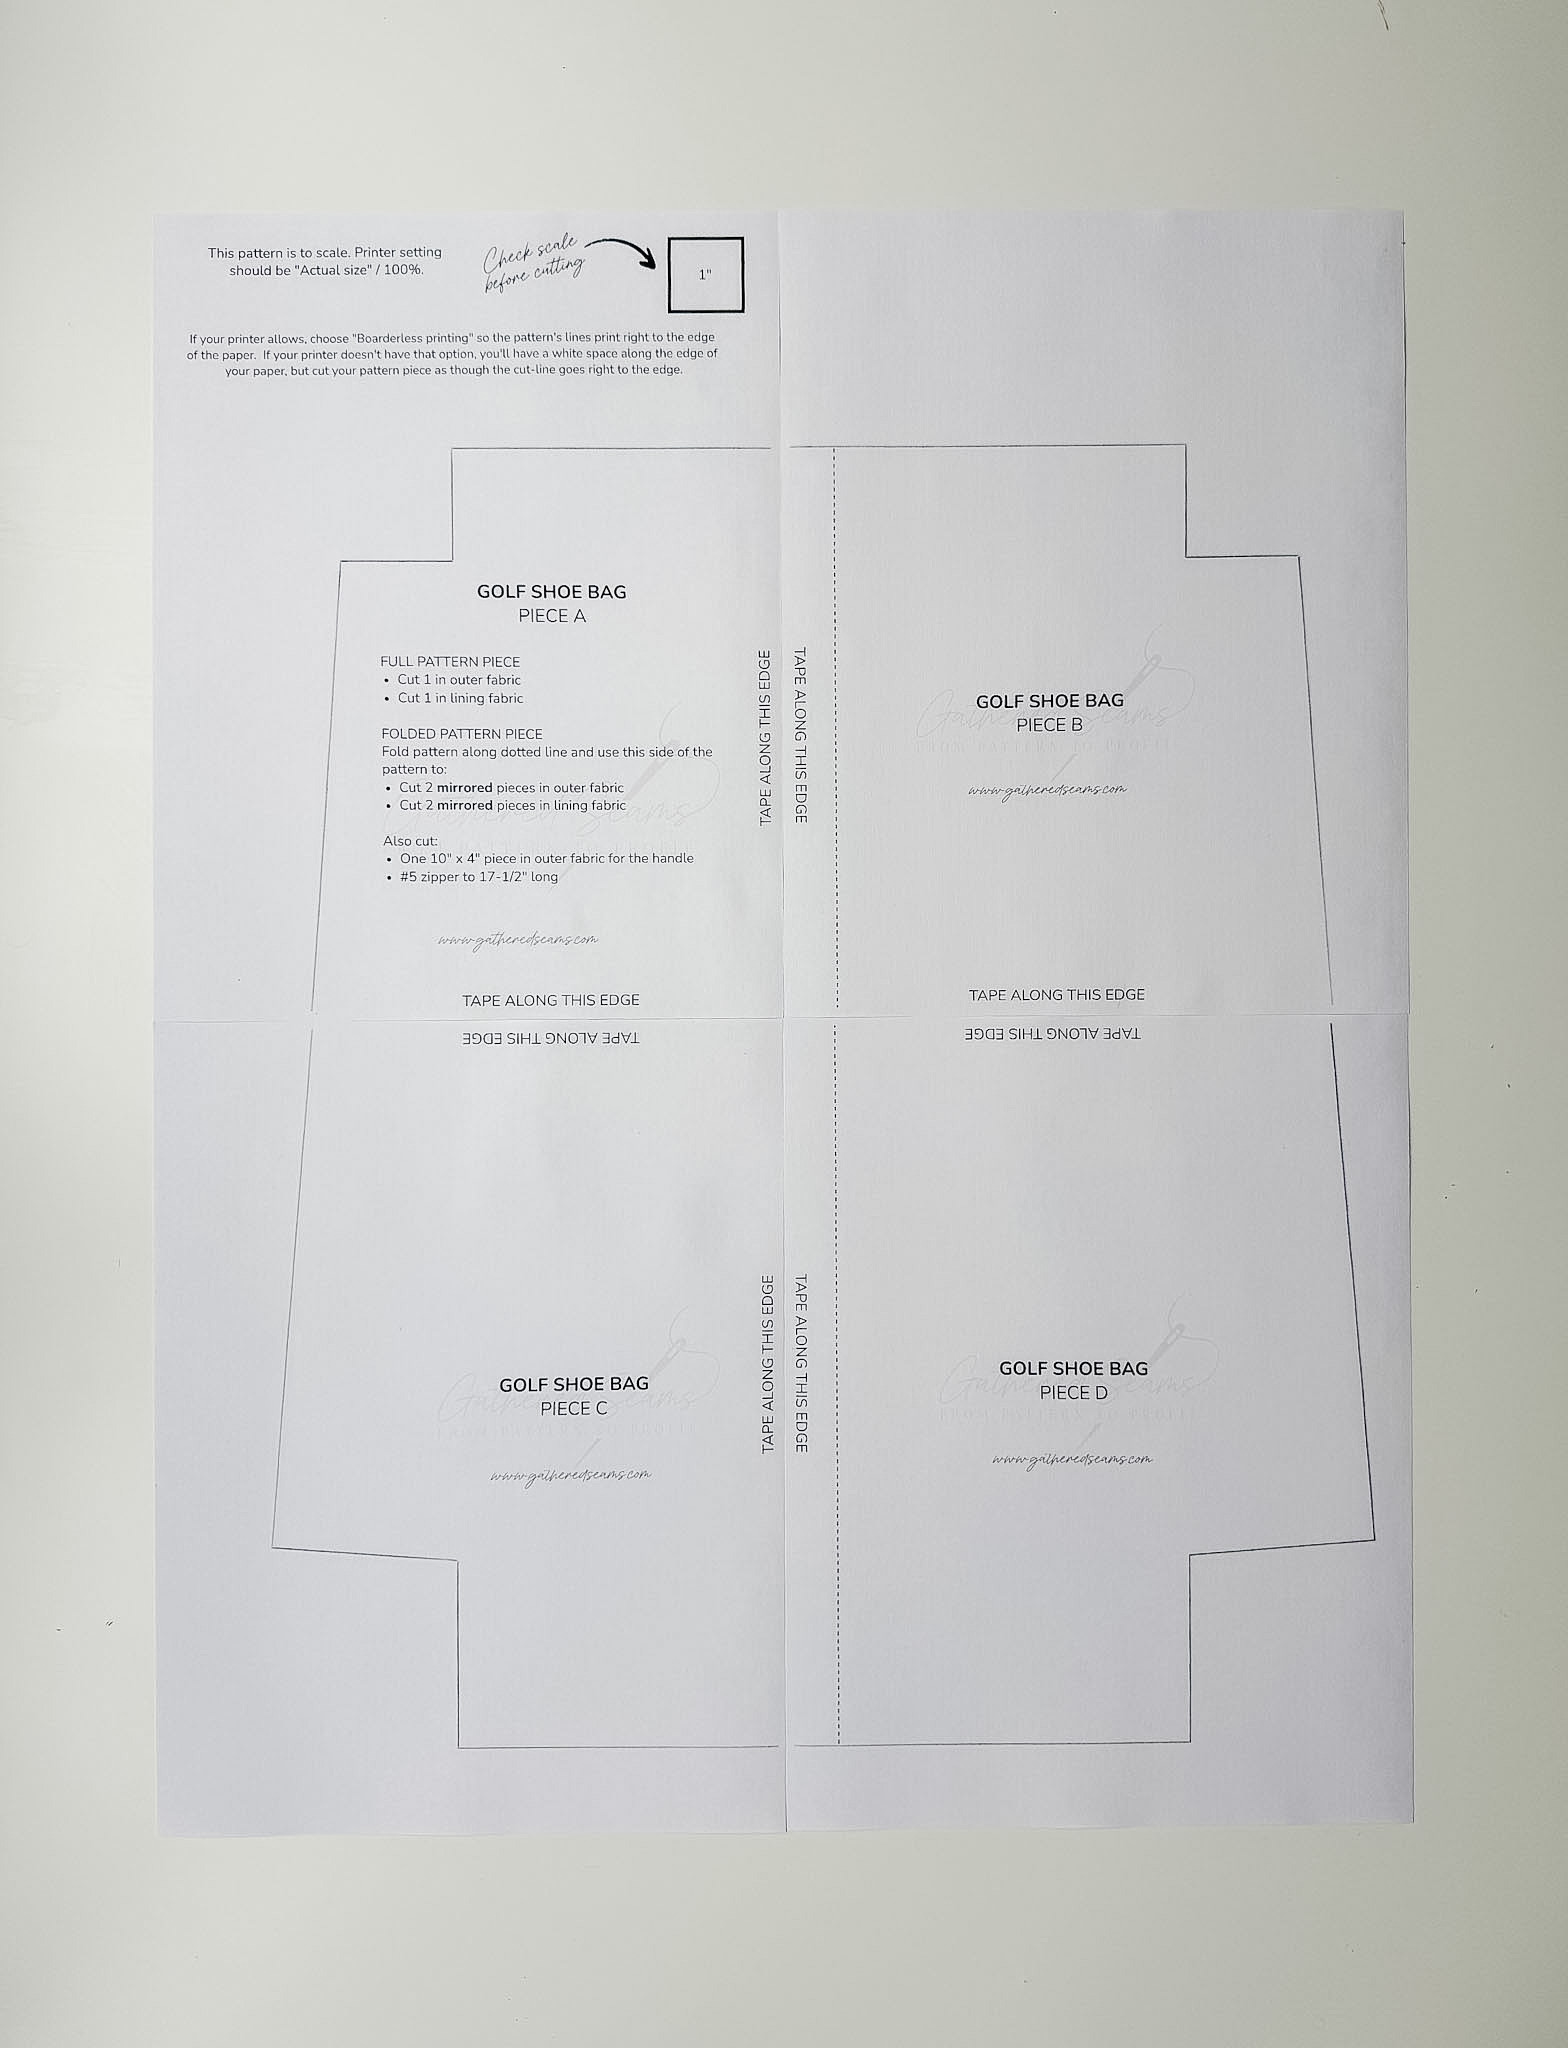
You’ll use the same pattern piece for the top and bottom pieces.
For the top pieces (either side of the zipper), you’ll fold the pattern piece along the dotted line and use the wide side to cut your fabric. The top pieces are just slightly bigger than half the bottom piece to account for the zipper.
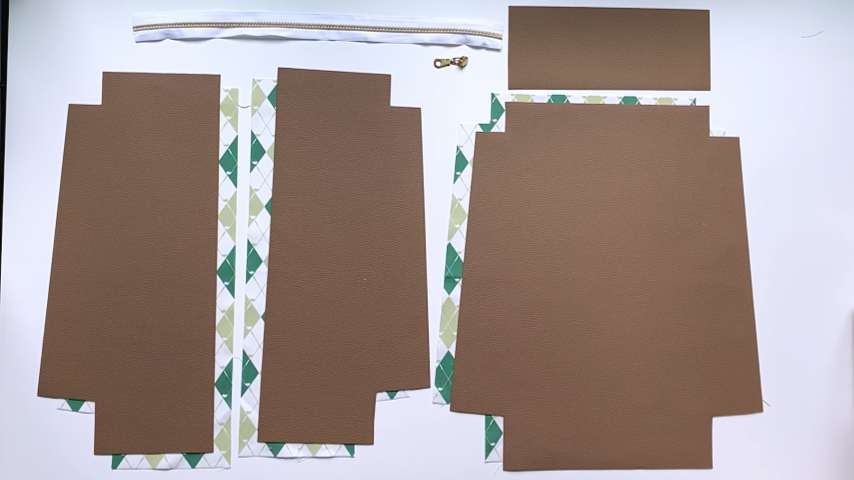
Cut out:
- Full pattern piece in:
- 1 in outer fabric
- 1 in lining fabric
- Half pattern piece:
- 2 in outer fabric (mirrored)
- 2 in lining fabric (mirrored)
*Make sure your half pieces mirror each other. To do so, you may layer your fabric so right sides are together, then cut the pattern piece. Or with your fabric facing right side up, cut one piece with the writing on the pattern facing up and one piece with the writing on the pattern facing down.
You’ll also need to cut:
- 10″ x 4″ piece of outer fabric for the handle
- 17-1/2″ long zipper
Step 2
Separate your zipper and sew each side to the inside edge of the top pieces.
I baste my zipper to my outer fabric first, placing the right side of the zipper with the right side of the fabric and lining up the edge of the zipper tape with the edge of the fabric.
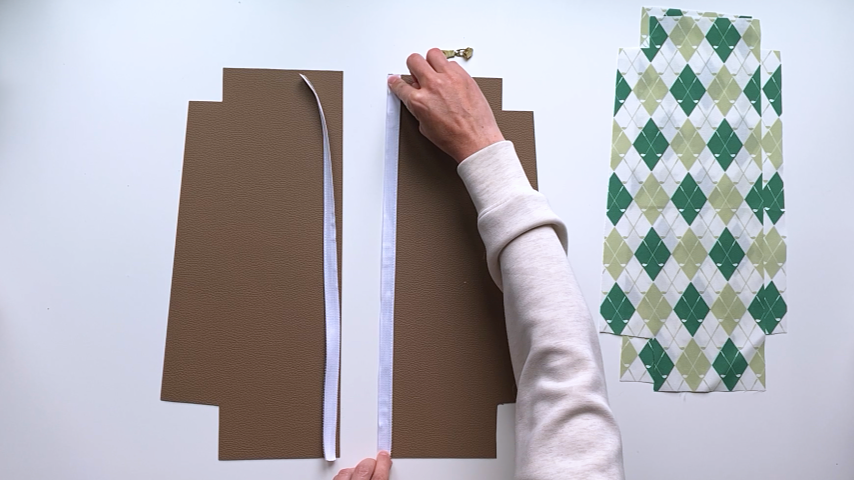
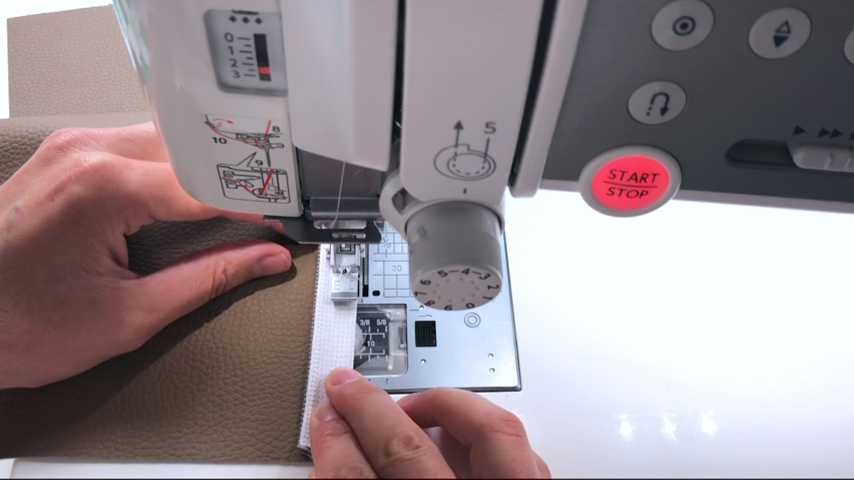
Then I layer my lining on top, so the outer fabric and lining fabric are right sides together (and the zipper is sandwiched between), and use my zipper foot to sew close to the edge of the zipper teeth.
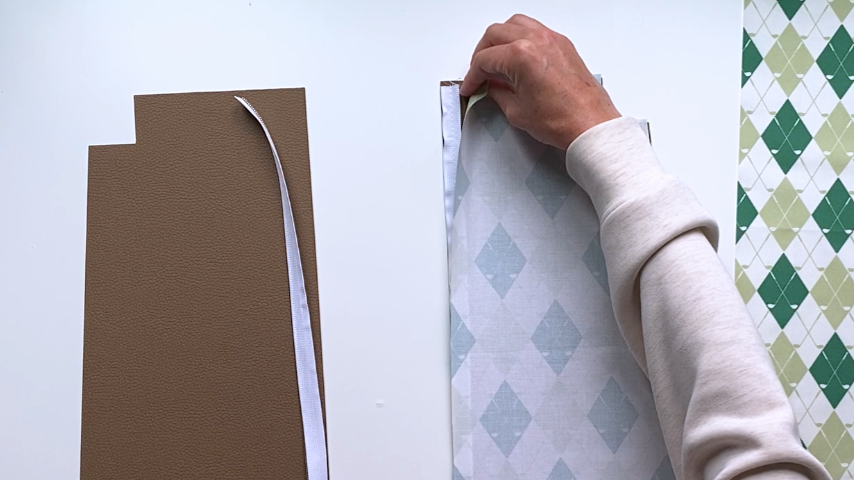
If you’re using fabric that can be ironed, fold your outer fabric and lining fabric back, so the zipper teeth are showing, and press the fabric into place. If you’re using vinyl, just fold the fabric into place as you go.
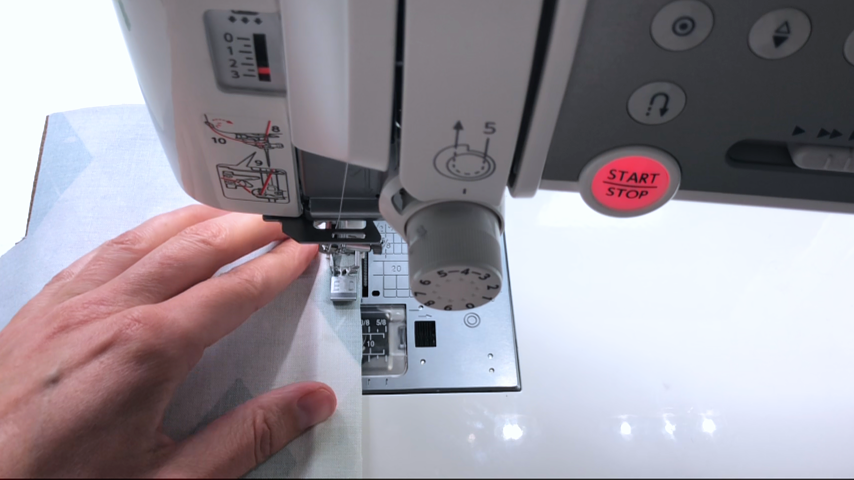
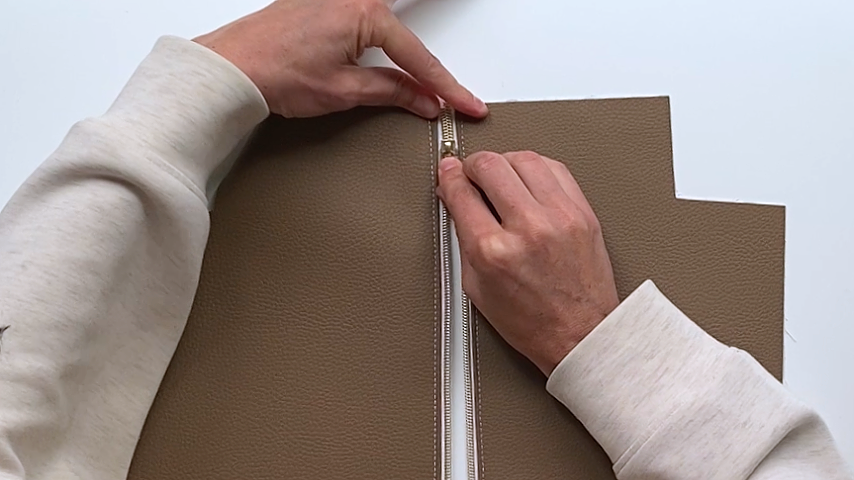
Then topstitch along the fabric and close to the zipper teeth.
Repeat those steps to sew the other half of the zipper to the other two pieces of top fabric.
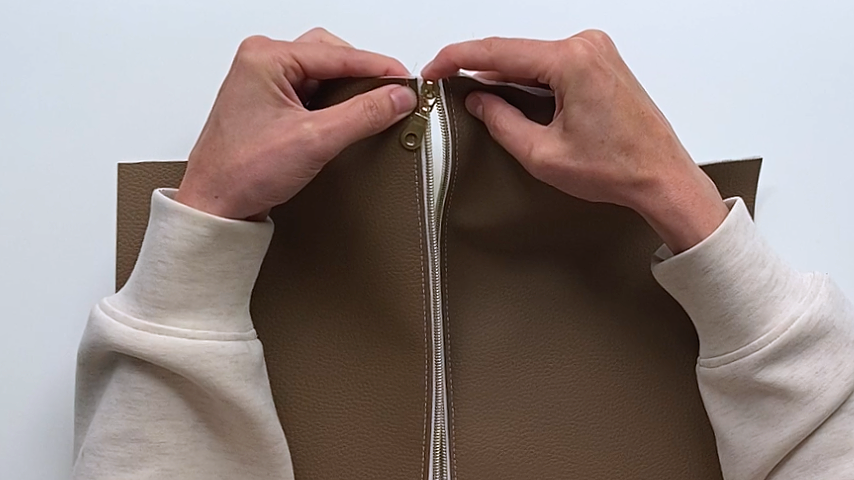
Add the zipper pull from the bottom of the bag (the wider end) so the zipper will close as it’s pulled to the top of the bag.
To put my zipper pull on, I cut my zipper so both sides are the same length, then I get just the start of the teeth both in the start of the pull (don’t feed the teeth in any further than halfway in the pull) and lined up so the edges of the left and right sides of the bag align. Then I push down on the pull until I hear a click.
Then press down on either side of the zipper as I pull the zipper closed.
If the edges of the fabric don’t line up, take the pull off and try again. This process can take a few times to get used to.
Step 3
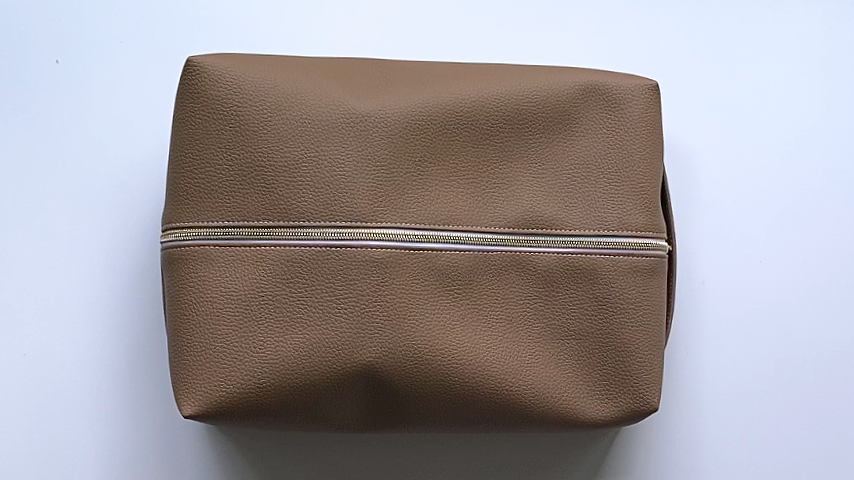
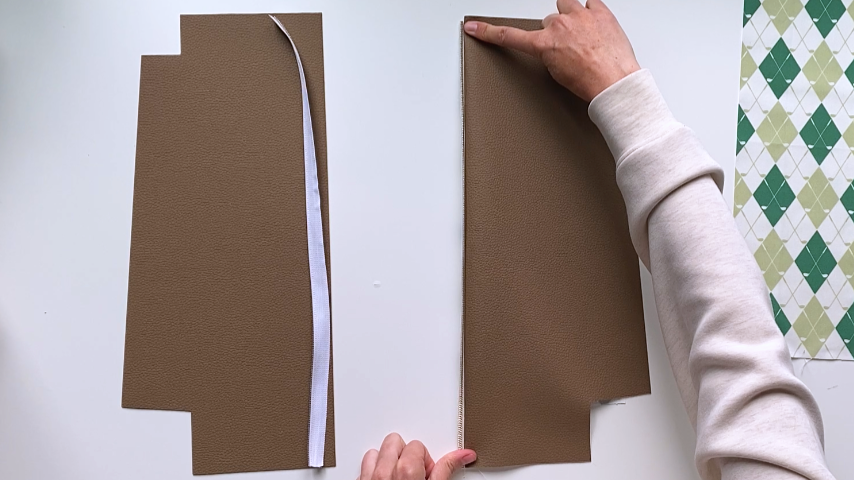
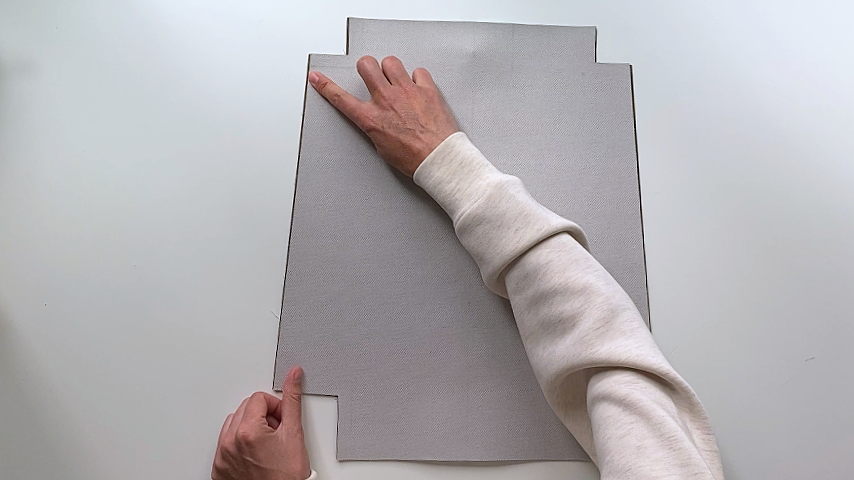
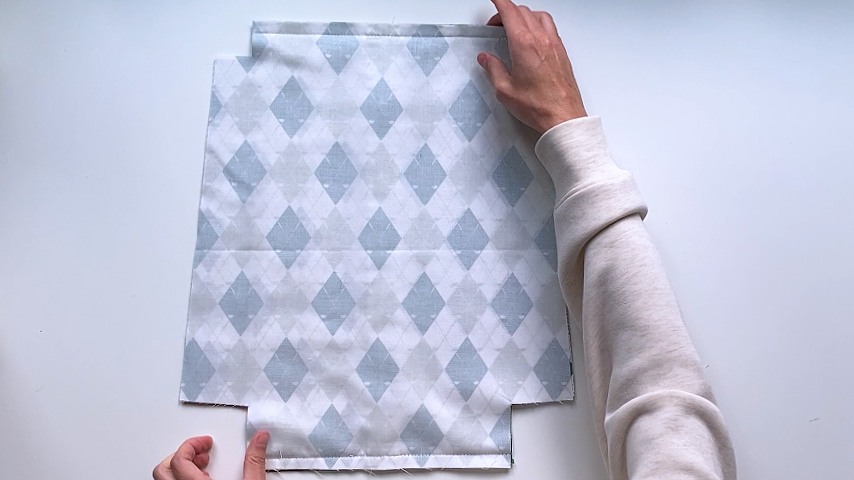
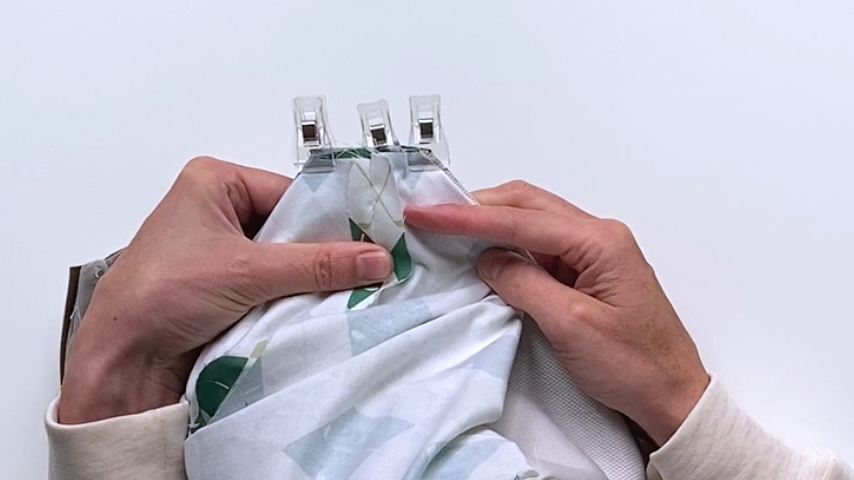
Before sewing the tops and sides, I place the outer fabric bottom piece on top of the top piece to ensure the top piece is the same size.
Depending on how close you stitched next to the zipper, your top piece may be slightly bigger than the bottom piece.
If that’s the case, simply trim the edges. As you can see in the photo below, I need to trim just a little off my sides:
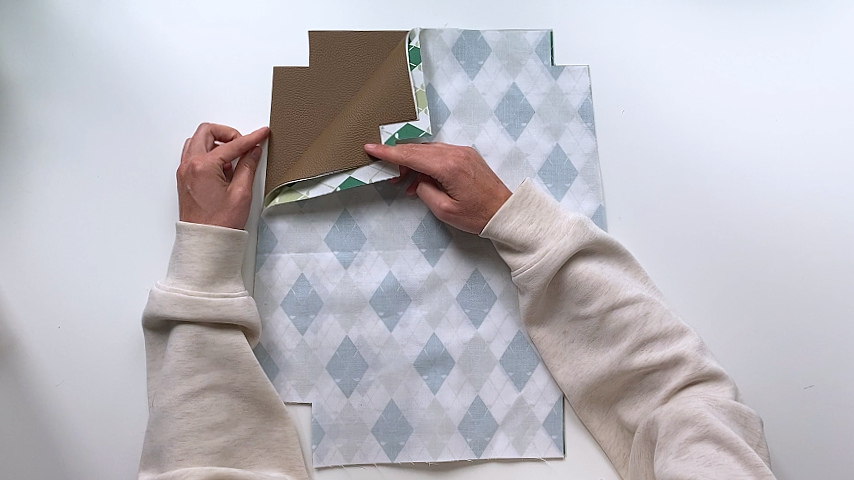
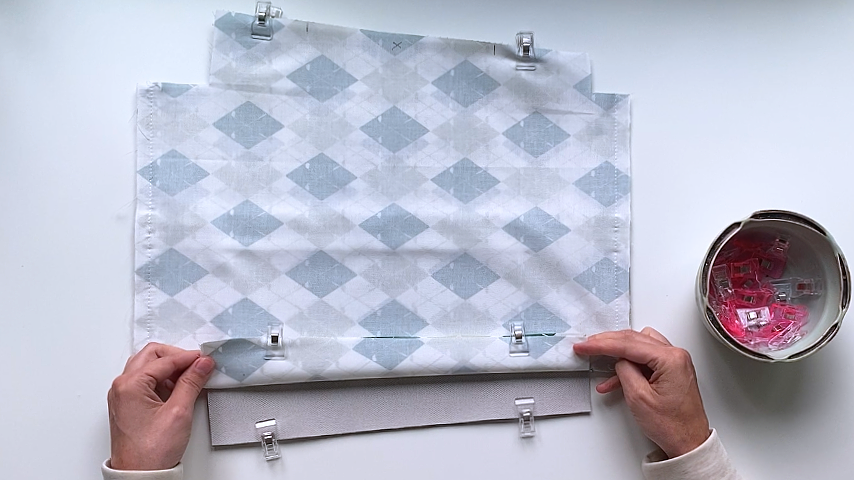
Now you can place the outer bottom piece so it is right sides together with the outer top piece.
Then place the lining bottom piece so it is right sides together with the lining top piece.
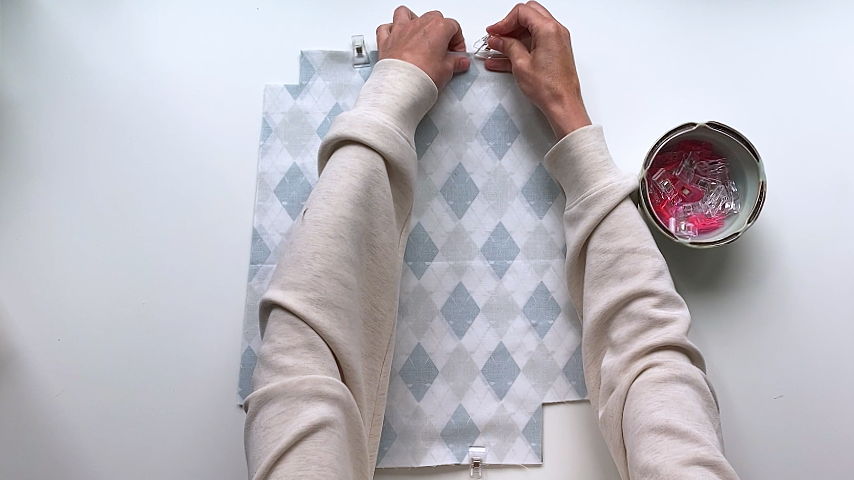
Line up the edges, then clip the top and bottom edges together.
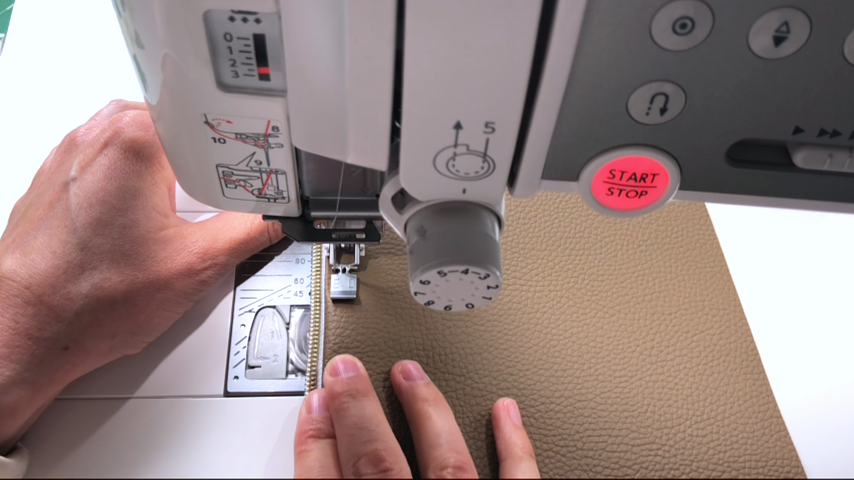
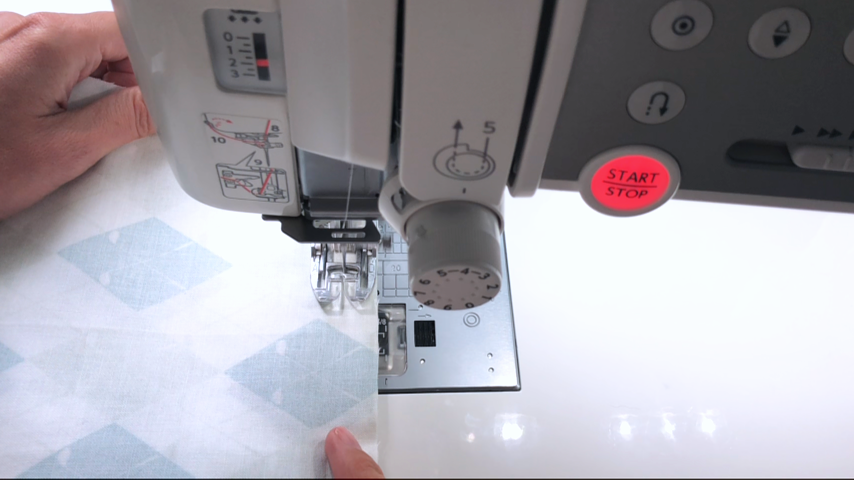
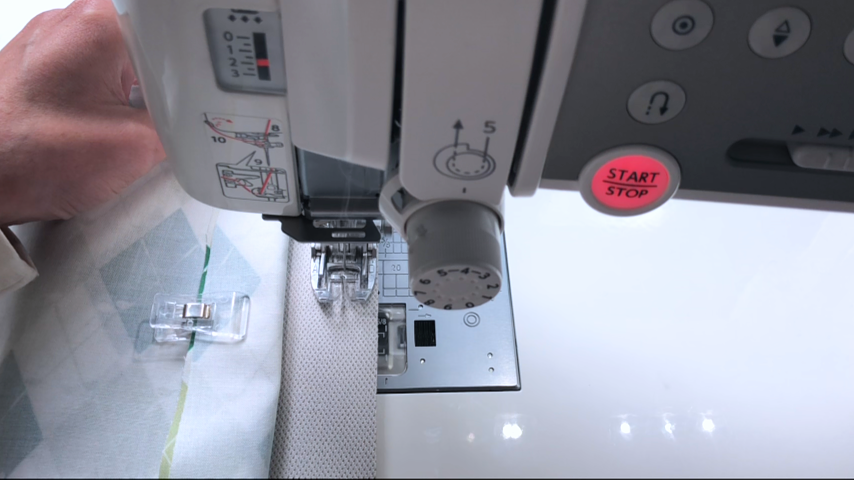
Using a 1/2″ seam allowance, you’ll sew all 4 layers of fabric together.
Make sure your zipper is open a few inches so the pull is out of the way.
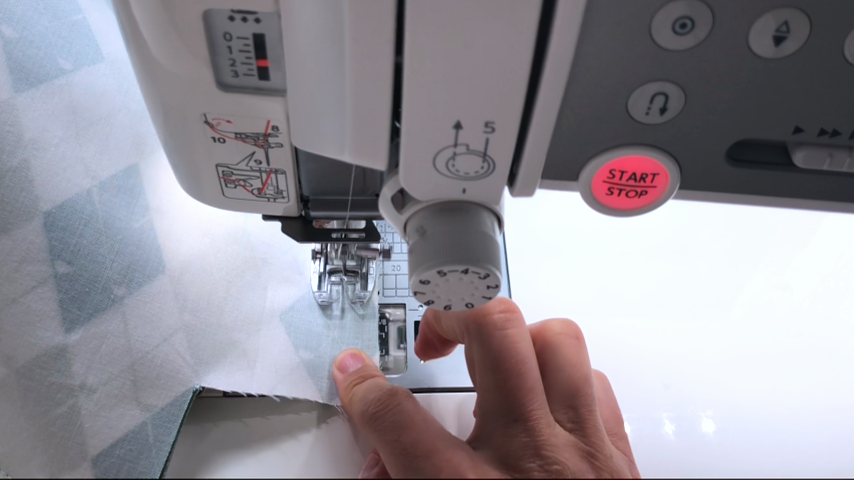
And when you sew along the end with the zipper open, check as you come up to the zipper teeth to ensure they’re pushed close together.
Step 4
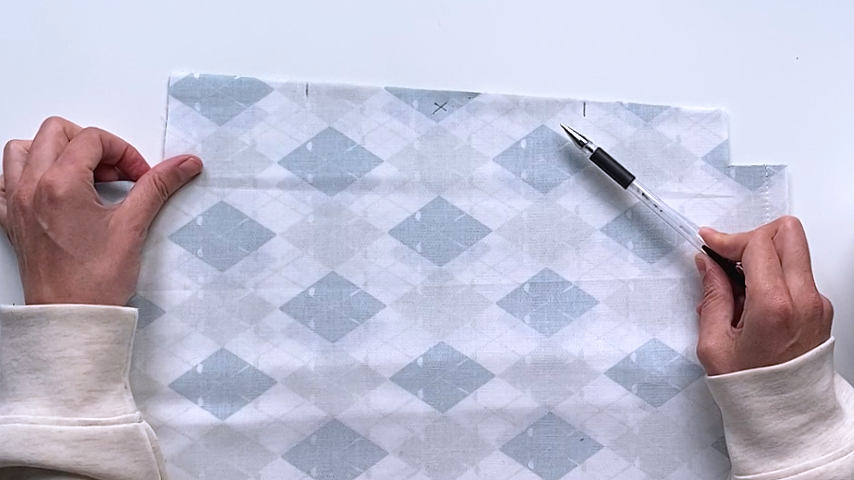
Use a temporary fabric marker to mark two lines along the side edge of the lining. They should be about 5″ – 6″ apart.
You won’t sew between these two lines, so you have an opening to turn the bag right side out.
This time, you’ll sew the lining sides together, then the outer sides together. Don’t sew all 4 layers together.
Step 5
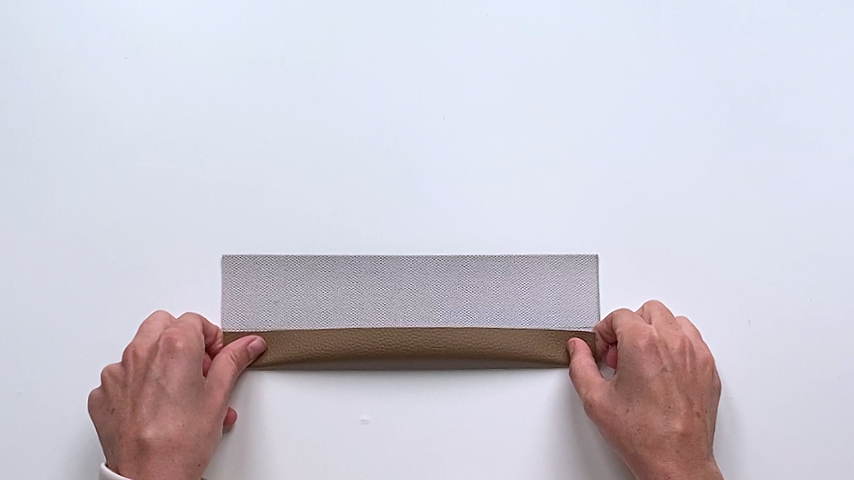
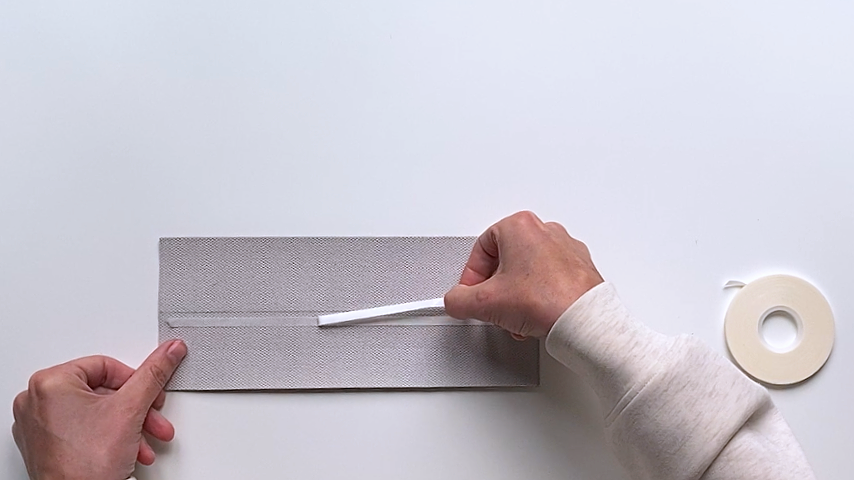
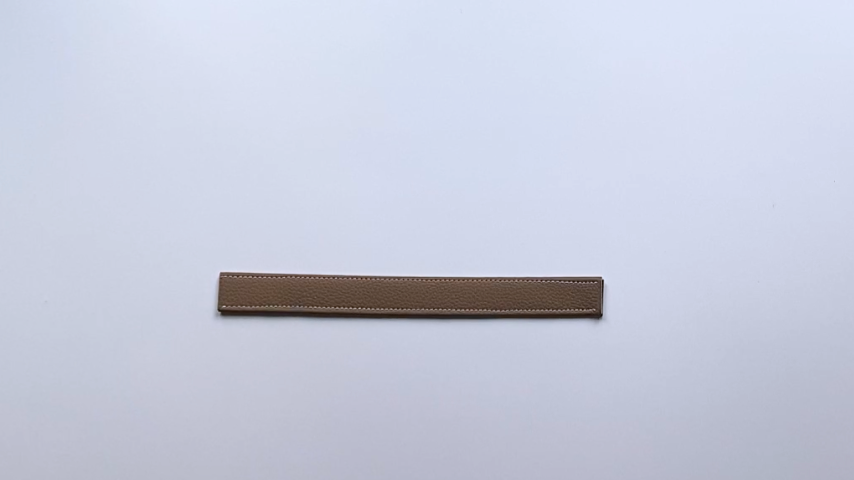
To make the handle, find the center of your 10″ x 4″ strip and fold the bottom up.
If you’re using vinyl, you can use Wonder Tape to hold the fold in place. It’s a double-sided tape that won’t gum up your needle (and will wash away when using fabrics that will go in the wash).
Fold the top down to meet the center line.
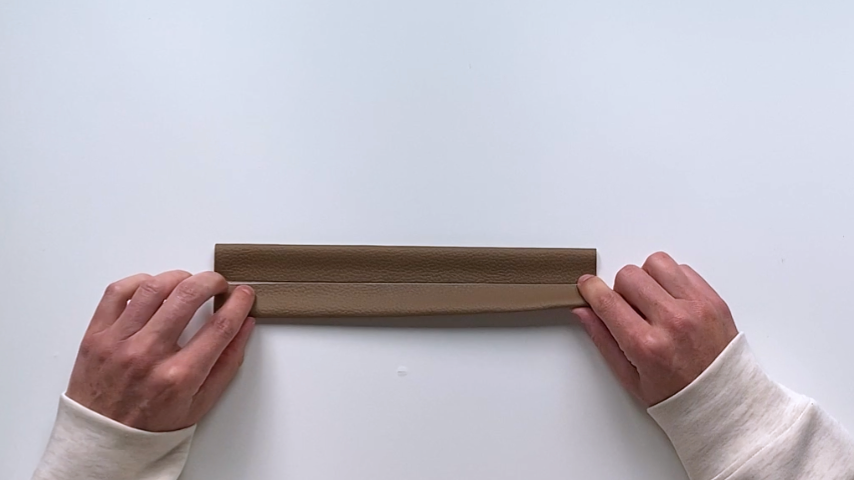
Then fold the strip in half again so the two folded edges meet.
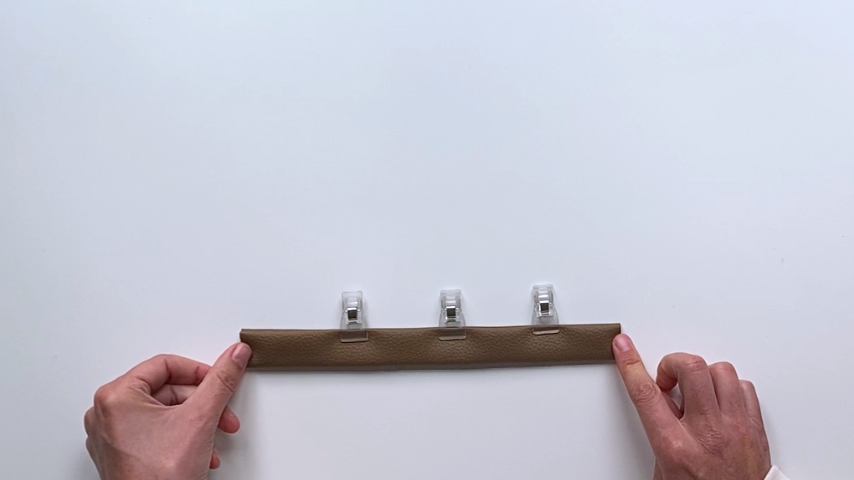
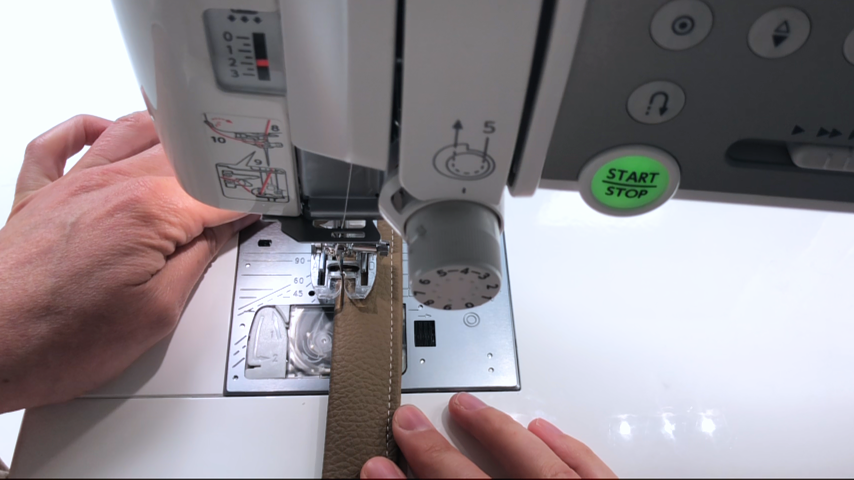
Sew along both sides.
Step 6
Now you can sew the corners.
This step is a little finicky and takes some time to get everything lined up and clipped into place.
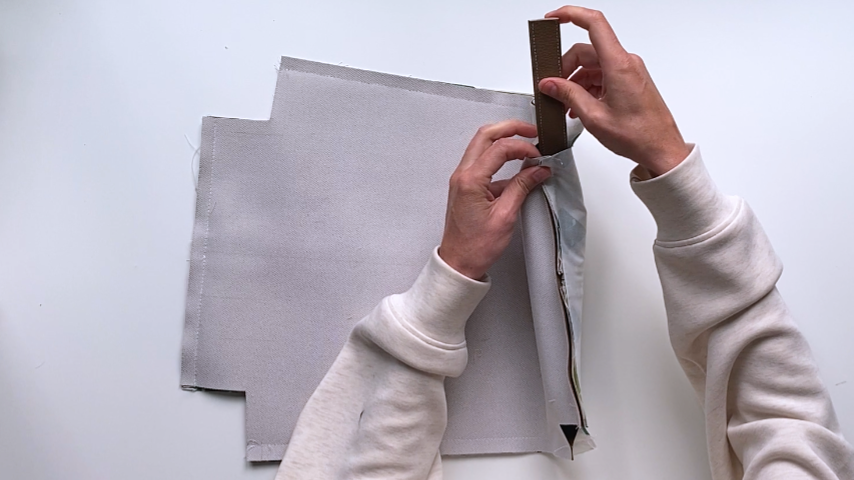
I start by placing my handle through one of the openings in the top. The end of the handle should line up with the edge of the fabric and be centered on the top seam.
Clip the handle into place.
Make sure the seam allowance is folded toward the bottom piece of fabric, and away from the zipper (as shown in the photo below). This will help the end of the zipper sit flat.
Then open the side seam and center it with the handle and top seam, and clip that into place.
Then you can open the corner on the lining and get the top edges and corners lined up. Leave the center clip in place and just add two more clips on either side of it to hold the lining in place.
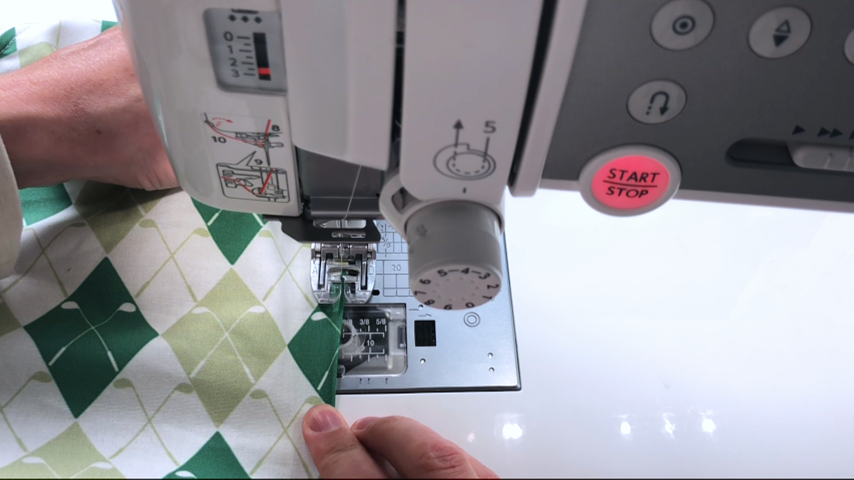
Using a 1/2″ seam allowance, you sew across the corner, sewing all 4 layers together.
If you’re using vinyl or a thicker material, here are a couple of tips to help your sewing machine get through all the layers.
- Use a hump jumper – As your needle comes up to the thickest section (where the handle and seams are) the presser foot will tilt up. This causes uneven pressure, which can result in skipped stitches and/or the fabric/needle getting stuck. Once your presser foot starts to tilt up, stop with your needle down, lift the presser foot, and place the hump jumper under the back half of the presser foot. Then place your presser foot back down. It should now sit level, and you can continue sewing.
- Increase presser foot pressure – if your sewing machine allows, increase the pressure of your presser foot so it presses down harder on the fabric, which will squish all the layers down a bit more, making it easier to sew through.
- Use a sharp needle – a fresh needle will make it easier to pierce through all the layers. Be sure to use the right type of needle for your material as well. I like using a topstitch needle when working with vinyl.
- Hand crank the sewing machine – when I came up to the thickest part of my seam, I took my foot off the pedal and hand cranked the machine. Always turn the dial toward you. This gives you more control and ensures you won’t break a needle or have any skipped stitches. When it felt like my needle was stuck, I would reverse the needle just a bit, wiggle the fabric a little, then try rotating the hand wheel toward me again.

Repeat these steps to sew all four corners.
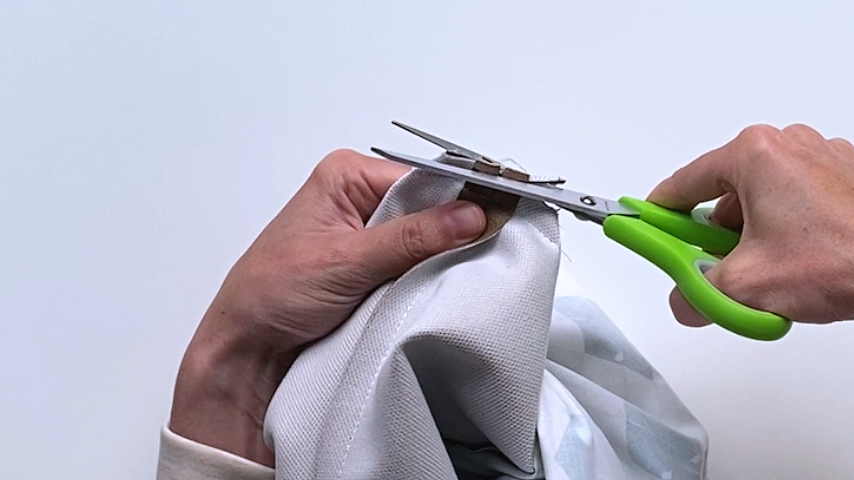
Trim the seam allowance on your corners to reduce bulk.
Step 7
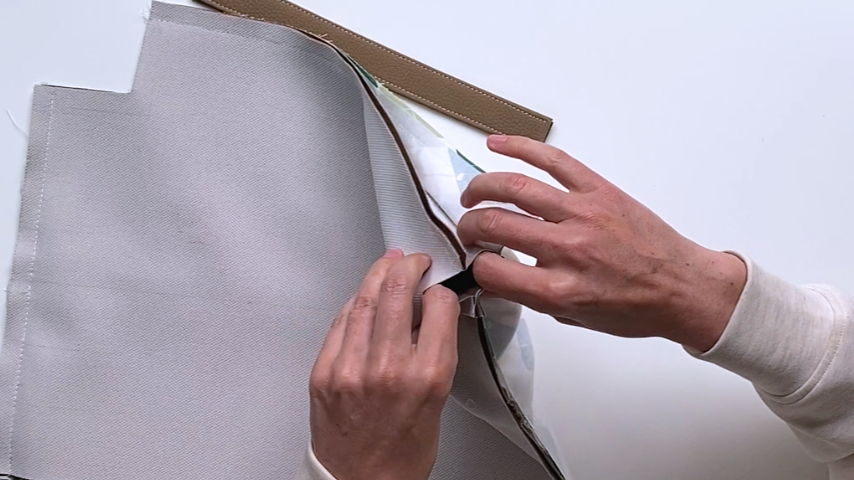
Use the opening in the lining to turn the lining right side out.
If you want, you can turn the bag fully right side out to check your corners and make sure you’re happy with them.
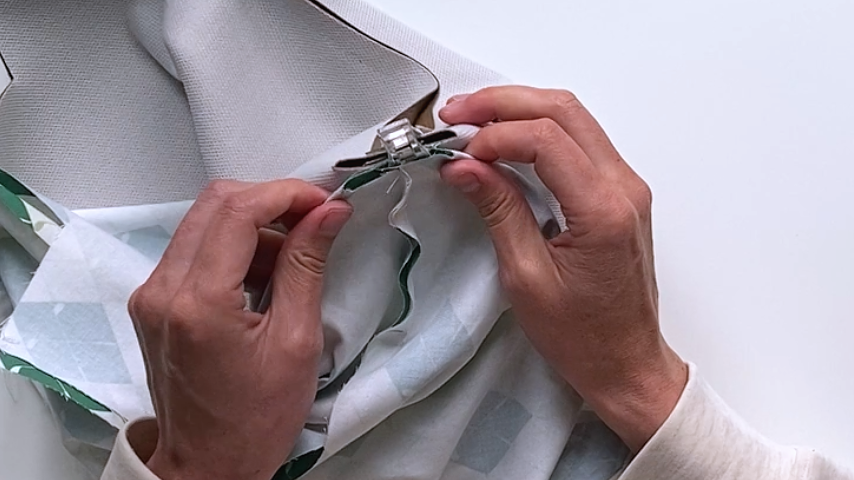
Then sew the opening in the lining closed by topstitching close to the edge.
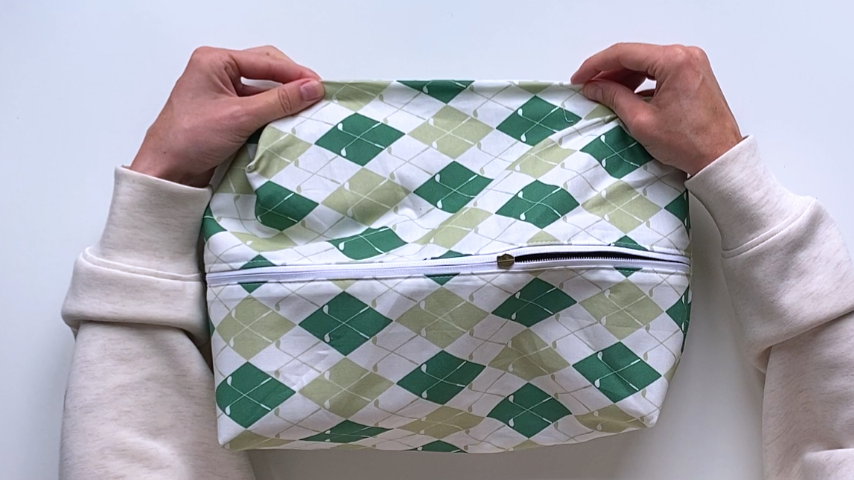
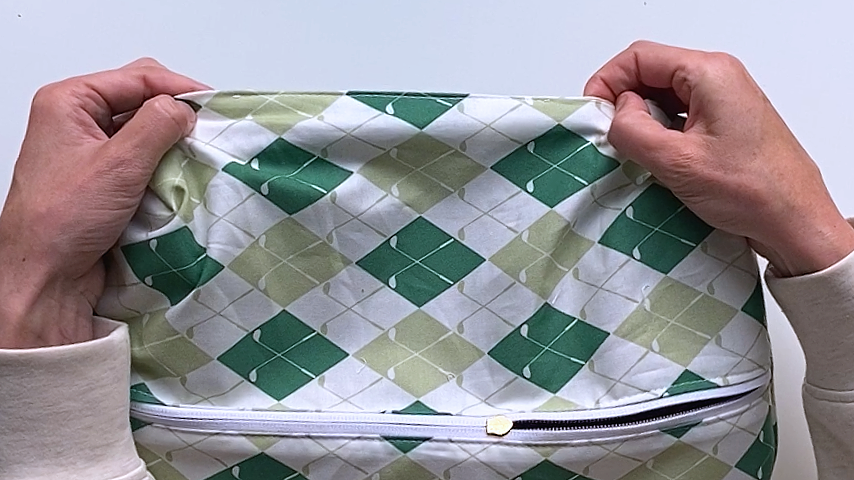
Slide the zipper fully open and turn your bag right side out.
Your golf shoe bag is complete!