How To Sew a Napkin Utensil Pocket (Beginner Friendly)
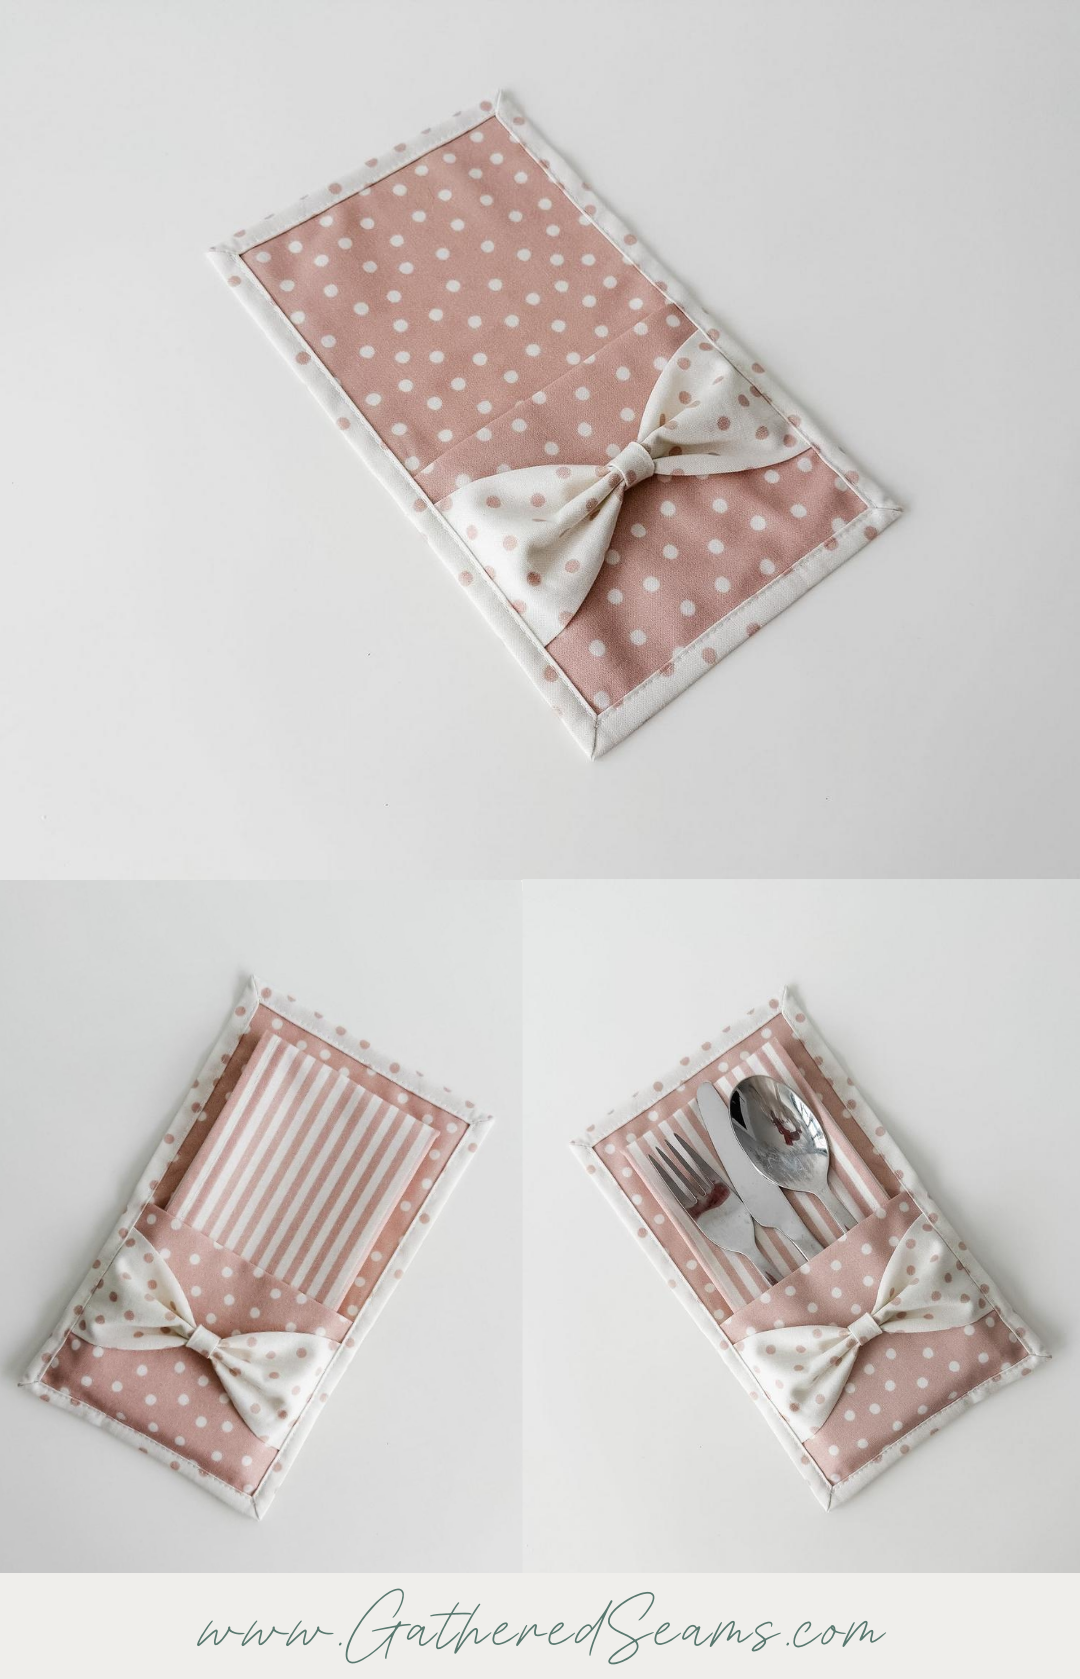
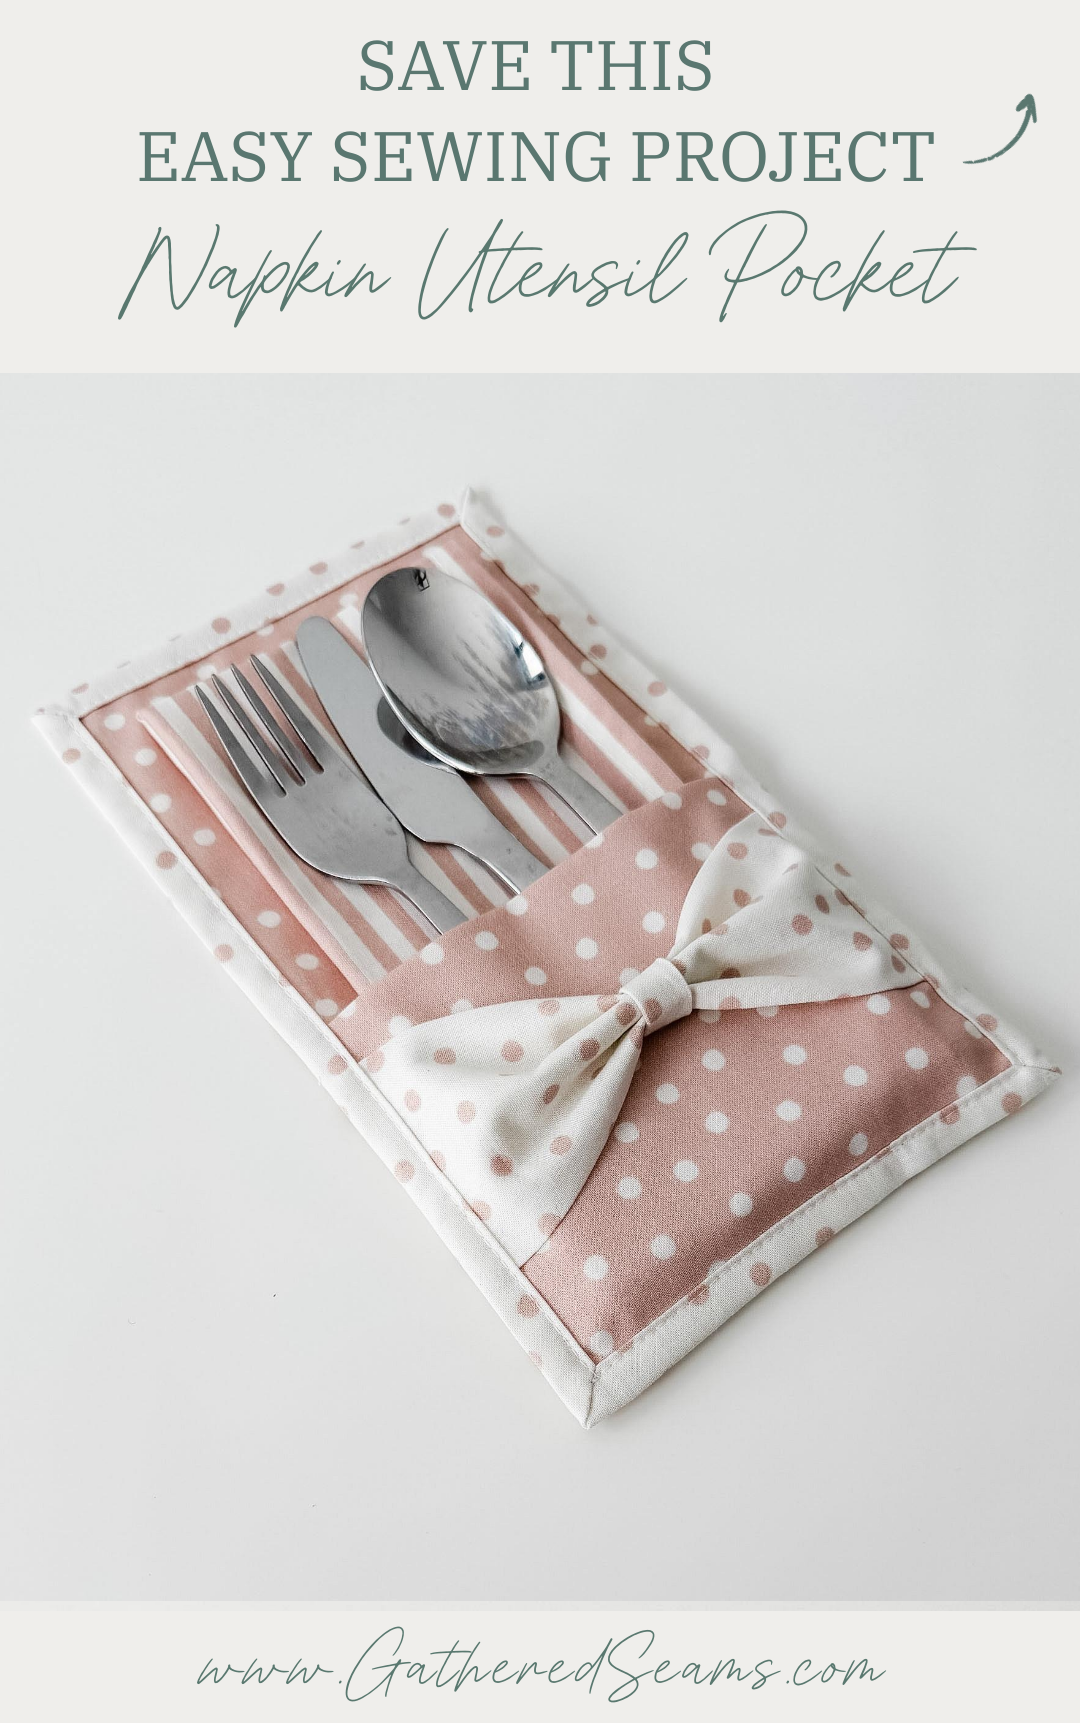
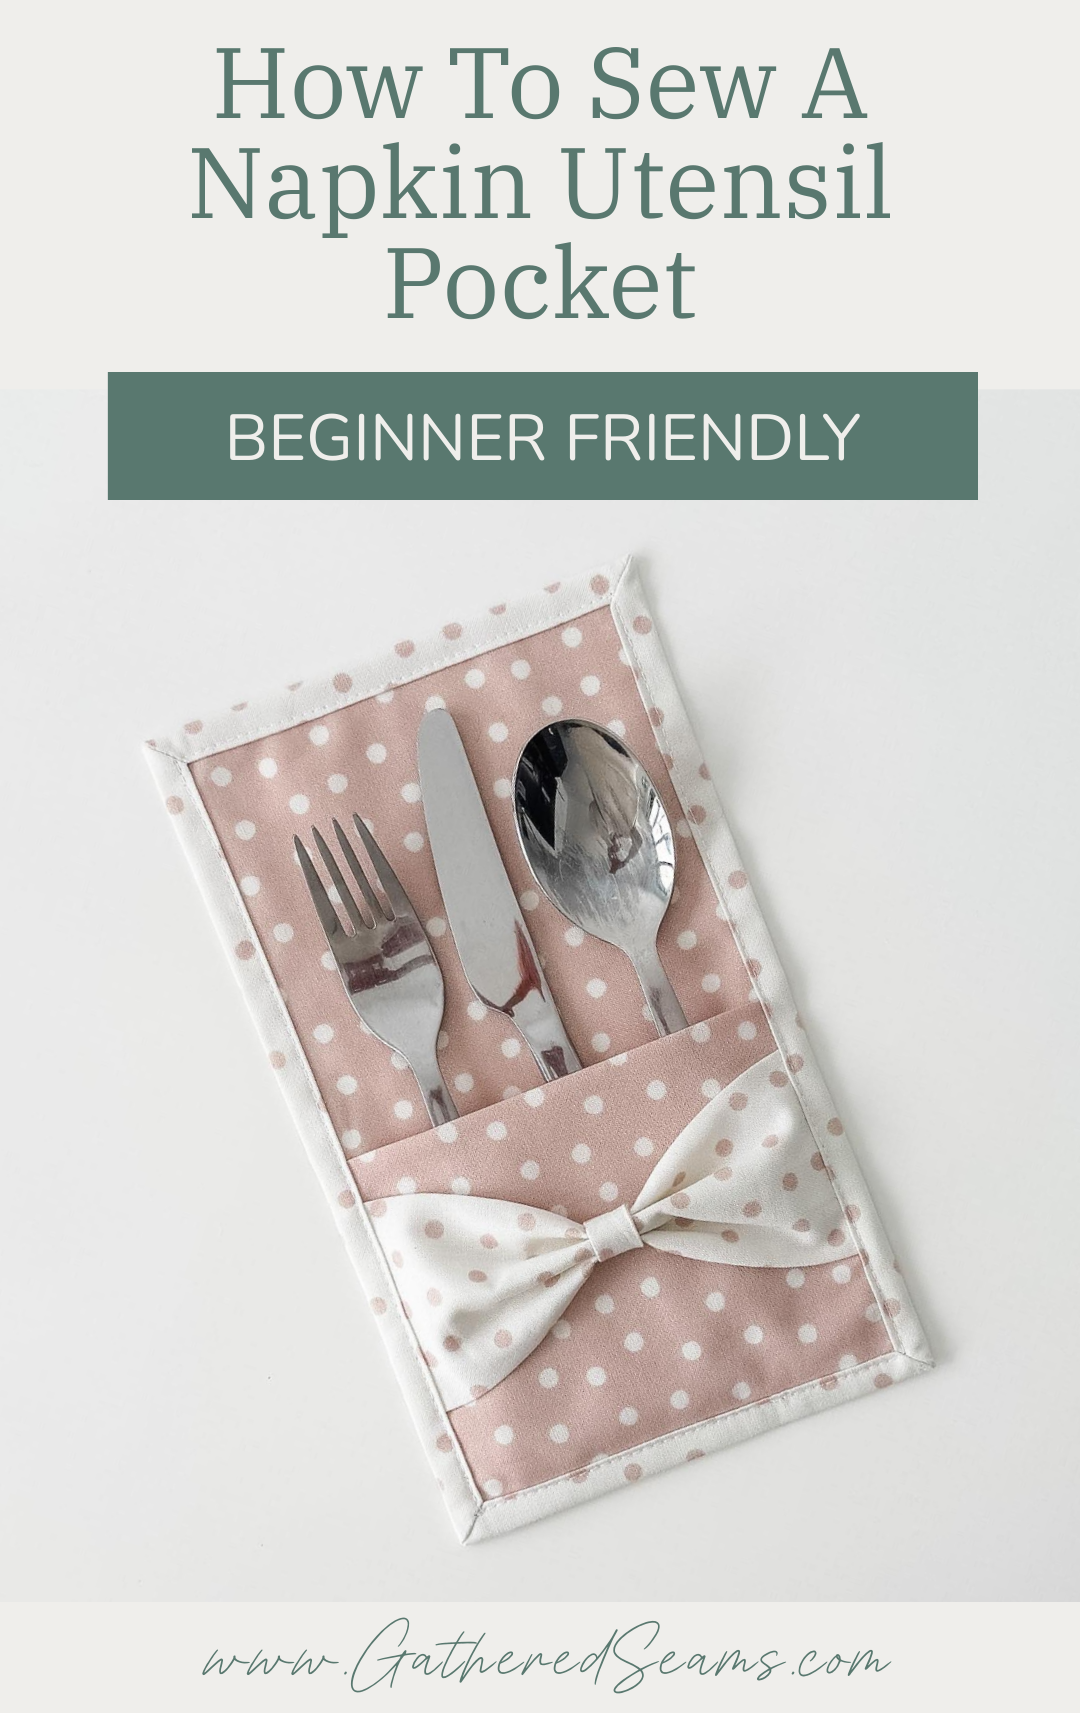
These cute pockets for a napkin and utensils will add a handmade and elegant touch to your dining table. If you host a lot of dinners, this is a great sewing project to try. I would update the fabric for these to go with the seasons or popular dinner holidays (Easter, Thanksgiving, Christmas, etc.).
My napkin utensil pocket doesn’t require much material, so it’s perfect for using up smaller scraps of fabric. Of course, if you want a big set (e.g. 6 – 8) and you want them to be matching, you may need to use fat quarters instead of scraps. But I also think these would be cute in coordinating fabric, so each one is slightly different for a more eclectic look.
This is also a beginner-friendly sewing project that doesn’t require much time to complete.
You can easily adjust the size. For example, you may want them to be smaller if you only want to set utensils in them, rather than utensils and a napkin.
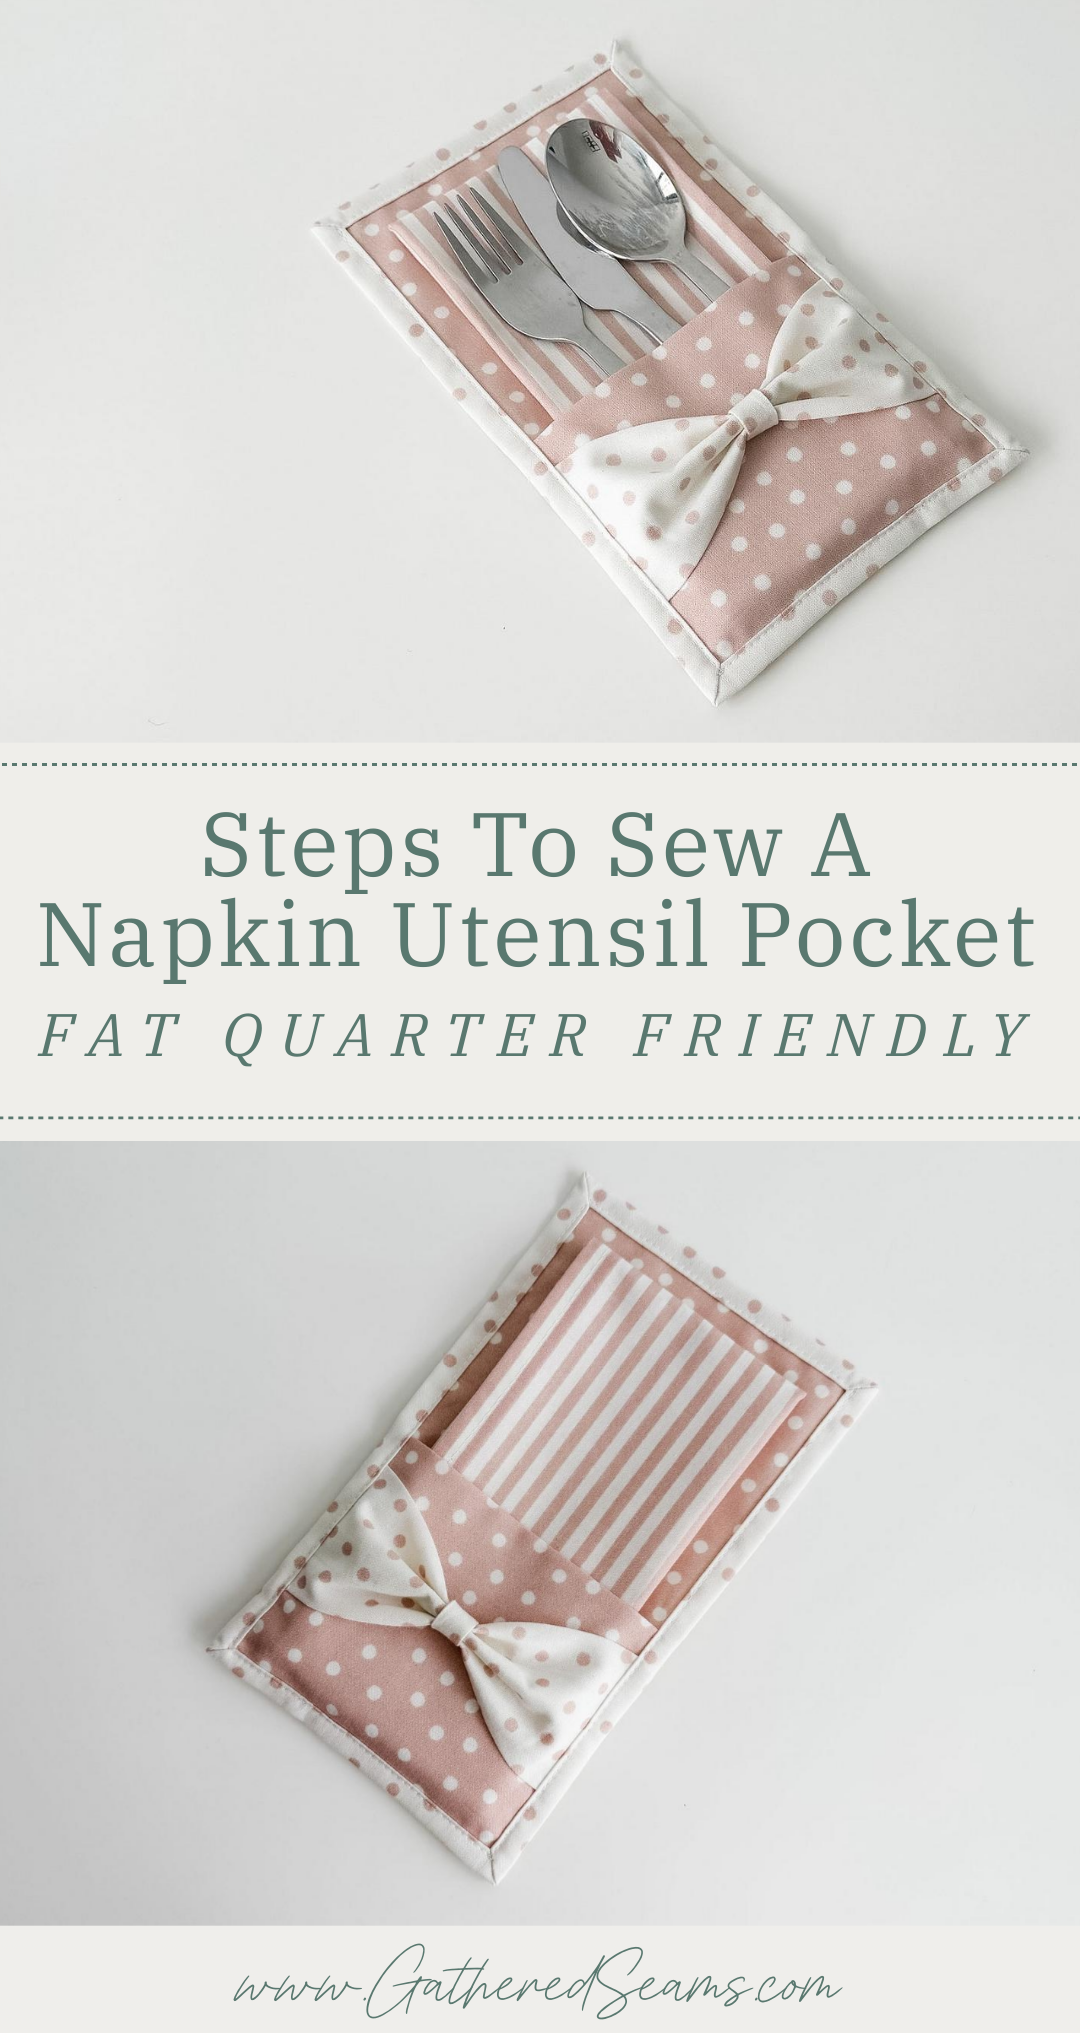
My napkins (you can find the tutorial to sew a set of fabric napkins with mitered corners here…also beginner-friendly) are 16″ x 16″. To fit one into my pockets, I folded one in half widthwise twice, then folded it in half top to bottom.
If you have larger napkins, you may want to make your pocket larger.
Materials
As an Amazon Associate, I earn from qualifying purchases (see full disclosure here).
- Lightweight fabric (I used a quilting cotton. If you’re not adding the bow, you can go a little heavier-weight)
- Optional: if you want more structure to your pocket, you can add fusible fleece to the top fabric piece
- Thread
Tools
- Sewing machine
- Point turner (I like this one, which also works as a Hera marker for marking quilting lines)
- Temporary fabric pen or chalk
- Ruler (ideally one with a 45-degree line marking)
- Iron
- Scissors
- Pins or clips
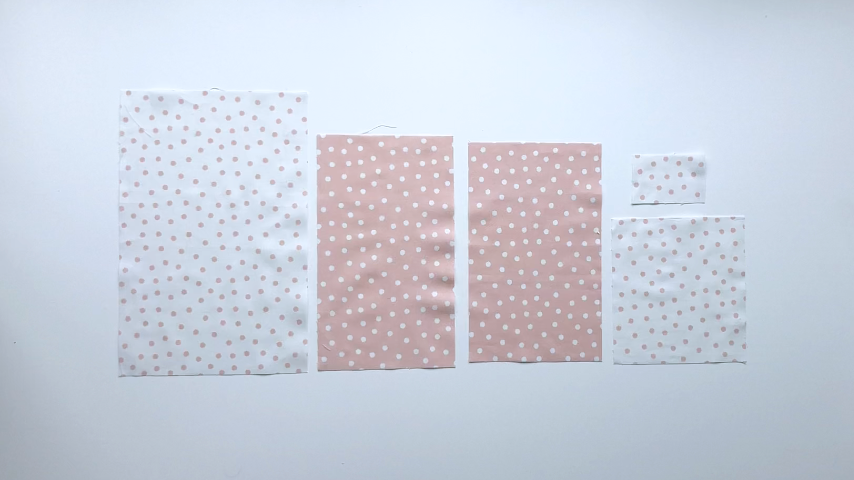
Pattern pieces for a napkin utensil pocket
You will need to cut:
- 7-1/4″ x 11-1/4″ (bottom piece)
- 5-1/2″ x 9-1/2″ (top piece)
- 5-1/2″ x 9″ (pocket)
- 6″ x 6″ (bow)
- 3″ x 2″ (bow’s center loop)
Steps to sew a napkin utensil pocket
Step 1
Use a temporary fabric pen to mark lines 3/4″ above each edge.
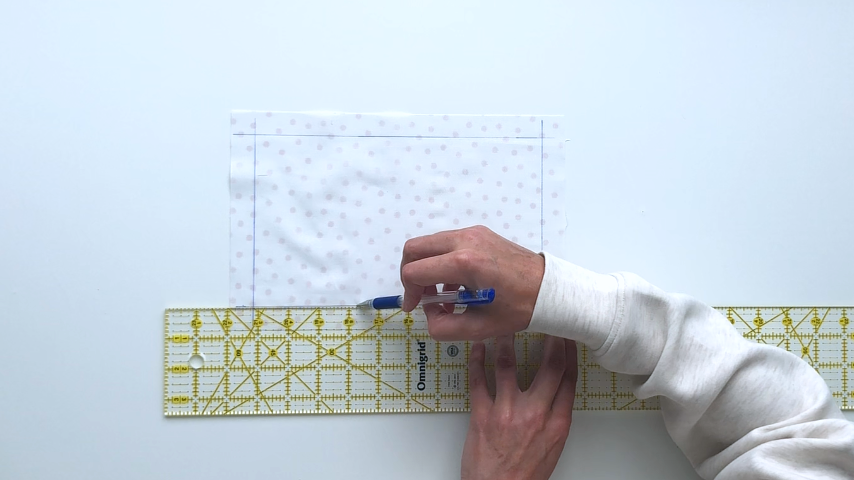
Fold the edges up to meet the lines and press.
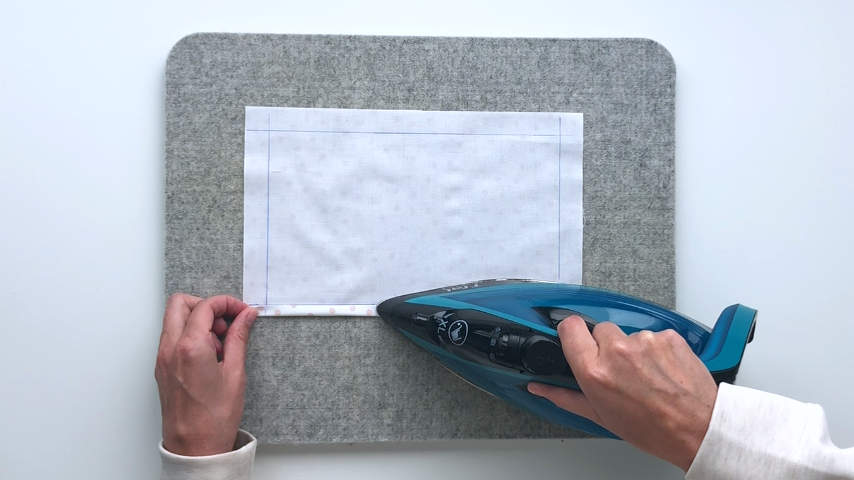
Fold the hem in again, the same width, using the cut edge as a guide.
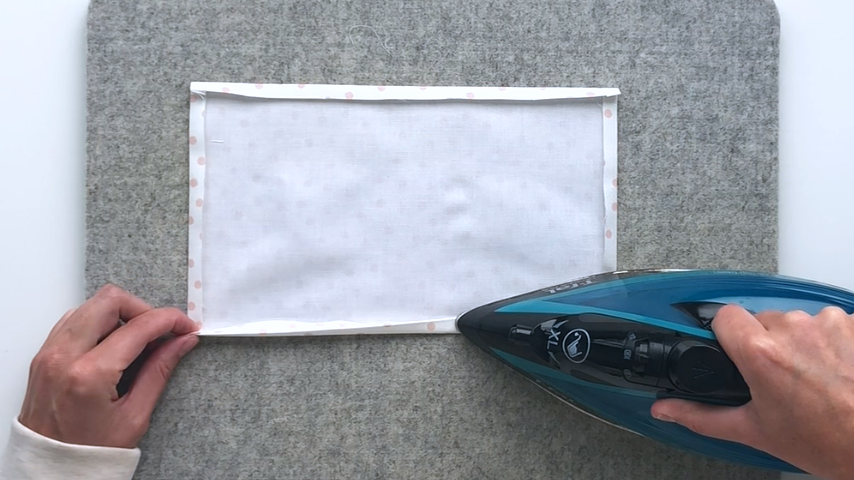
Unfold the hem once.
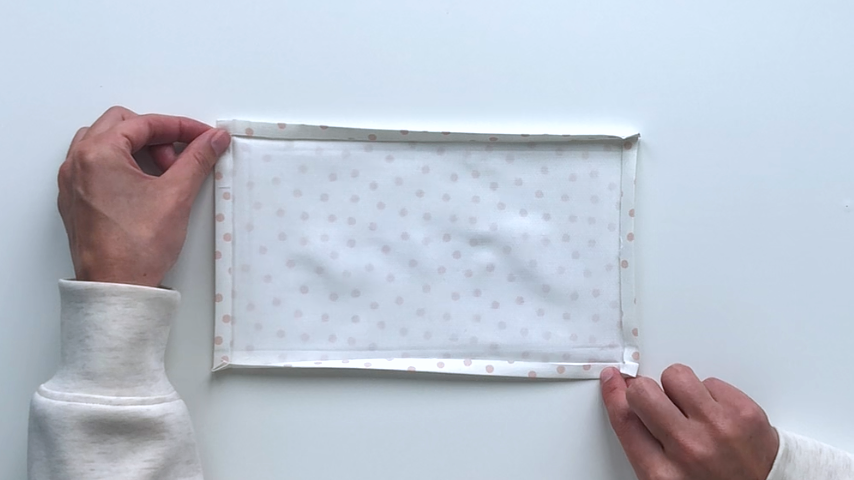
Use a temporary fabric pen to draw a line across the corner, at a 45-degree angle, and with the center of that line running right through where the cut edges of the two hems meet.
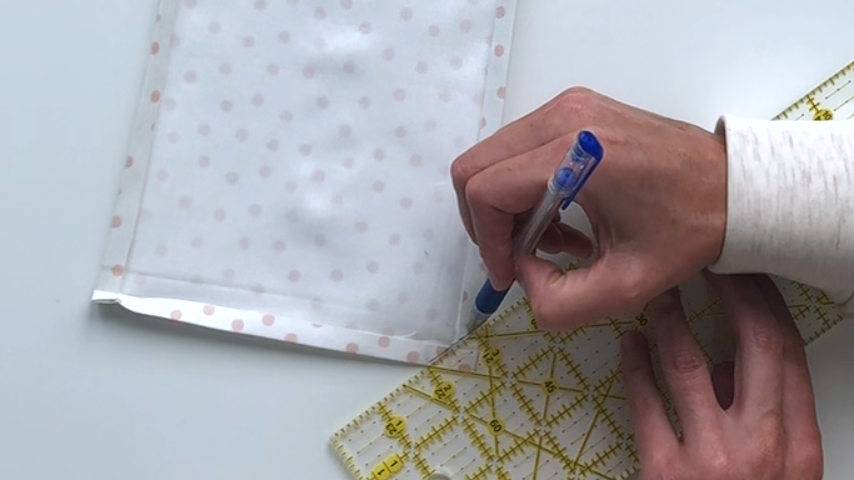
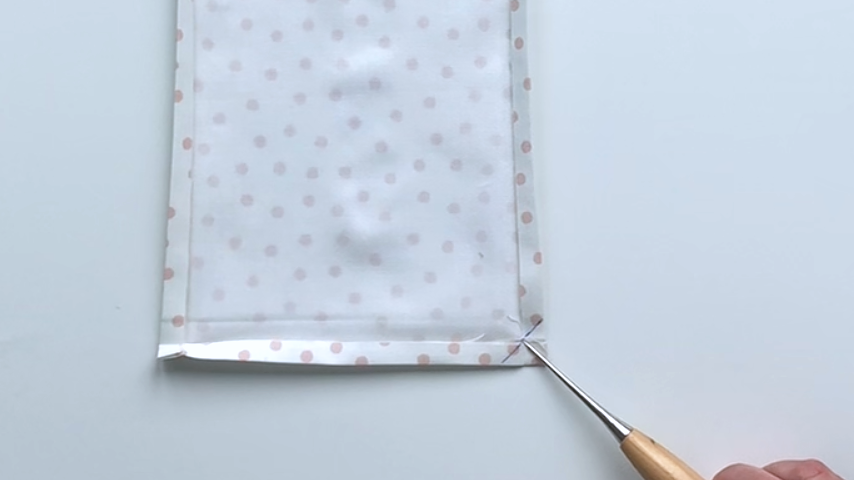
If you don’t have a ruler with a 45-degree marking, you can fold the corner at 45 degrees and finger press to create a line you can follow.
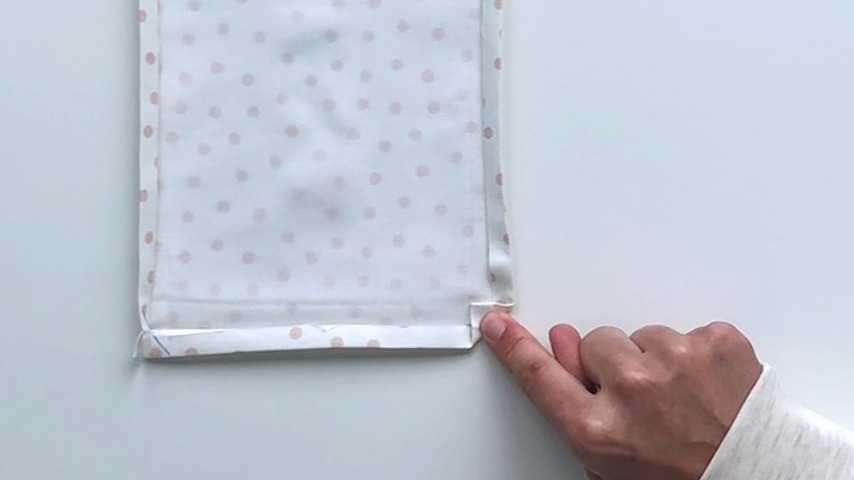
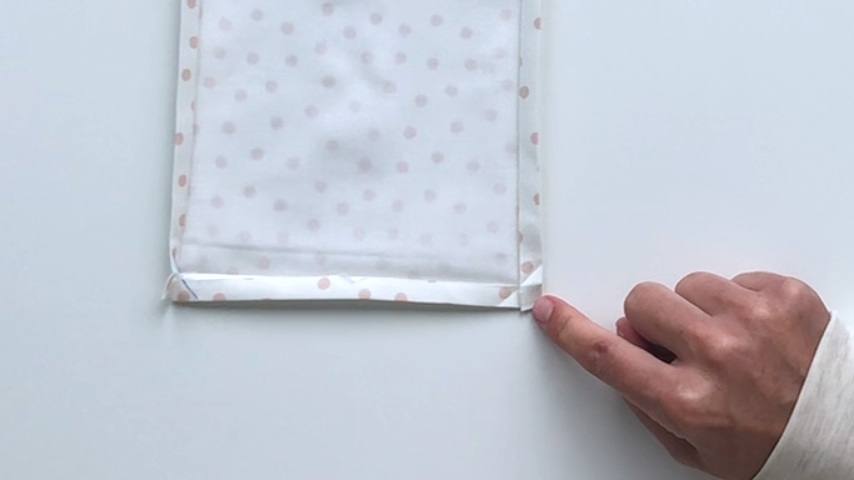
Fold your fabric piece in half diagonally, so the top comes to a point and the two edges line up.
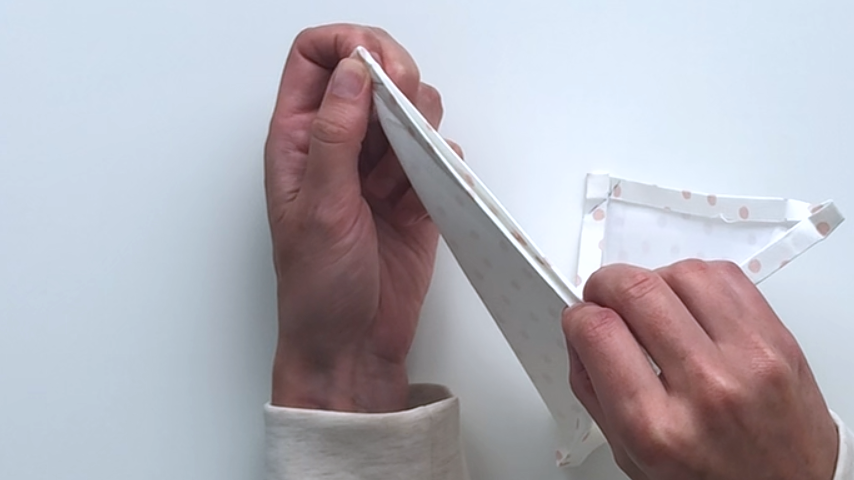
Sew along the drawn line.
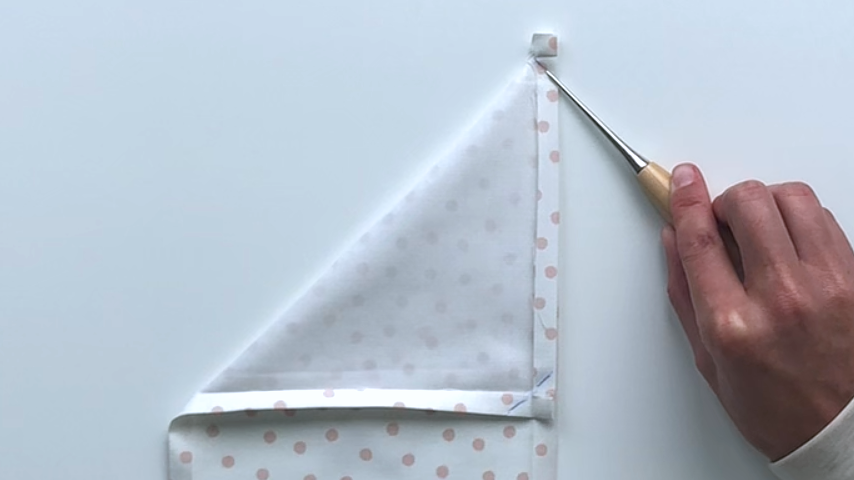
I like to shorten my stitch (2 mm – 2.5mm) and start with my needle on the fabric, then backstitch to the beginning. I find this helps prevent my fabric from bunching as I start sewing.
Then I sew to the end of the fabric and backstitch so my needle is ending back on the fabric. This ensures the ends of the thread won’t poke out along the hem.
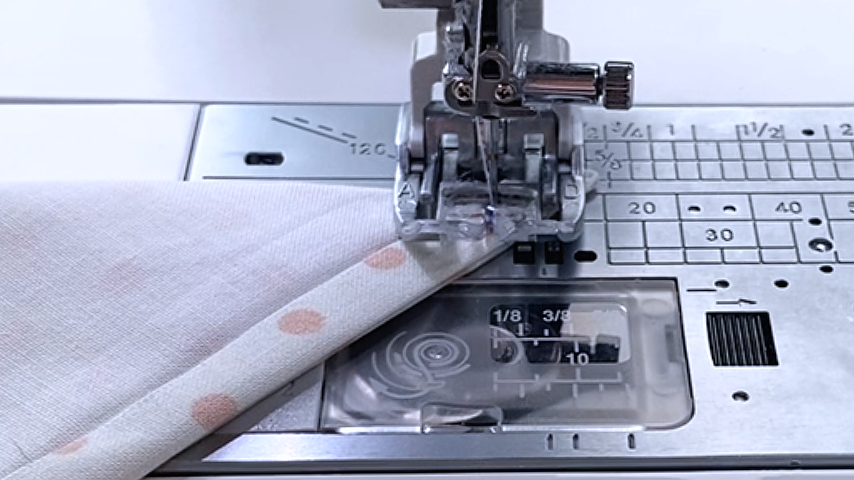
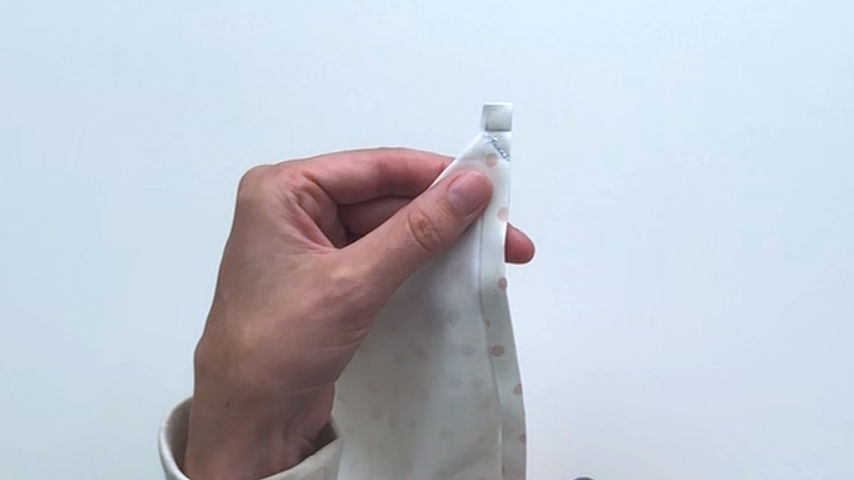
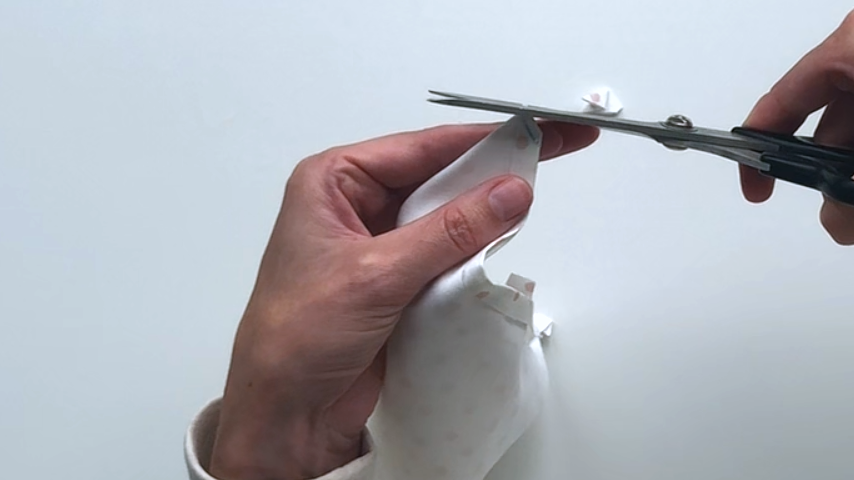
Trim the corner fabric, close to the stitching.
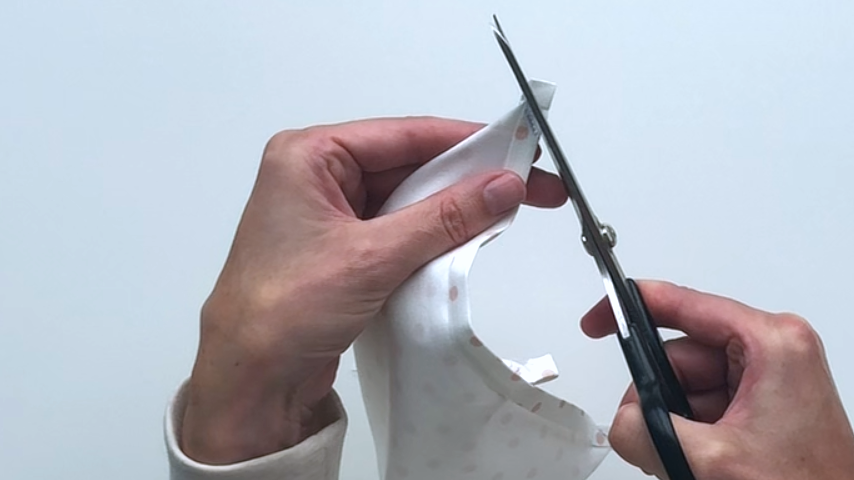
Then cut across the top point.
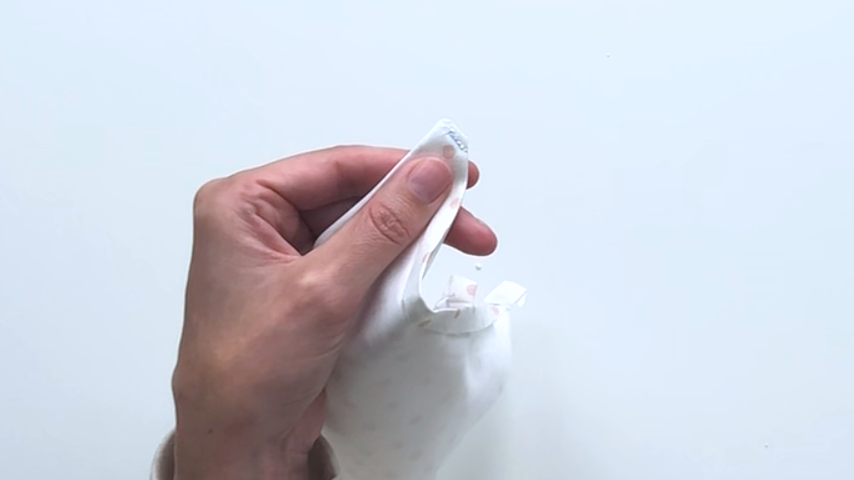
Flip the hem over and use a point turner to push the corners fully out (if they’re not pushed all the way out, your corners won’t sit flat).
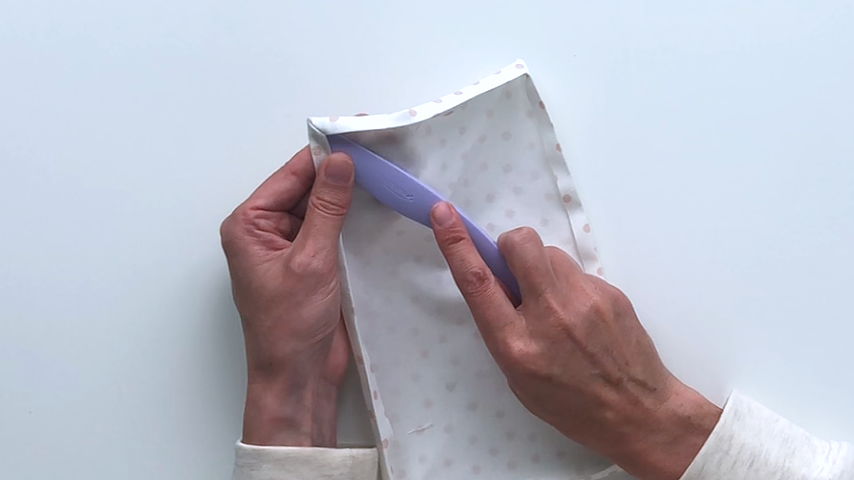
Press your hem and corners.
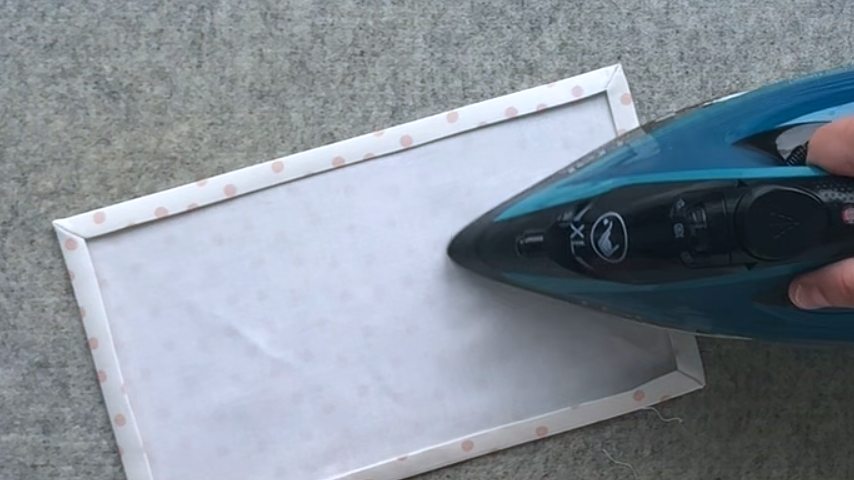
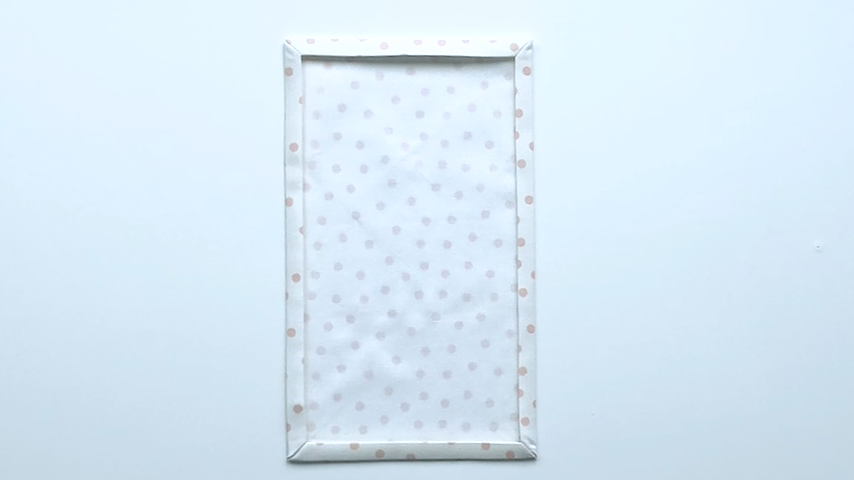
Step 2
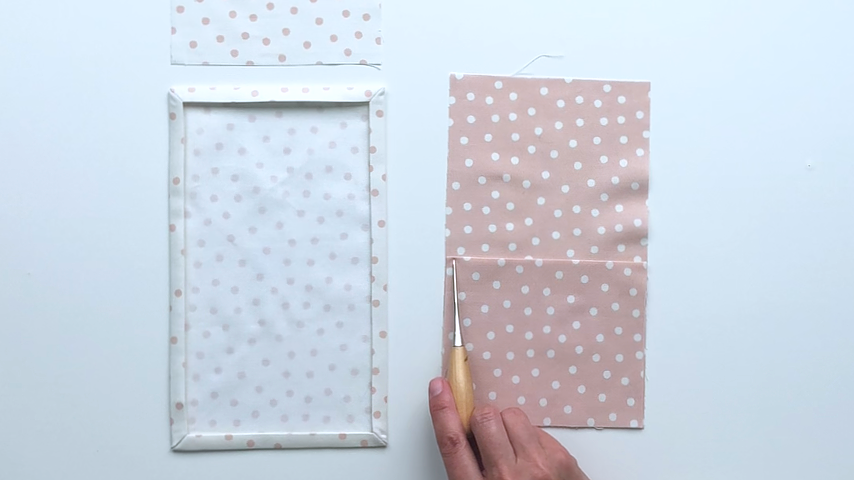
Next, we’ll create the pocket.
Fold the 5-1/2″ x 9″ piece in half (top to bottom) with wrong sides together, so you have a 4-1/2″ x 5-1/2″ piece.
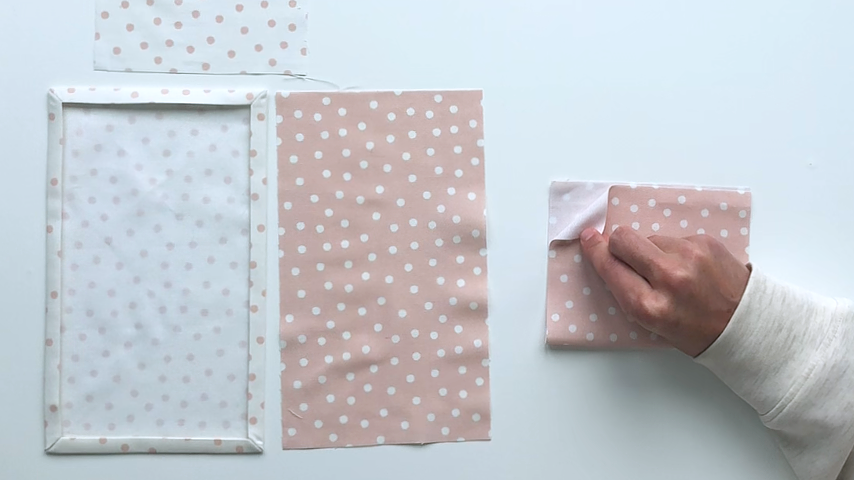
Iron the folded edge.
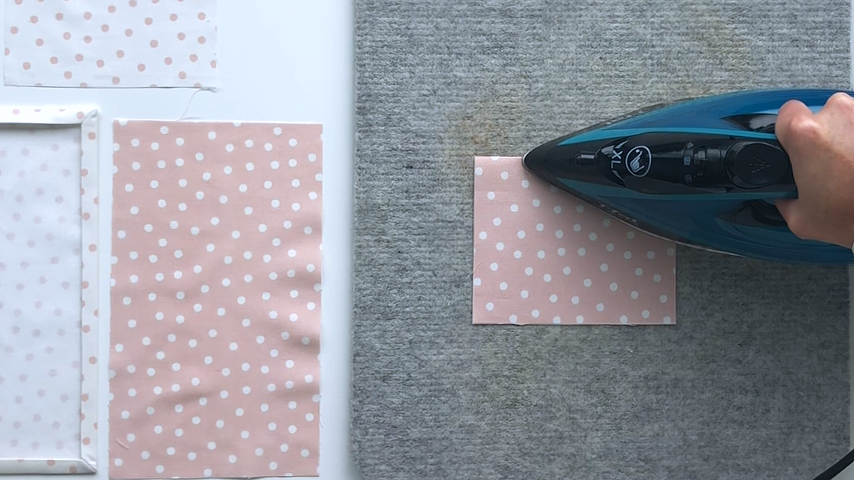
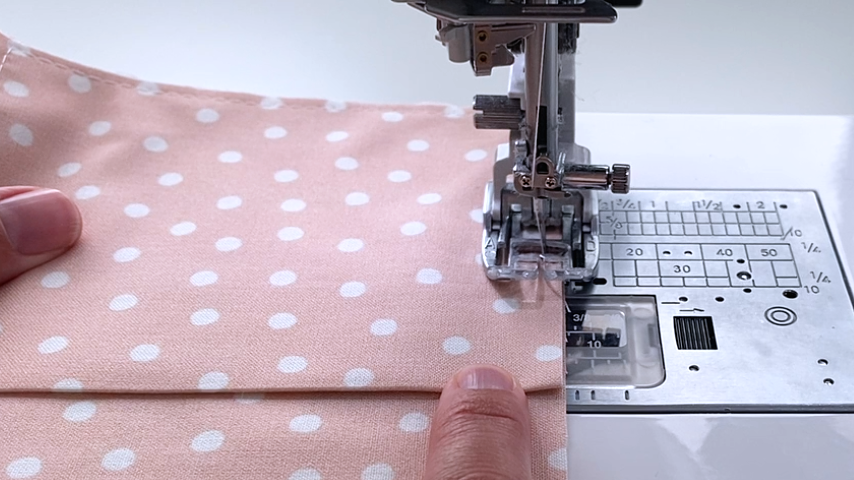
Baste the pocket to the top fabric piece, sewing with a 1/4″ seam allowance. The folded edge of the pocket should be at the top.
Step 3
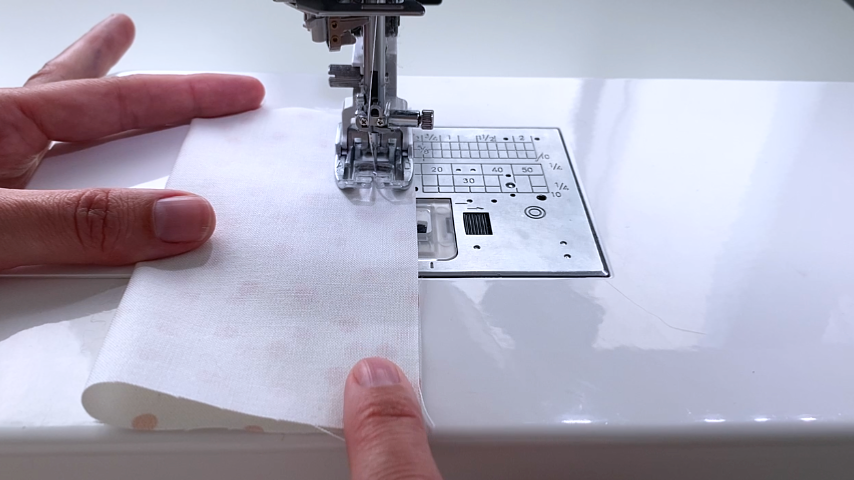
To create the bow, fold the 6″ x 6″ piece of fabric in half, right sides together, and sew along the top edge using a 1/2″ seam allowance.
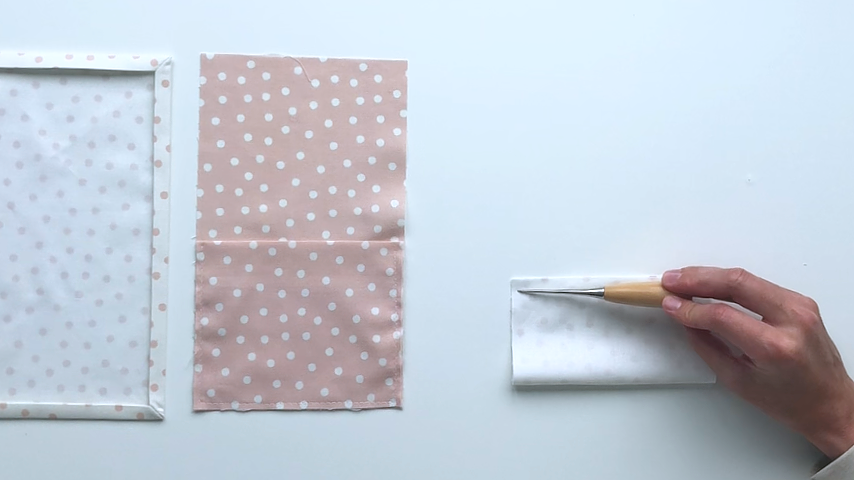
Use the tip of the iron to press the seam open (trying not to crease the outside edges of the bow).
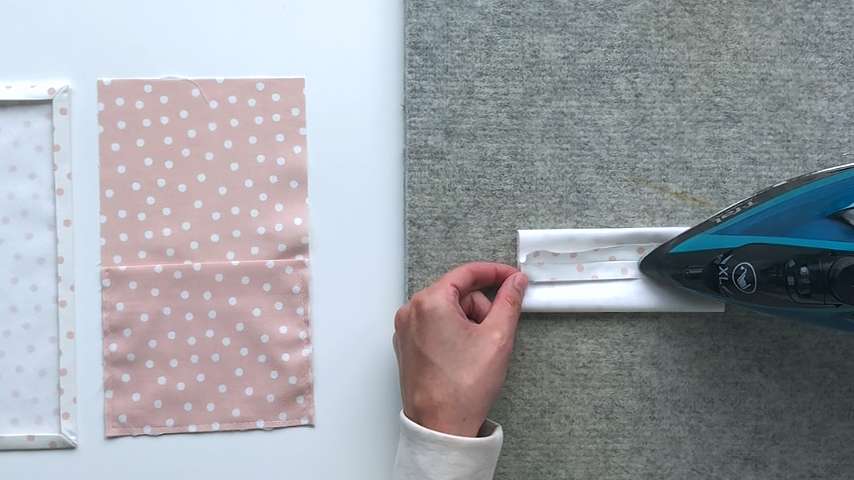
Turn the tube right side out, center the seam down the middle, and press.
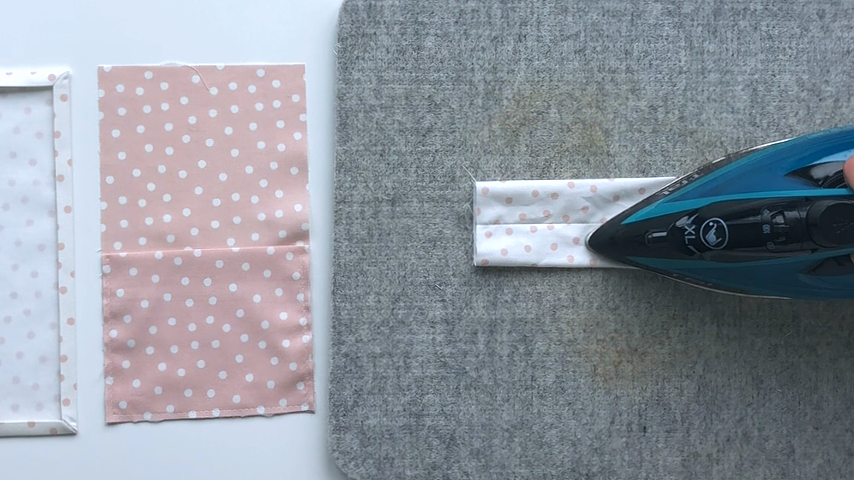
To create the loop, fold the 3″ x 2″ piece in half lengthwise, with wrong sides together (so you’ll have a 1″ x 3″ piece).
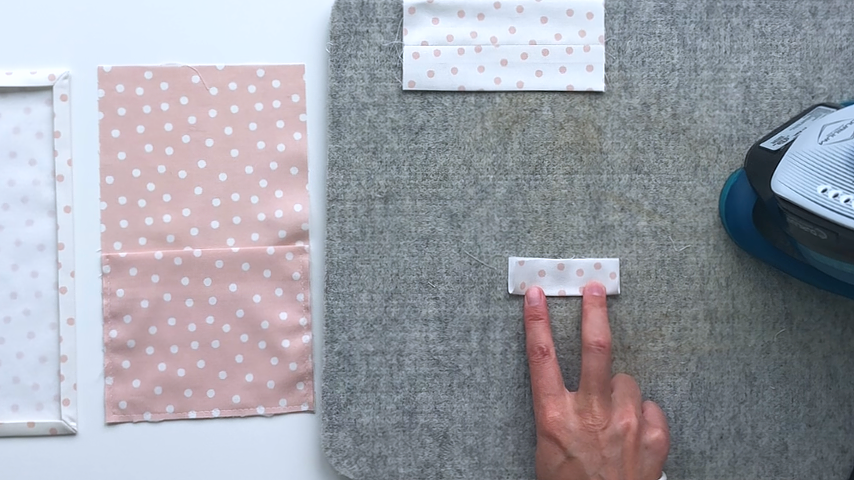
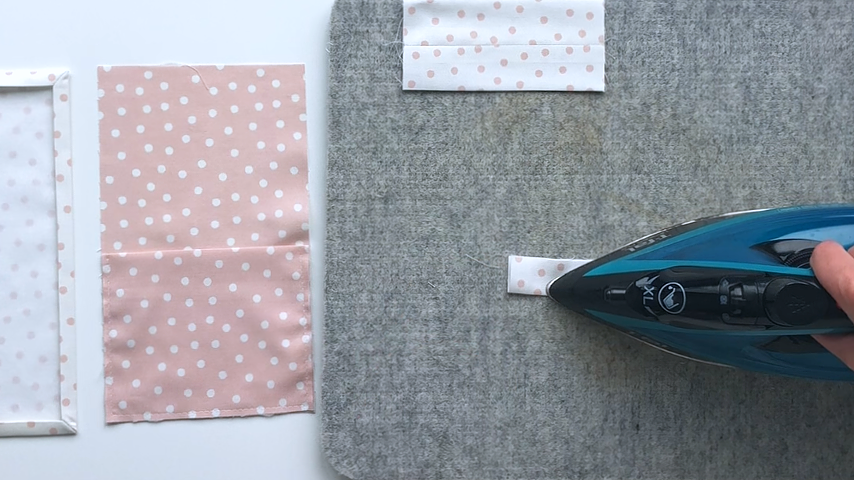
Unfold the piece, and fold the bottom edge up to the center crease and press. Then the top edge down to the center crease and press.
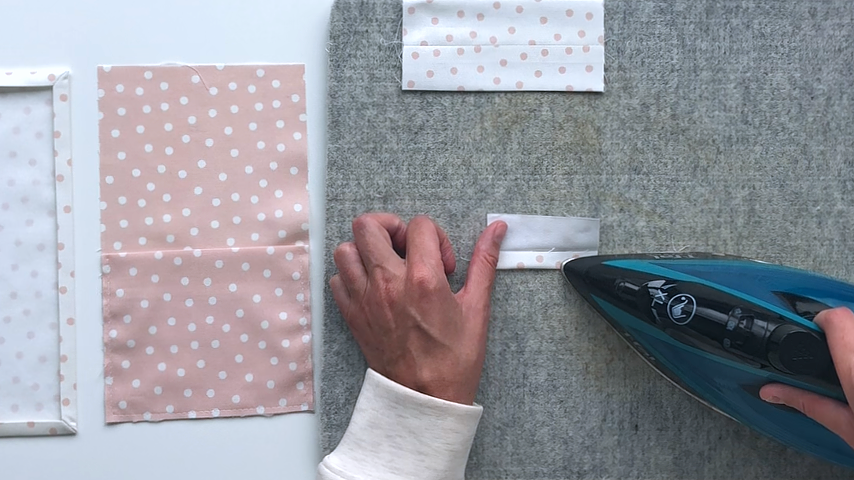
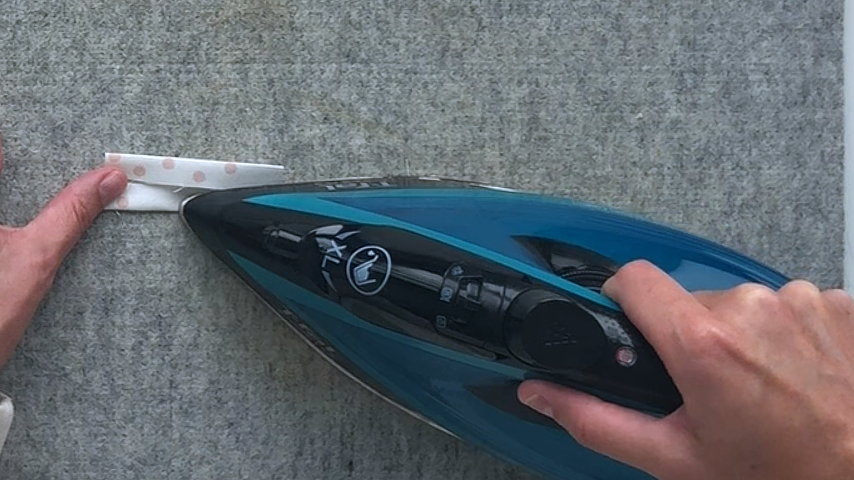
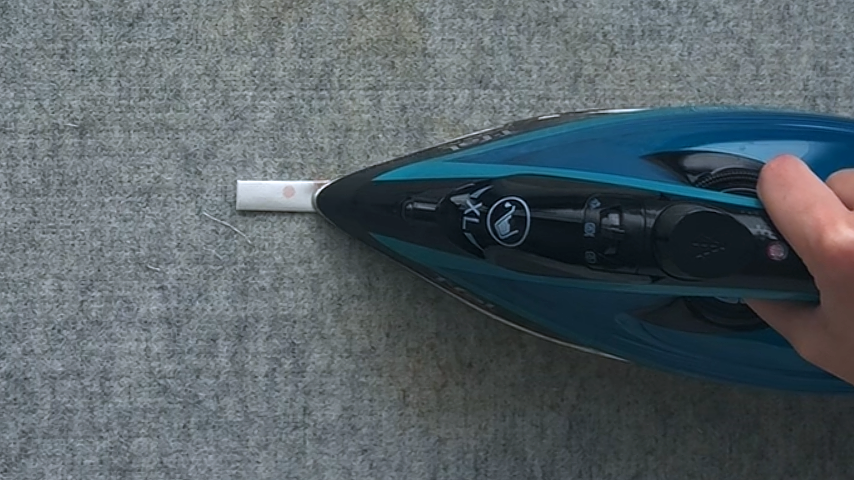
Fold in half lengthwise again and press.
Accordion fold your bow (making sure the seam is on the bottom), wrap the loop around the center of the bow and sew the ends of the loop together, getting close to the bow. You don’t want to sew too close to the bow, or you’ll have a hard time flipping the loop over in the next step.
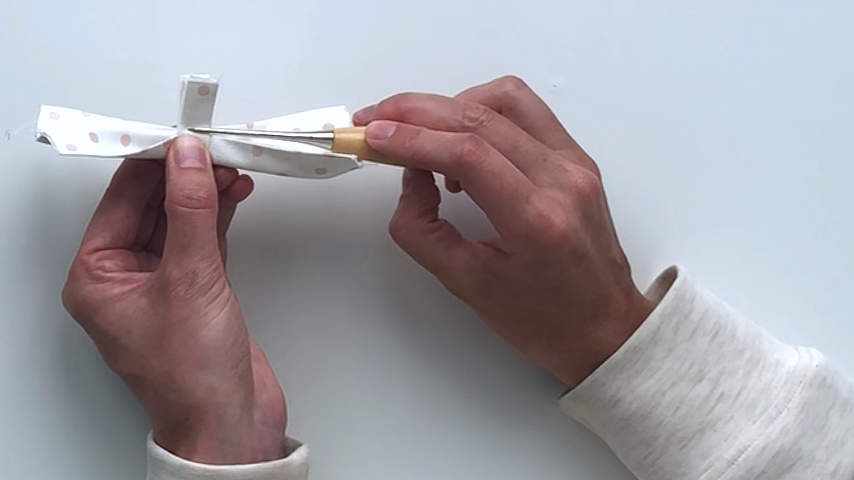
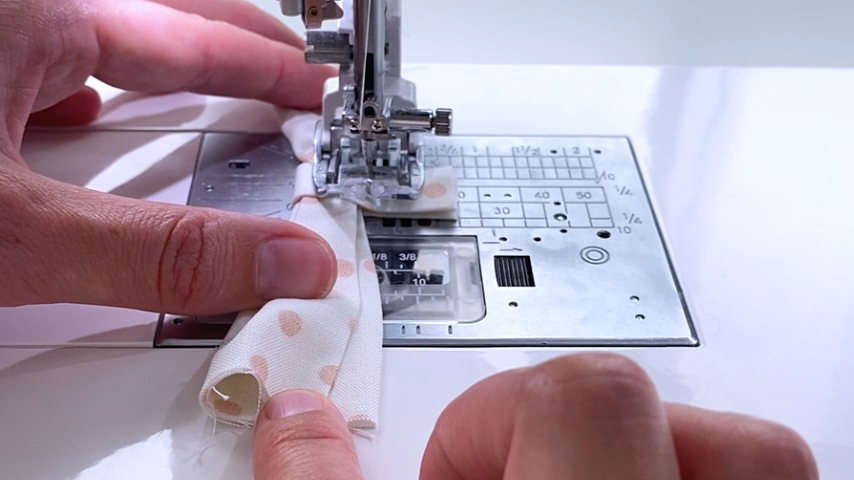
Trim the excess material off the loop, close to the stitching.
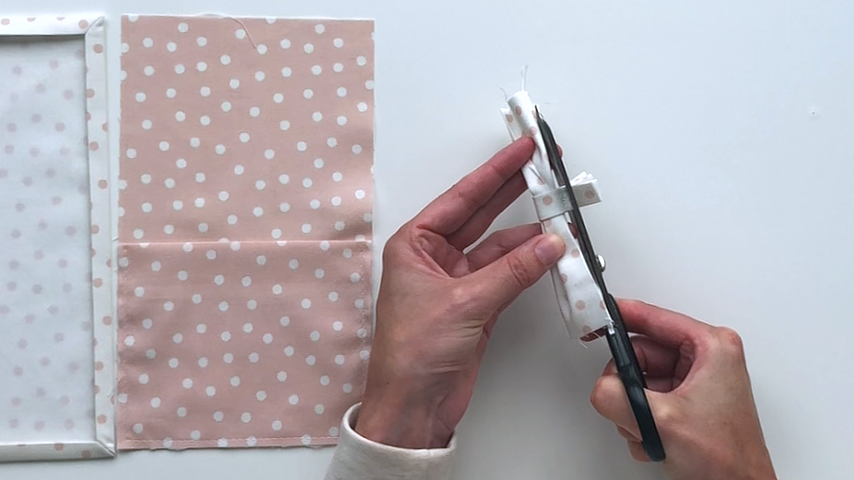
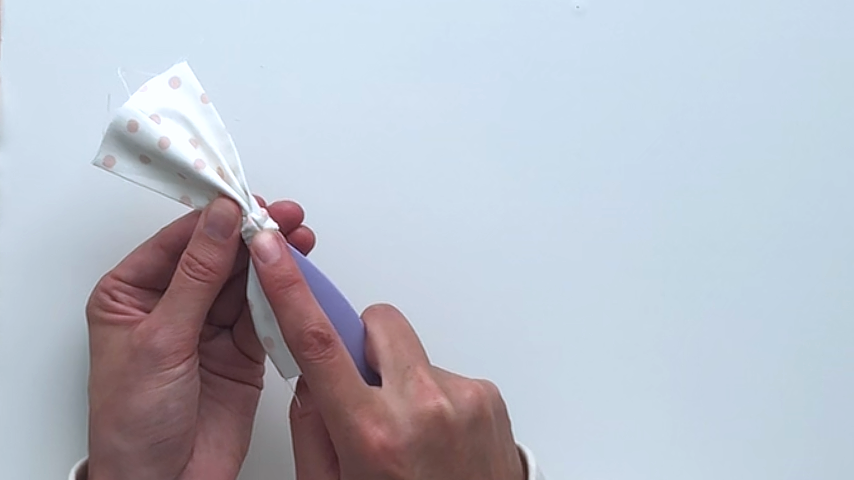
Flip the loop over so the seam allowance will be on the inside and hidden. You can use your point turner to push the bottom of the loop away from you as you pull the top of the loop toward you to get it flipped right side out.
Step 4
Using a temporary fabric pen, mark two lines on either side of your pocket, 1/2″ down from the top edge of the pocket.
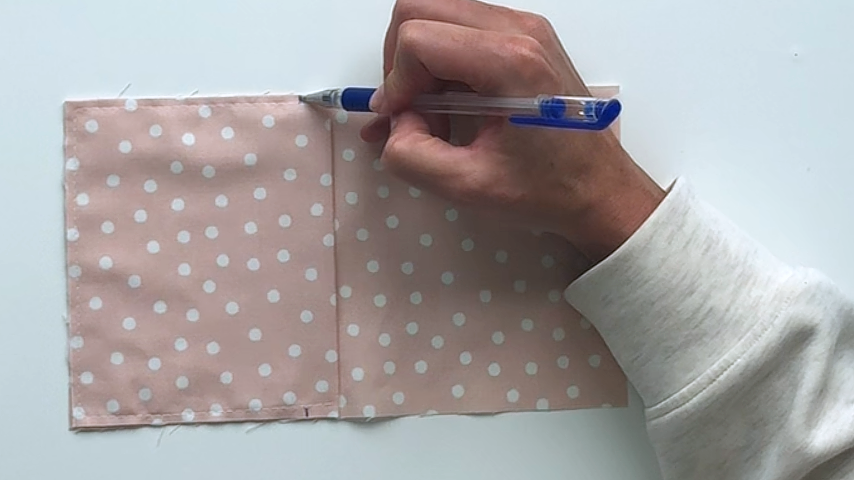
Line up the top edges of your bow with these two lines and clip into place.
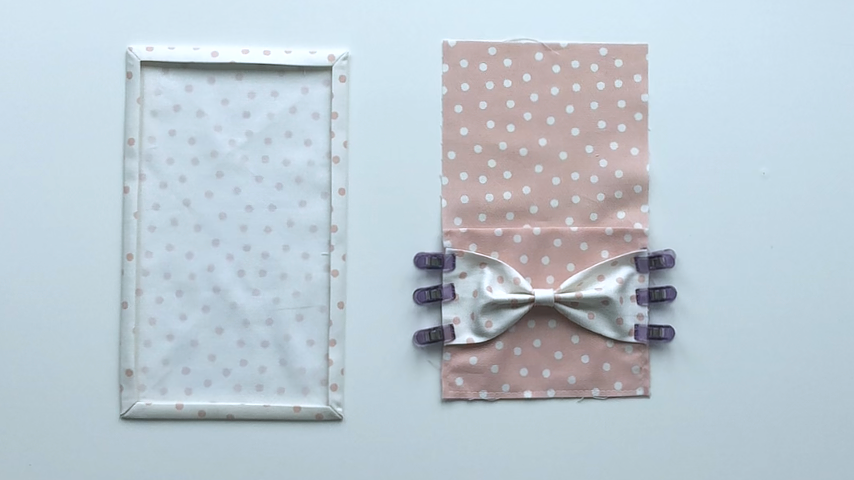
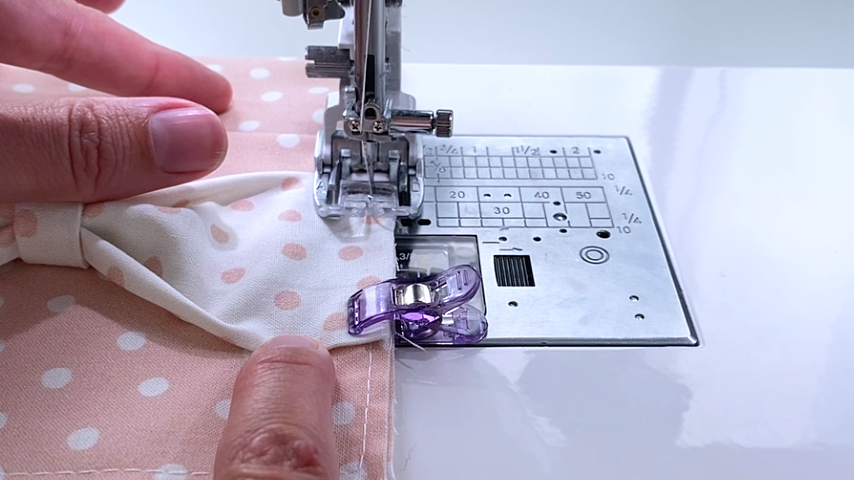
Baste the edges of the bow into place, using a 1/4″ seam allowance.
Step 5
Center the top piece on the bottom piece, so you can see about 1/8″ of the bottom piece around all four sides.
If your top piece is too big, trim it down.
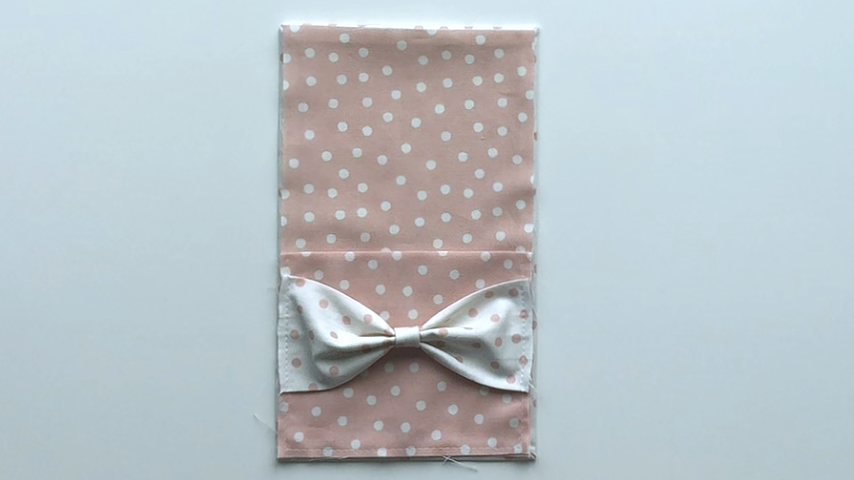
With the top piece centred, lift the hems and push the edges and corners of the top piece under the hems.
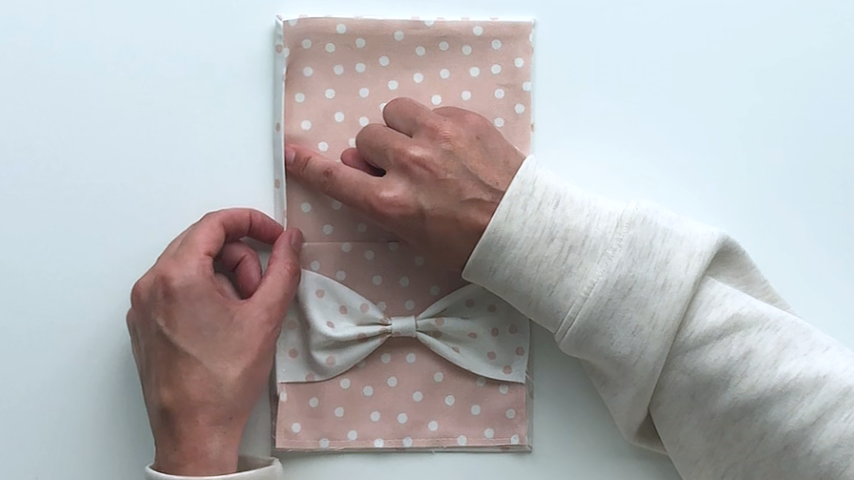
Use a point turner to push the corners in and make sure they’re flat.
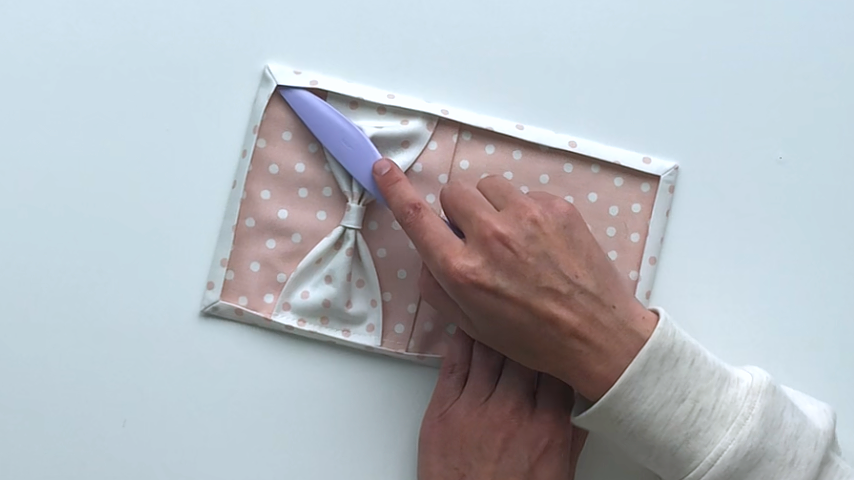
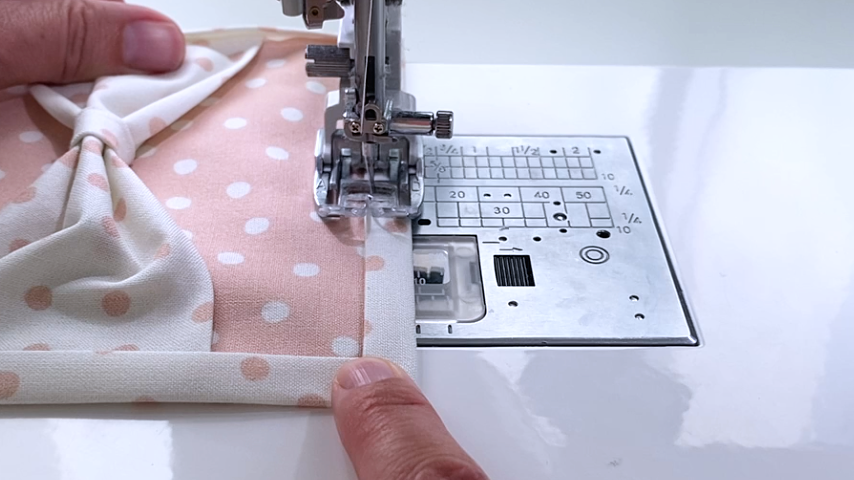
You’ll topstitch around the hem, about 1/8″ in from the inside edge of it.
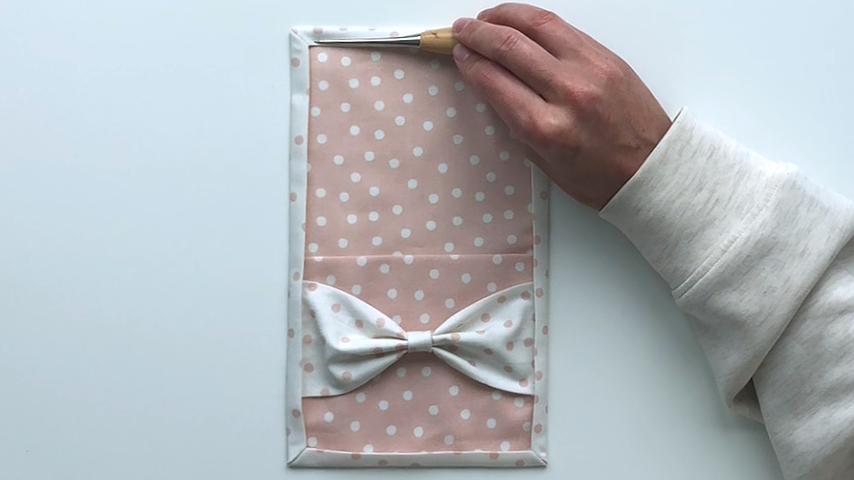
Your napkin utensil pocket is complete!