How To Sew A Pillow Coaster (Beginner-Friendly)
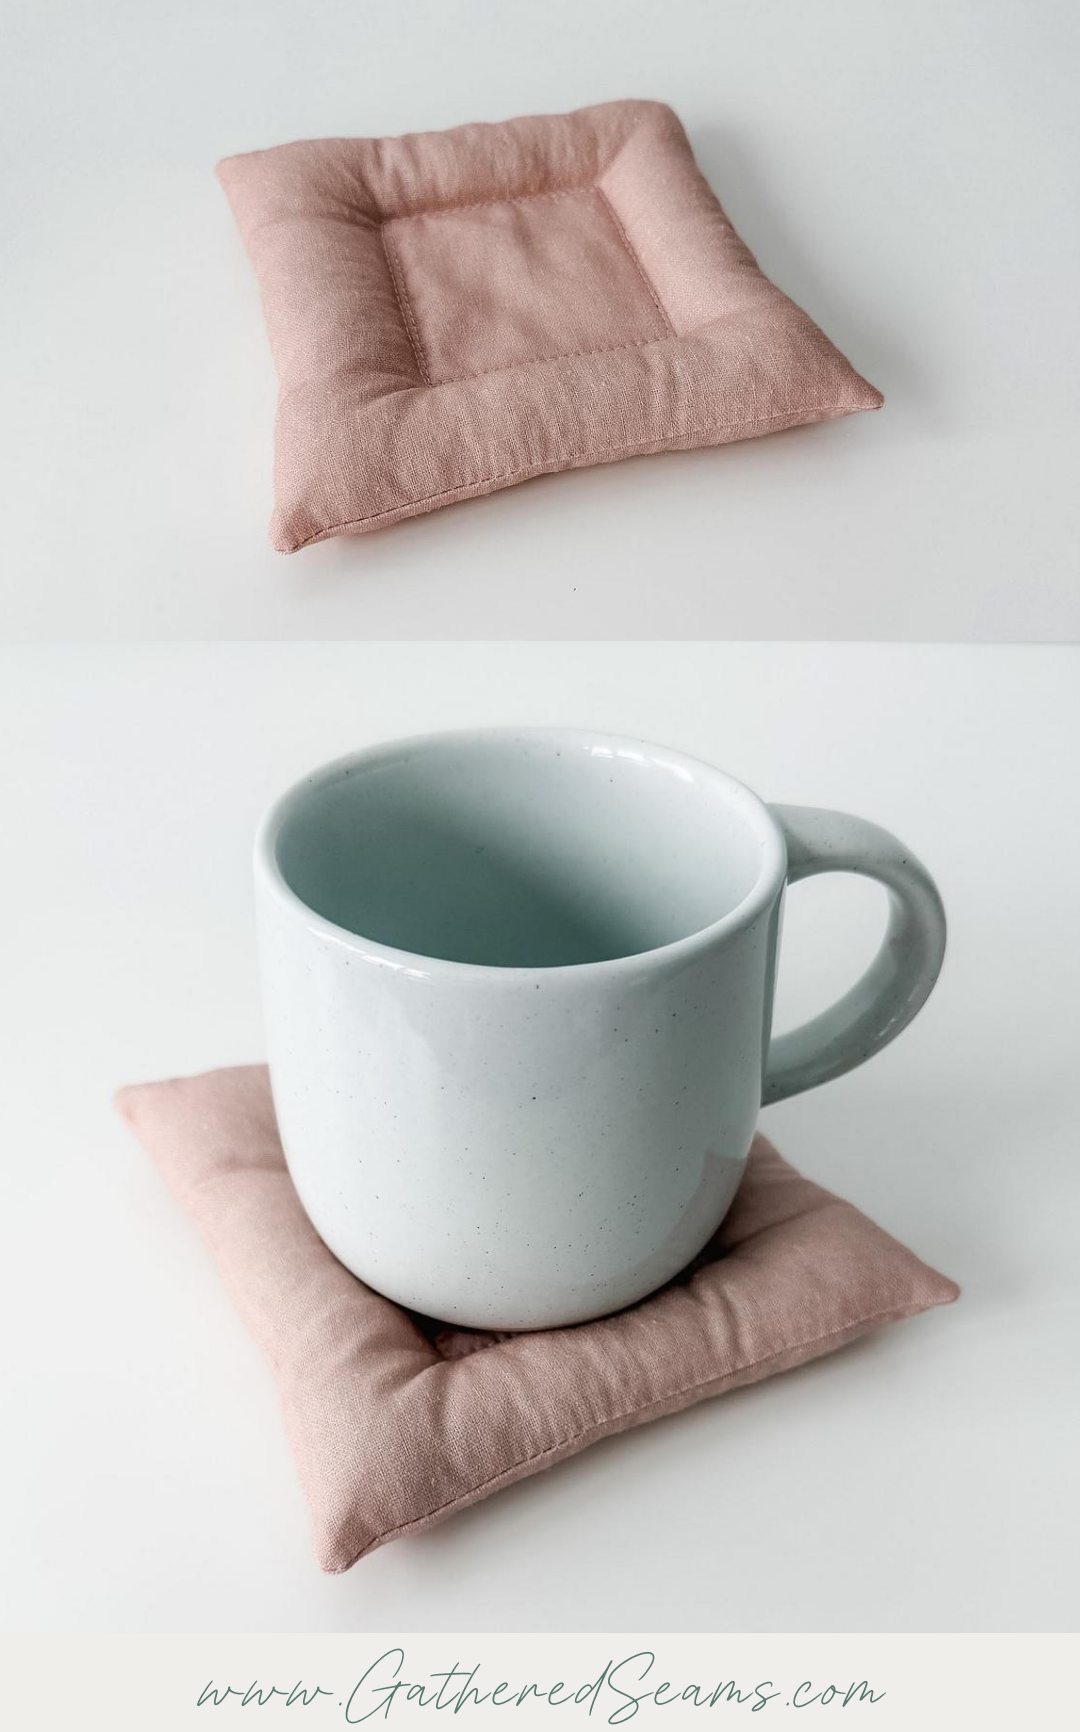
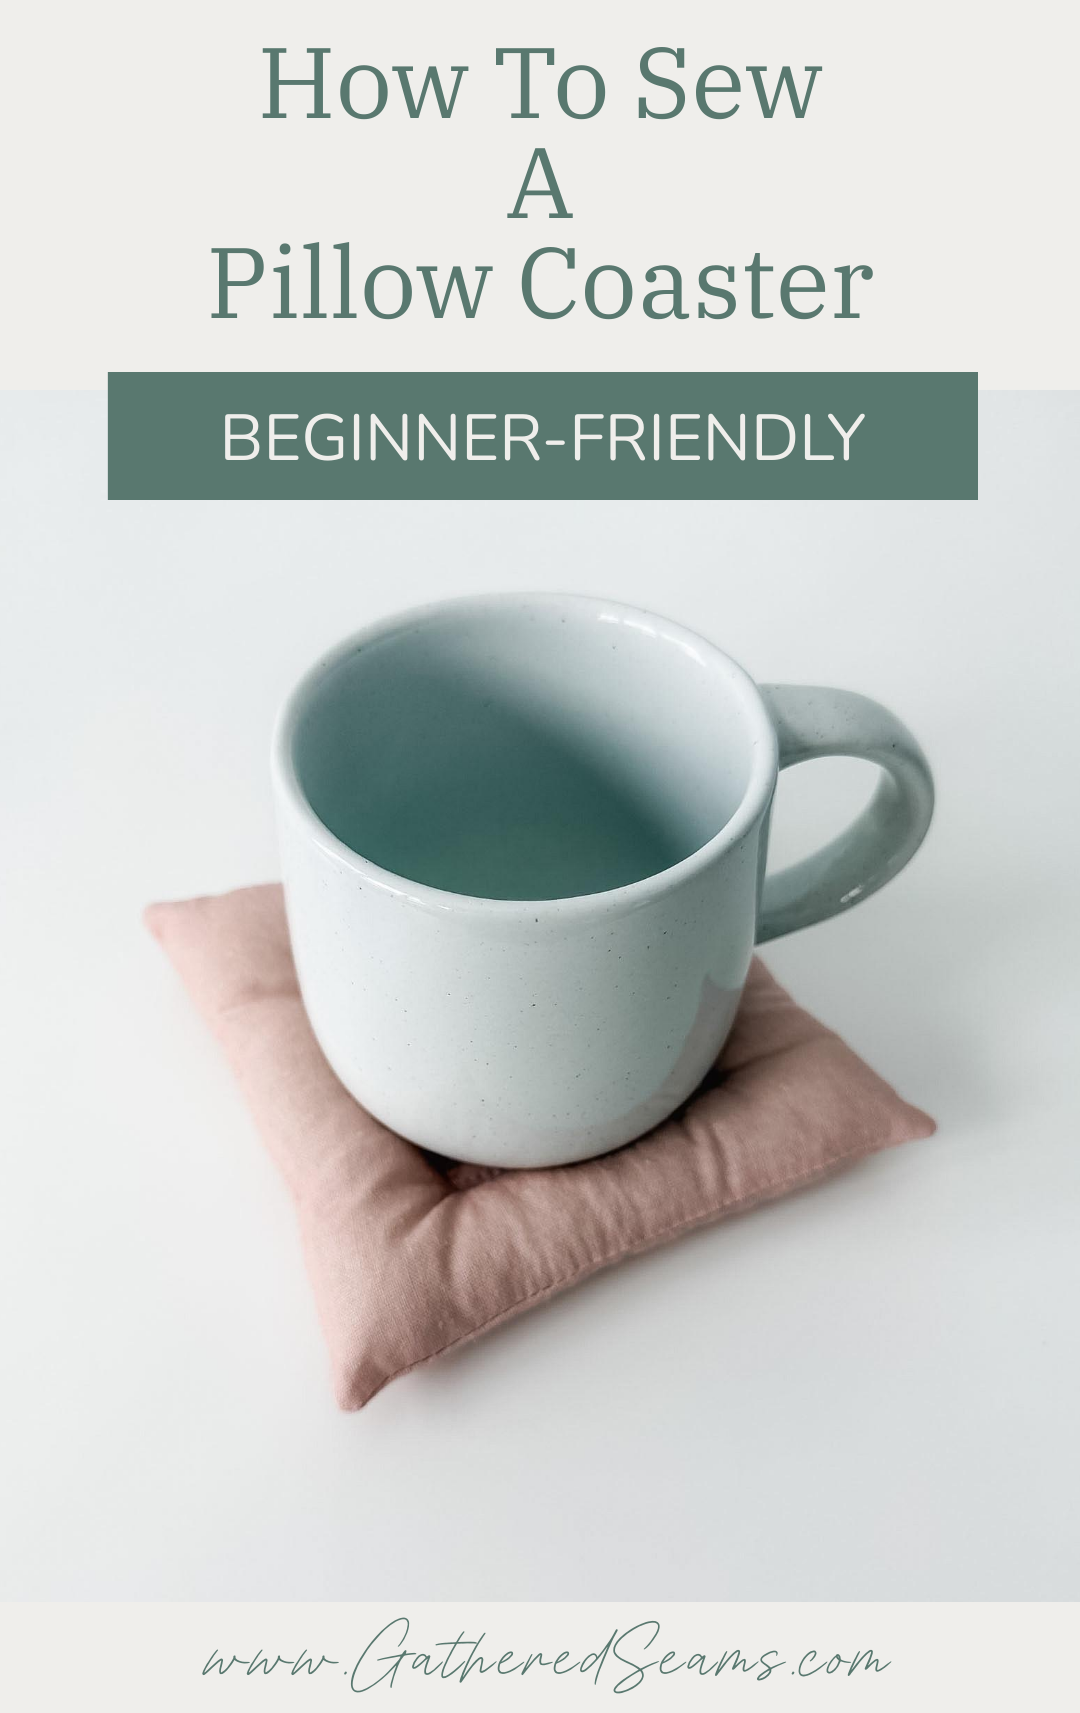
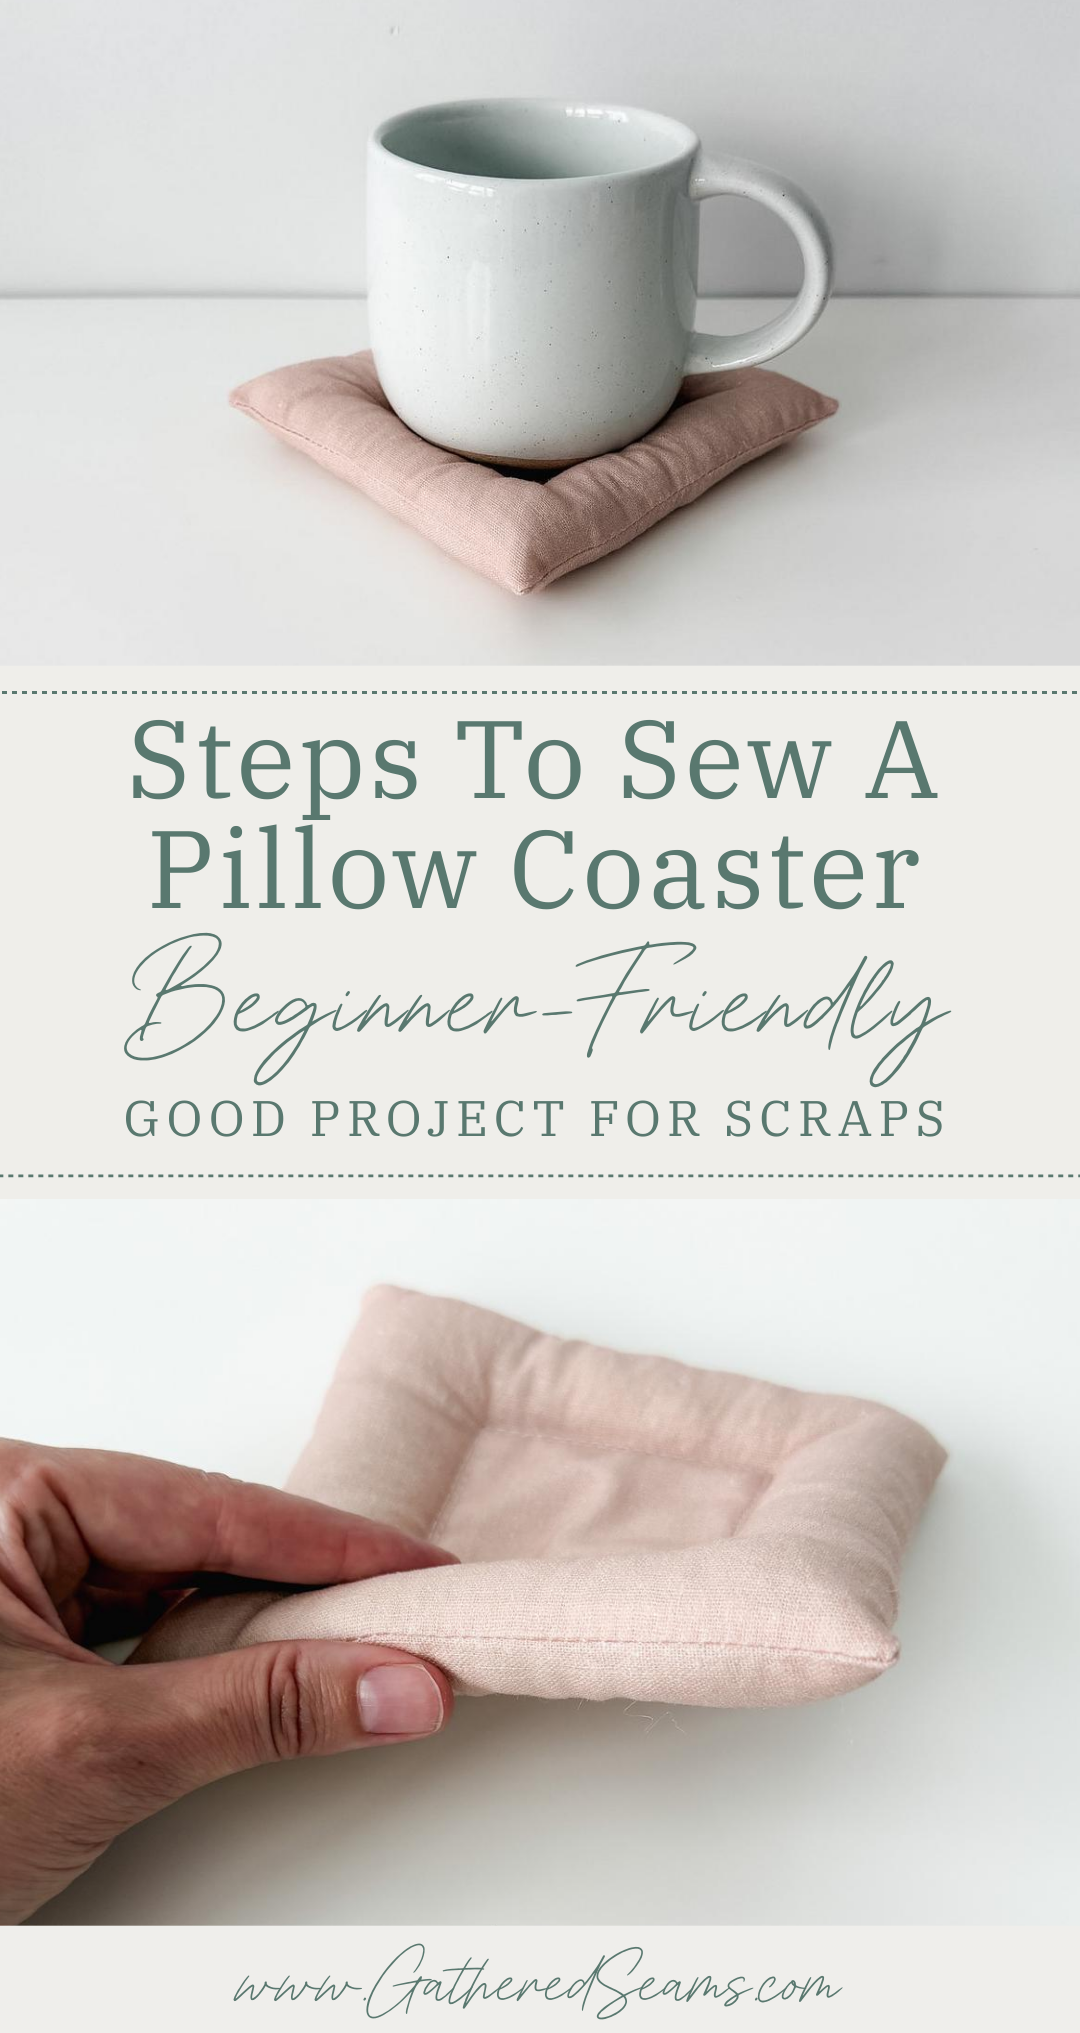
I love the look of these pillow coasters. The pillowy feature is more about aesthetics than it is about function.
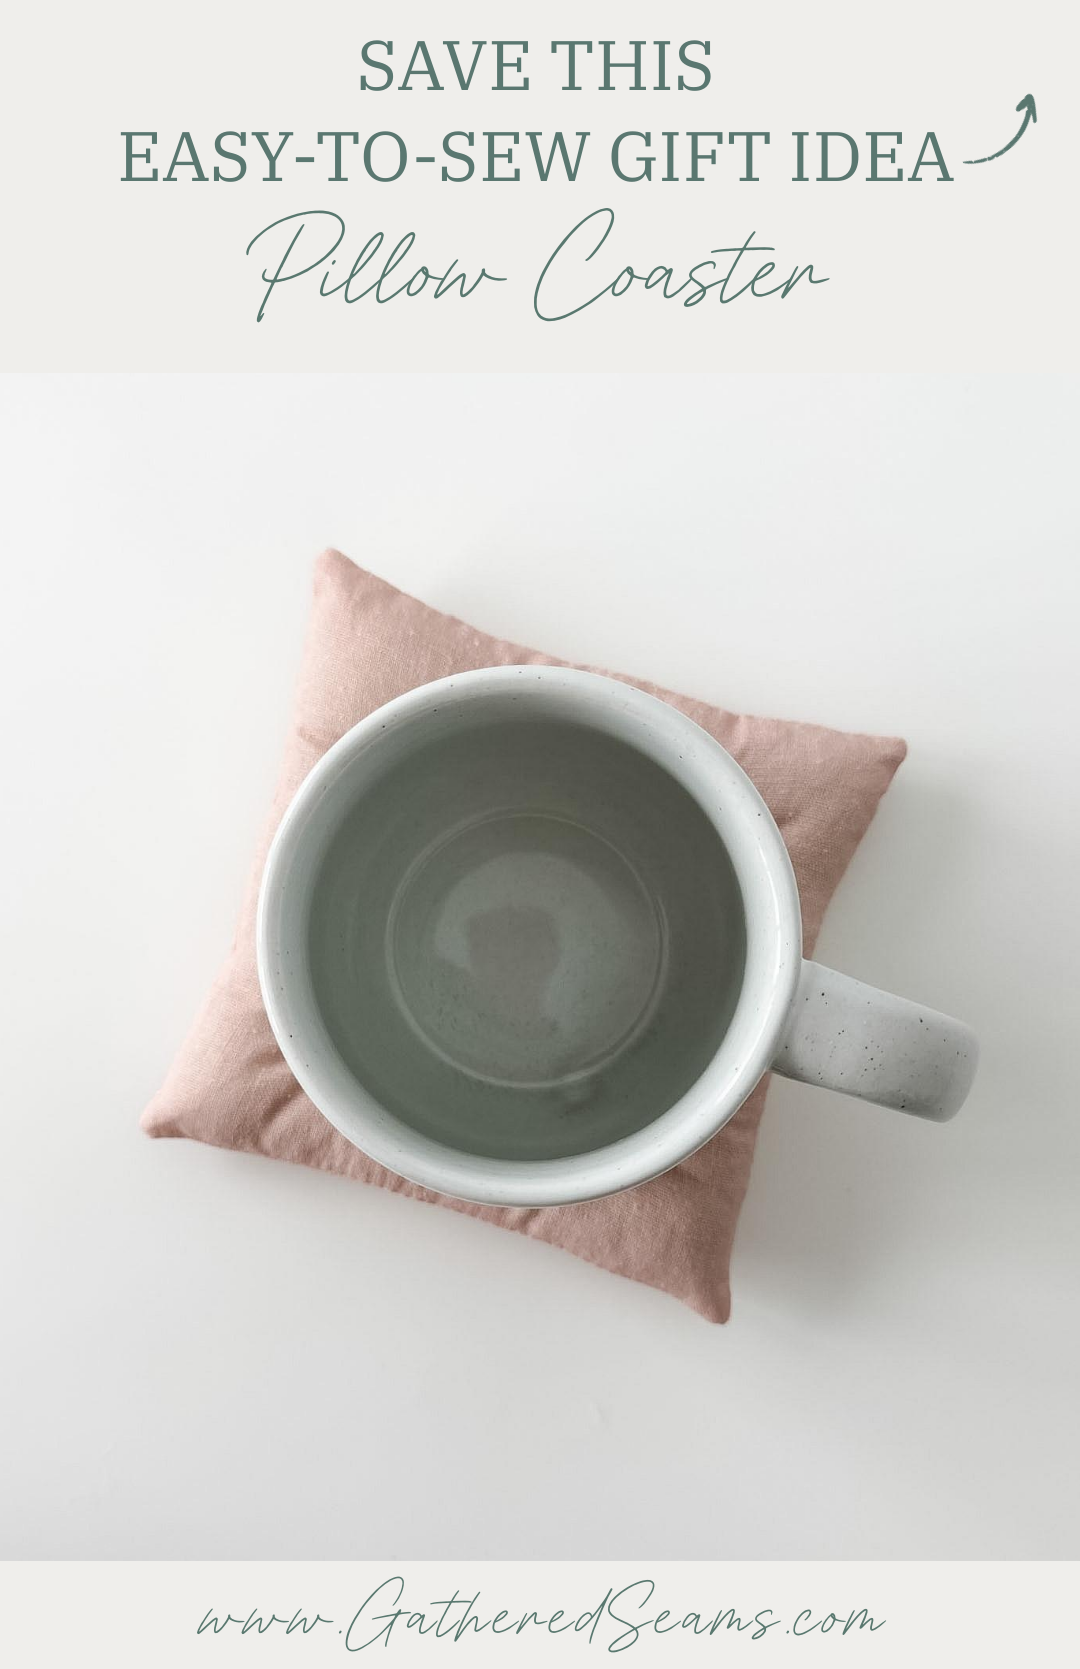
To get the true pillow look, you do need to use polyester fill, which isn’t an ideal material for heat. But I’ve used my pillow coaster to set my tea mug on, and it doesn’t get so hot that it melts the poly-fill. So it’s still a functional coaster for a mug or water glass.
The center of my pillow coaster does have thermal batting sandwiched between the layers, so that still protects your table’s surface.
My pattern gives you a coaster that is 6″ x 6″ finished, with a 3″ x 3″ flat interior.
You can adapt these dimensions to make the coaster or flat interior bigger or smaller. I’ve seen these used as an accessory holder. Again, it’s more about the aesthetics in this situation. It just creates a cute, pillowy container for your makeup, skincare products, or fragrances to sit in.
These pillow coasters could also be made bigger and with a little less filling and used as a bowl or soup mug cozy. You obviously would not be able to put these in the microwave (like my regular bowl cozies), and you wouldn’t want to use them with really hot dishes. But they would create a soft, comfy layer between your hands and a warm or cold bowl.
Materials
As an Amazon Associate, I earn from qualifying purchases (see full disclosure here).
- Cotton fabric (avoid synthetic materials)
- Thermal/heat-resistant batting (Insul-Bright or something similar) (this has “heat-reflective” properties) – this will help protect a table’s surface.
- Fiber fill
- Cotton thread
*I’d suggest using a tighter-knit fabric. I used linen for my pillow coaster, and although I love the look, some of the fibres of the poly-fill are poking through the fabric. If you want to use a looser-knit fabric, I would suggest adding a lightweight fusible interfacing to it to avoid any polyester filling from poking through.
Tools
- Sewing machine
- Walking foot (this makes sewing with thicker materials, like thermal batting, easier. This is the universal one I purchased for my Baby Lock, which is a different machine than what’s shown in the photos)
- Point turner
- Temporary fabric pen or chalk
- Ruler
- Iron
- Scissors
- Pins or clips
Steps to sew a pillow coaster
Step 1
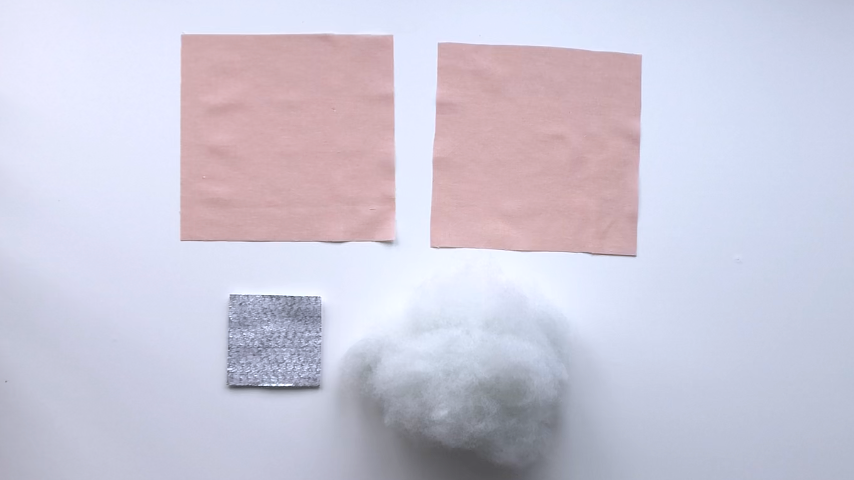
Cut your pattern pieces out.
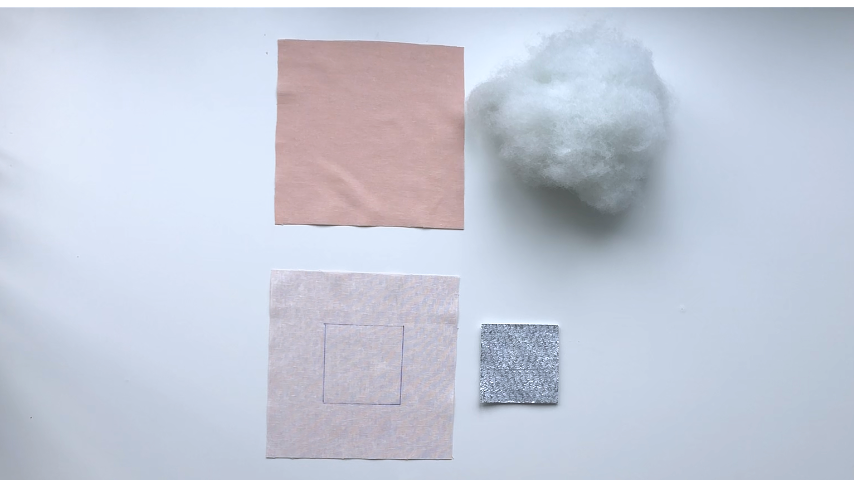
To make a 6″ x 6″ pillow coaster, you will need to cut:
- 2 pieces of fabric that are 7″ x 7″
- 1 piece of thermal batting that is 3″ x 3″
You will also need fibre fill.
Step 2
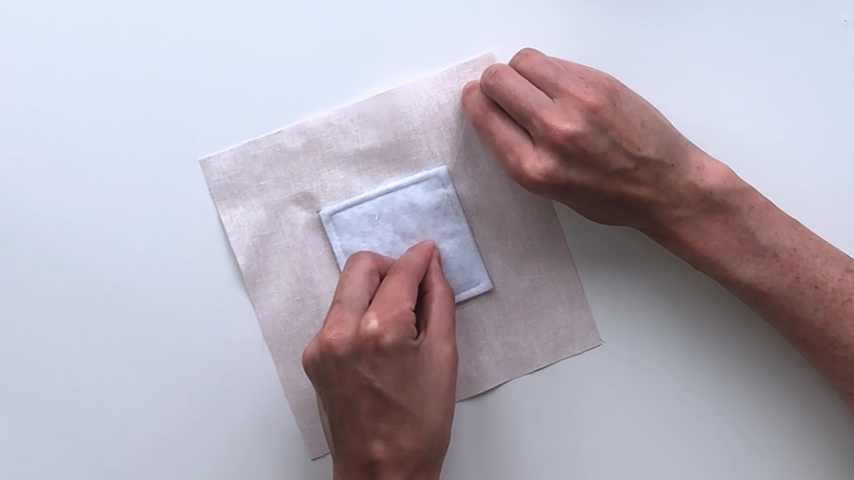
Use a temporary fabric pen to draw a square in the middle of one of your fabric pieces, on the wrong side of the fabric.
If you’re following my dimensions, each line of the square should be 2″ in from the cut edge.
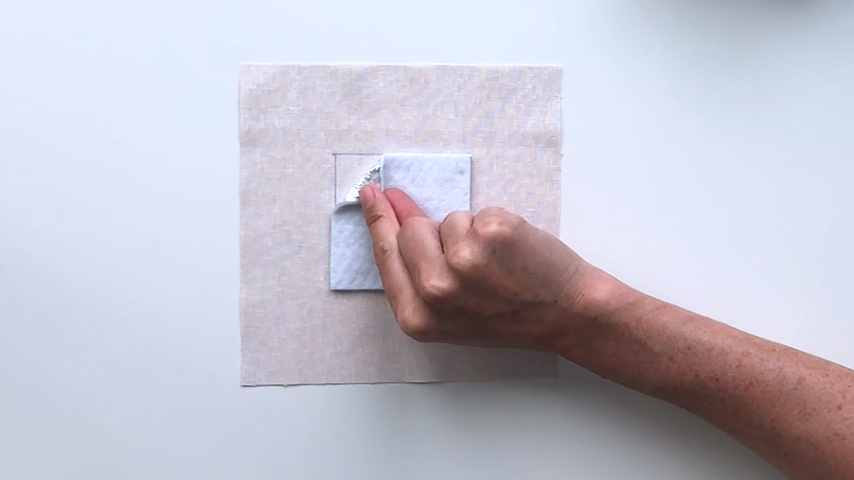
Place the thermal batting centred on that square.
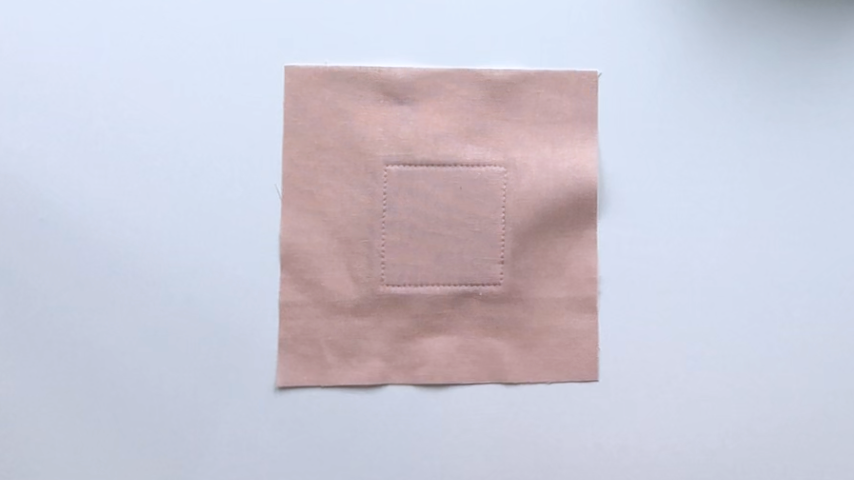
Sew around the edge of the thermal batting, about 1/4″ inside each edge.
Start with the tails of your threads long.
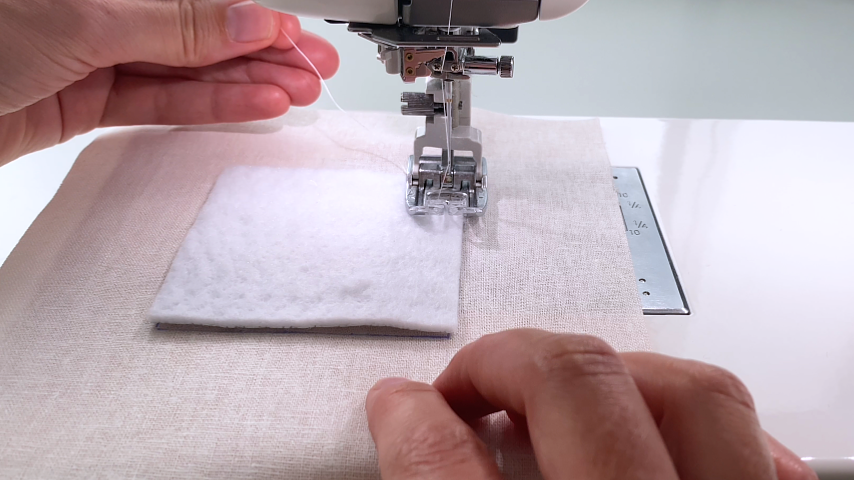
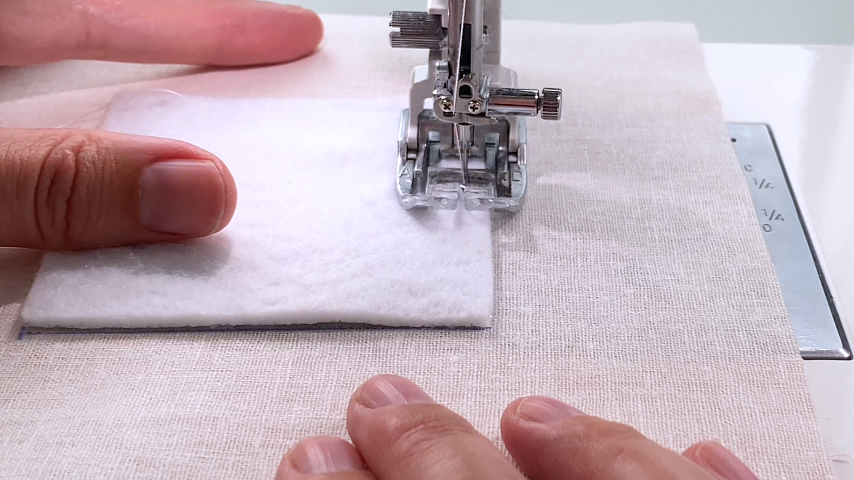
Before you come back to the start of your stitches, pull on the start of your top thread to pull the bobbin thread up. Pull the bobbin thread all the way through and then tie it in a double knot with the top thread and trim the ends.
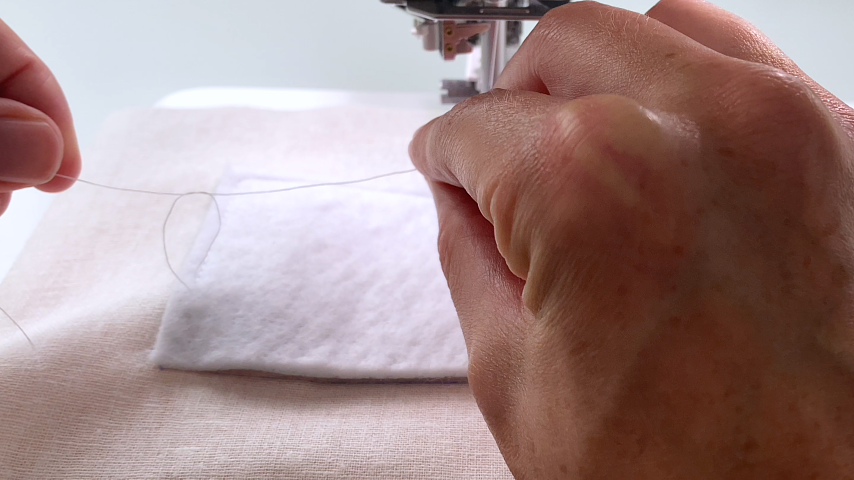
When you finish your stitching, leave the thread tails long and again, pull on the bobbin thread to grab the top thread and pull it through the batting. Then tie the top thread and bobbin thread in a double knot and trim. This process gives a cleaner finish to the start and end of your stitching. But you can backstitch at the start and end of your sewing if you prefer.
Step 3
Place your two pieces of fabric right sides together.
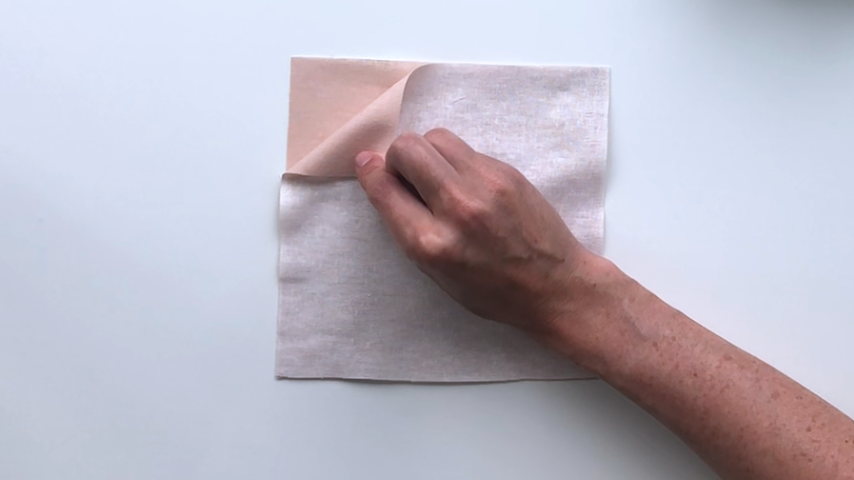
Use a temporary fabric pen to mark two lines for your opening. You want to leave an opening that is big enough to get the poly-fill and your finger through, but not so big that it will be hard to hand-sew it closed (the less hand-sewing the better for me;).
I actually like to sew over that opening, but I backstitch at the start, then increase my stitch length (5 mm) as I sew over the opening. Then I switch back to a shorter stitch length (e.g. 3.5 mm), backstitch, and continue sewing. I find this ensures my edges line up and I get a good crease where the opening is.
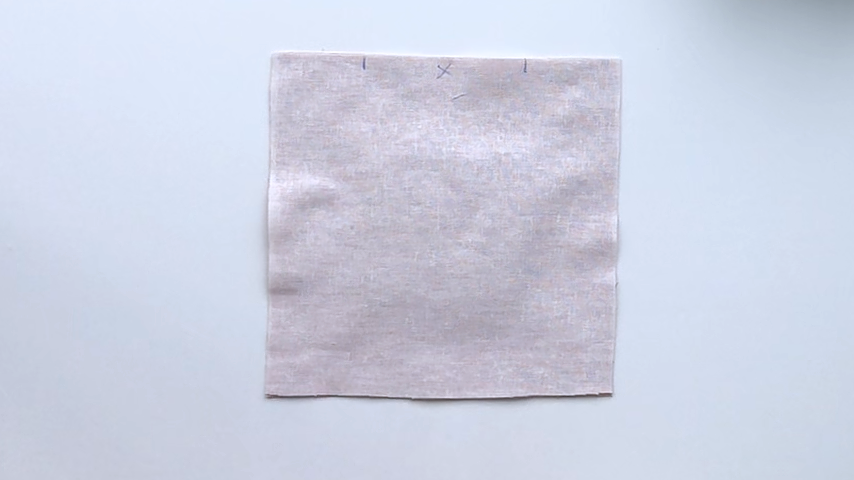
Sew around all four edges using a 1/2″ seam allowance.
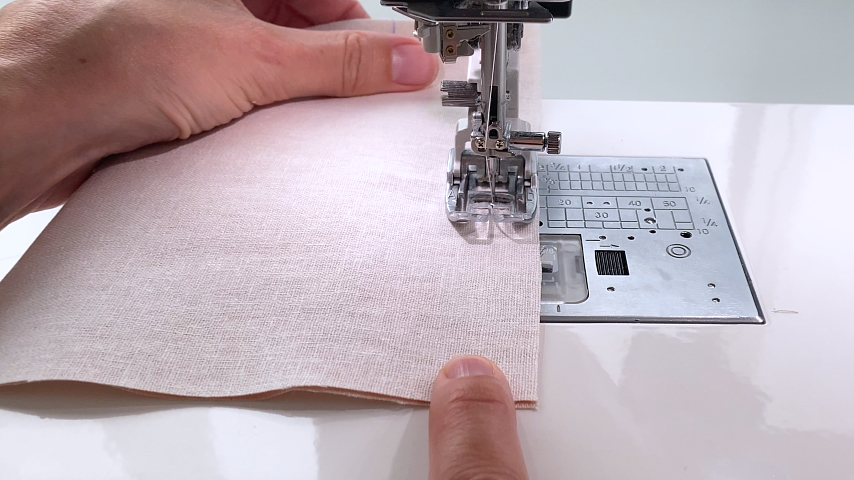
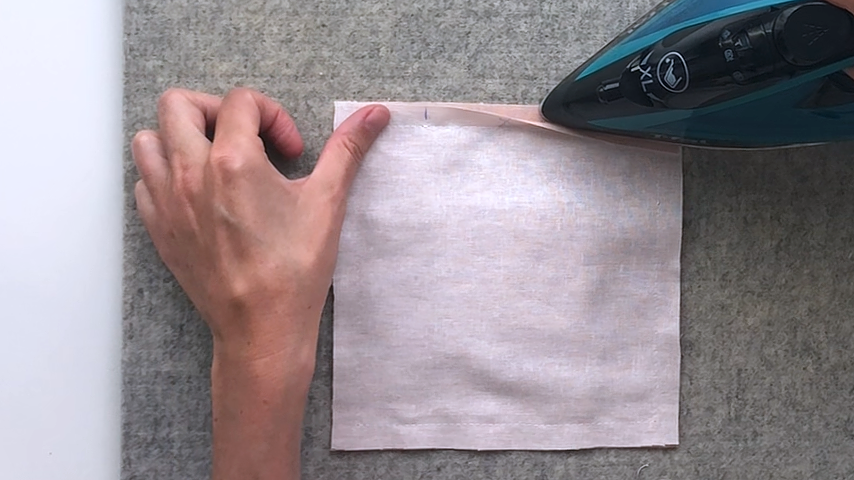
Press the seam allowance back where the opening is.
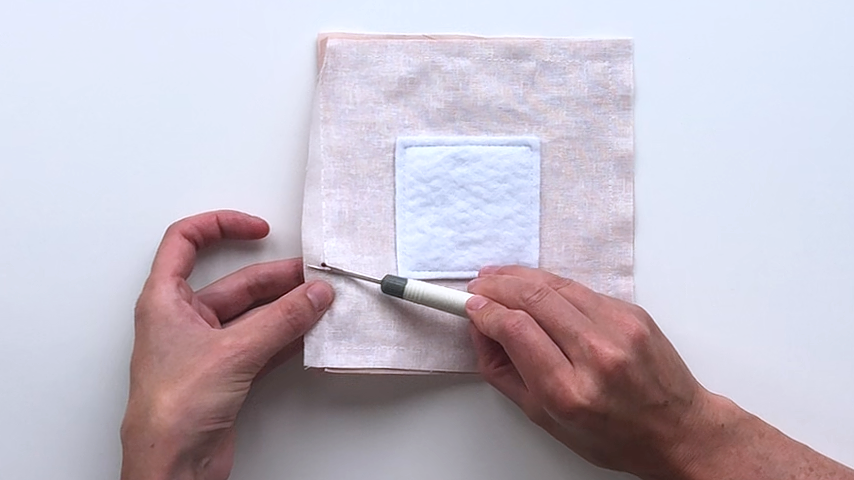
Now you can use a seam ripper to take out the basting stitches between your two lines and create your opening to turn the coaster right side out.
Aside from where the opening is, trim the seam allowance in half.
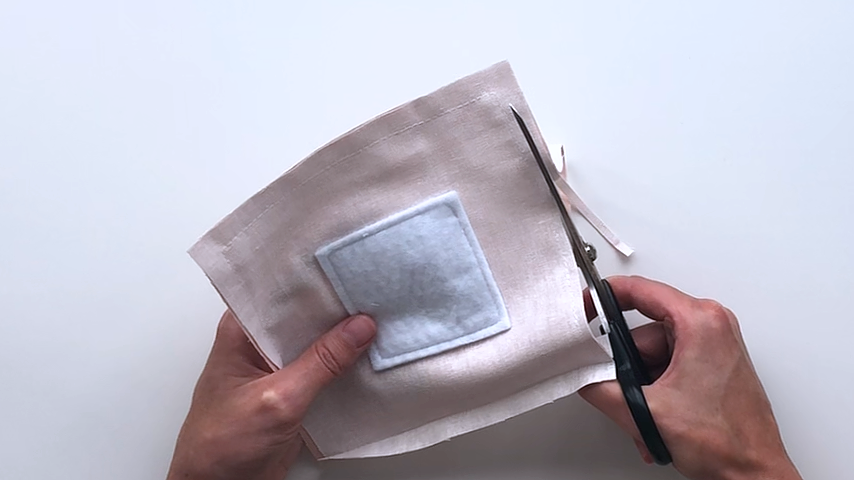
Clip your corners by cutting the corner at a 45-degree angle, close to the stitching. Then cut the seam allowance at an angle on either side of the corner.
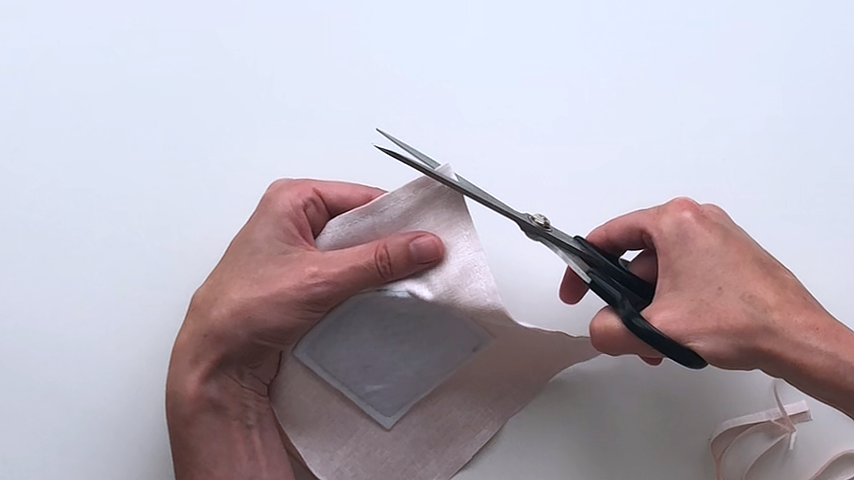
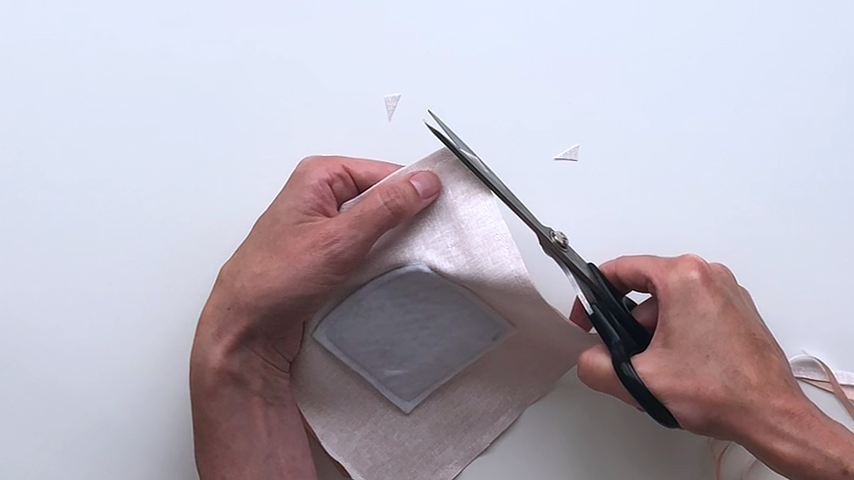
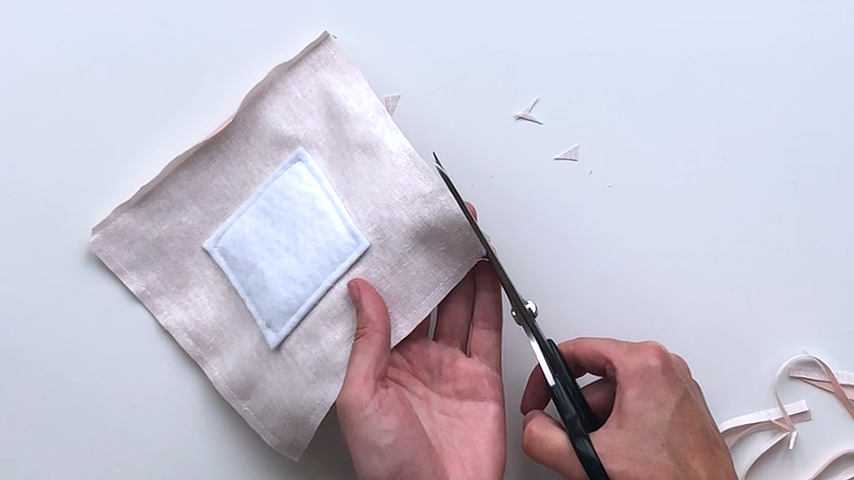
The seam allowance over the opening is left as is:
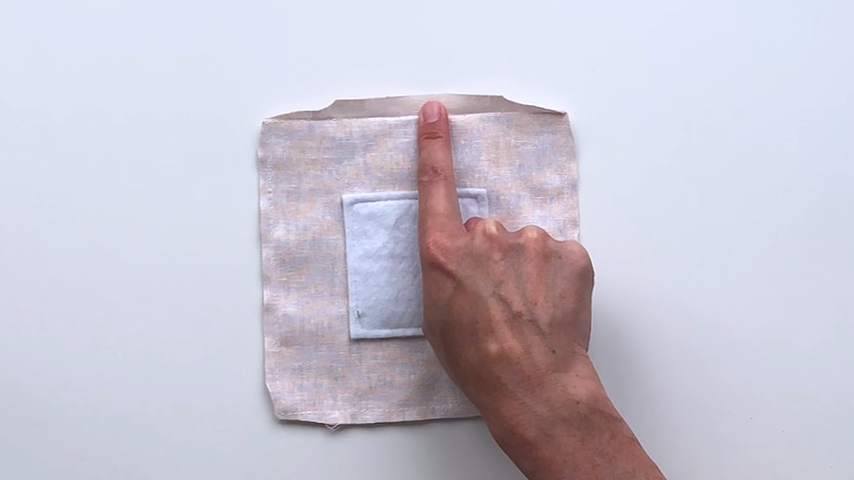
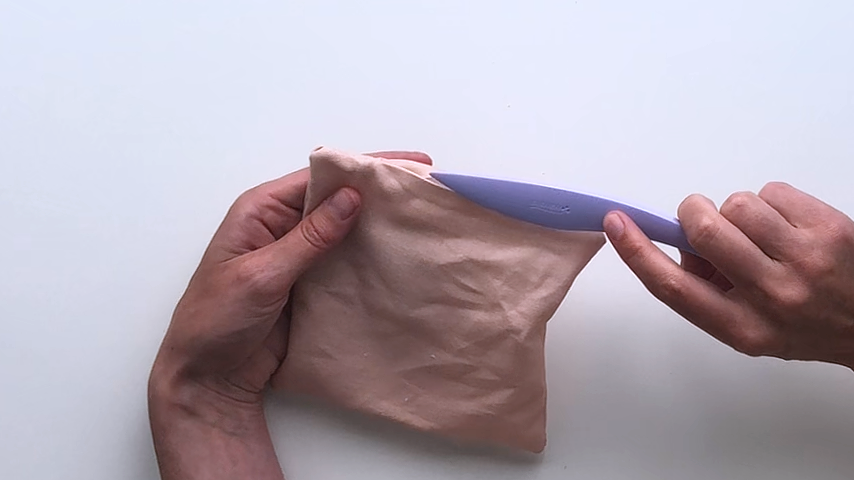
Use the opening to turn the coaster right side out. Use a point turner to push the corners out.
Iron the wrinkles out of your coaster and to get the seam straight where the opening is.
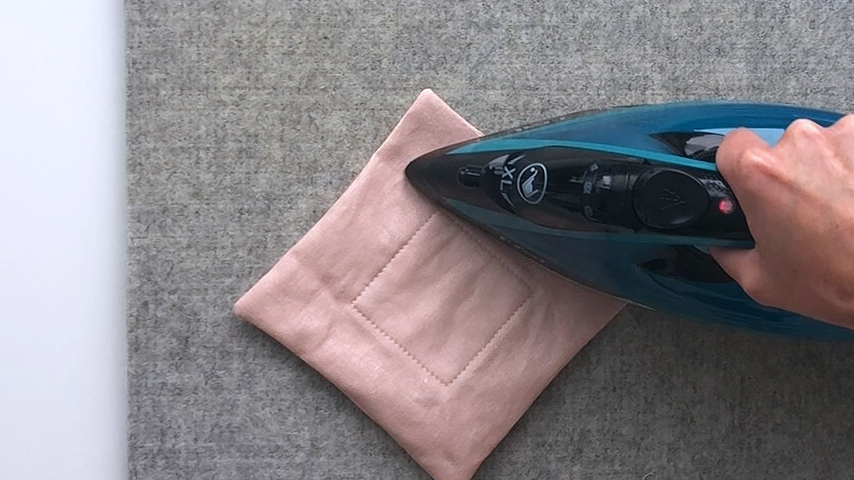
Step 4
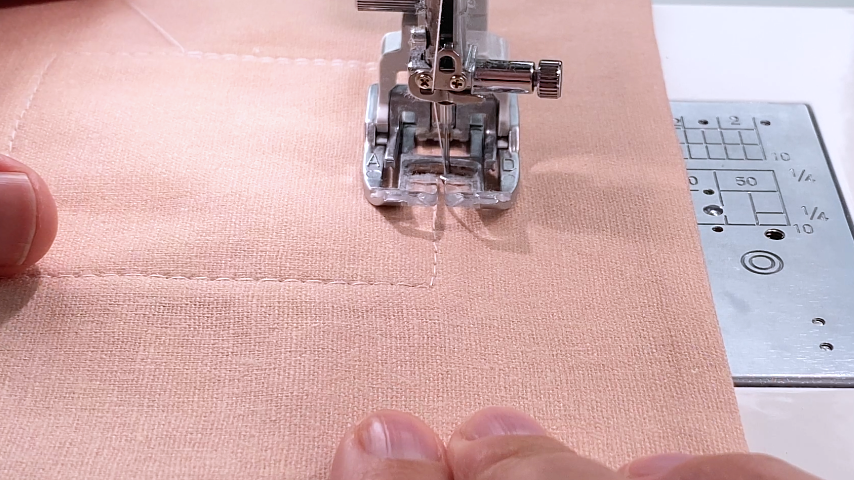
Sew the top and bottom layers together by sewing around the square batting. Sew about 1/8″ outside the existing stitching holding the batting in place.
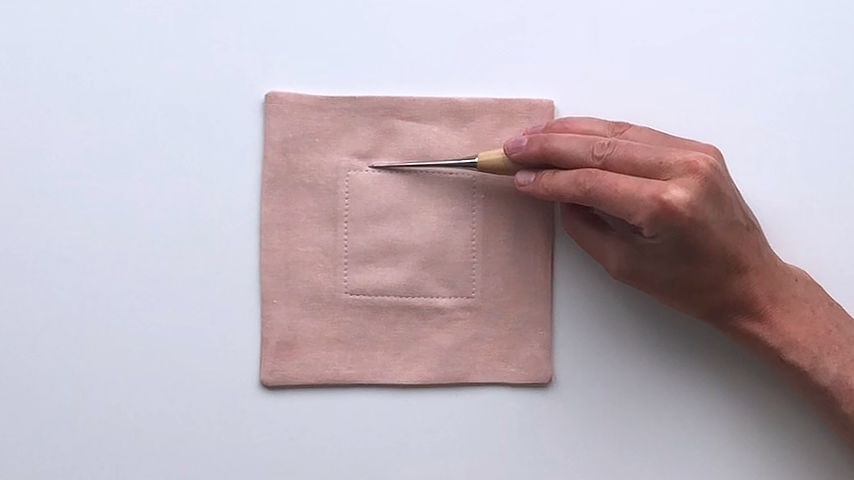
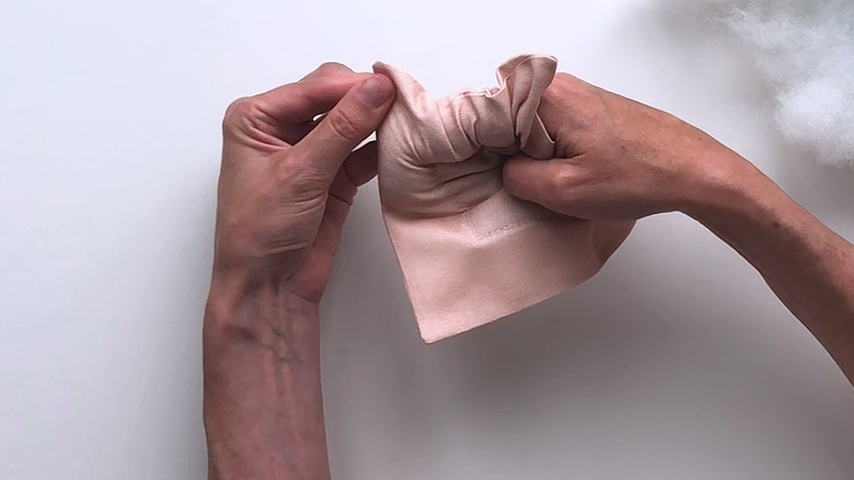
Grab smaller chunks of batting and push it into the channel. Working with a little bit of batting at a time to get your desired look (you can fill it as much or as little as you like).
Use your finger to push the filling down the left side of the coaster to get it to the bottom center. Then push the filling down the right side of the coaster to get it to the bottom center.
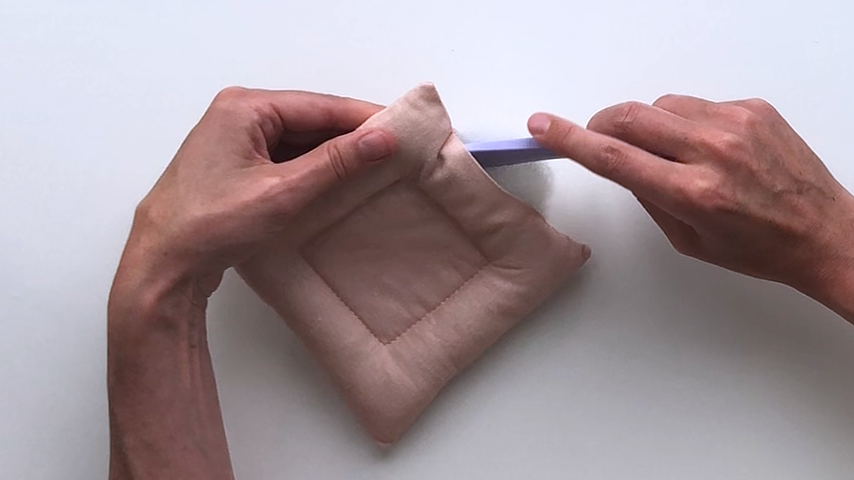
You can also use a tool, such as a point turner, to push the filling in.
I also roll the stuffed areas between my fingers to try and get the stuffing nice and even.
Step 5
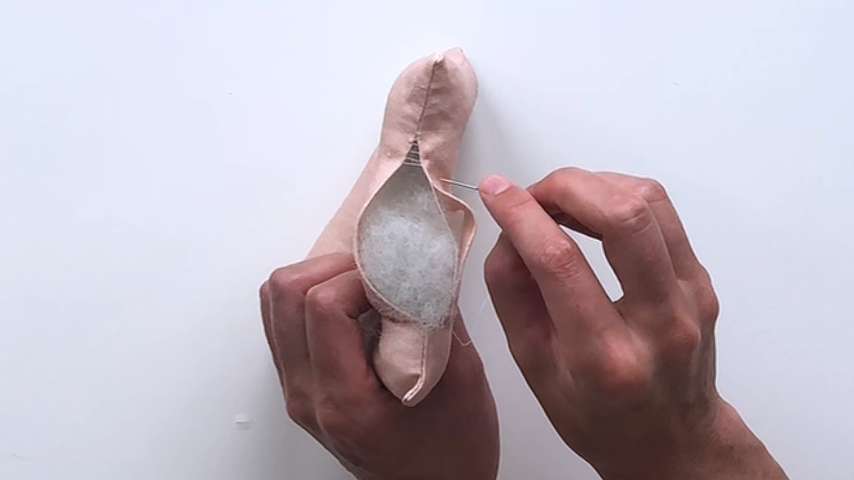
Use a needle and thread to hand-sew the opening closed (I left a bit too big of an opening in my coaster and had more hand-sewing to do than I would have liked).
You can also use a sewing machine to close your opening by sewing as close to the edge as possible. I just wanted my coaster to have a consistent look around all 4 edges.
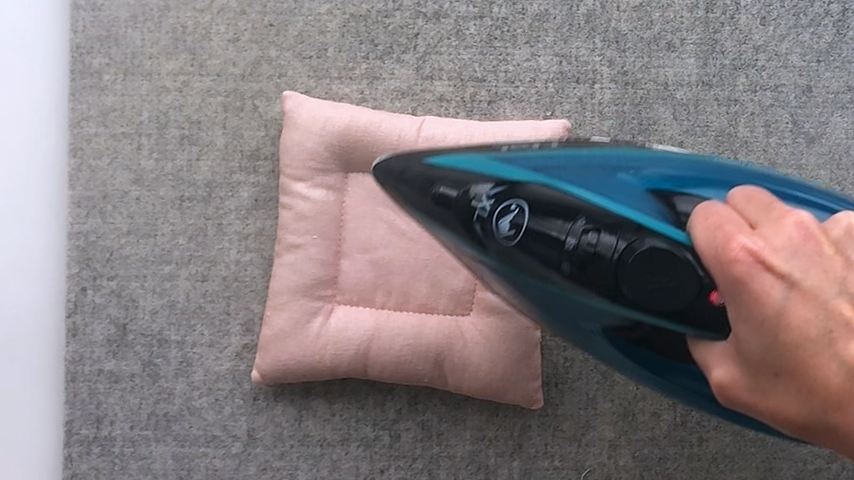
Once you’re done, you can hover your iron above the coaster and use the steam function to gently steam any creases out. You don’t want to press the iron to the coaster or you’ll melt the batting.
And your pillow coaster is complete!