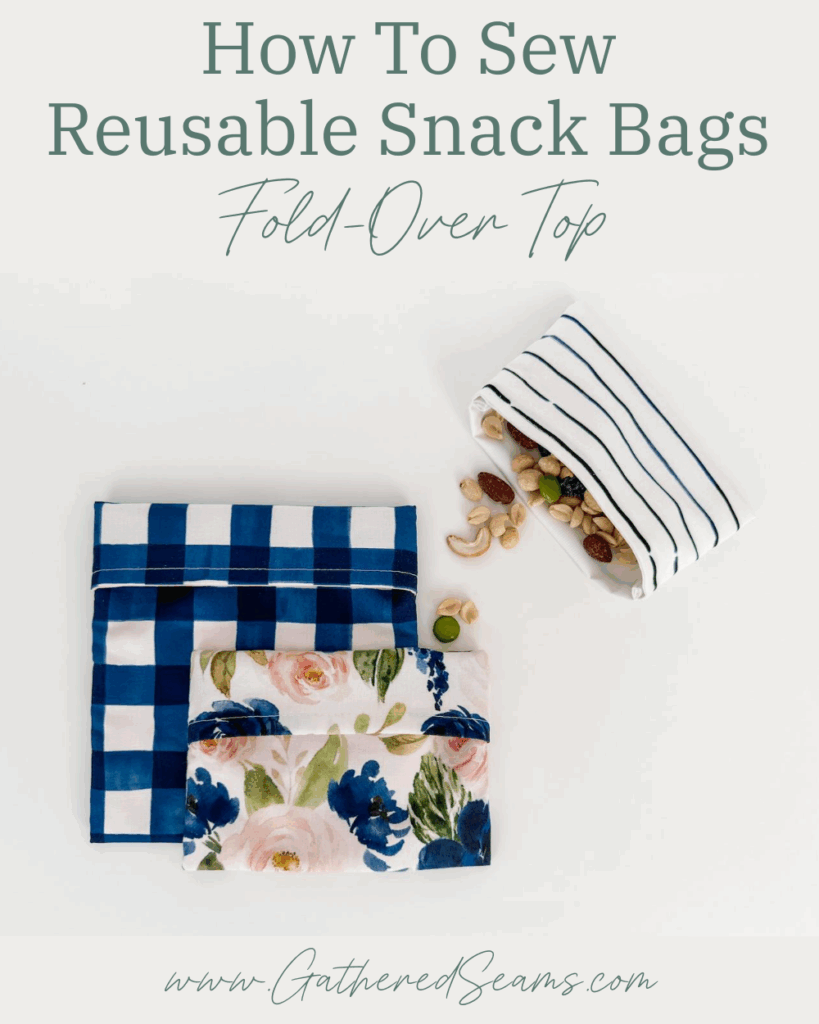
How To Sew A Beginner-Friendly Mug Rug
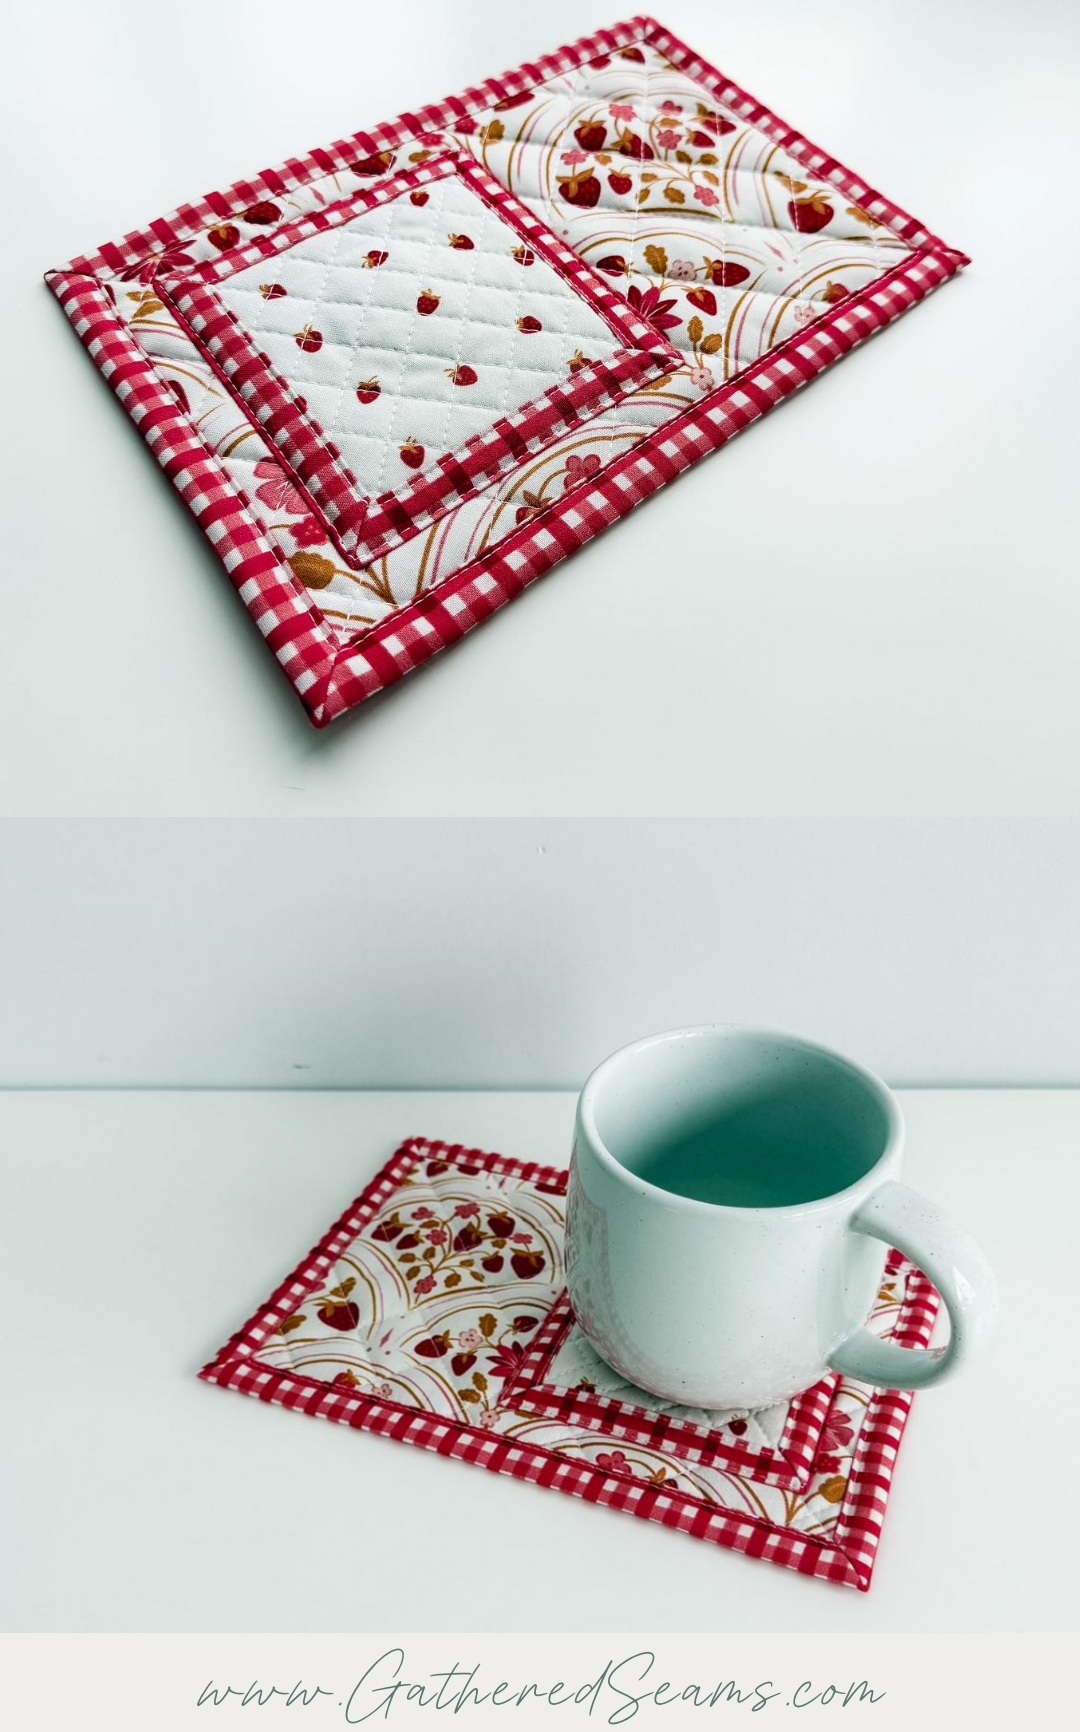
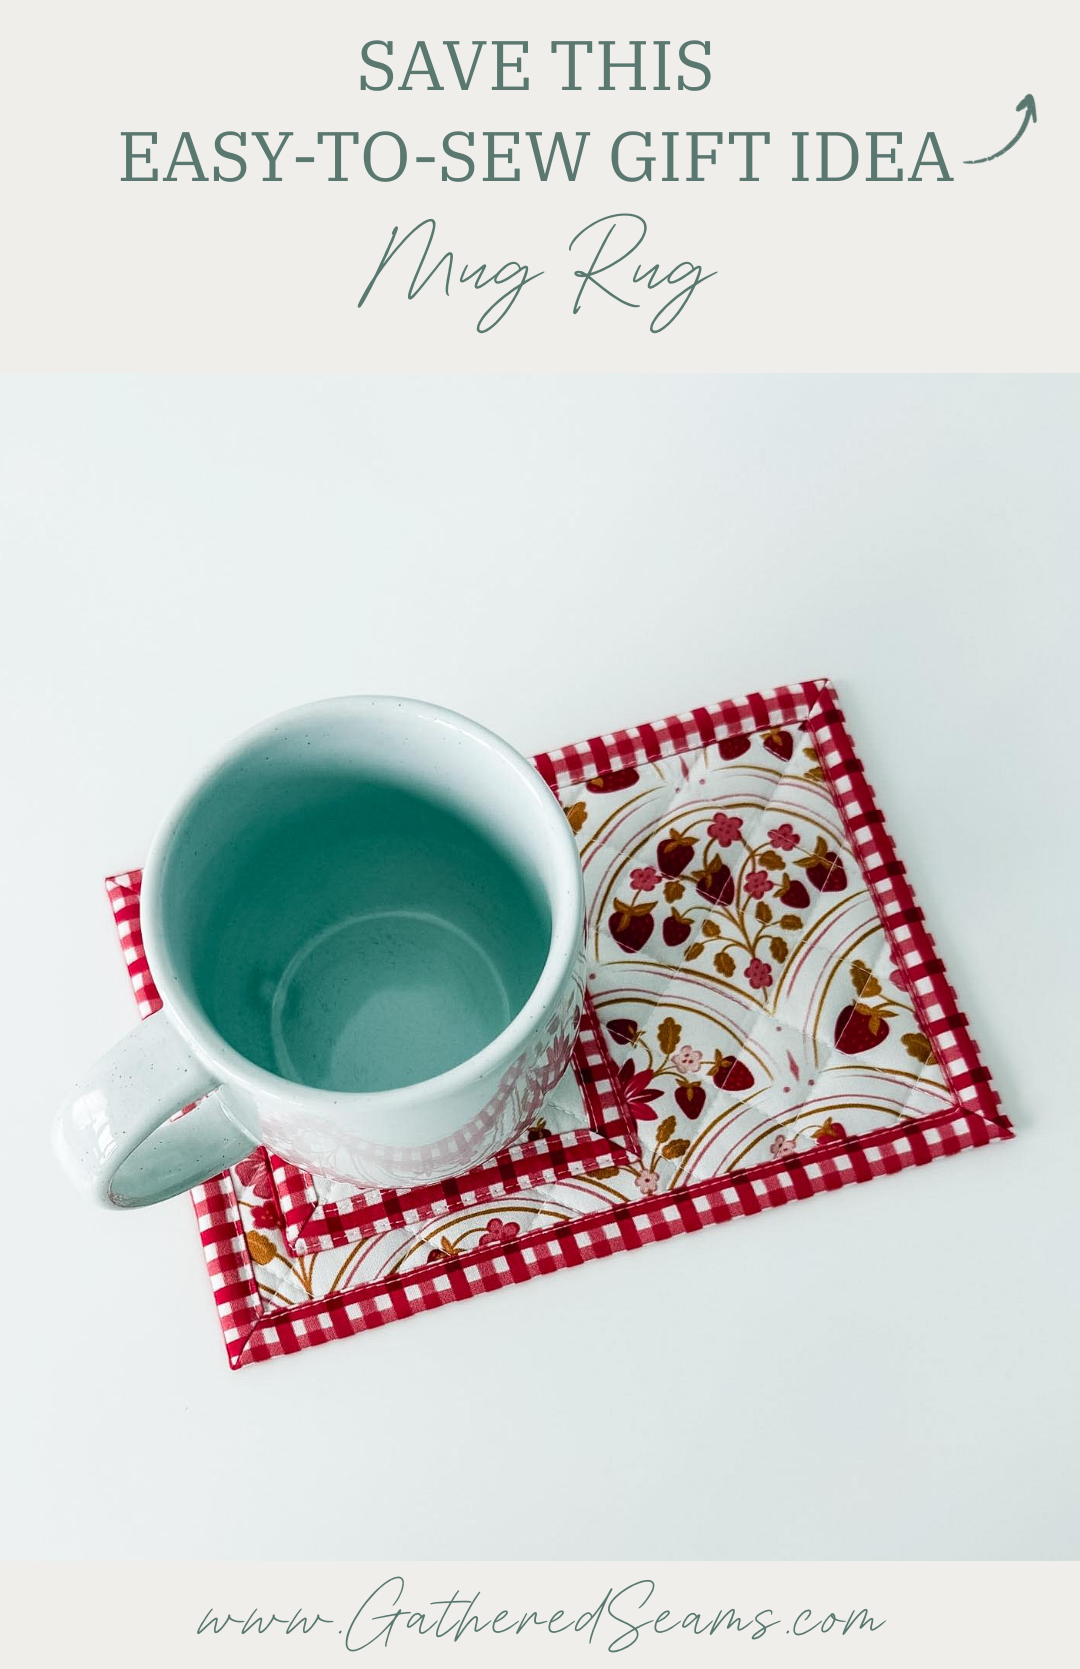
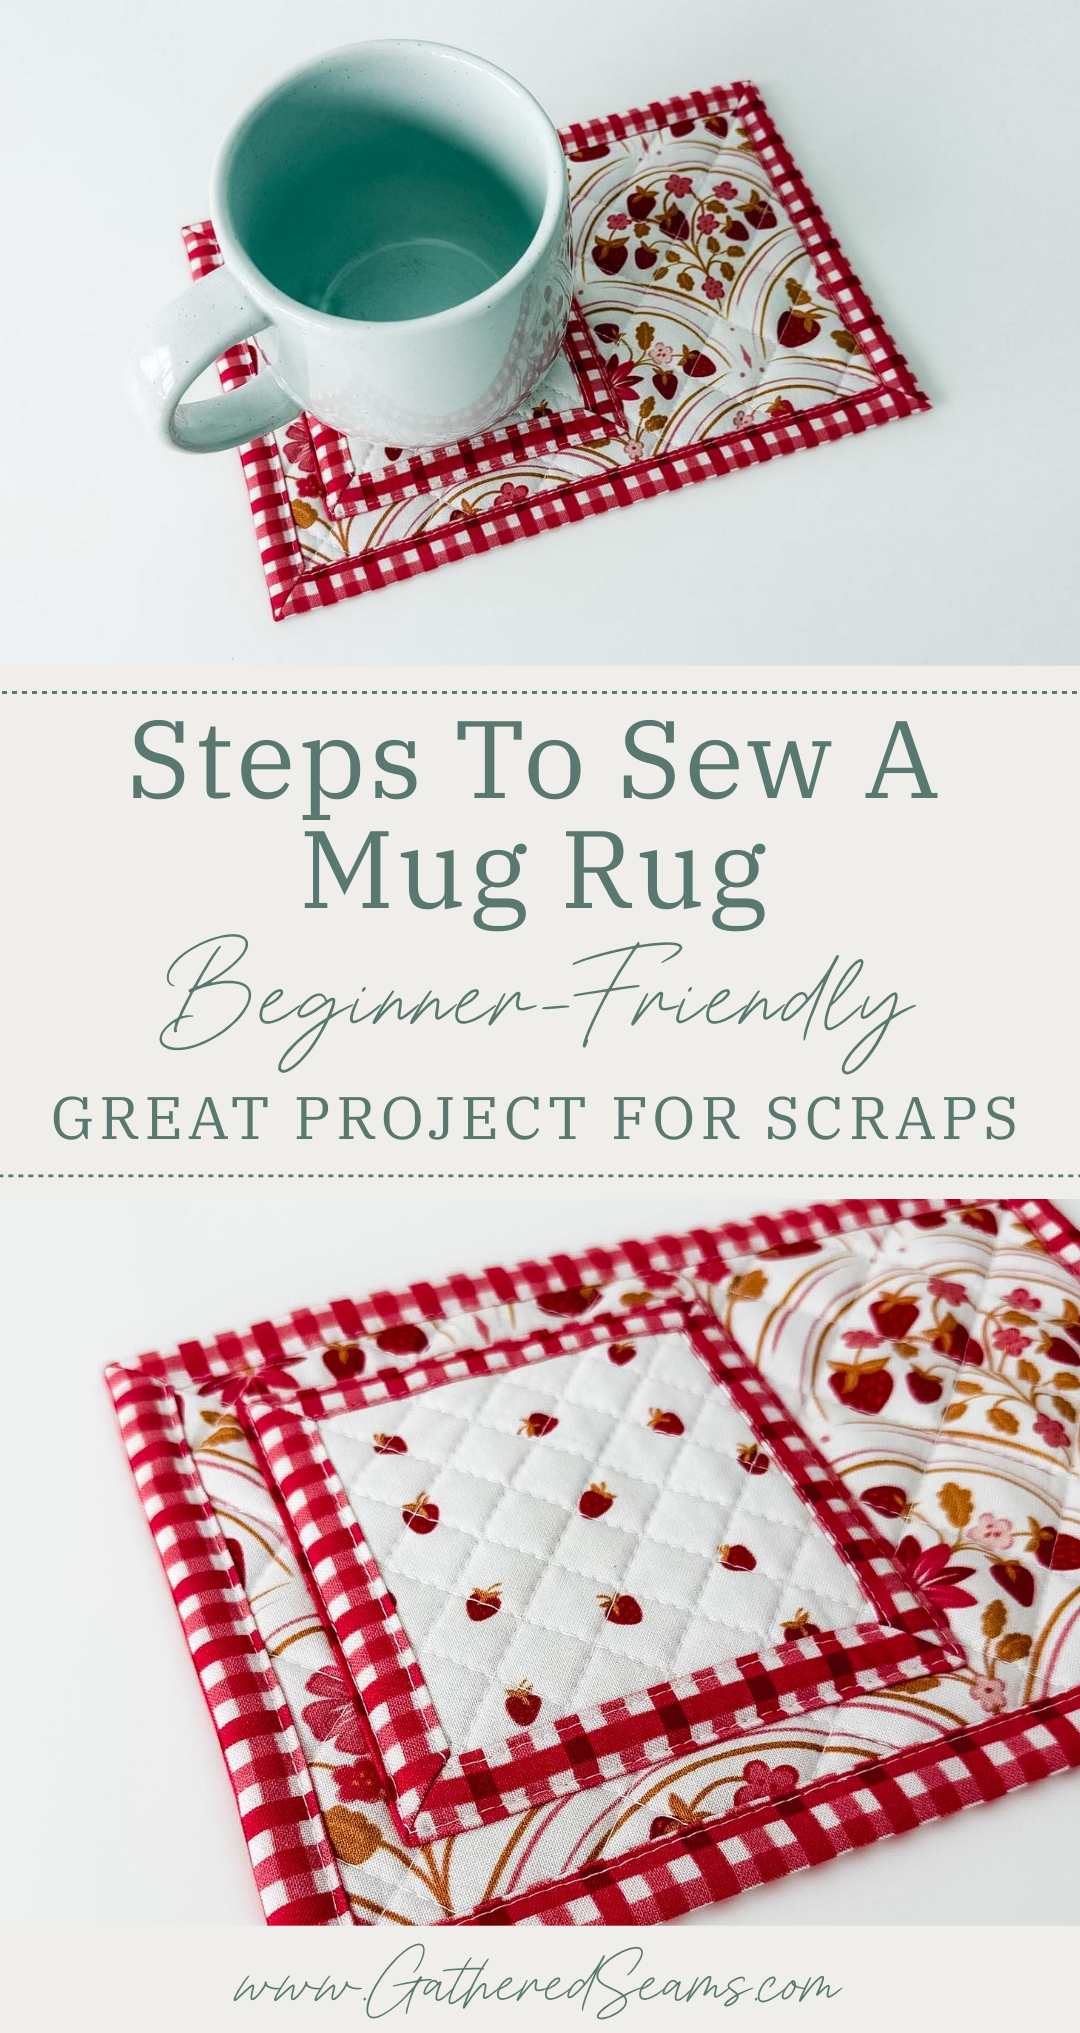
This mug rug looks like it’s more complicated to sew than it is. The mitered hem looks like binding, but is much simpler to sew and still gives a detailed finish to the edges.
And the mug rug looks like it has an inset square, but it’s actually just a coaster sewn on top of the “rug”.
You can adjust the size of your mug rug to be bigger or smaller. I’m sharing my pattern pieces for a 6″ x 9″ finished mug rug.
This would make a great gift with any other tea/coffee-focused items, such as my set of free patterns for a tea lover:
>> Gift Set To Sew For A Tea Lover | Free Patterns
Materials
As an Amazon Associate, I earn from qualifying purchases (see full disclosure here).
- Cotton or linen fabric (avoid synthetic materials)
- Thermal/heat-resistant batting (Insul-Bright or something similar) (this has “heat-reflective” properties) – this will help protect a table’s surface.
- Optional: fusible fleece, cotton batting, or polyester batting for the rug portion
- Cotton thread
Tools
- Sewing machine
- Walking foot (this makes sewing with thicker materials, like batting, easier. This is the universal one I purchased for my Baby Lock, which is a different machine than what’s shown in the photos)
- Point turner / Hera marker (for marking quilting lines)
- Temporary fabric pen or chalk
- Temporary fabric adhesive
- Ruler
- Iron
- Scissors
- Pins or clips
Steps to sew a beginner-friendly mug rug
Step 1
Cut your pattern pieces out. There are a few options when it comes to batting.
I used thermal batting for the coaster/mug portion of the mug rug to ensure it absorbs heat and protects the table surface it’s sitting on.
For the “rug” portion, you can use thermal batting as well, or another type of batting.
I wanted a more tufted quilted look, so I used a high-loft polyester batting. I also wanted my mug rug to have some structure, so I added a layer of fusible fleece.
*The thermal batting on the mug portion will protect the synthetic batting underneath it from melting. But I don’t suggest using synthetic batting for the coaster part.
If you’re adding several quilting stitches, cut your pieces 1/2″ – 1″ bigger, add your quilting stitches, then cut according to the sizing below. The more quilting stitches you add, the more your fabric will “shrink”/get pulled in because of them.
- For mug portion cut:
- 4″ x 4″ from top fabric
- 4″ x 4″ from thermal batting
- 6-1/4″ x 6-1/4″ from bottom fabric
- For rug portion cut:
- 6″ x 9″ from top fabric
- 6″ x 9″ from batting (cotton, polyester, fleece, or thermal or a combo; I’m using high-loft poly and fleece)
- 8-1/2″ x 11-1/4″ from bottom fabric
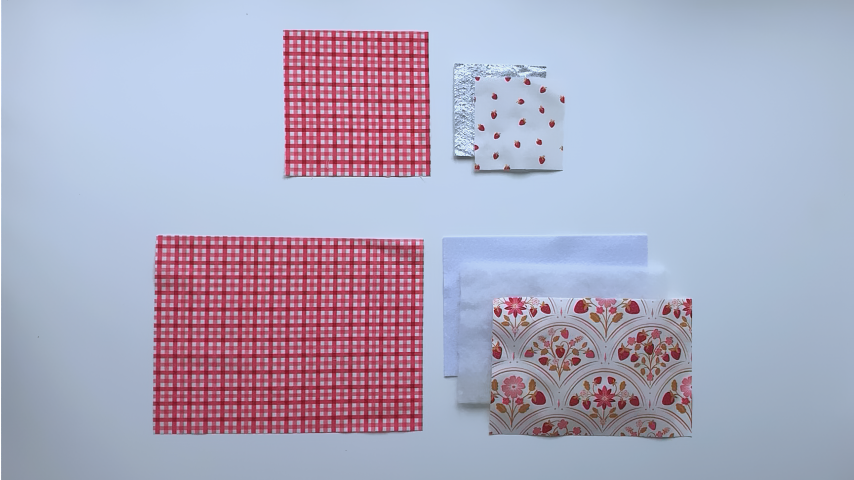
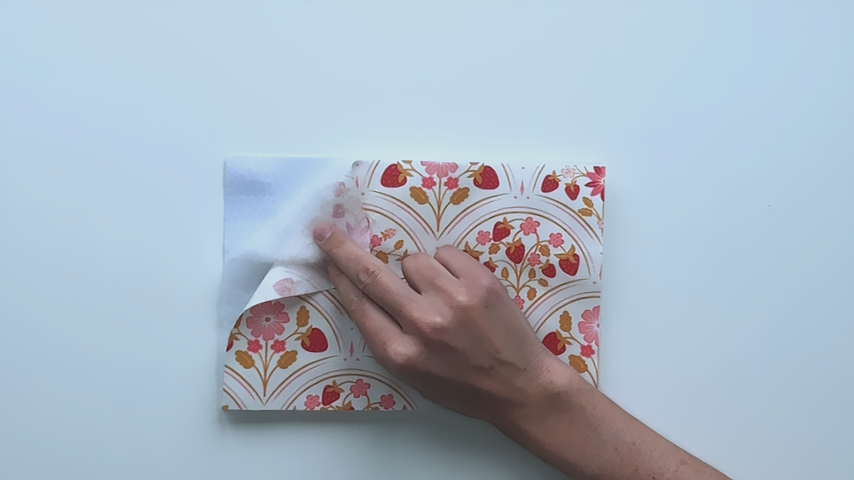
Layer your top fabric and batting pieces and use temporary fabric spray and/or quilting stitches to secure them together.
Set your bottom fabrics aside for now.
For my “rug” portion, I put my fleece on the bottom (for structure), polyester batting on top, then fabric.
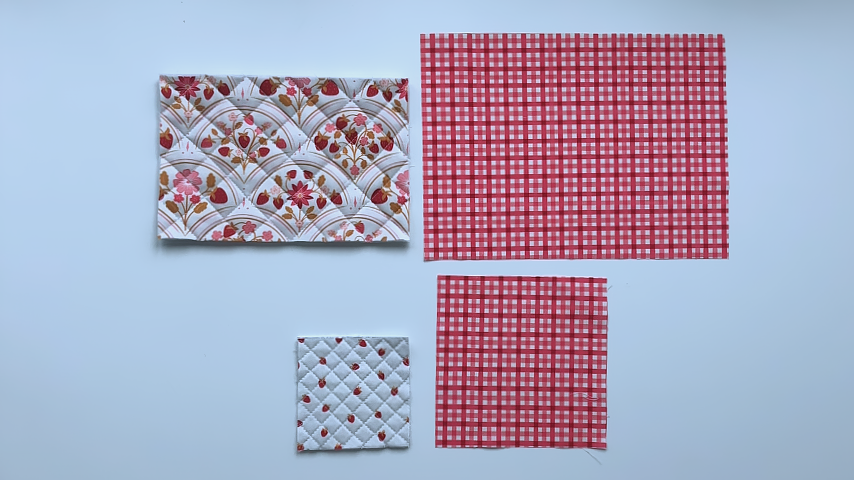
I added quilt lines at a 45-degree angle, but you can follow any design you like. A simple X pattern from corner to corner, vertical or horizontal quilt stitches, a grid pattern, free-motion, or simply use temporary fabric glue to hold the layers together as you sew and skip the quilting stitches altogether.
Step 2
On the wrong side of your bottom 6-1/4″ x 6-1/4″ piece, use a temporary fabric pen to mark lines 1″ above each cut edge.
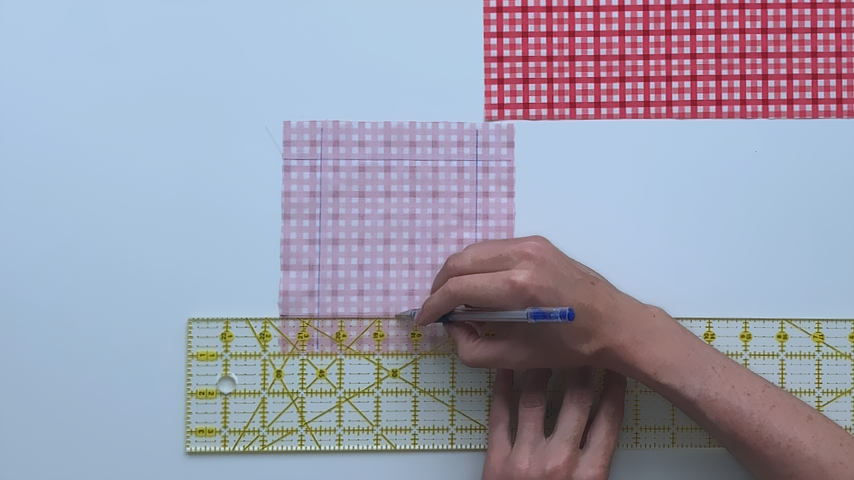
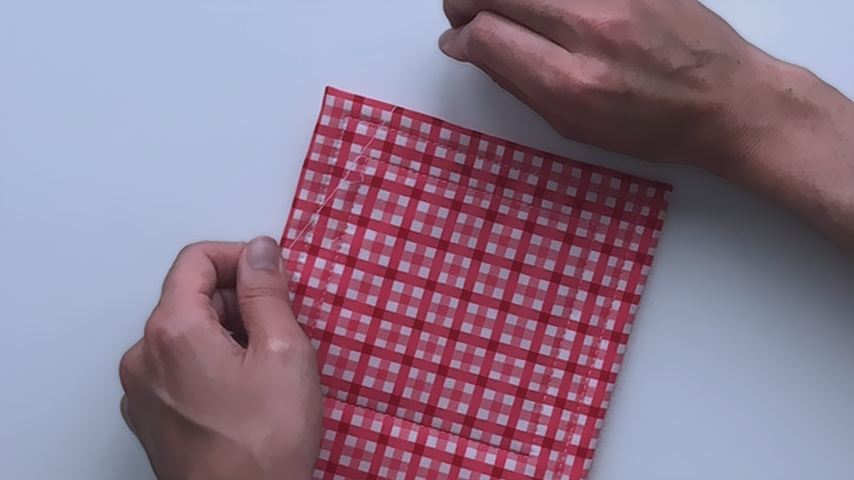
Fold each edge up to meet the line and press into place.
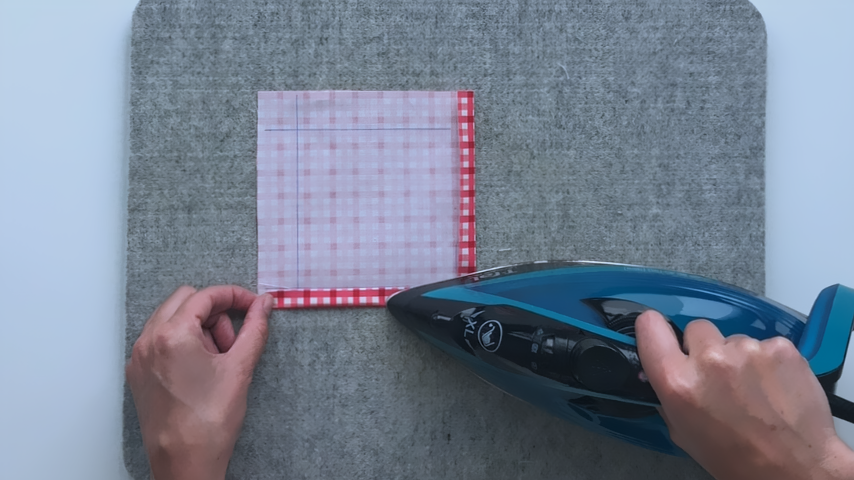
Then use the cut edges as a guide to fold the hem in again, another 1/2″ and press.
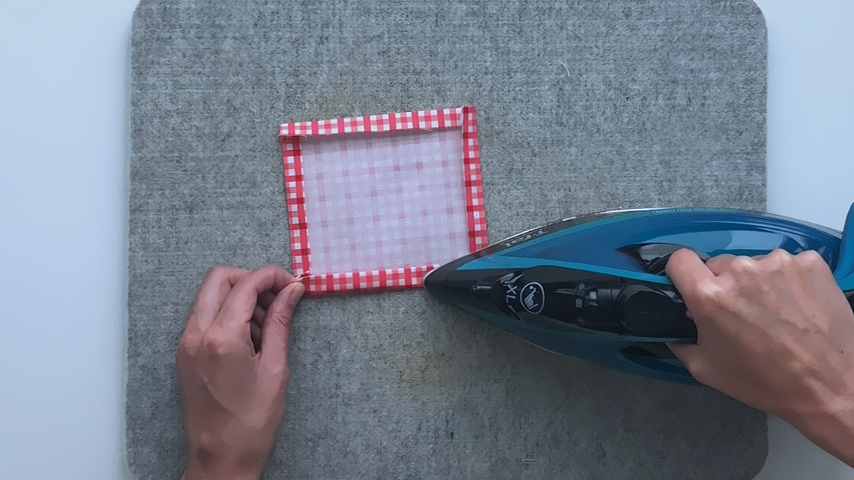
Unfold your hem so it is only folded in once.
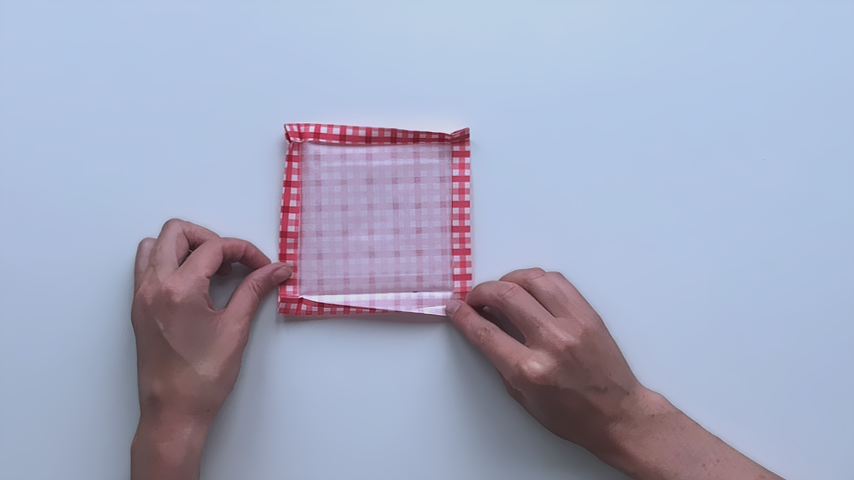
Using your temporary fabric pen, mark a 45-degree line across each corner. The middle of the line should go right through where the second set of hem folds meet.
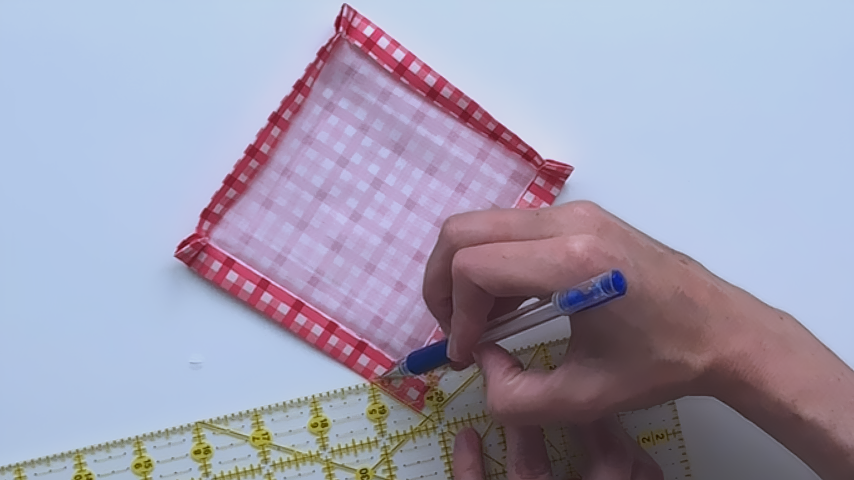
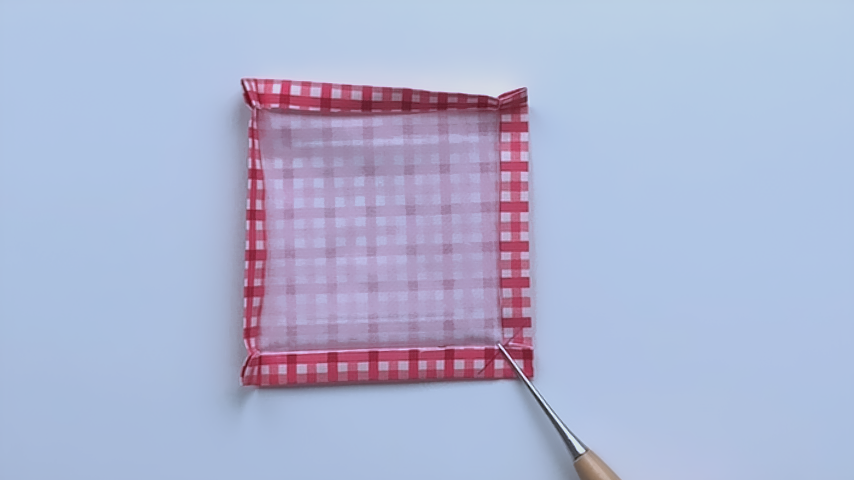
If you don’t have a ruler with a 45-degree line on it to use as a guide, you can also fold your corner in and finger press to create a 45-degree crease, then trace a line over that.
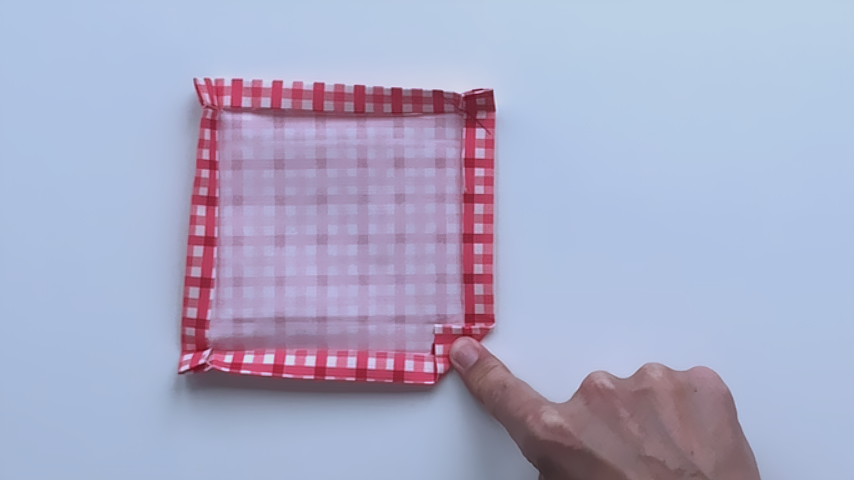
Repeat for all 4 corners.
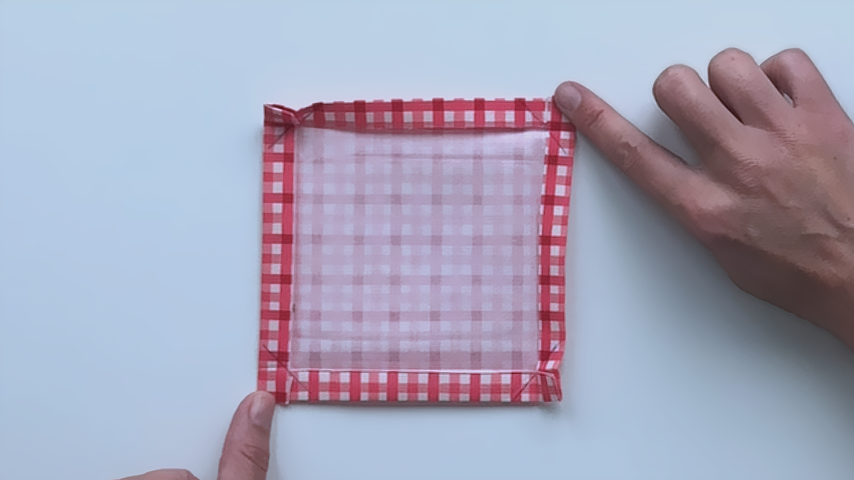
Fold your square in half diagonally, so the corner comes to a perfect point and the two edges are stacked on top of each other.
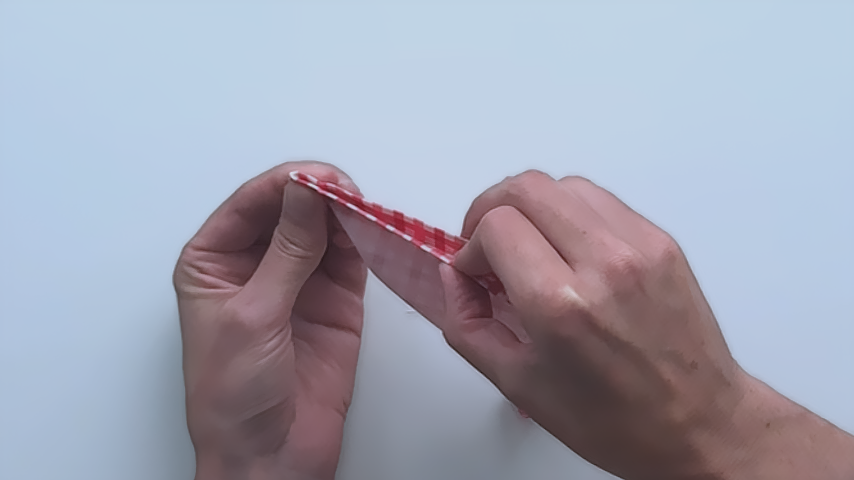
Sew along the drawn line.
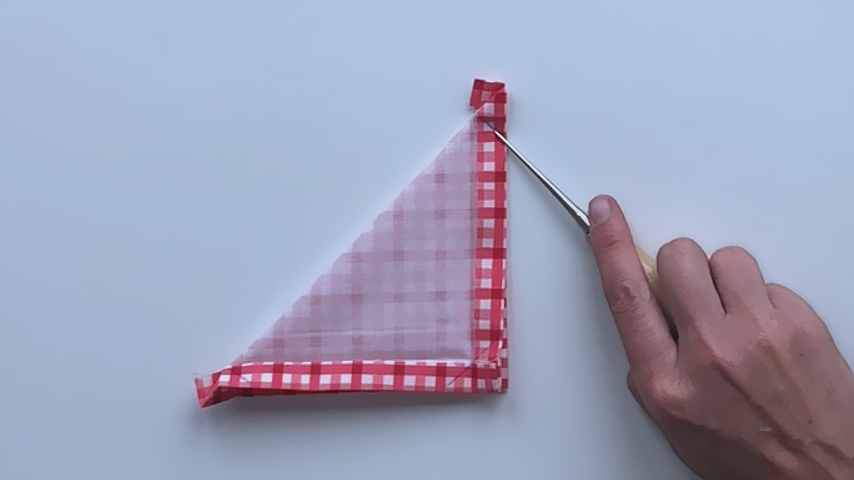
I like to shorten my stitch (e.g. 2.5 mm) and start with my needle on the fabric, then backstitch to the start of the fabric. This ensures the fabric doesn’t bunch as I start sewing.
Then I sew to the end of the line but backstitch back onto the fabric before cutting my threads. This ensures the ends of the threads aren’t poking out the edge of the hem.
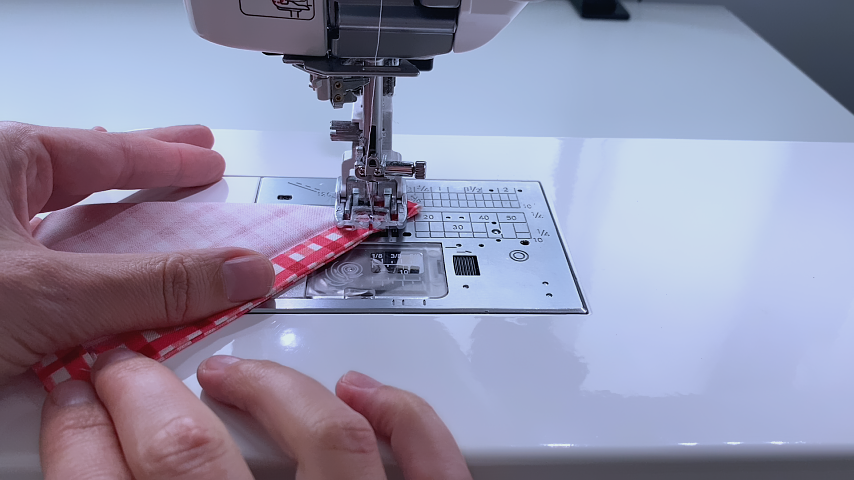
Trim the corners, about 1/8″ away from the stitching.
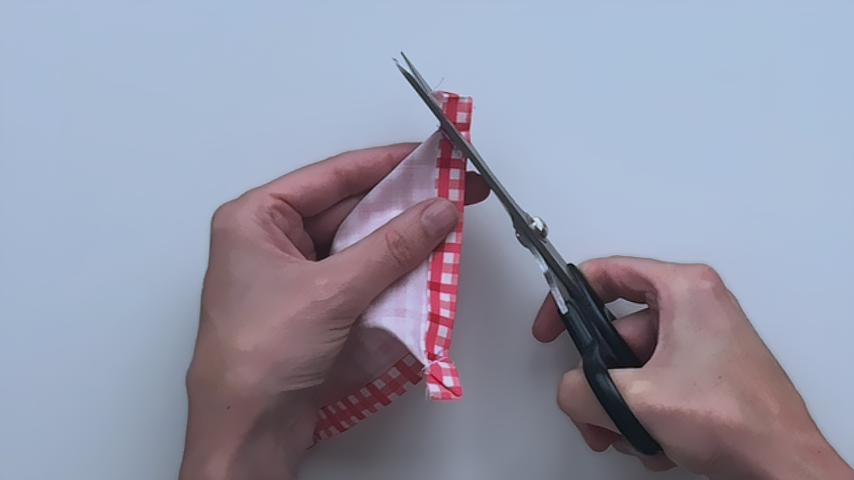
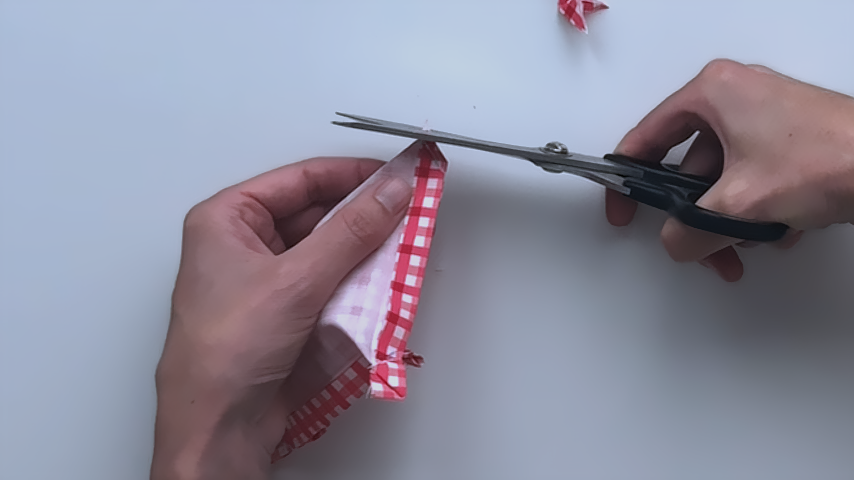
Then cut the seam allowance at the tip of the corner.
Step 3
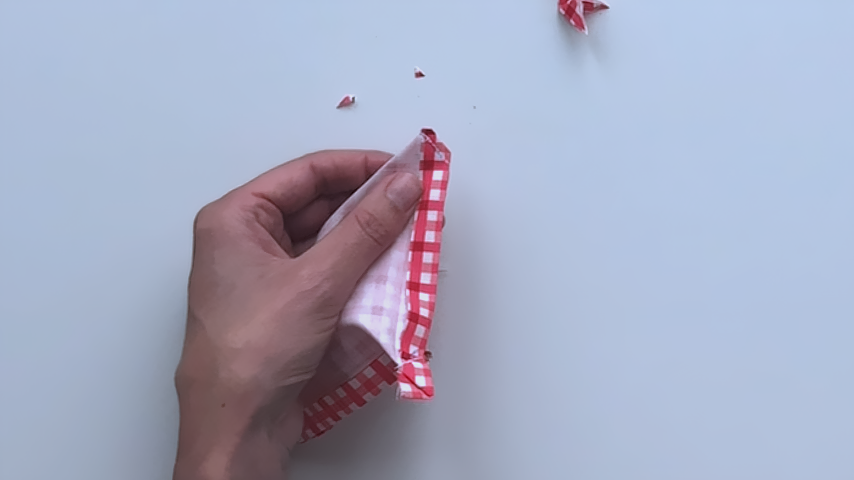
Turn the corners right side out and use a point turner to get right in the points.
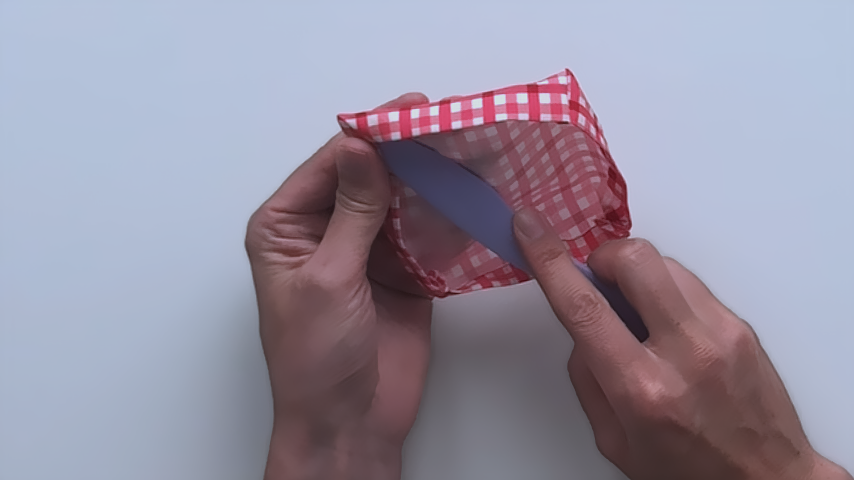
Press your hem.
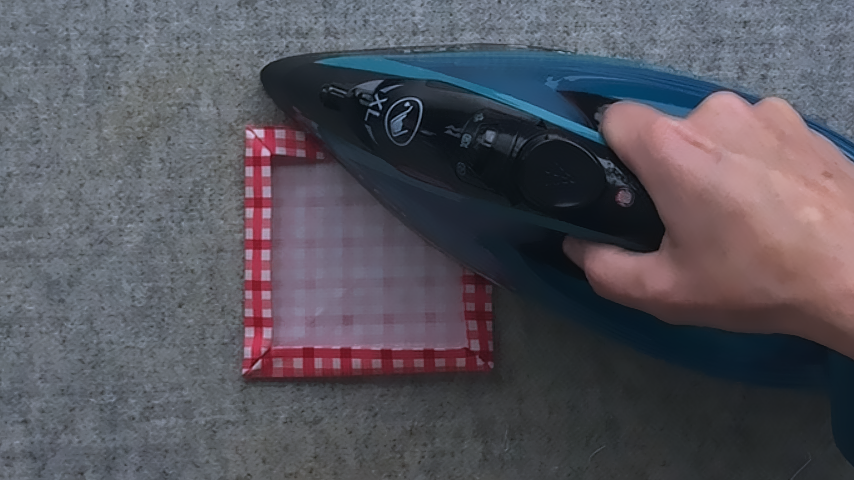
Center your 4″ x 4″ top piece on the bottom piece. You should be able to see about 1/8″ of the bottom hem around all 4 sides of the top piece. If the top piece is too big, just trim it down.
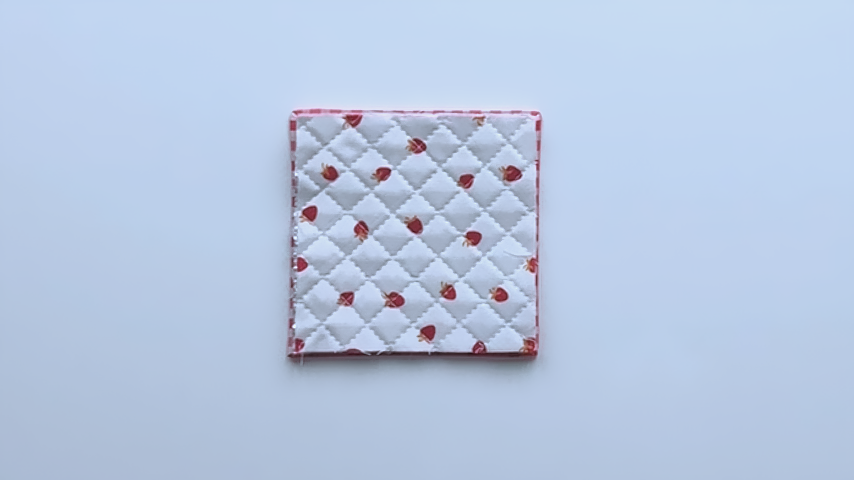
With the top piece centred, tuck the edges of it under the hem.
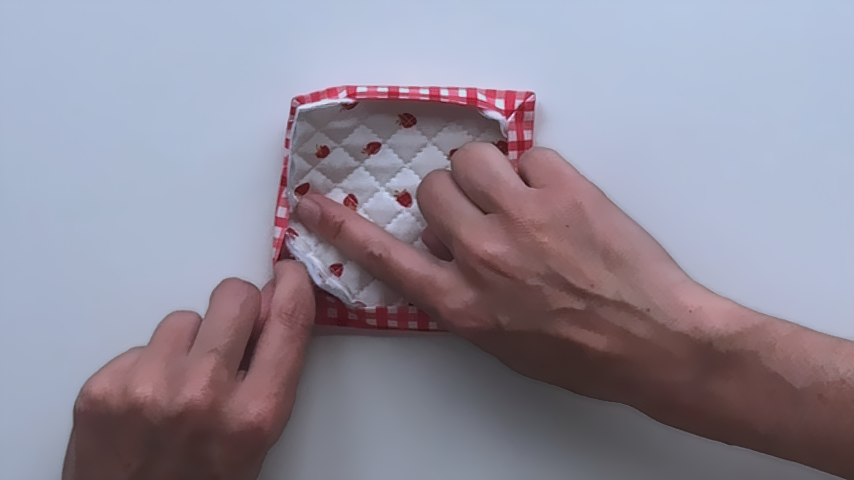
Use a point turner to push the corners of the top piece in and ensure they’re sitting flat.
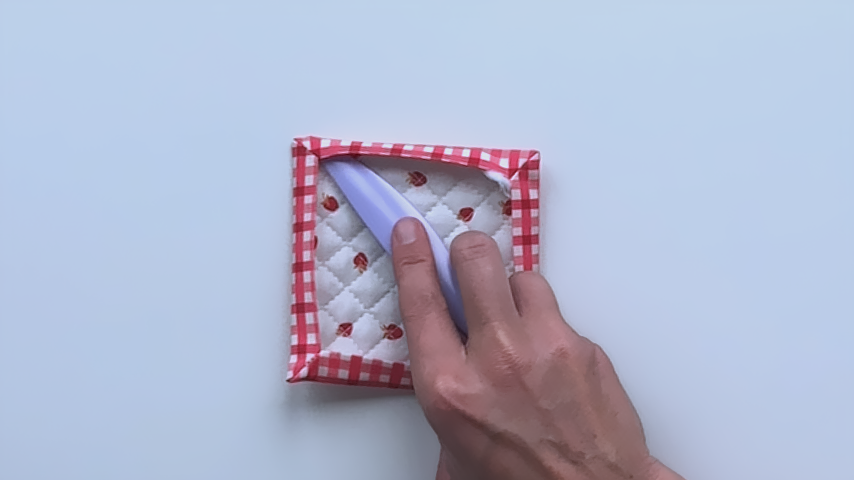
Sew around the hem about 1/8″ in from the inside edge of the hem.
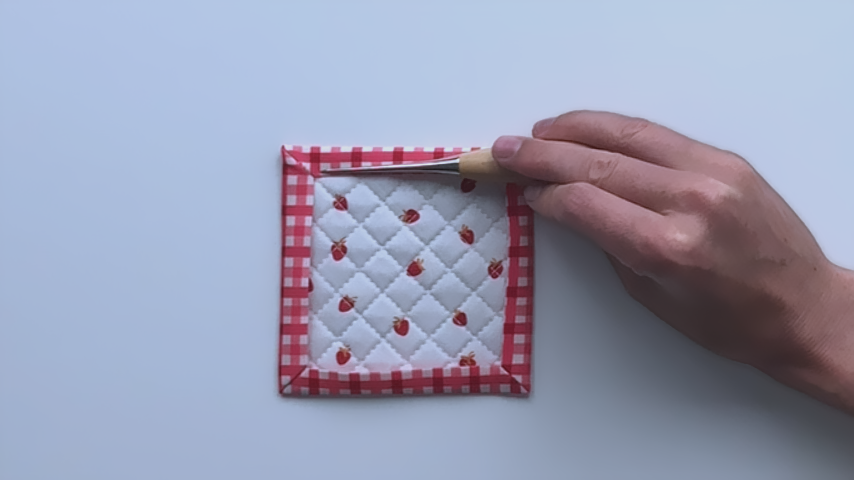
Leave the thread tails long to start.
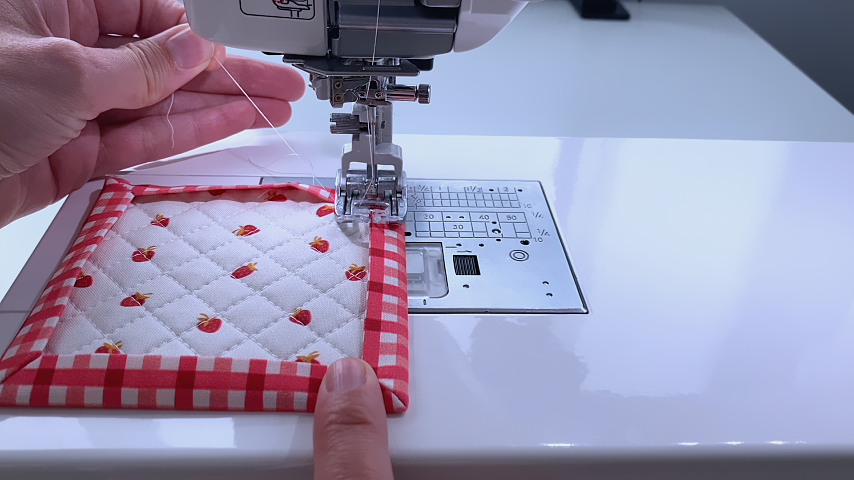
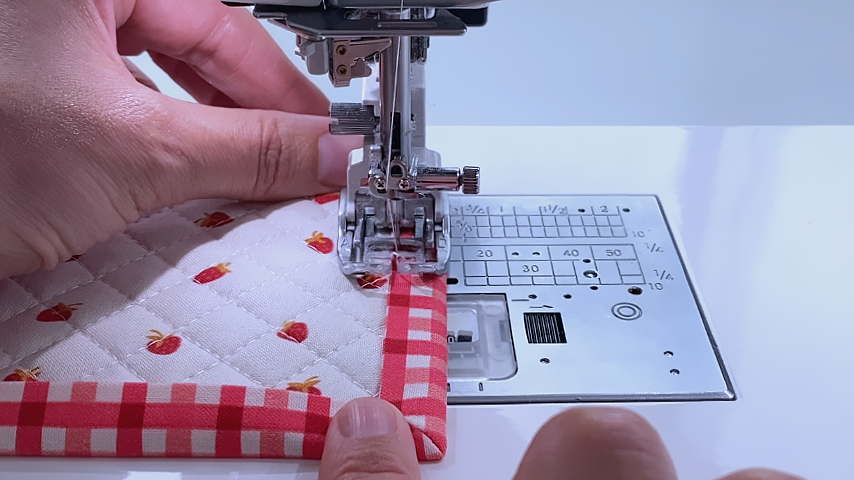
Before you get to the start of your stitching, leave your needle and presser foot down while you flip the fabric up so you can pull on the bottom tail to pull the top thread to the bottom. Tie the top thread and bottom thread in a double knot and trim the loose ends.
This just gives a cleaner look at the start and end of your stitching. But you can backstitch at the start and end of your stitching if you prefer.
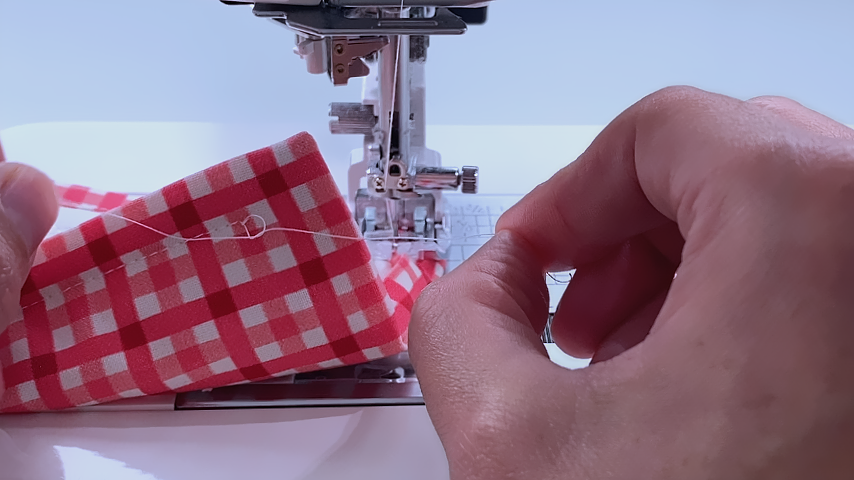
Leave your threads long at the end and again, pull the top thread to the bottom and tie in a double knot to secure.
Step 4
Repeat all of step 2 for the “rug” portion of the mug rug.
Step 5
Set your coaster on top of the mug rug. Its edges should be about 1″ away from the top, bottom, and side edge of the rug portion.
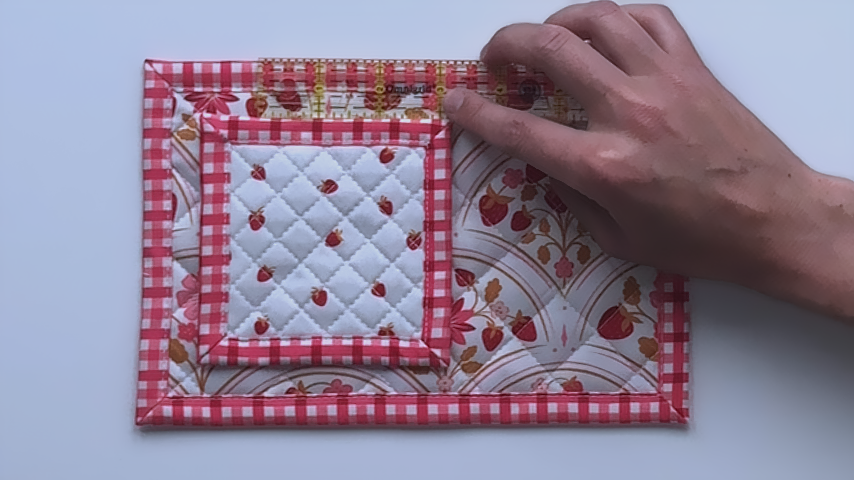
Topstitch around the coaster, about 1/8″ in from the outside edge of it.
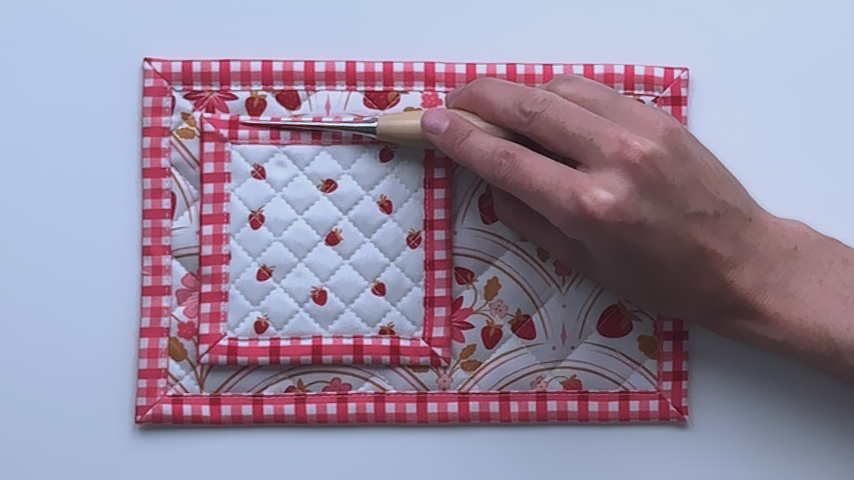
Again, leave the thread tails long to start.
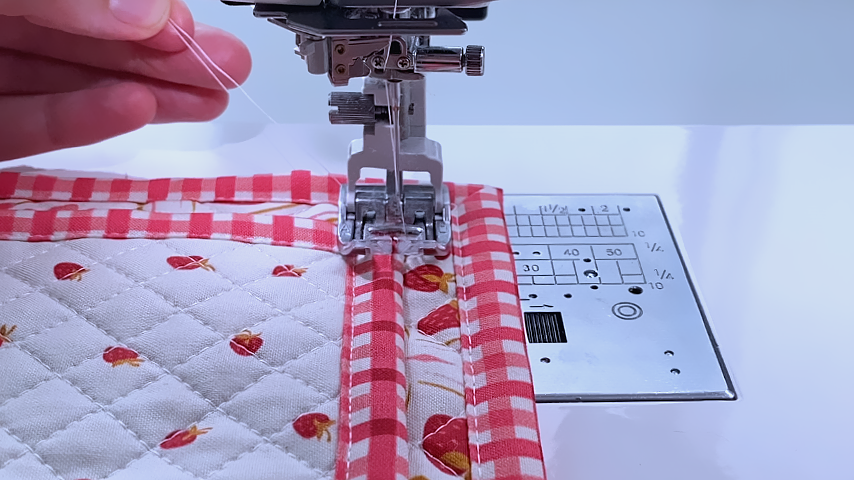
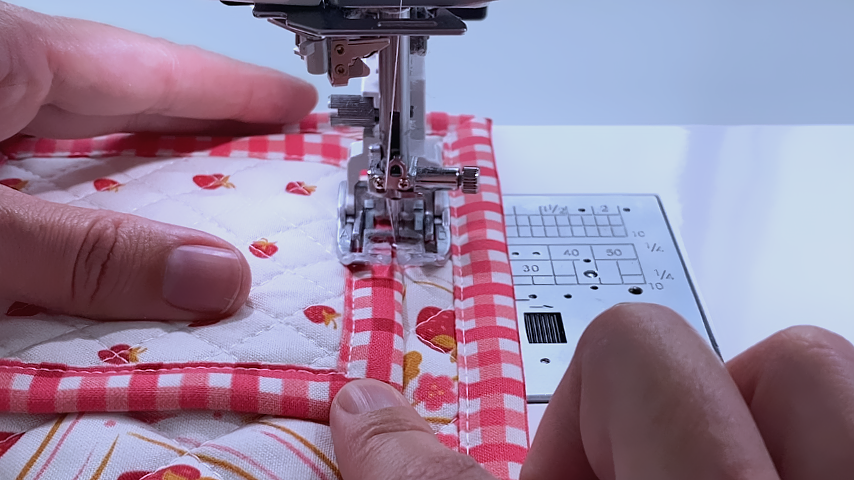
Before you come back around to the start of your stitching, pull the top thread to the bottom by pulling on the bobbin thread. Then tie the top thread and bobbin thread in a double knot and trim the loose ends.
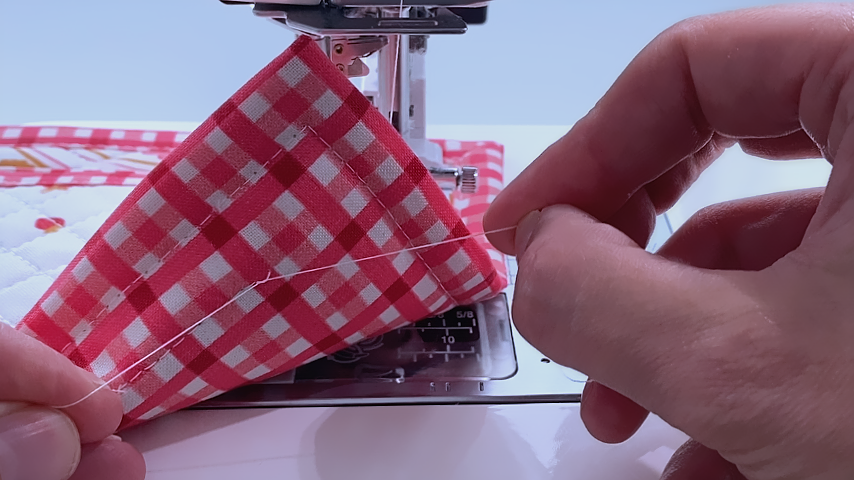
Leave your threads long once you finish sewing then pull the top thread to the bottom, by pulling on the bobbin thread, and tie in a double-knot to secure.