How To Sew A Casserole Carrier for your Cozy (9 x 13)
I was working on a new pattern for a casserole carrier and thought it would be so handy to have a cozy for your casserole once you arrive at your destination.
And since my casserole cozy is one of my most popular patterns, I thought everyone who has made one might find it easier to simply turn the casserole cozy they have into a carrier.
So if you don’t already have one, you need to sew a casserole cozy first:
>> How To Sew a 9 x 13 Casserole Cozy | Free Printable Pattern
This carrier pattern will likely work with other cozy patterns.
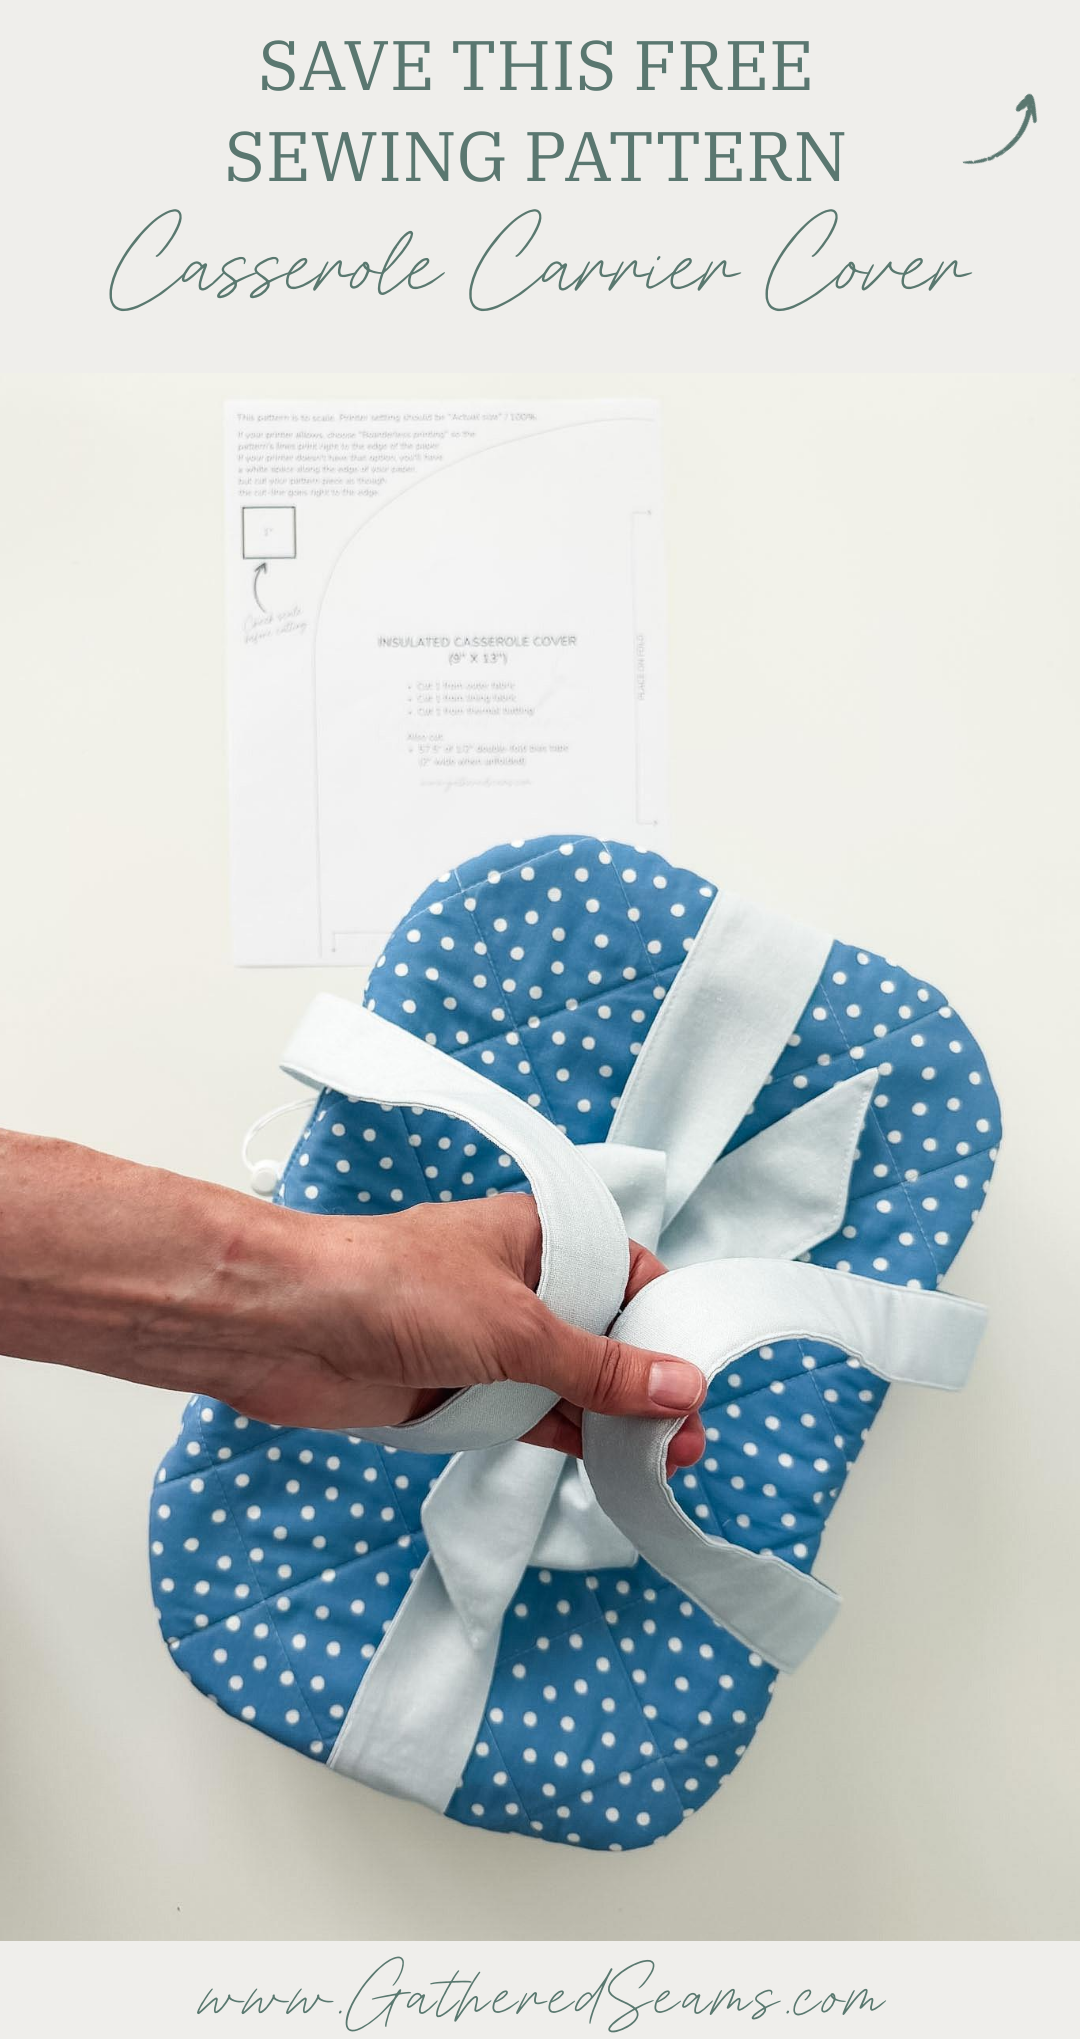
The key to this carrier working is the tie, which will help keep the straps in place.
Because the straps aren’t sewn to the cozy, do exercise caution when picking the cozy up. But I swung mine around to test its sturdiness, and the straps stayed in place.
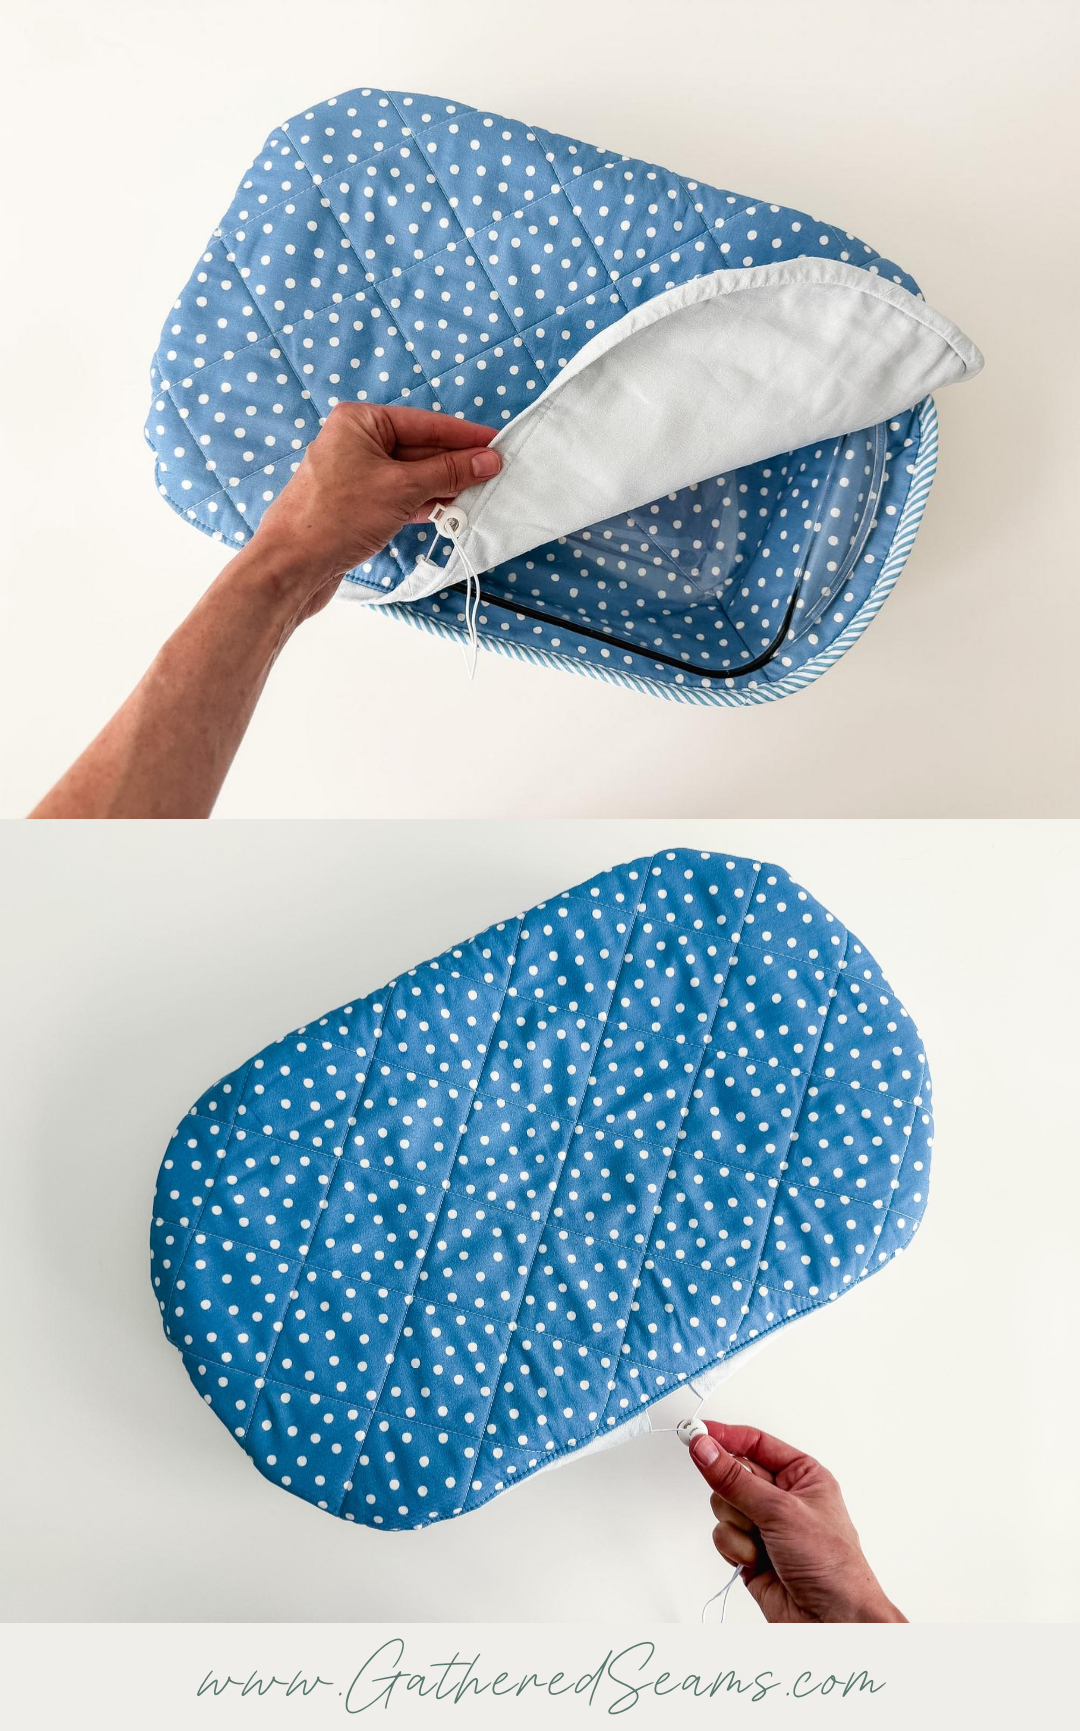
The insulated cover is optional. You could simply use a casserole cover, beeswax wrap, or tin foil to cover the casserole. However, the insulated cover in this tutorial will help keep the dish warm if it needs to be ready to serve upon arrival.
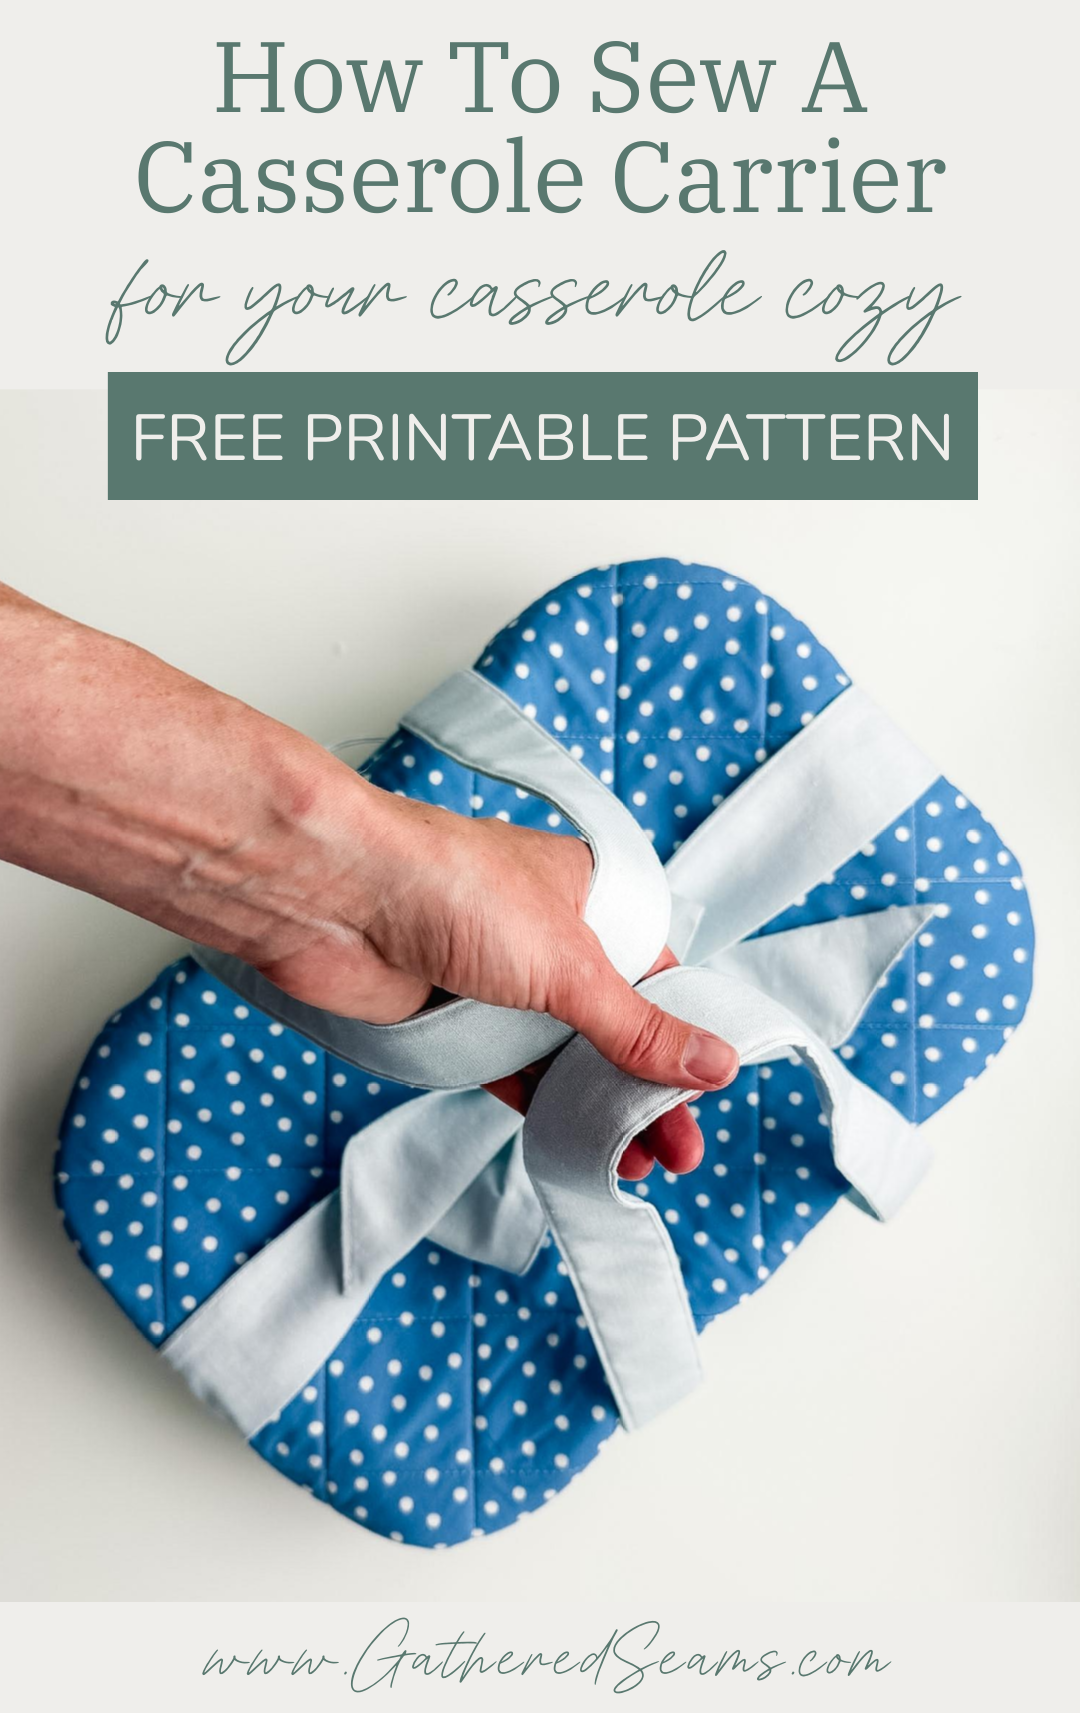
Casserole Carrier Straps
This section will explain how to create casserole carrier straps. These can be used with most styles of casserole cozies. I wouldn’t suggest using them with a casserole dish on its own, as they may slip around on the smooth glass.
Materials
As an Amazon Associate, I earn from qualifying purchases (see full disclosure here).
- Fabric for straps (or you could use webbing)
- Optional: fusible fleece to add structure to the straps
- Fabric for the tie
- Thread
Step 1
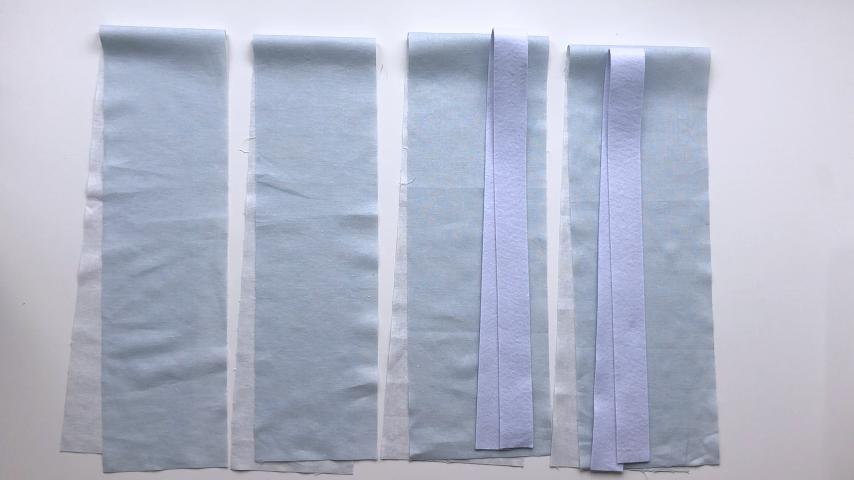
Cut out your fabric pieces. You will need:
- Straps:
- 2 pieces 6″ wide by 34″ – 38″ long (for longer straps, go with 38″+)
- Optional: 2 pieces of fusible fleece (approx 1-3/8″ wide and cut to length of finished strap) I cut these after I fold my strap, to ensure it’s the right width.
- Tie:
- 2 pieces 5″ wide by 34″ long
Step 2
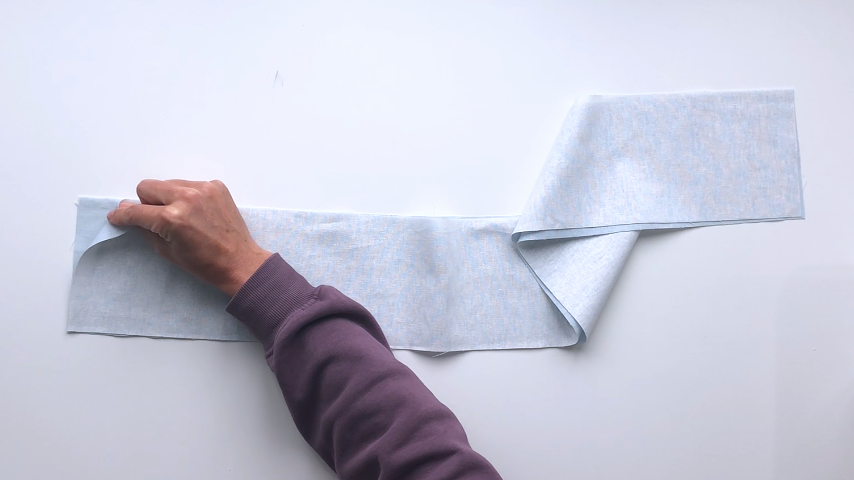
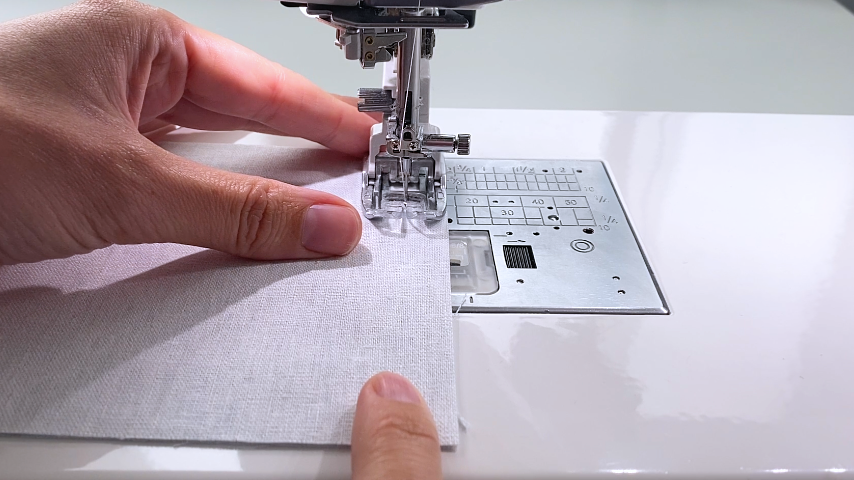
Place your two tie pieces right sides together and sew one end together using a 1/2″ seam allowance.
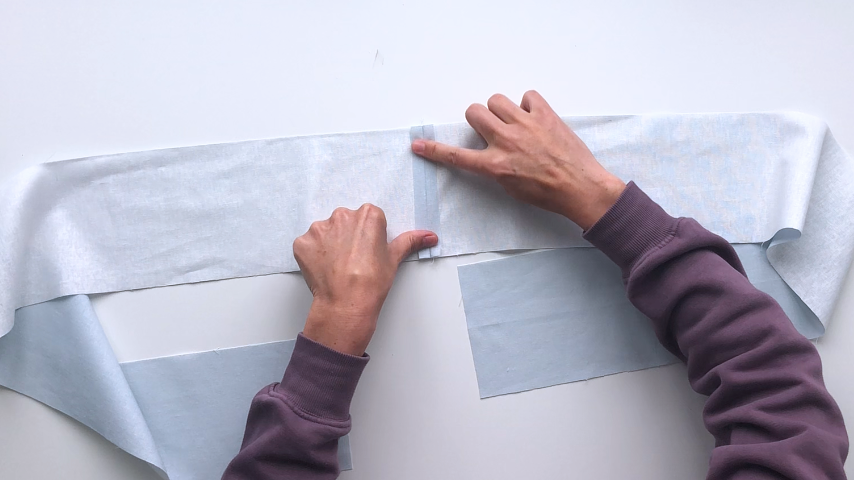
Press the seam open.
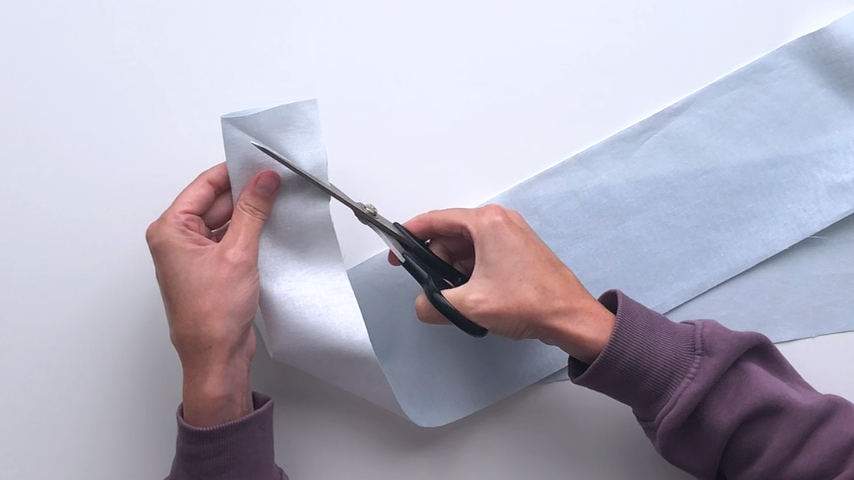
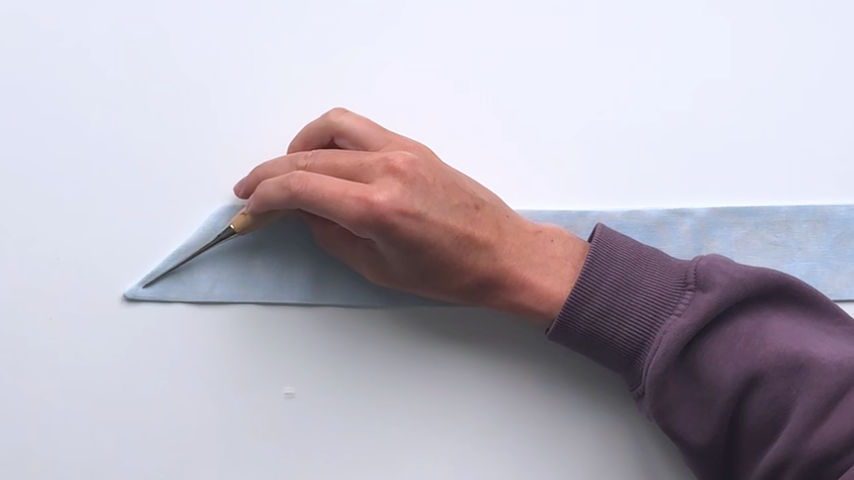
Fold your strip in half, lengthwise with right sides together. Cut both ends at a 45-degree angle.
Mark two lines 4″ – 6″ apart, near the center of your tie, which you won’t sew between.
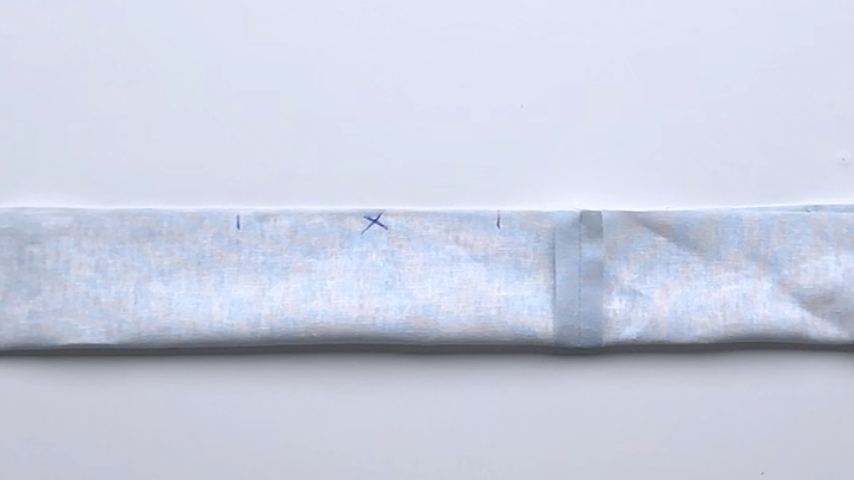
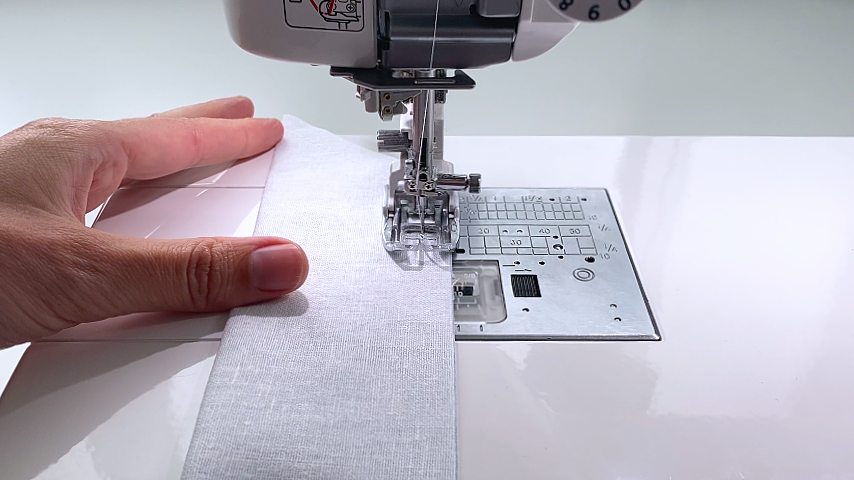
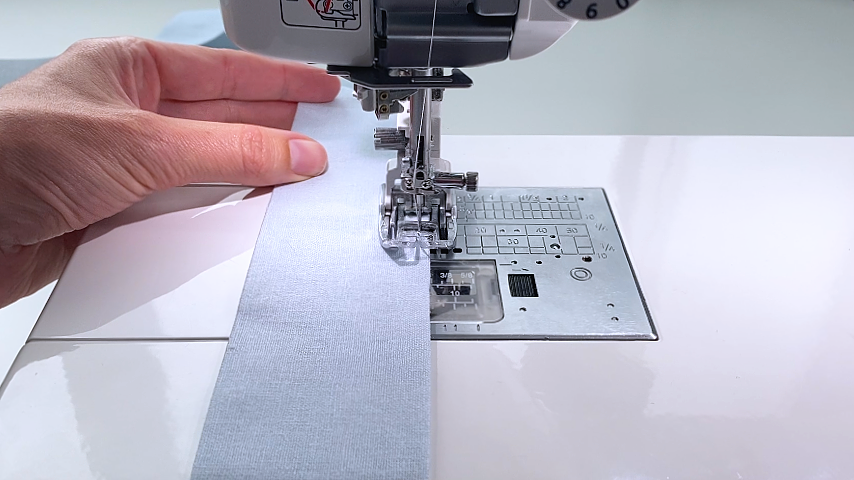
Using 1/4″ seam allowance, sew the ends and top edges together.
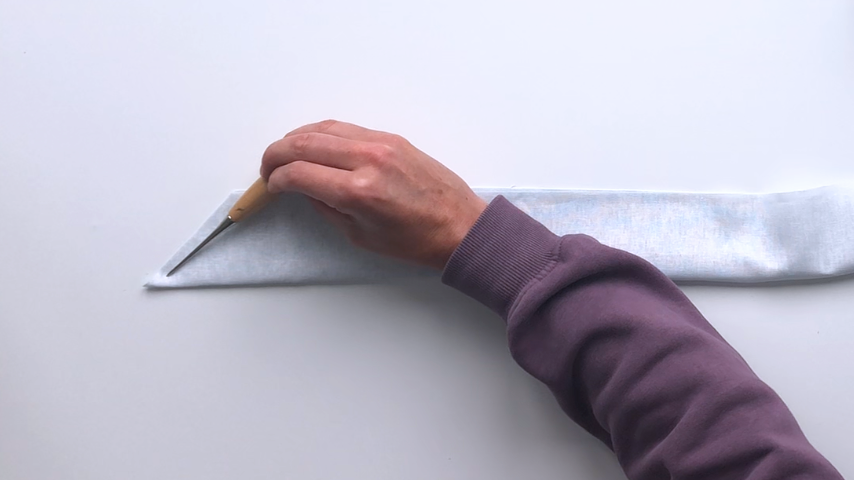
Trim the points/corners to reduce the bulk once the tie is turned right side out.
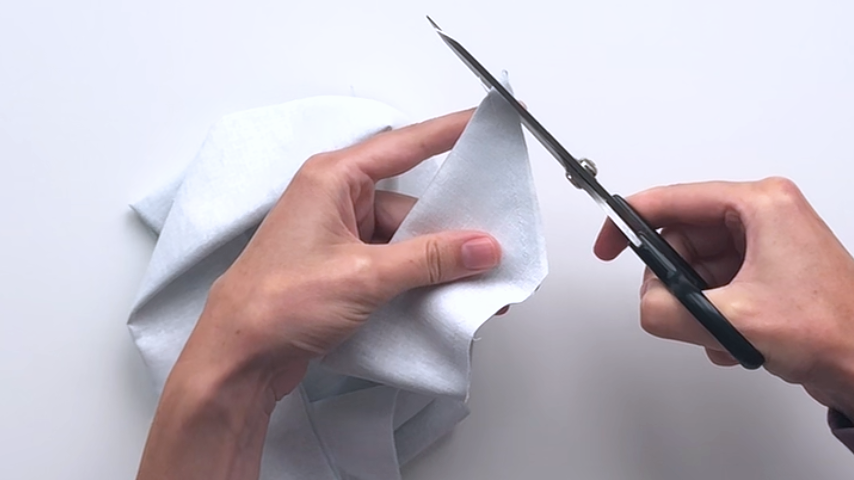
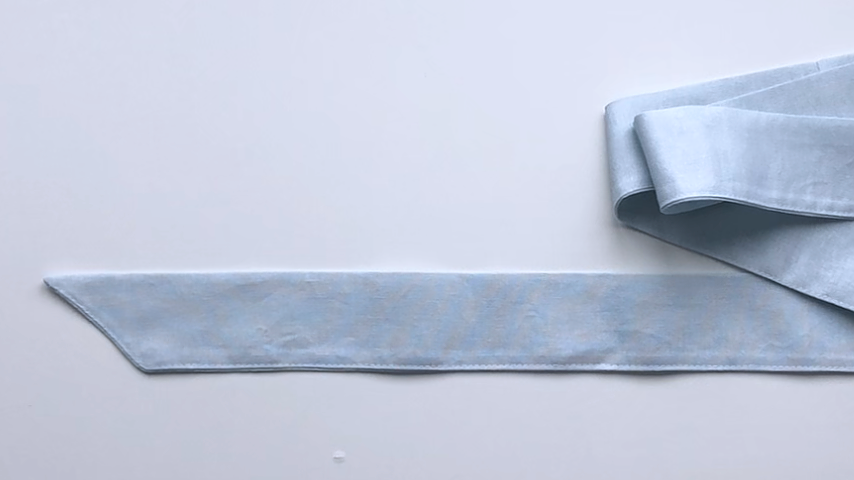
Turn the tie right side out and press.
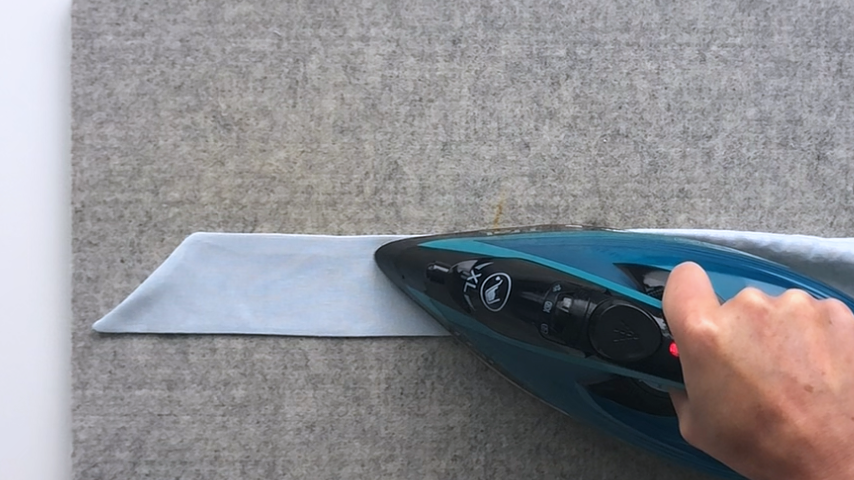
Topstitch, about 1/8″ away from the sewn edge.
Step 3
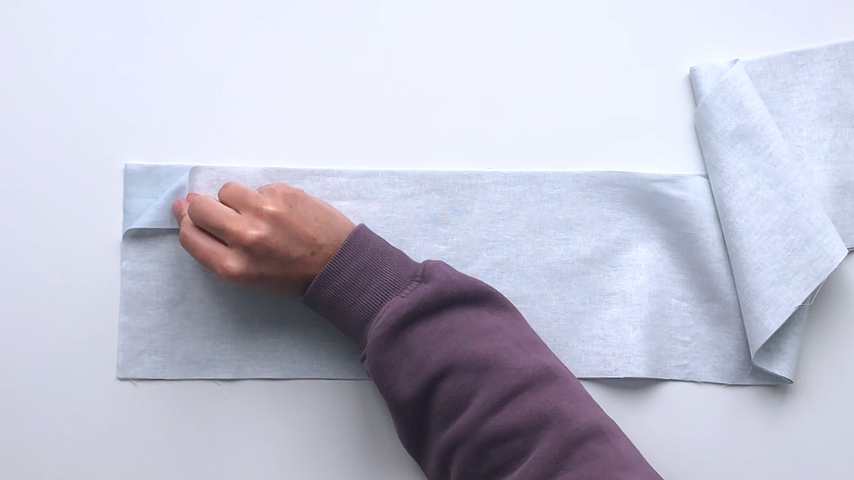
To sew the straps, place your two pieces right sides together and sew one end using a 1/2″ seam allowance.
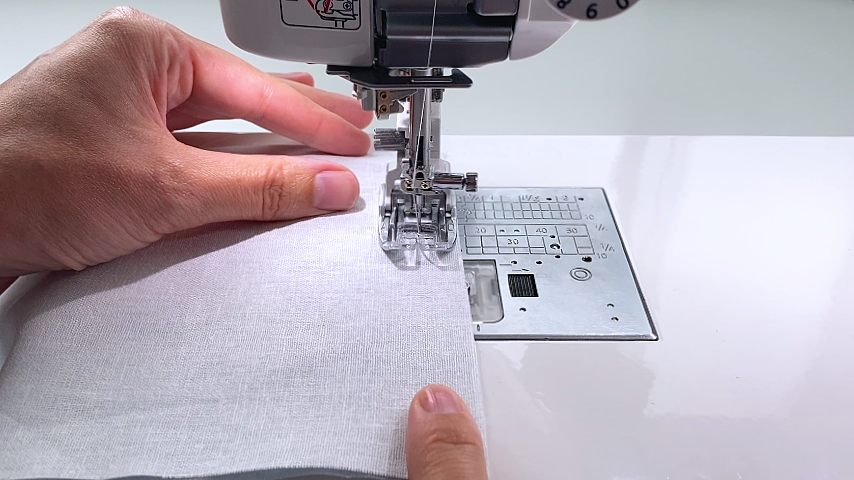
Press the seam open.
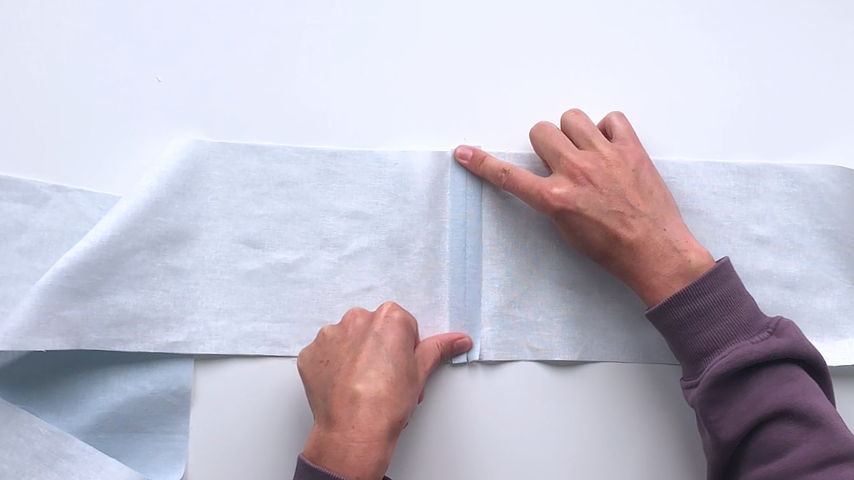
Fold the strip in half, lengthwise, with wrong sides together and press the center seam.
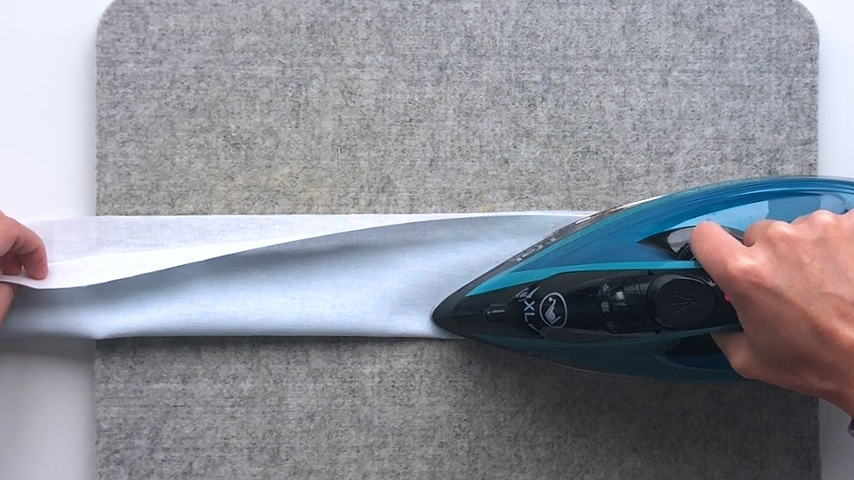
Unfold the strip, then fold the bottom edge up to meet the center crease and press the folded edge.
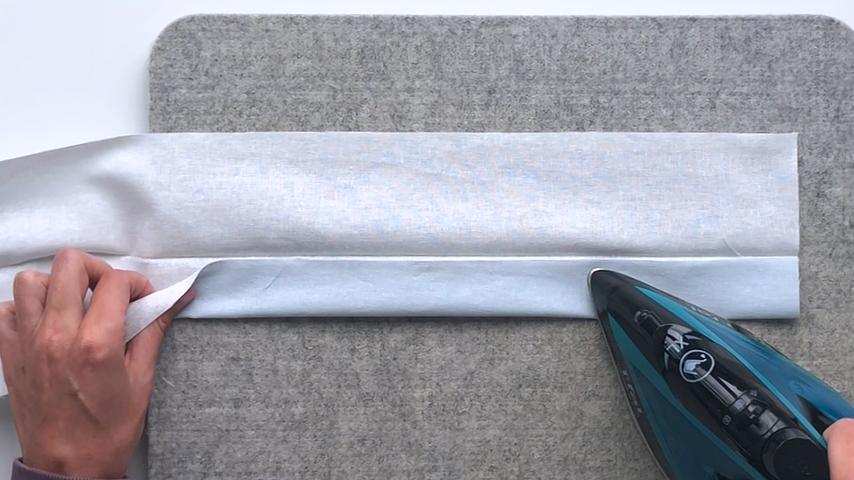
Fold the top edge to meet the center seam and press.
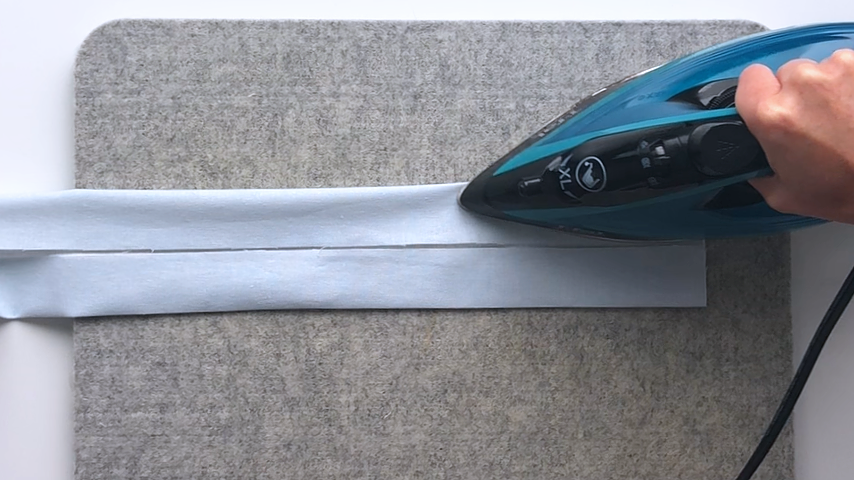
If adding the fusible fleece, place that between the first fold and the center fold, 1/2″ away from the end, and press into place.
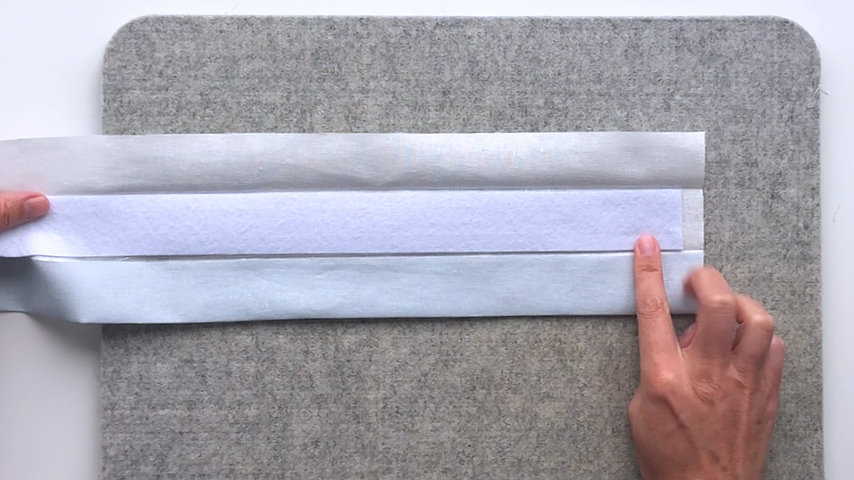
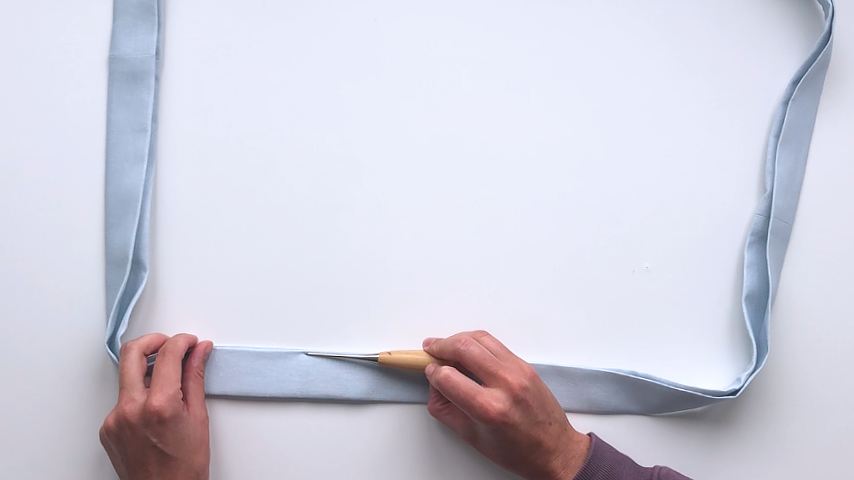
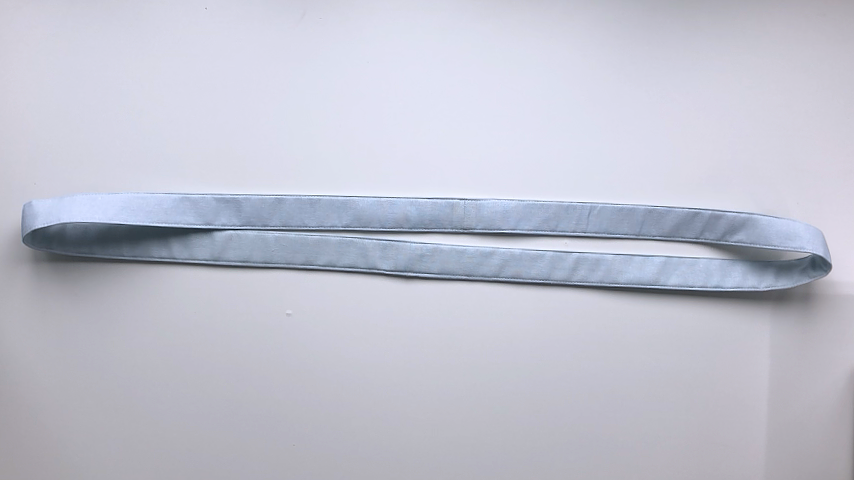
Fold the strip in half widthwise, right sides together, and sew the other ends together using a 1/2″ seam allowance. You’ll be creating a continuous loop.
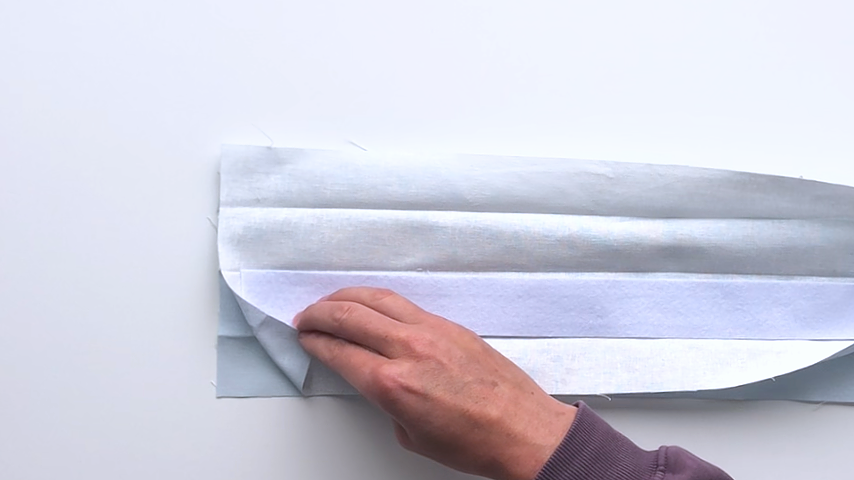
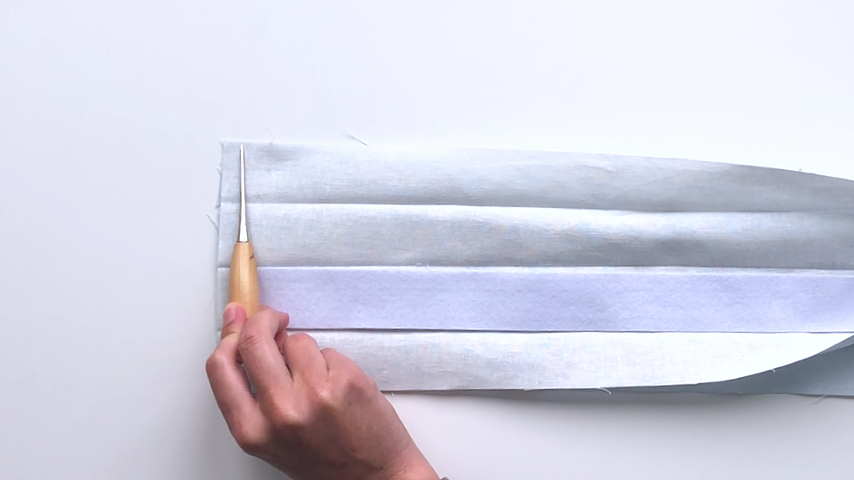
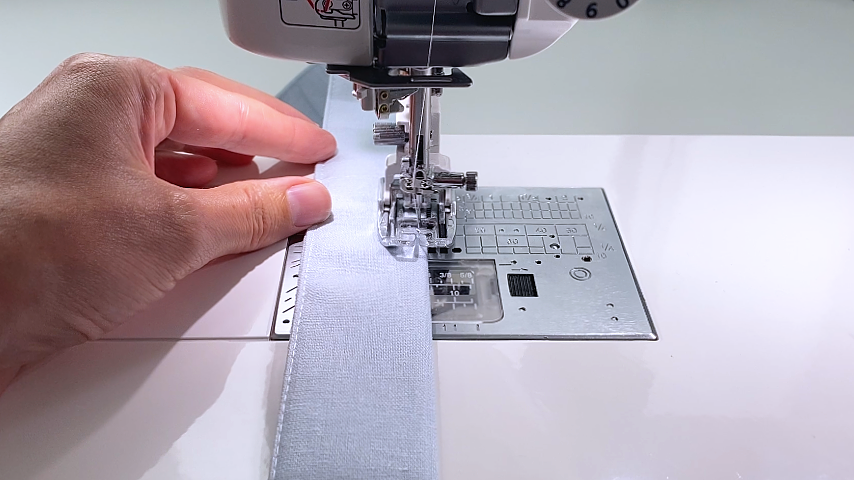
Fold your edges into the center, then fold in half again (press if needed) and then topstitch on either side of the strap 1/8″ away from each edge.
Step 4
Find the center seam of your tie and using a temporary fabric pen, mark two lines, 2″ away from the center seam, on either side of it.
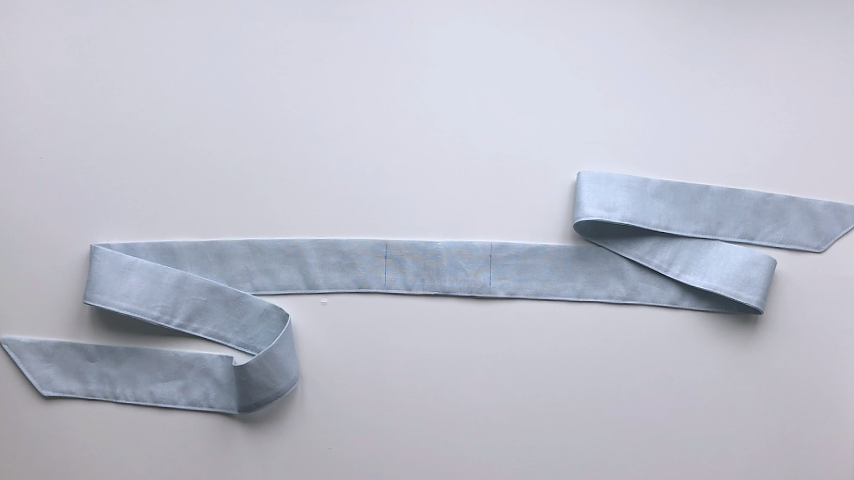
Center your straps seams in the middle of the tie and line up the edge of your straps with each line (so your straps are 4″ apart). Pin into place.
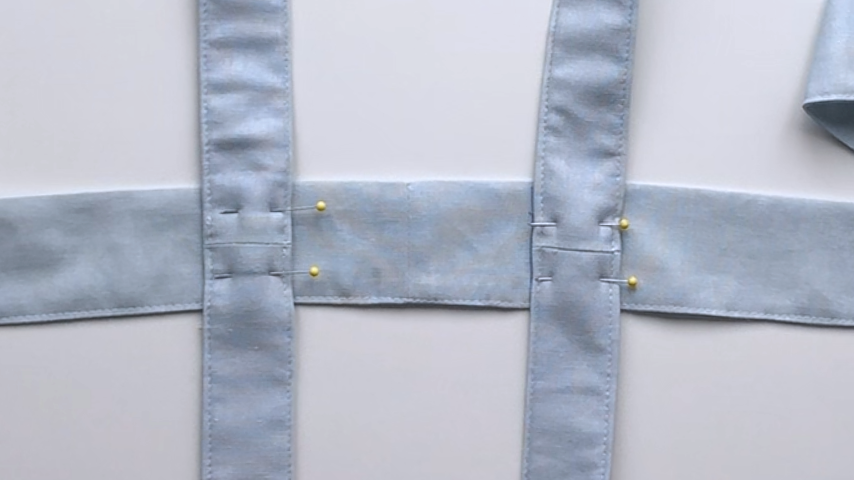
Sew a rectangle to stitch the straps to the tie.
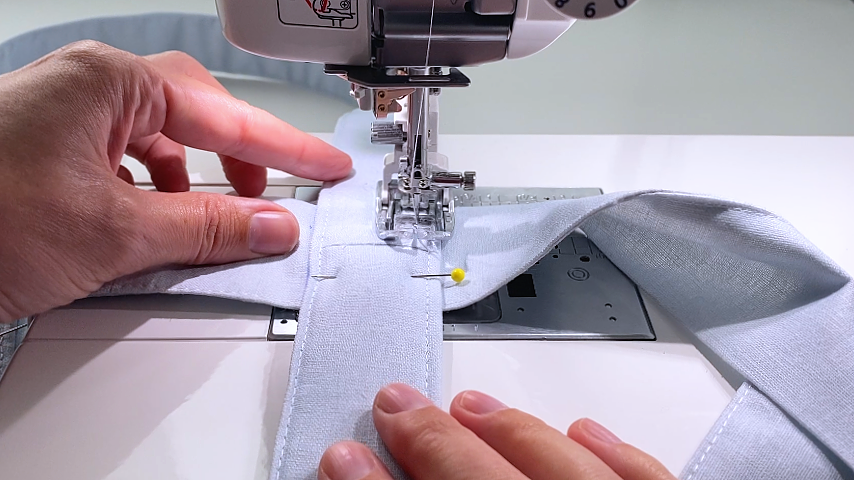
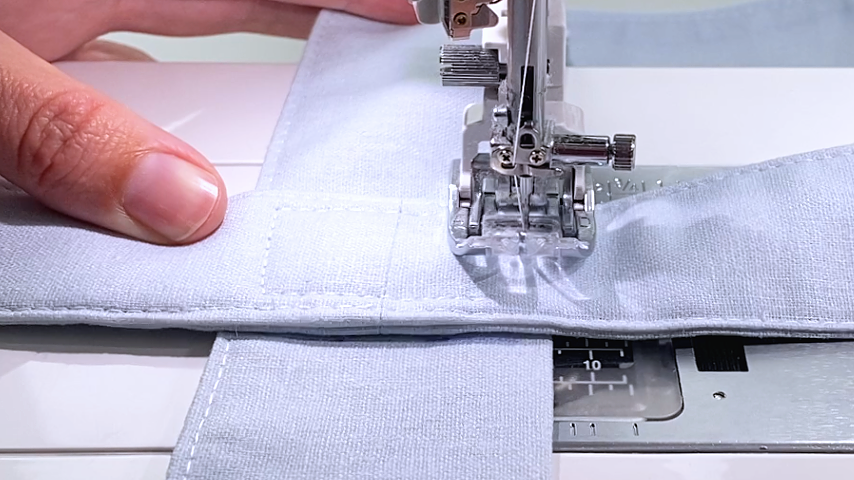
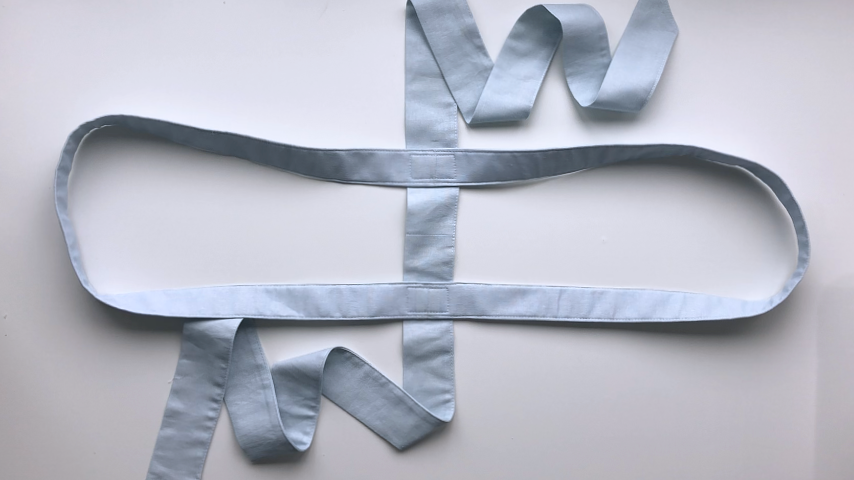
This is how the straps will work with my casserole cozy.
Center the casserole so the tie runs through the center of the long side of the casserole dish, and the straps are on either side of the short side of the casserole dish.
Tie the tie tight to keep the straps in place and balance the dish.
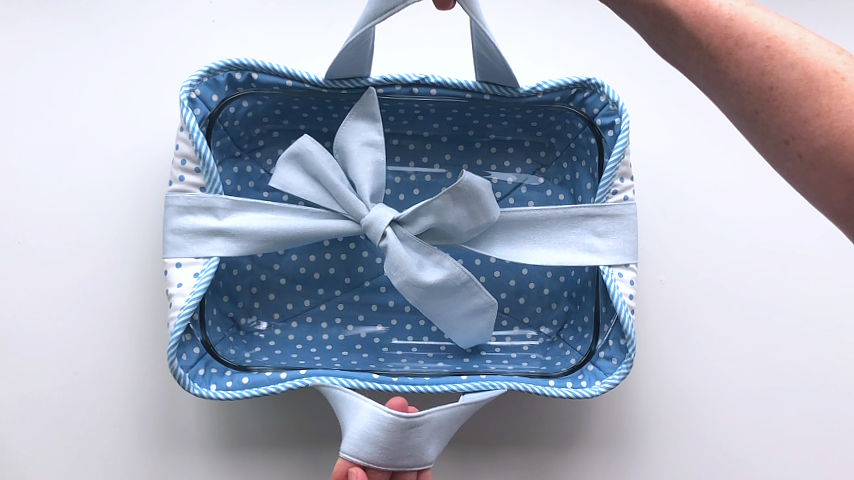
The straps and cozy can also be used with the insulated casserole cover. The pattern and instructions follow.
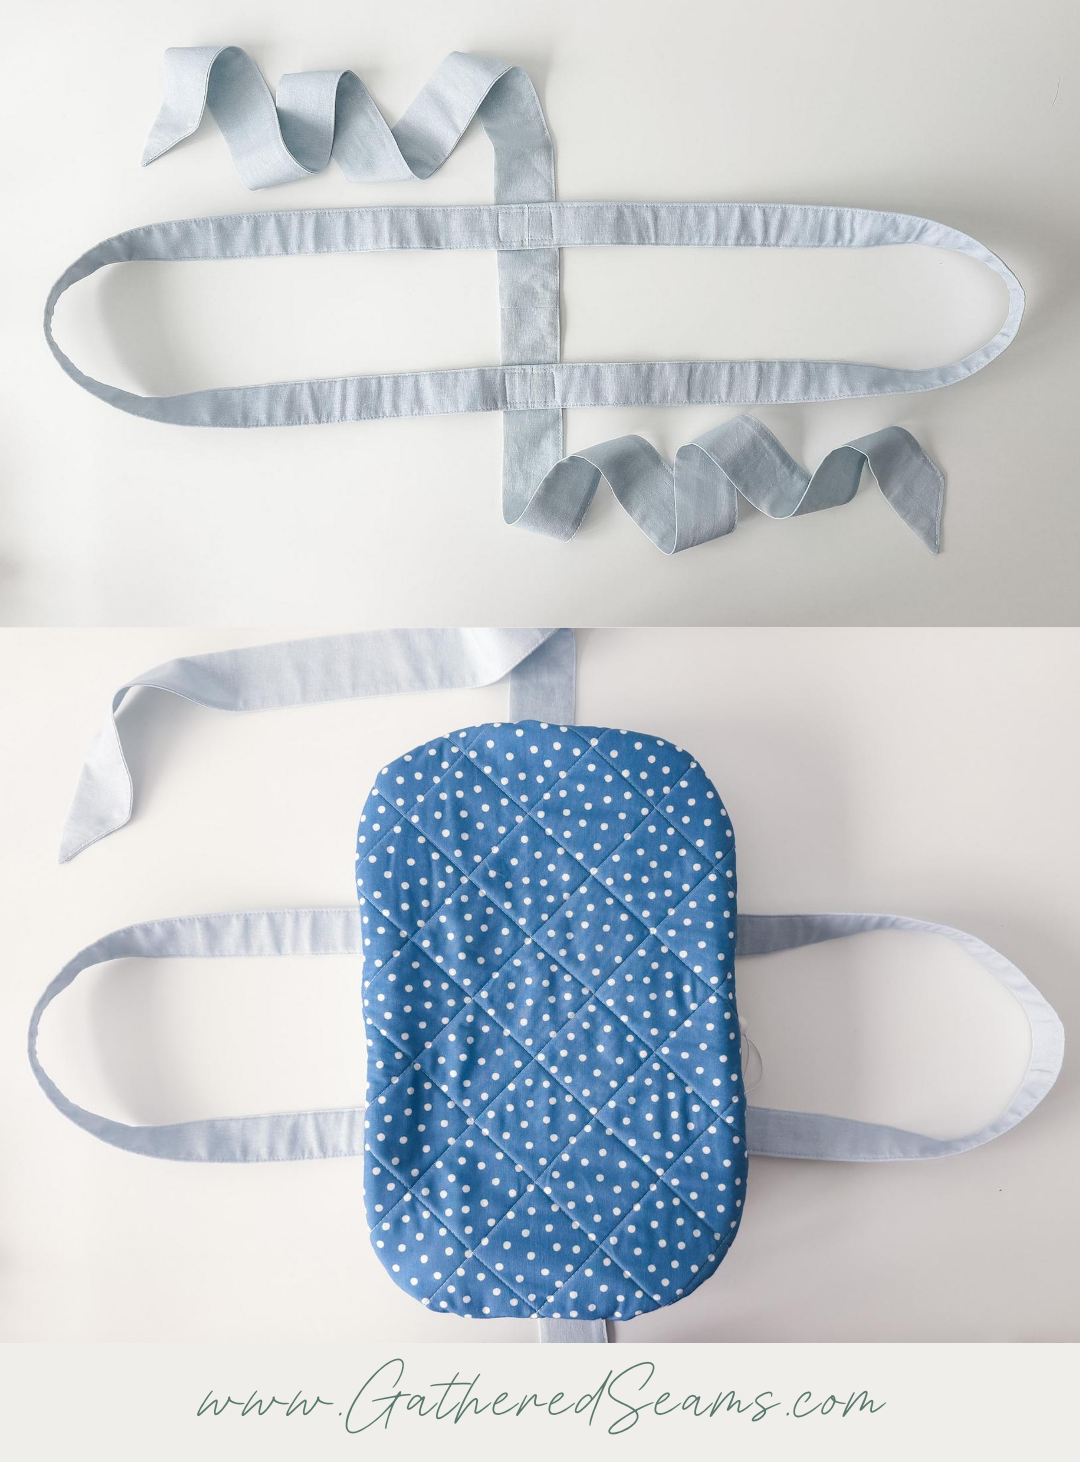
Insulated Casserole Cover
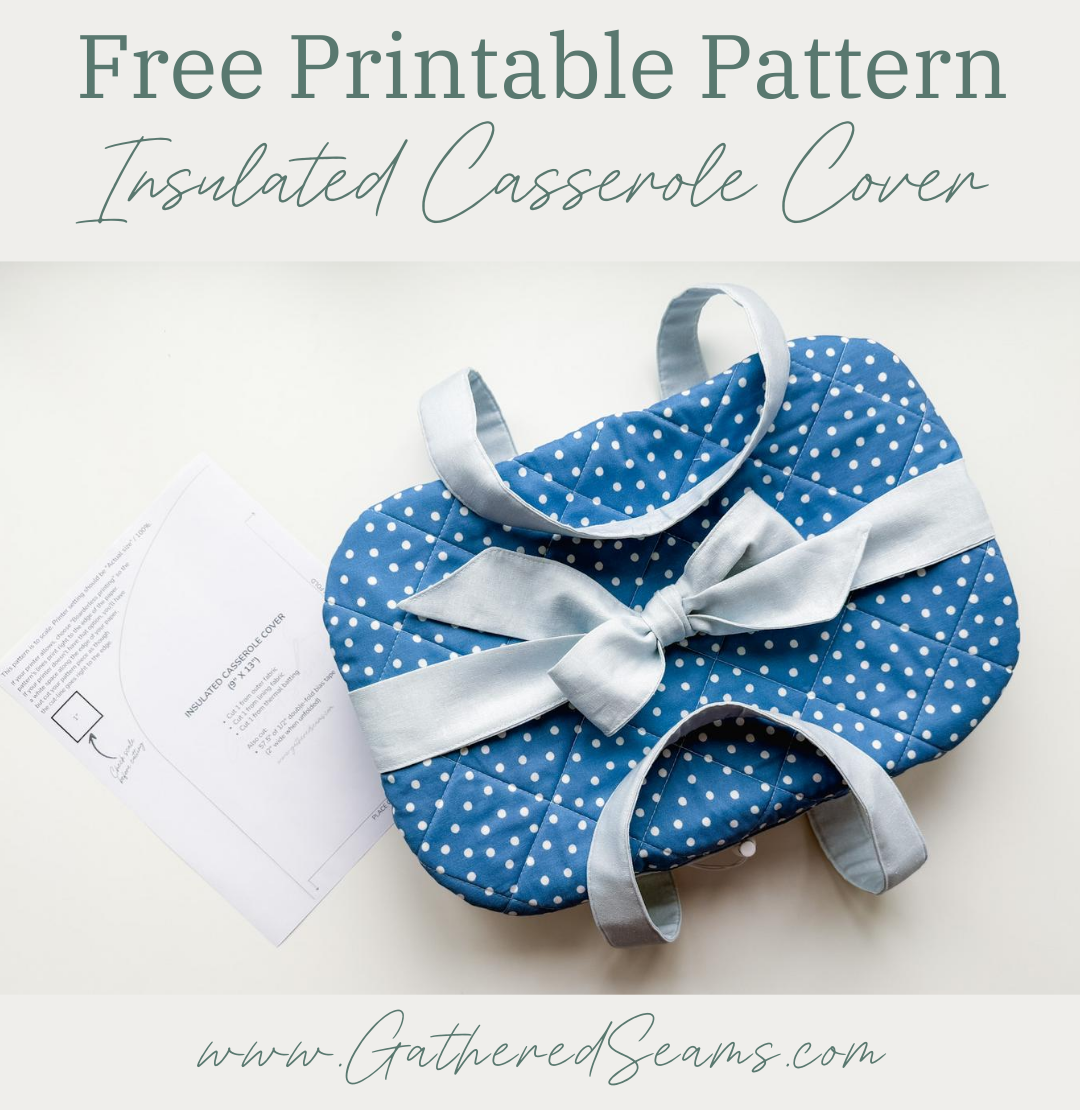

To add an insulated cover to your casserole dish, you will need the following:
- Printable pattern for an insulated casserole cover (9″ x 13″)
- Fabric for the top and bottom of the cover
- Thermal batting
- Cotton batting (optional; it will add extra insulation if you want to keep more heat in the dish)
- Bias tape that is 2″ wide unfolded cut to 57.5″ long
- 1/8″ cord elastic and cord lock – cut elastic to 60″ long
You can use 1/2″ wide ribbon for the tie, but I tried both and found the elastic easier to cinch tight around the casserole dish.
If you want to use a wider ribbon (which may help tie the ribbon tight), you can either reduce the seam allowance to 1/4″ when sewing the outer fabric and lining together (which will create a slightly wider channel for the ribbon) or cut wider strips on the bias (e.g. 3″ wide instead of 2″ wide).
*If adding several quilting stitches, cut your outer fabric and batting slightly larger than the pattern, add your quilting stitches, then cut to pattern size.
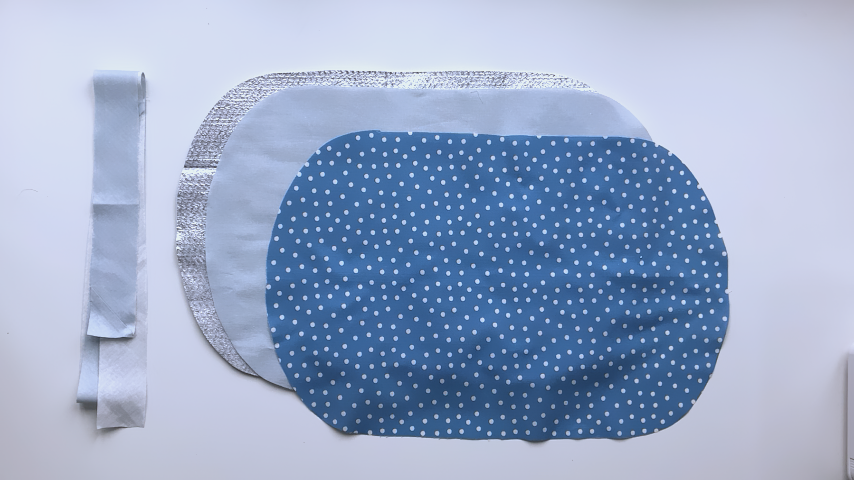
Step 1
Layer your outer fabric with your thermal batting (and cotton batting if using) and add quilting stitches in any pattern you like, then trim fabric to pattern size.
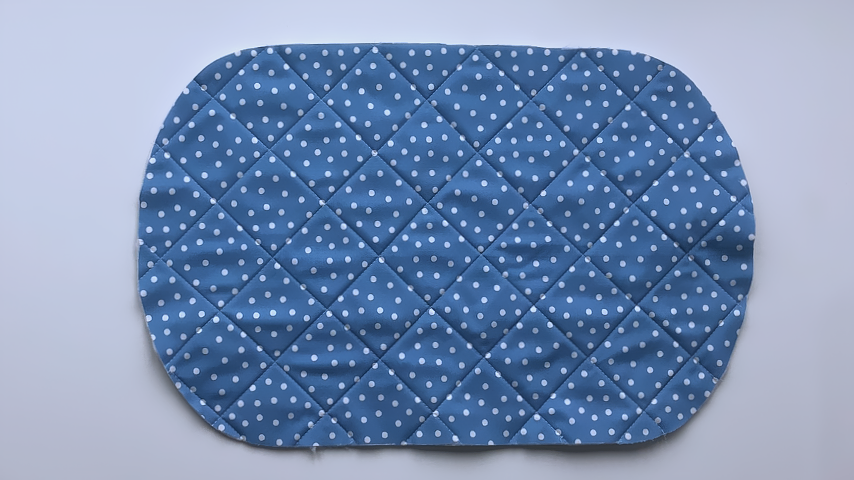
Step 2
Unfold your bias tape and press it to remove the creases (unless it’s single fold with one crease down the center).
Trim the seam allowance on either side of any joining seams. You want these short so when you’re threading your ribbon or elastic through, your safety pin or bodkin doesn’t get caught under the seam allowance.
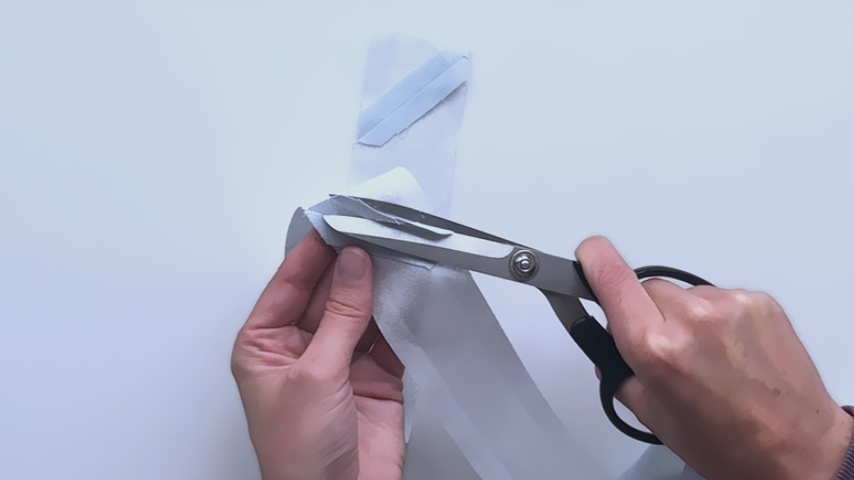
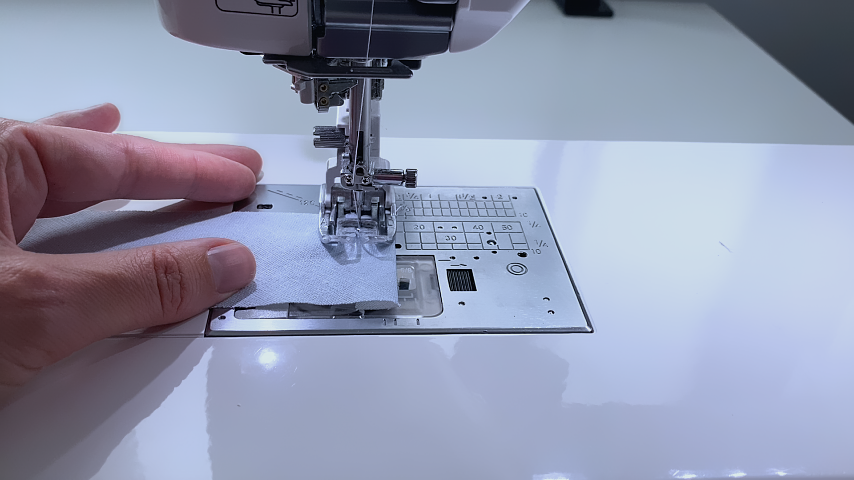
Fold both ends in 1/2″ and press.
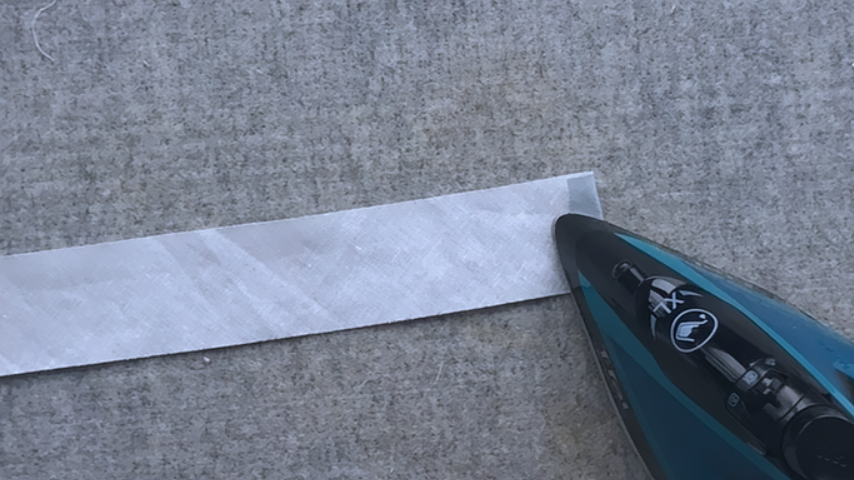
Topstitch the folded hems into place.
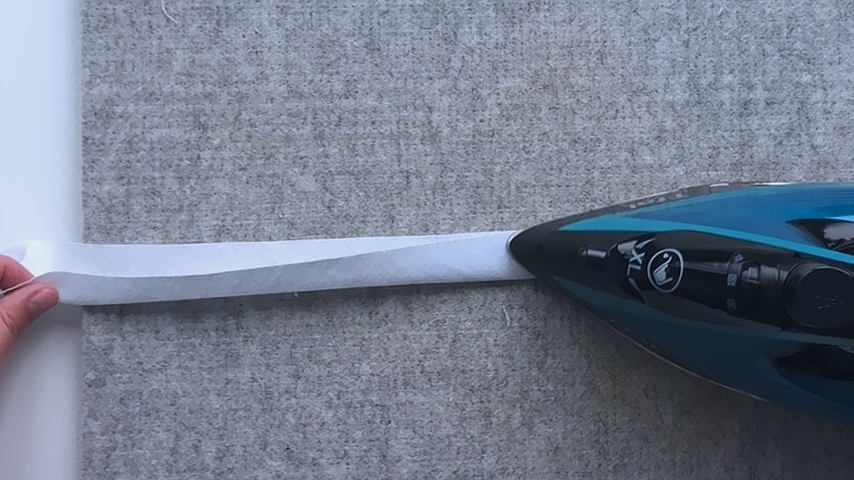
Fold the bias tape in half lengthwise, wrong sides together, and press.
Find the center of your quilted piece and mark. Place the start of the bias tape 1/2″ away from the center point.
Clip it into place to ensure the other end of your bias tape will end 1/2″ away from the center point on the other side.
Baste the bias tape into place.
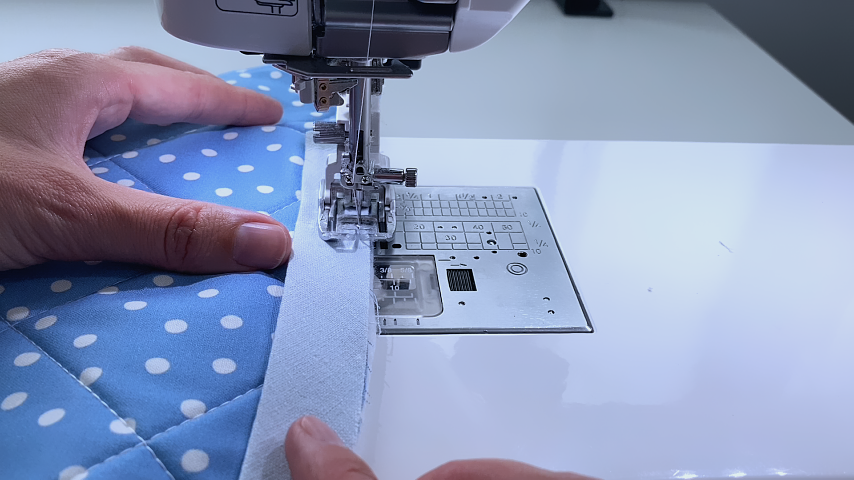
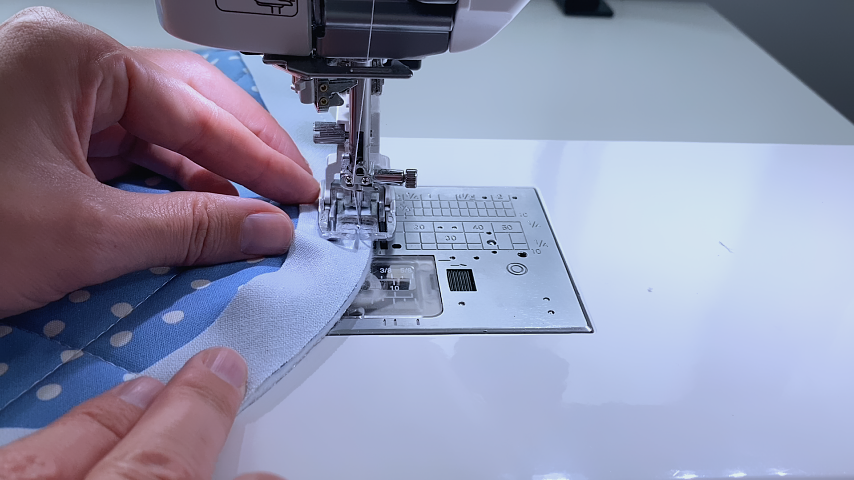
Don’t pull on the bias tape as you go around curves, simply guide it into place:
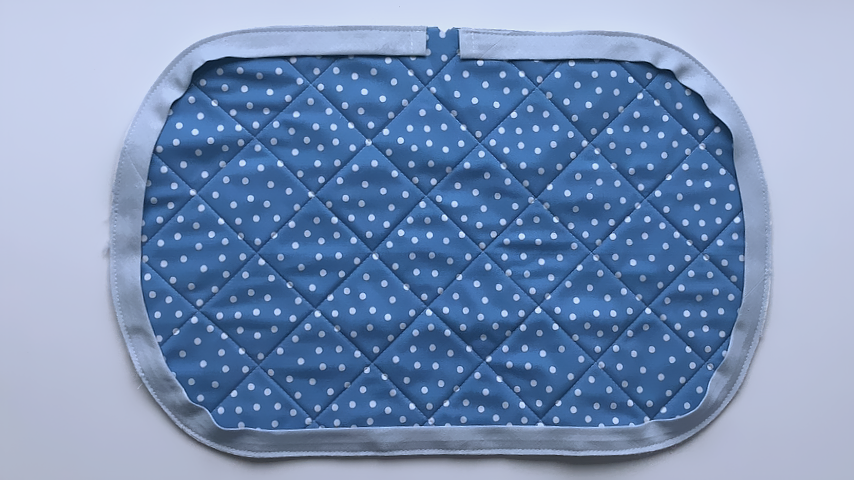
Step 2
Place your lining piece right sides together with your quilted piece.
Using a temporary fabric pen, mark two lines, about 6″ apart. You won’t sew between these lines.
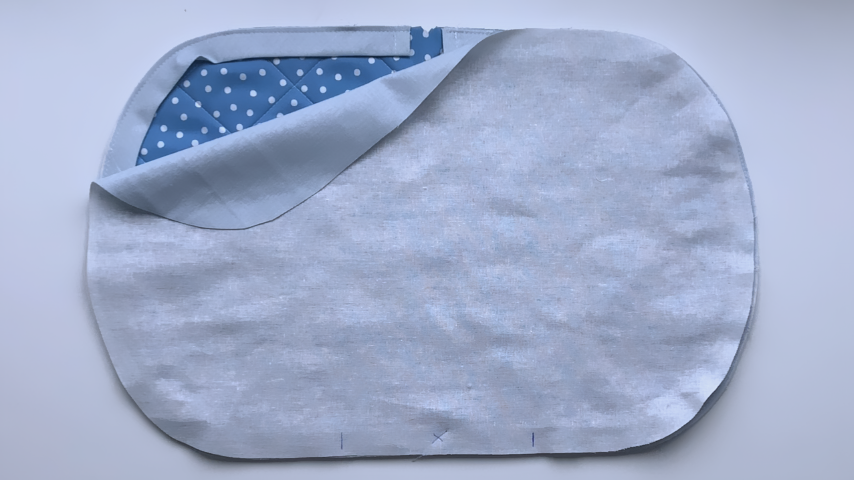
Using a 1/2″ seam allowance, sew your lining and quilted piece together.
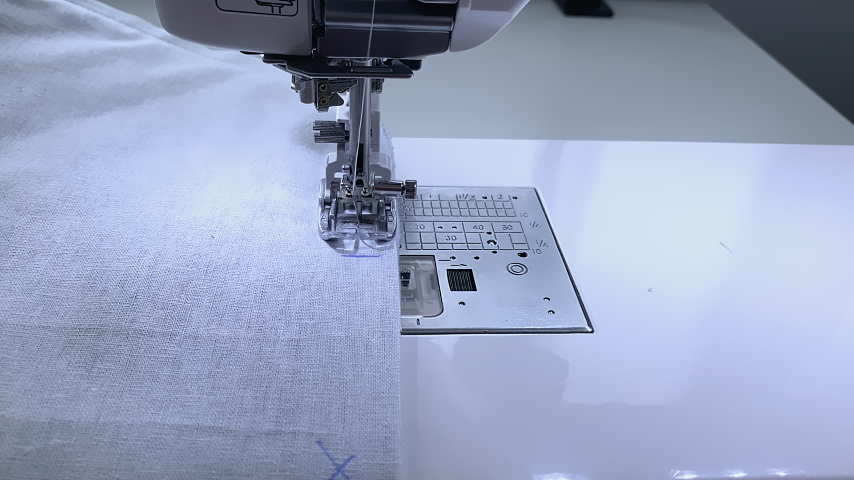
Press the seam allowance open where your opening is.
Trim the seam allowance in half, leaving the full seam allowance in place where the opening is.
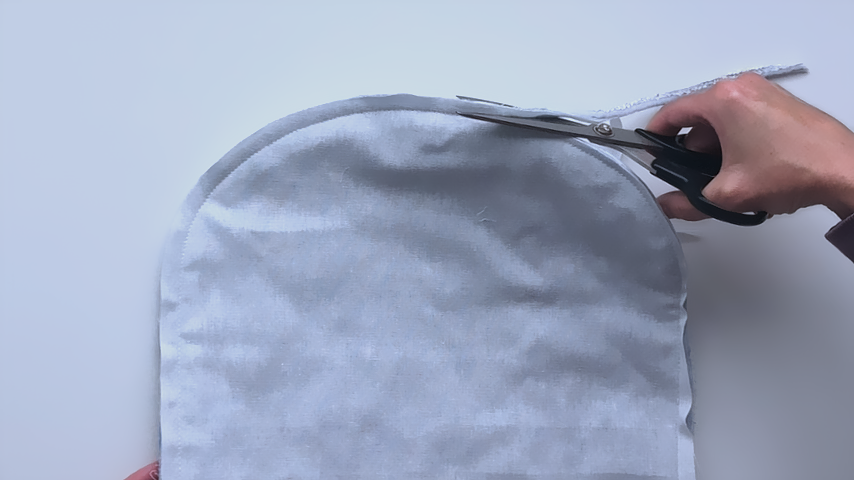
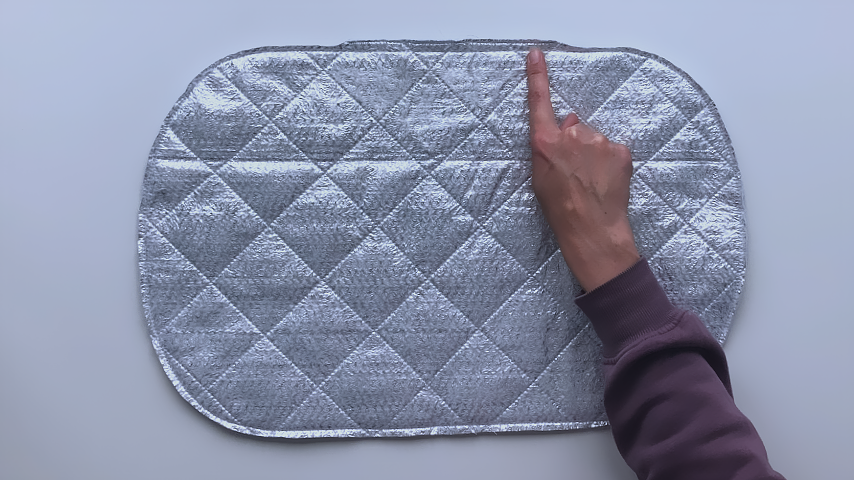
Turn the cover right side out.
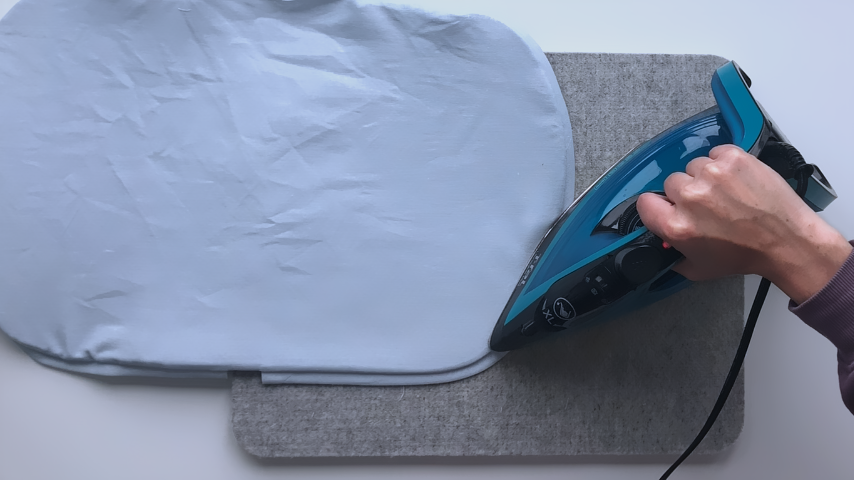
Press the seams.
Top stitch around the edge of the cover.
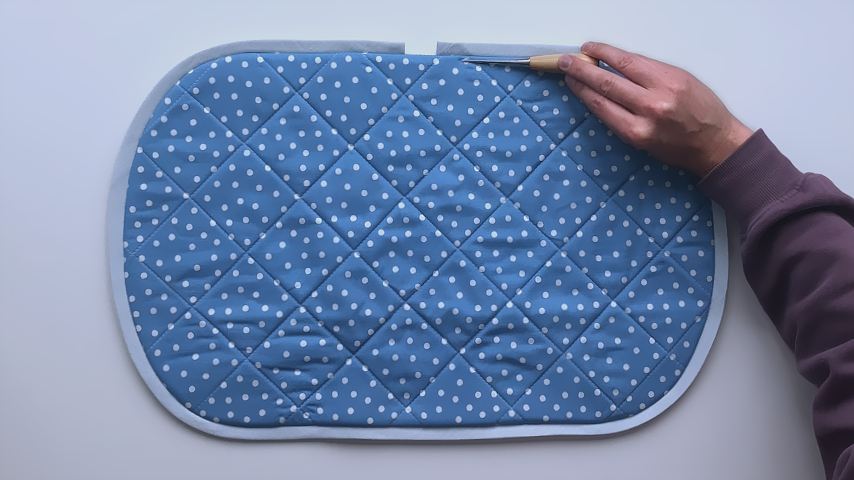
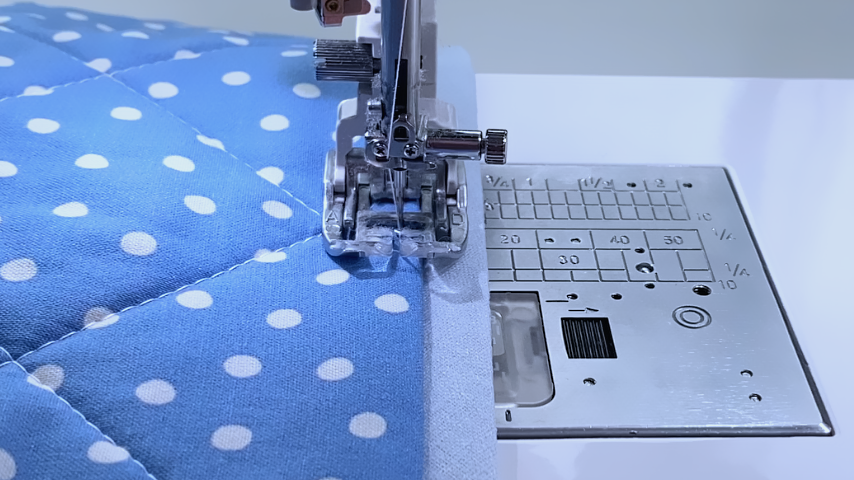
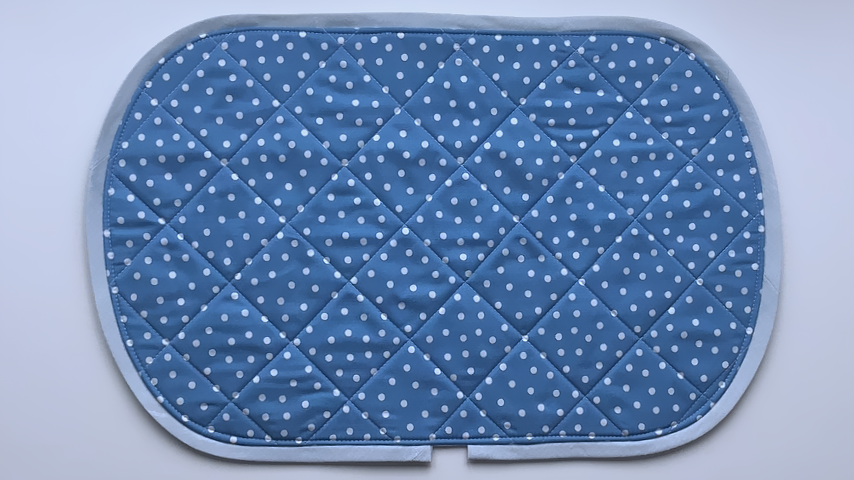
Step 3
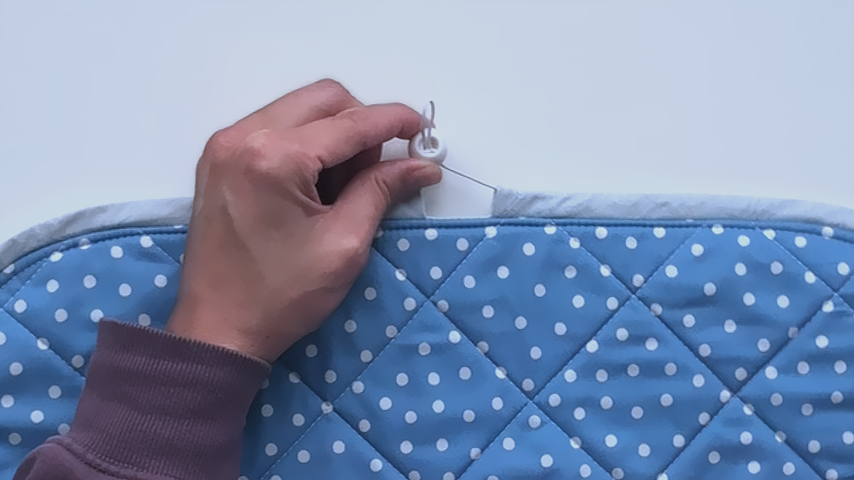
Thread your cord elastic or ribbon through the channel using a safety pin or bodkin. If using elastic and a safety pin, you may want to tie a double knot, as my knot came undone halfway through the channel.
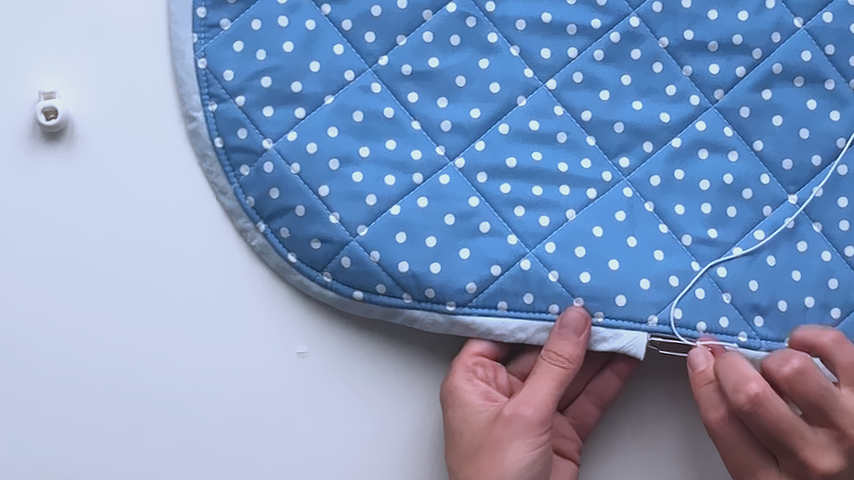
(If you’re using ribbon, cut the ends and then use fray-stop or a lighter to slightly melt the ends of the ribbon and ensure they don’t fray.)
Tie the two elastic ends in a balloon knot, which will keep the ends secure, even when pulling the cover tight around the casserole dish.
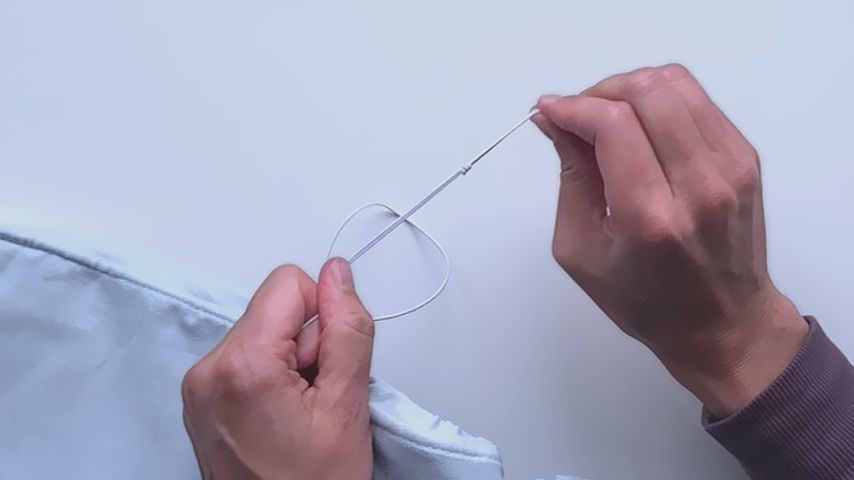
Work the knot back into the channel (about halfway) so that the knot won’t come out of the opening when you pull the elastic tight around the casserole dish.
Fold the elastic cord in half and feed the folded end through the cord lock.