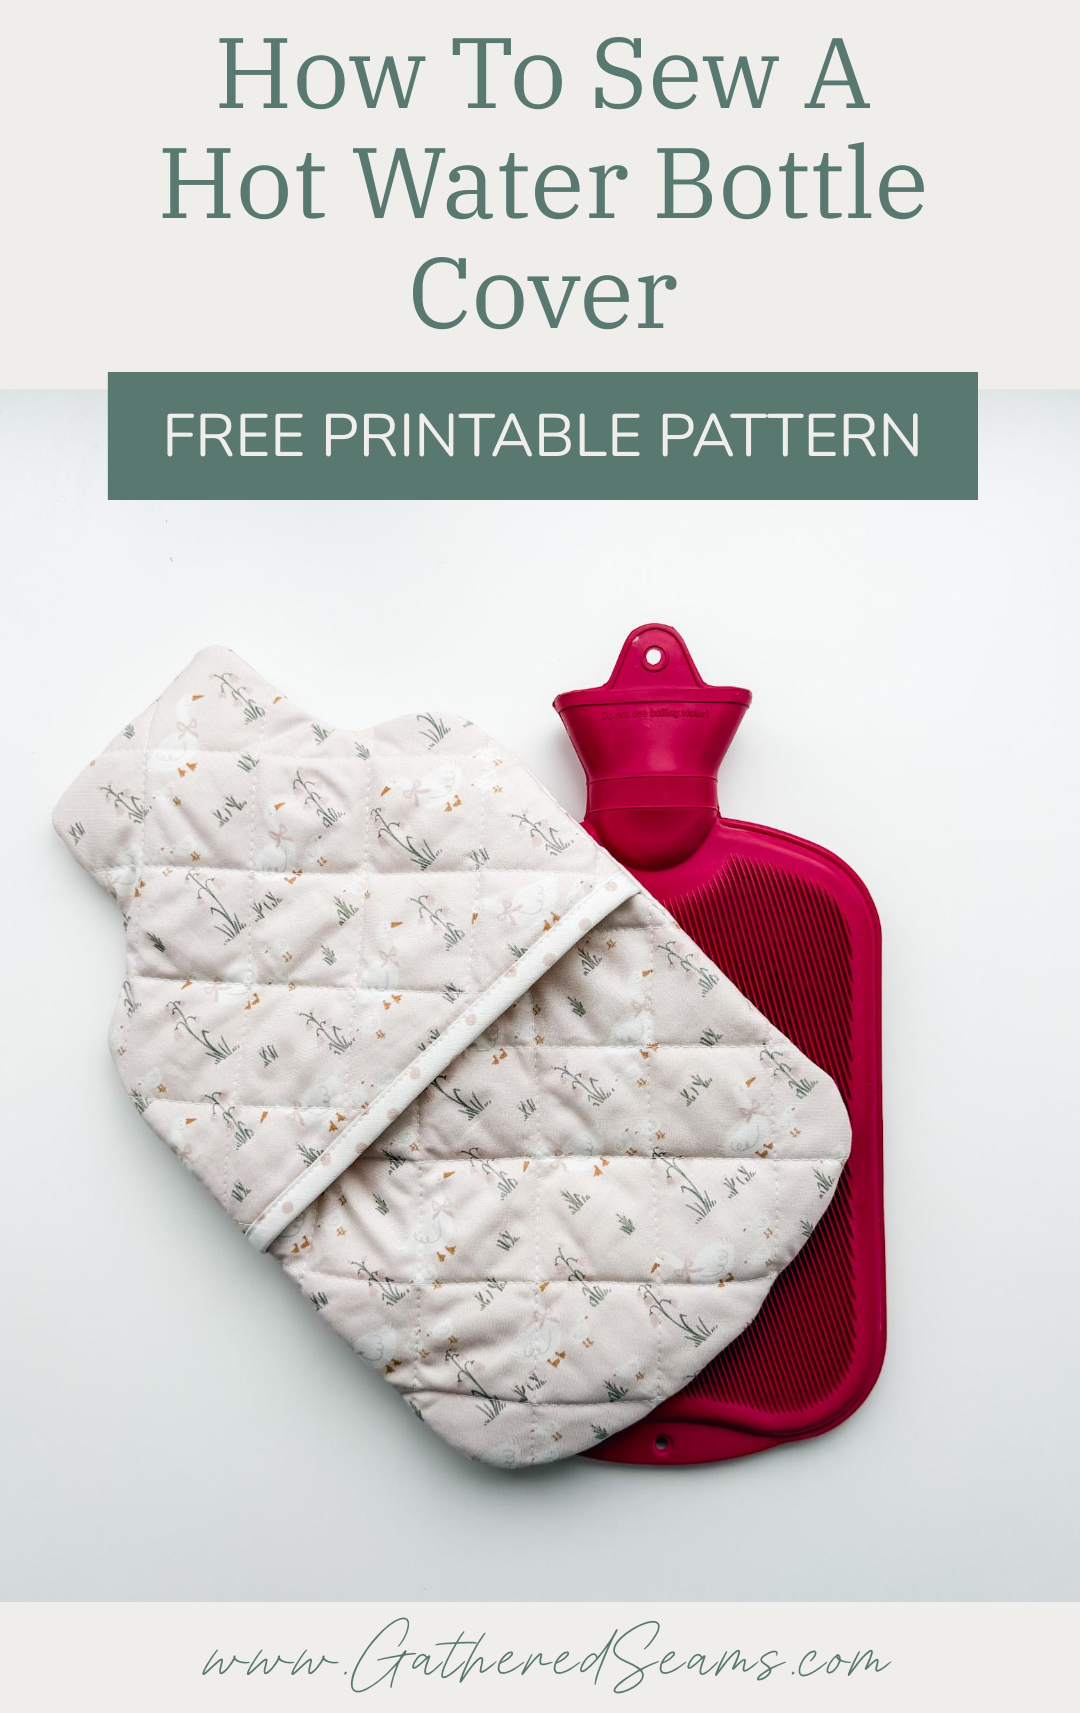
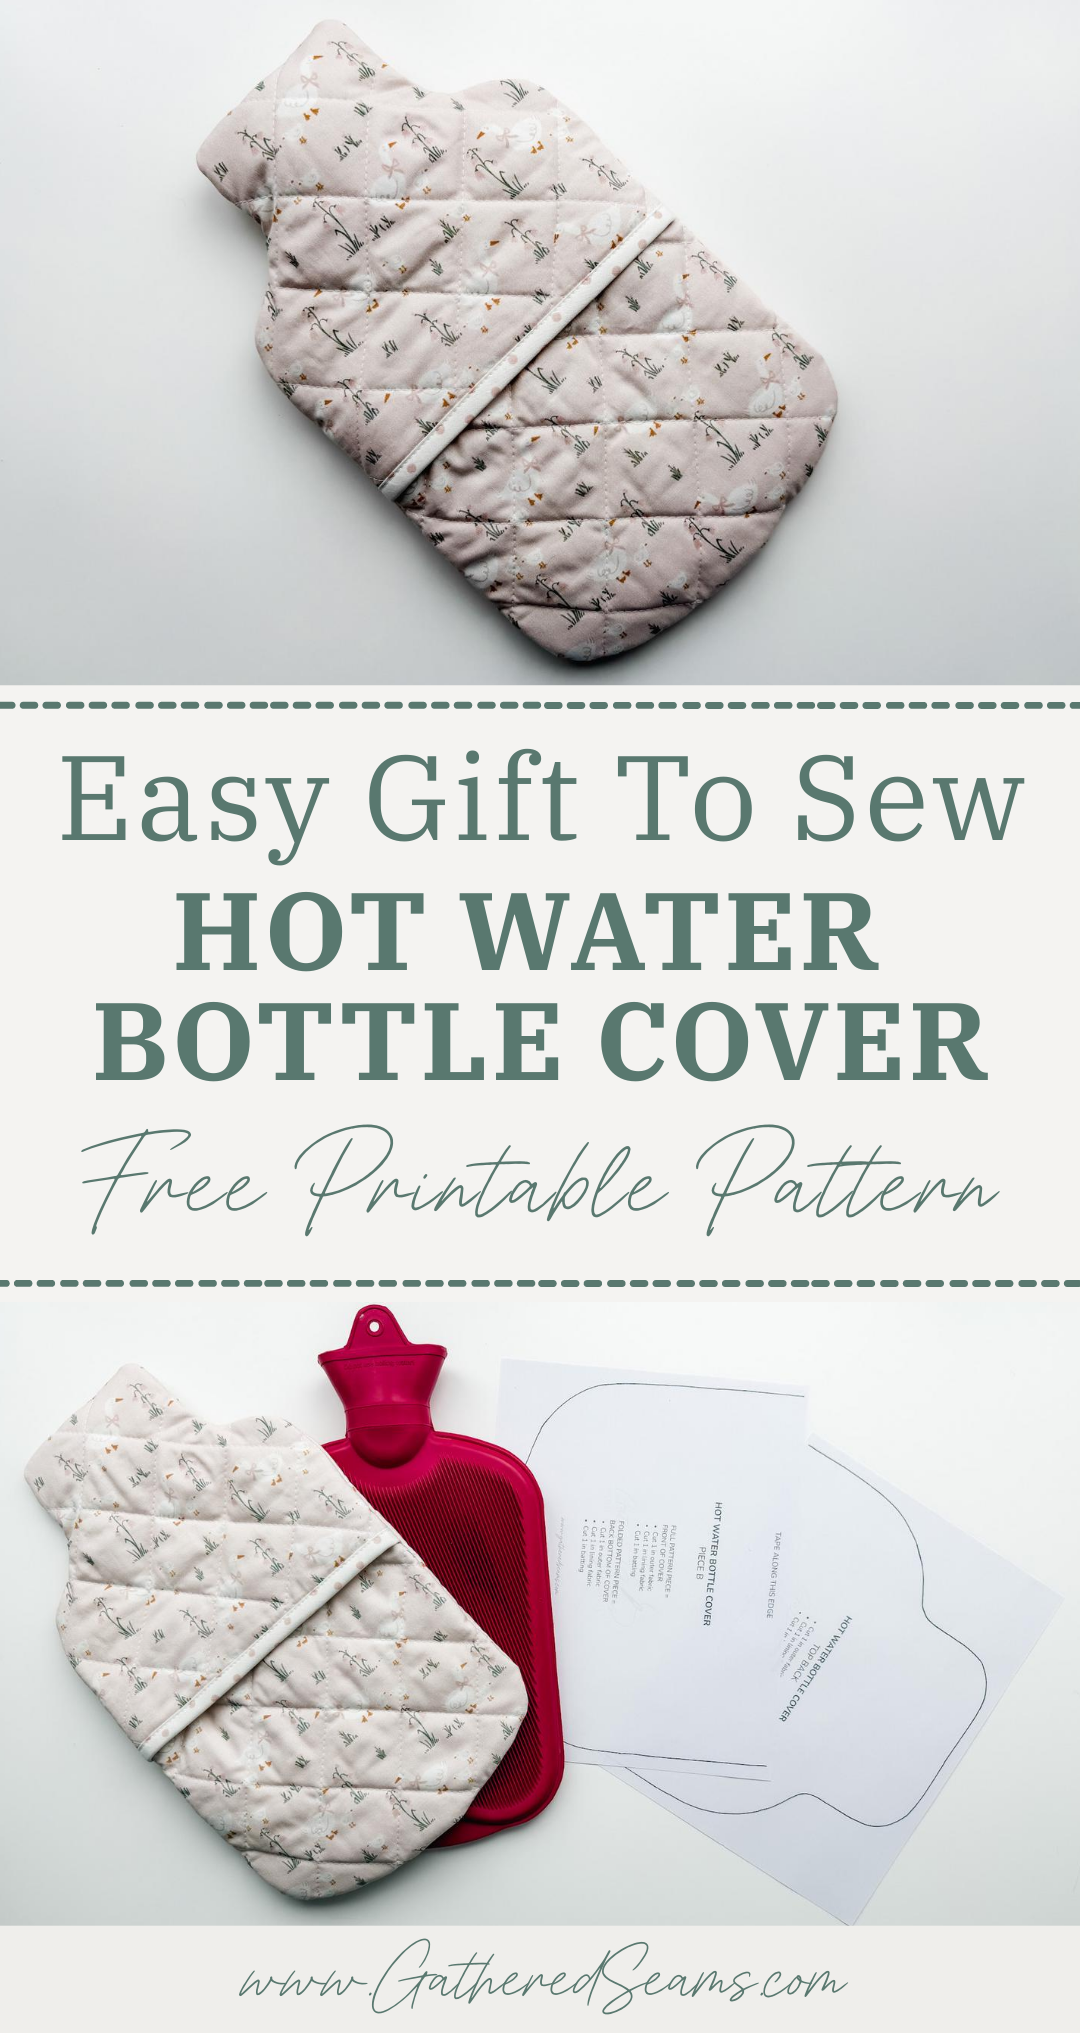
How To Sew A Hot Water Bottle Cover | Free Printable Pattern
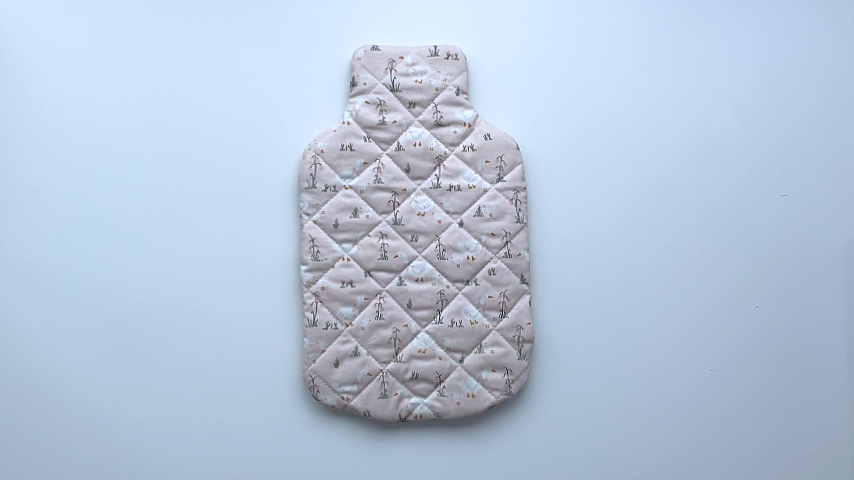
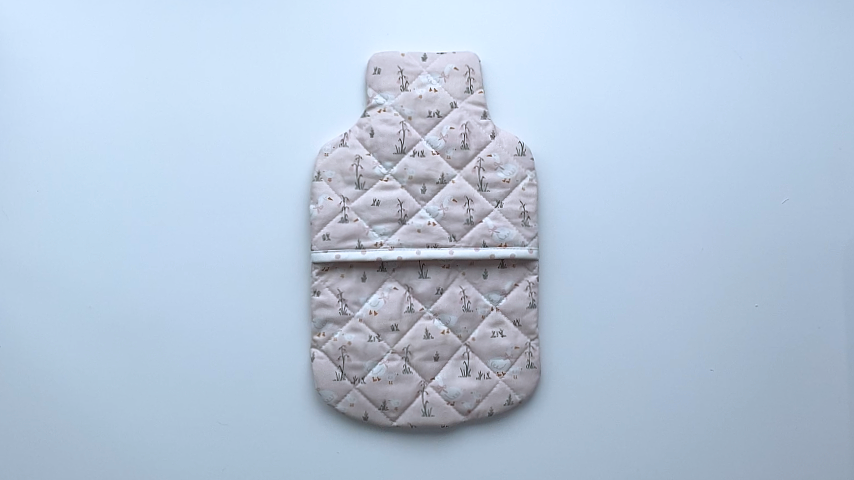
A hot water bottle cover makes a good gift to sew. They help protect your skin from the hot rubber, and can help keep the water hot for longer…depending on the type of batting you use.
It’s a quick and easy sewing project that doesn’t require much material.
The one I made is quilted, but if you’re looking for a quick sewing project, or you’re making these to sell, I suggest skipping the quilting stitches.
To save time, you can simply use temporary spray glue to hold the layers together as you sew around the edges.
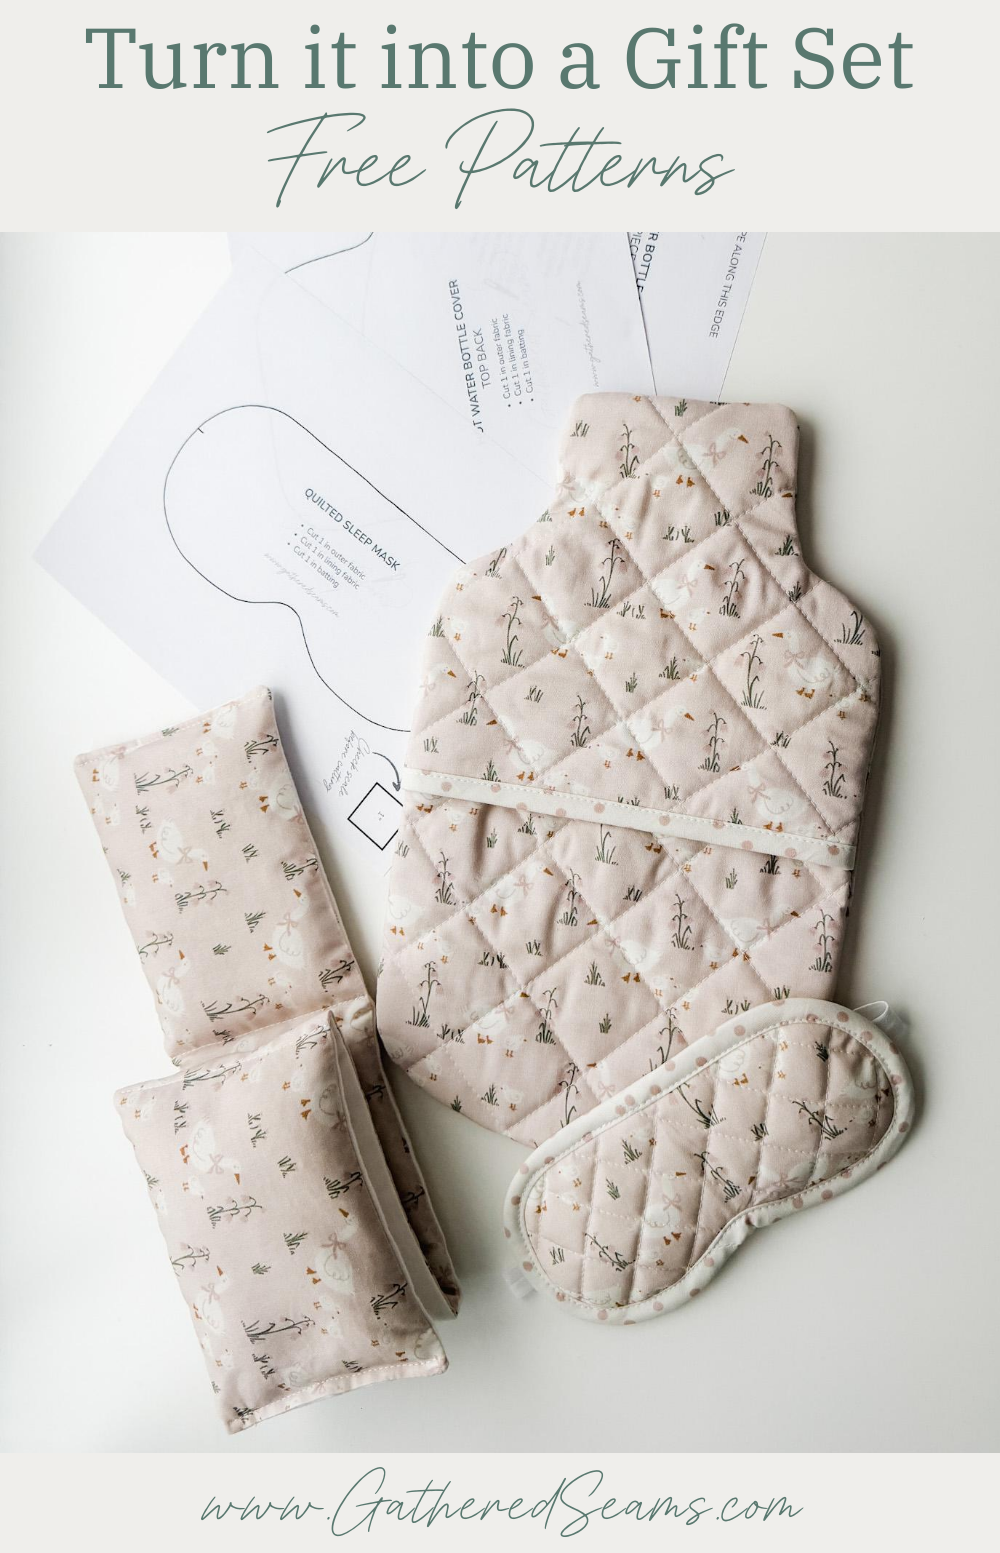
And if you want to turn this item into a gift set, you can also sew a sleep mask and rice heating pad: patterns and instructions here.
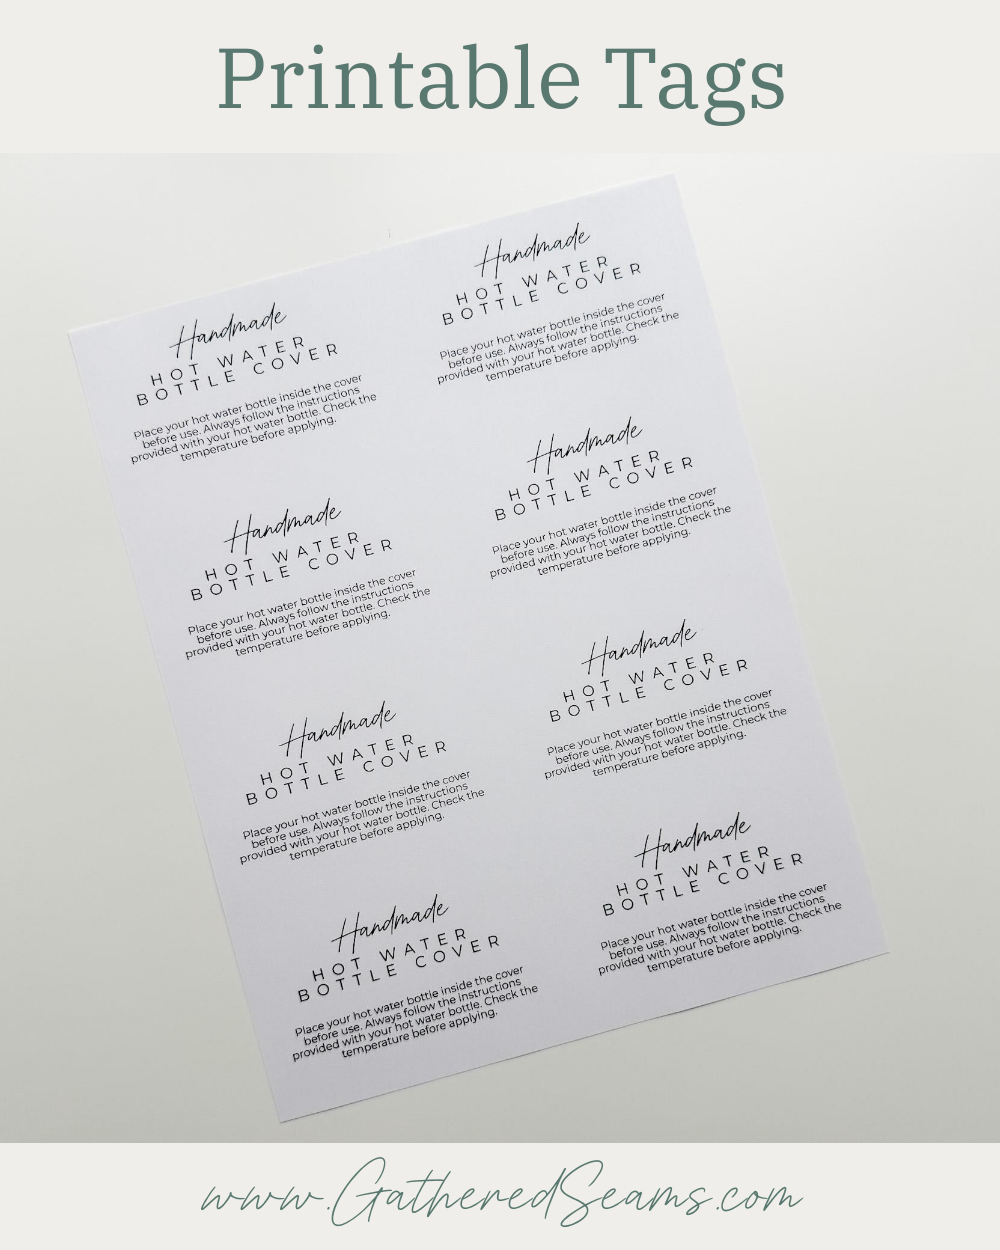
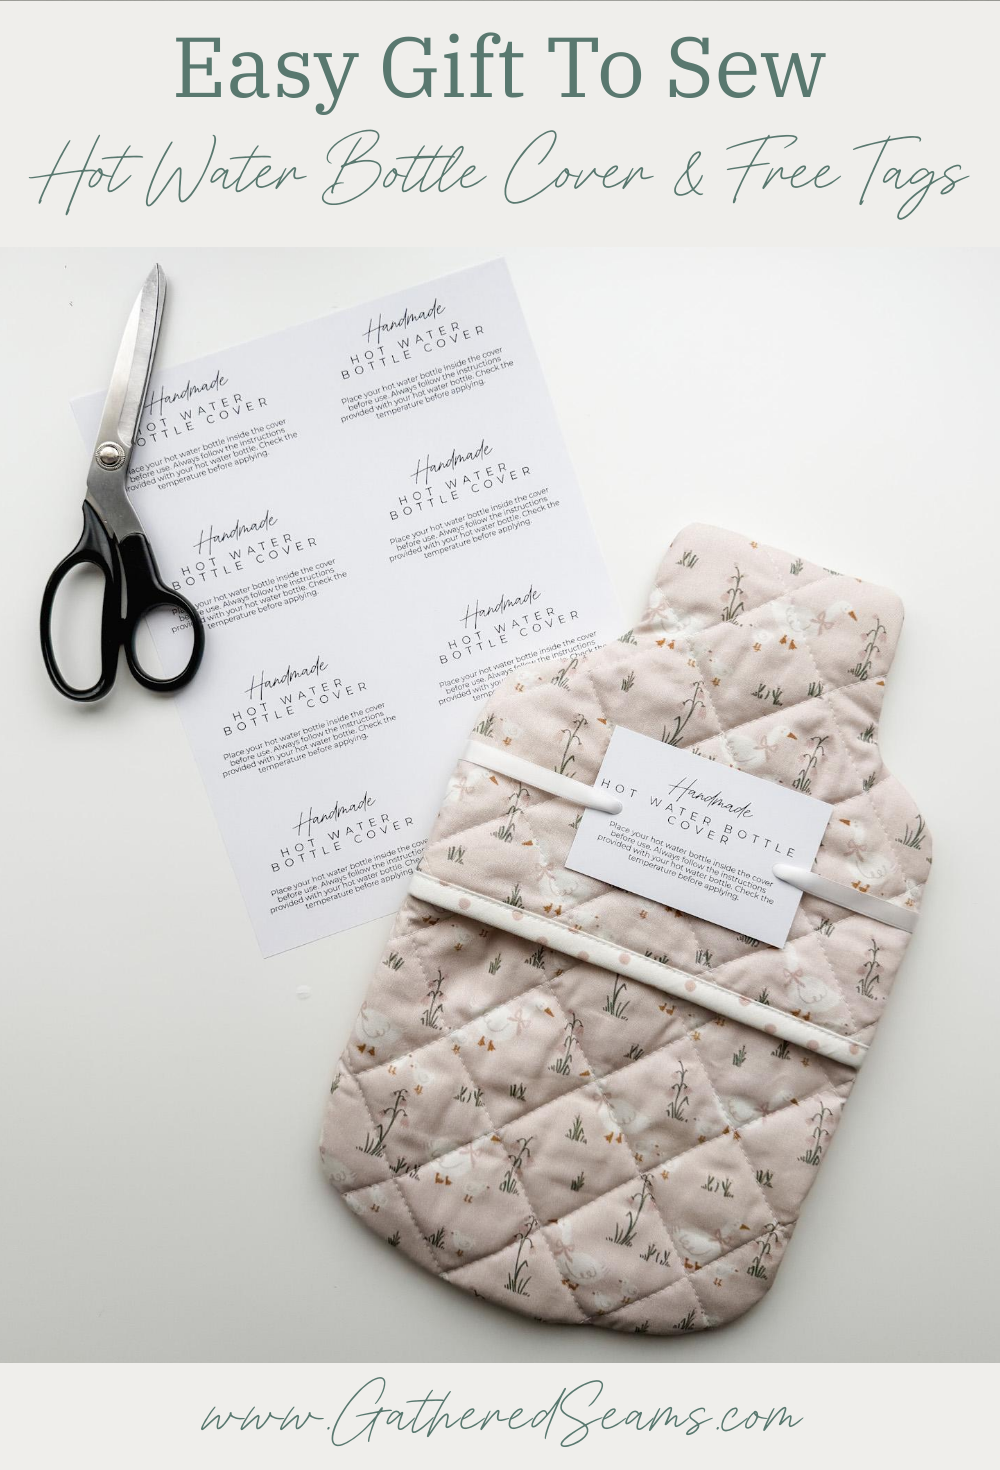
Printable Tags
If you’re planning to give the hot water bottle cover as a gift, you may also want to print the tags below.
To create the tags, I print them on heavier paper, cut the tags, then add two hole punches on either side of the tag so I can run a ribbon through them and tie the tag around the cover.

Materials
As an Amazon Associate, I earn from qualifying purchases (see full disclosure here).
- Exterior fabric
- Lining fabric
- Thread
- Batting (optional)
- 1/2″ double-fold bias tape (2″ wide when unfolded)
The type of batting you use will depend on the purpose of your cover.
- If you want the cover to help keep the water hot longer, you may choose to use thermal batting.
- If you want to add just a bit of thickness for aesthetics and to create a thicker barrier between the bottle and your skin, you can use a polyester batting.
- If you’re using a thicker fabric such as fleece, felt, or sherpa, you may choose to skip the batting completely.
Tools
- Sewing machine
- Walking foot (recommended when working with batting. This is the universal one I purchased for my Baby Lock, which is a different machine than what’s shown in the photos)
- Clips or pins
- Temporary fabric marker (these are the ones I use)
- Ruler
- Scissors

Steps to sew a hot water bottle cover
Step 1
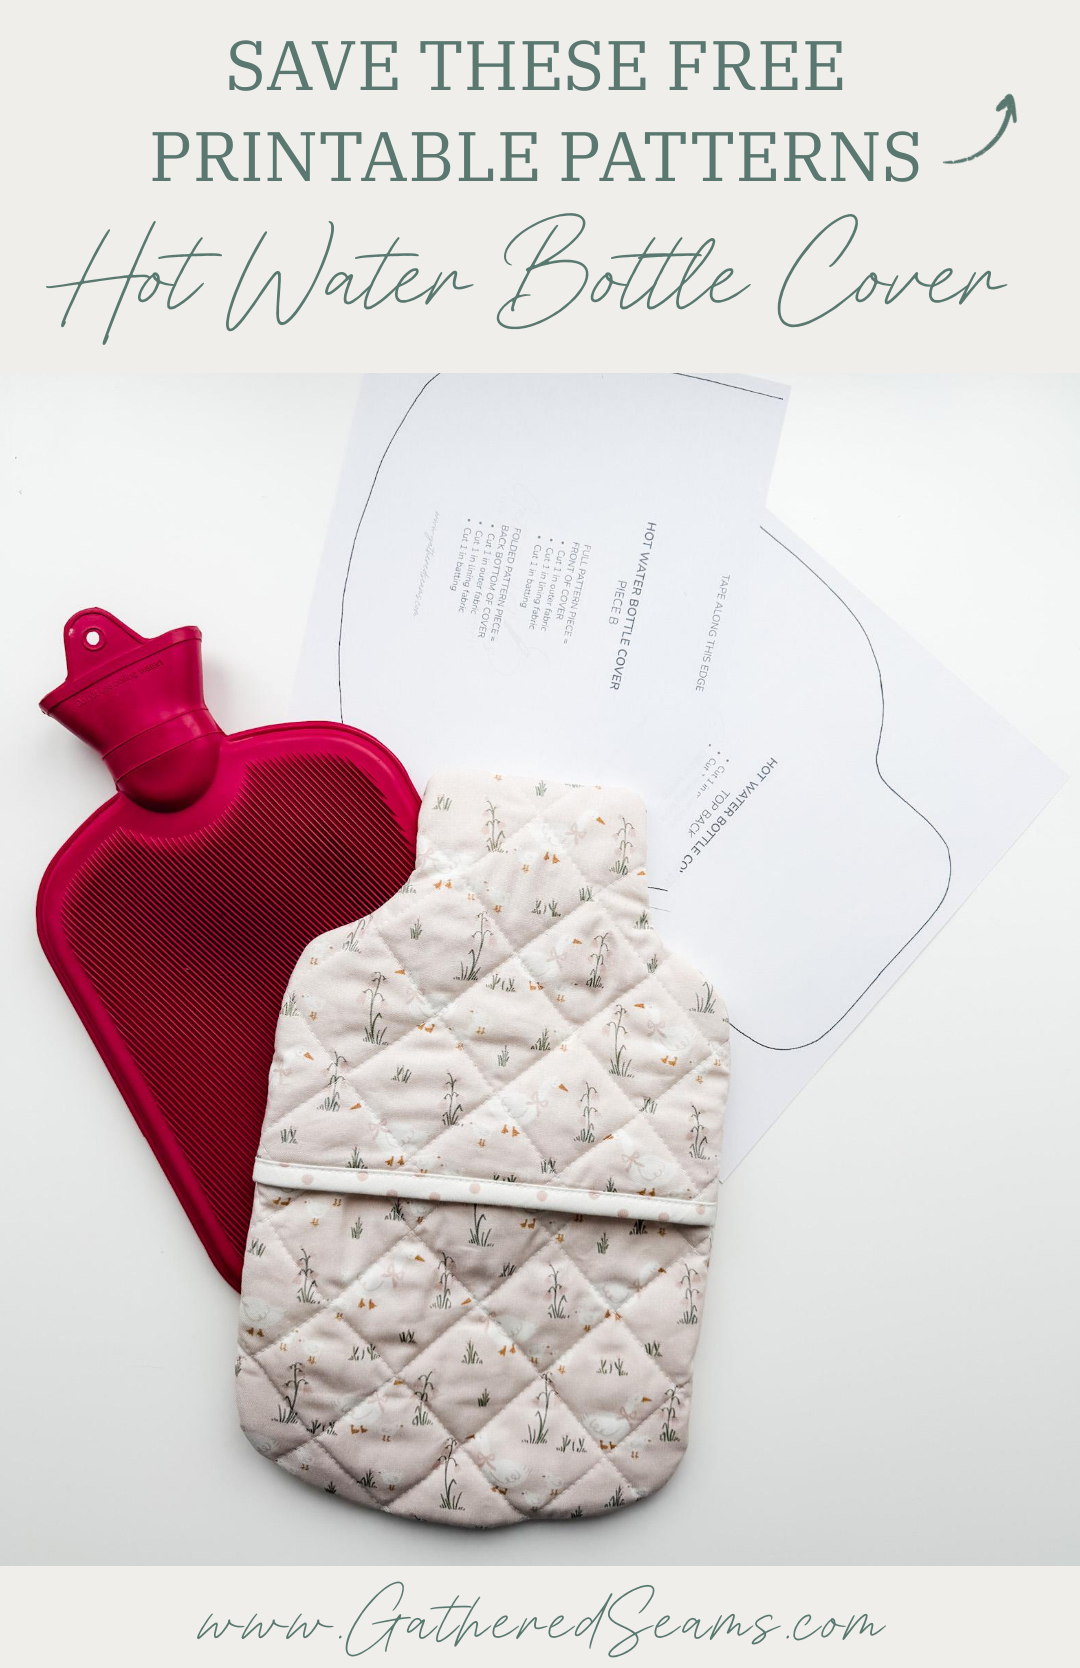
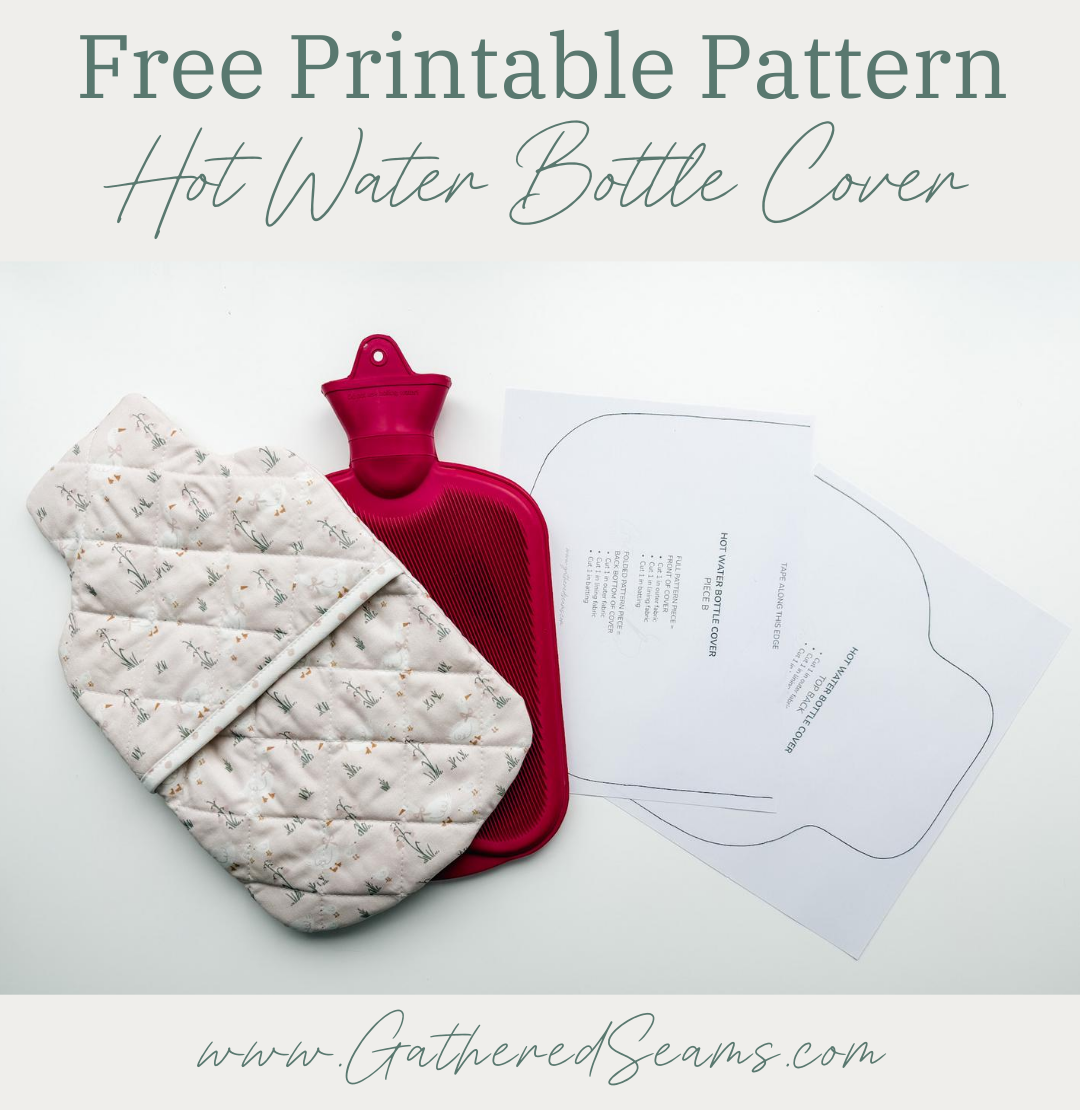
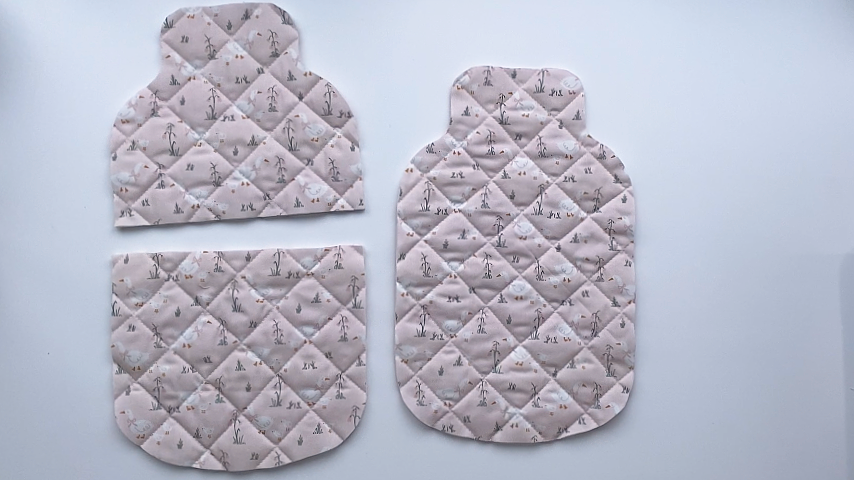
Download the free pattern and tape pieces A & B together by butting up the two edges and taping them together. The paper should not overlap.
Cut out your pattern pieces.
To save paper, you can simply print pages 1 & 2 (pieces A & B) and use page 1 (piece A) for the top back pattern piece.
Page 3 is a duplicate of page 1, and is the piece you’ll need for the top back of the hot water bottle cover.
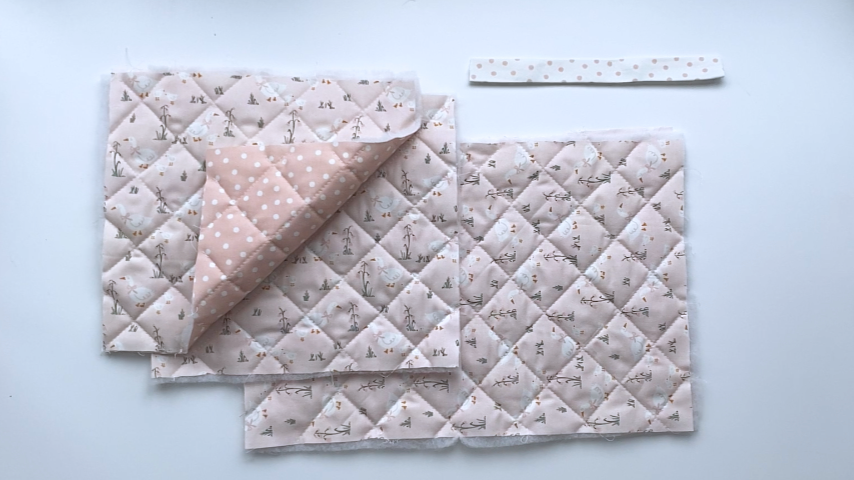
If you plan to add quilting stitches, cut your fabric and batting about an inch or two bigger than the pattern pieces to account for shifting.
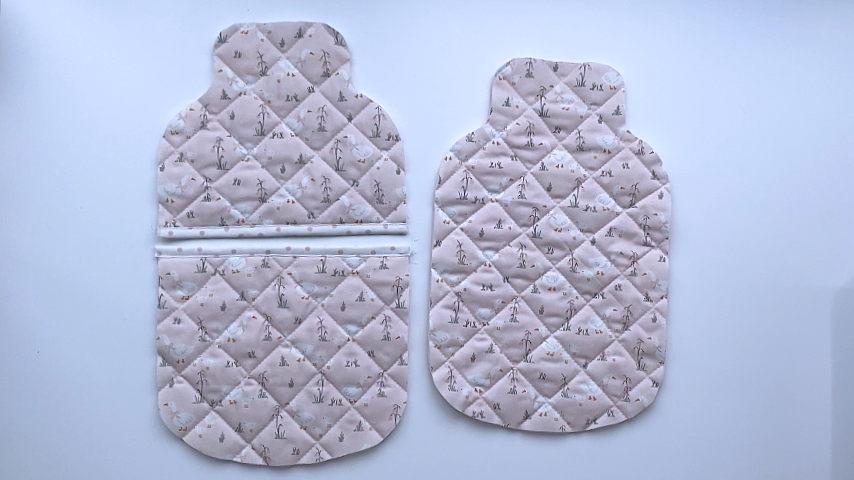
You’ll need to cut each pattern piece in:
- Outer fabric
- Lining fabric
- Batting
You’ll also need:
- 2 pieces of 1/2” double-fold bias tape (2” wide when unfolded), cut to the width of the cover (approximately 10″)
Step 2
Layer your pattern pieces with the lining wrong side facing up, batting, then outer fabric with the right side facing up.
Optional:
Add quilting stitches in any design you like.
If you’re sewing these to sell, or want to speed up the project, opt for fewer quilting stitches or simply use temporary fabric spray to hold the layers in place.
Once your quilting stitches are done, you can trace your pattern pieces onto the quilted fabric using a temporary fabric marker then cut them out.
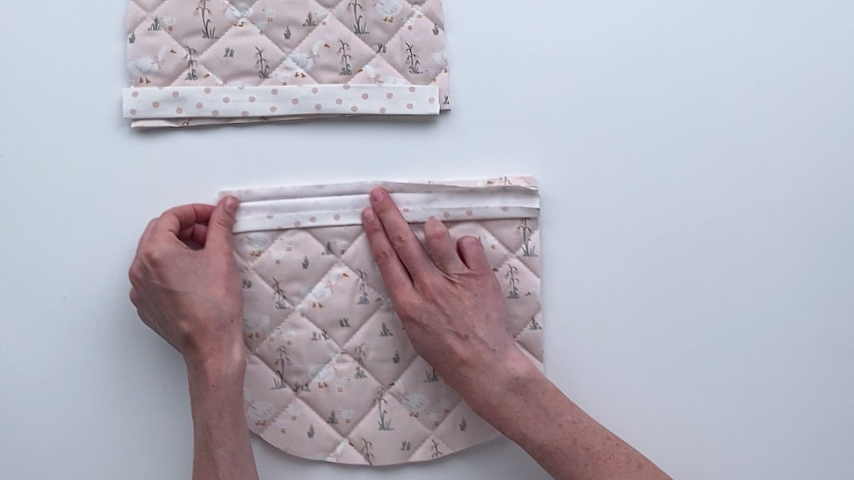
Step 3
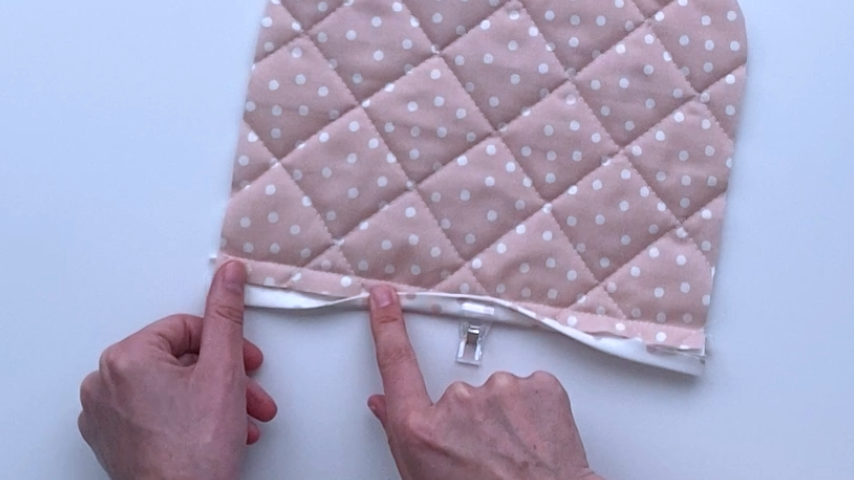
Sew the bias tape to the straight edges of the back pattern pieces.
Unfold the bias tape and place it right side together with the outside of the pattern piece.
Line up the edge of the bias tape with the edge of the pattern piece. Then sew in the first fold (about 1/2” away from the edge).
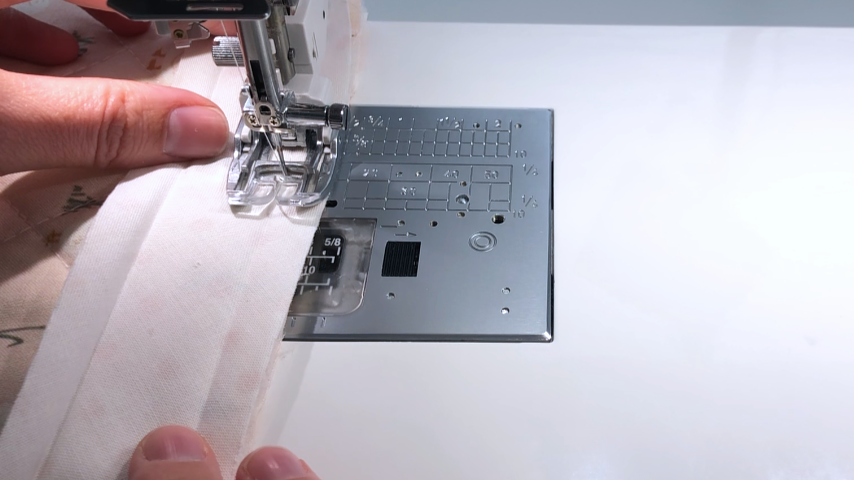
Then fold the bias tape to the back and ensure the second fold is covering the line of stitching and clip into place.
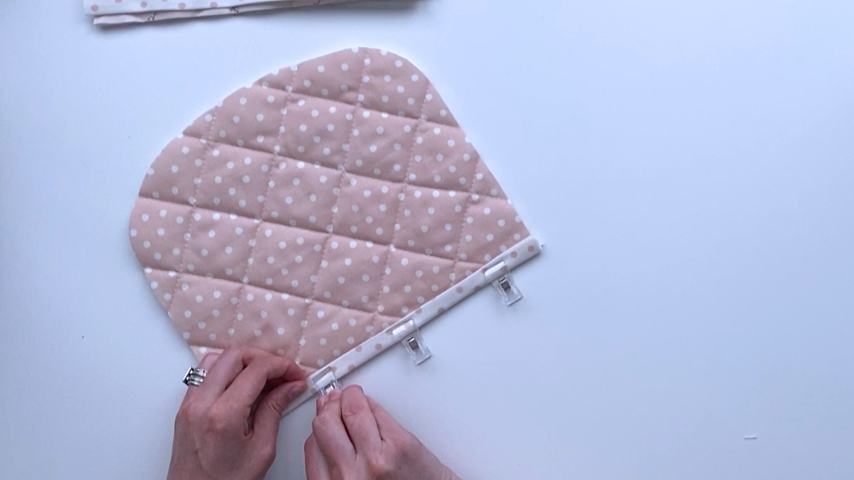
Sew from the right side/outer fabric side, about 1/8” in from the bias tape seam.
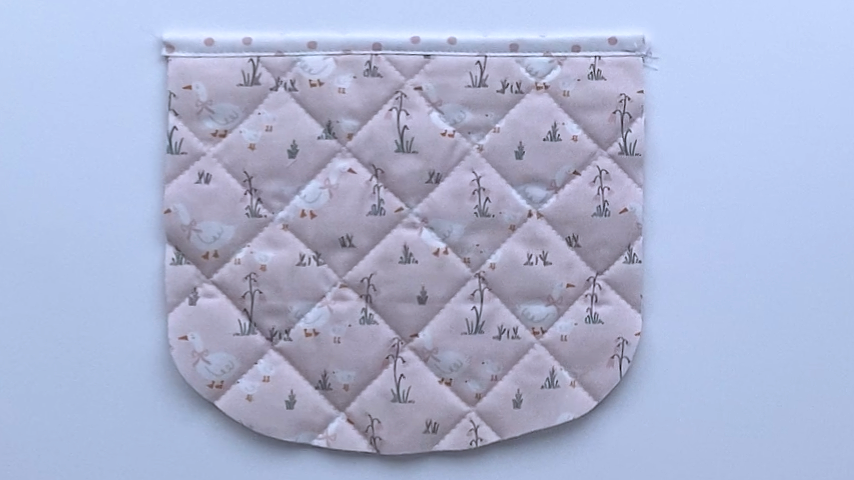
Repeat these steps to sew the bias tape to the straight edge of the top piece.
Step 4
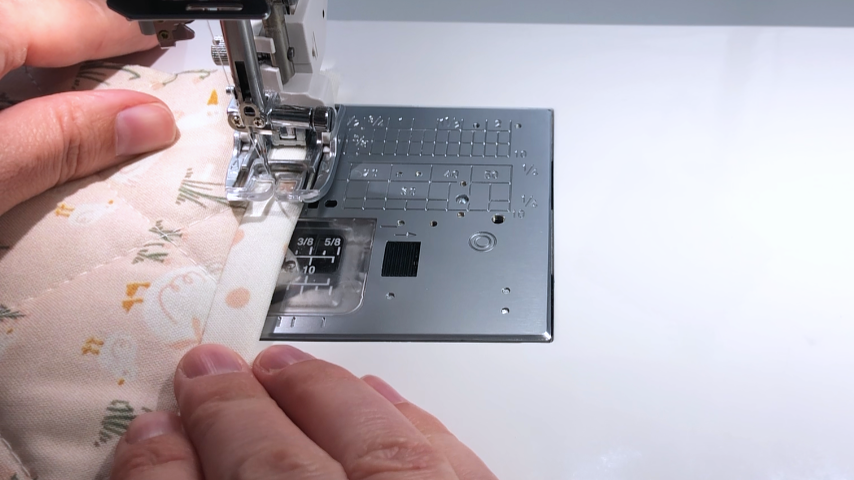
Place the front of the cover right side up, then place the top back piece right sides together, and clip into place.

Then place the bottom back piece on top, right sides together and clip into place.
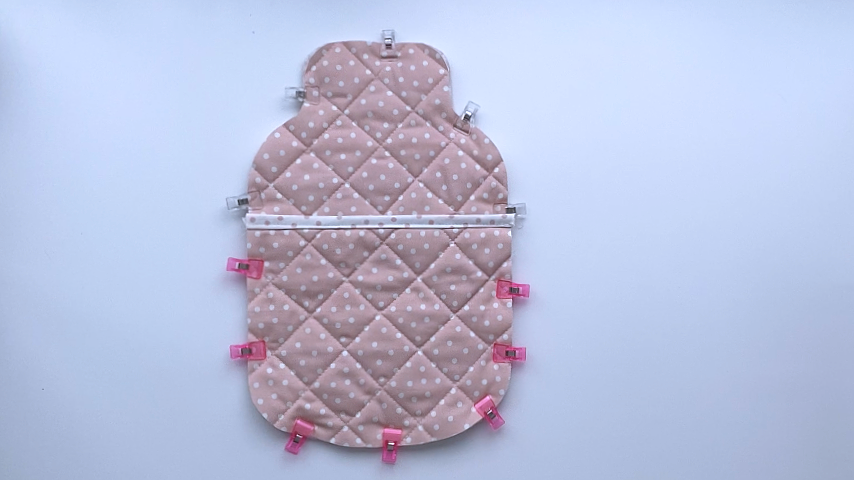
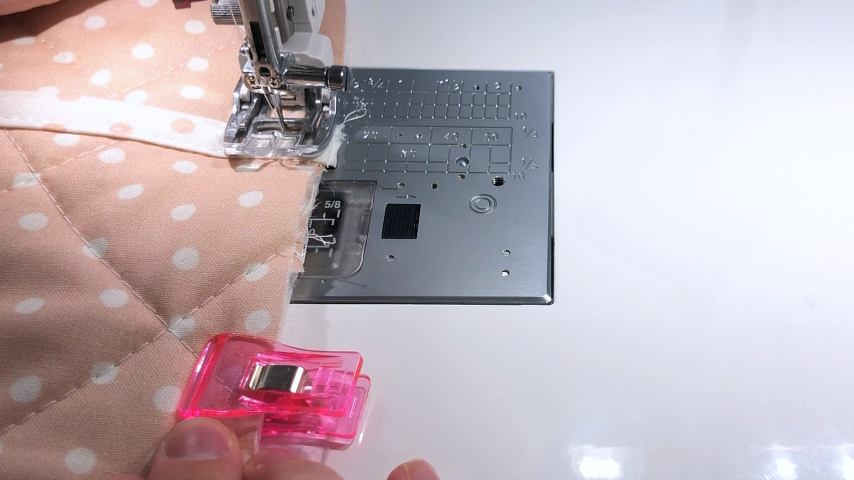
Using a 1/2” seam allowance, sew all around the outside edge.
Step 5
Trim the seam allowance down, then use a zig-zag stitch around the edge to prevent the fabric from fraying.
Alternatively, you can use bias tape to finish the raw edge, or a serger.
If you’re using a serger, you must be very careful going around the edges to ensure you don’t cut into the seam.
A zig-zag stitch is the easier option.
Step 6
Turn the cover right side out and use your fingers to push the seams out.
Lightly press your cover to get clean seams.
If you used polyester batting, keep your iron’s heat setting low to ensure you don’t melt the batting and flatten it. I hover my iron about an inch above the cover and use the steam function to get creases out.