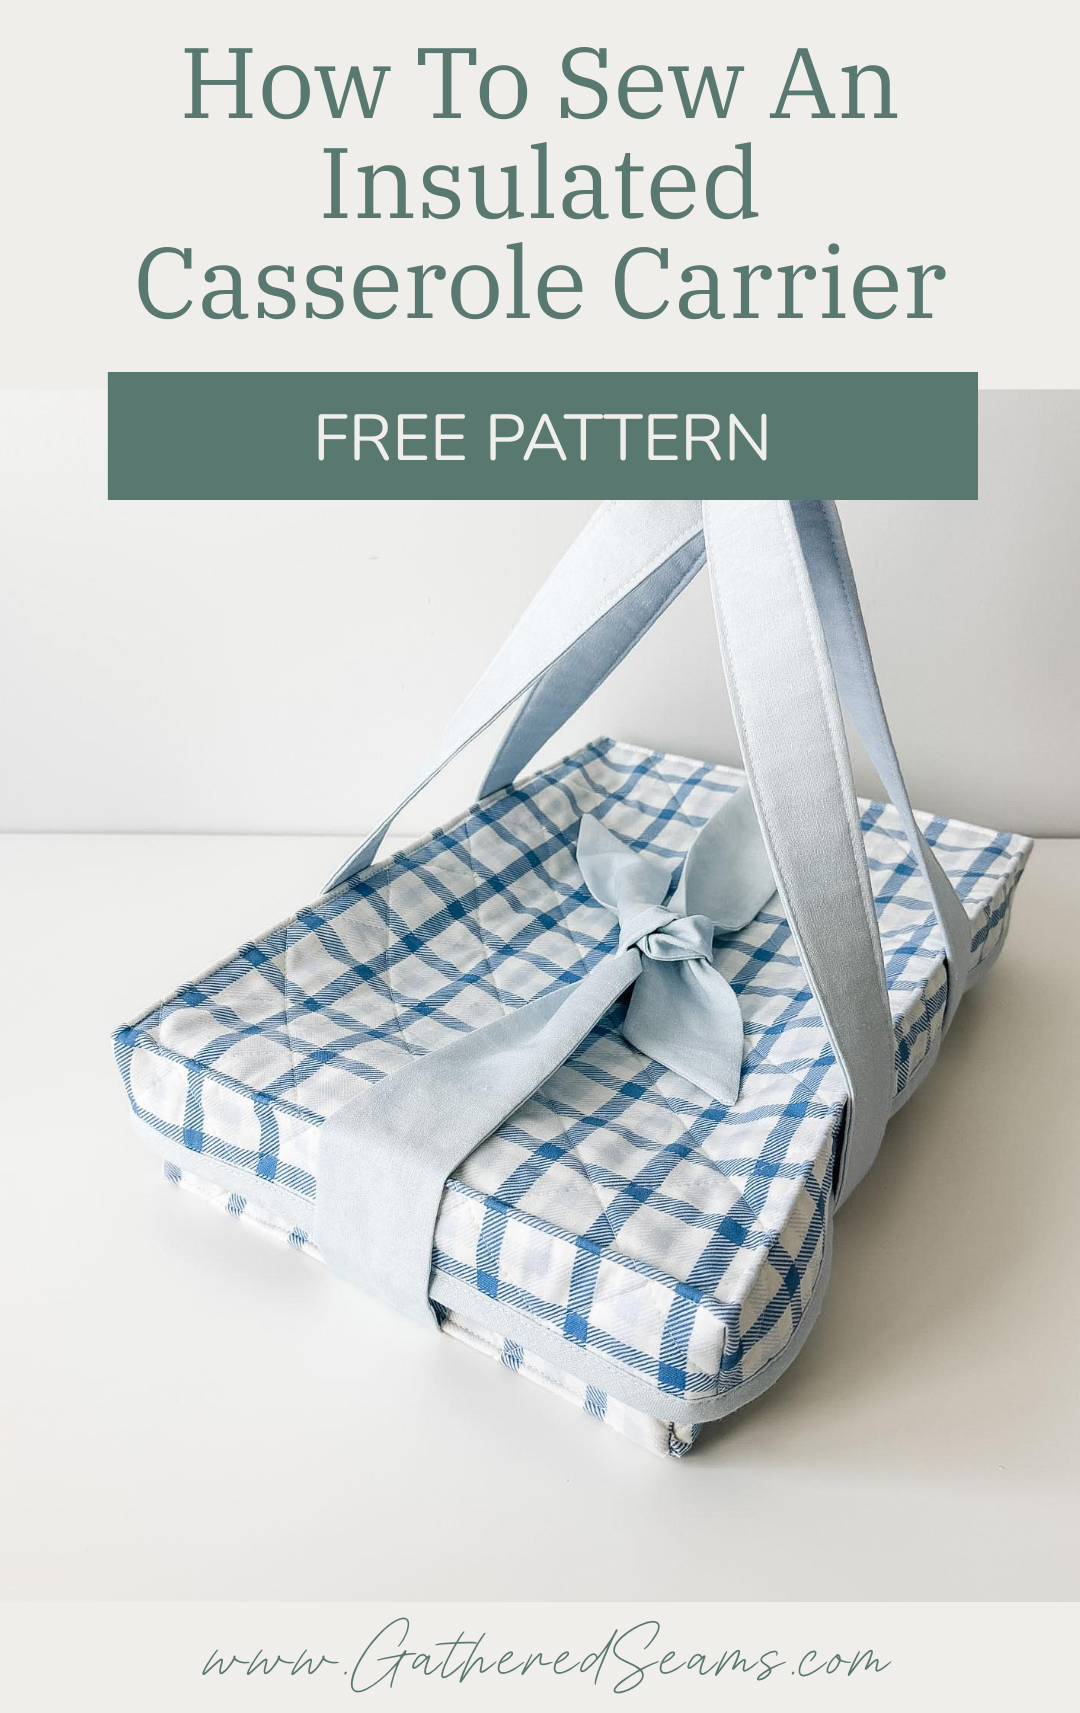
How To Sew A Casserole Carrier | Free Pattern
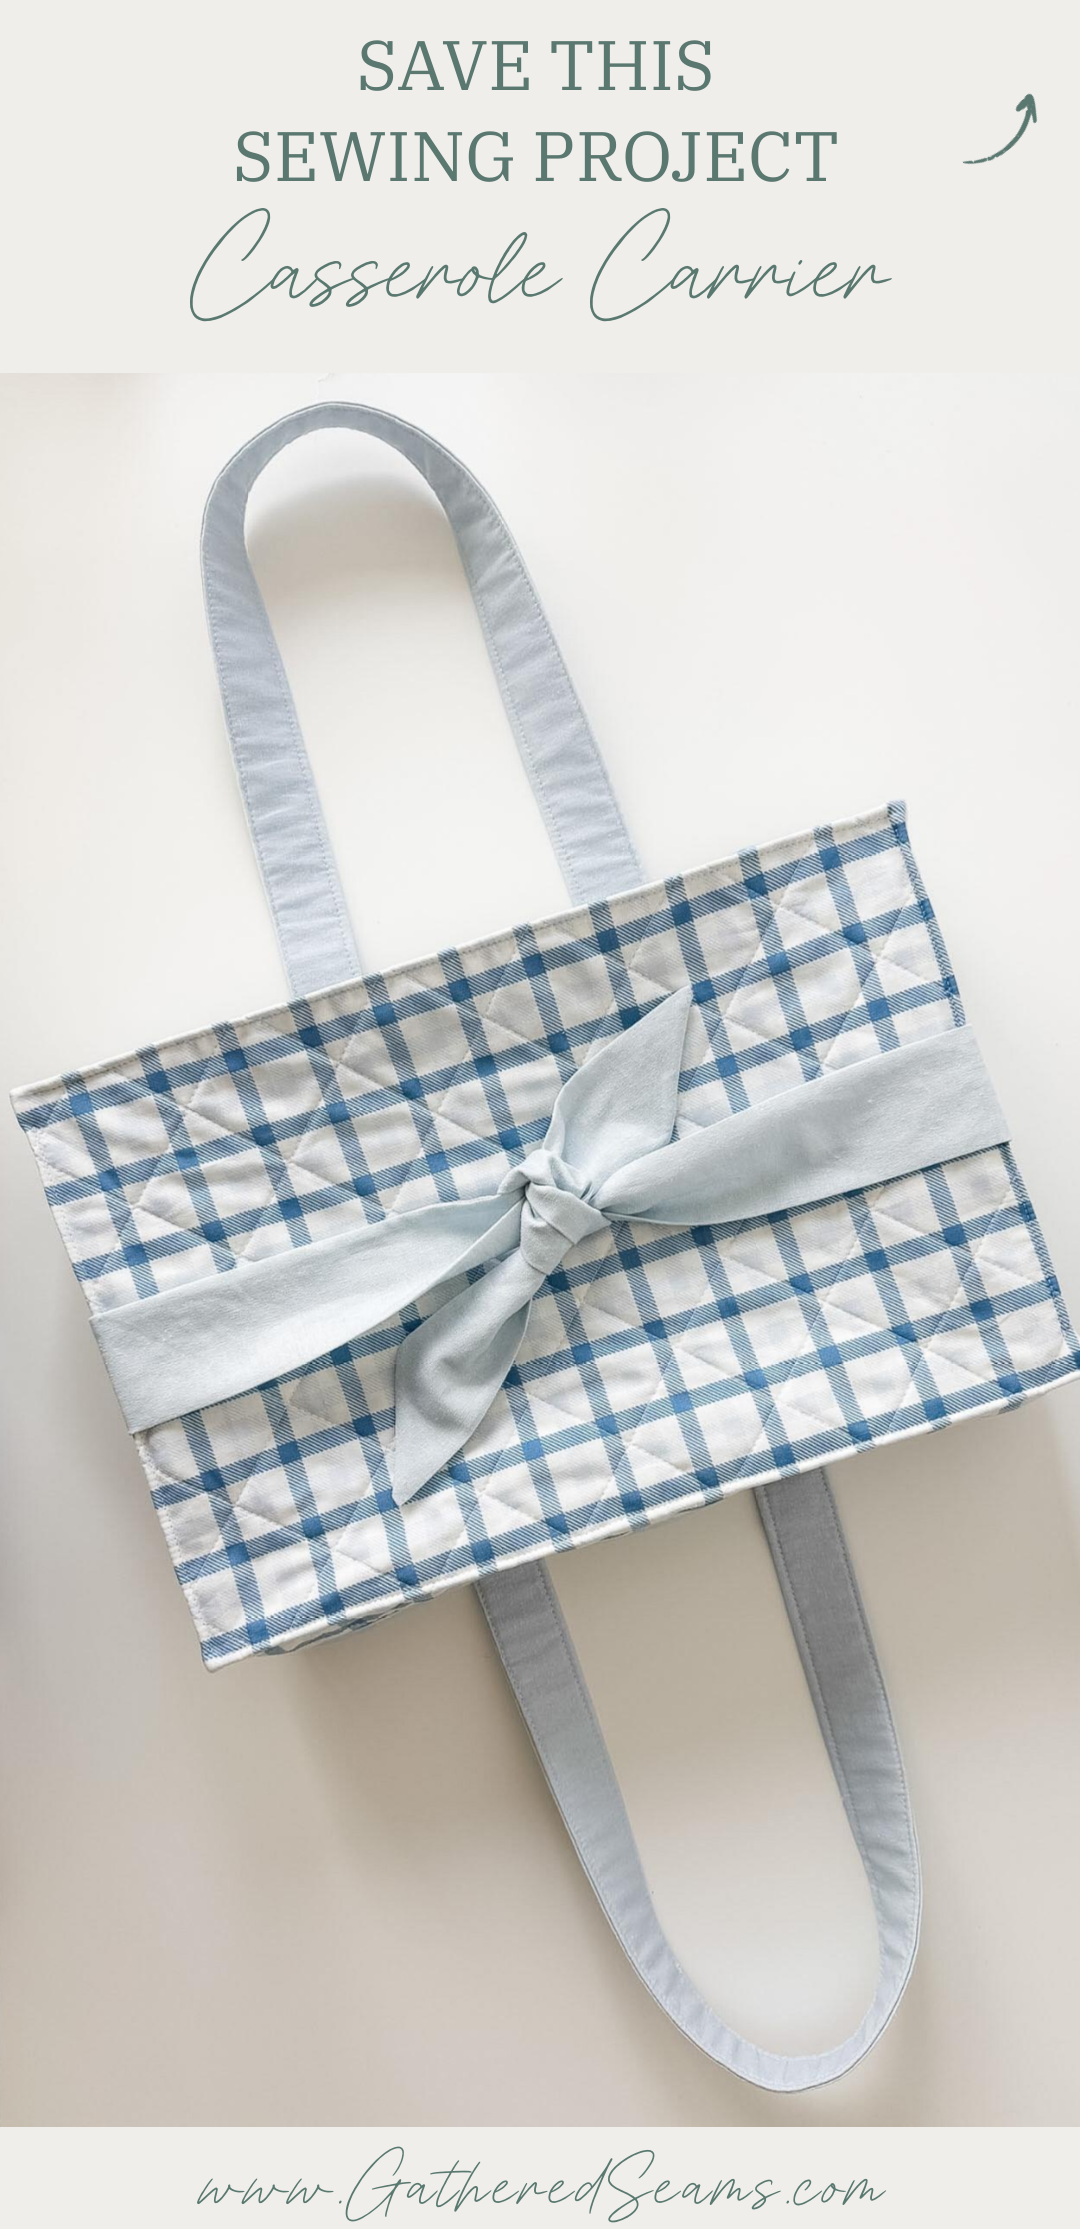
A casserole carrier is a handy item to have if you go to a lot of potlucks or family dinners.
This one is insulated, so it will protect your car seats and help keep the dish warm during travel.
I created this pattern to offer something different than the other casserole carrier sewing patterns I found out there.
This one has a base and a lid. So it’s super easy to get the dish in and out, and the top won’t be pressing down on the casserole…so your casserole will present beautifully when it gets to its destination 🙂
My casserole carrier sewing pattern is advanced.
>> For an easier casserole carrier, check out how I made one out of my casserole carrier: How To Sew A Casserole Carrier for your Cozy (9 x 13)
It’s also one of my bigger projects and will likely take at least an hour or two to complete.
Due to all the layers of batting and fabric, it may be difficult for some sewing machines to sew through.
Tips to make the project faster/easier
As an Amazon Associate, I earn from qualifying purchases (see full disclosure here).
- 1 layer of batting – for the base of the carrier, I used a layer of thermal batting and a layer of cotton batting because I wanted a little more structure. But it does make some areas thick to sew through. If your sewing machine struggles with thicker fabrics, stick to just one layer of the thermal batting.
- Webbing & ribbon – creating the straps and ties is one of the easier parts of this project, but it is time-consuming. To speed things up, use webbing for the straps and a wide ribbon for the tie. I would use something like this for the straps next time.
- Sew lining separately – for the base, I wanted to quilt all the layers together so I had quilting lines on the outside and inside. However, sewing the corner seams becomes more difficult, and you must use bias tape to finish them. To avoid this, quilt the outer fabric and batting together (don’t add the lining), add your straps and tie, then sew the corners. Sew your lining corners and then set it inside the outer piece. Use bias tape to finish the top edge.
- Skip bias tape – if you don’t want to work with bias tape, sew the lining separately as mentioned above, and to secure the two layers together, sew with right sides together, leaving a 6″ – 8″ opening along one side. Trim your batting’s seam allowance as close to the line of stitching as possible, turn right side out and topstitch around the top edge.
Materials
As an Amazon Associate, I earn from qualifying purchases (see full disclosure here).
- Fabric for outer layer and lining
- Fabric or webbing for the straps
- Fabric or heavier-weight ribbon (1″ or wider) for the tie (I would use a ribbed ribbon, such as this one)
- Thermal batting (Insul-Bright or something similar)
- Cotton batting (optional)
- Fusible fleece (optional to add more structure to the straps)
- 1/2″ double-fold bias tape (2″ wide when unfolded)
- Thread
Tools
- Sewing machine
- Walking foot (this makes sewing with thicker materials, like batting, easier. This is the universal one I purchased for my Baby Lock, which is a different machine than what’s shown in the photos)
- Point turner (I like this one, which also works as a Hera marker for marking quilting lines)
- Temporary fabric pen or chalk
- Temporary fabric adhesive
- Ruler
- Iron
- Scissors
- Pins or clips
Pattern pieces for a casserole carrier
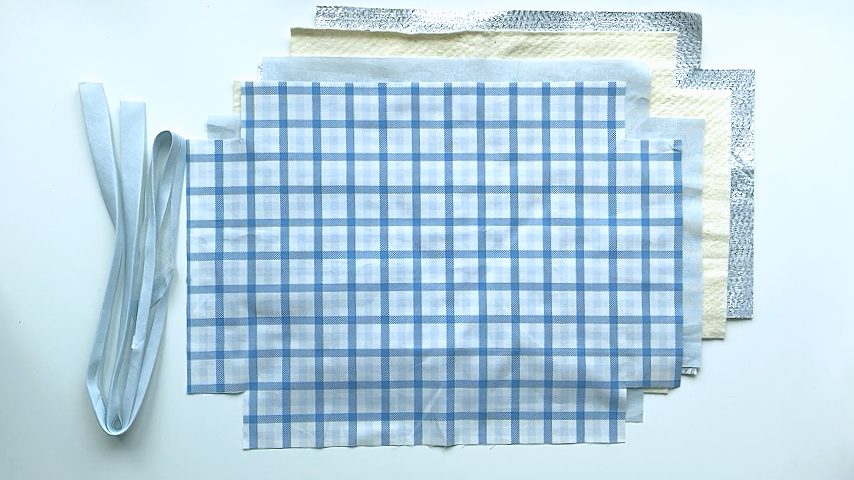
Base:
22″ x 16″ piece with 2-1/2″ square cut out of each corner:
- 1 in outer fabric
- 1 in lining fabric
- 1 in thermal batting
- 1 in cotton batting (optional)
You will also need:
- 58″ piece of 1/2″ double-fold bias tape to finish the top edge
- 4 pieces of 3″ long 1/2″ double-fold bias tape to finish each corner seam
Lid:
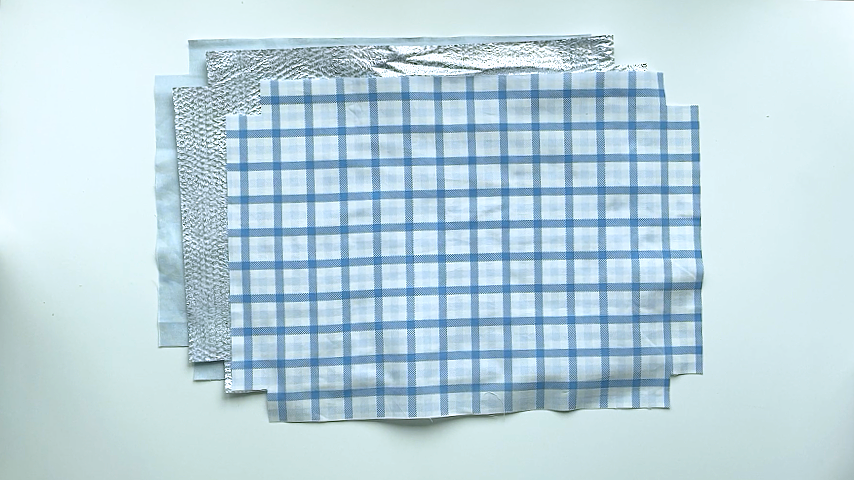
21″ x 15″ piece with 1-1/2″ square cut out of each corner:
- 1 in outer fabric
- 1 in lining
- 1 in thermal batting
You will also need:
- 60″ piece of 1/2″ double-fold bias tape to finish the top edge.
Straps:
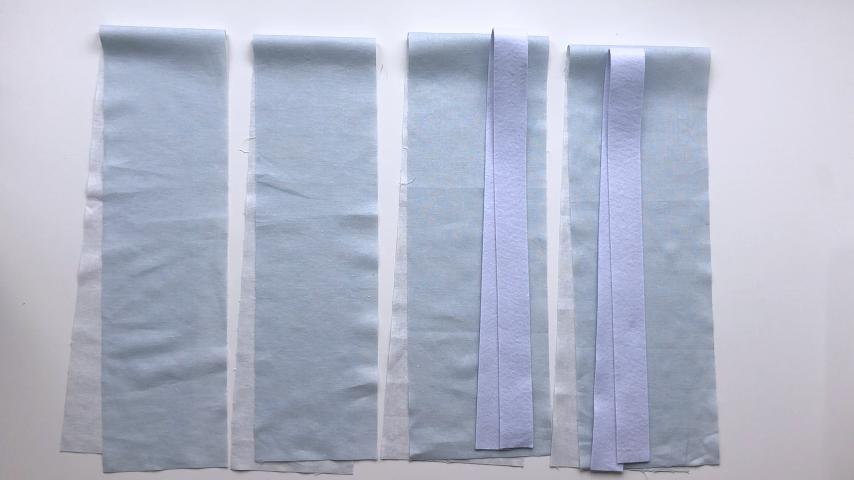
- 2 pieces of fabric that are 34″ x 6″ (increase the length if you want longer straps)
- Optional: 2 pieces of fusible fleece (approx 1-3/8″ wide and cut to length of finished strap) I cut these after I fold my strap, to ensure it’s the right width.
Alternatively, cut 2 pieces of 1″ – 1-1/2″ wide webbing to 65″ – 75″ long.
Tie:
- 2 pieces of fabric that are 30″ x 5″.
My strap is long enough to tie in a double knot. If you want to be able to tie it in a bow, cut your fabric pieces to 34″ – 36″ long instead.
Alternatively, you can use a heavier-weight 1″ – 1-1/2″ wide ribbon cut to 70″ long.
Steps to sew a casserole carrier
Step 1
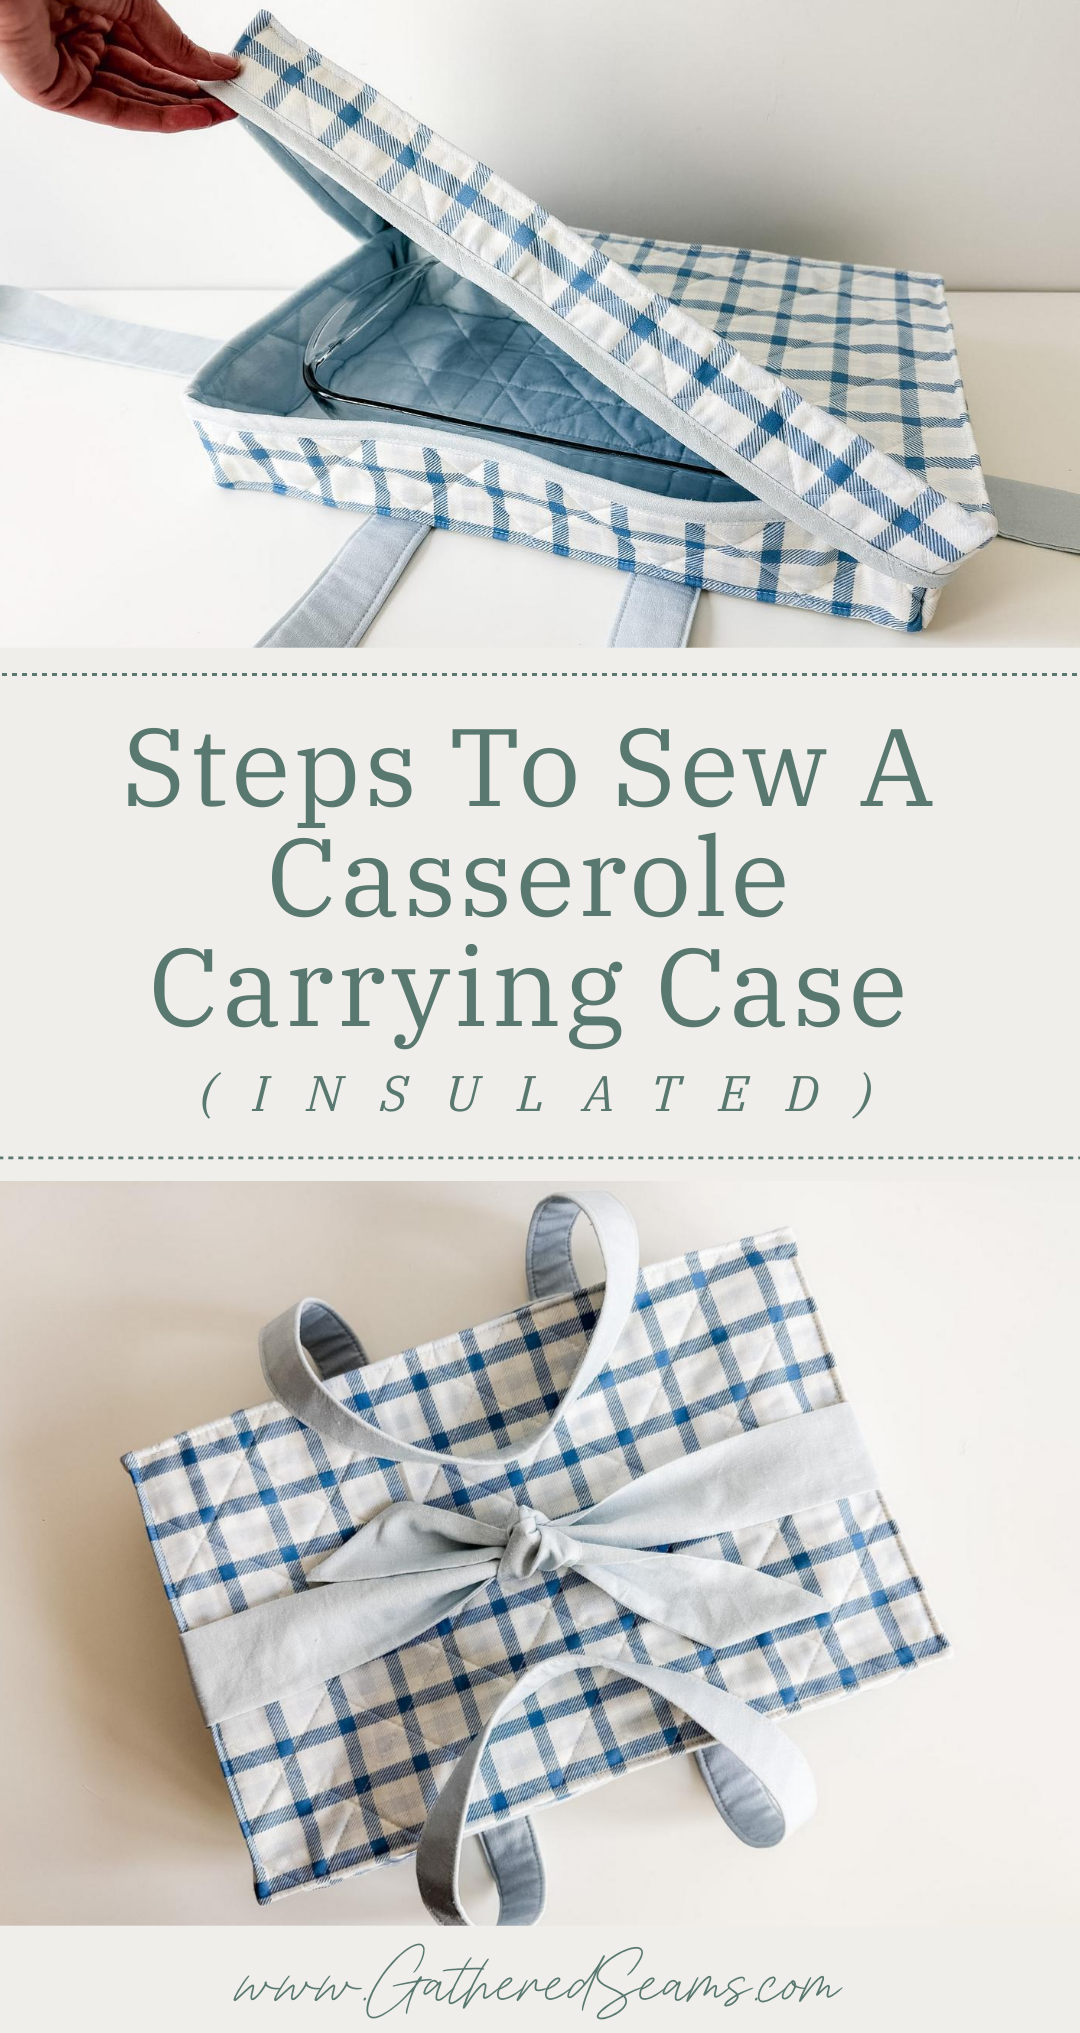
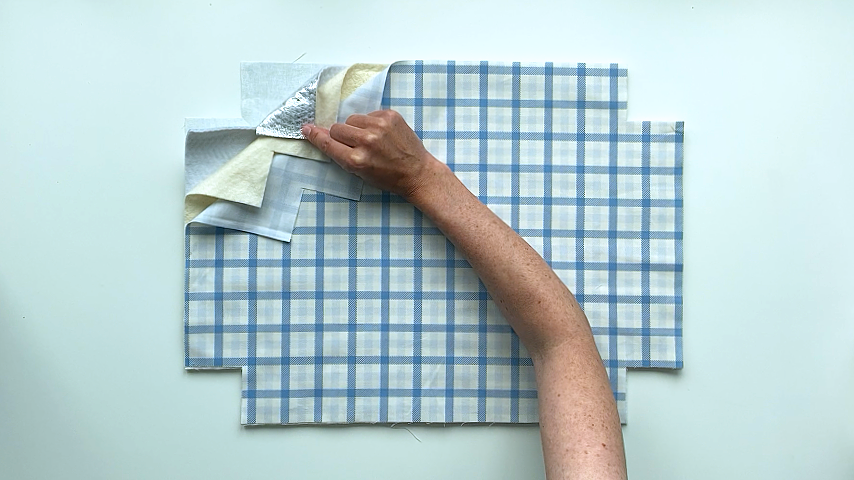
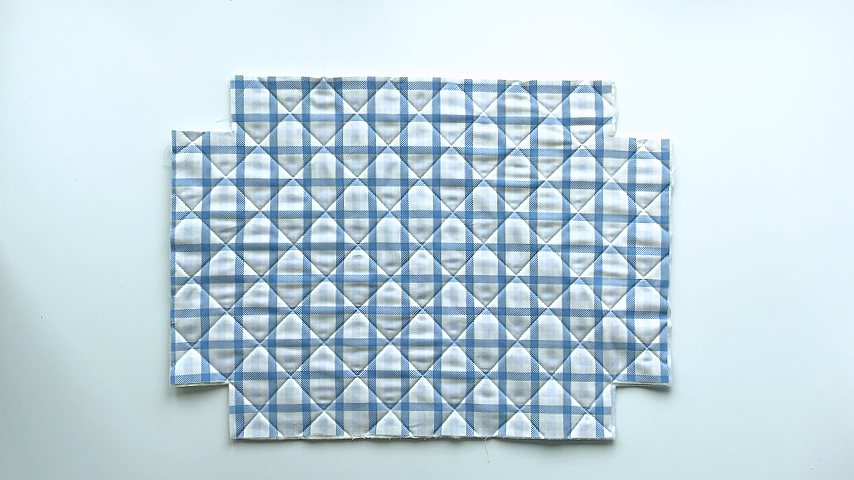
If you’re adding several quilting stitches, cut your outer fabric, batting, and lining to a 23″ x 17″ rectangle, add your quilting stitches, then cut to size (22″ x 16″ with 2-1/2″ squares cut out of each corner).
Layer your fabric as follows:
- Lining, right side facing down
- Thermal batting
- Cotton batting
- Outer fabric, right side facing up
Add quilting stitches and/or using temporary fabric adhesive to keep the layers together as you sew.
Step 2
First we’ll sew our straps and tie.
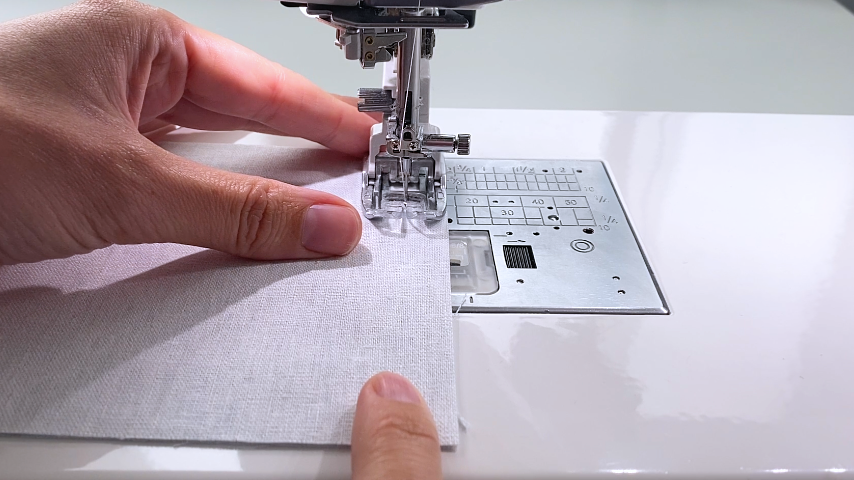
Place your two tie pieces right sides together and sew one end together using a 1/2″ seam allowance.
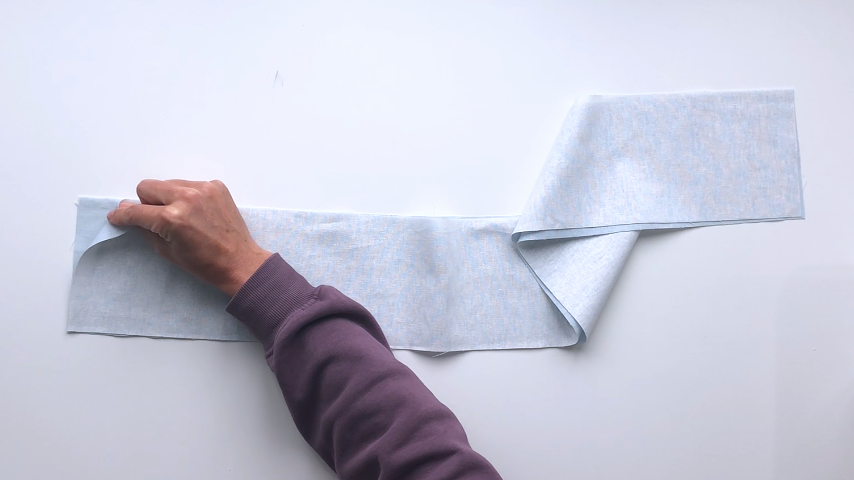
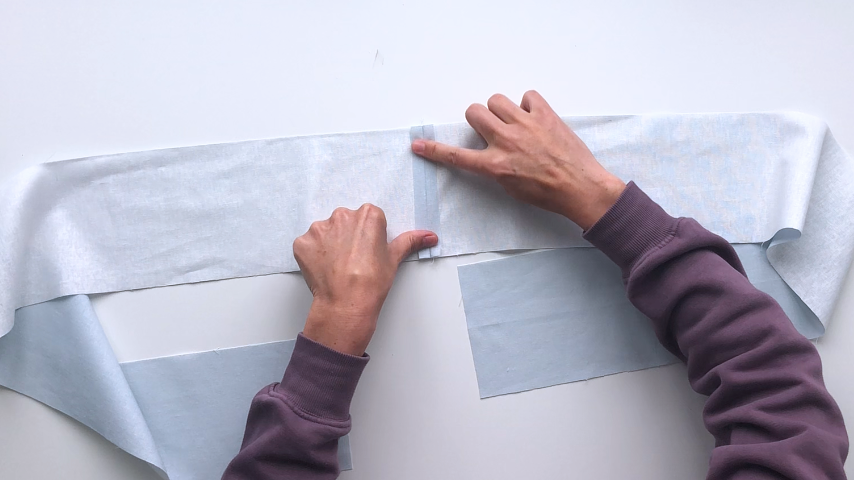
Press the seam open.
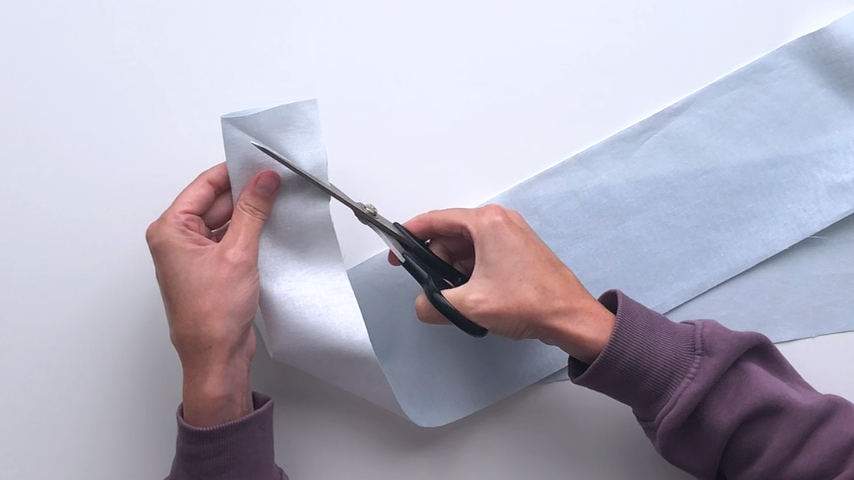
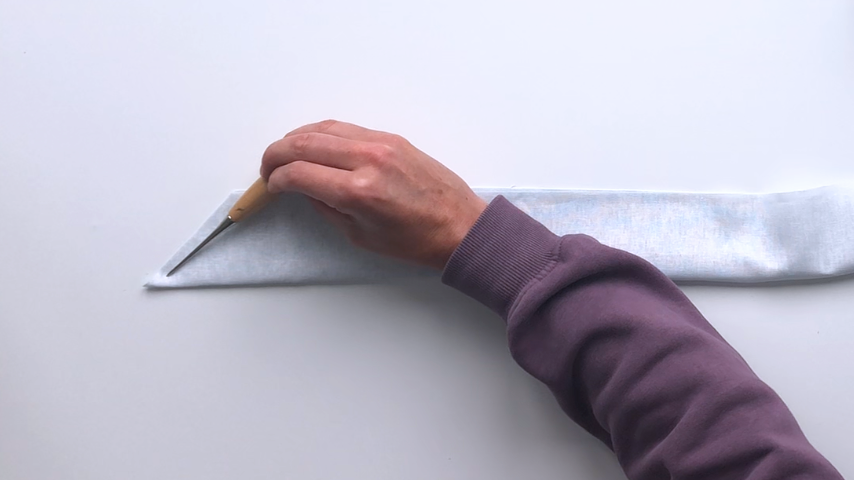
Fold your strip in half, lengthwise with right sides together. Cut both ends at a 45-degree angle.
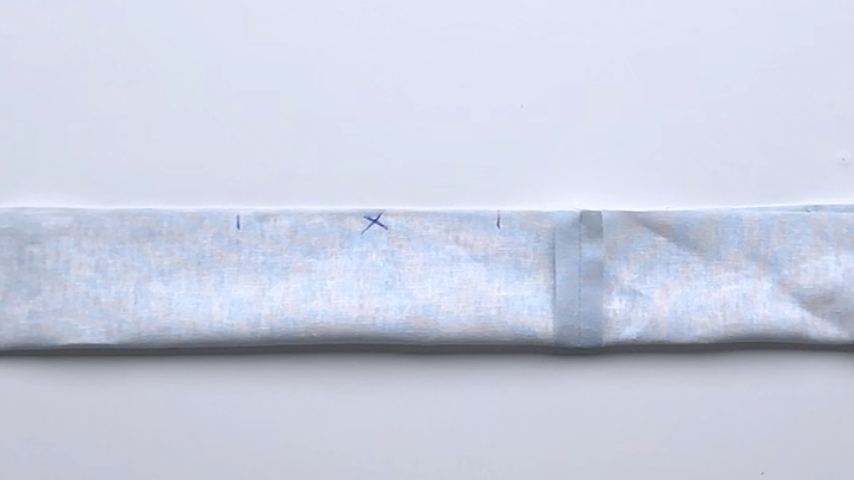
Mark two lines 4″ – 6″ apart, near the center of your tie, which you won’t sew between.
*It’s important for your opening to be close to the center because we aren’t topstitching around the tie. This opening will be sewn closed when we sew the tie to the bottom of the carrier. That stitching will extend 7″ past either side of the tie’s center seam, so place your opening within that area.
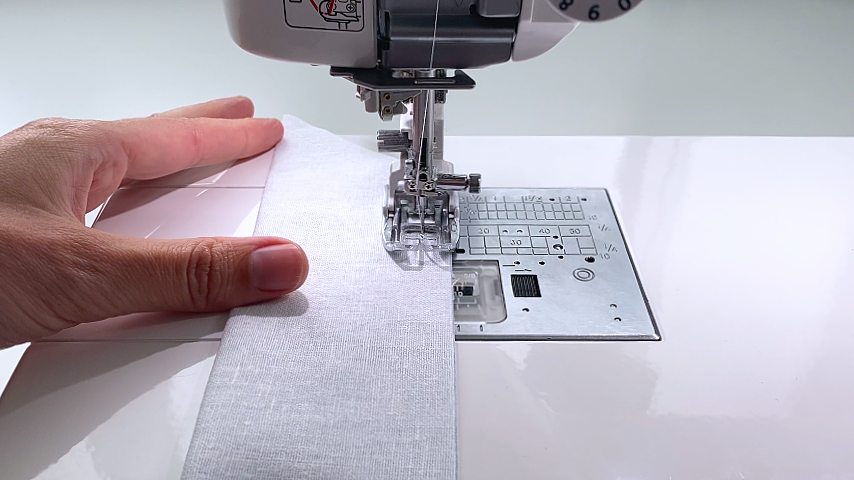
Using 1/4″ seam allowance, sew the ends and top edges together.
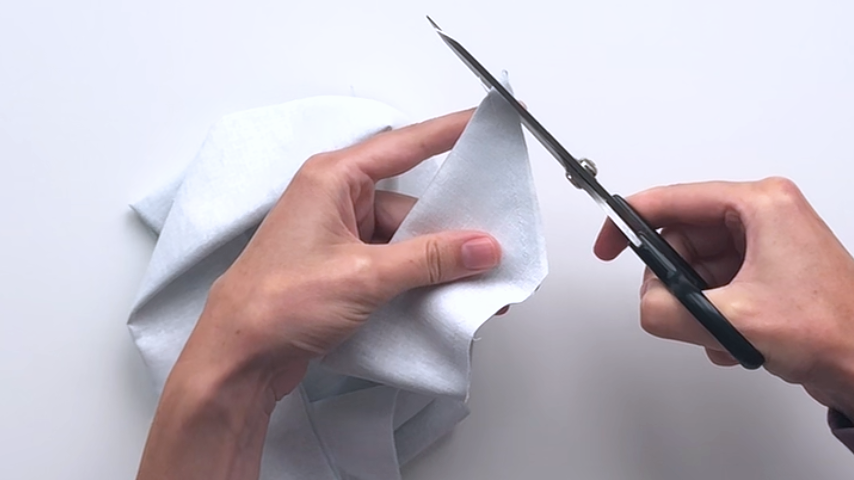
Trim the points/corners to reduce the bulk.
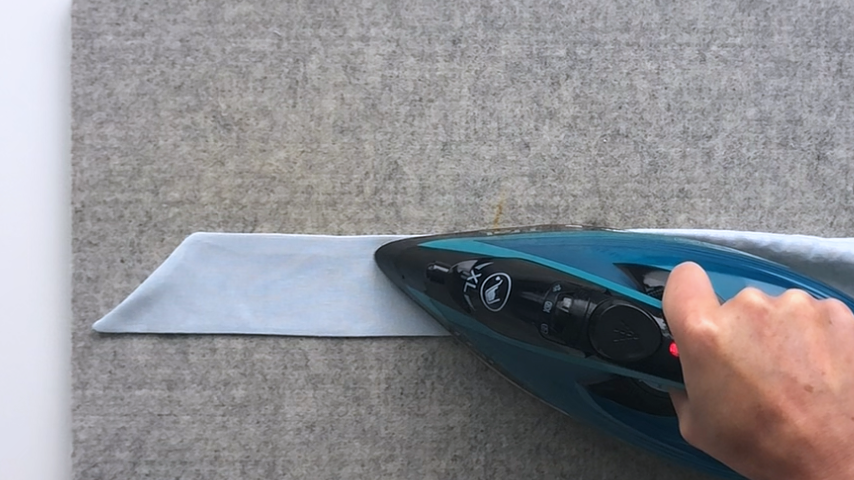
Turn the tie right side out and press.
Step 3
To sew the straps, place your two pieces right sides together and sew one end using a 1/2″ seam allowance.
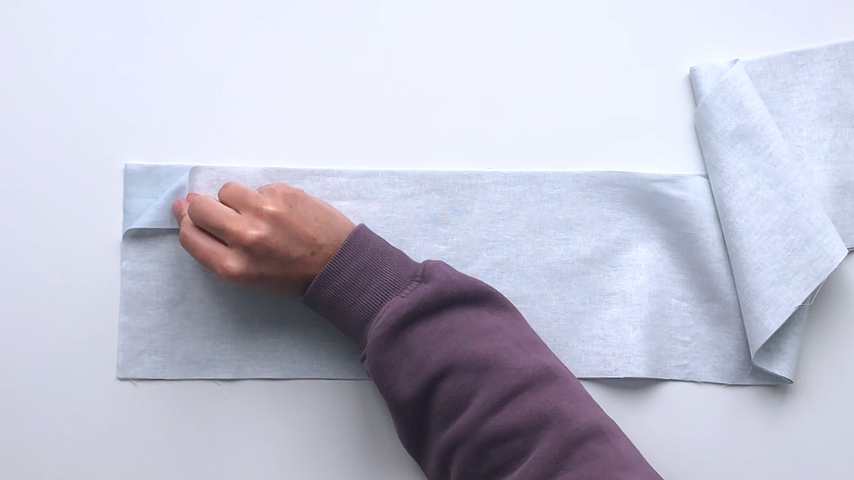
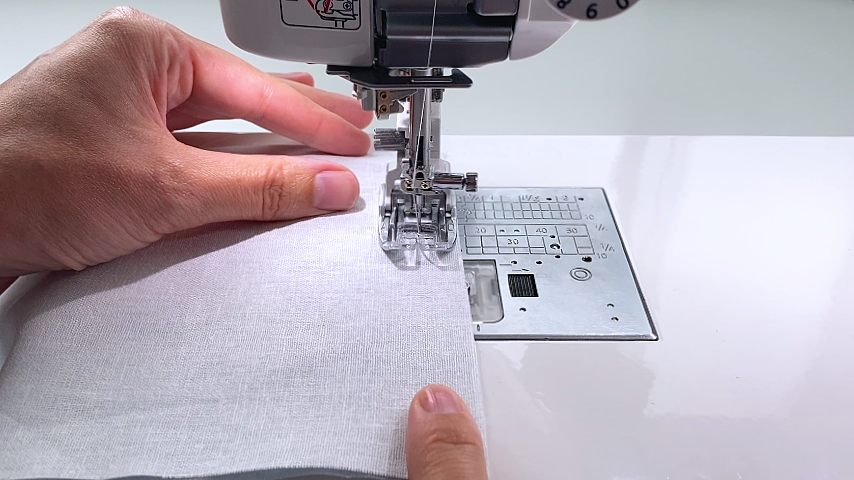
Press the seam open.
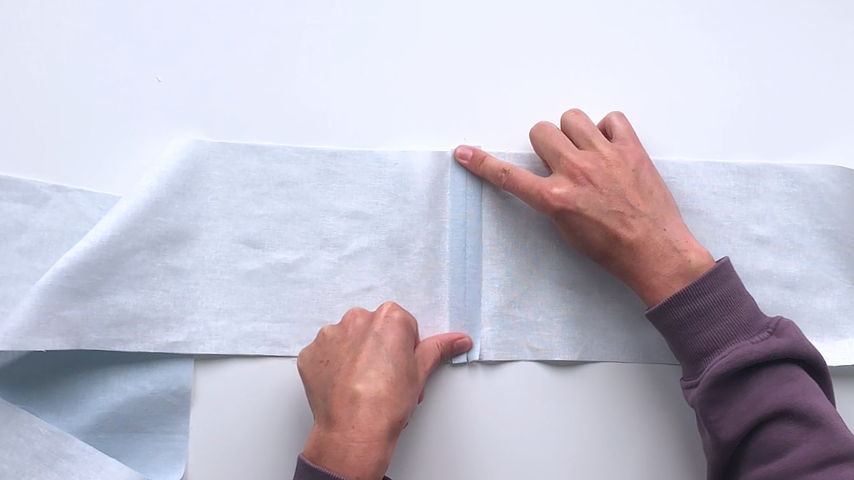
Fold the strip in half, lengthwise, with wrong sides together and press the center seam.
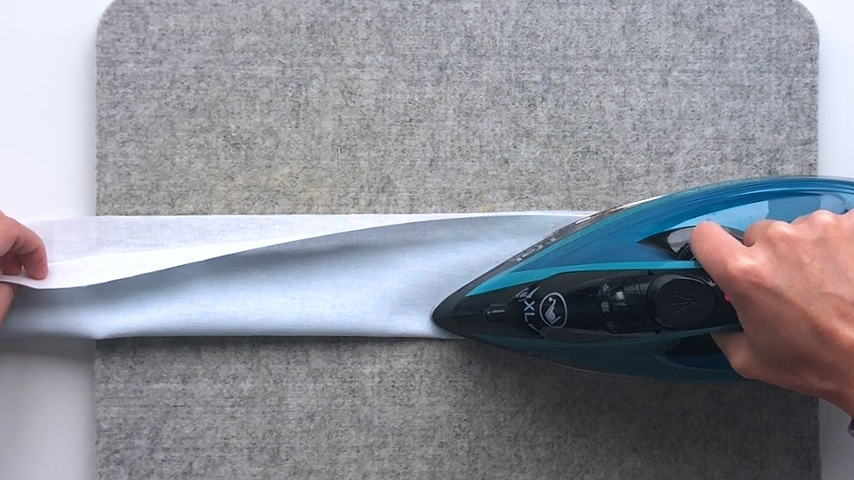
Unfold the strip, then fold the bottom edge up to meet the center crease and press the folded edge.
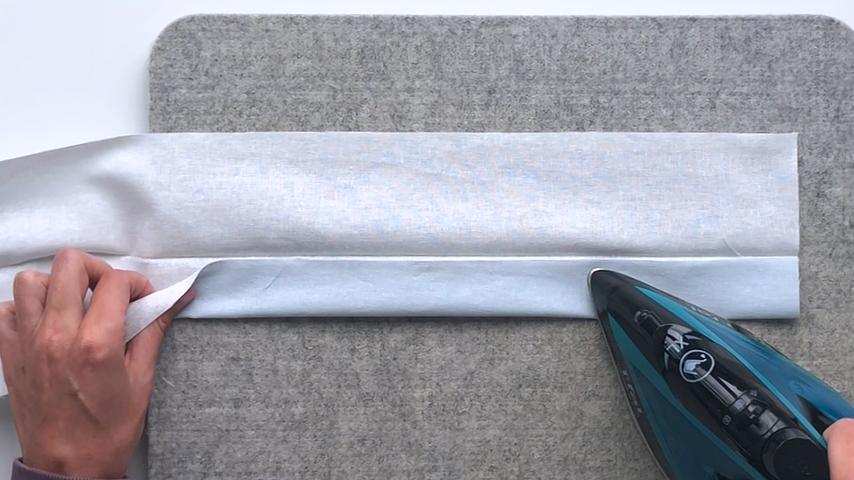
Fold the top edge to meet the center seam and press.
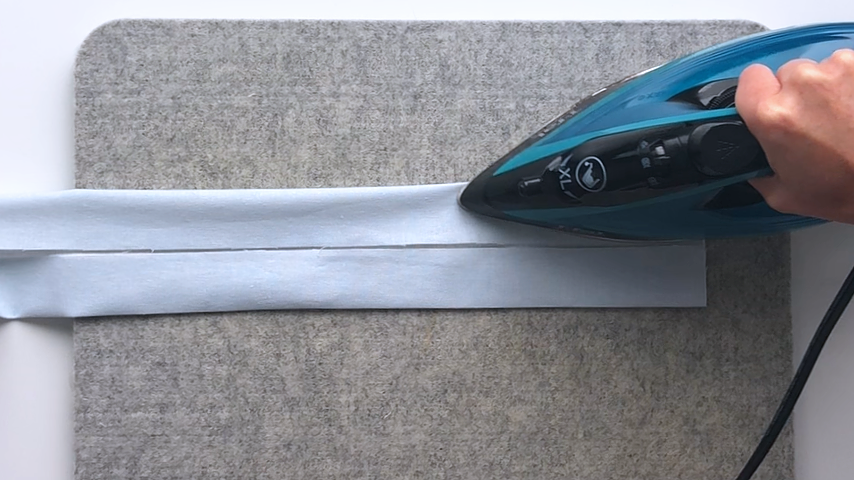
If adding the fusible fleece, place that between the first fold and the center fold, 1/2″ away from the end, and press into place.
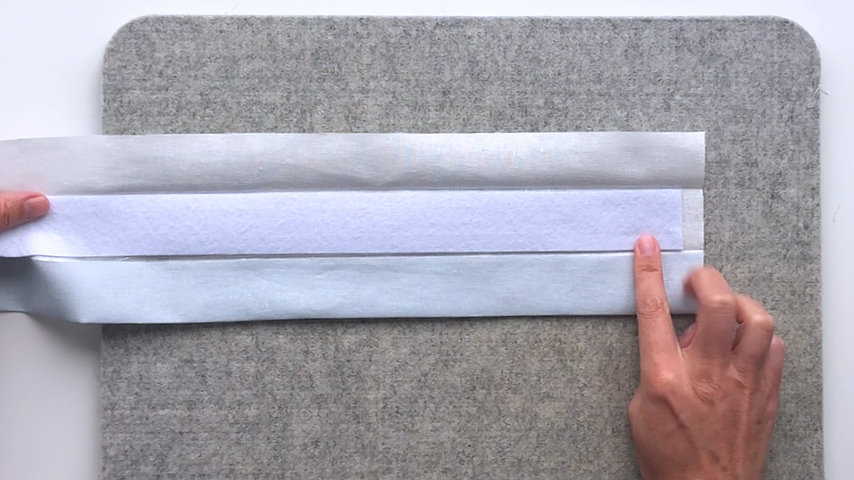
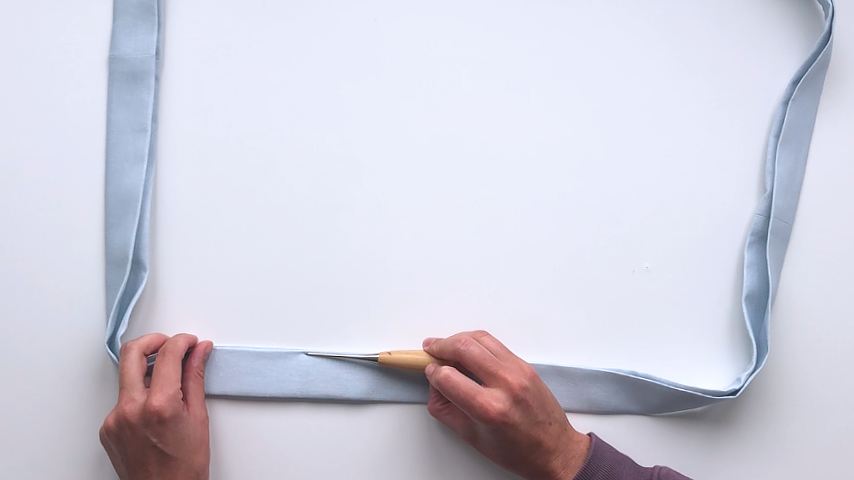
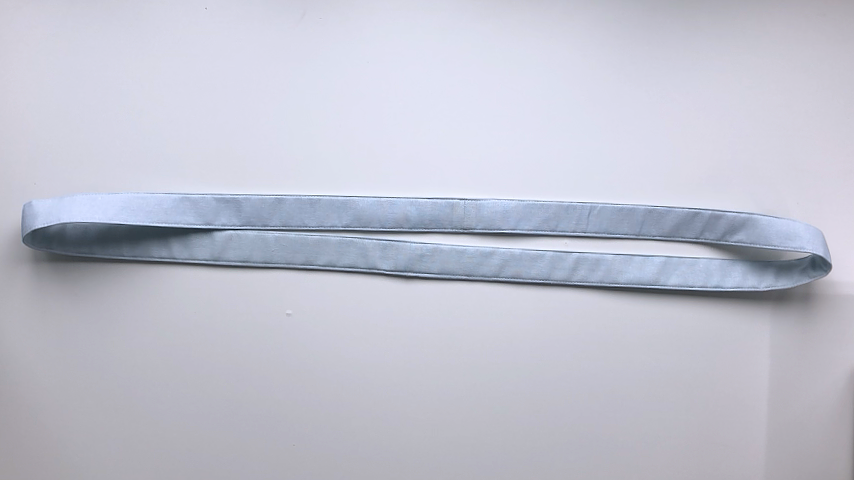
Fold the strip in half widthwise, right sides together, and sew the other ends together using a 1/2″ seam allowance. You’ll be creating a continuous loop.
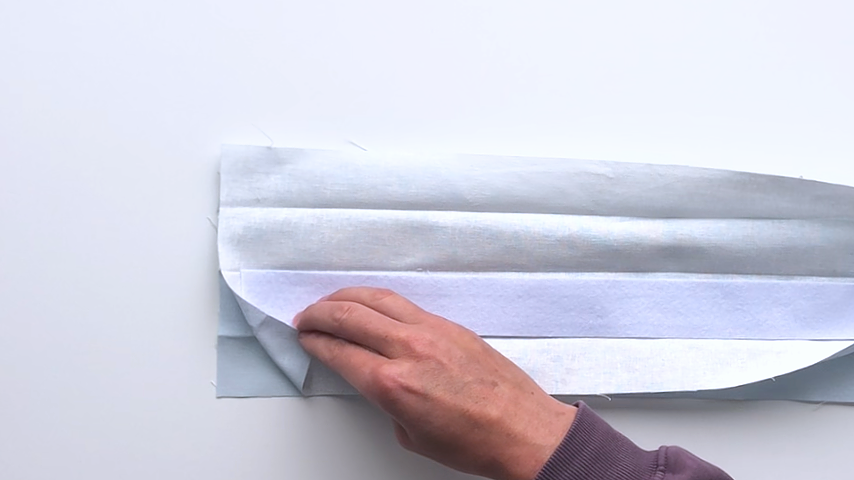
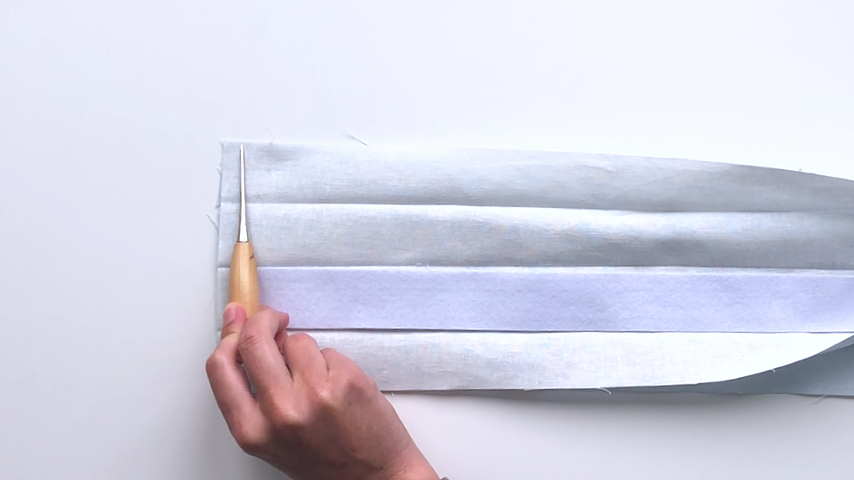
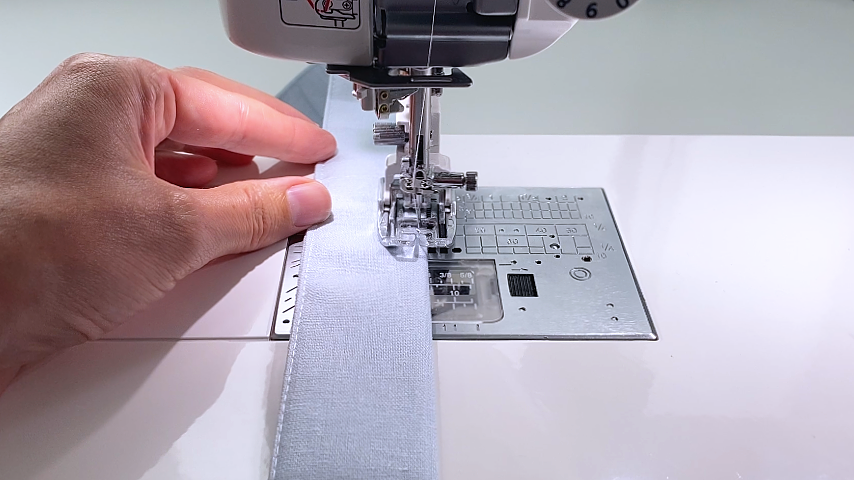
Fold your edges into the center, then fold in half again (press if needed) and then topstitch on either side of the strap 1/8″ away from each edge.
Step 4
We’ll attach the strap to the bottom of our casserole carrier base first.
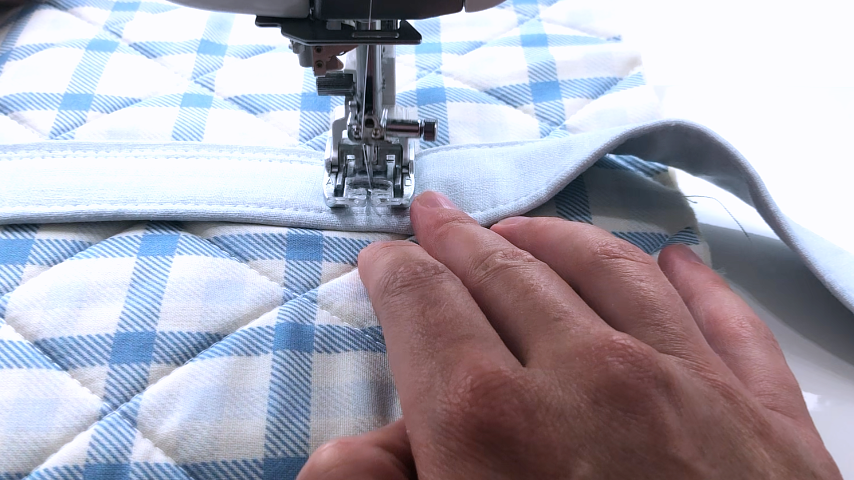
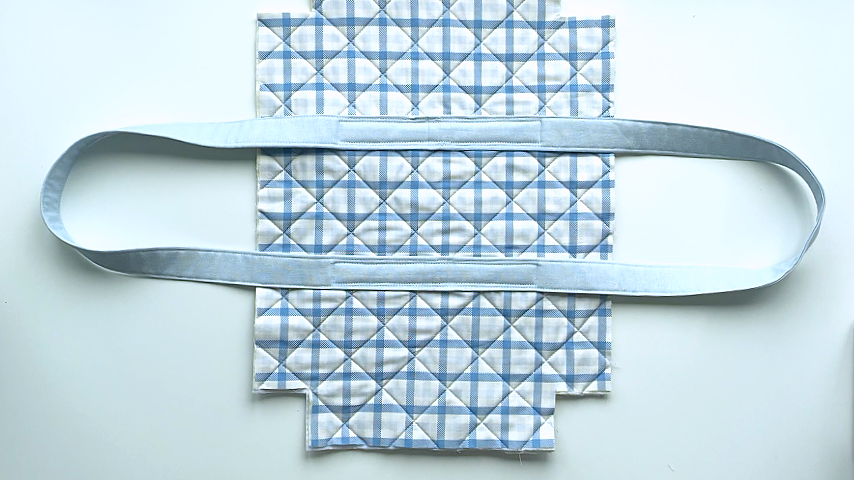
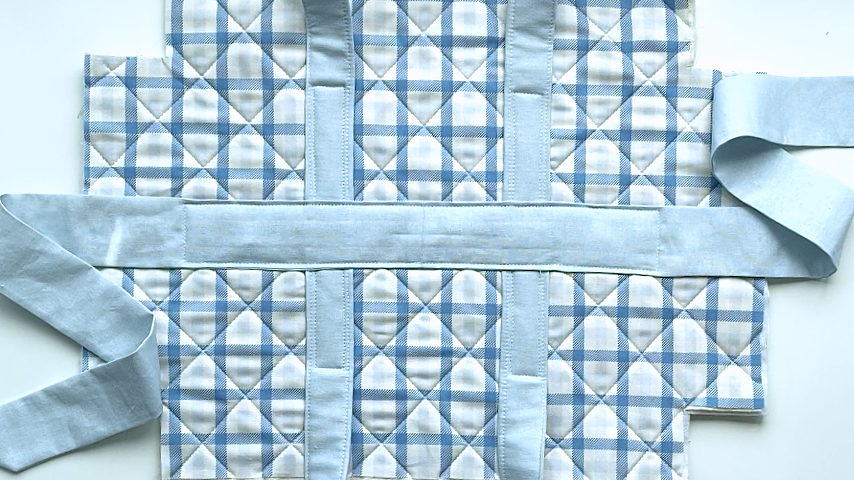
Find the center of your pattern piece from top to bottom and use a temporary fabric pen to mark. The seams of your straps will line up with these center marks.
Then mark a line that is 7″ in from the end of your pattern piece, on both ends. The outside of your straps will line up with these marks.
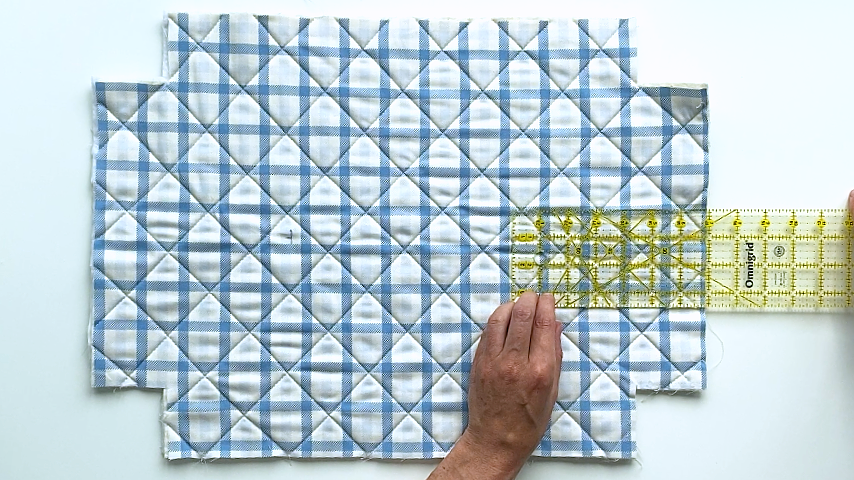
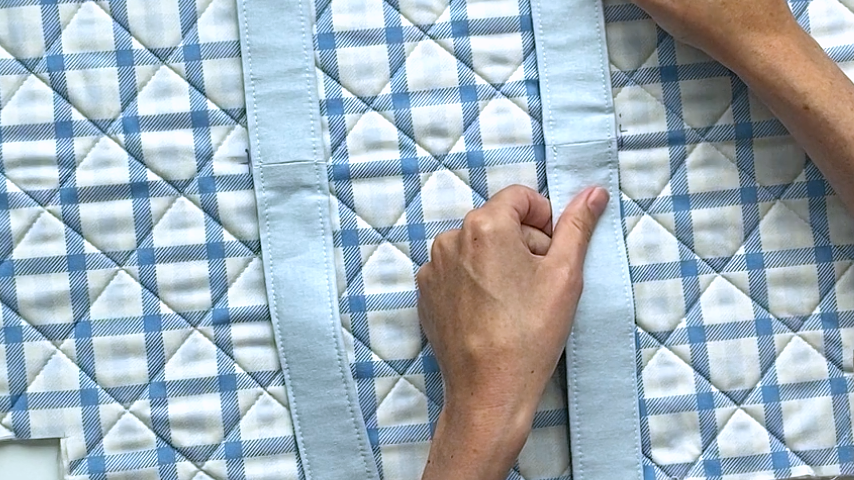
Now measure 4″ away from the center seams of your straps, on either side of the seams, and mark a line or use a pin to mark that 4″ point.
This is where you’ll sew your straps up to.
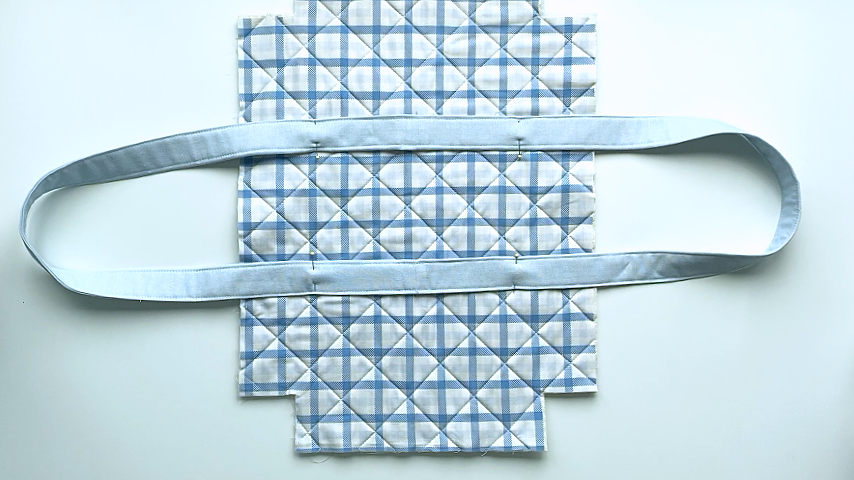
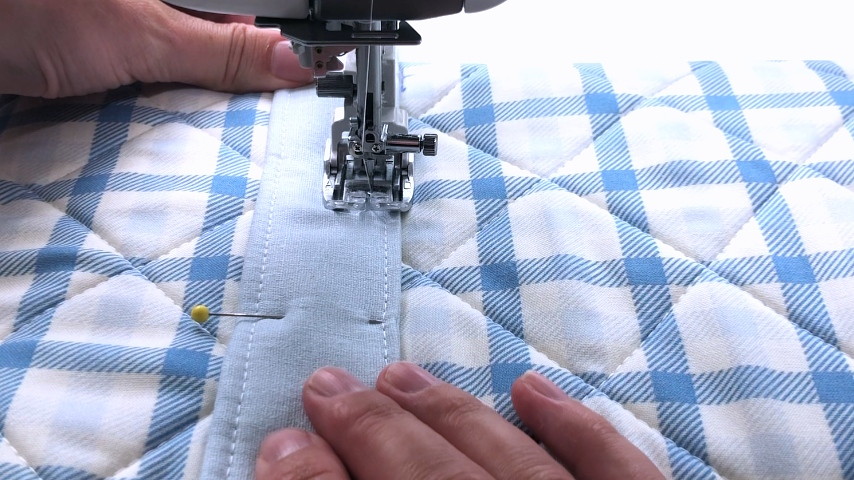
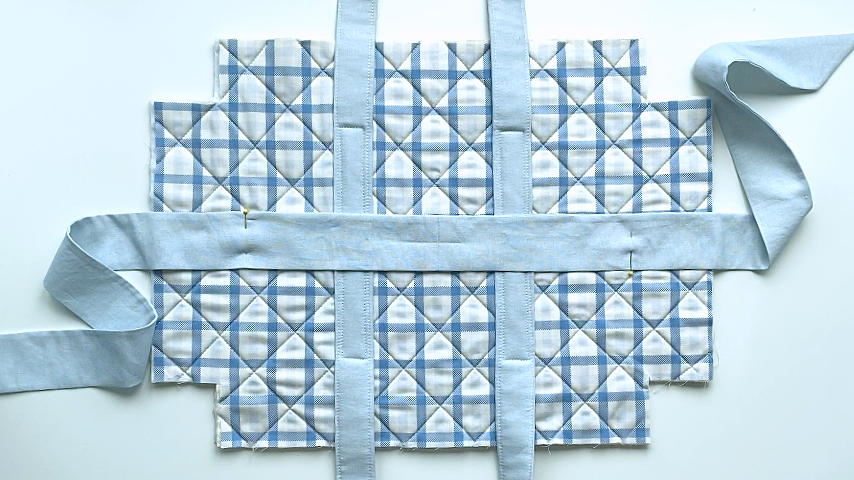
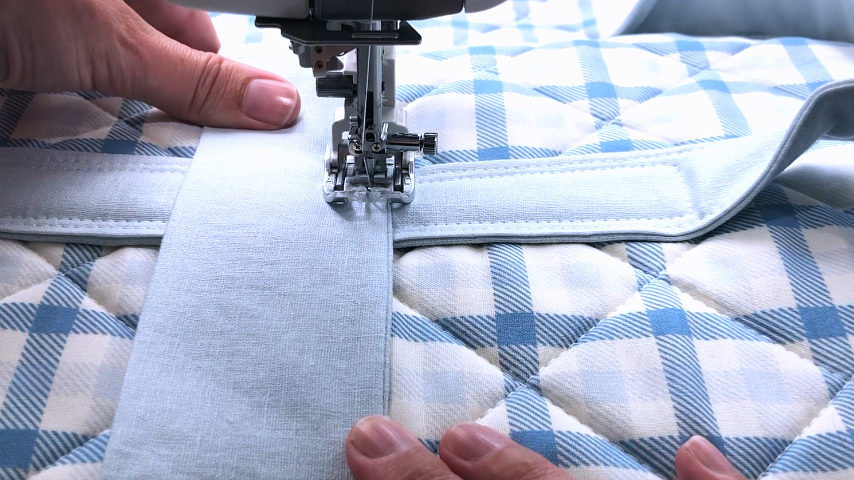
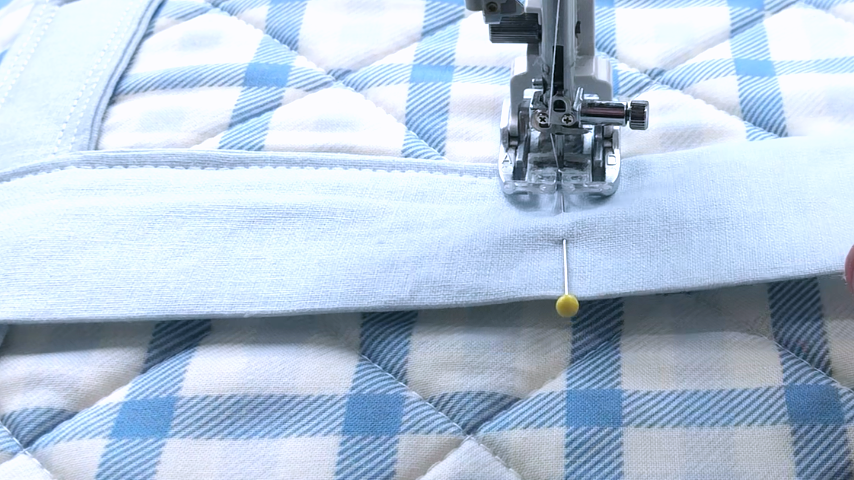
Place the center seam of your tie centred on the pattern piece from top to bottom and left to right.
Then measure 7″ out from the tie’s center seam, on either side of it, and mark with a pen or pin. This is where you’re sew up to to attach your tie to the pattern piece.
Step 5
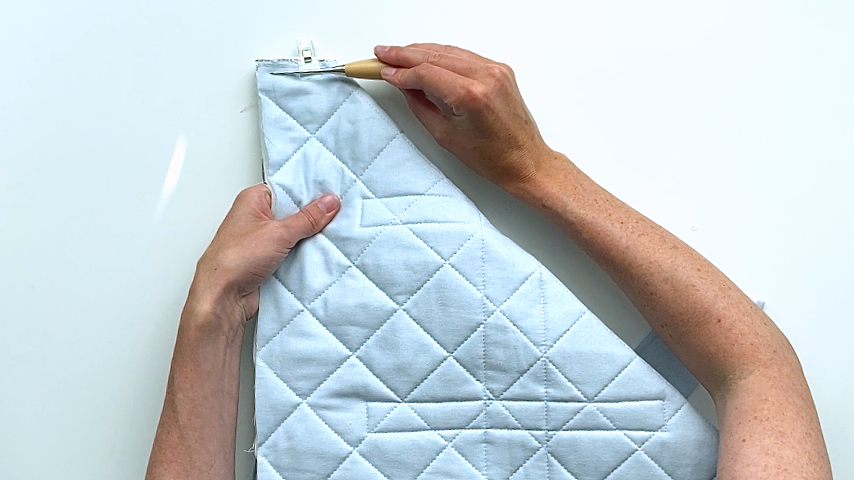
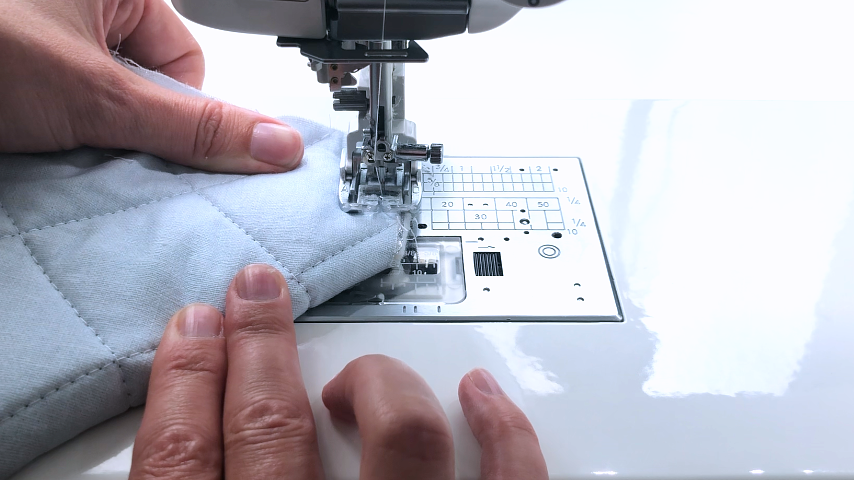
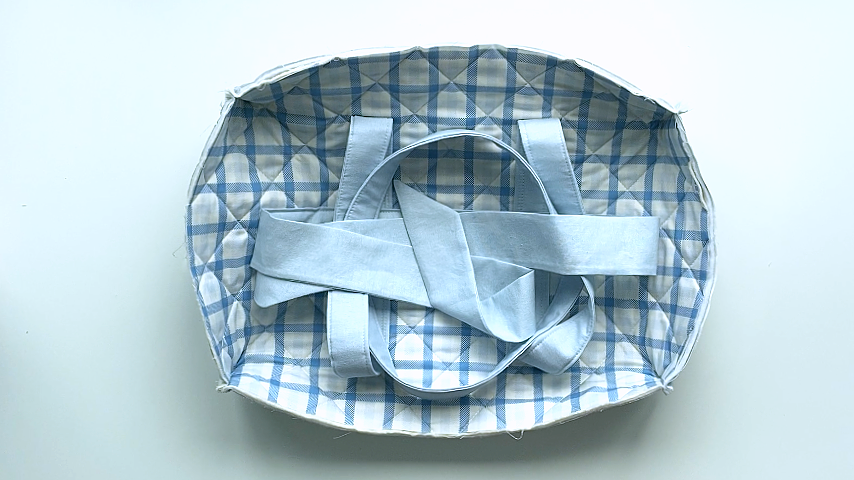
Fold your pattern piece in half diagonally to line up two corner edges. Sew across the corner using a 1/2″ seam allowance.
Repeat to sew all 4 corners.
Step 6
To finish the corner seams, we’ll use bias tape.
*Alternatively, if you have a serger, you can use that to finish the raw edges.
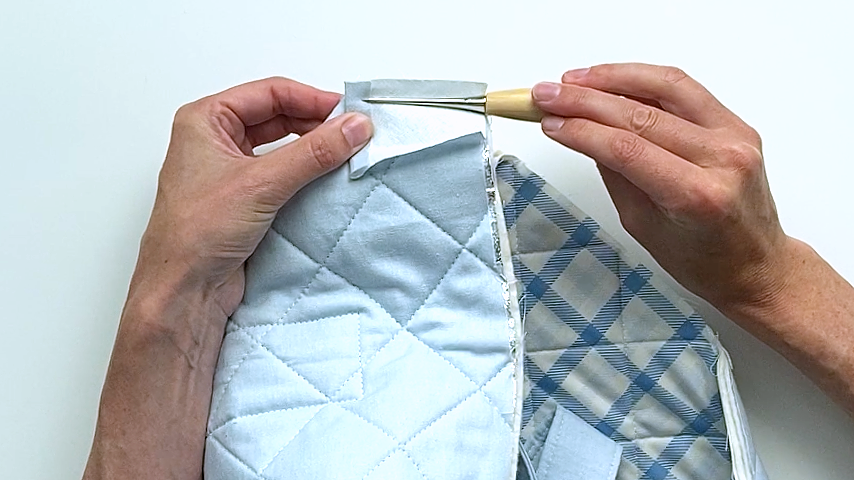
Line up one end of a 3″ piece of bias tape with the top edge of your fabric box. Then fold the other end of the bias tape in so that the folded edge lines up with the bottom of the corner seam.
You’ll sew in the first fold of the bias tape:
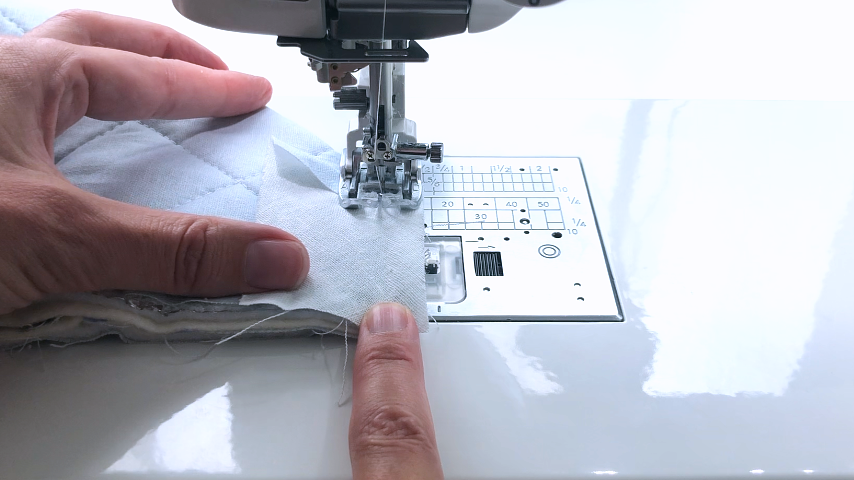
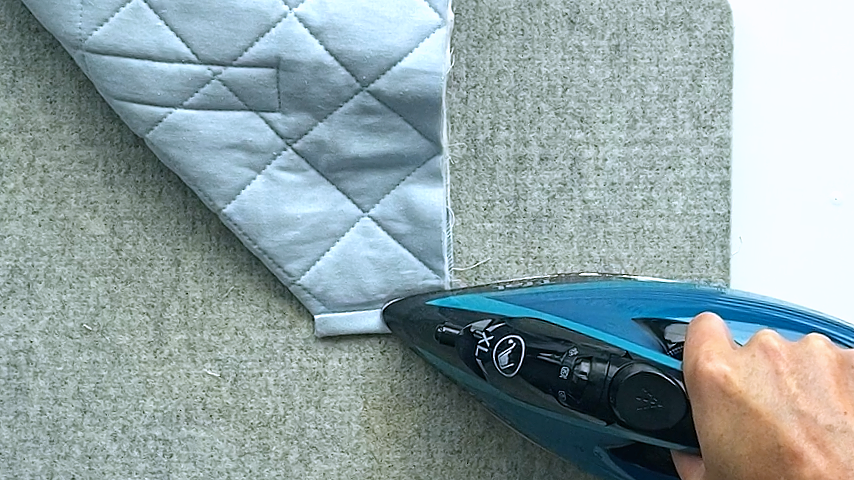
Press the corner’s seam allowance to help flatten all the layers of fabric and batting and make it easier to sew through.
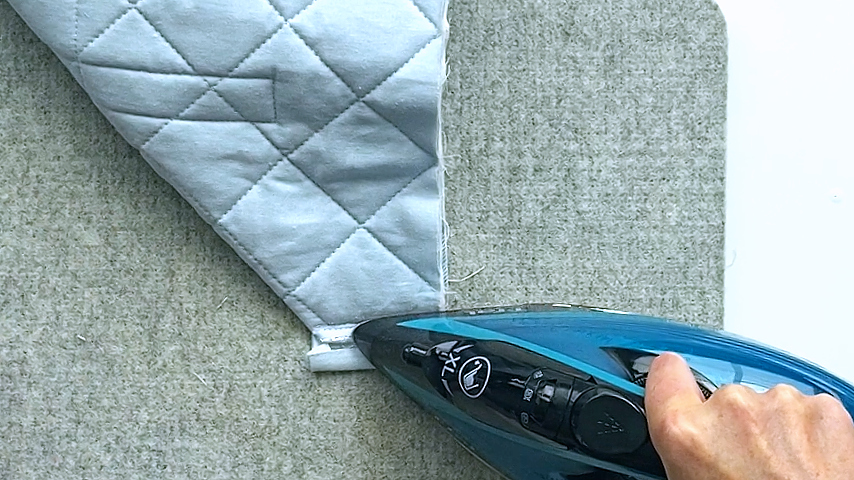
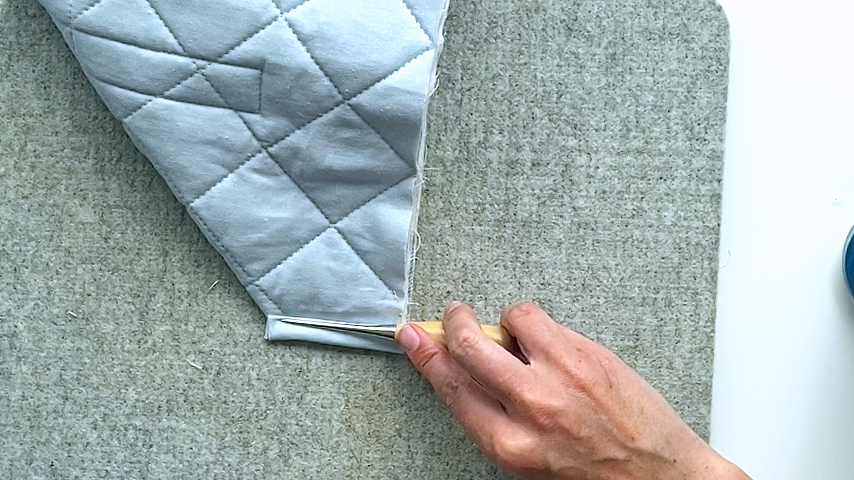
Then fold the bias tape over the seam allowance and press into place so the folded edge of the bias tape covers the line of stitches.
Sew about 1/8″ in from the inside edge of the bias tape.
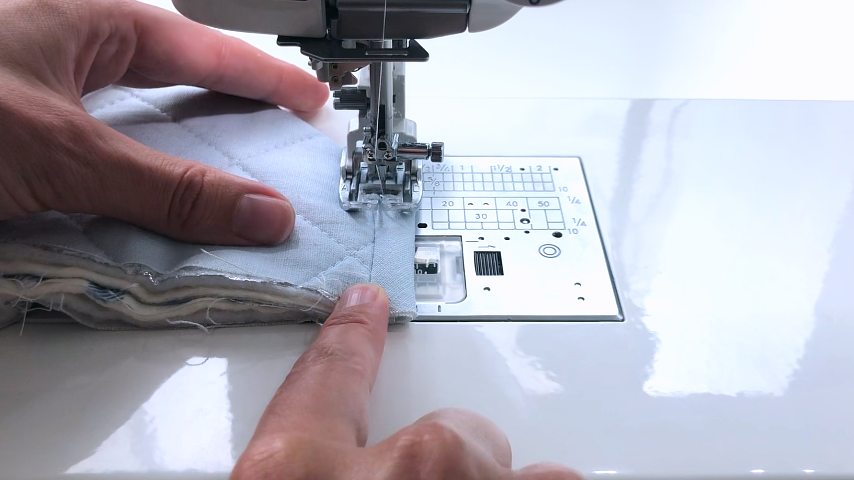
Repeat to complete all 4 corner seams.
Step 7
Mark a line 2″ away from one end of your bias tape. This is where you’ll start sewing the bias tape to your carrier’s base. Sew in the first fold of the bias tape.
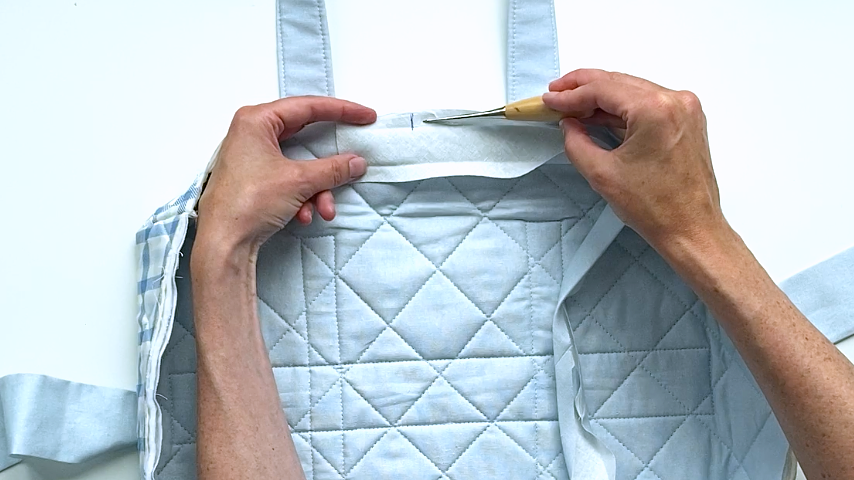
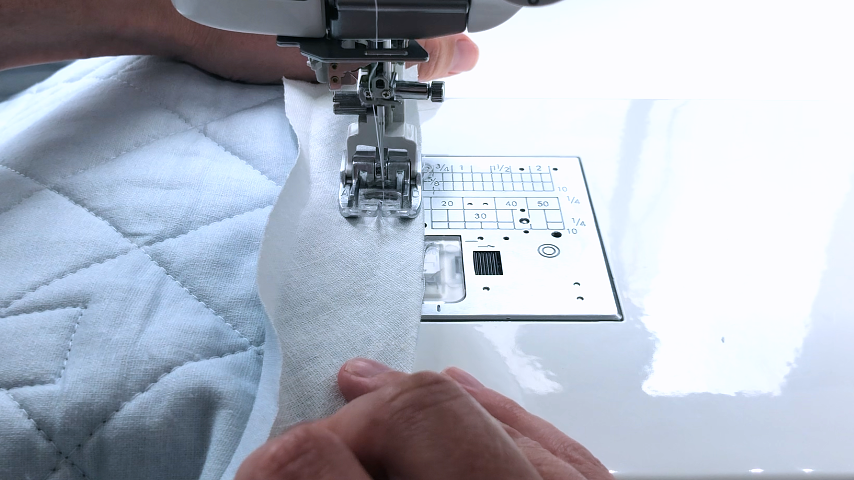
When you come to the corners, fold the corner bias tape flat. I folded each corner in toward the short end of the carrier.
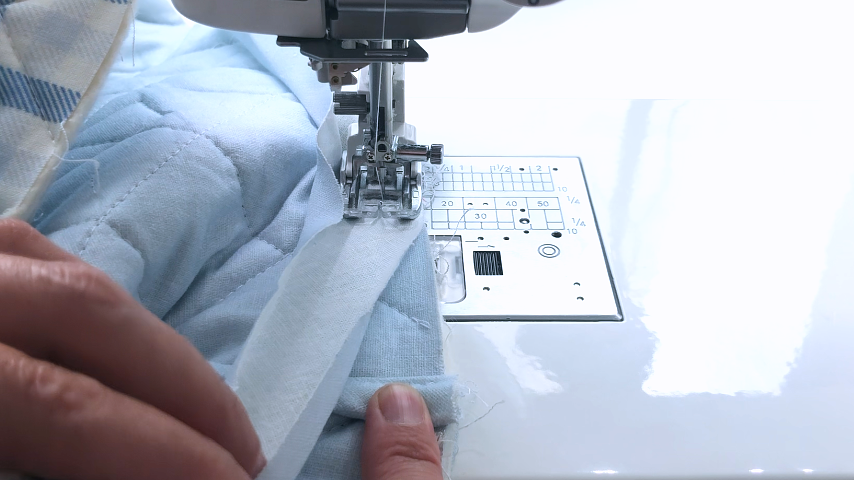
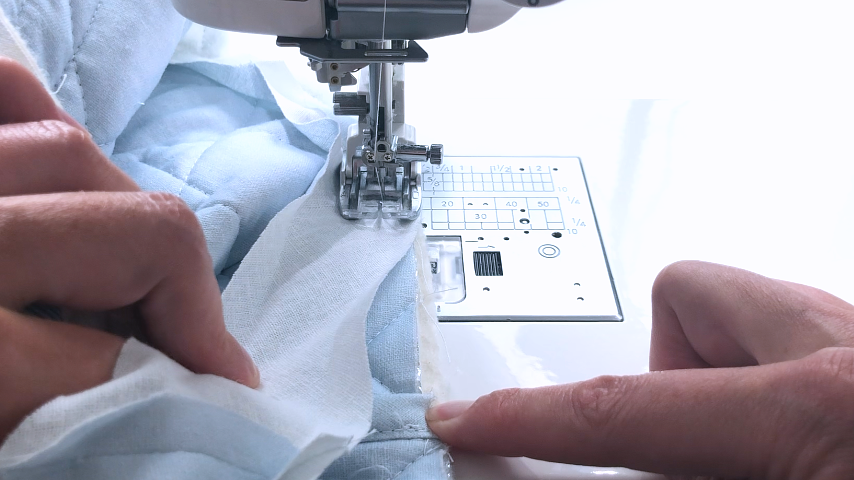
As you come back to the start of your bias tape, fold the 2″ loose end straight back and set the end of your bias tape on top. You’ll sew right up to the start of your stitching, without going past it.
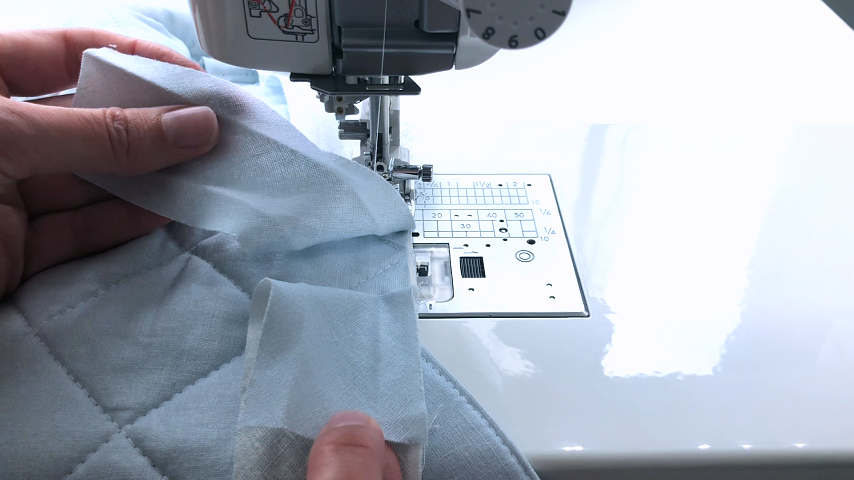
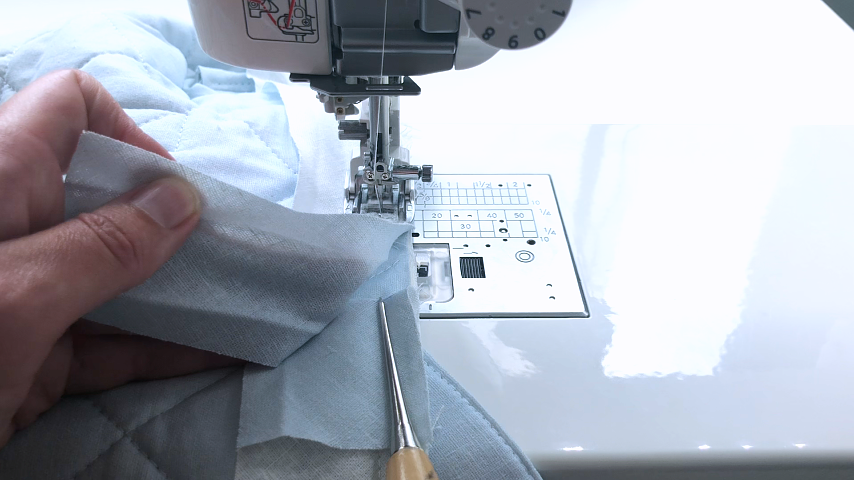
Unfold the end of your bias tape.
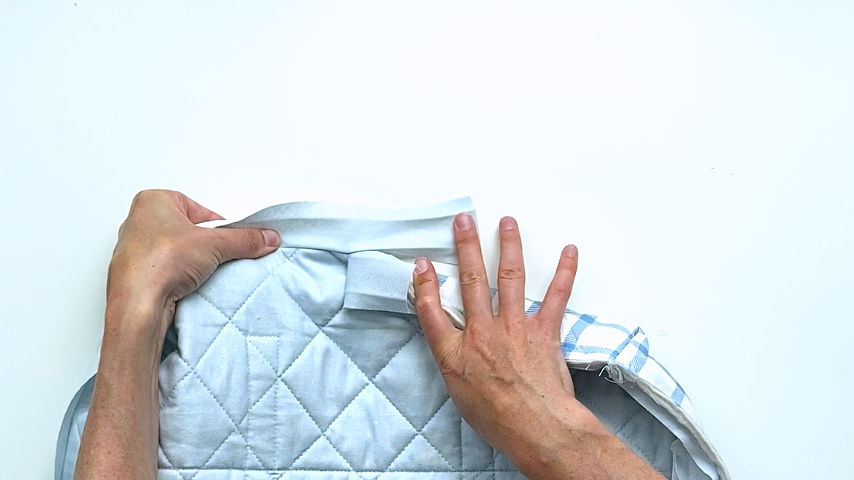
Then fold your pattern piece so you can set the start of your bias tape on top of the end, at a 90-degree angle to it.
You’ll sew diagonally across the bias tape to join the two ends.
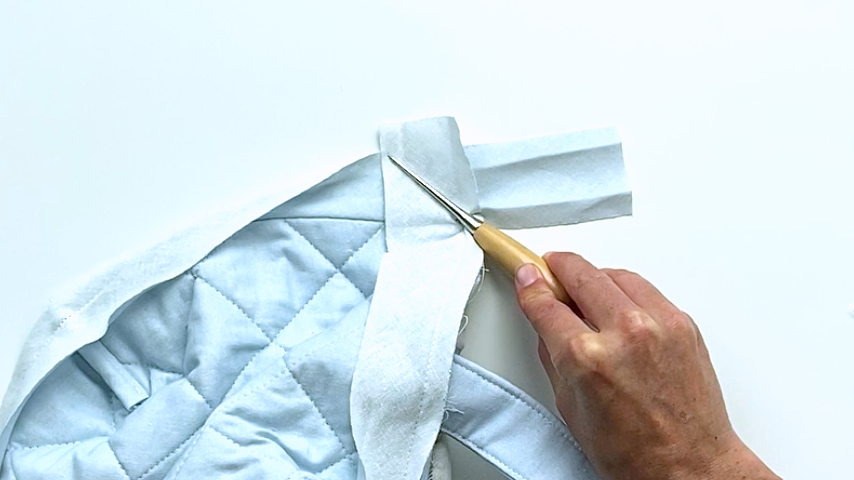
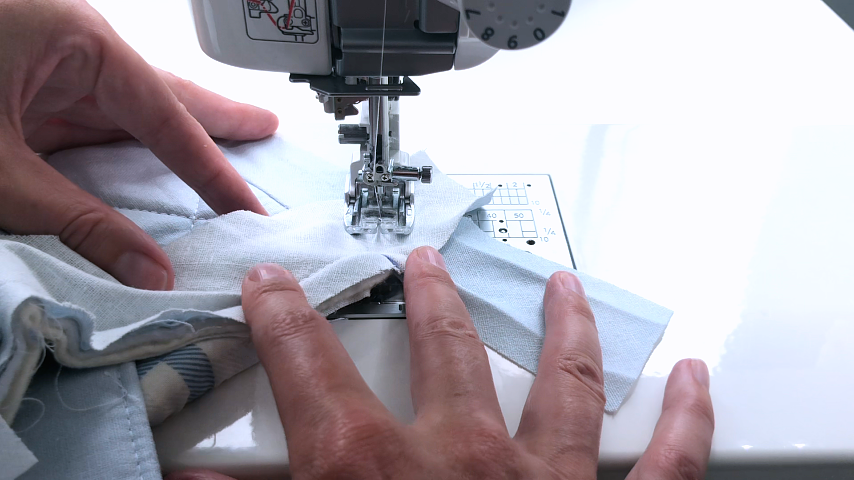
Check to make sure the seam looks good, then trim the excess bias tape.
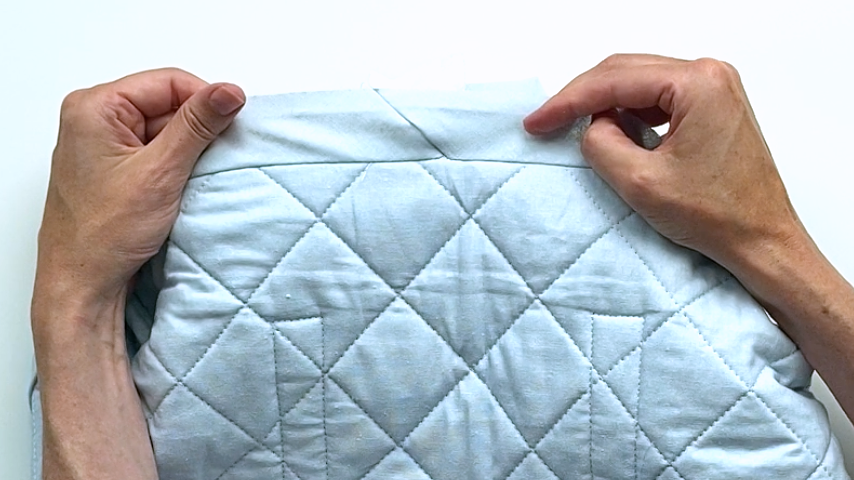
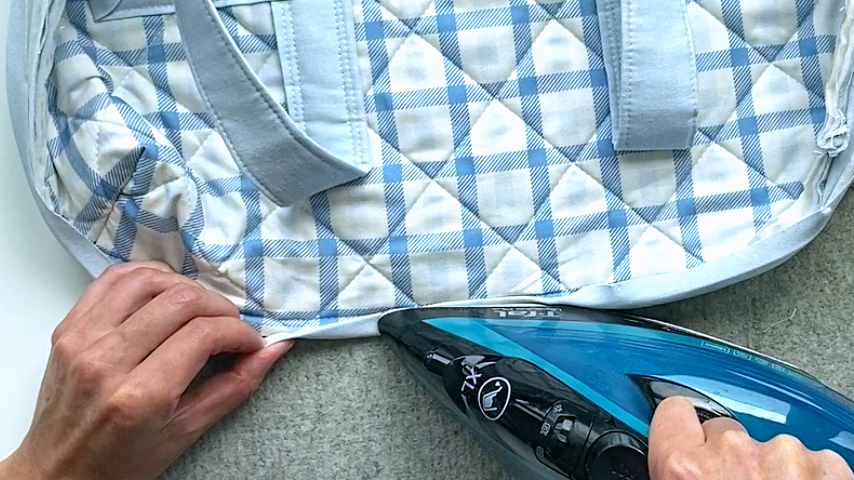
Fold the bias tape to the other side and press into place so it is just slightly covering the line of stitching.
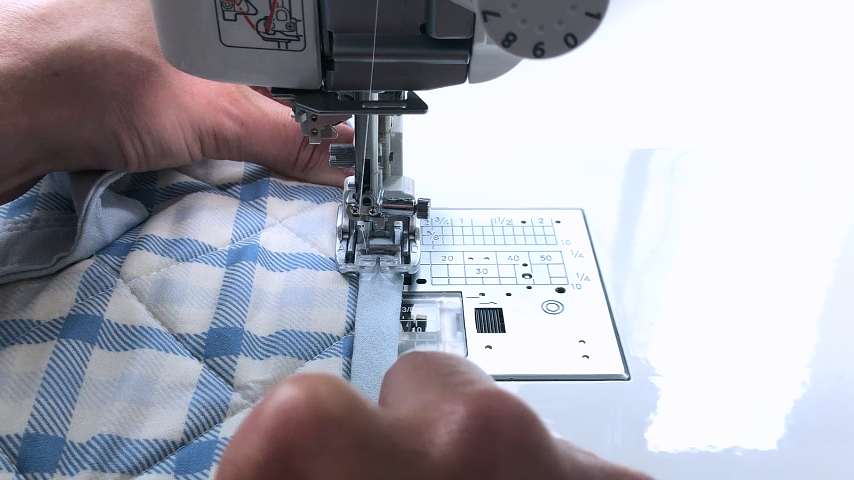
You’ll sew 1/8″ in from the inside folded edge of the bias tape.
Step 8
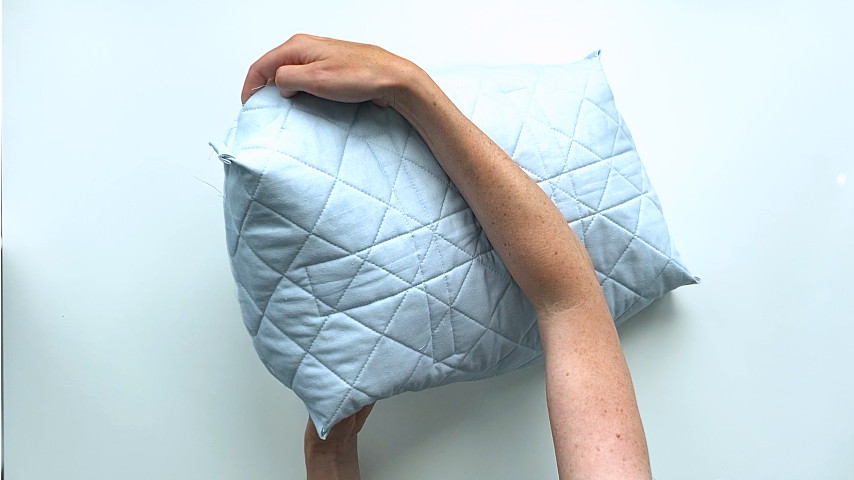
To give the carrier more of a box shape, we’ll sew from the bottom of one corner seam to the next, for all 4 sides.
Fold a side in to create a fold that goes straight from the bottom of one corner seam to the next corner. Clip the fold into place.
Using a 1/8″ – 1/4″ seam allowance, sew along this fold.
You want to be sure that the lining fabric is pushed into the fold as you sew, so your stitching catches it. You likely won’t be able to sew right up to the corner; starting and stopping your stitching an inch or two away from the corner is fine.
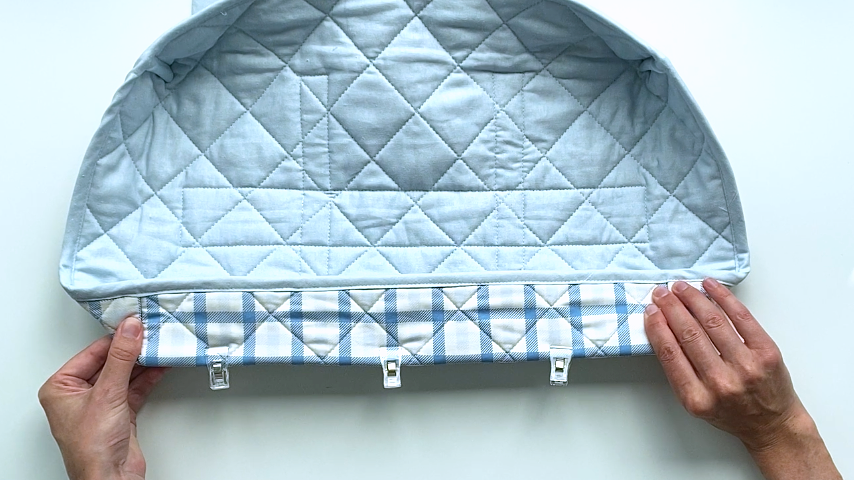
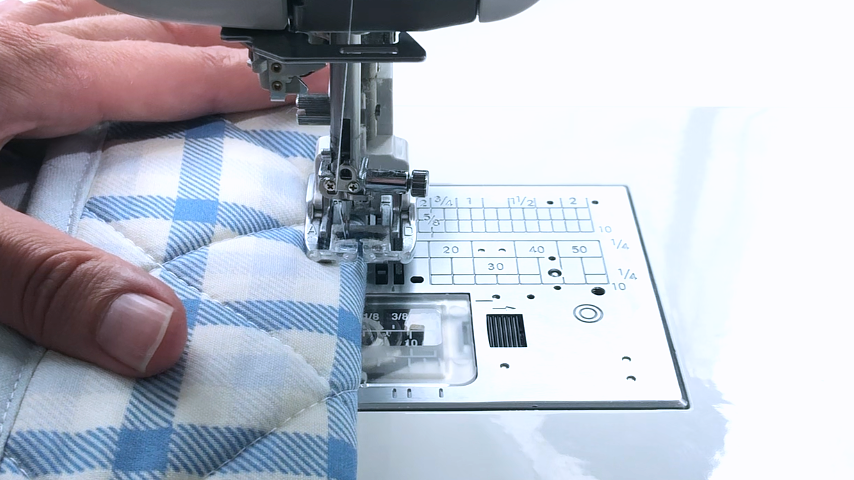
Now we have more of a box shape.
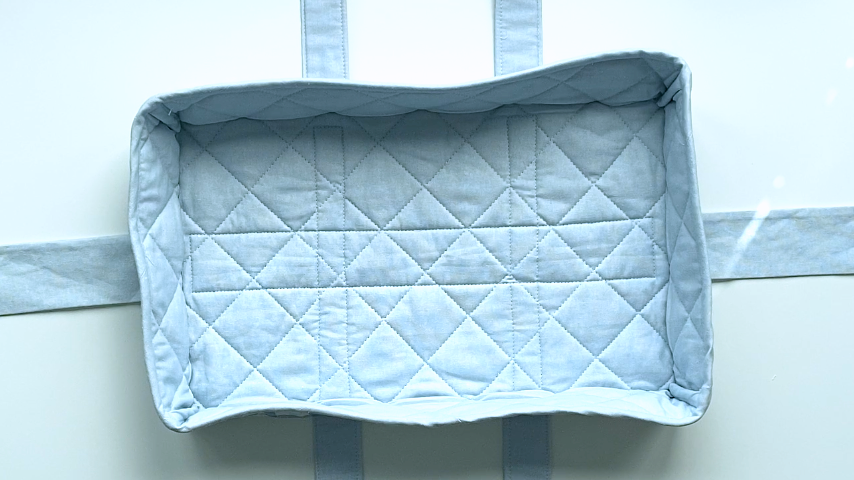
The base of your carrier is complete:
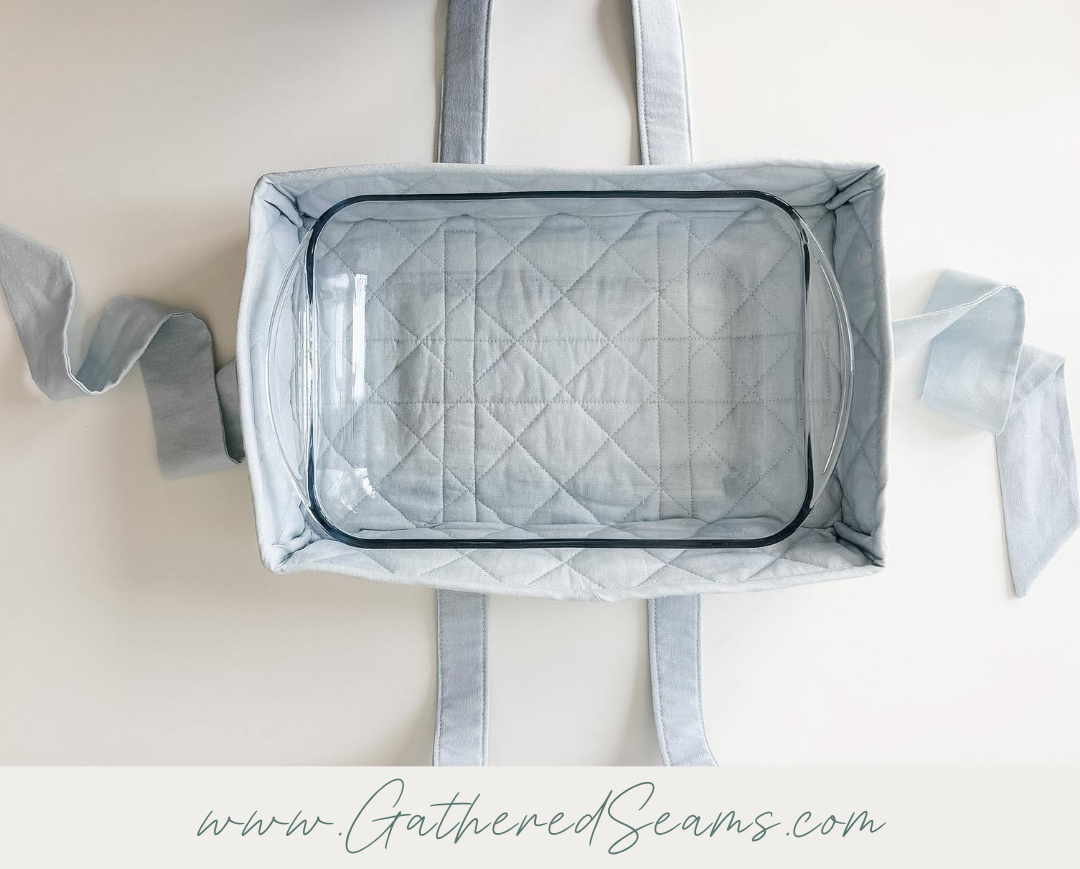
Step 9
For the lid, use quilting stitches to secure the top fabric and thermal batting together. This time, don’t sew the lining with it.
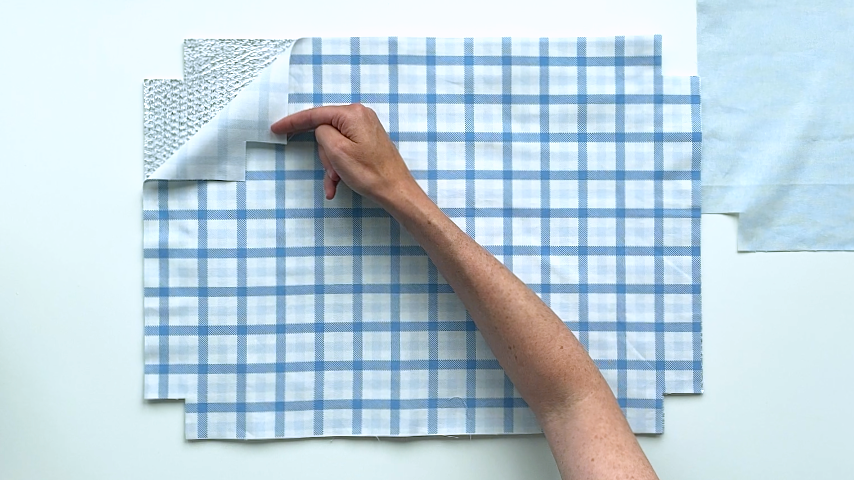
Repeat step 5 to sew the corners for your quilted lid piece and the lid’s lining.
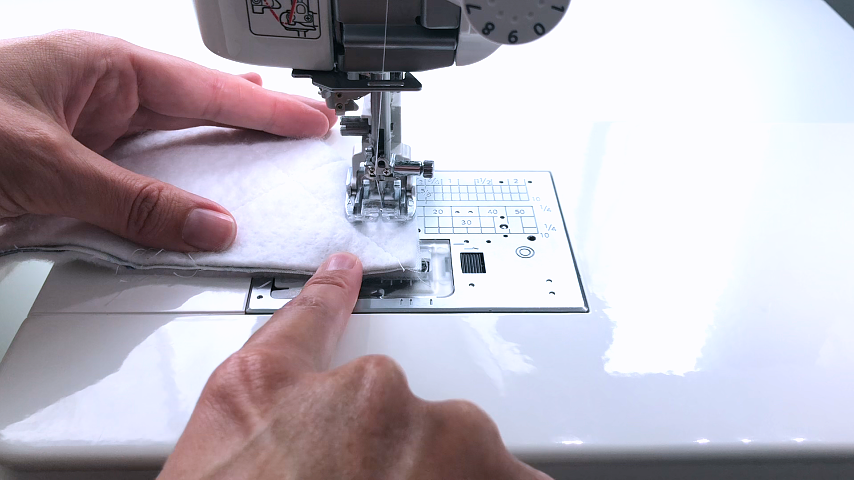
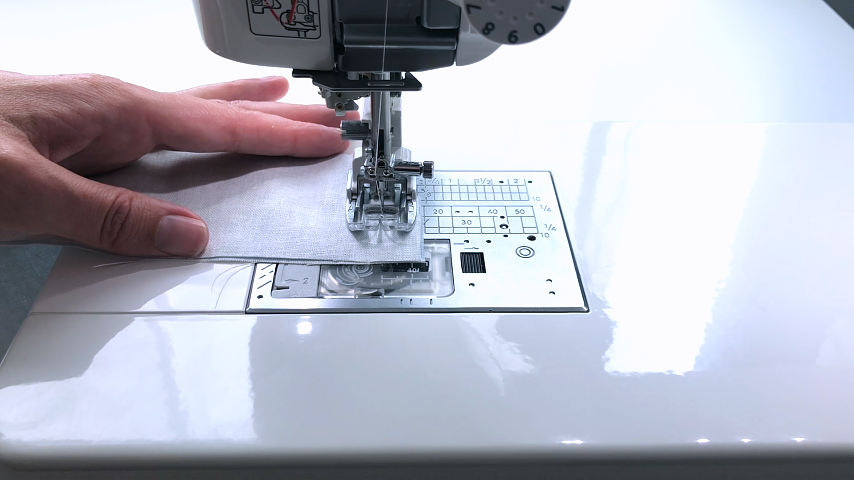
Then set the lining into the quilted piece, so wrong sides are together, and baste the lining and outer piece together around the top edge.
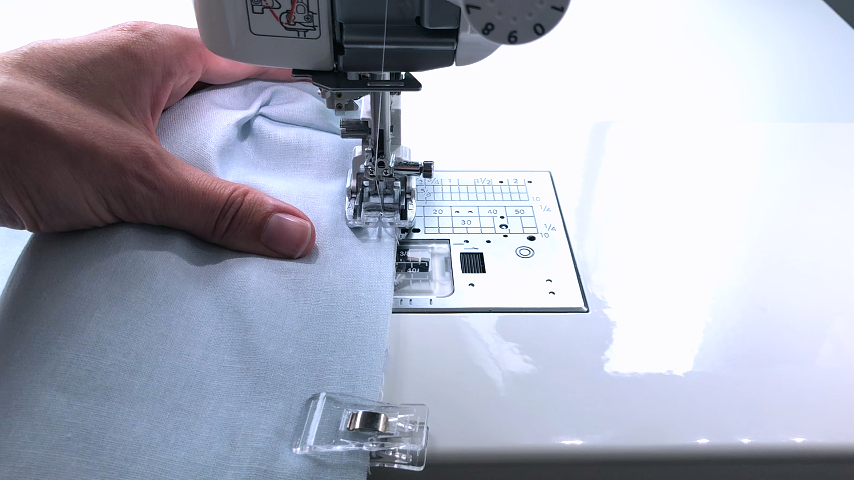
Repeat step 7 to sew the bias tape to the top edge.
Repeat step 8 to sew along the bottom edges of the lid and create more of a box shape.
Now the lid of your carrier is complete:
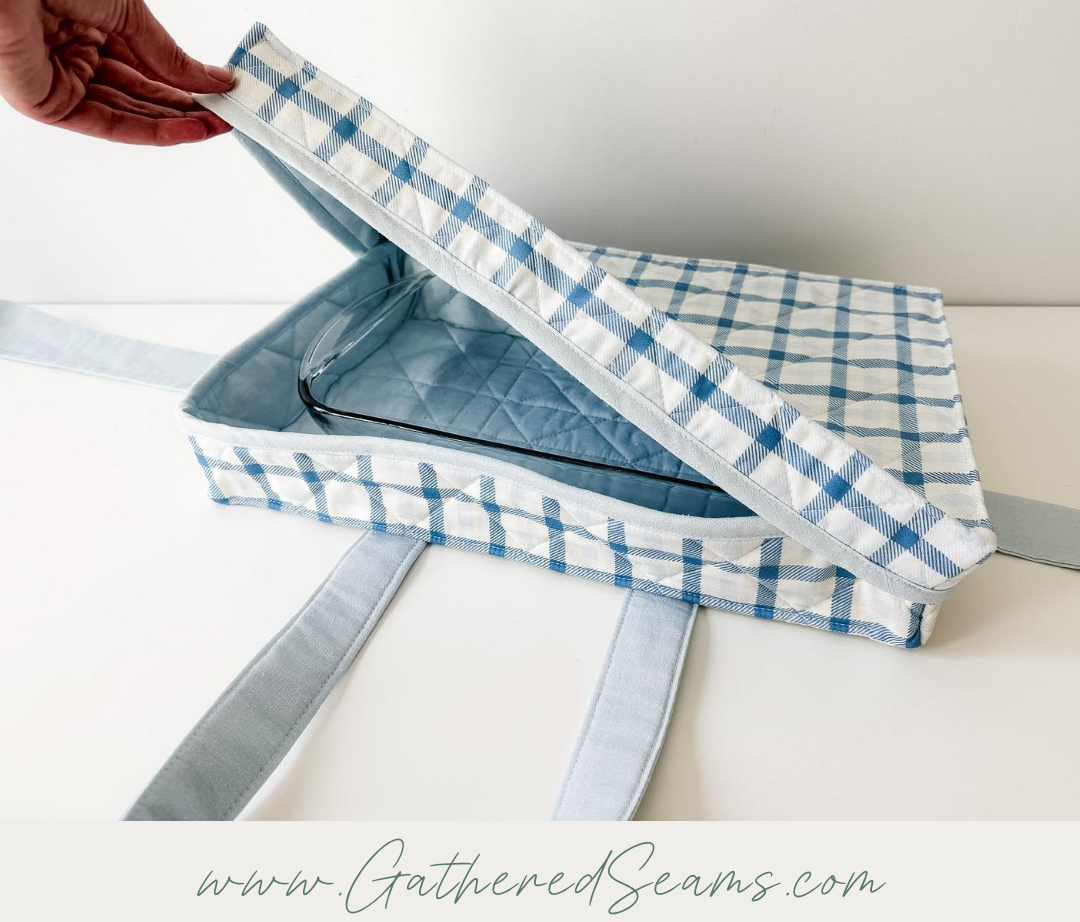
Your casserole carrier is complete!