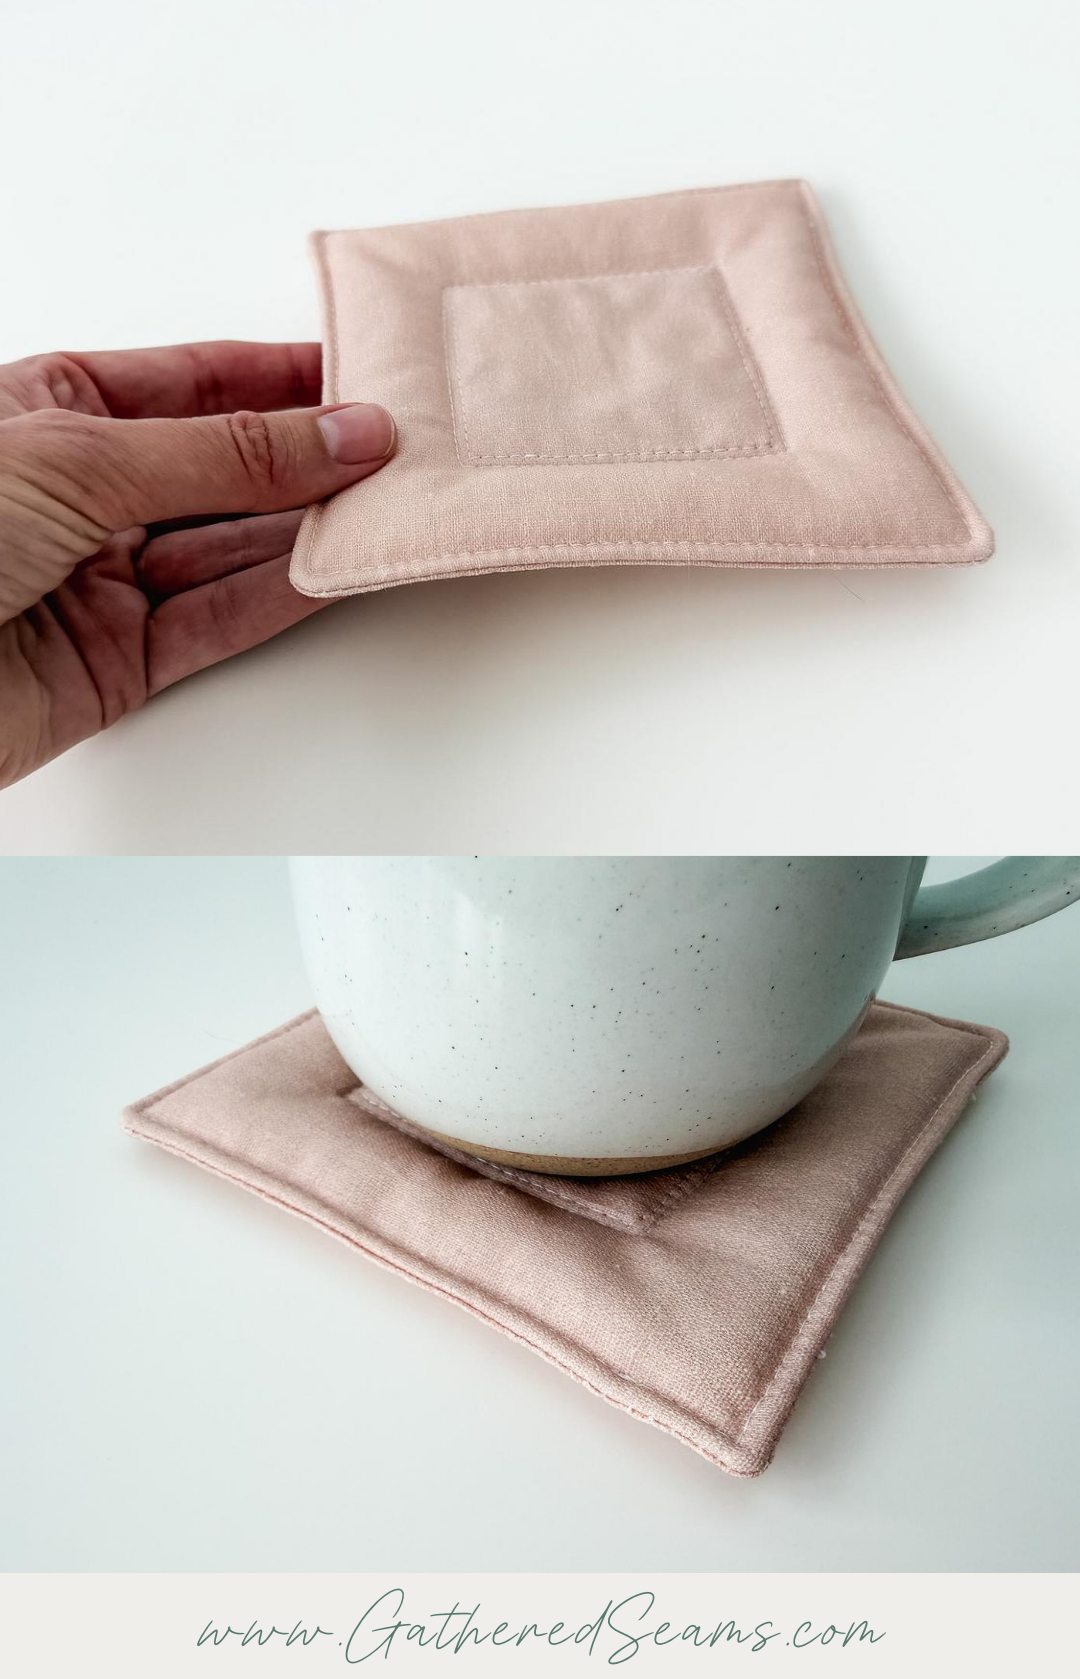
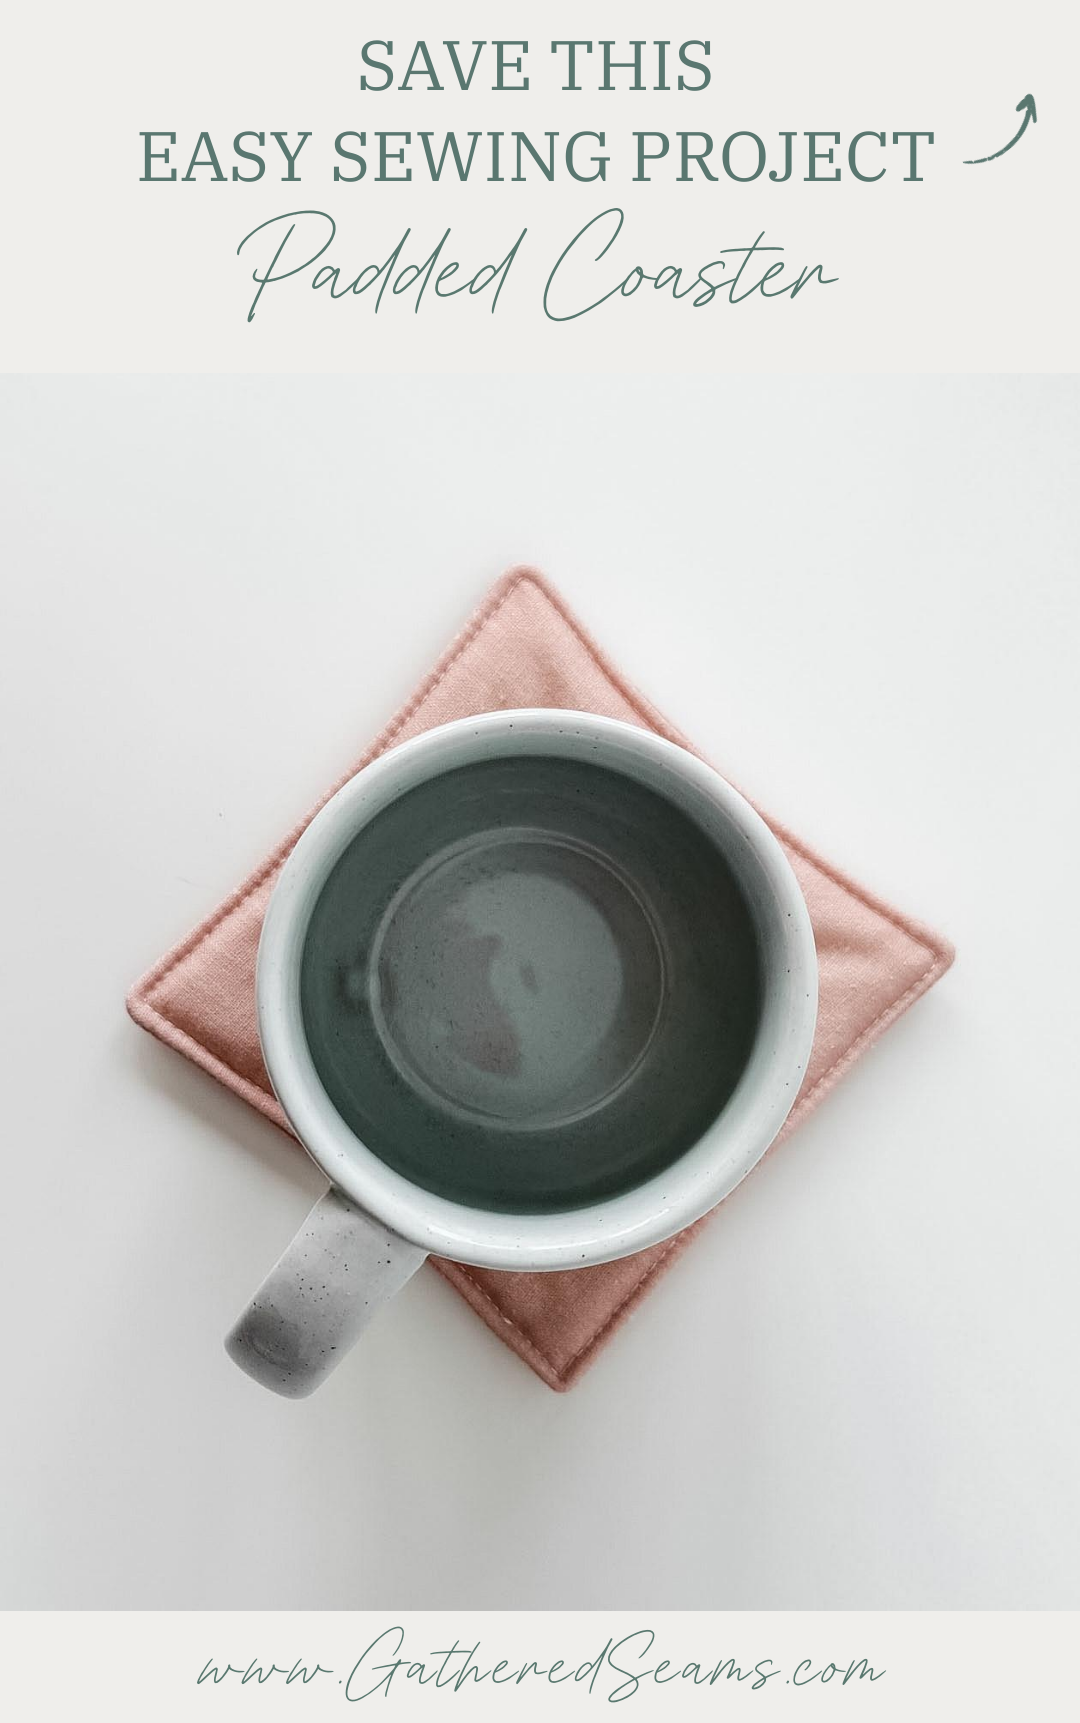
How To Sew A Padded Coaster (Beginner Friendly)
This coaster is a take on my pillow coaster. It’s a little easier to sew because it doesn’t require hand-stitching the opening closed or hand-stuffing the coaster.
I personally love the look of the pillow coaster, but if you want something a little more subtle, this padded coaster may be a better fit.
This project is beginner-friendly.
It’s also quick to sew, and a great project to use up scraps of fabric.
I use a thermal batting on the center portion of this coaster to help protect a table’s surface.
I do use polyester batting to add the loftiness, but the thermal batting in the center will also ensure that a hot mug doesn’t melt the polyester batting (however, I’ve never gotten my mug hot enough to melt batting).
You can easily adjust the size of your coasters to fit your mugs. The mug shown in the photos is 14 ounces (about 12-7/8″ circumference at its widest point), for reference.
Materials
As an Amazon Associate, I earn from qualifying purchases (see full disclosure here).
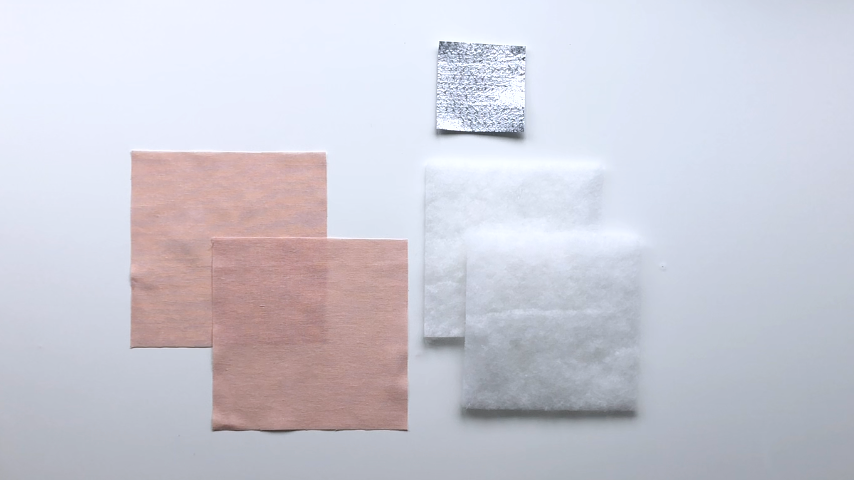
- Cotton or linen fabric (avoid synthetic materials)
- Thermal/heat-resistant batting (Insul-Bright or something similar) (this has “heat-reflective” properties) – this will help protect a table’s surface.
- High-loft batting
- Cotton thread
Tools
- Sewing machine
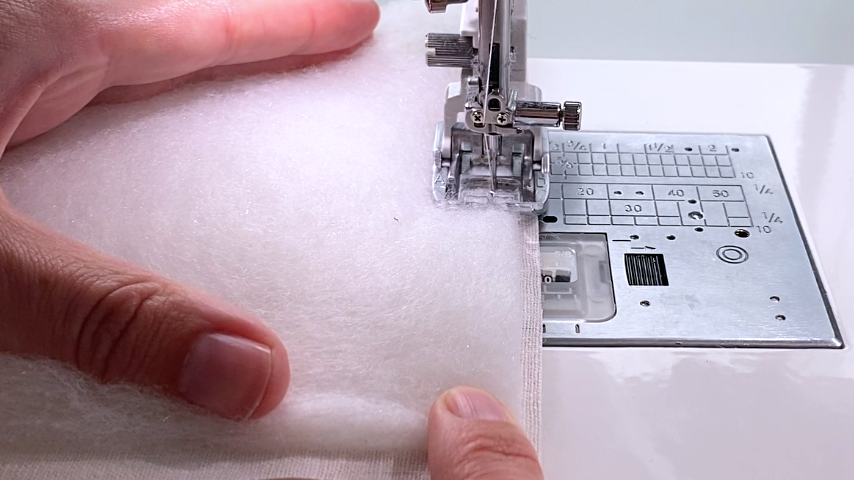
- Walking foot (this makes sewing with thicker materials, like batting, easier. This is the universal one I purchased for my Baby Lock, which is a different machine than what’s shown in the photos)
- Point turner
- Temporary fabric pen or chalk
- Ruler
- Iron
- Scissors
- Pins or clips
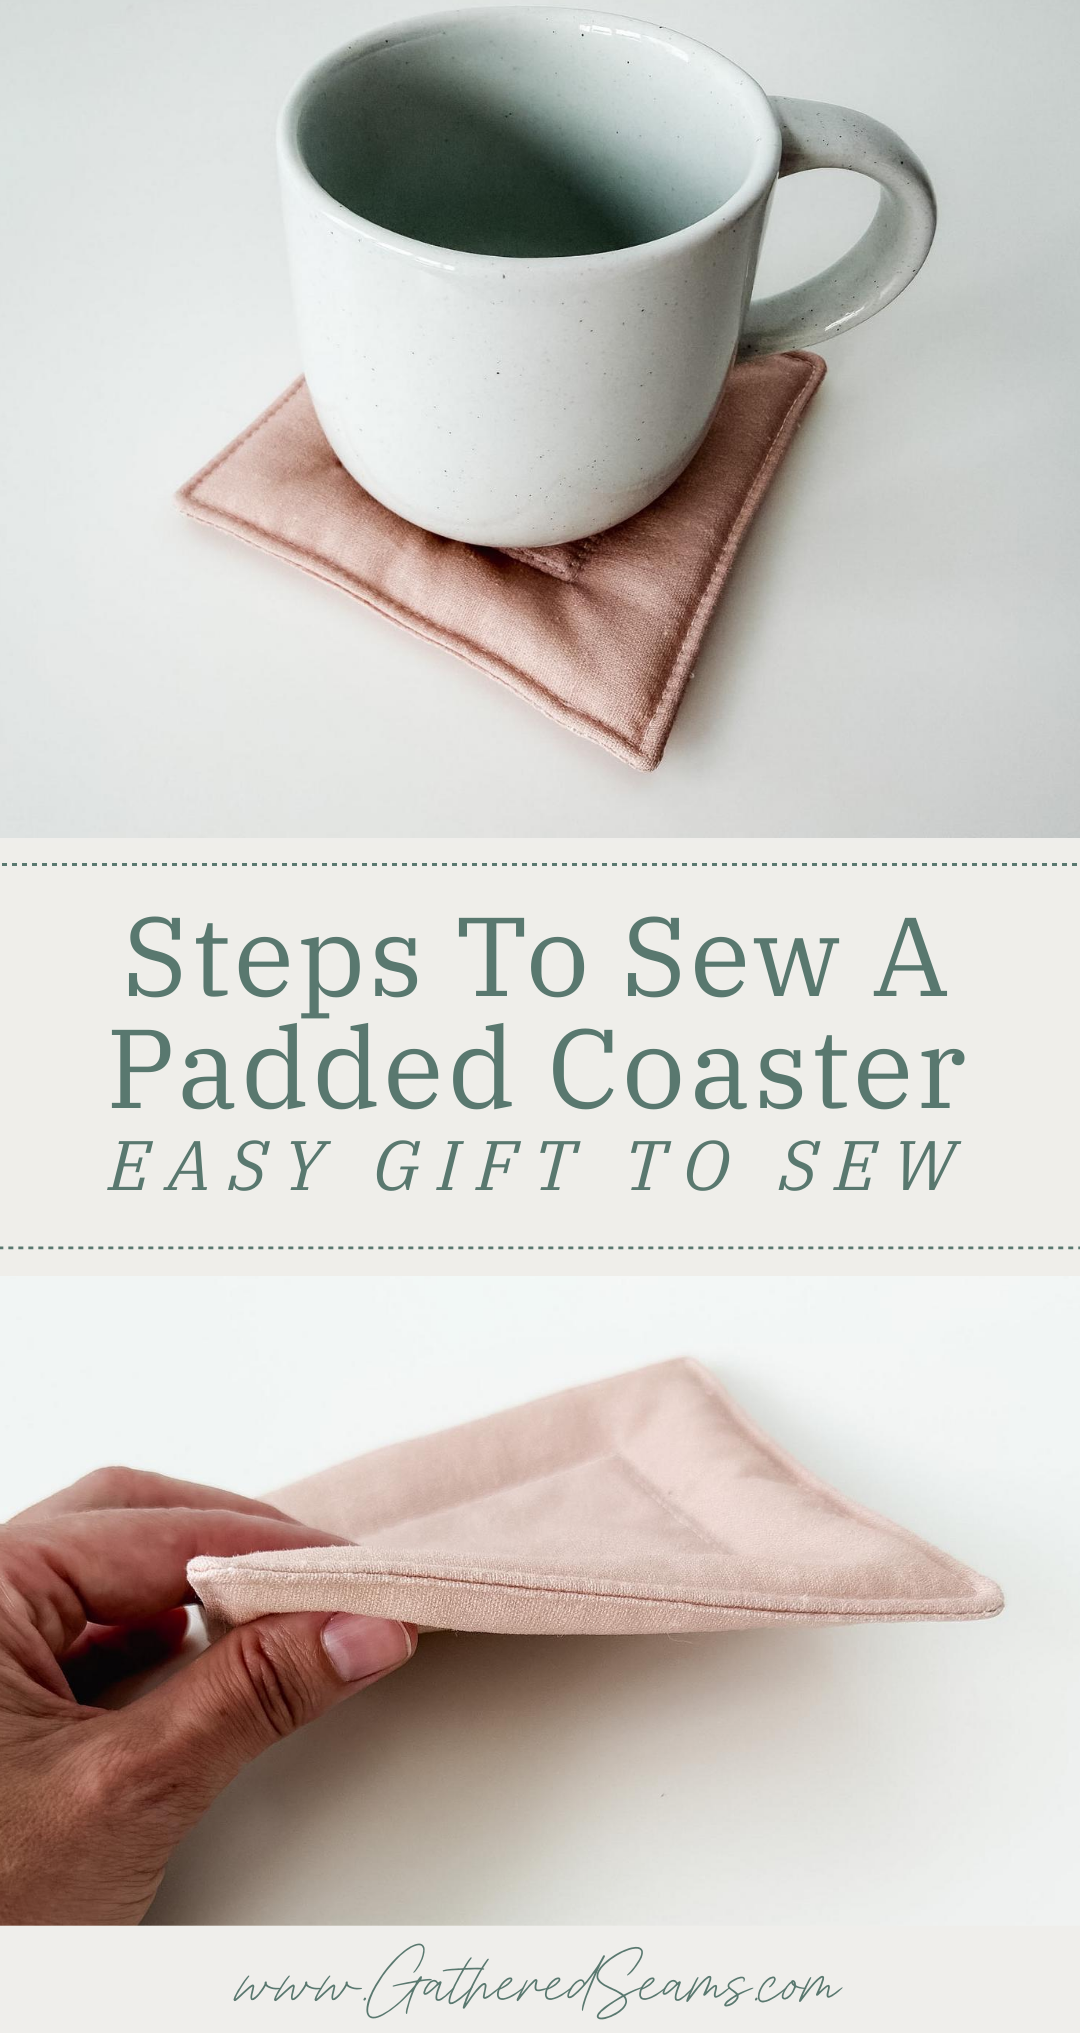
Pattern pieces for a padded coaster
You will need to cut:
- 2 pieces of fabric that are 7″ x 7″ (for the top and bottom of the coaster)
- 2 pieces of high-loft batting that are 6-1/2″ x 6-12″
- 1 piece of thermal batting that is 3″ x 3″
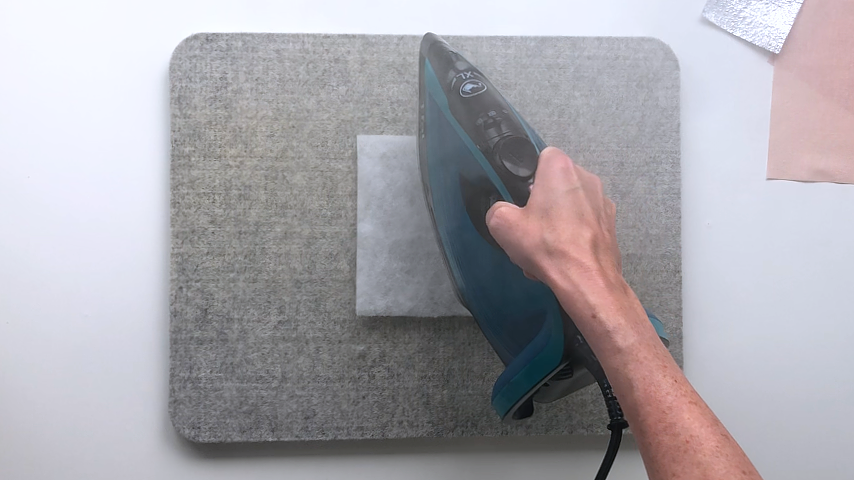
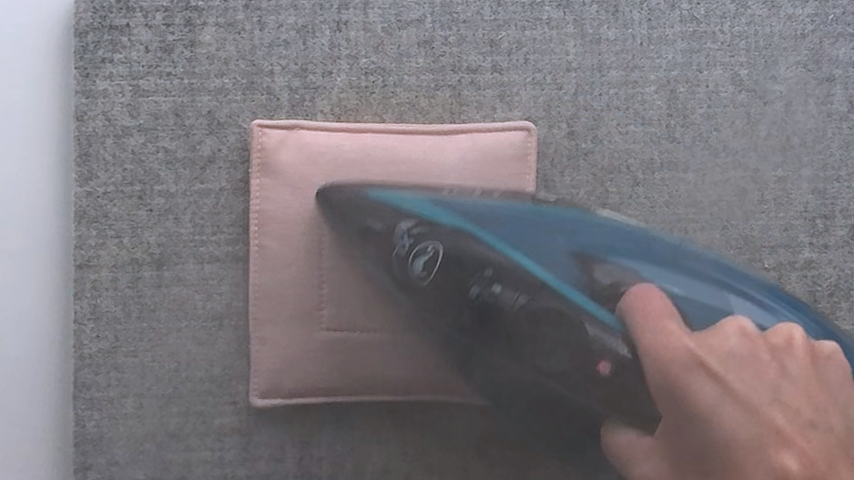
To get your polyester batting extra fluffy, you can hit it with some steam from your iron. I found this trick on YouTube a while back, and of course now, cannot find the origional video. But hover your iron over your batting (don’t touch the iron to the batting or it will melt it) and use the steam function. If your batting was flat from packing, this will help fluff it up and give your coaster that padded look.
Steps to sew a padded coaster
Step 1
Use a temporary fabric pen to draw a square in the center of your top fabric, on the wrong side of it.
If you’re following my measurements, each line should be 2″ away from each edge and 3″ long.
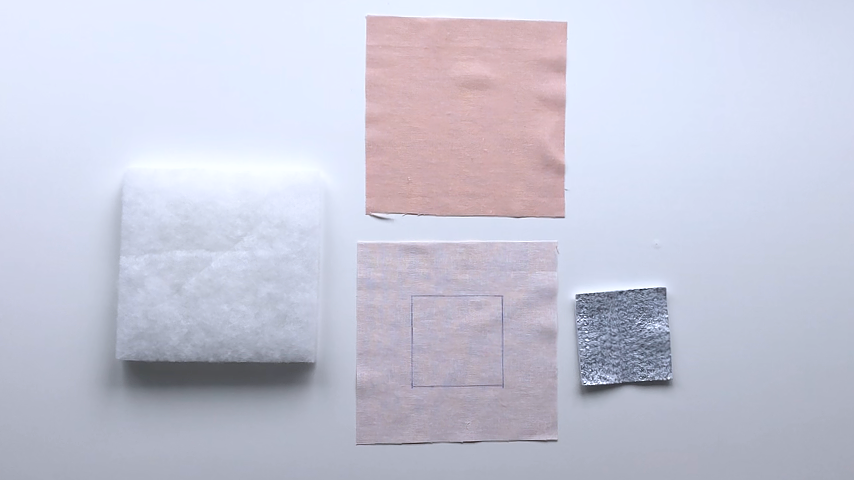
Center the thermal batting over that square.
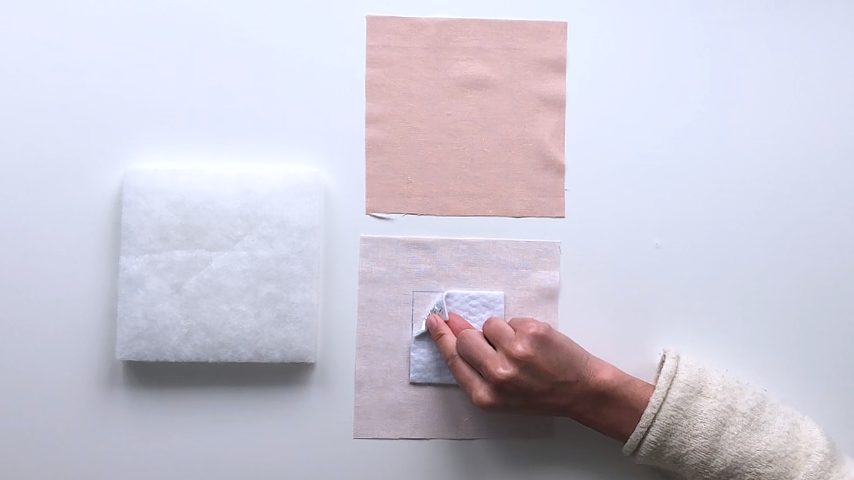
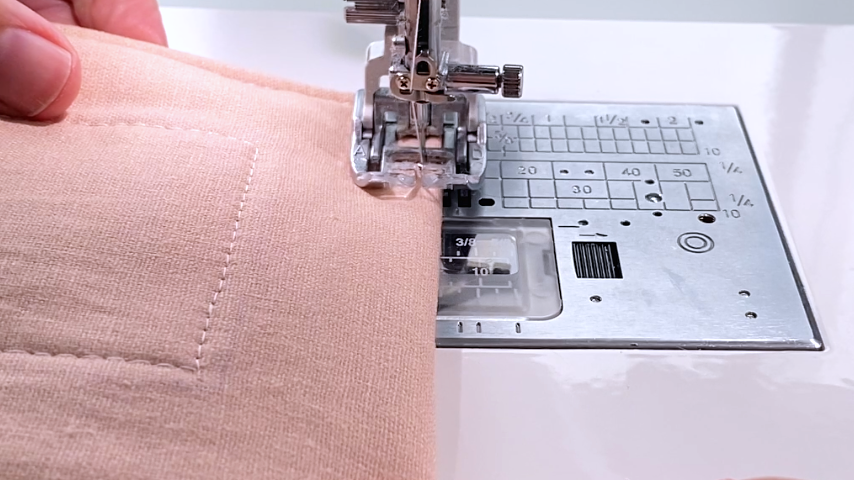
Using a 1/4″ seam allowance, sew around the thermal batting.
Start with the thread tails long (so you’ll be able to tie them in a knot in the next step).
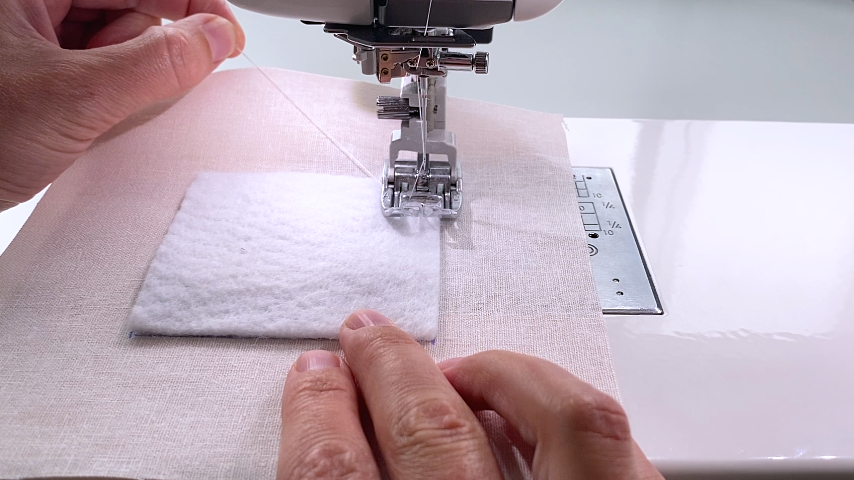
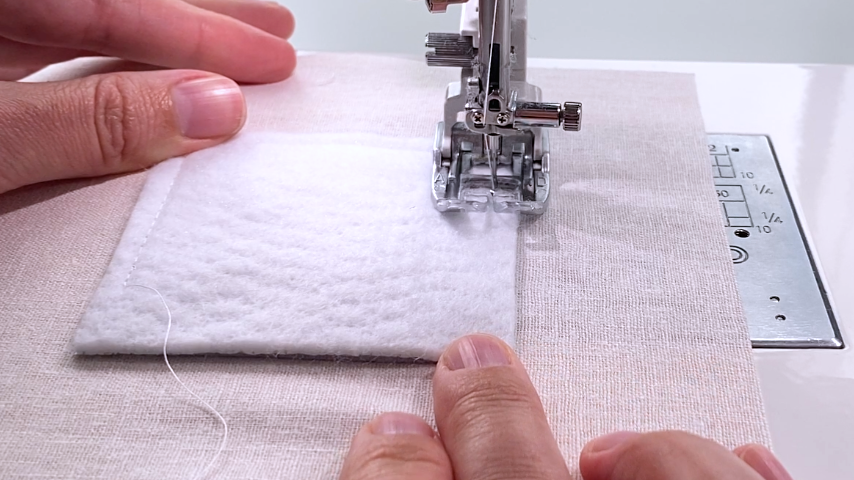
Before you come back around to the start of your stitching, pull on the starting top thread so you can pull the bobbin thread up.
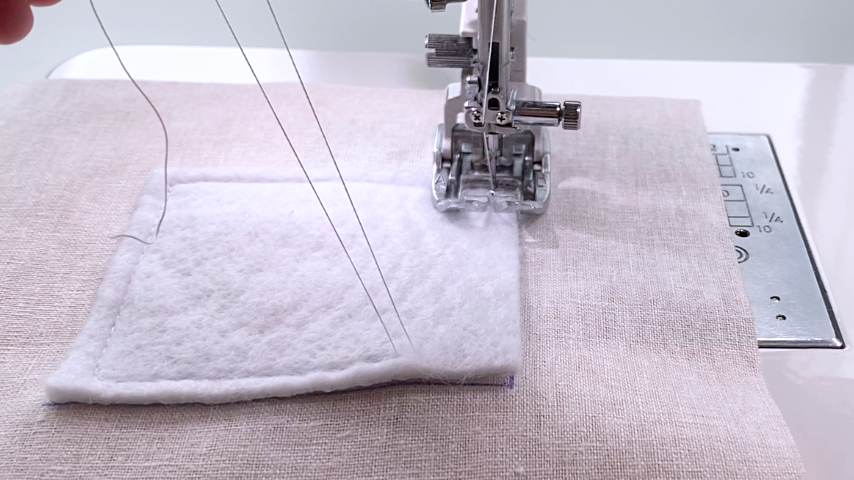
Then tie the top thread and bobbin thread in a double knot. This just gives a cleaner finish to the start and end of your stitching.
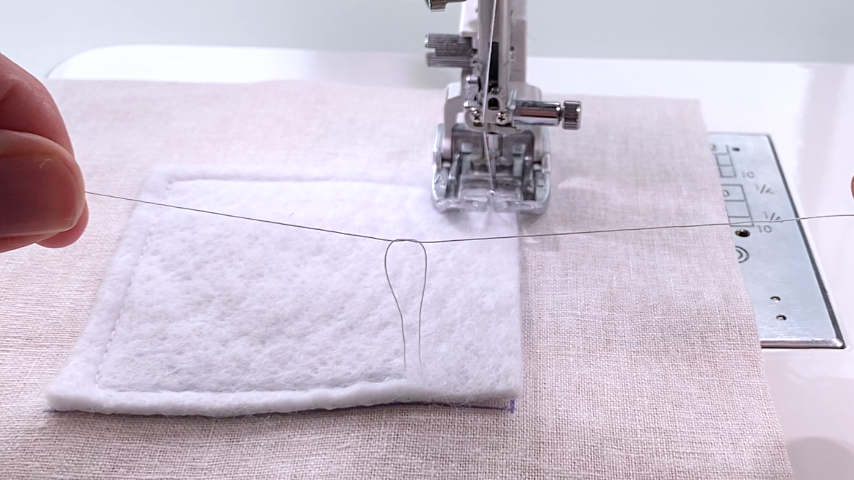
Do the same with your end threads.
Step 2
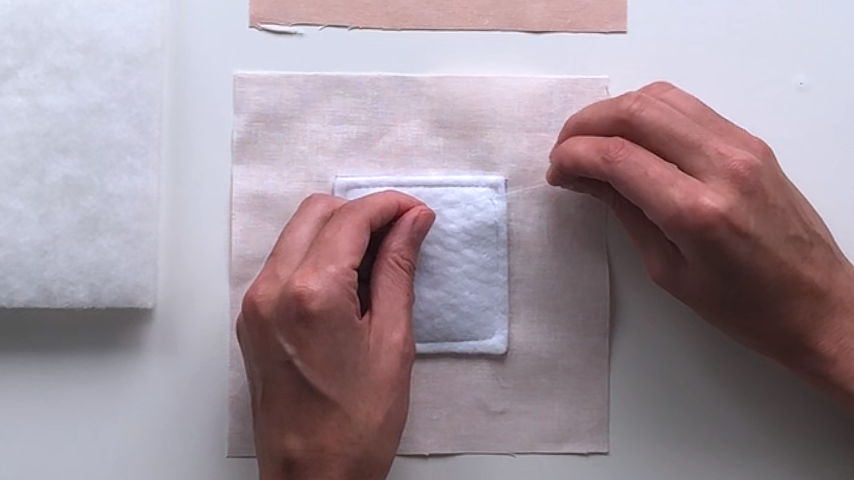
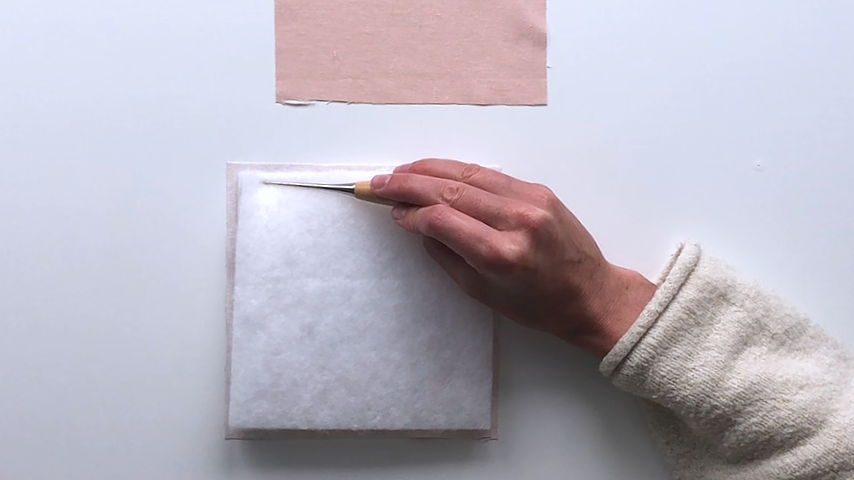
Set your 2 pieces of polyester batting centered on your top fabric.
Your batting will be slightly smaller than your fabric piece. This is to reduce the bulk in the seams.
Sew around the square to just catch the edge of the batting, sewing within the (1/2″) seam allowance. Use a 3/8″ seam allowance to baste the batting to the fabric.
Step 3
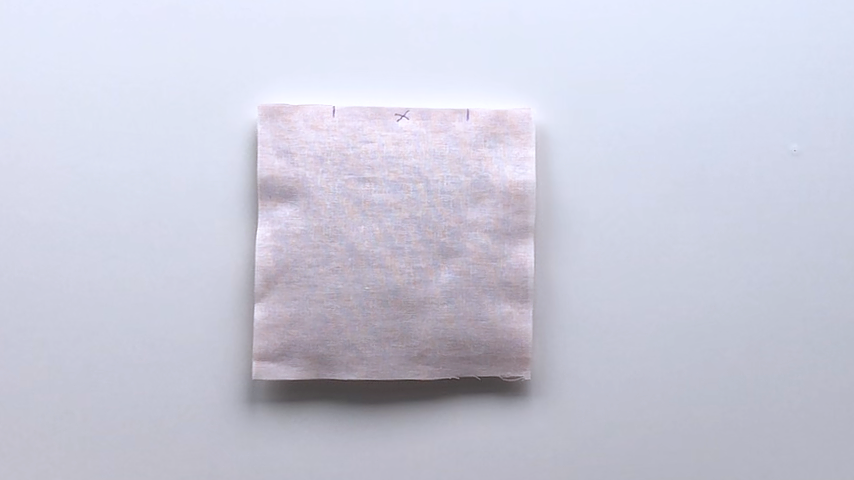
Place your top piece and bottom piece right sides together.
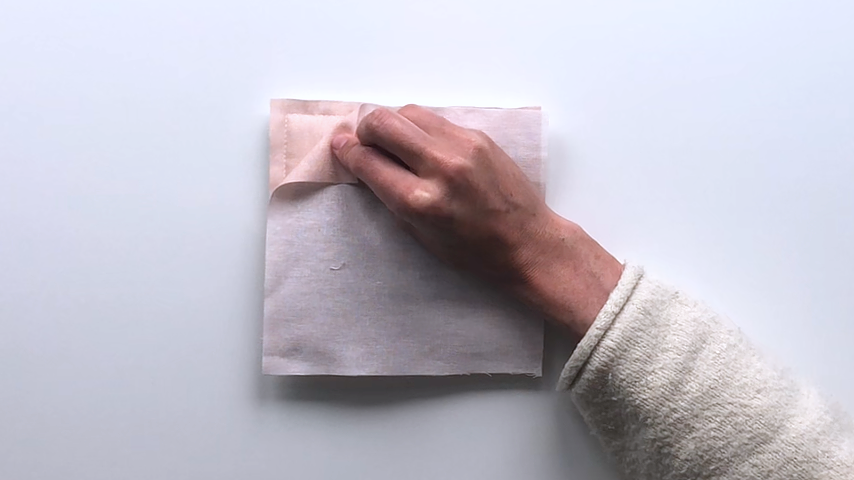
Using a temporary fabric pen, mark two lines 2″ – 3″ apart for your opening.
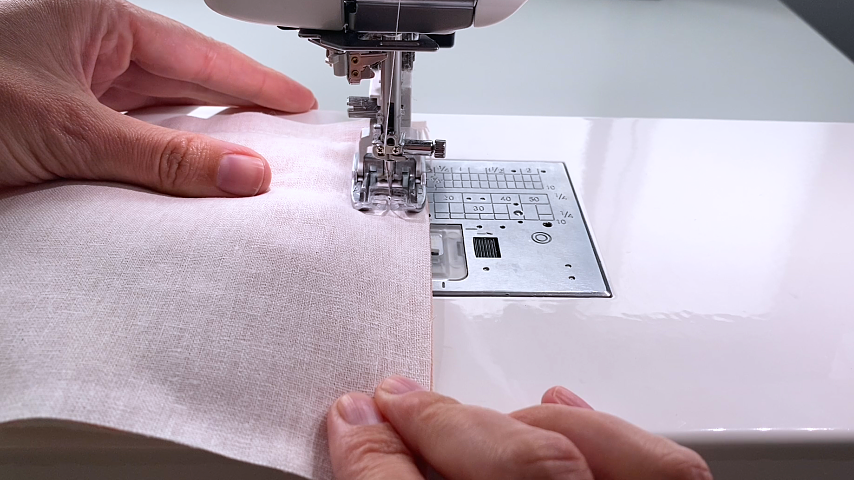
I prefer to run a basting stitch over the opening. I backstitch at the start of it, then increase my stitch length (to 5 mm), sew across the opening, decrease my stitch length again and backstitch, and continue sewing.
This ensures my opening seam will line up and be accurate.
Sew around the coaster using a 1/2″ seam allowance.
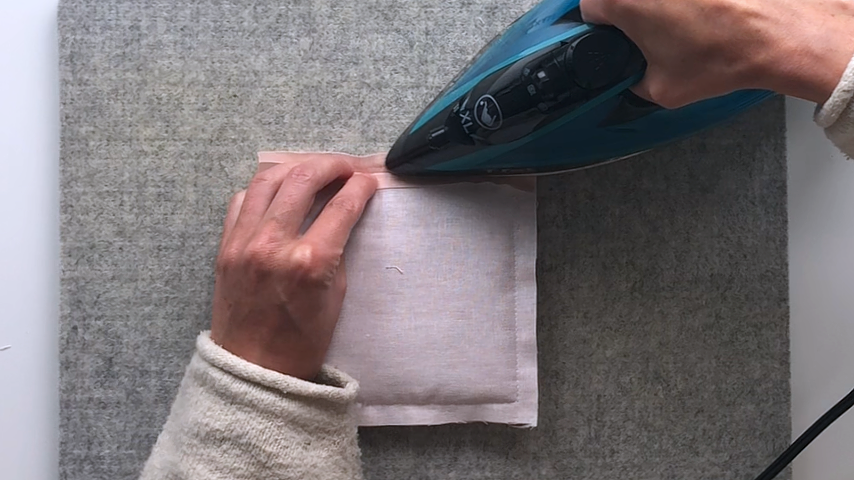
Press the seam allowance back on either side of the opening seam.
Trim the corners of your coaster, close to the inside line (1/2″ seam allowance) of stitching.
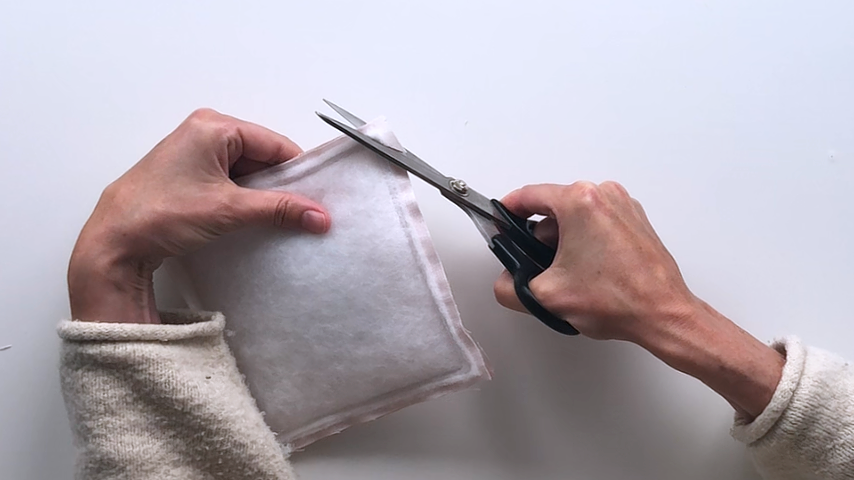
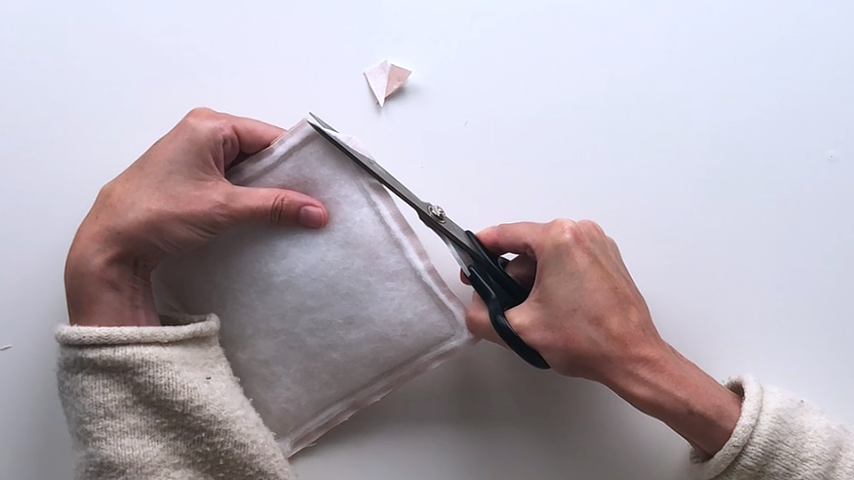
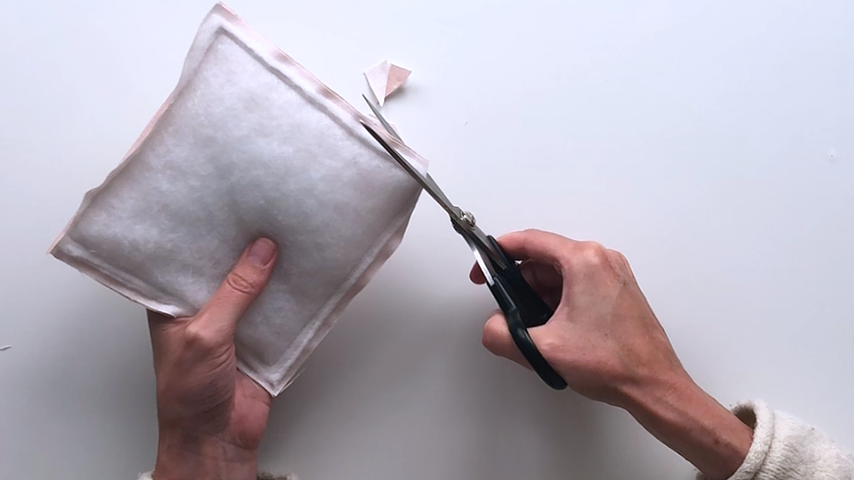
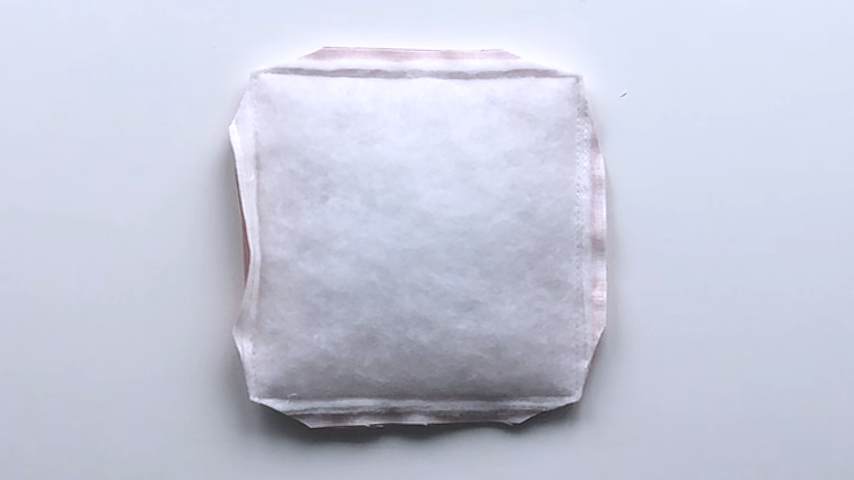
Then trim your seam allowance in half; leaving the opening’s seam allowance as is.
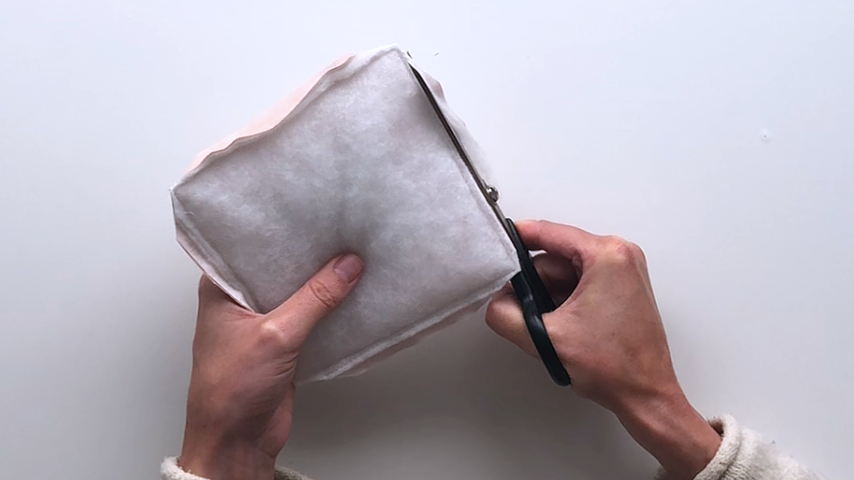
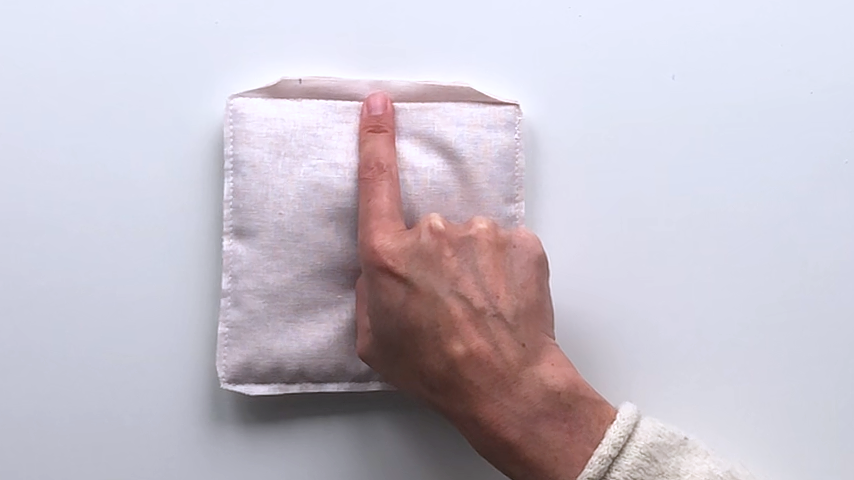
Use a seam ripper to remove the basting stitches along your opening.
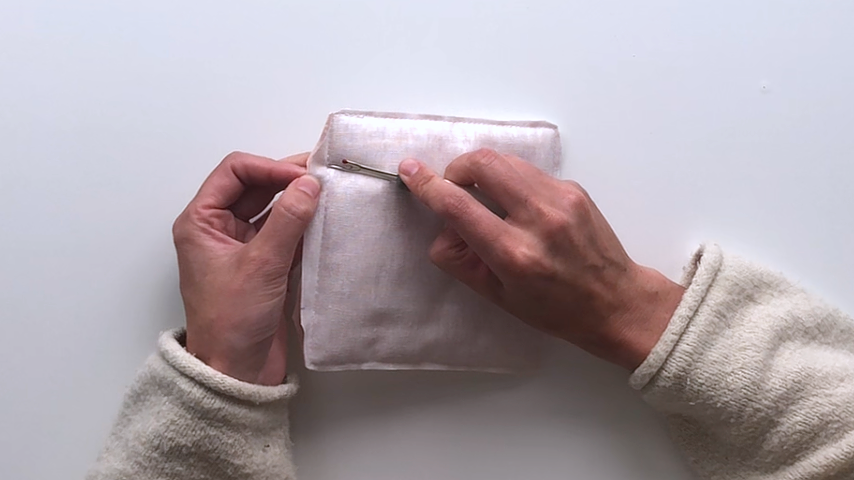
Step 4
Use the opening to turn the coaster right side out. Use a point turner to push the corners out.
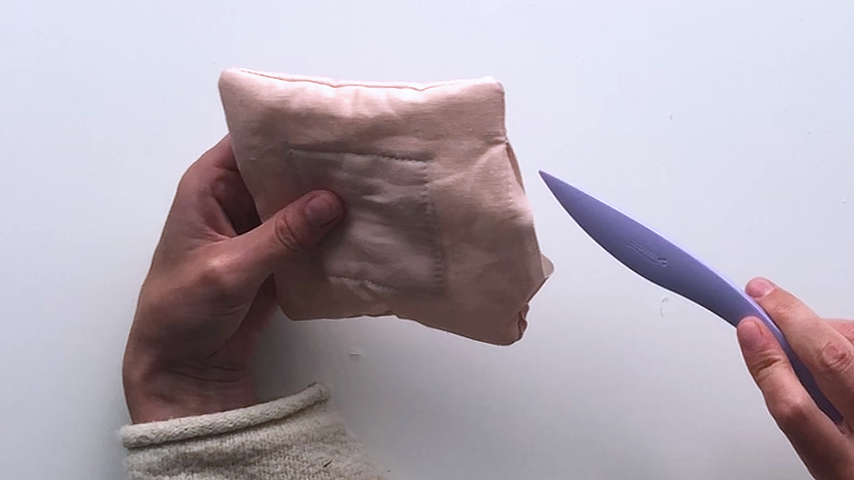
Using a 1/8″ seam allowance, sew around the edge of the coaster to topstitch and close the opening.
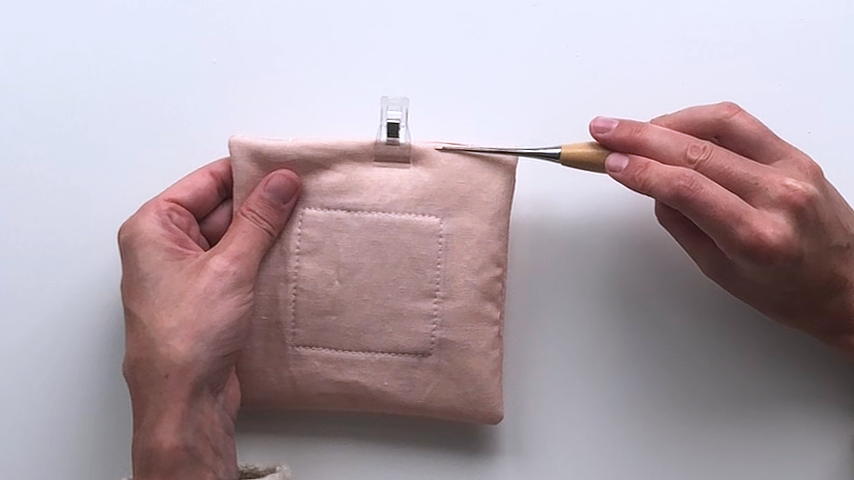
Use the steam function again while hovering your iron over the coaster to fluff it up and gently remove wrinkles. Again, you don’t want to touch the iron to the coaster, or you’ll melt your batting.
Step 5
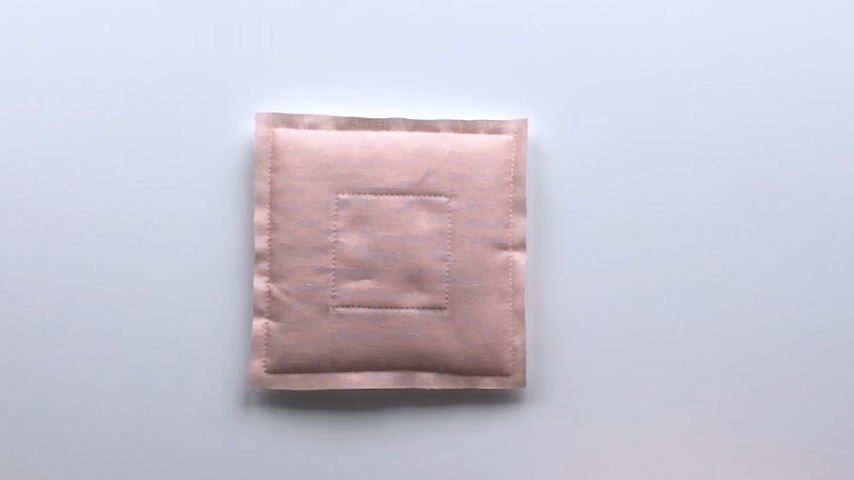
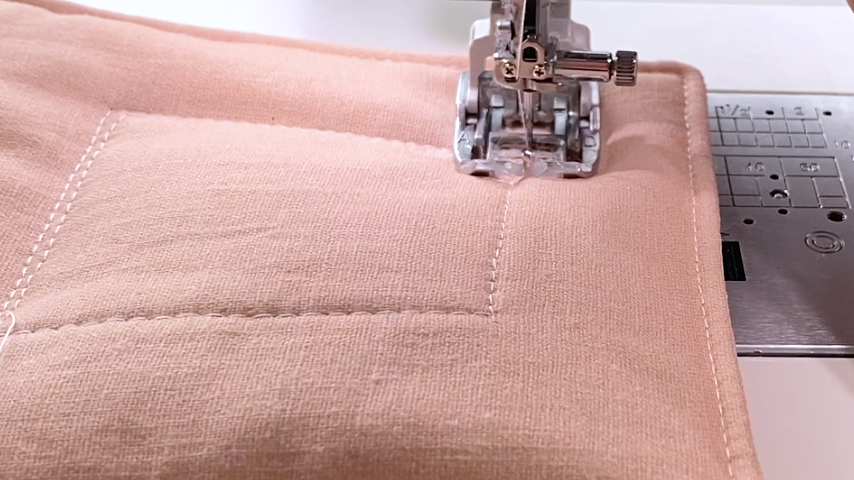
To create a flat center, you’ll topstitch around the center square to sew the top and bottom layers of fabric together.
Sew about 1/8″ outside the center stitching. Backstitch at the start and end.
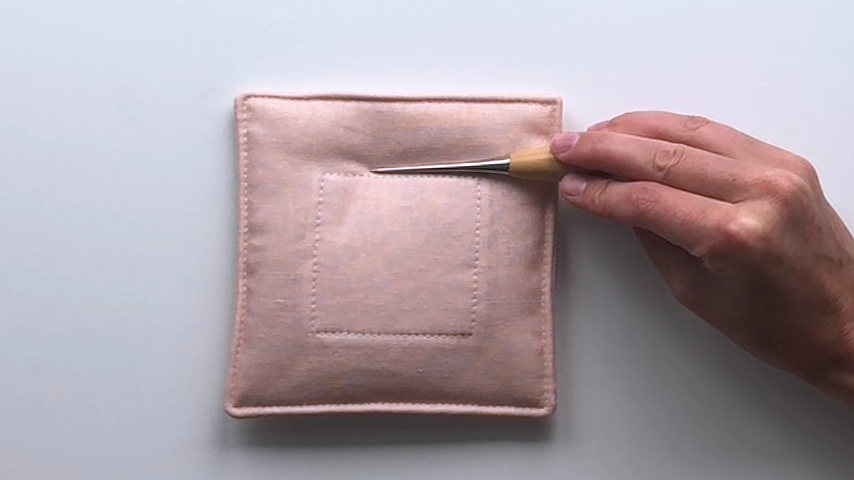
Your padded coaster is complete!