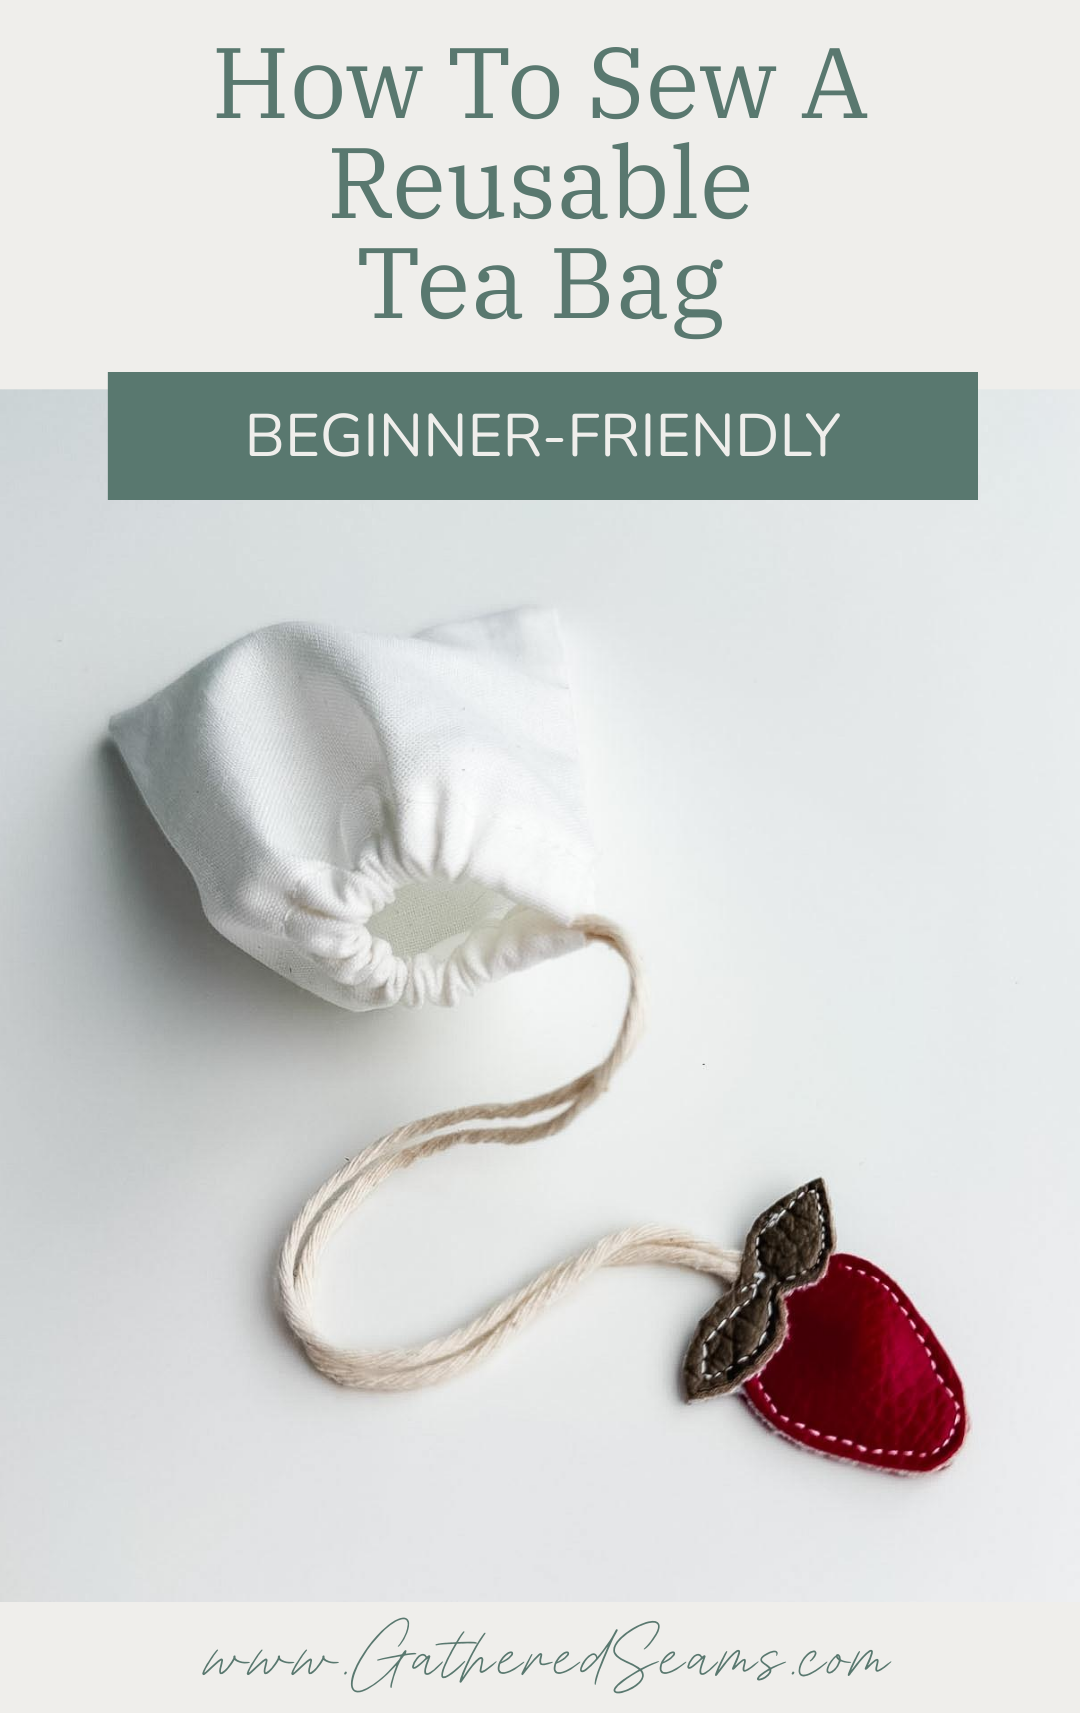
How To Sew A Reusable Tea Bag | Beginner-Friendly
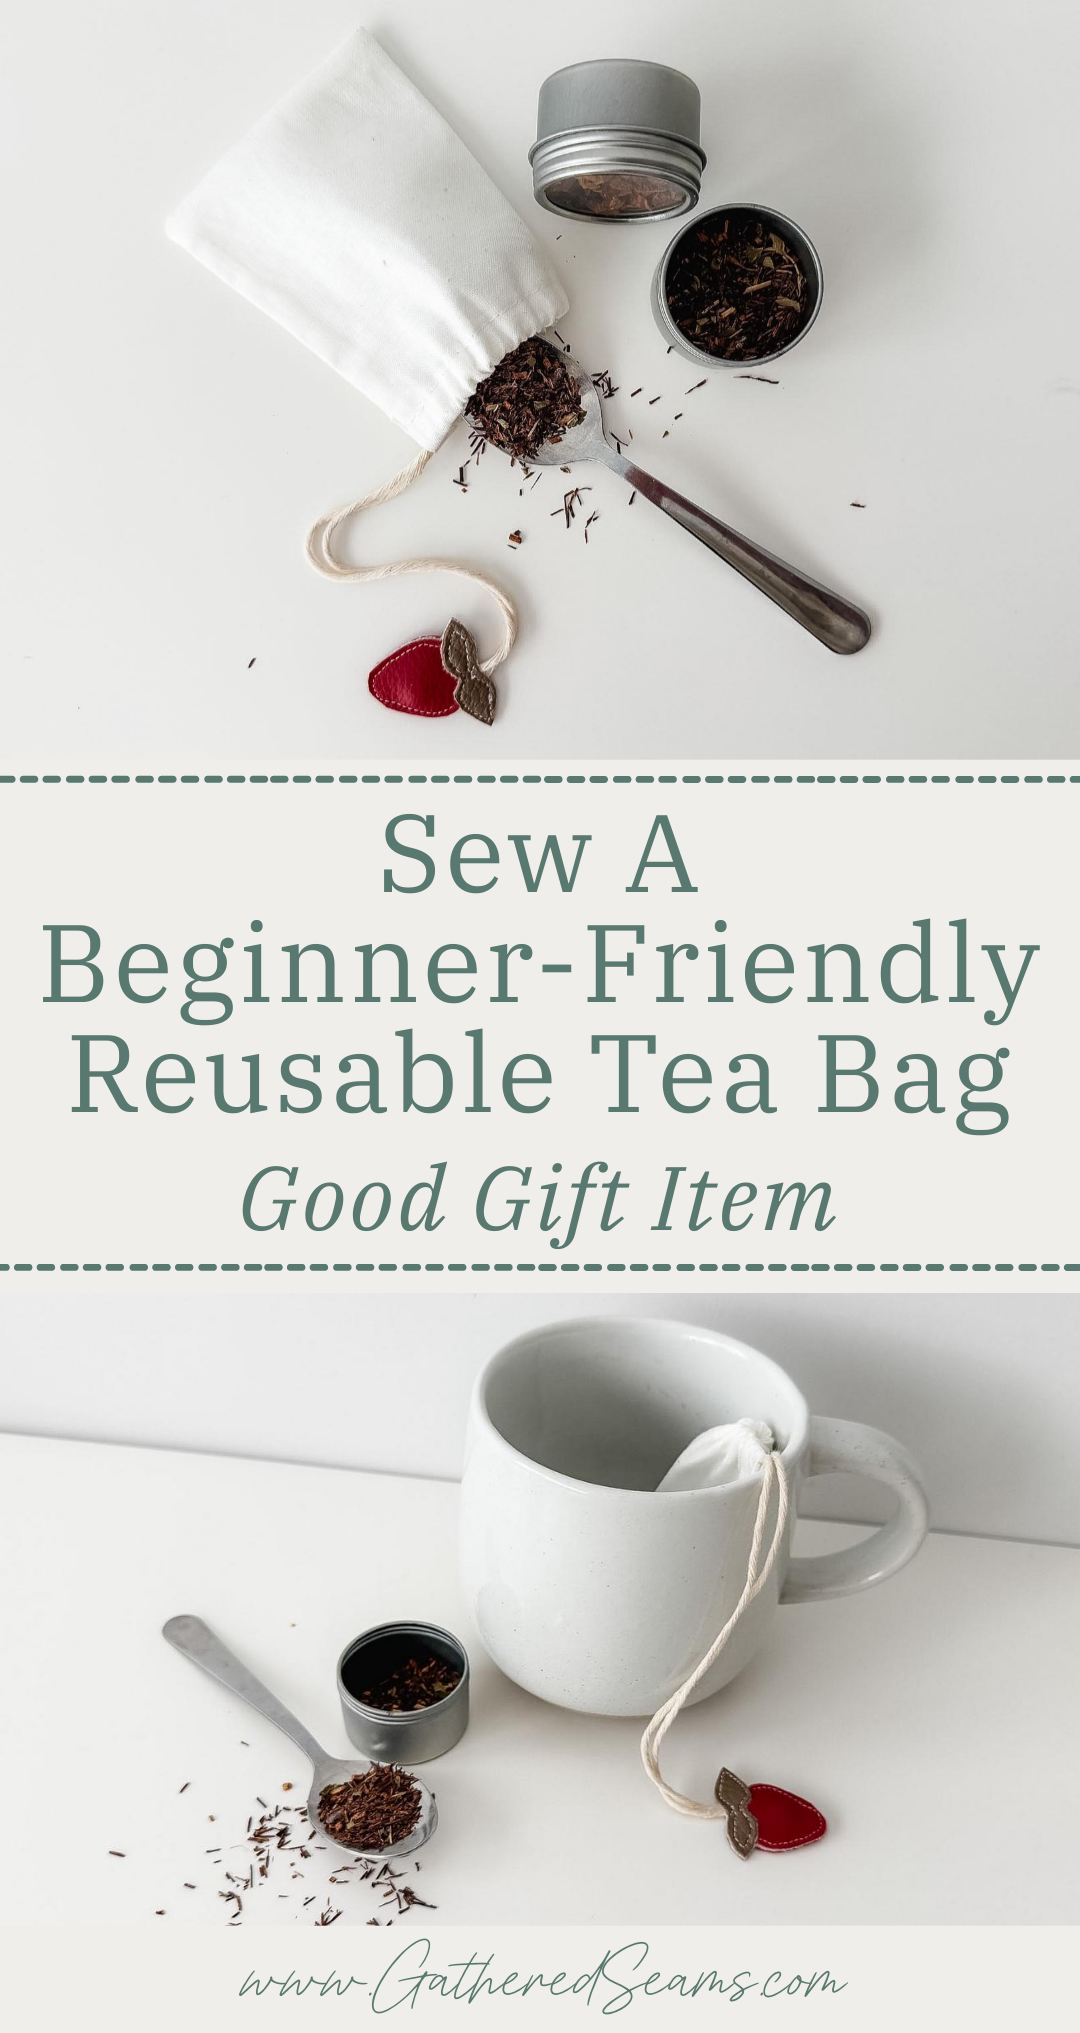
This is a quick and easy sewing project and makes a great item for your kitchen, to sew several and give as a gift, or to sew and sell at craft shows.
Reusable tea bags will not only help reduce waste, but they can also be better for your health. They reduce your exposure to microplastics, toxic adhesives, and chemical bleaches (as long as you use the right type of fabric).
They can be washed by placing them in a wash bag and thrown in the washing machine. However, if you add a vinyl tag, you’ll need to hand-wash it.
I simply rinse my reusable tea bags in the sink after each use and soak them in a water and vinegar solution periodically (once a week when regularly using the tea bags).
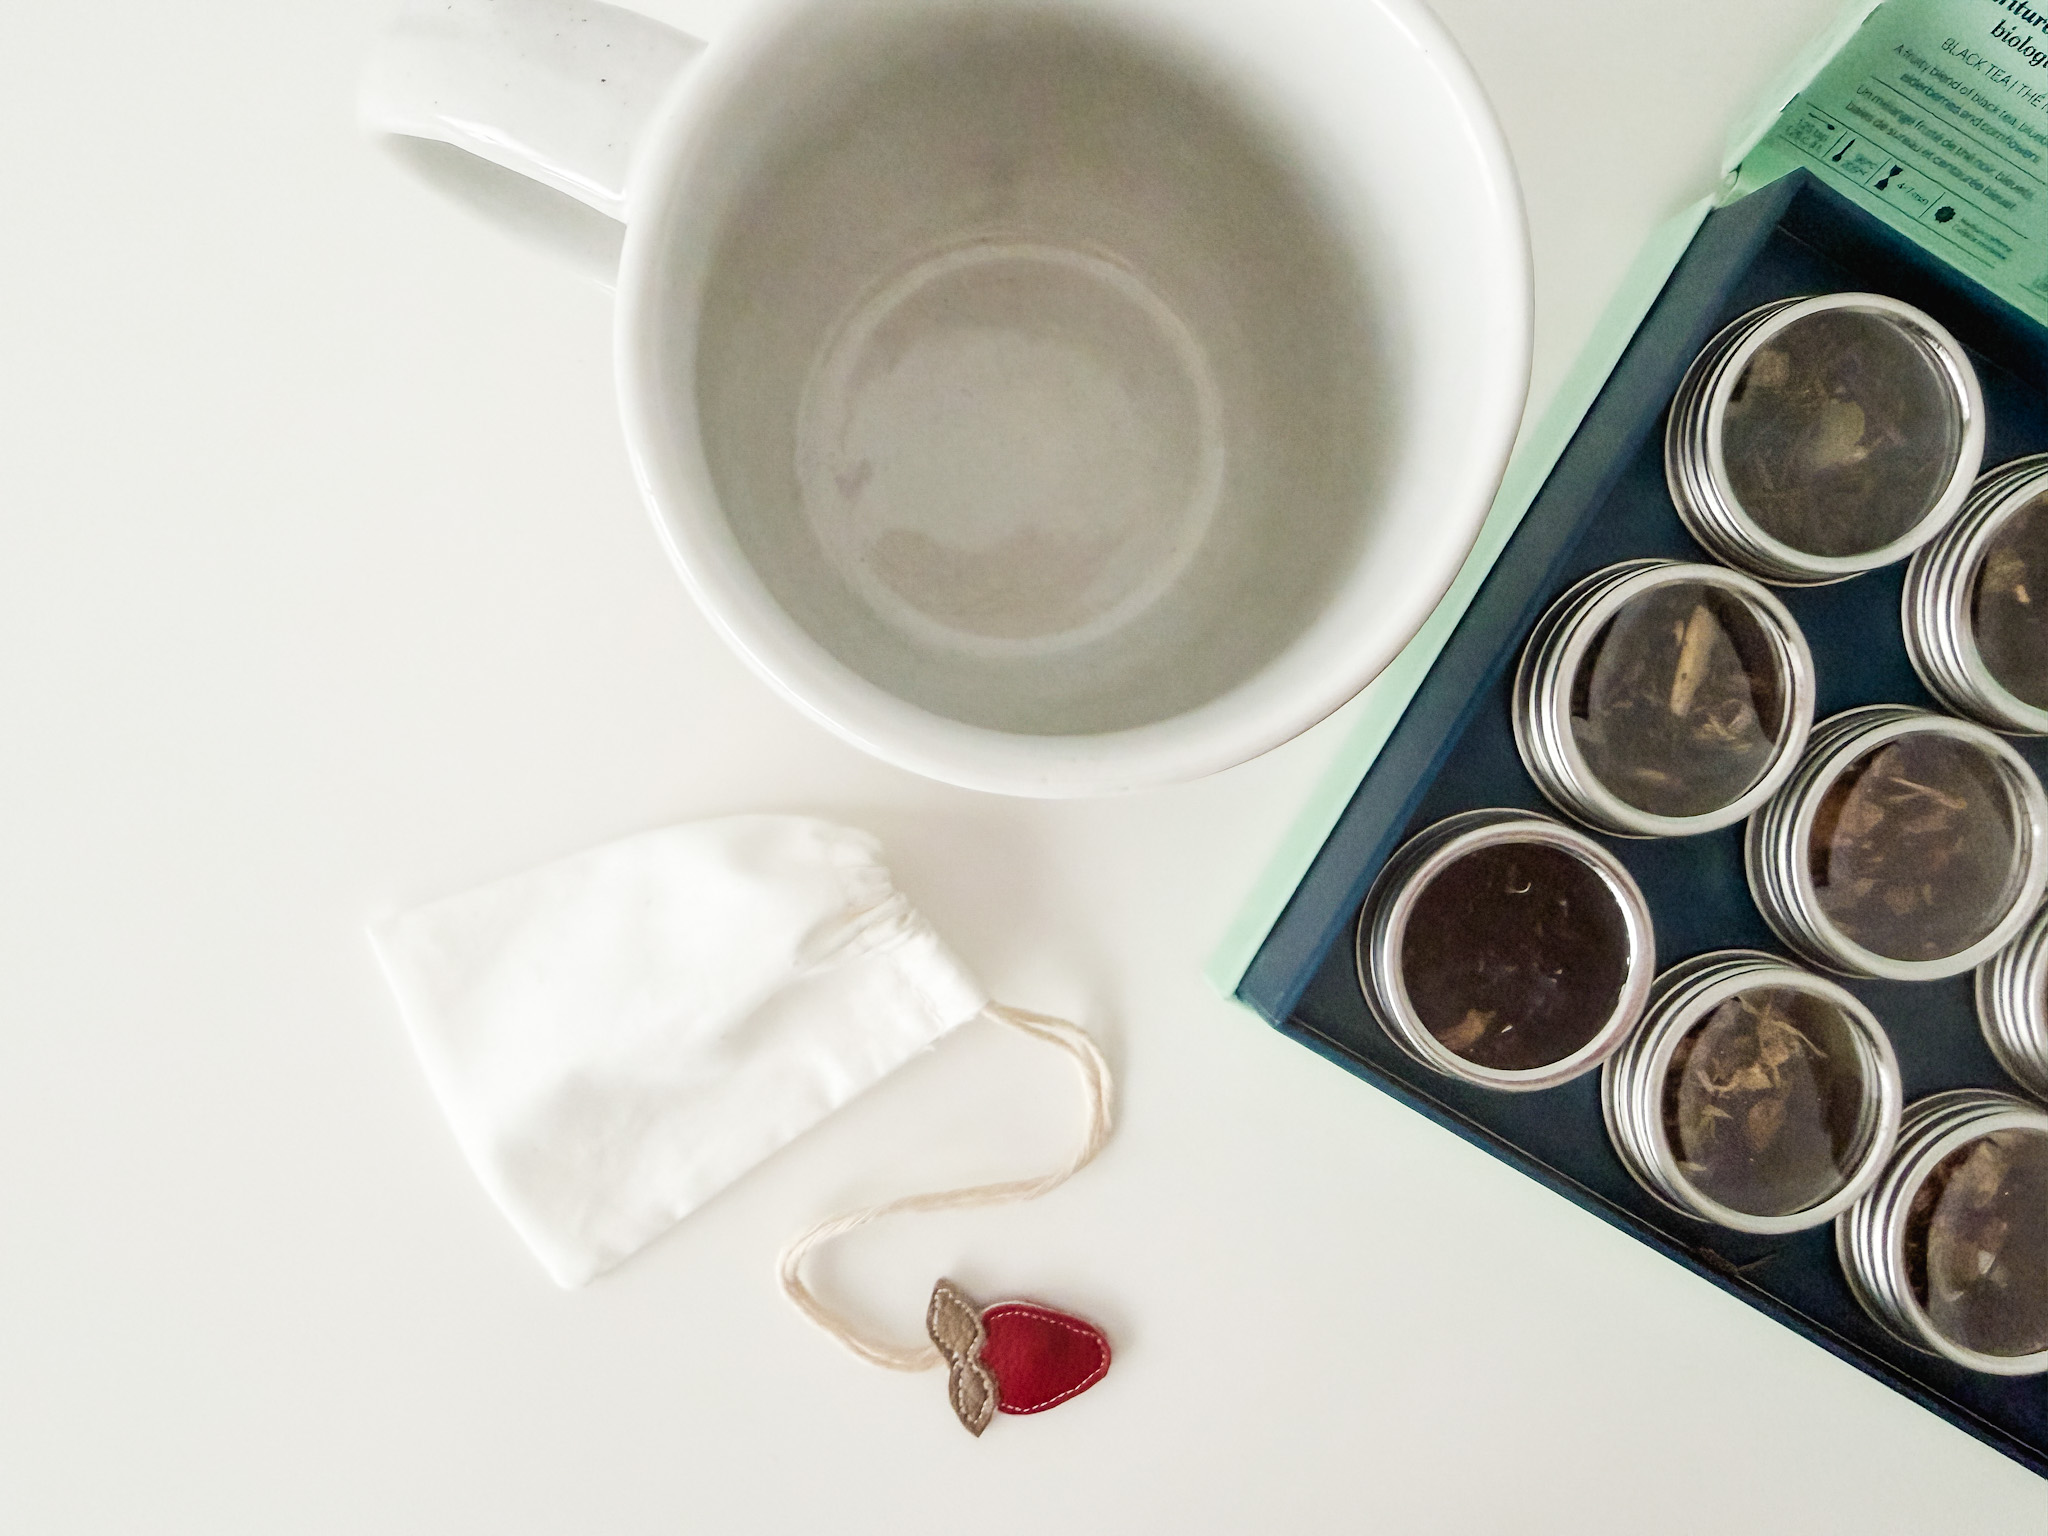
This pattern uses French seams, so it reduces the places where loose tea can get stuck.
I also added a fun (strawberry) tag to the end of the strings (to go with my strawberry-printed tea set), but that’s optional.
If you’re sewing these to give as a gift, you can make a set of 2 or more, and you may want to add a few other items to the gift. Here are some ideas:
To sew
- mug cozies
- teapot cozy
- coasters
- tea towel (ruffled tea towel, double-sided tea towel, or fringed tea towel)
To buy
As an Amazon Associate, I earn from qualifying purchases (see full disclosure here).
Materials
As an Amazon Associate, I earn from qualifying purchases (see full disclosure here).
- Unbleached natural fabric (no synthetic fabrics) E.g. GOTS-certified unbleached cotton muslin (cheesecloth works great) or natural unbleached hemp
- 100% unbleached cotton kitchen twine
- 100% unbleached cotton thread
- Optional: vinyl or felt for a tag (this requires the tea bags to be hand-washed only)
Tools
- Sewing machine
- Point turner
- Temporary fabric pen or chalk
- Ruler (if buying a new ruler, be sure it’s in the measurement system you prefer; imperial or metric)
- Iron
- Scissors
- Pins or clips
Steps to sew a reusable tea bag
Step 1
Cut your pattern pieces. You’ll need:
- 5″ x 7″ piece of natural fabric
- 18″ piece of natural kitchen twine (I prefer my tea bag string longer, so it doesn’t slip into the mug, but you can shorten this if you like)
- Optional – small pieces of vinyl or felt for the tag (this adds a cute handmade touch, but means your tea bags can only be hand-washed)
Step 2
You can use a temporary fabric pen for this step, or just measure and fold if you want to avoid all chemicals for the project.
Mark a line on both 5″ long ends, that are 1″ above the cut edge.
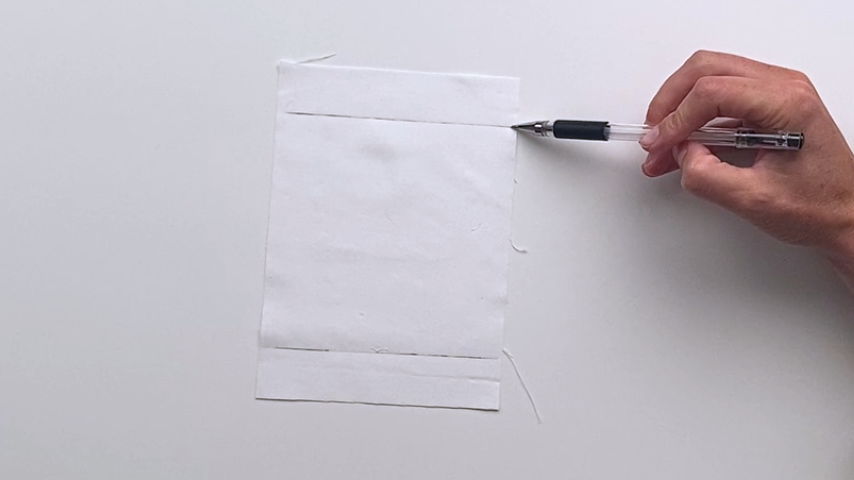
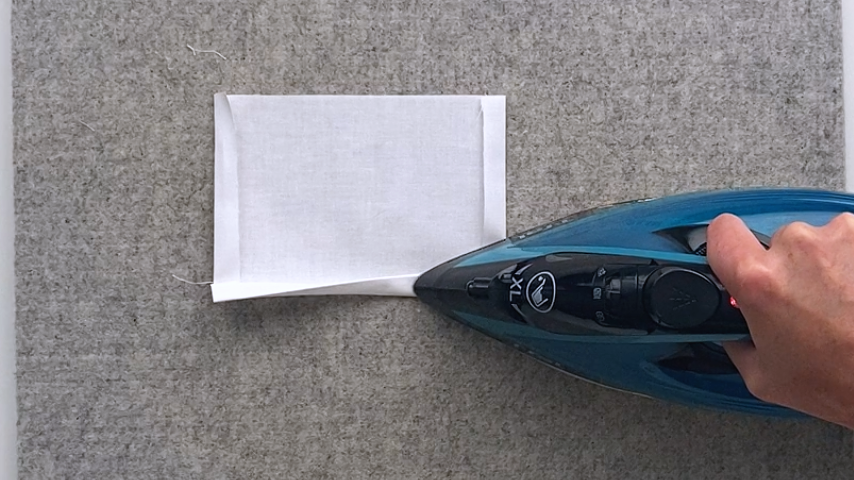
Fold the cut edges up to meet those lines and press into place.
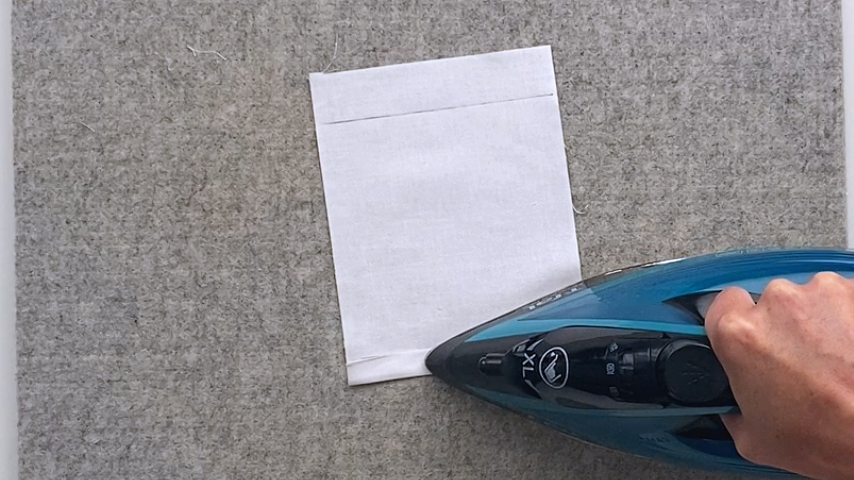
Along the top edge of your tea bag, fold the cut edge in 1/4″ and press.
Then fold that hem in again another 1/4″ and press.
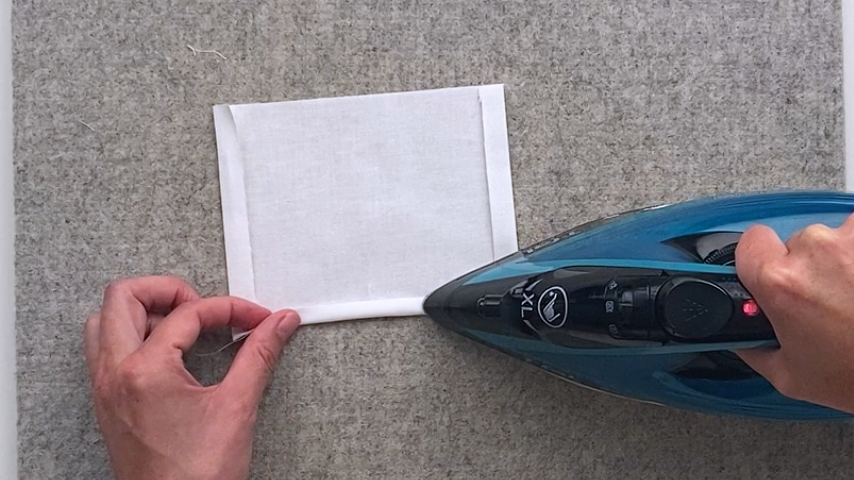
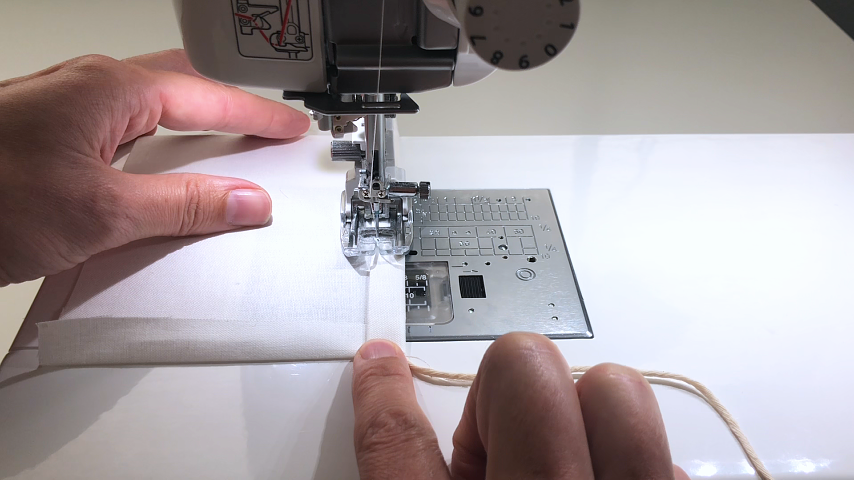
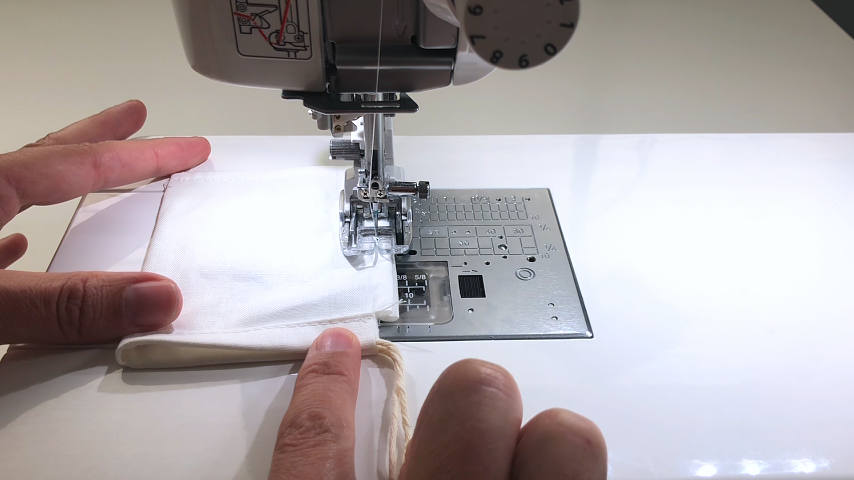
Unfold the top edge, but keep the side hems folded in, and place the piece of kitchen twine in the top hem and double-fold it again.
Sew about 1/16″ – 1/8″ away from the inside edge of the hem, backstitching at the start and end.
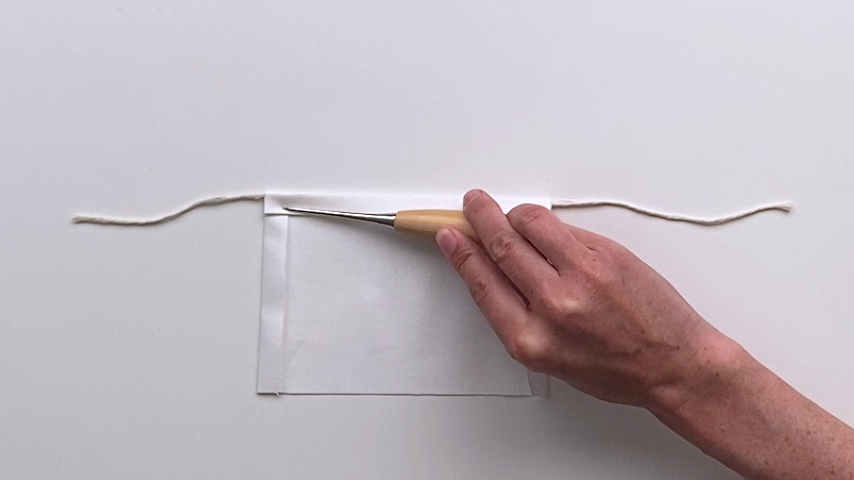
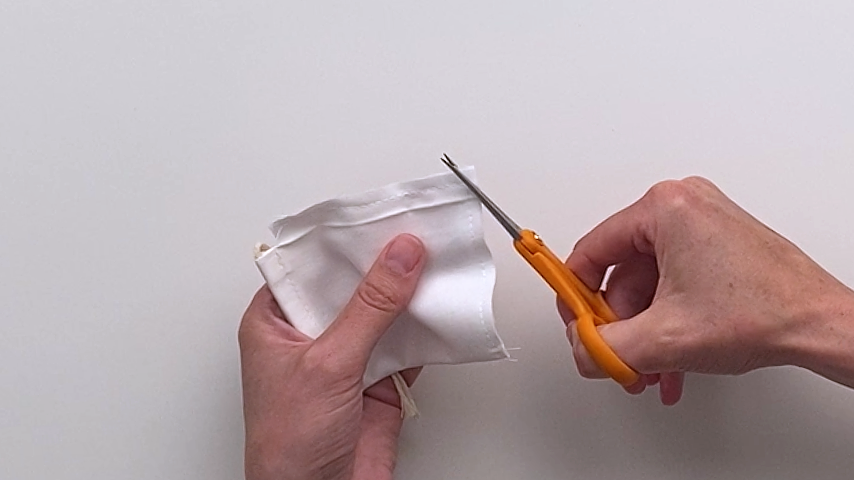
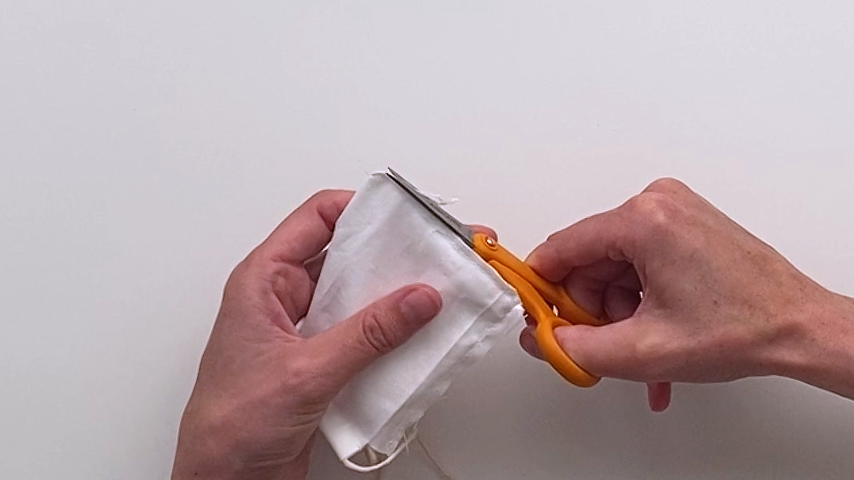
Step 3
Cut across the side hems, just below the top hem.
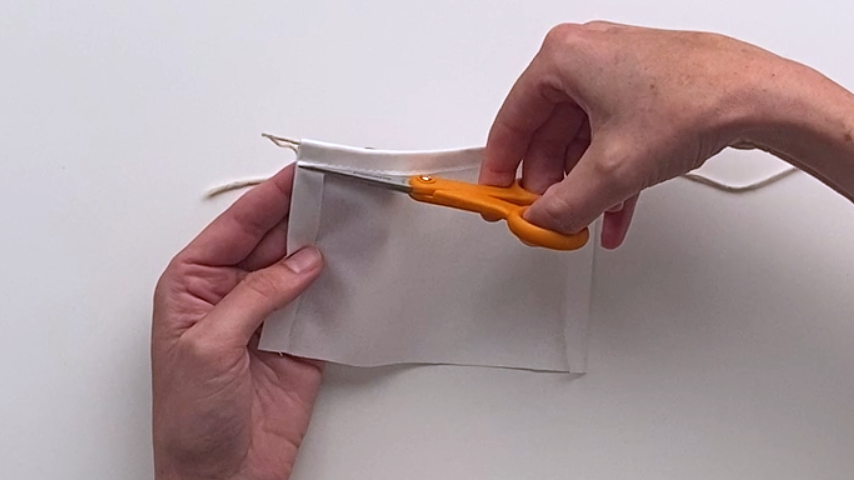
You should now be able to unfold the side hems:
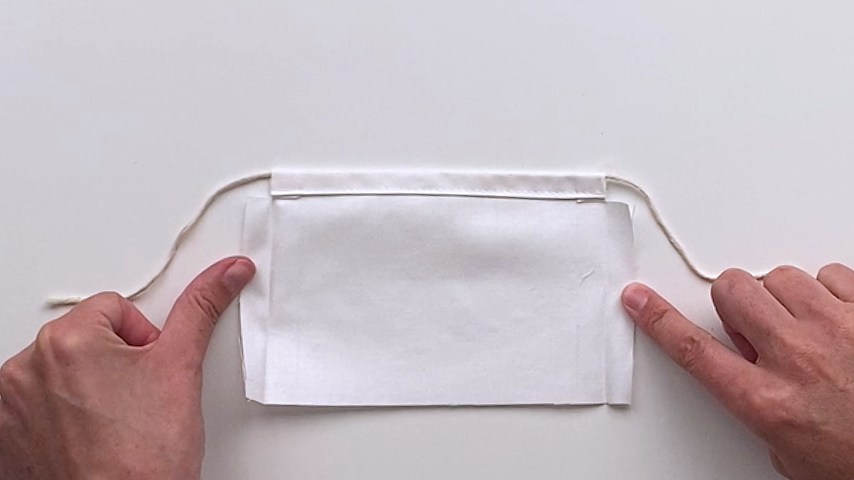
Fold the tea bag in half, so wrong sides are together.
Using 1/4″ seam allowance, sew across the bottom and up the side.

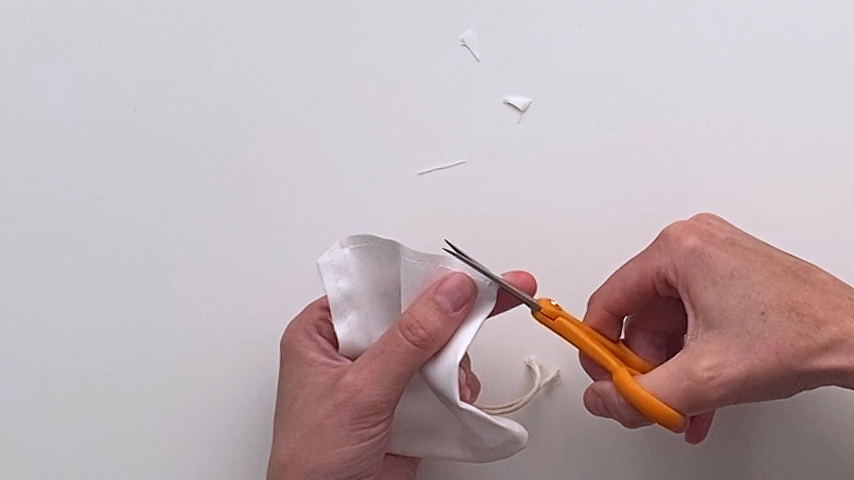
Clip the corners and trim the seam allowance to remove any frayed fibers and cut off about 1/16″ – 1/8″.
Step 4
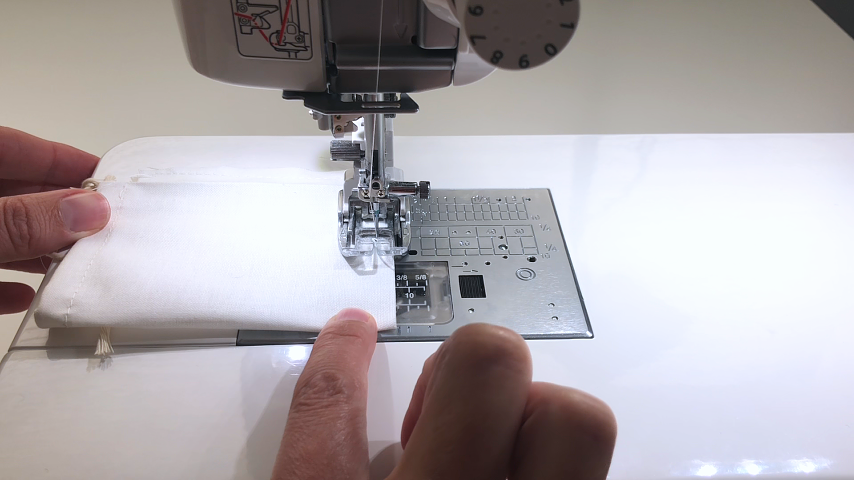
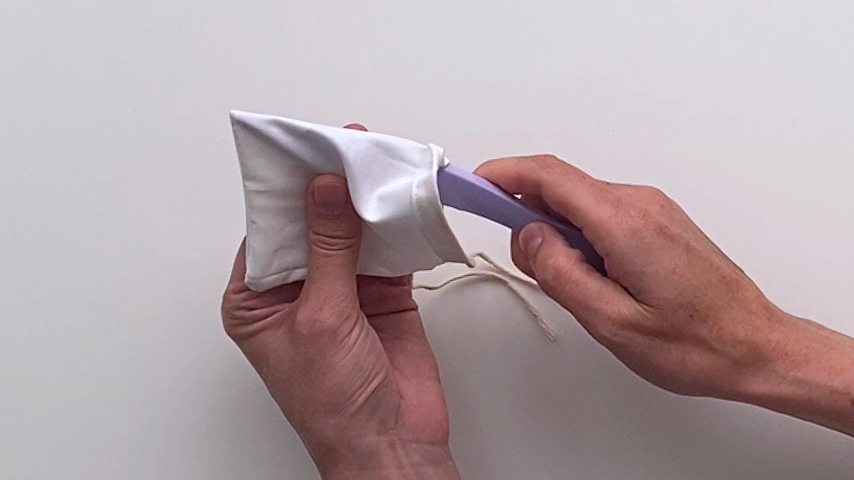
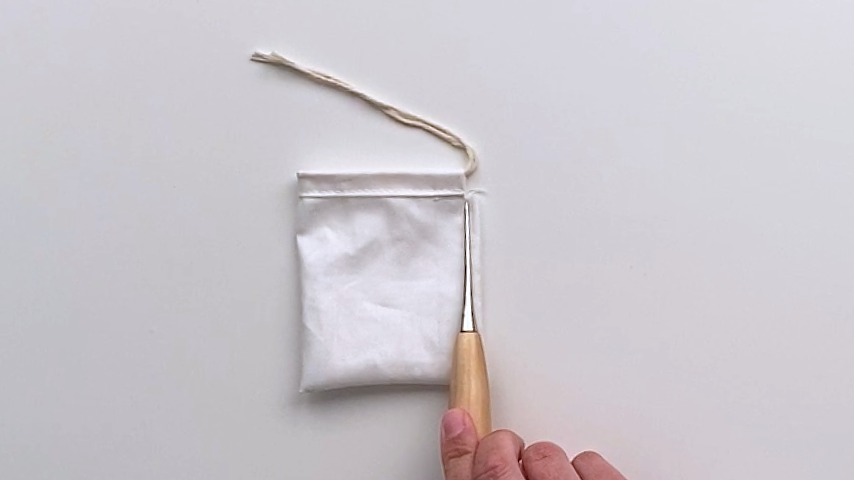
Turn the tea bag wrong side out. Use a point turner to push the bottom corners out.
You’ll now sew the side and bottom seam with right sides together, using 1/4″ seam allowance.
You can also sew across the top of the hem to ensure that cut edge doesn’t fray.
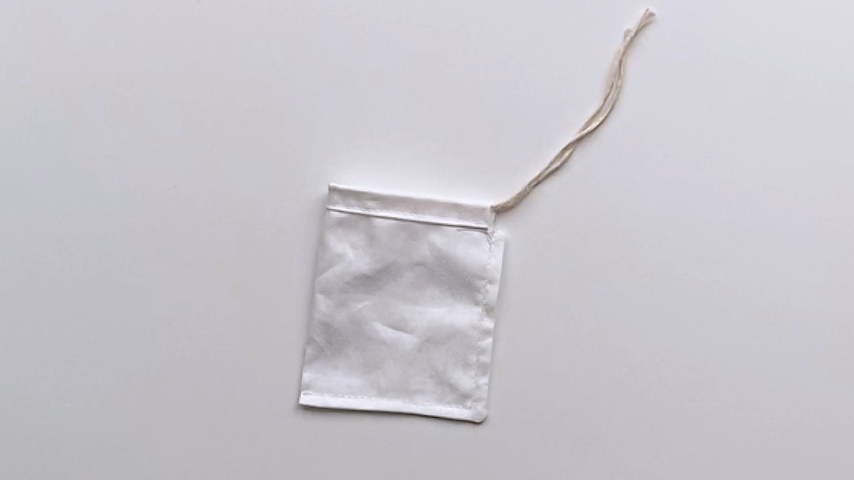
Turn the tea bag right side out.
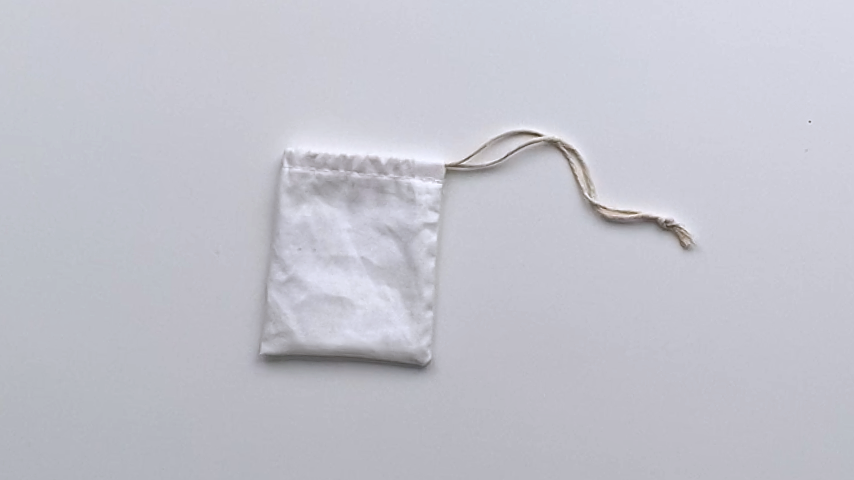
You can tie the two string ends in a knot, and your tea bag is complete.
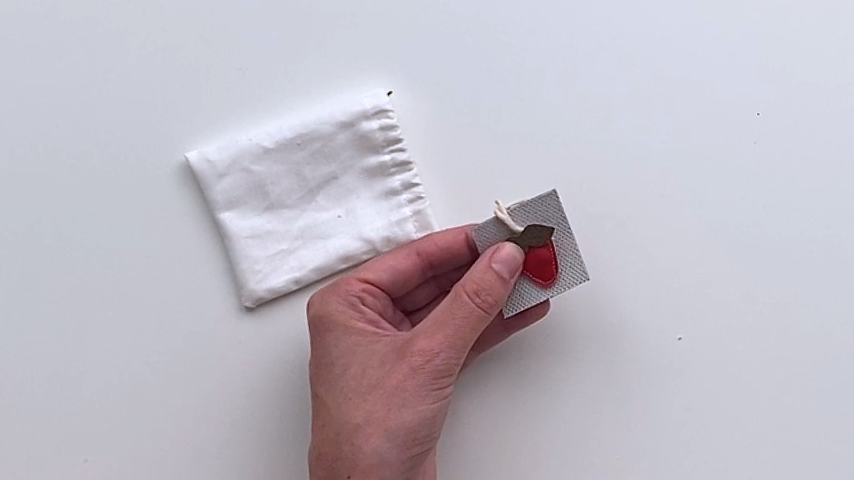
Or you can add a decorative tag.
Step 5
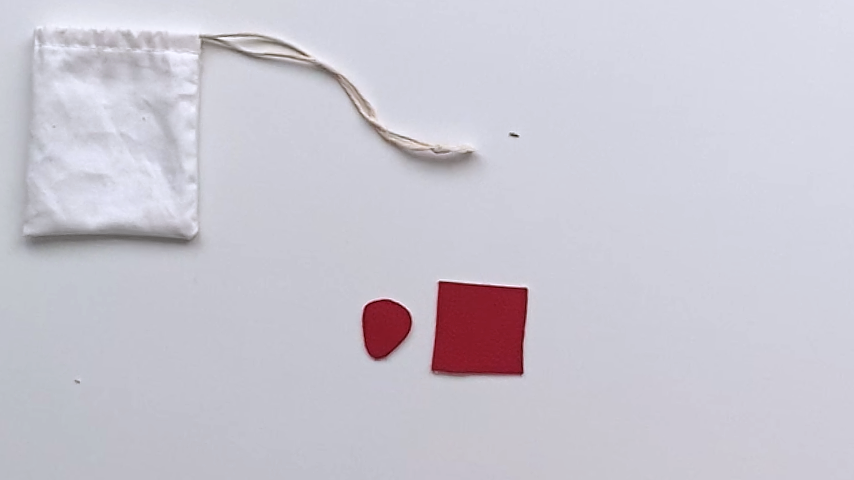
If you want to add a vinyl or felt tag, you can do so in any shape. As mentioned, this means the tea bags must be hand-washed.
This step is a little finicky, so if you’re a beginner sewist, you may want to skip it or keep the shape simple.
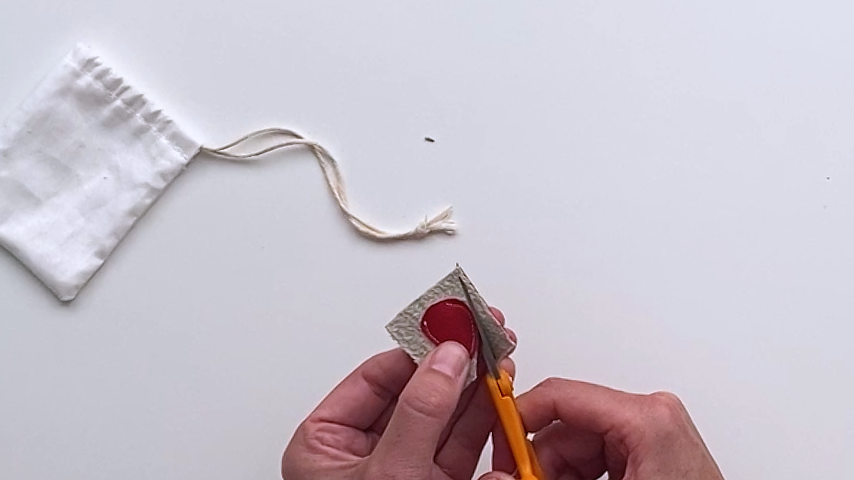
You’ll need a sharp pair of small scissors for detailed cuts (these are the ones I’m using).
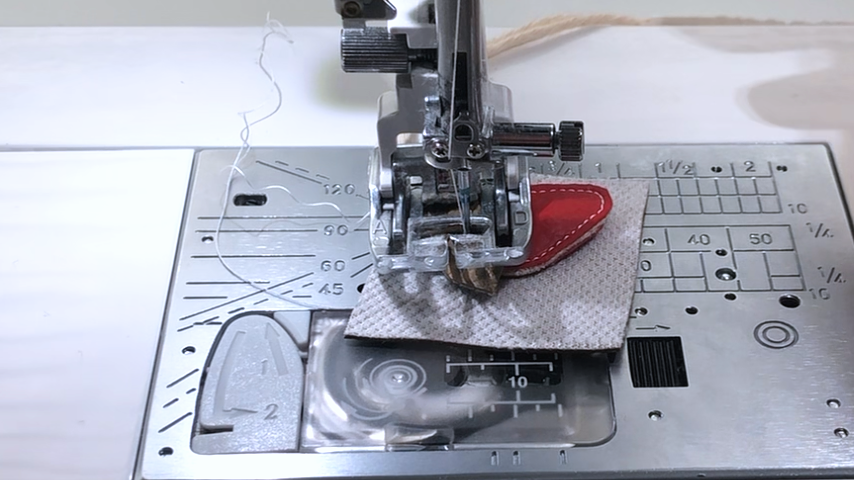
I used my sewing machine, but handstitching or even gluing would be easier. Since this part of the tea bag doesn’t go in the cup, you don’t have to be as careful about using food-safe materials.
I wanted to add a strawberry to match the strawberry-printed fabric that I used for my tea gift set. So I first used a temporary fabric pen to draw the strawberry shape.
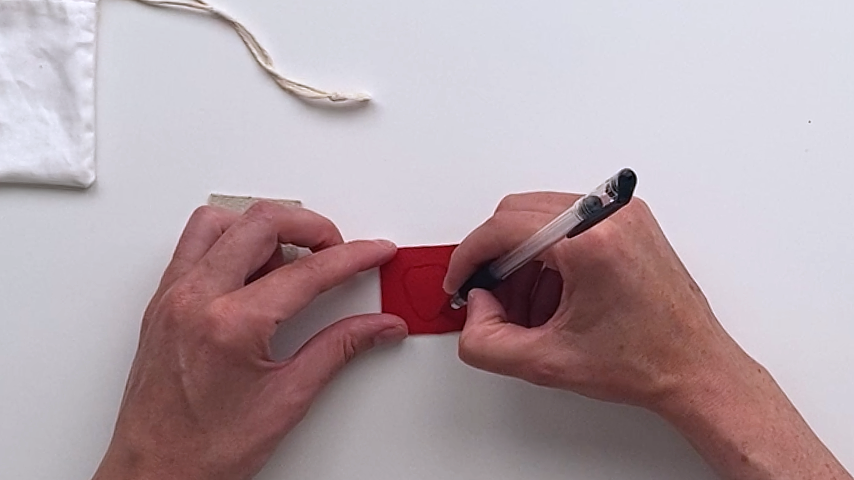
I cut that shape out, for one side of the tag only.
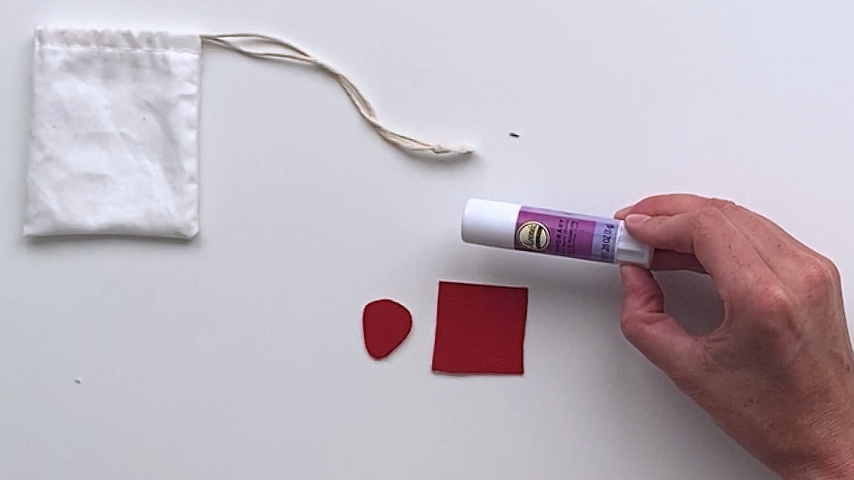
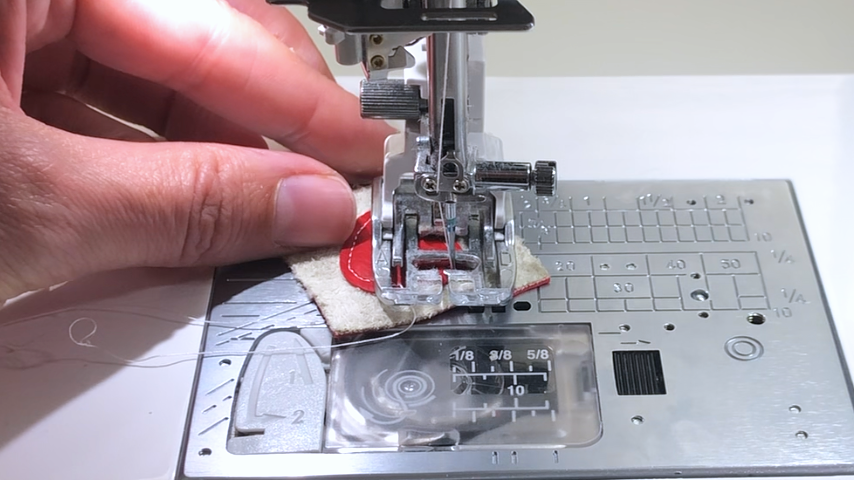
I used temporary fabric glue to help hold the two layers together as I stitched around the strawberry shape.
I shortened my stitch length (about 1.5mm) so I could easily sew around the curves and left my starting and ending thread tails long.
I left about 1/2″ opening at the top so I could push the tea bag string between the two layers (I pushed the string in after as it was too hard to sew around the shape with the bulk of the string’s knot between the two layers).
I pulled on the bobbin threads to pull the top thread to the back and then tied the threads in a double knot to secure.
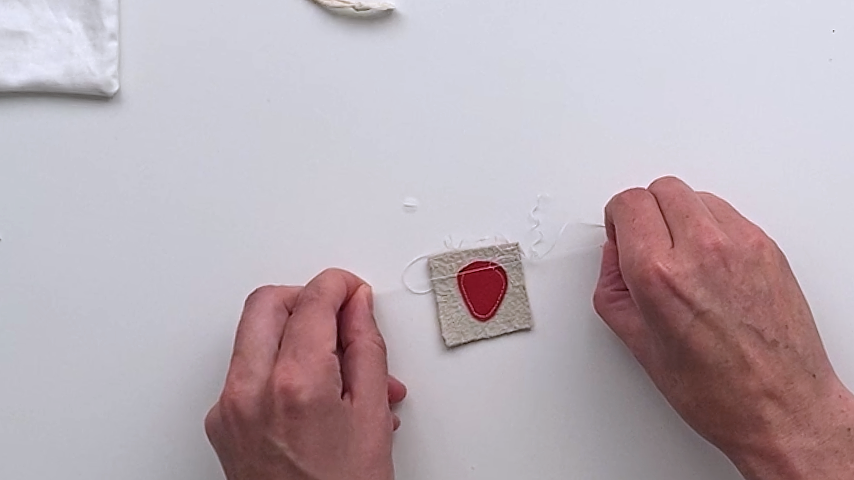
Trim the bottom layer so it matches the shape of the top layer.
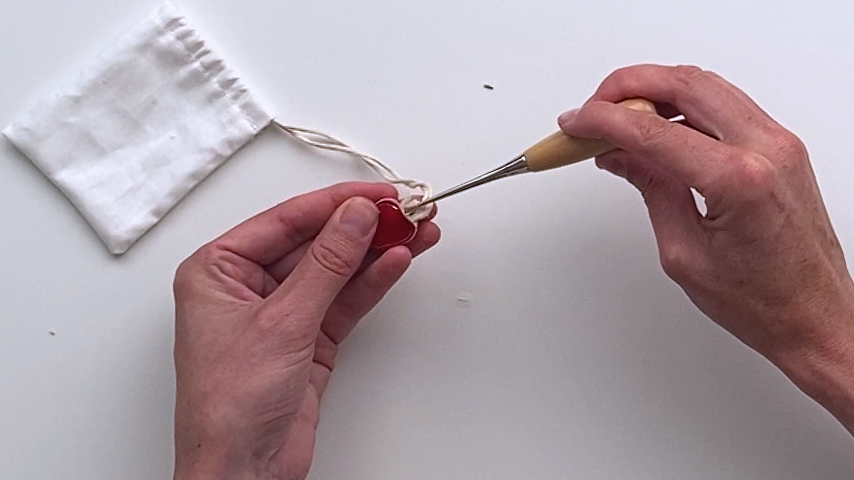
Use a small tool to push the knotted end of the string between the two layers.
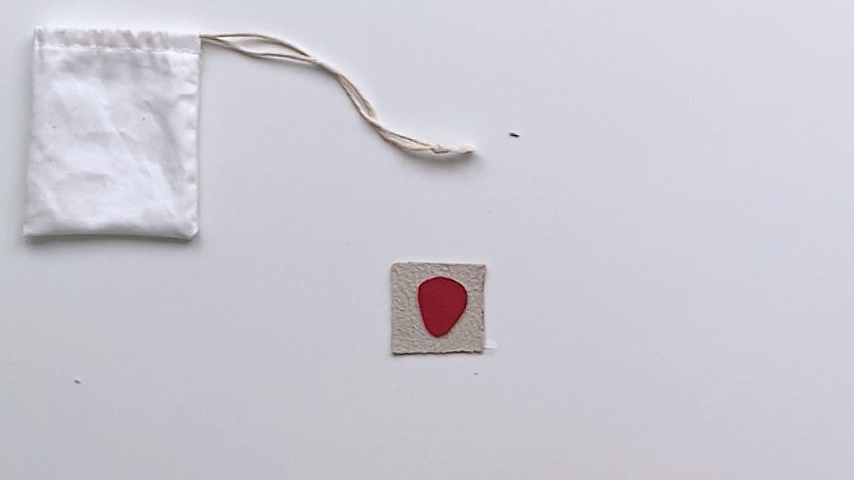
I then cut out the strawberry leaves in the top layer only, and centred the strawberry and leaves on the back leaf piece.
Again, I stitched around the leaf shape.
Then I trimmed the bottom leaf layer to match the shape of the top leaf.