How To Sew A Double-Sided Dish Towel
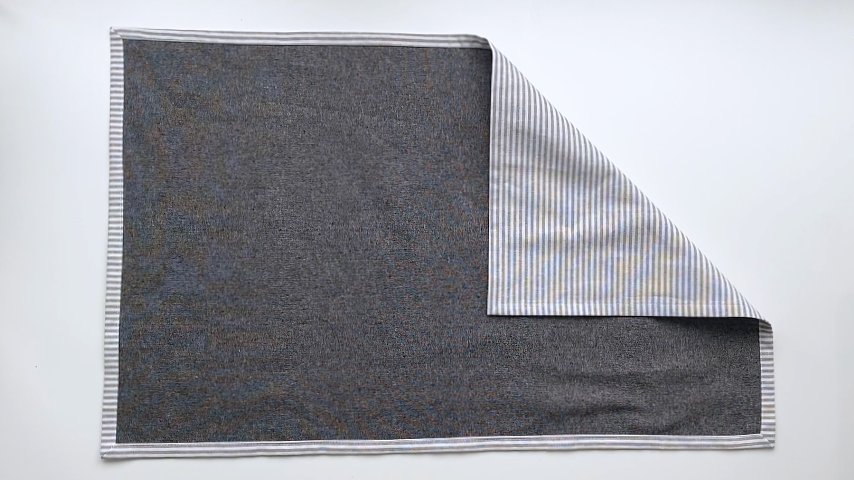
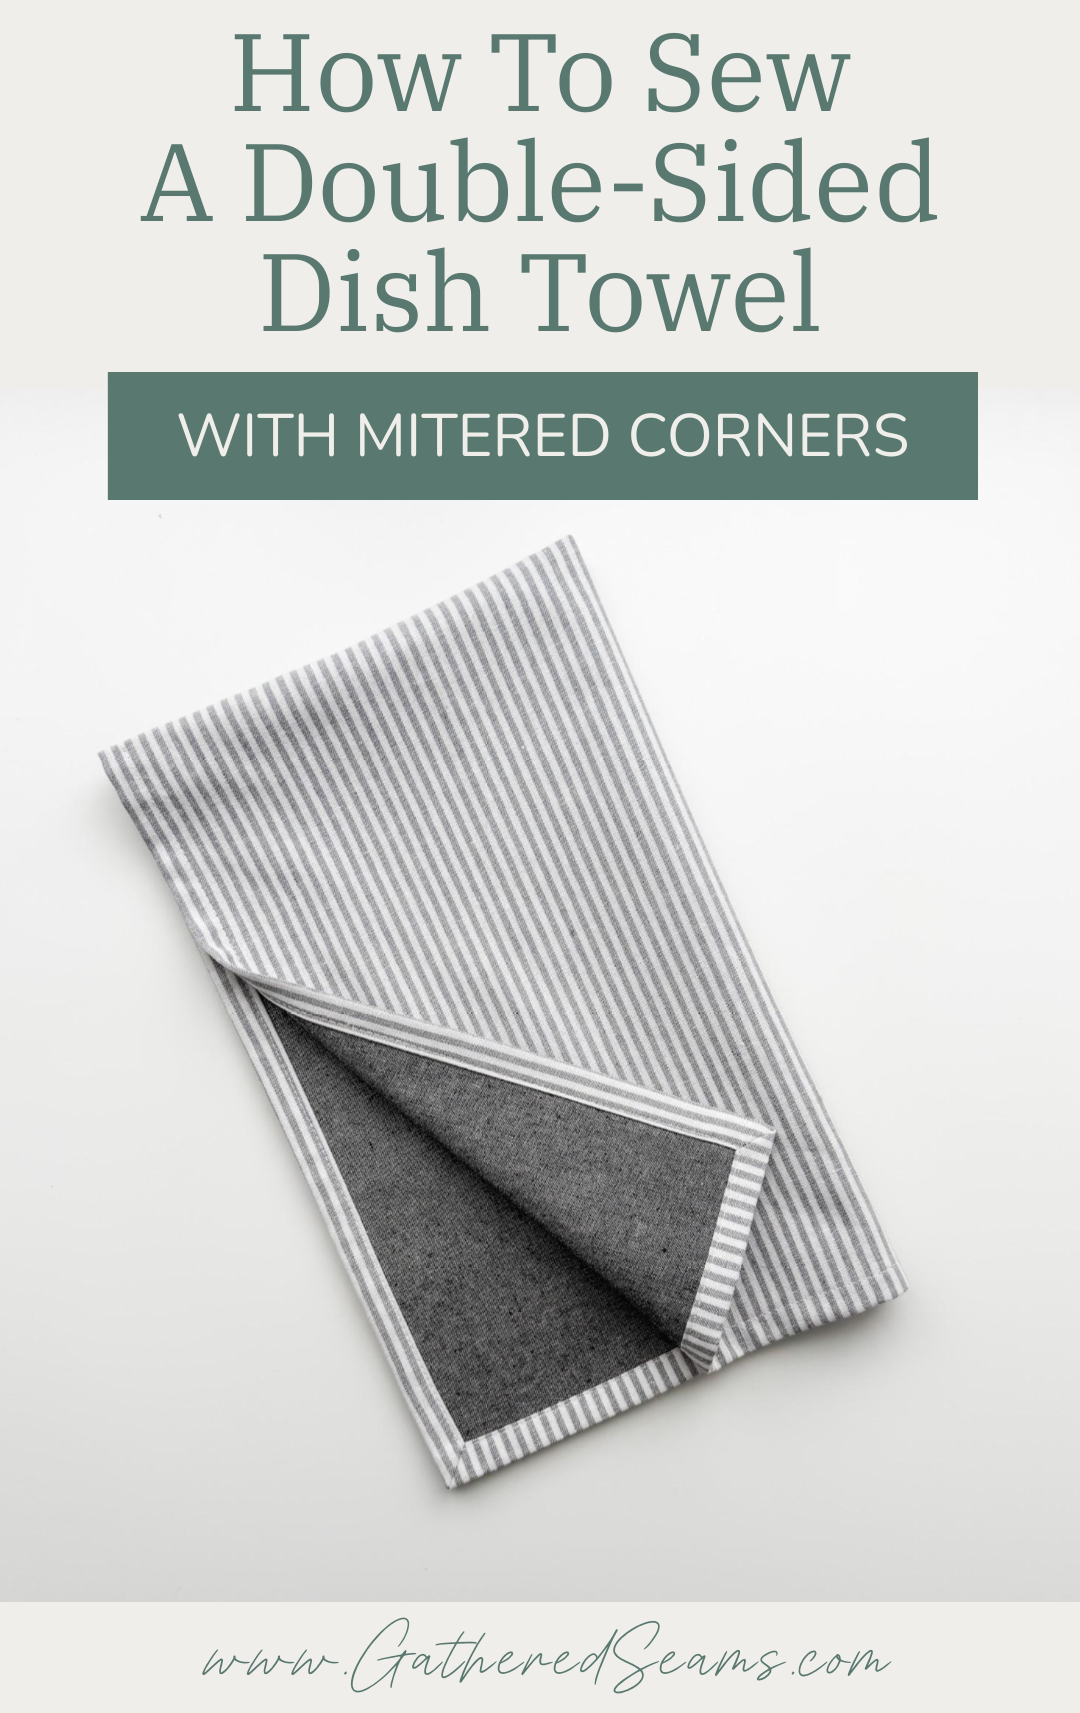
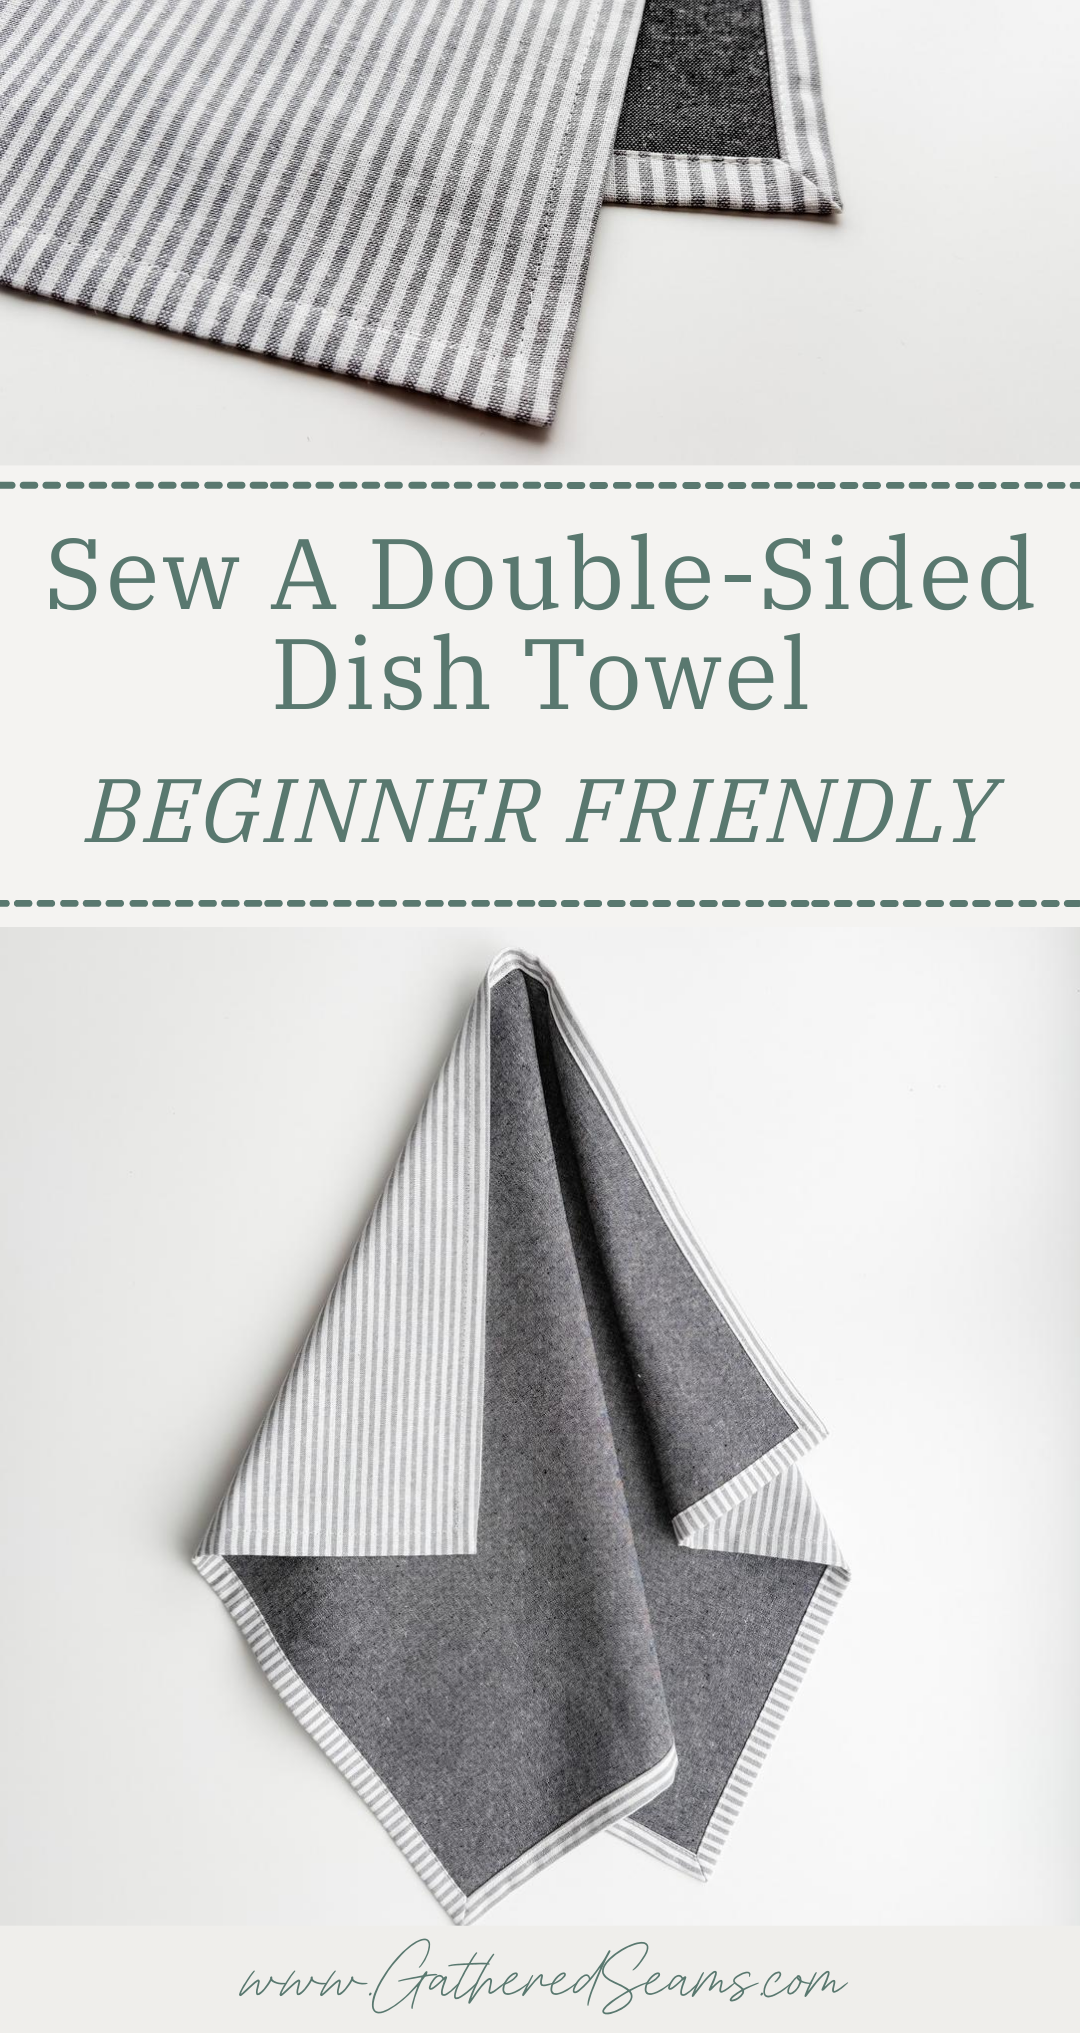
This is my favorite dish towel to make. It feels thick, it looks elevated, and it’s highly absorbent because of the two layers.
The mitered corners give it a polished look, which makes it perfect for gift-giving.
My finished dish towel is 18″ x 28″, but you could go bigger or smaller.
For other styles of dish towels, you can try my other projects:
>> How To Sew A Ruffled Tea Towel (no pattern needed)
>> How To Sew A Tea Towel with Fringe (and mitered corners)
Gift Giving Ideas
For gift giving, you might sew a set of matching/coordinating dish towels, wrap one around a wine bottle and secure it with a bow for a thoughtful hosting gift, or pair it with other items you sew, such as:
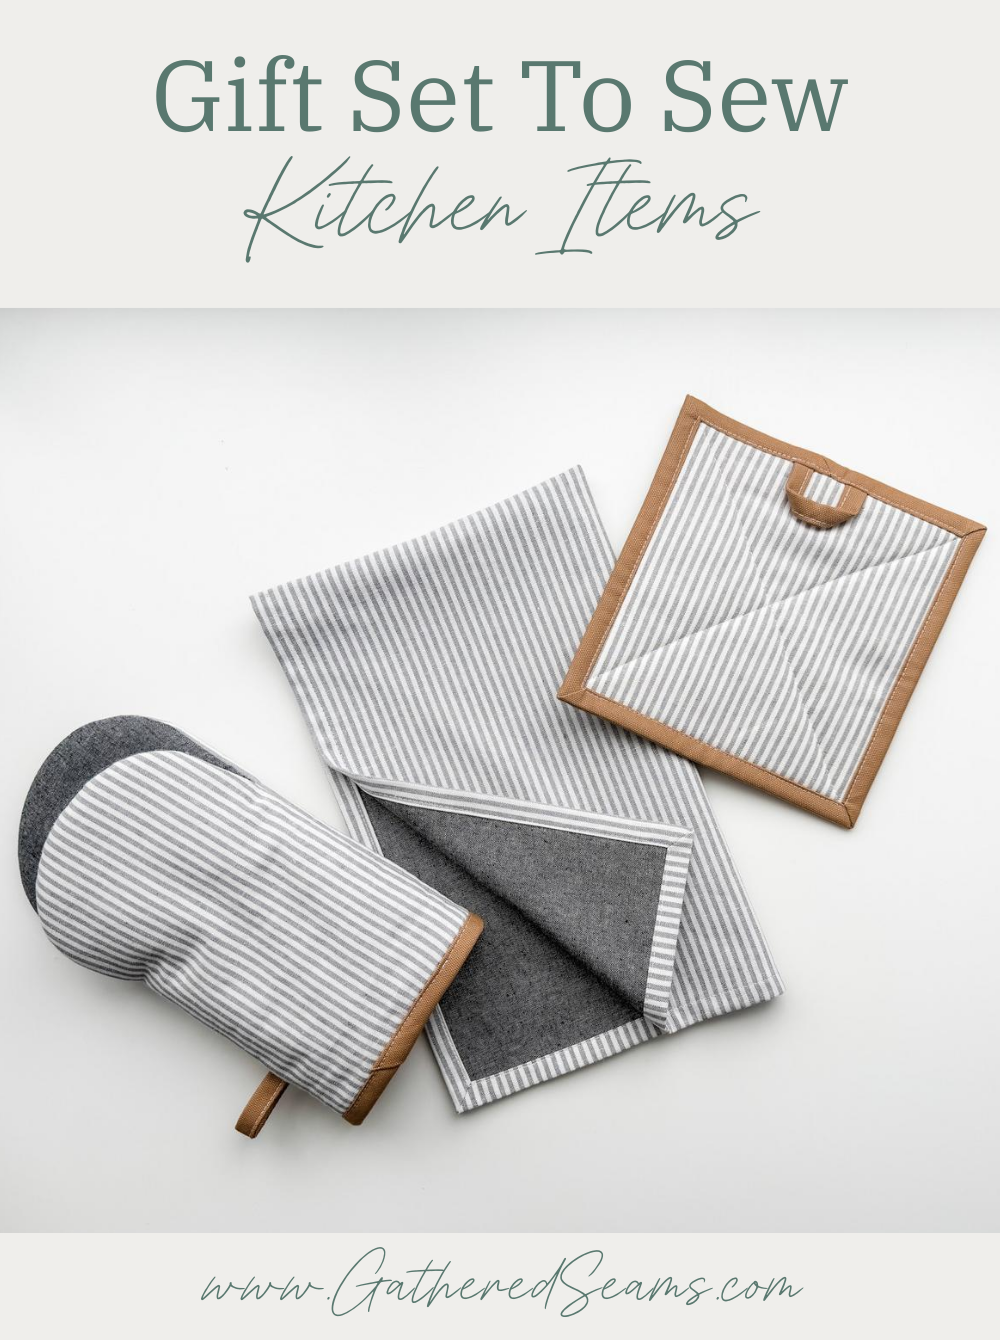
A dish towel would also work well with:
- Other kitchen items you sew
- Homemade items
- dry ingredient mixtures for soup, muffins, cookies
- freezer meals
- homemade pasta sauce
- Store-purchased items
- cutting board
- recipe book
- cooking/baking tools (muffin tin, wooden spoons, etc.)
- ingredients to make a meal (e.g. pasta sauce, pasta, olive oil)
Materials
- Fabric for the top and bottom (cotton or linen are the best fabrics for tea towels)
- Thread
Tools
- Ruler
- Temporary fabric marker (these are the ones I use)
- Sewing machine
- Scissors
- Point turner
- Iron
Steps to sew a double-sided dish towel
Step 1
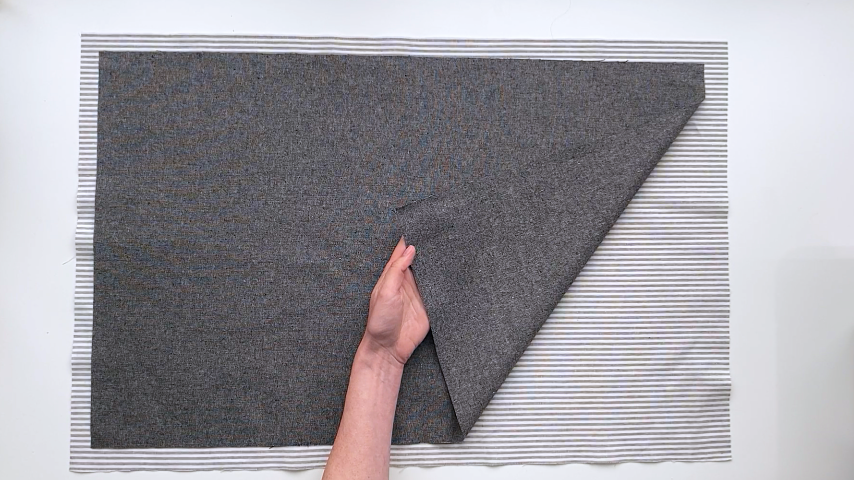
Press your fabric, then cut it to size.
For the top piece, you’ll want to cut it 2″ longer and wider than your desired size.
For example, I wanted my finished dish towel to be about 18″ x 28″, so I cut my fabric to 20″ x 30″.
For the bottom piece, you’ll cut it to the finished size.
So I cut mine to 18″ x 28″.
Step 2
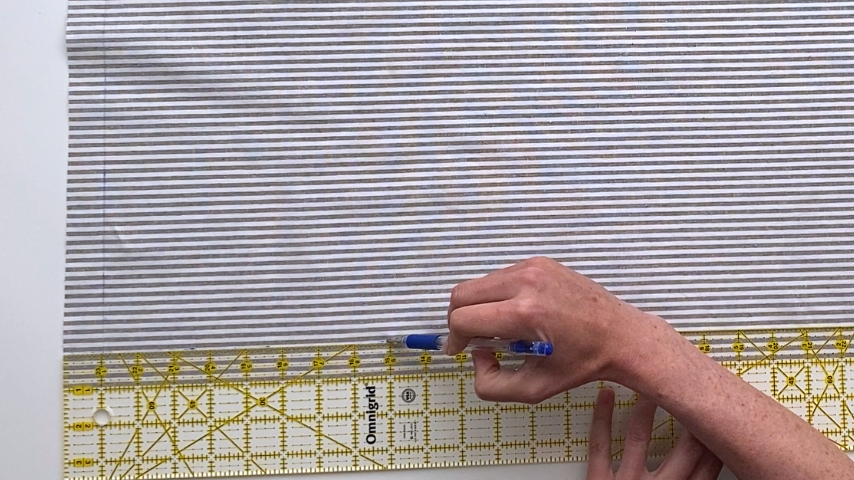
Using a temporary fabric marker, draw lines on all 4 sides of the wrong side of the top piece. These lines should be 1″ away from the edge of the fabric.
Step 3
Fold each cut edge up to meet the drawn line. Place the cut edge just slightly below the line and press it into place.
Keep each side folded as you fold the next side in.
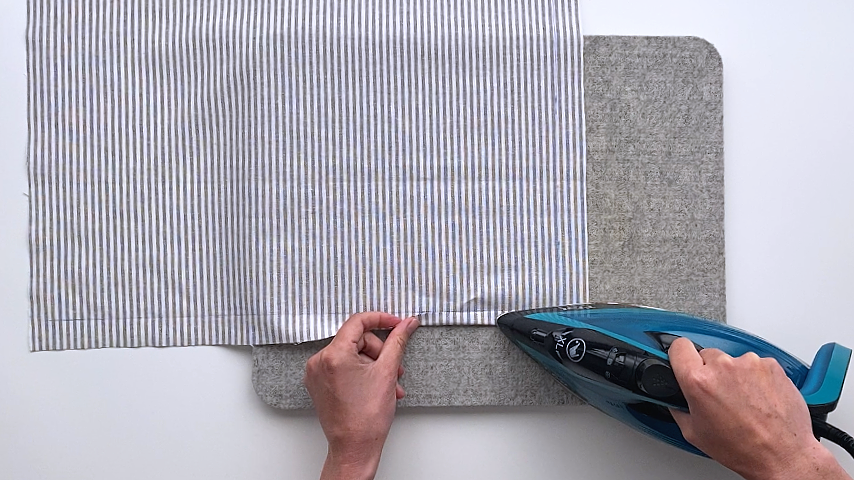
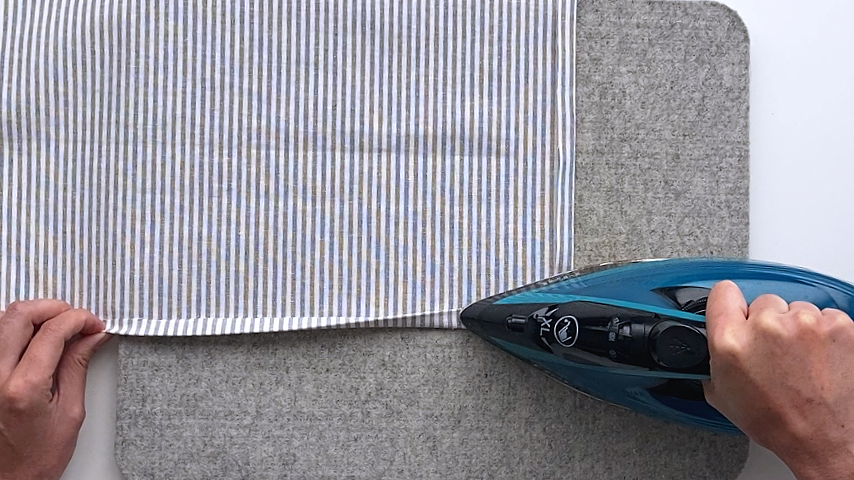
Once all 4 sides are pressed into place, fold the hem in again, another 1/2″.
Step 4
Unfold the hem once (so the raw edge is showing).
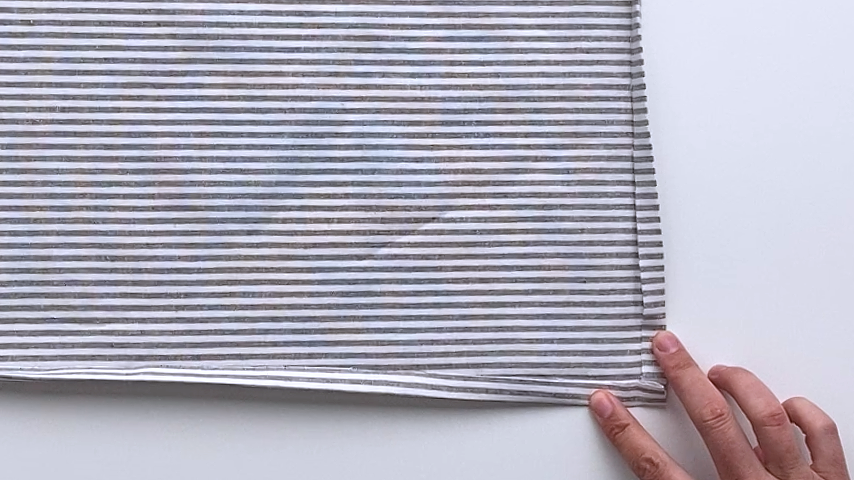
Fold one side to the other to create a point at the corner and to create a 45-degree fold in the center. Be sure to line your edges up perfectly.
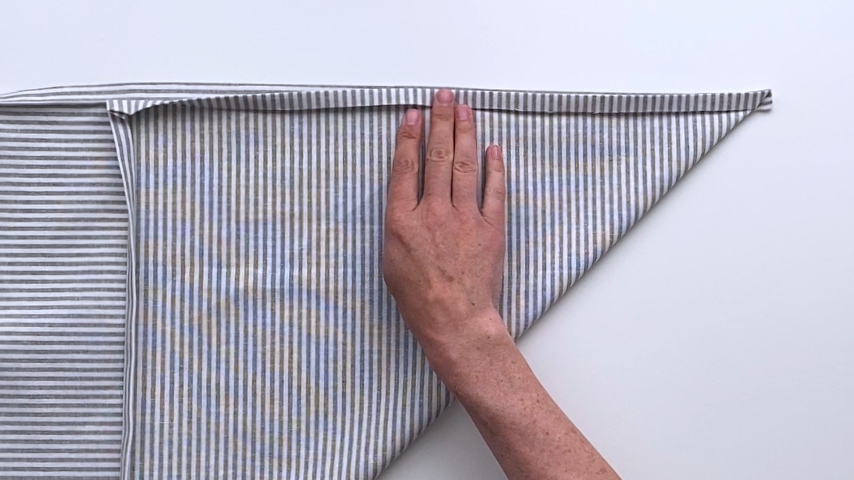
Next, you want to draw a line that is at a 45-degree angle to the outside edges of the dish towel. The line should come to a point at the second crease (top of the cut edge).
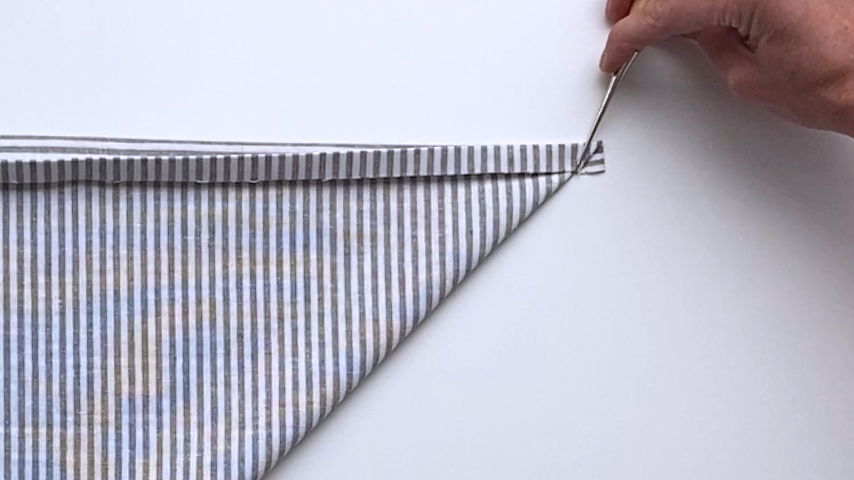
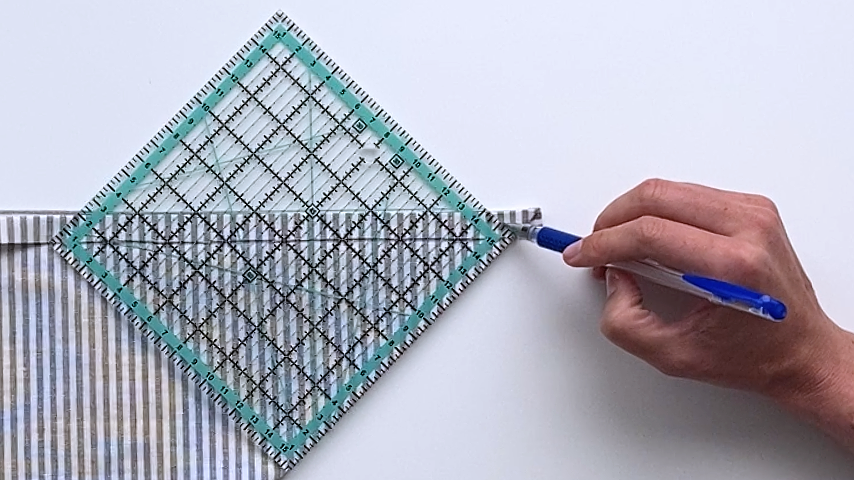
To create a perfect 45-degree line, I line up the edge of a square ruler with the edge of the center fold (which is at 45 degrees to the side of the dish towel).
Use a temporary fabric marker to draw a line.
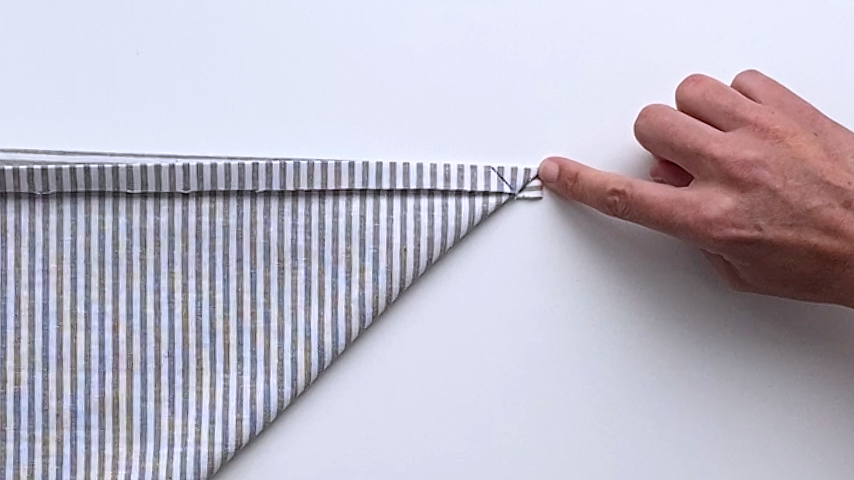
Using a shorter stitch length (I set my machine to 2.5mm, which gives me tight seams), sew along that line. To avoid the ends of the threads from poking out, I backstitch so the start and end of my threads end up in the middle of the fabric.
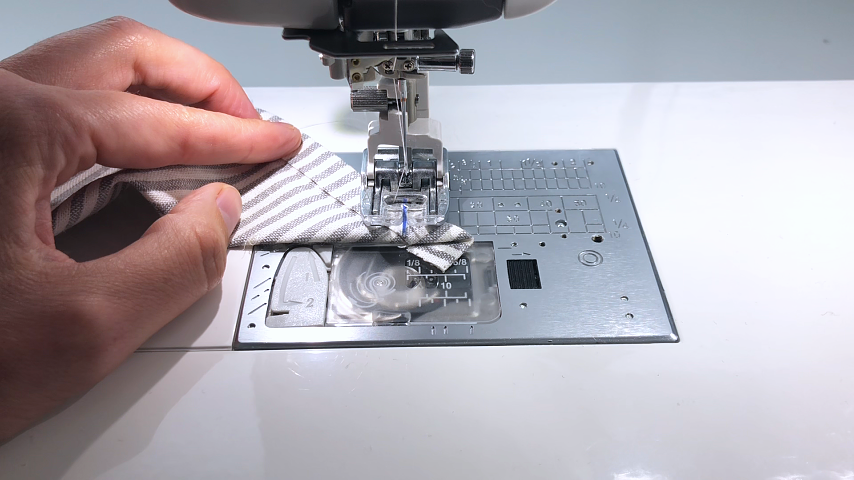
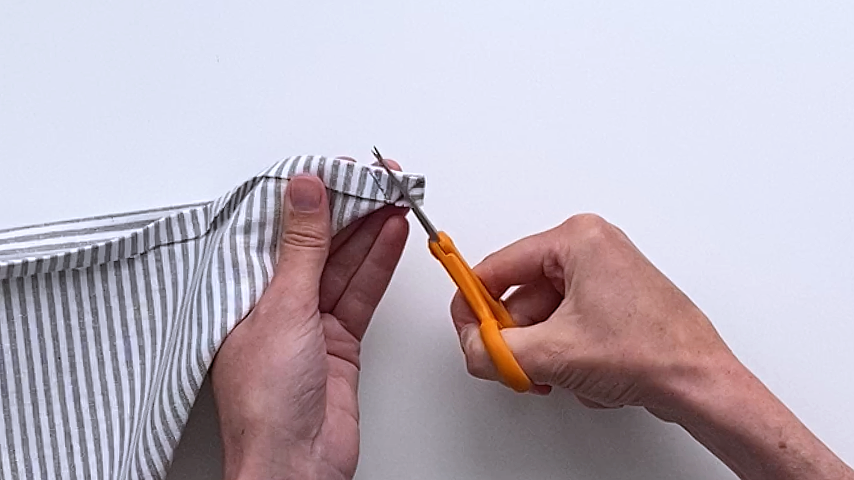
Trim the seam allowance to remove bulk.
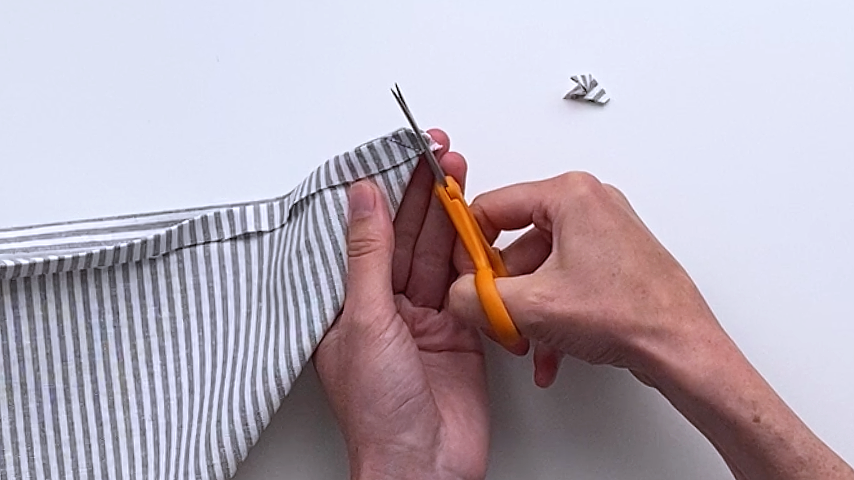
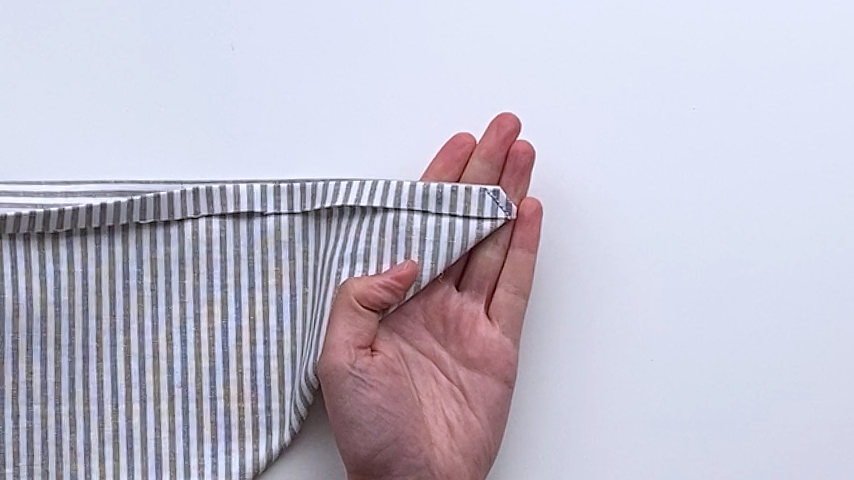
Repeat these steps to complete all 4 corners.
Step 5
Turn your corners right side out and use a point turner (or a chopstick or knitting needle) to push the points out.
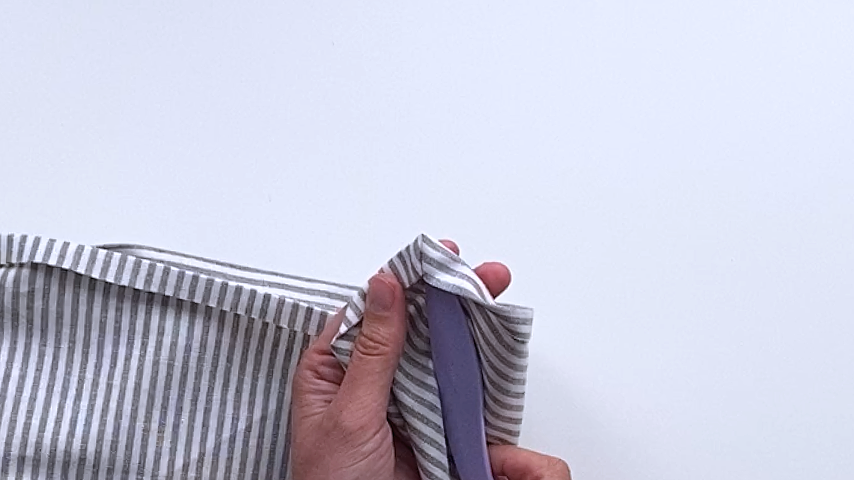
Press your corners and second hem into place.
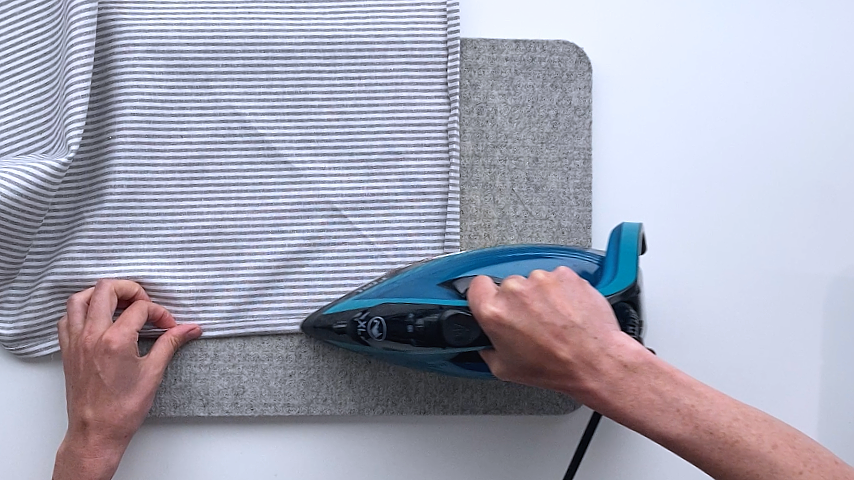
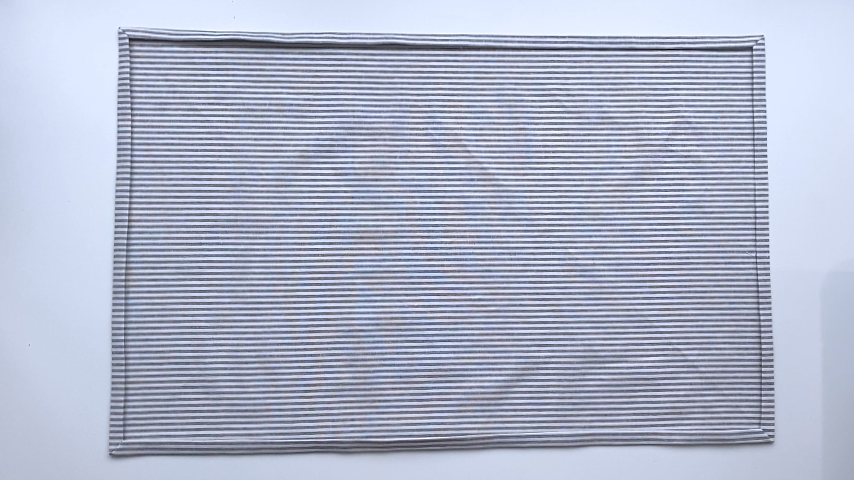
Step 6
Center your bottom fabric on your top fabric. You may need to trim it down so it is just slightly smaller than your top piece (depending on how accurate your cuts and hems are).
The bottom piece can be slightly smaller but shouldn’t be bigger, or it will create bulk in the hem.
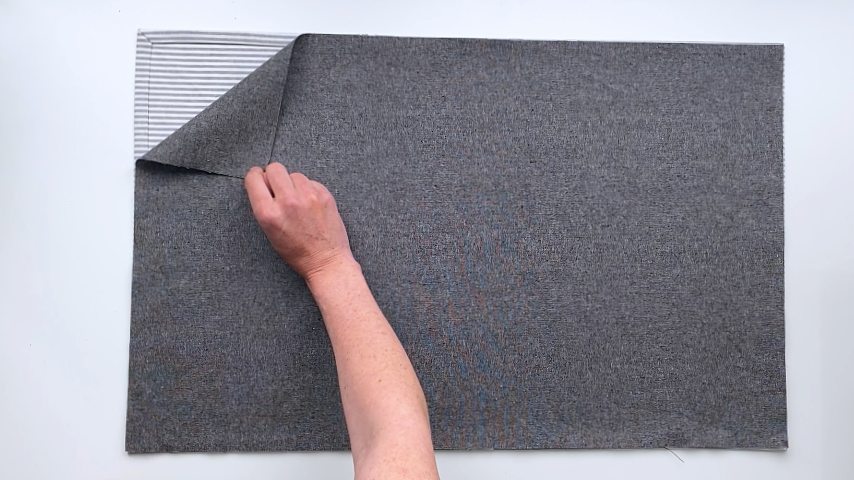
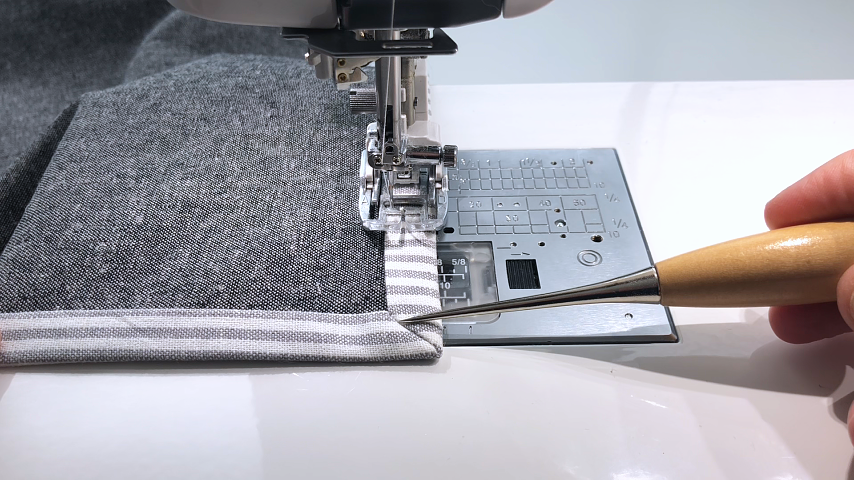
Tuck the bottom piece of fabric under the hem. Use a point turner to ensure the corners are sitting flat inside.
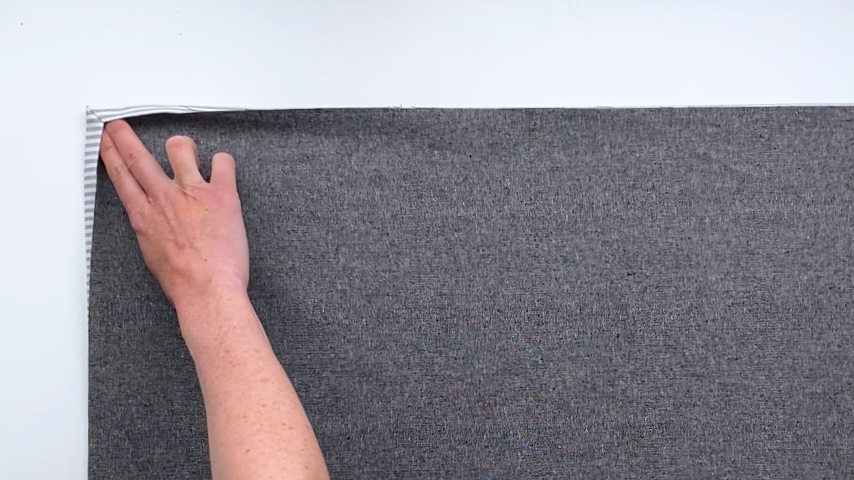
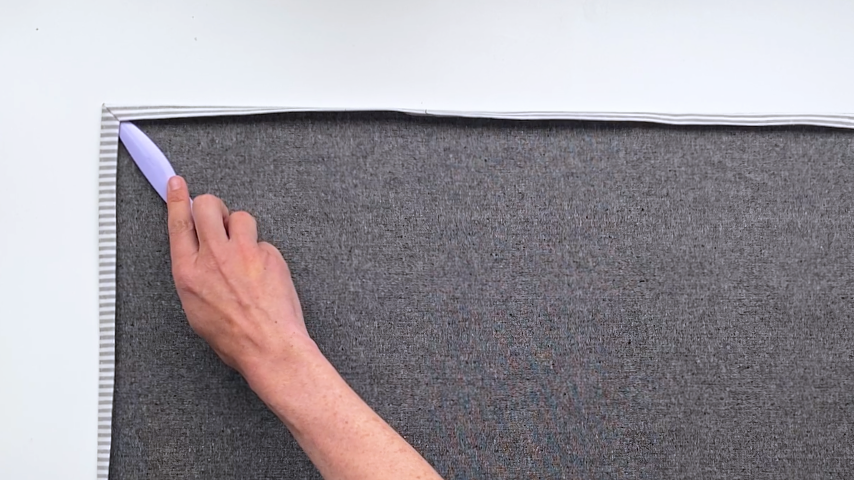
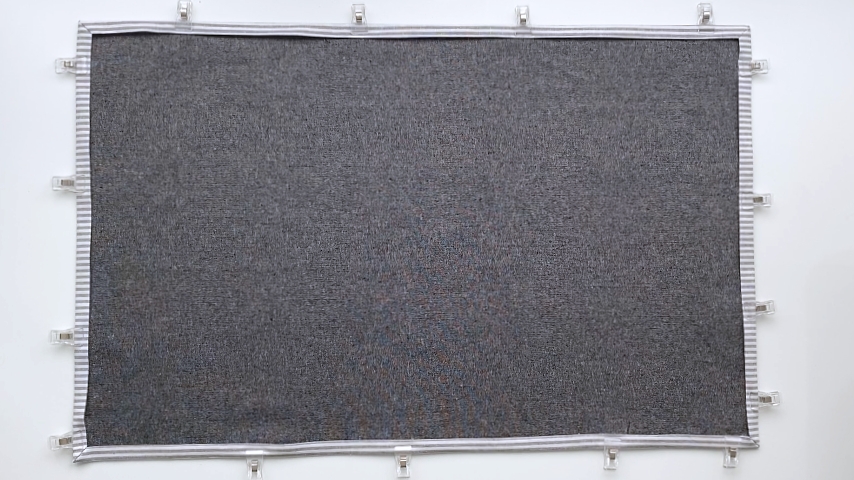
Clip around the edges so the bottom piece of fabric doesn’t slip when sewing.
Step 7
Sew around the edge about 1/8″ in from the inside fold of the hem.
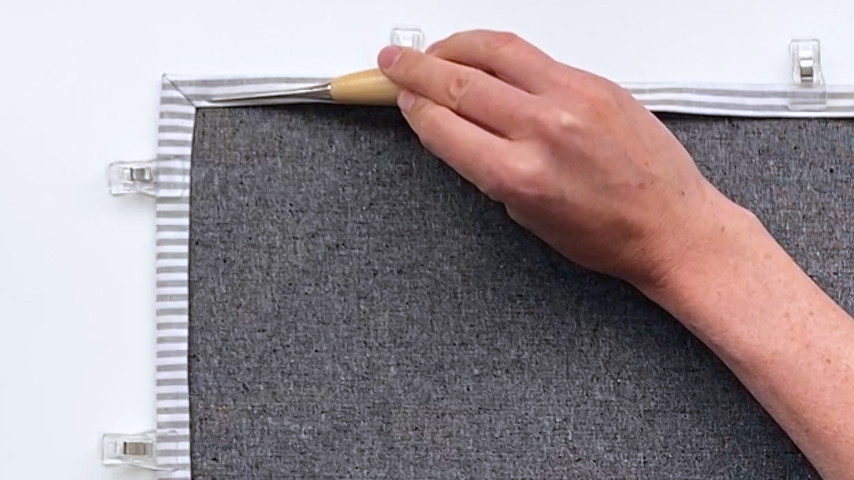
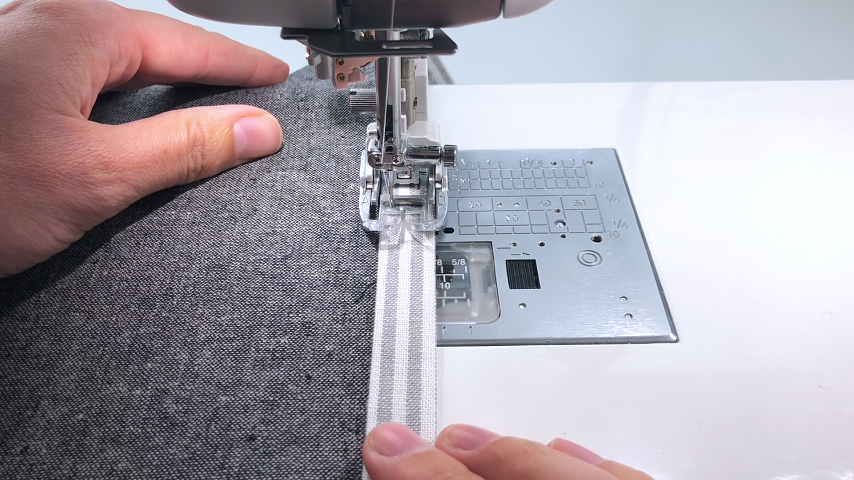
When you come up to a corner, stop with the needle in the seam of the corner, lift the presser foot, pivot the fabric 90 degrees, then continue sewing.
Your double-sided dish towel is complete!