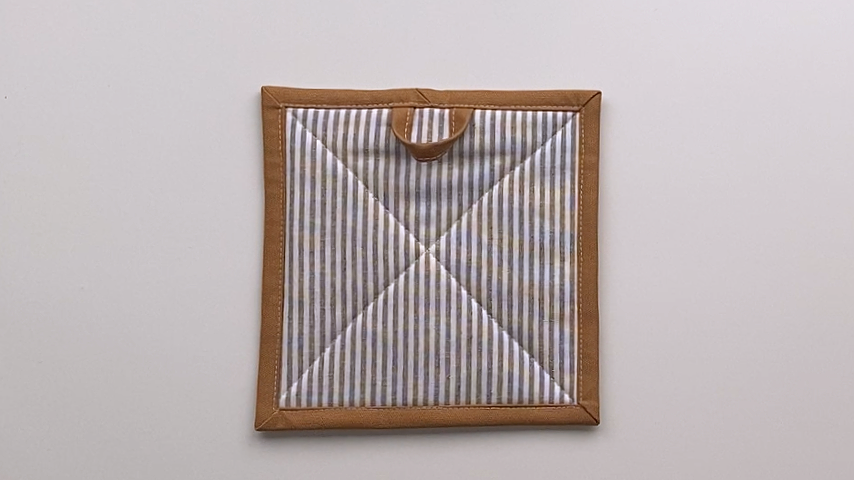
How To Sew a Square Potholder (with binding)
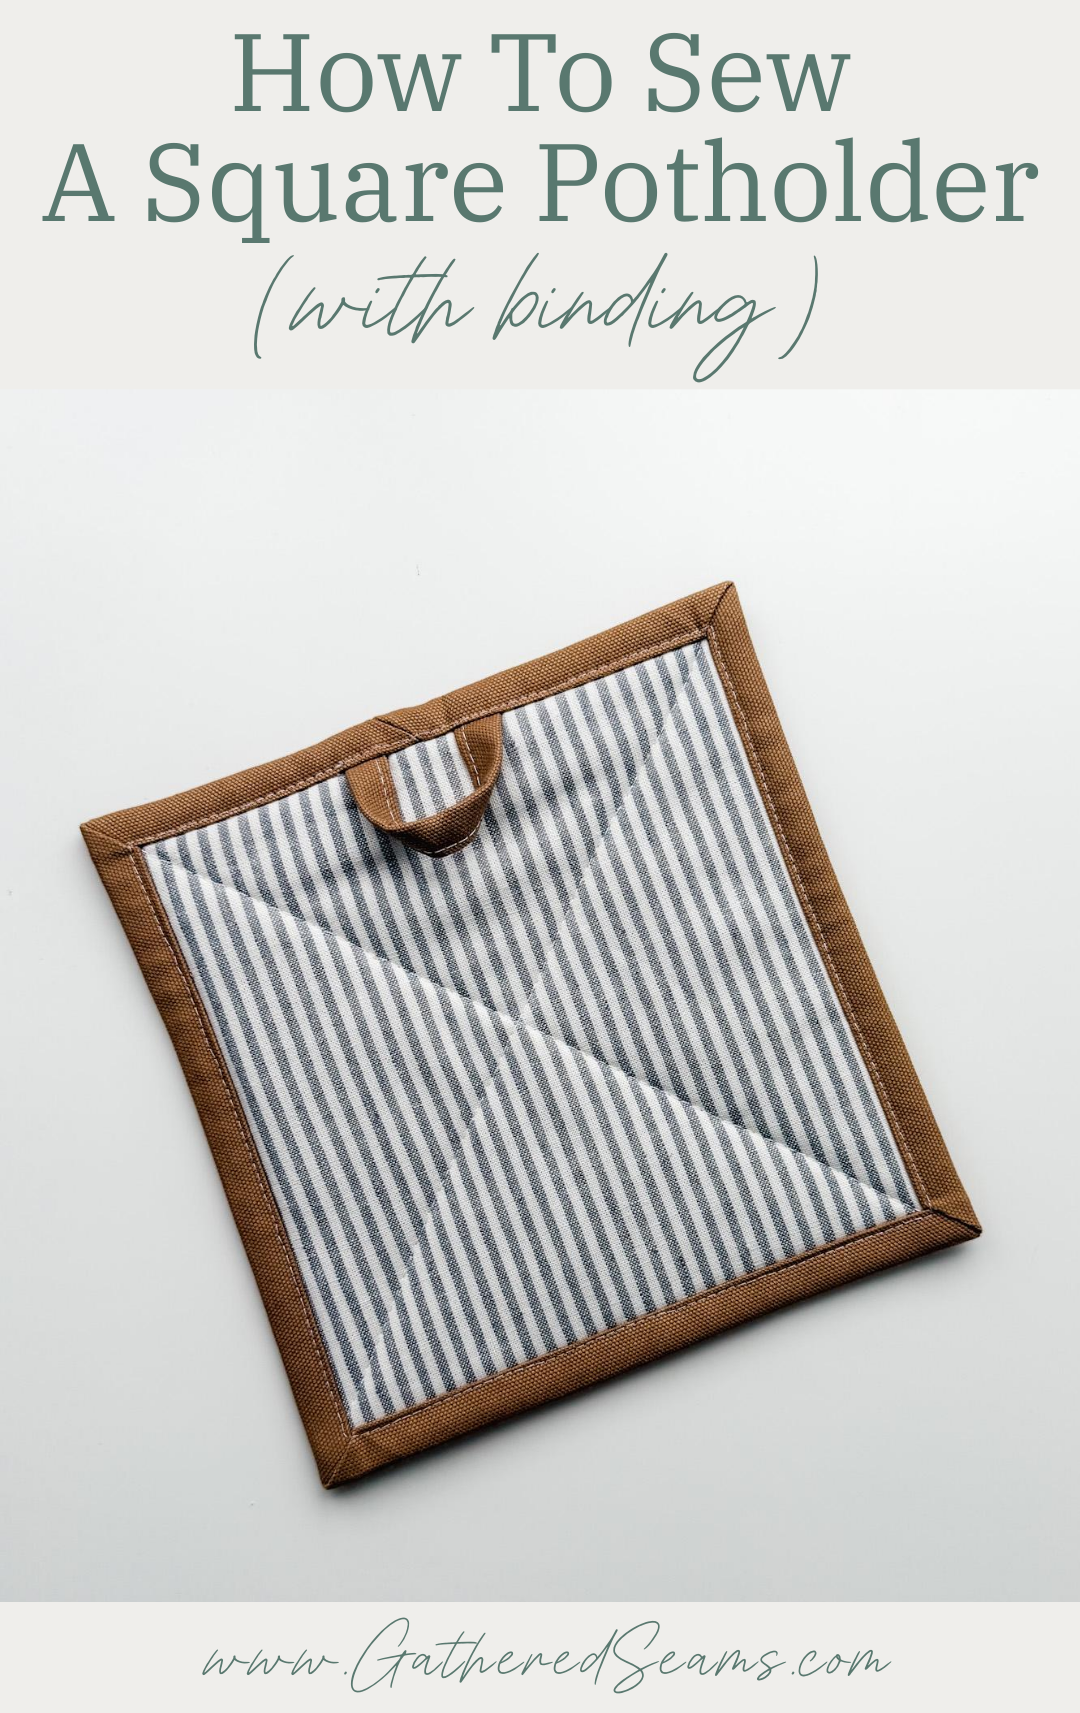
A square potholder is quick and easy to make. It’s a practical item to sew for your kitchen, to give as a gift, or to sell at craft shows (along with other kitchen items…ideas listed below).
My finished potholder is 8″ x 8″, but you can create any size you like. These also work as hot pads, in which case, you may want to go bigger.
The hang loop is also optional. I like the added detail of it but I also never hang my potholders and prefer no loop if I’m planning to use the potholders as hot pads on the dinner table.
Another option is to add a pocket to your potholder, which will help you grip a hot dish. Here’s a free pattern and instructions to create a potholder with a pocket:
>> How To Sew A Square Potholder with Pocket (free pattern)
Potholders make a great housewarming gift or just a practical gift for that hard-to-buy-for person. Change up the fabric to make it seasonal (e.g. Christmas potholders) or more specific to a person or event (e.g. golf fabric for a golfer or heavier fabric for BBQ-ing).
Gift Giving Ideas
If you’re sewing a potholder to give as a gift, it would pair well with:
- Other kitchen items
- tea towel
- oven mitt
- pot pincher
- pot lid holder
- apron
- casserole cozy or bowl cozy
- Homemade items
- dry ingredient mixtures for soup, muffins, cookies
- freezer meals
- homemade pasta sauce
- Store-purchased items
- cutting board
- recipe book
- cooking/baking tools (muffin tin, wooden spoons, etc.)
- ingredients to make a meal (e.g. pasta sauce, pasta, olive oil)
Materials
As an Amazon Associate, I earn from qualifying purchases (see full disclosure here).
- Cotton or linen fabric (avoid synthetic materials)
- Thermal/heat-resistant batting (Insul-Bright or something similar) (this has “heat-reflective” properties)
- 100% cotton batting (this adds extra insulation)
- 1/2” double-folded binding (it’s 1/2” wide when double-folded) (here’s how to make your own so it matches your material. *You don’t need “bias tape” which is cut on a bias/45-degree angle which gives it stretch. You simply need binding, which is made the same way, but instead of cutting strips at an angle, you cut them with the grain of the fabric.)
- Thread
Tools
- Sewing machine
- Walking foot (highly recommended if you’re sewing quilting stitches. This is the universal one I purchased for my Baby Lock, which is a different machine than what’s shown in the photos)
- Hera marker (for marking quilting lines)(this is the one I use)
- Ruler (for marking quilting lines)
- Iron
- Scissors
- Pins or clips
Steps to sew a square potholder
Step 1
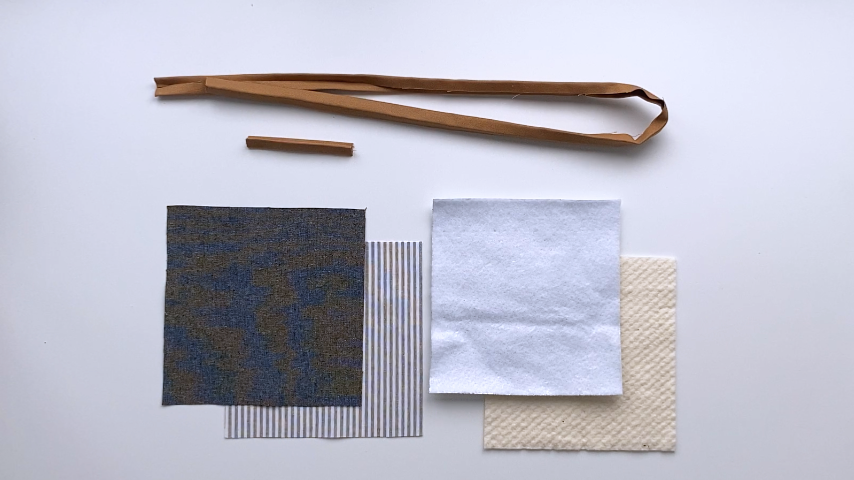
Cut out an 8″ x 8″ square in:
- Top fabric
- Bottom fabric
- Thermal batting
- Cotton batting
If you plan to add several quilting stitches to your pattern, cut your pieces a 1/2″ – 1″ bigger to account for shifting. Once your quilting stitches are complete, then you can cut it to 8″ x 8″.
You’ll also need 1/2″ double-fold binding:
- 38″ piece
- 4″ piece (for hang loop)
Step 2
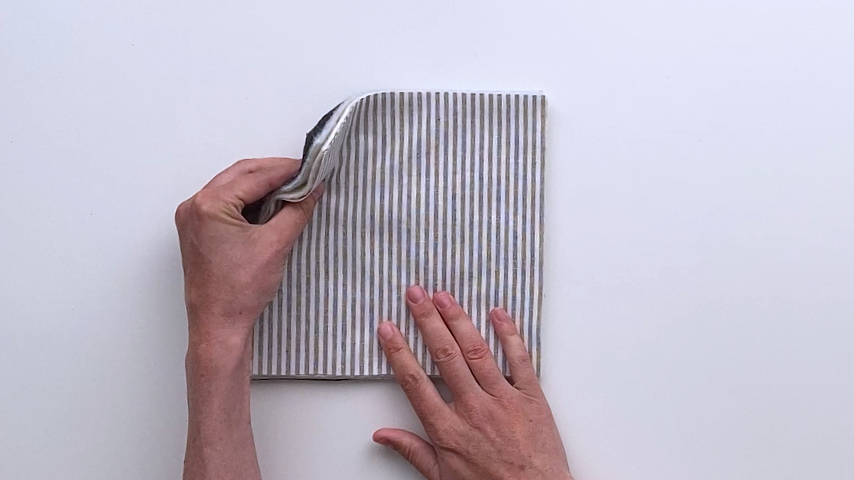
Layer your fabric and batting, wrong sides together (you want your top and bottom fabrics to be right sides out with the batting sandwiched between).
If you’re going to add quilting stitches, use a temporary fabric marker, chalk, or a hera marker to mark your lines, then stitch them. After stitching, trim up your fabric so it’s an even 8″ x 8″ square.
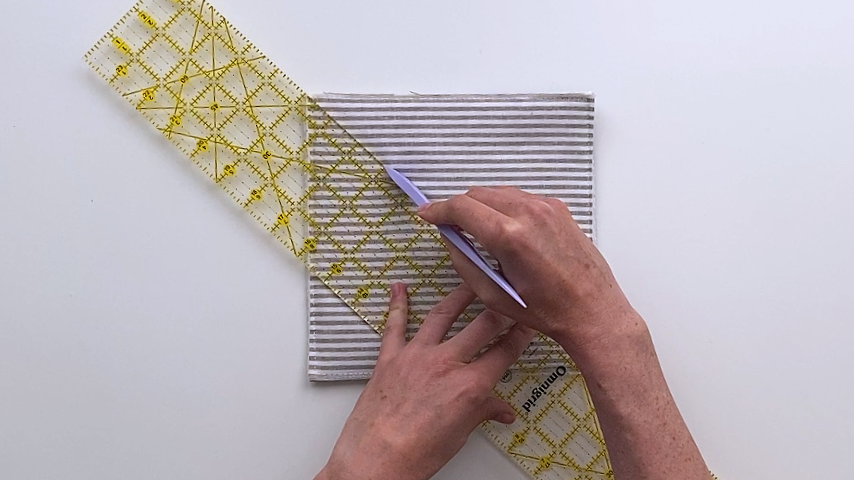
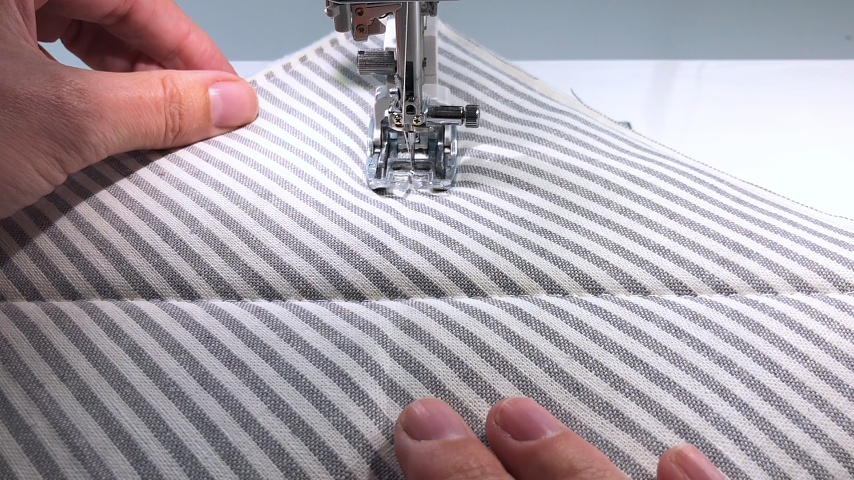
If you’re not adding quilting stitches, you can use temporary fabric glue to keep the layers together.
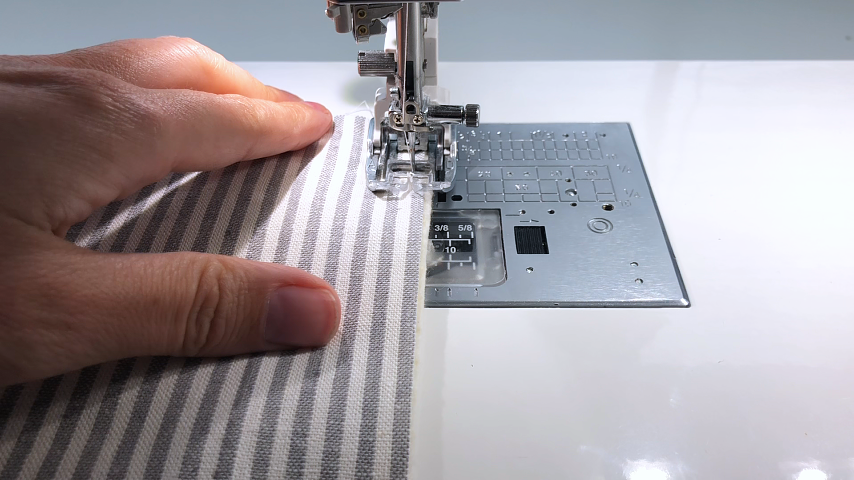
Baste around the edges of your potholder to keep the layers together and flatten them a bit (which will make it easier when sewing the binding on).
Step 3
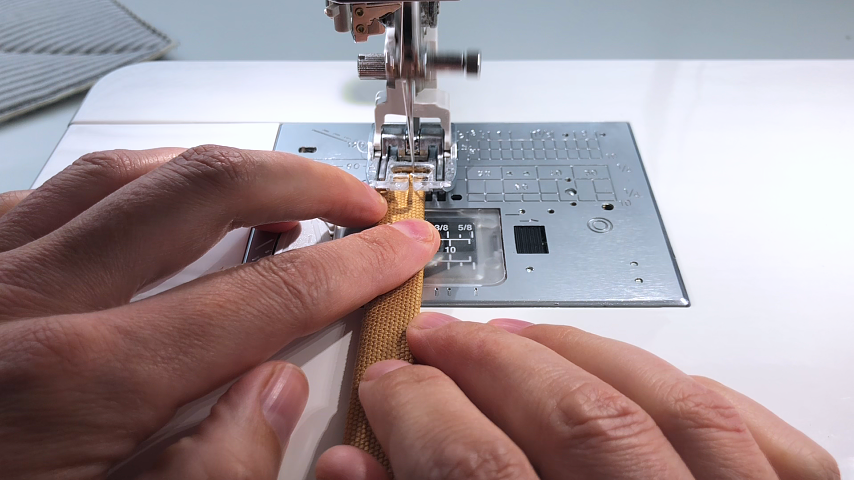
To add the optional hang loop, double fold the 4″ piece of binding and stitch along the open edge.
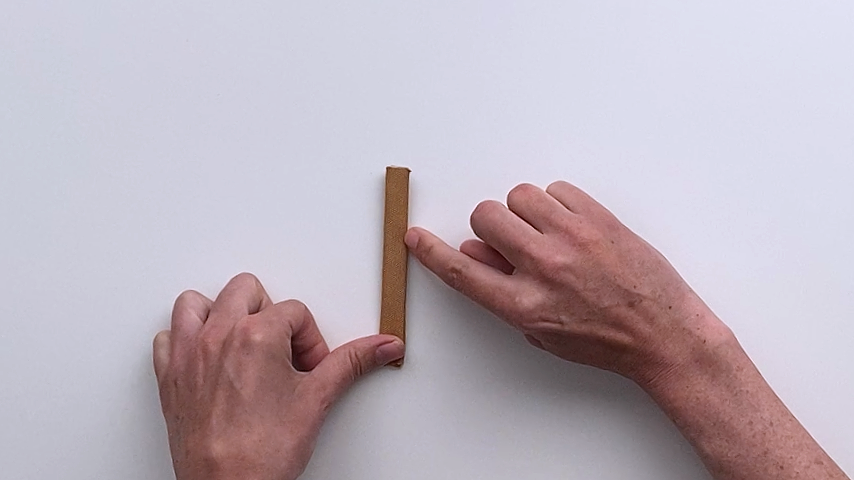
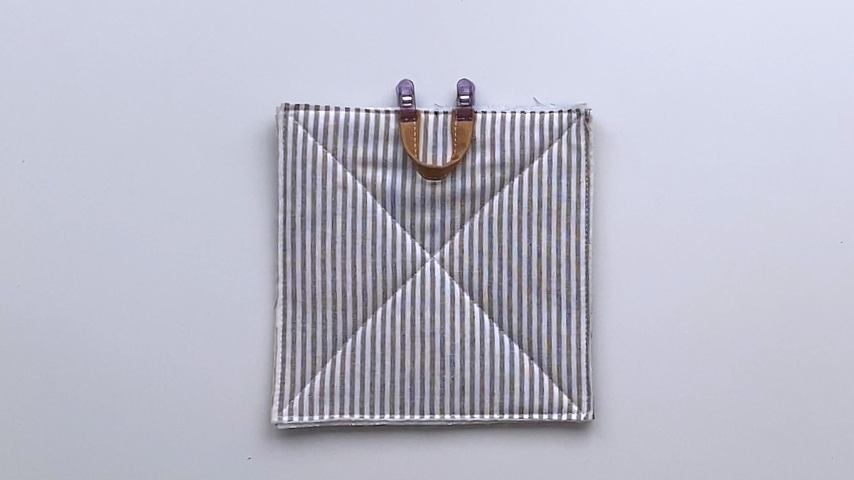
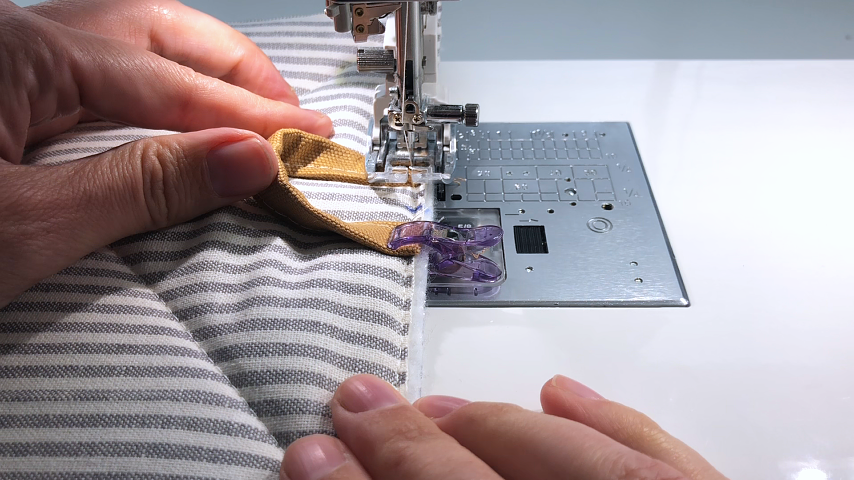
Find the center on one side of your potholder, clip the loop into place, then baste.
Step 4
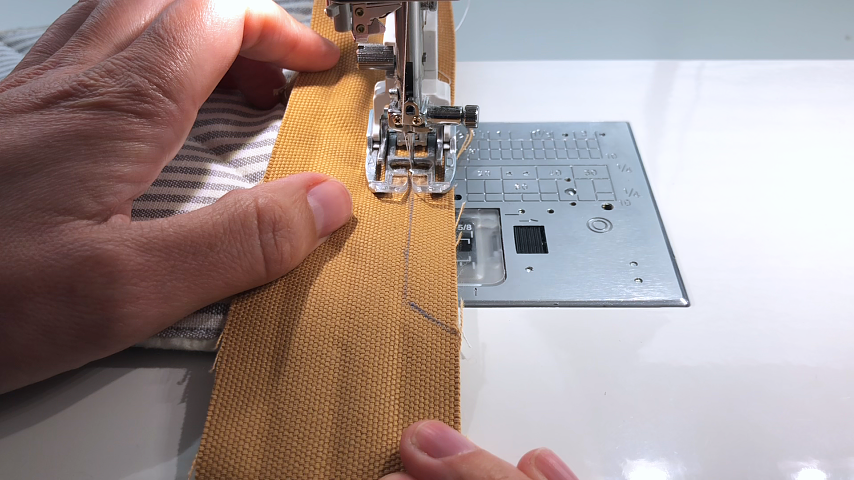
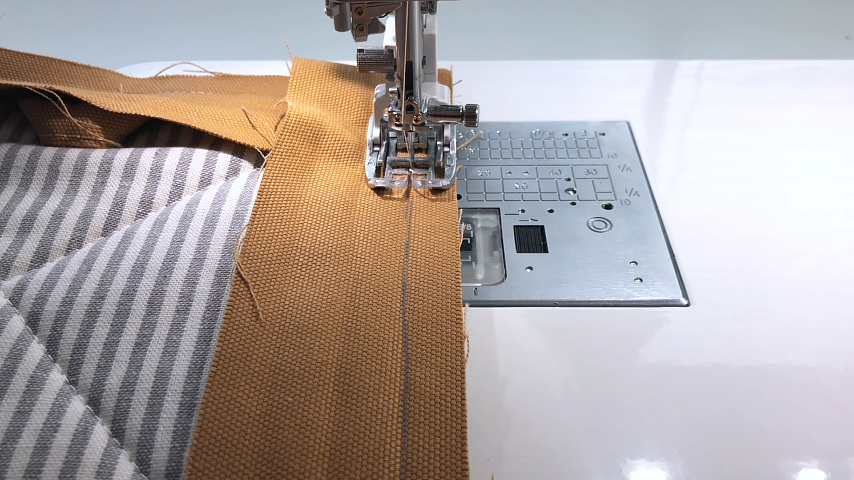
Unfold your binding. Mark a line just a little over 2” away from one end of the binding, then line that point up with the top centre of your potholder.
I also like to make sure my binding is sitting just slightly past the edge of the potholder, by a couple of millimetres.
You’ll start sewing at that 2” mark, in the folded crease.
When you come to a corner, you’ll stop sewing 1/2″ before the end of the potholder and angle your stitching to sew right off the point of the corner (which should create a 45-degree line).
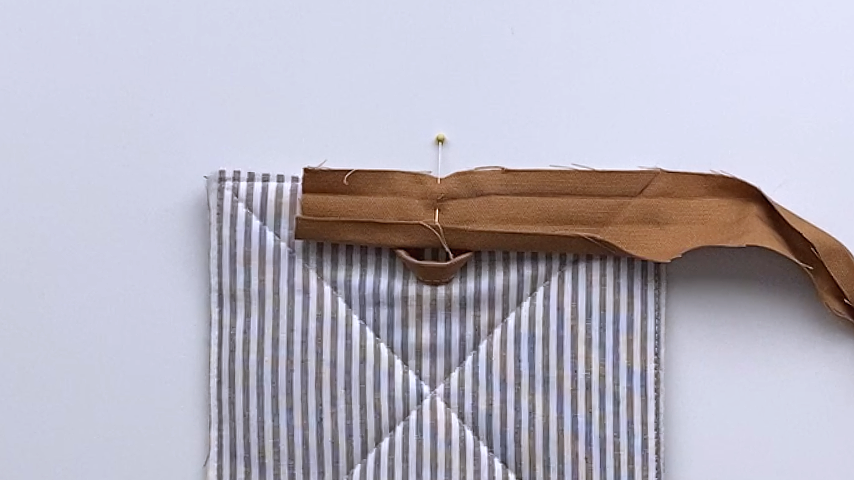
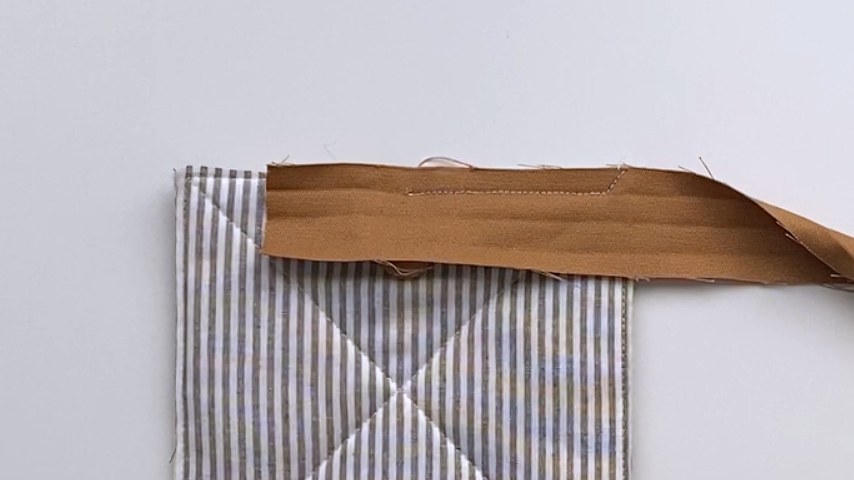
Fold the loose end of the binding up, so it’s at a 90-degree angle to the sewn-on binding. This will create a 45-degree fold at the corner.
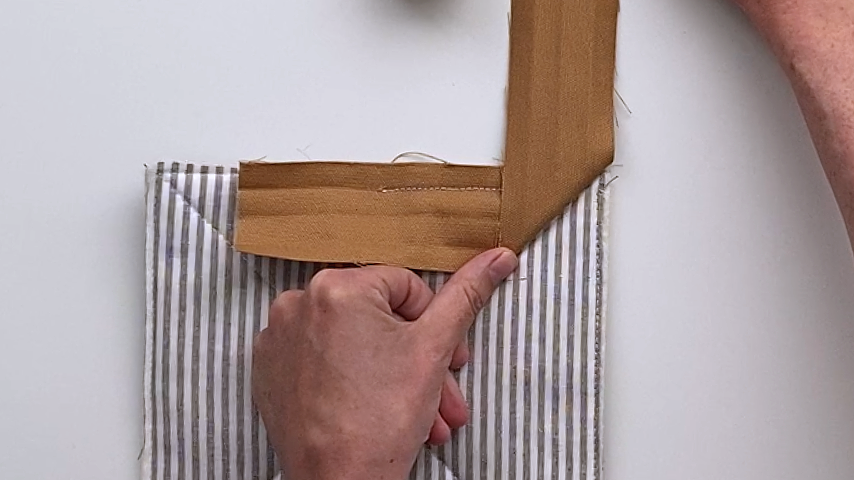
Fold the loose end back down so the top of the fold is in line with the top edge of the potholder.
Again, be sure the binding is extending just slightly past the edge of the potholder.
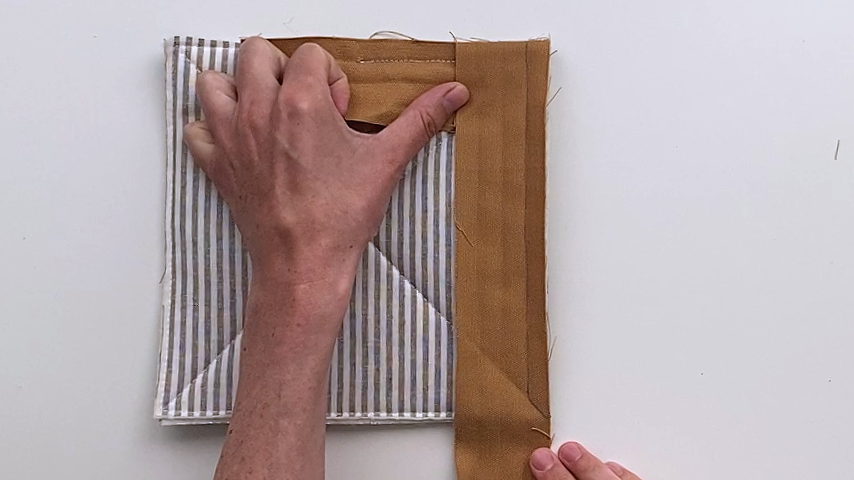
You’ll sew from the top fold to 1/2″ away from the edge of the potholder, and angle your sewing off the corner point of the potholder.
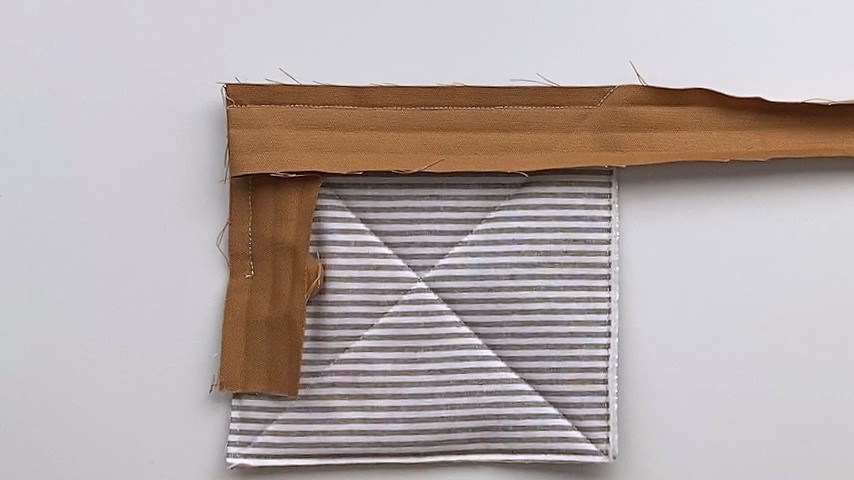
Repeat these steps for all 4 corners.
When you come back to the start of the binding, fold the loose 2” towards you, then place the end of the binding on top.
You’ll sew right up to the (folded back) start of your binding, backstitching at the end.
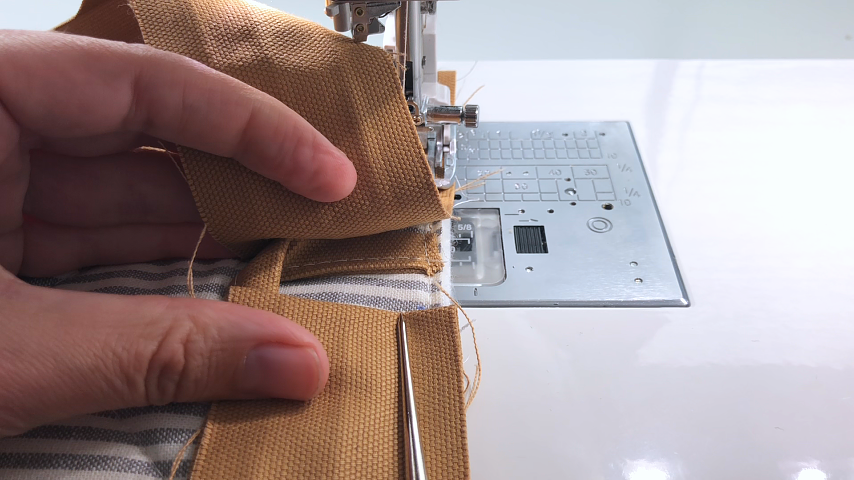
This is how the ends of your binding should look:
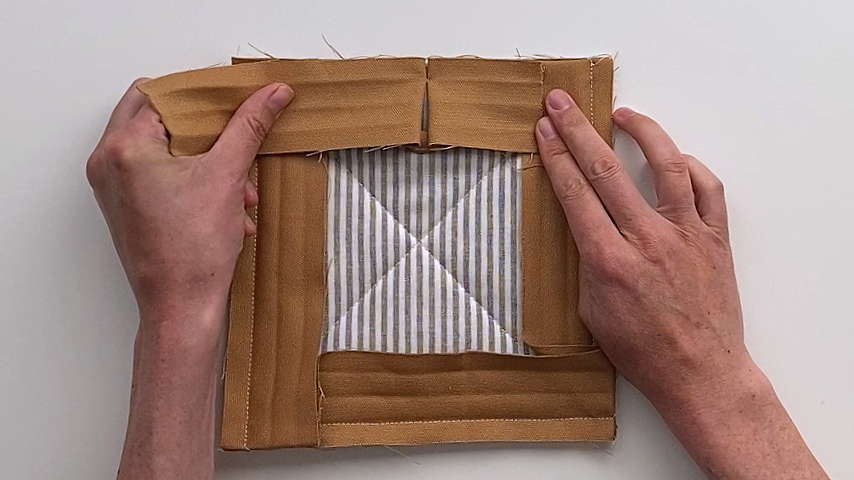
Unfold the end piece of your binding fully.
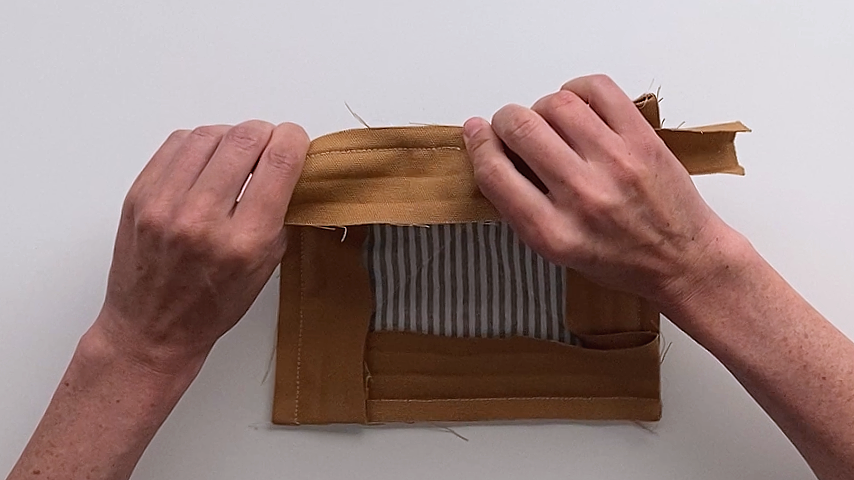
Fold the potholder at an angle so you can place the start of your binding at a 90-degree angle to the end of your binding.
Sew a line at a 45-degree angle.
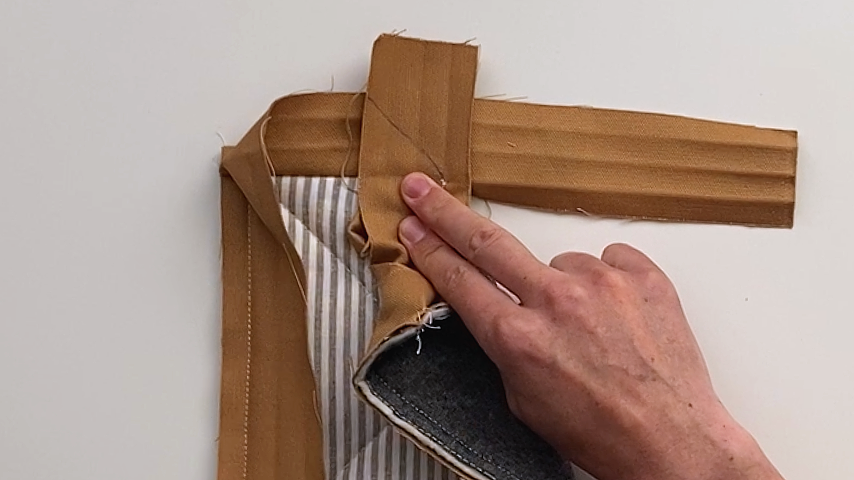
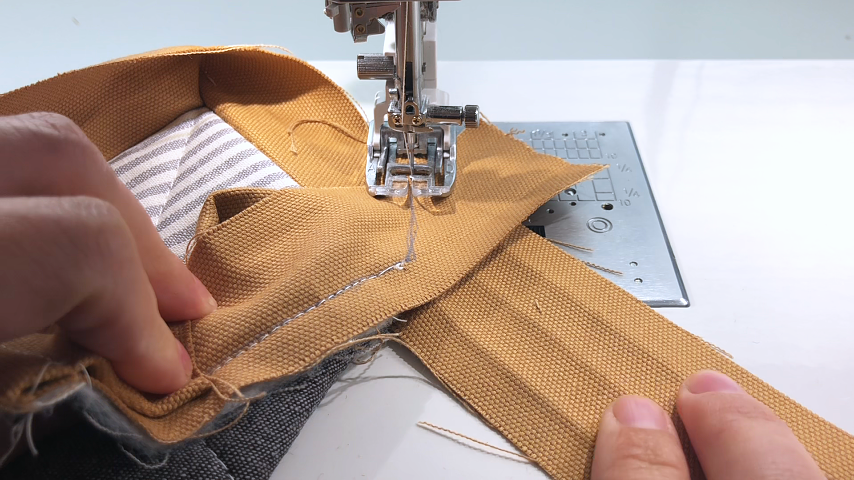
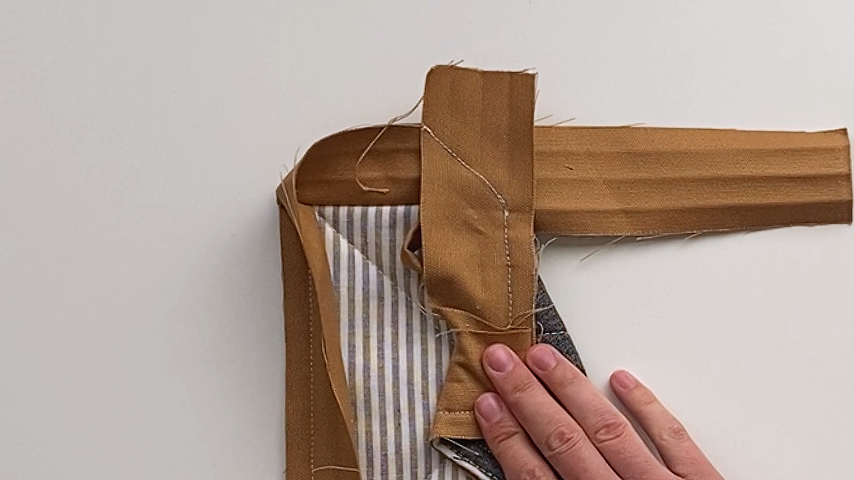
Check to make sure the seam is clean, then trim off the excess bias tape and finger-press the seam allowance open.
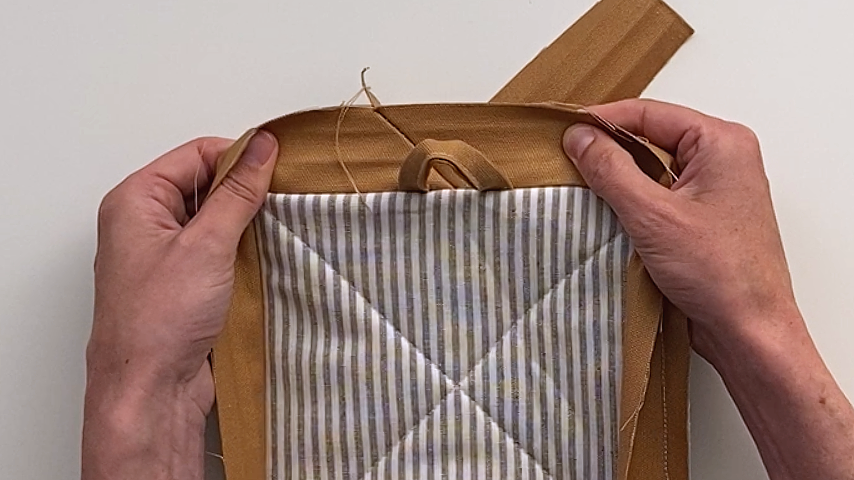
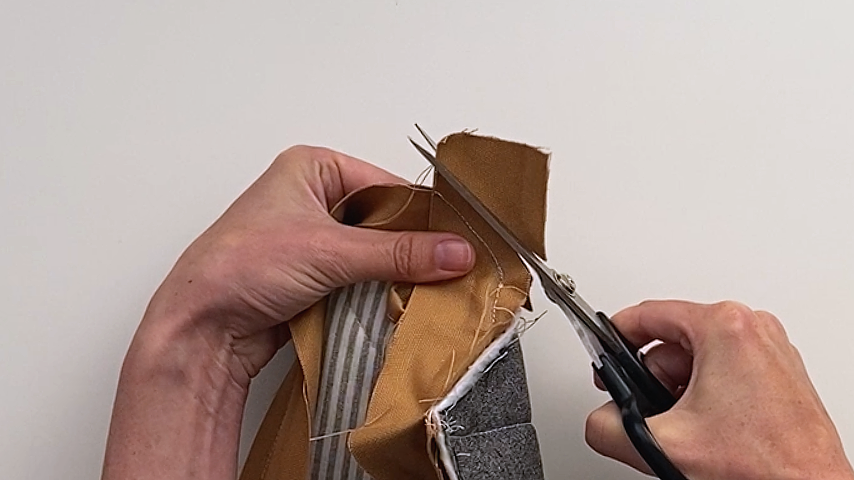
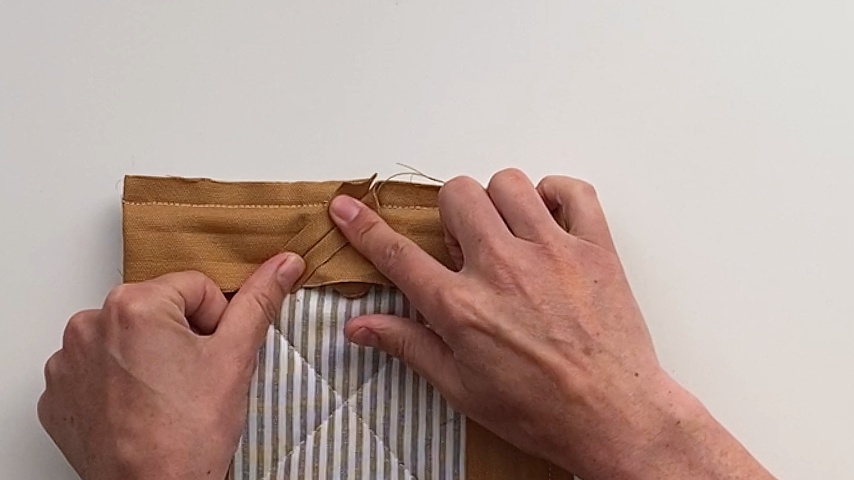
Fold the binding to the back side and clip into place, making sure it covers the line of stitching.
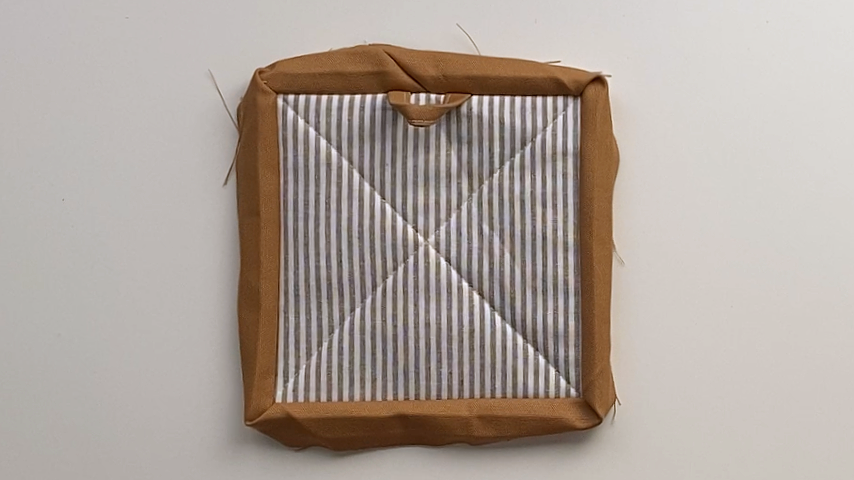
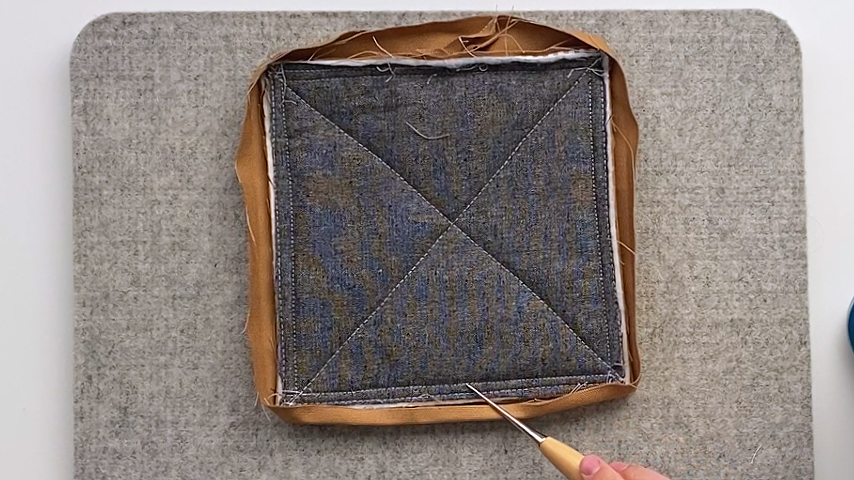
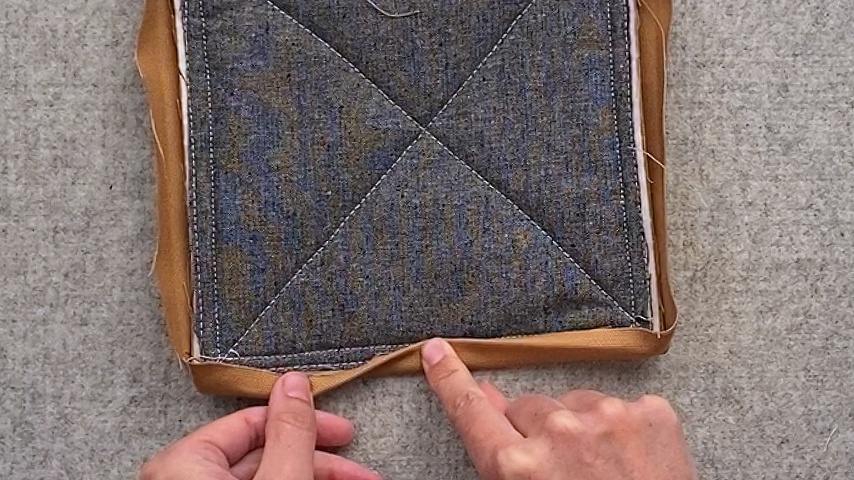
I also run the tip of my iron over the binding to help re-crease the double-fold.
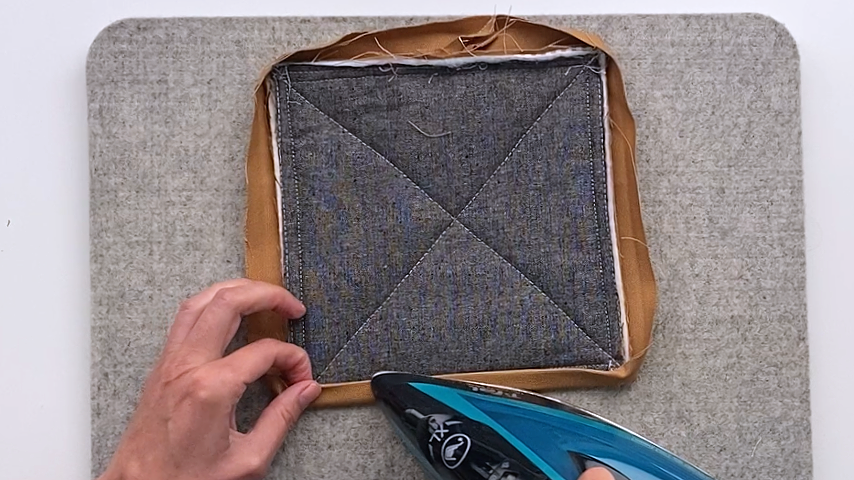
For the corners, I like to make sure I’m folding the corner on the back side in the opposite direction to the fold on the front side, so it reduces bulk.
Fold one edge of the binding flat, then fold the other edge in.
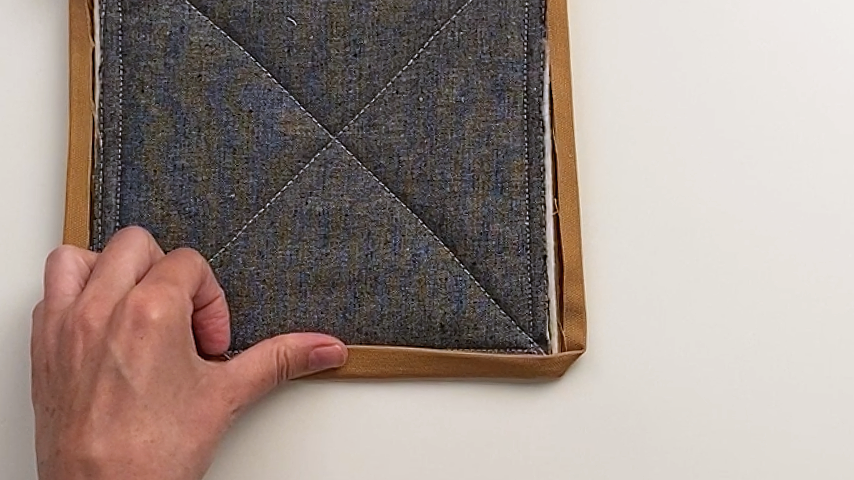
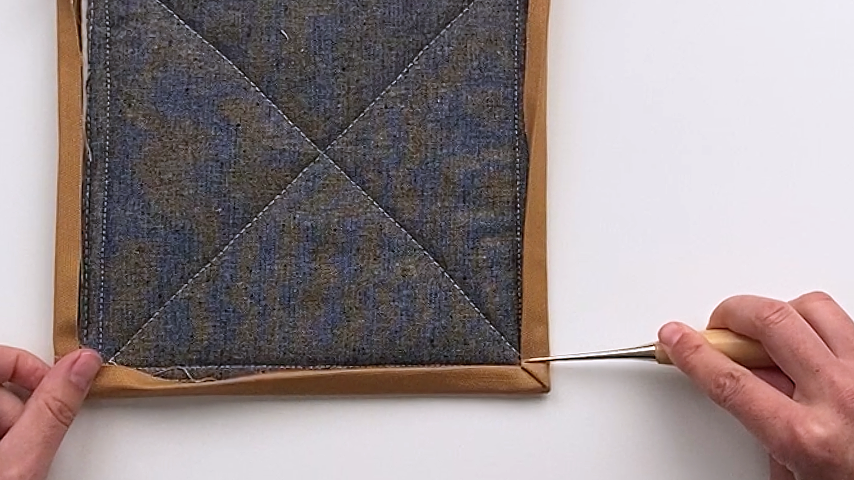
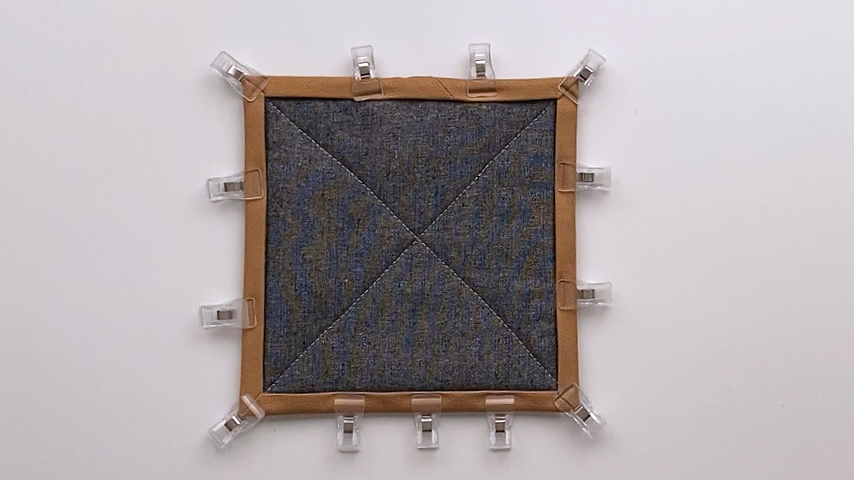
When both sides of the binding will be equally visible, I like to topstitch from the back side (the side of the binding that isn’t stitched down yet).
I sew slowly and make sure the edge of the binding is evenly covering the line of stitching as I go.
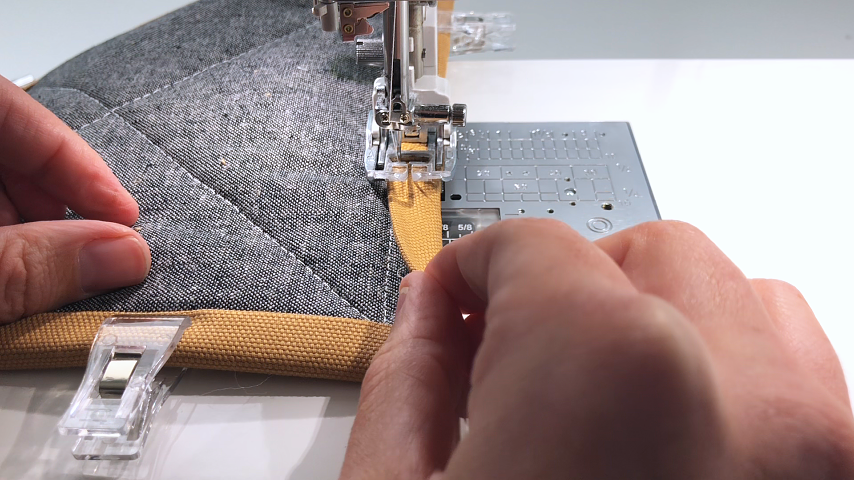
When I sew 1/8″ inside the edge of the binding, it ensures my stitching will be even on the other side.
When you come to a corner, stop with your needle down right at the edge of the 45-degree fold, then pivot your potholder to sew down the next side.
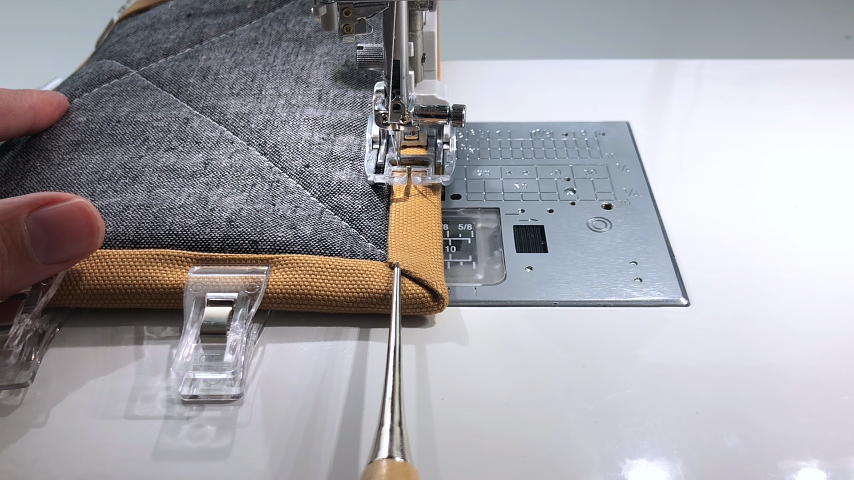
Your potholder is finished!