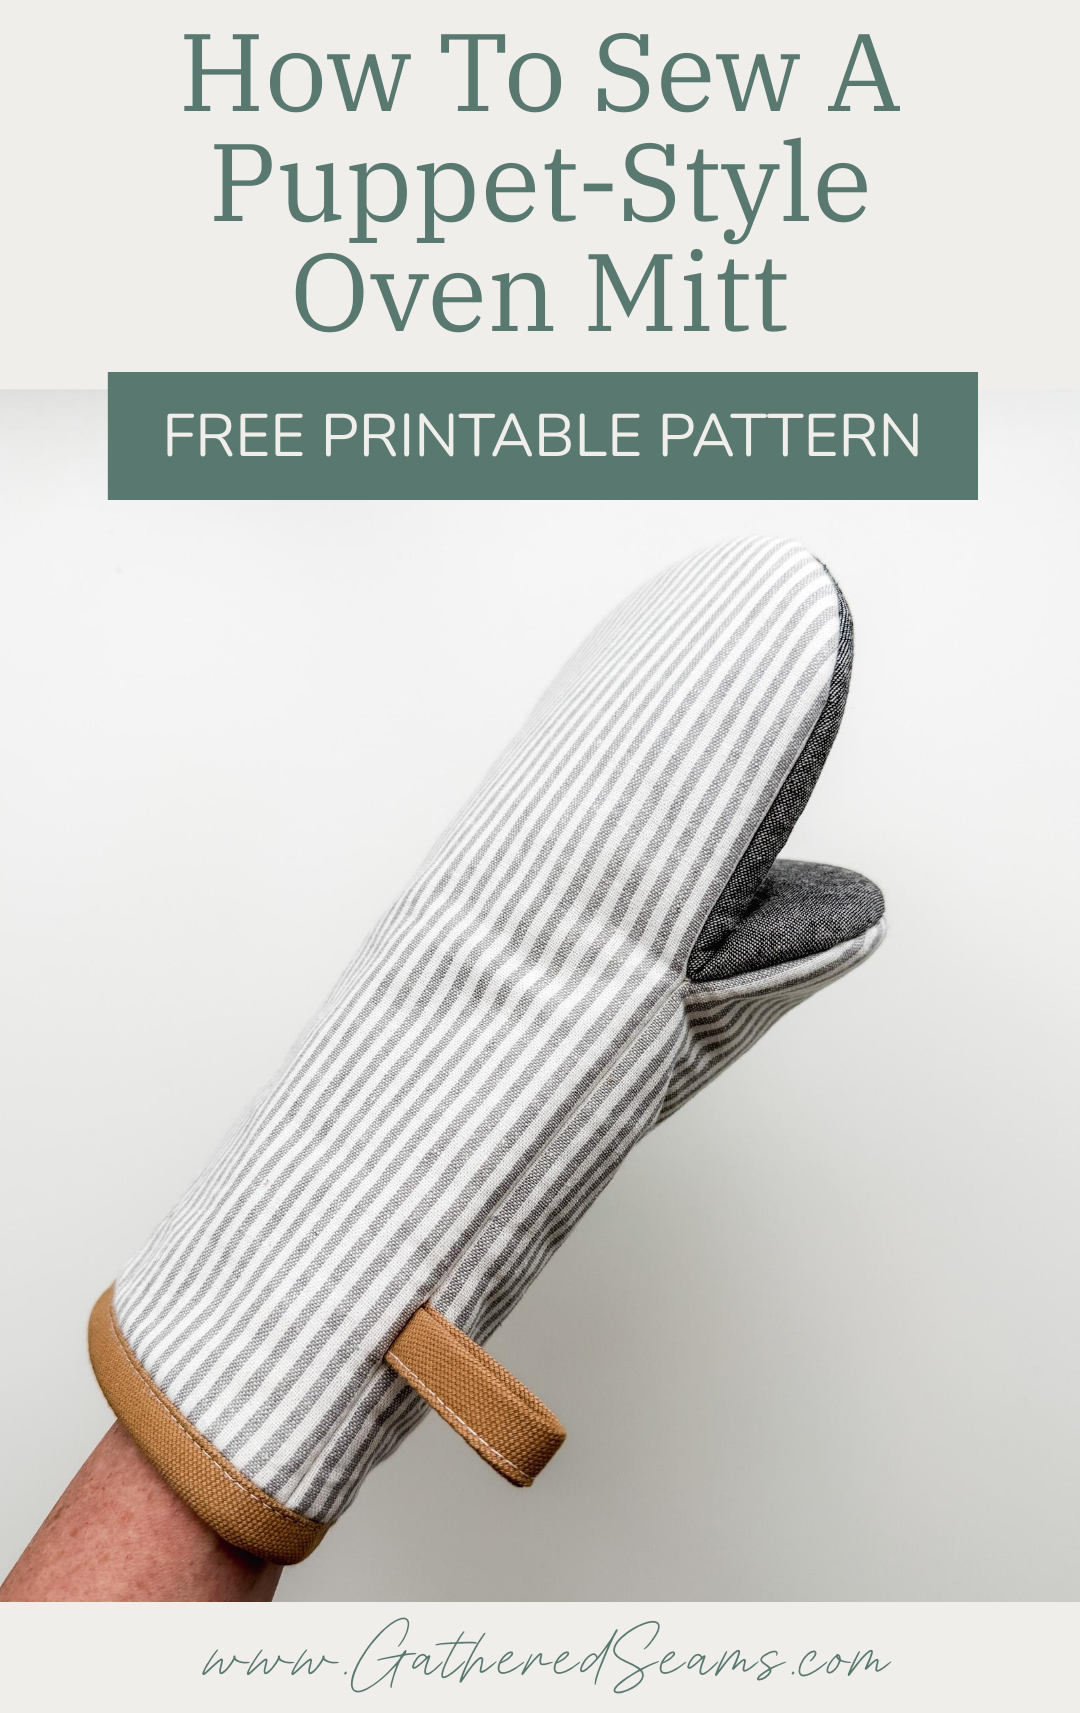
How To Sew Puppet-Style Oven Mitts | Free Printable Pattern
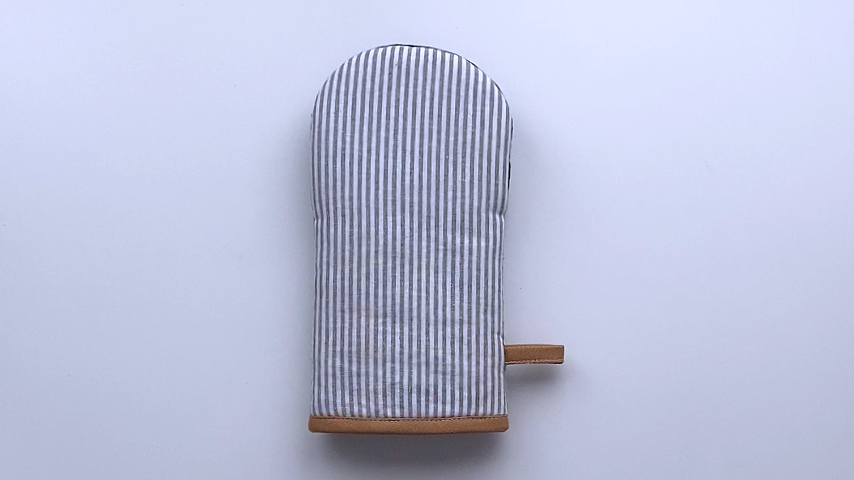
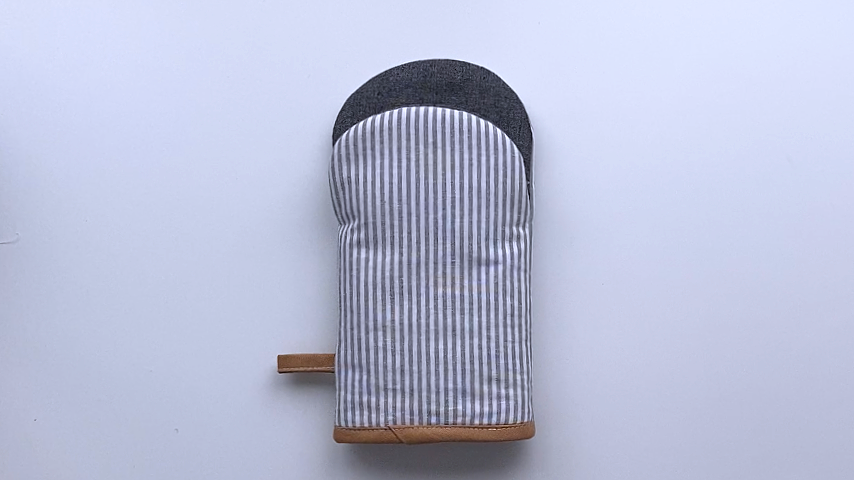
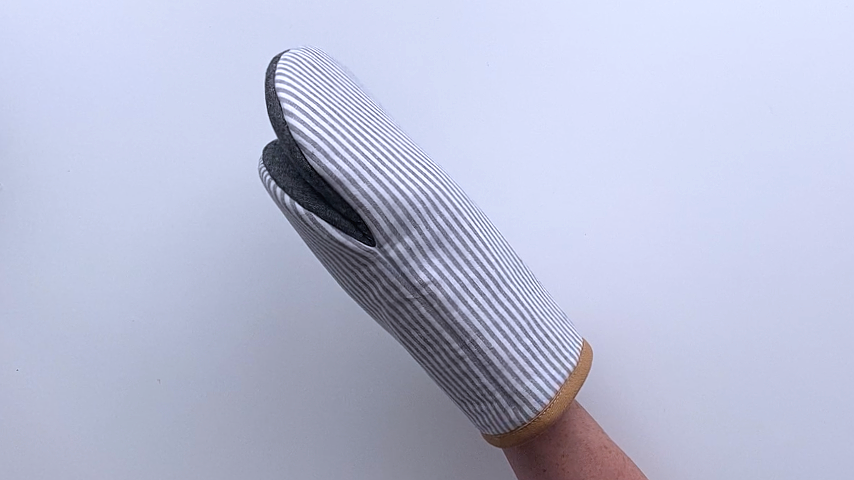
Puppet-style oven mitts have the thumb compartment on the underside, making it a bit easier to grip hot, heavy dishes.
This type of oven mitt is easy to sew, once you get the hang of it. The trickiest part is accurately lining up your stitching.
If you like this style of oven mitt, I also have a smaller version of the pattern:
>> How To Sew A Mini Oven Mitt | Free Printable Pattern
Materials
As an Amazon Associate, I earn from qualifying purchases (see full disclosure here).
- Cotton or linen fabric (avoid synthetic materials)
- Thermal/heat-resistant batting (Insul-Bright or something similar) (this has “heat-reflective” properties)
- 100% cotton batting (I used Warm & Natural) (this adds extra insulation)
- 1/2” double-folded bias tape (is 1/2” wide when double-folded) (here’s how to make your own so it matches your material)
- Thread
Tools
- Sewing machine
- Walking foot (highly recommended if you’re sewing quilting stitches. This is the universal one I purchased for my Baby Lock, which is a different machine than what’s shown in the photos)
- Hera marker (for marking quilting lines)(this is the one I use)
- Ruler (for marking quilting lines)
- Iron
- Scissors
- Pins or clips
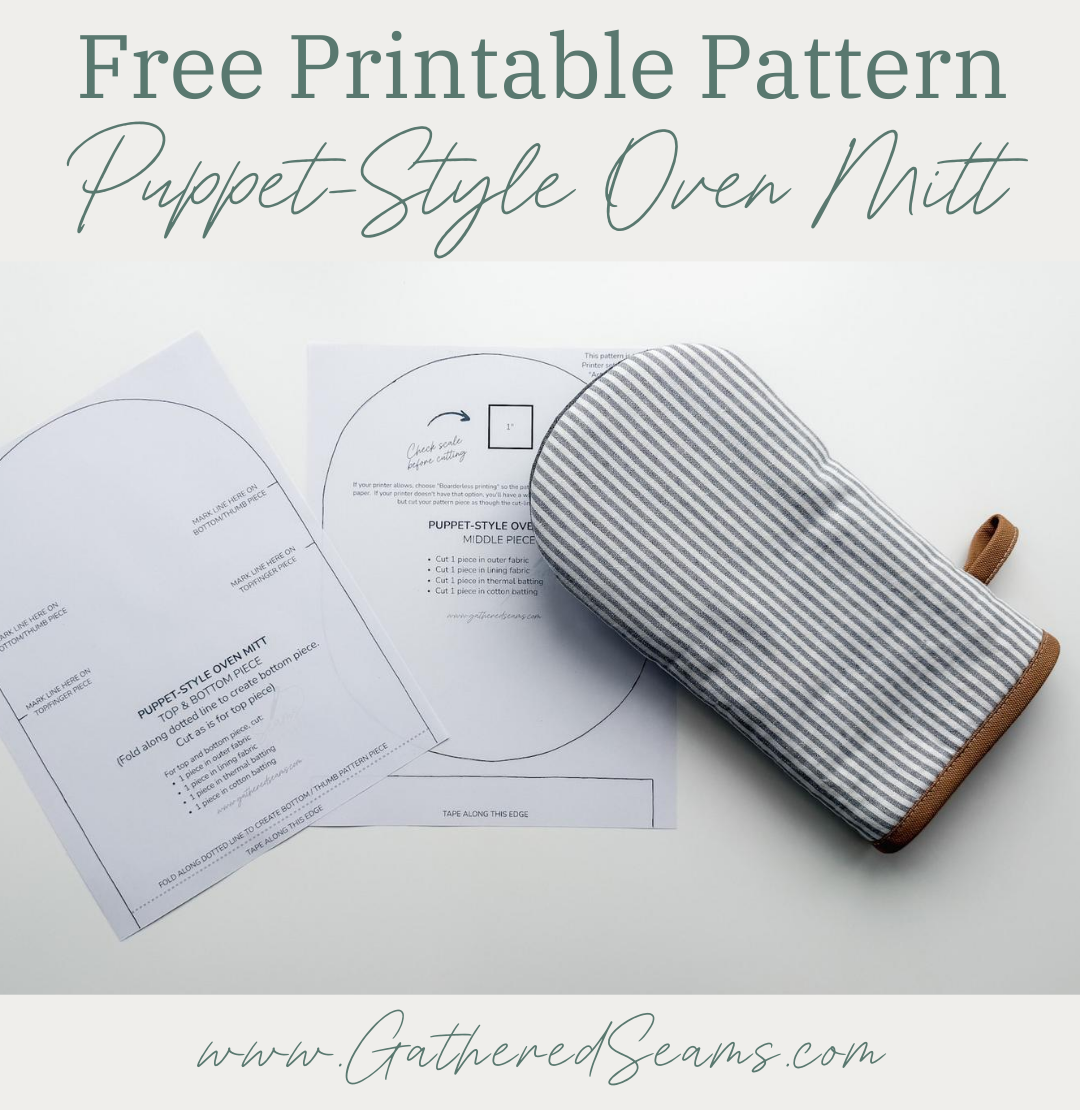

Steps to sew puppet-style oven mitts
Step 1
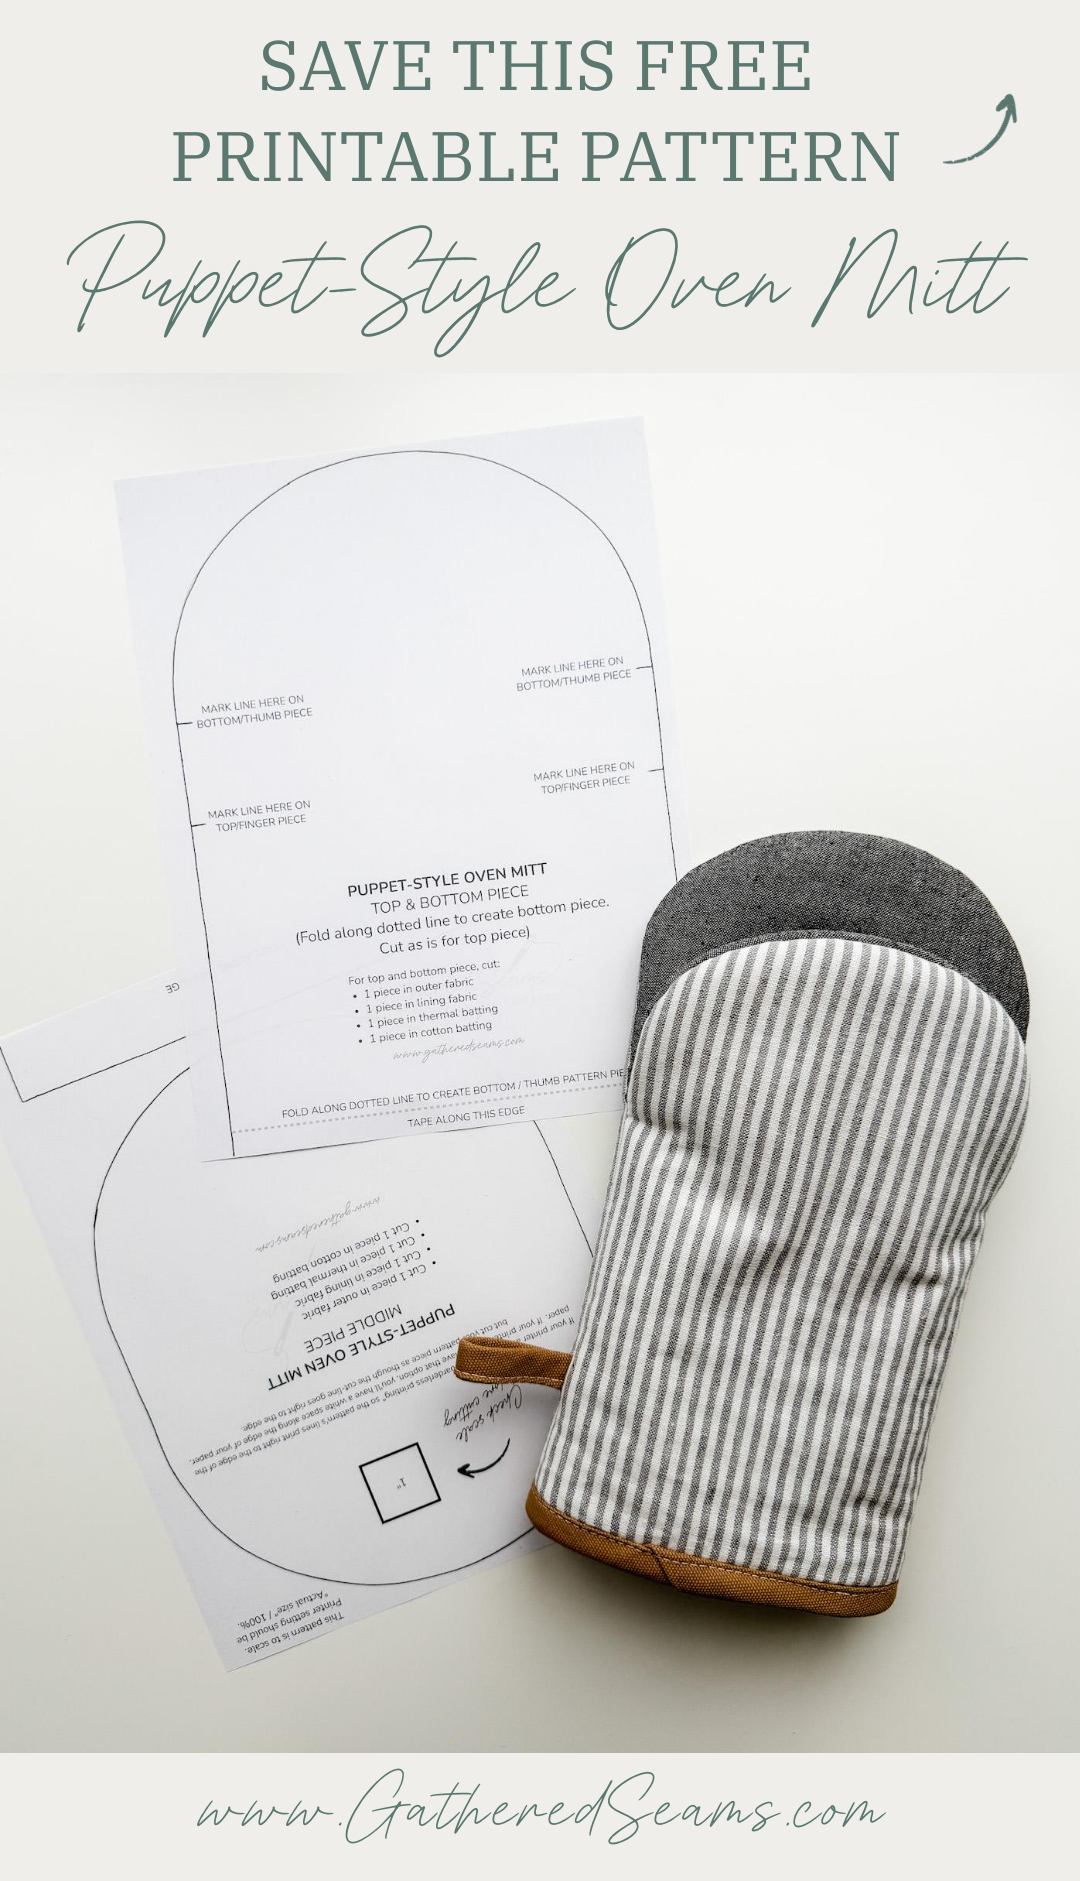
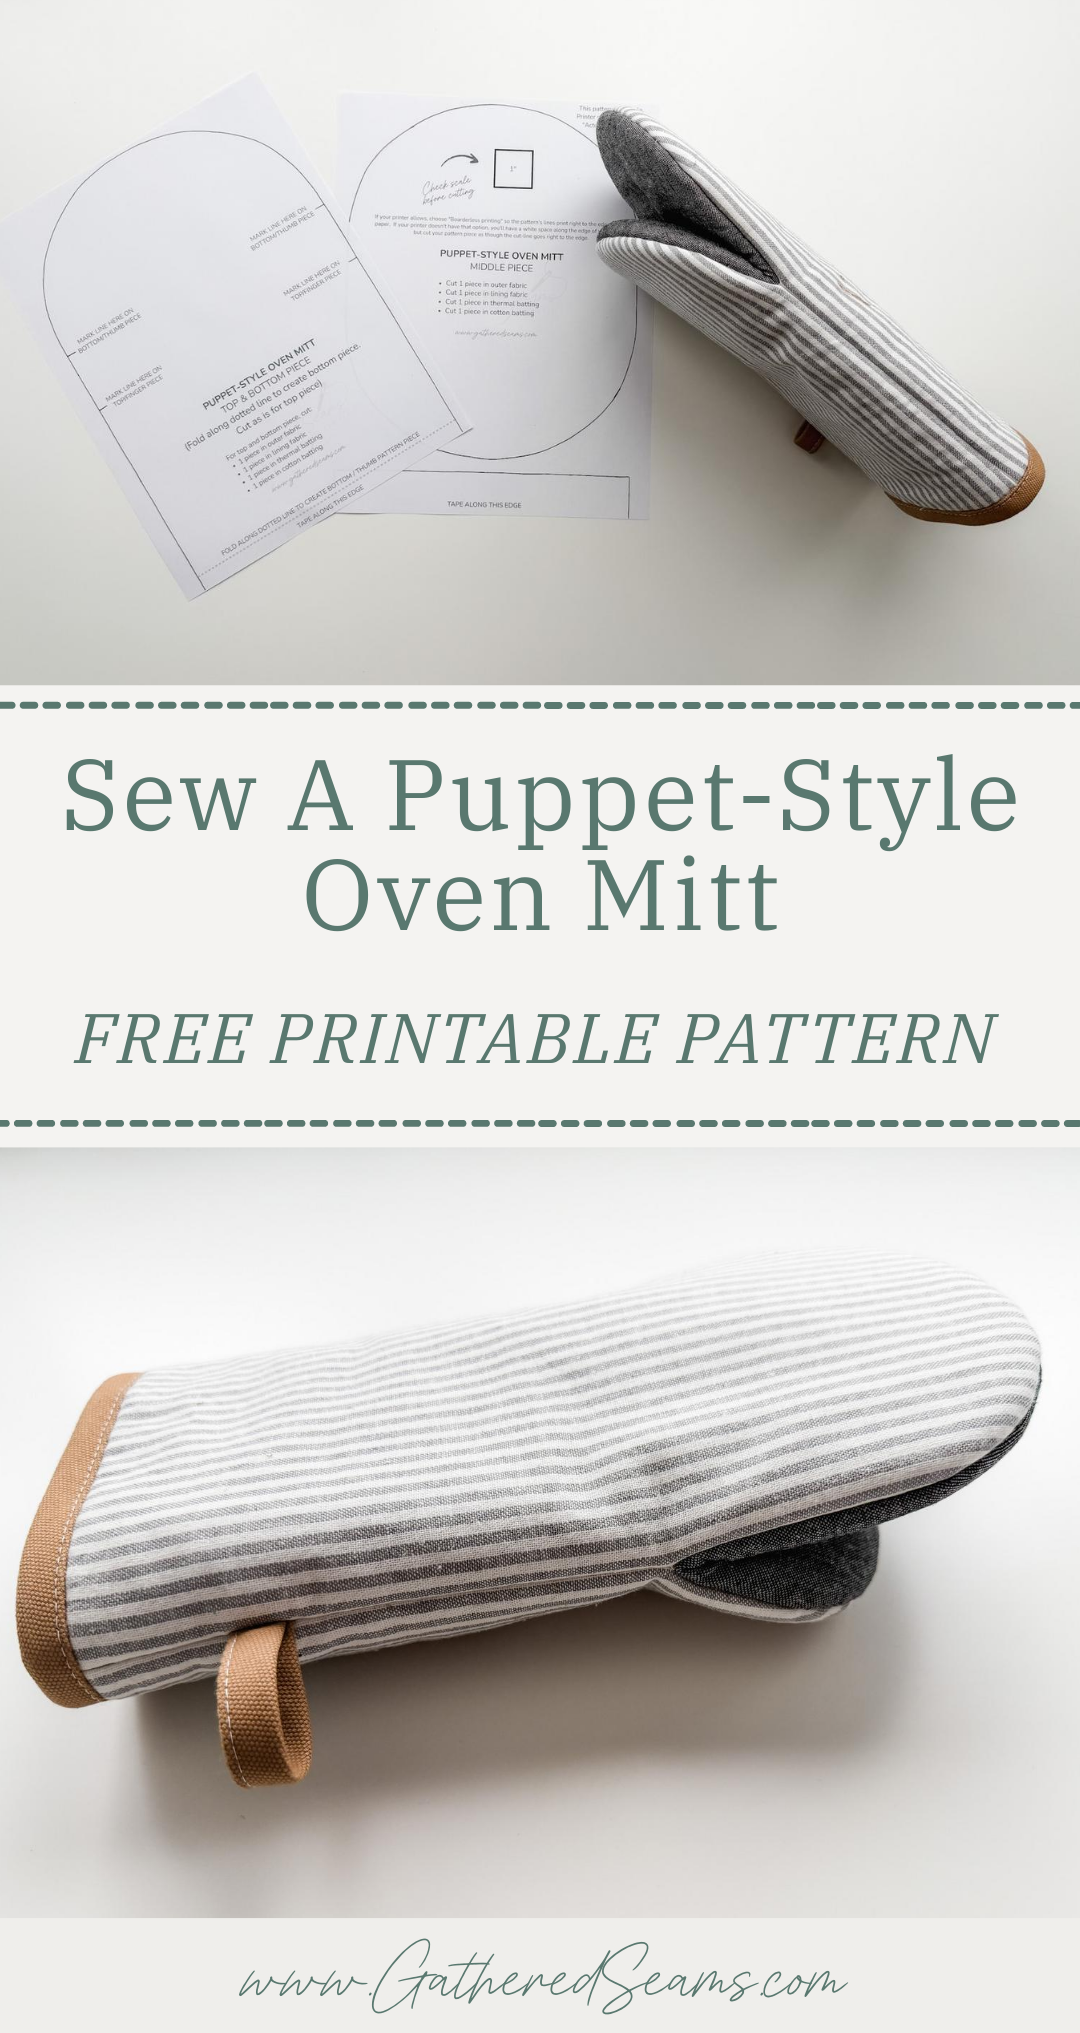
Download the pattern and print the pieces. When you tape the printed pieces of paper together, they should not overlap.
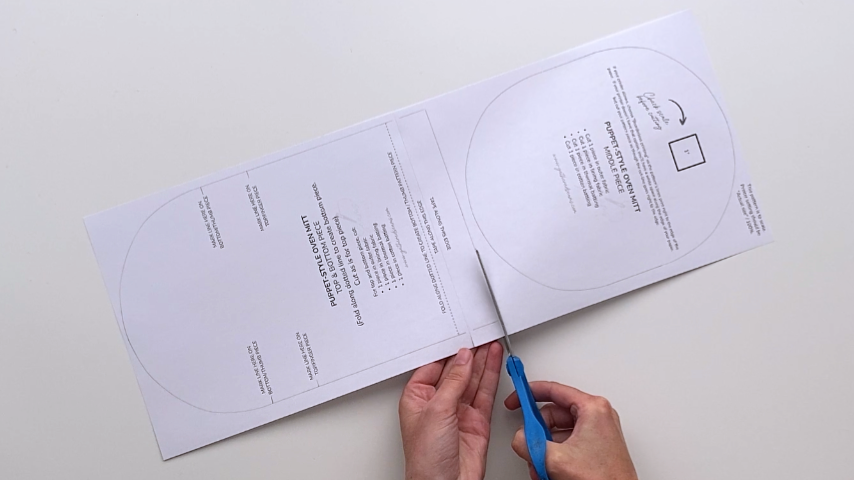
The top and bottom of the oven mitt use the same pattern piece, you’ll simply fold the pattern piece along the dotted line to shorten it for the bottom pattern pieces.
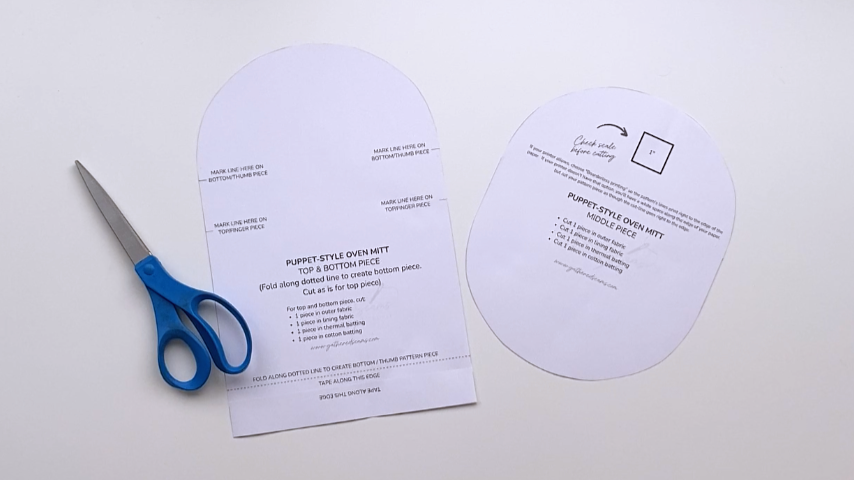
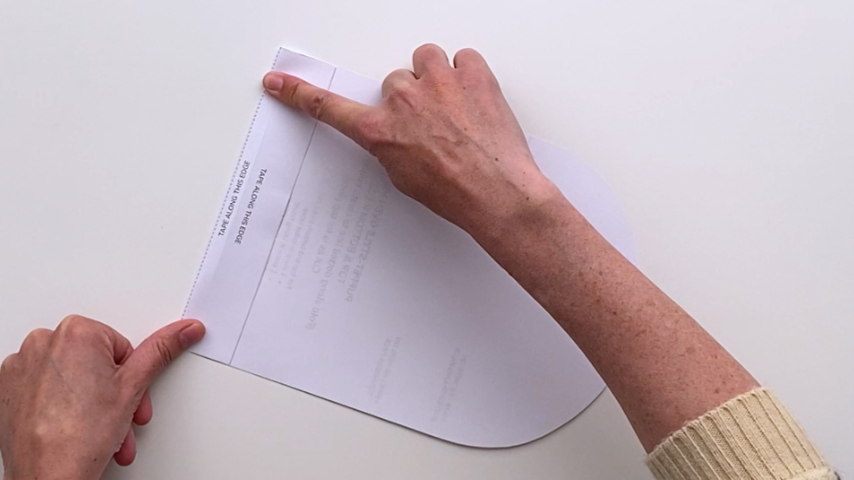
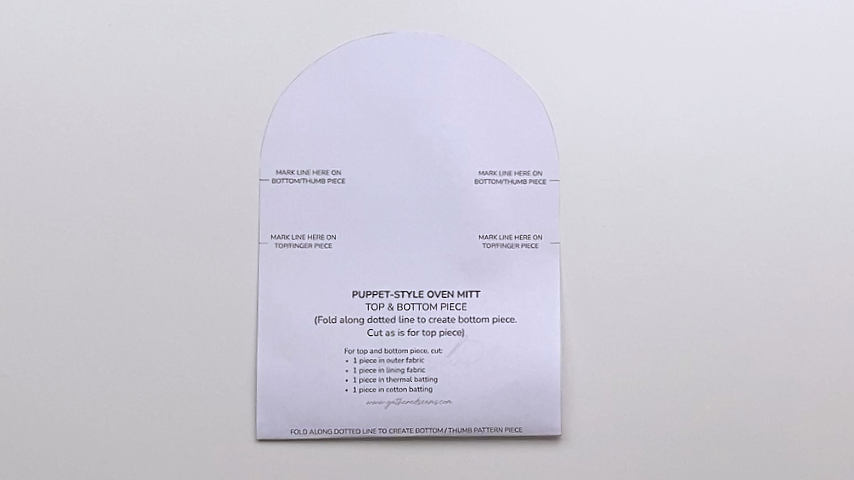
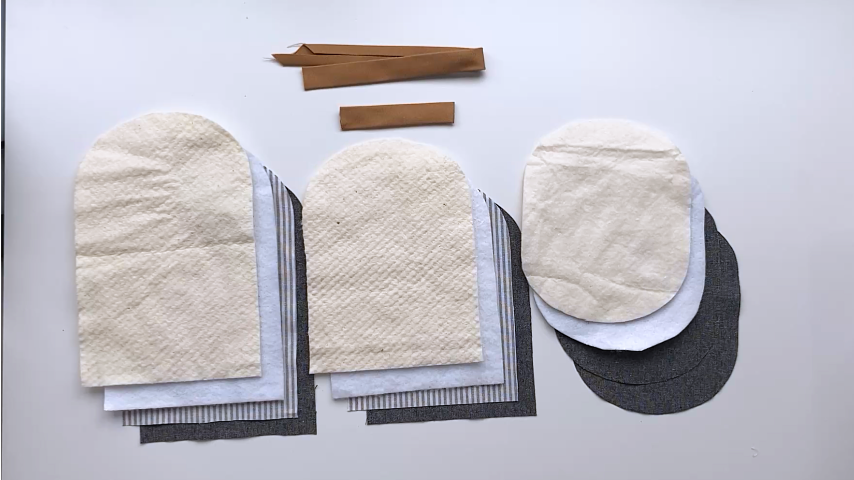
You’ll need to cut each pattern piece in:
- Outer fabric
- Lining fabric
- Thermal batting
- Cotton batting
You’ll also need 1/2″ double-fold bias tape:
- 15″ piece
- 5″ piece (for optional hang loop)
Step 2
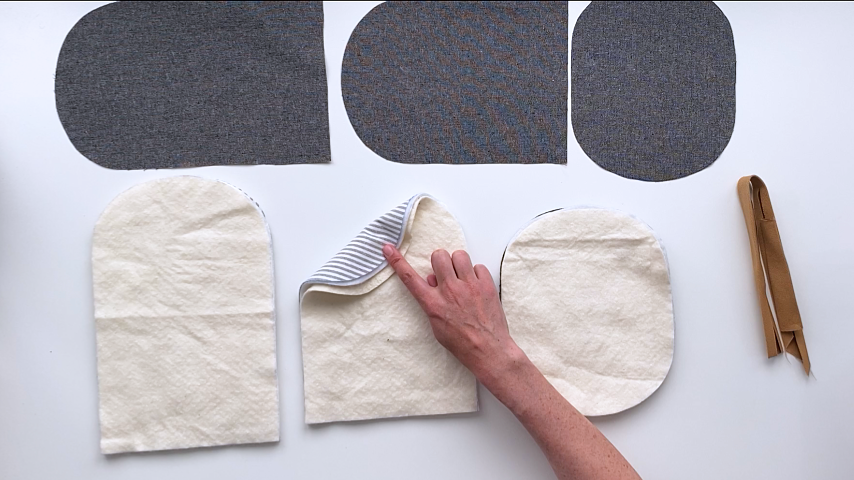
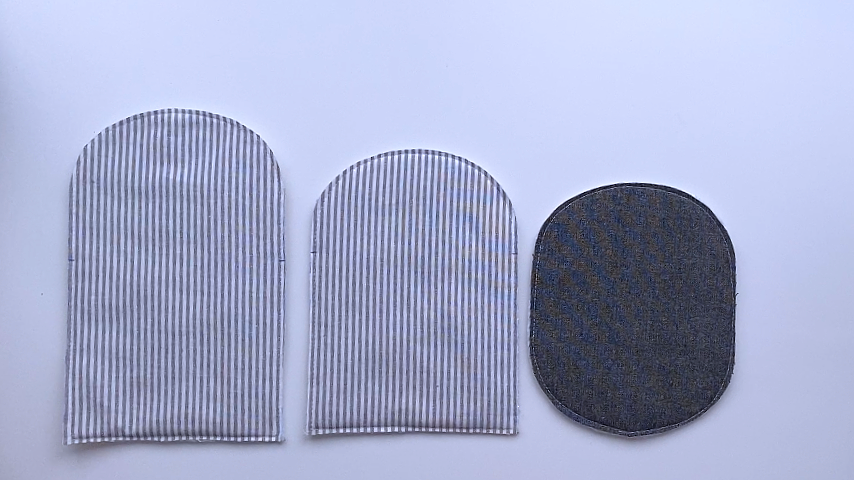
Layer your outer fabric pieces and batting. Set your lining pieces aside.
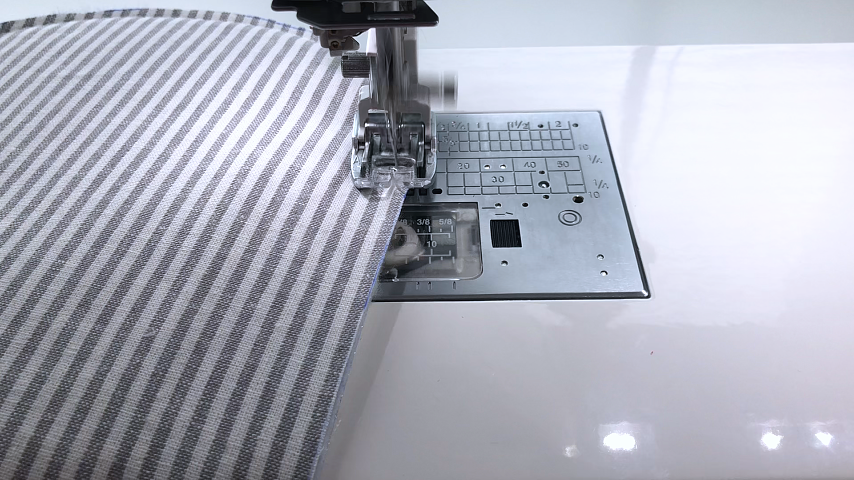
You can add quilting stitches or simply baste the layers together like I did (sew around the edges using about a 1/4″ seam allowance).
Step 3
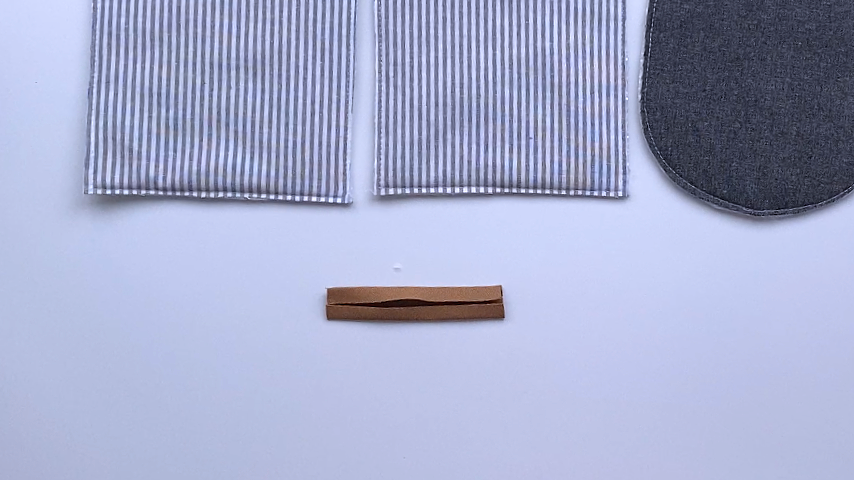
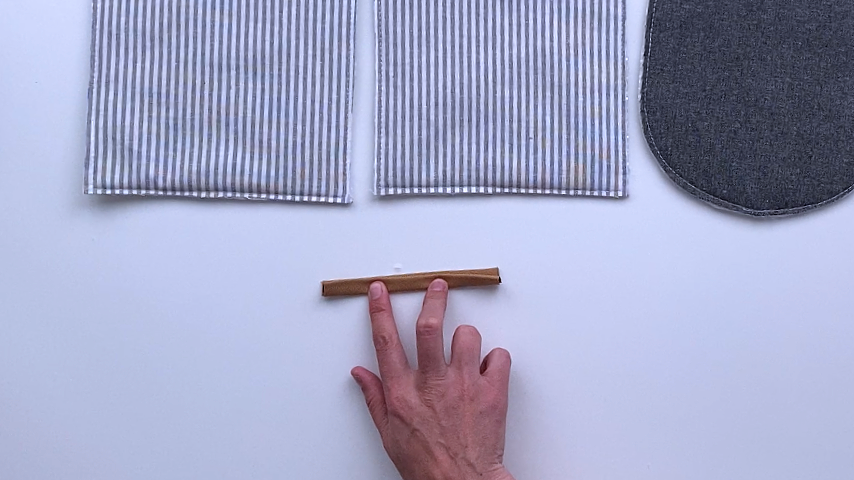
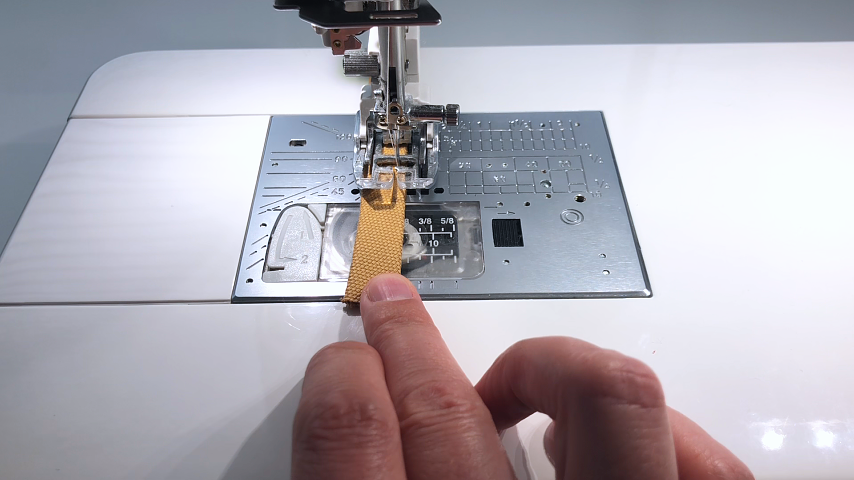
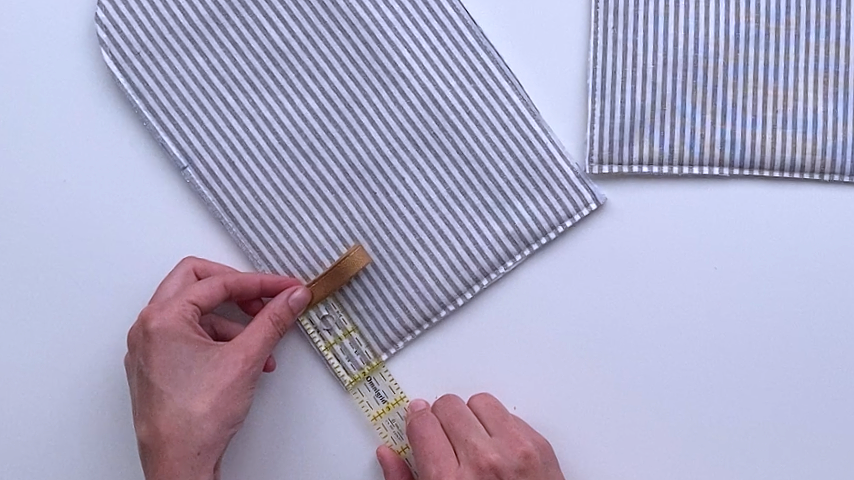
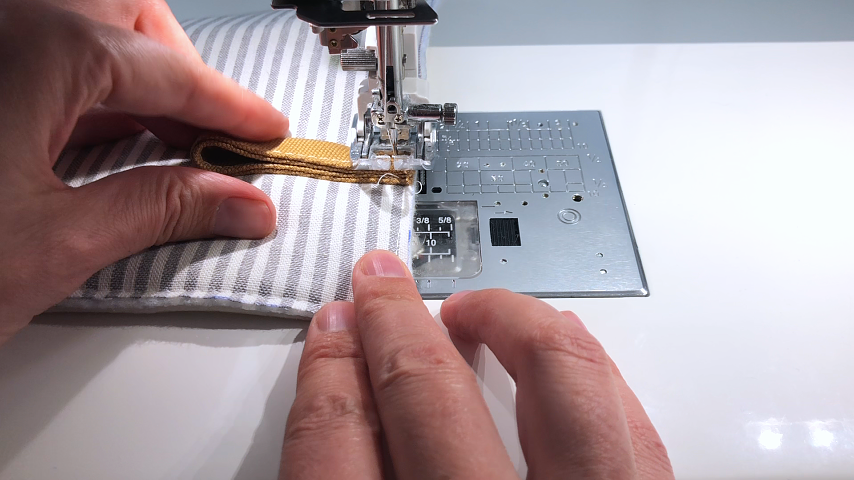
To create the hanging loop, double-fold your 5″ piece of bias tape, press, then top-stitch along the open edge. Then fold in half lengthwise and baste into place, about 2″ up from the bottom of your top piece.
Step 4
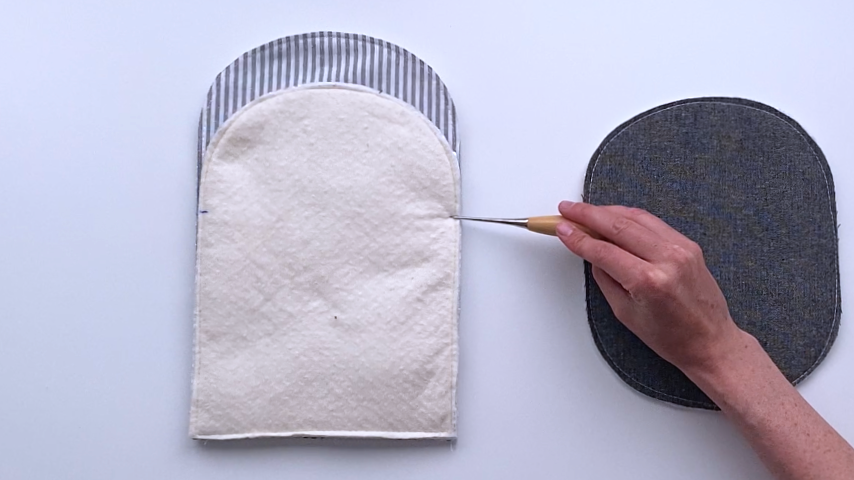
Using a temporary fabric pen, mark your “stop lines” on the wrong sides of your pattern pieces.
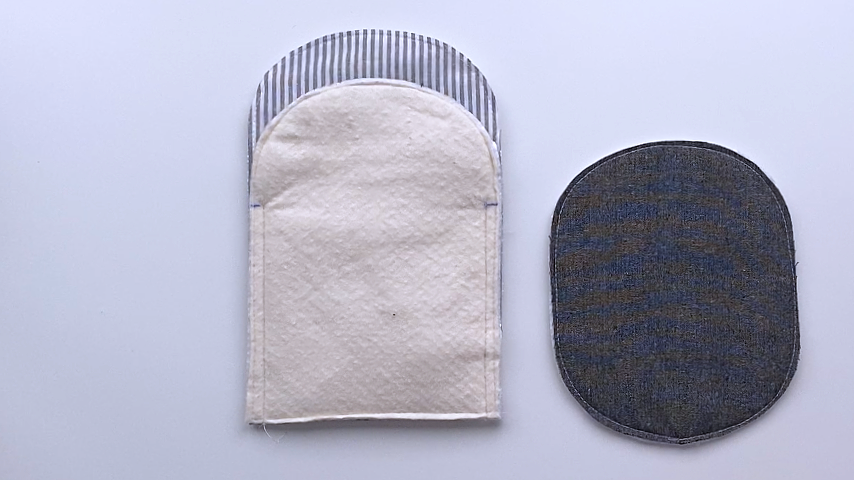
Place your top (finger) piece and bottom (thumb) piece right sides together, lining up the bottom edges.
Using a 1/2″ seam allowance, sew from the bottom, right up to those lines.
It helps to use a shorter stitch length so you can accurately stop your stitches right on the lines. I also like to backstitch a couple of times at the stop lines to ensure I have a tight stitch.
Step 5
Fold the thumb piece back, then set the middle (palm) piece right sides together with the top and bottom pieces. Line up the curved edges and clip into place.
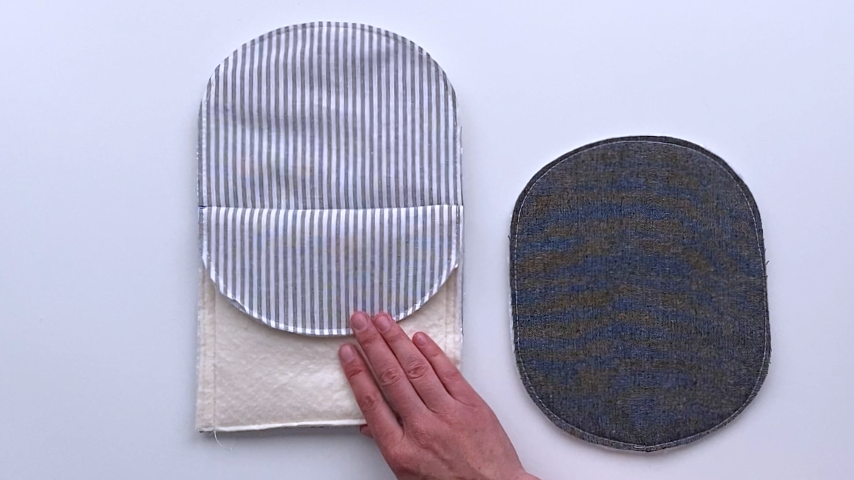
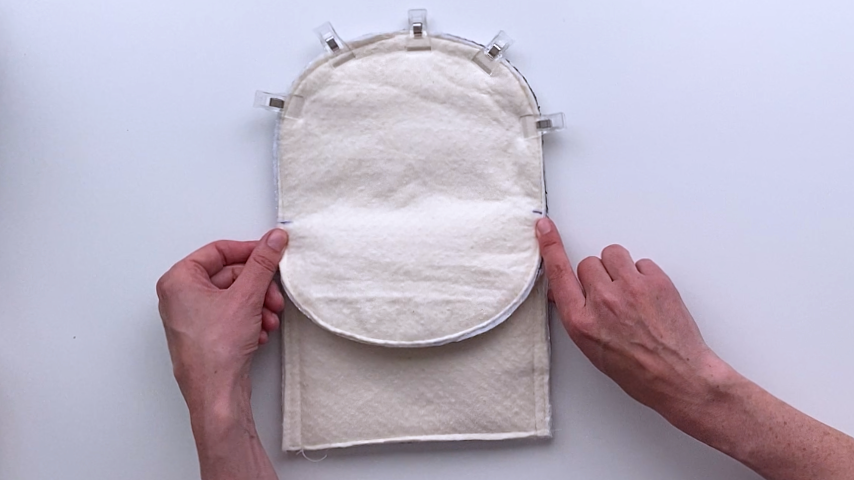
You’ll sew the middle piece to the top/finger piece first. Then you’ll sew the other half of the middle piece to the bottom/thumb piece.
You want to sew right up to where your top and bottom pieces are stitched together. The more accurately you stitch up to that line (not stopping before and not stitching past), the better this seam will look.
A few tips for sewing this section:
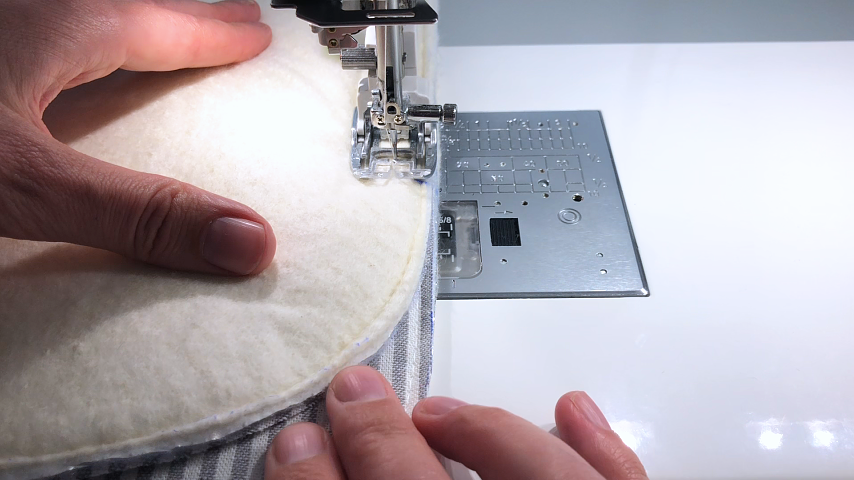
- Sew in two parts; start at the top center and sew toward where the top and bottom pieces are sewn together. If you start sewing at that point, there’s a lot of bulk and it can be hard to get all of it under your presser foot. Then repeat, starting at the top center and sewing toward the other side.
- I’ve marked where to stop stitching in the image above. However, it’s much easier to be accurate with where you stop sewing if you sew from the other side, so you can see the lines of stitching that go from the bottom of the oven mitt to the “stop lines”. You want to sew right up to that line.
- Backstitch a couple of times at the end to ensure you have tight stitching.
- Use a shorter stitch length so your stitching accurately lines up.
The mini oven mitt uses the same sewing technique, and I created a video for that. If you need more clarification, you can watch the video below:
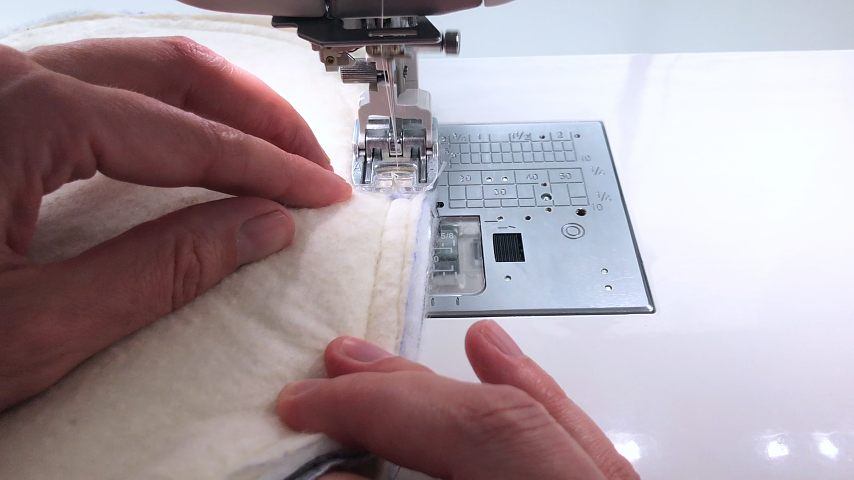
Once you’ve sewn the middle piece to the top piece, flip the top piece out of the way and repeat the steps to sew the other half of the middle piece to the thumb piece.
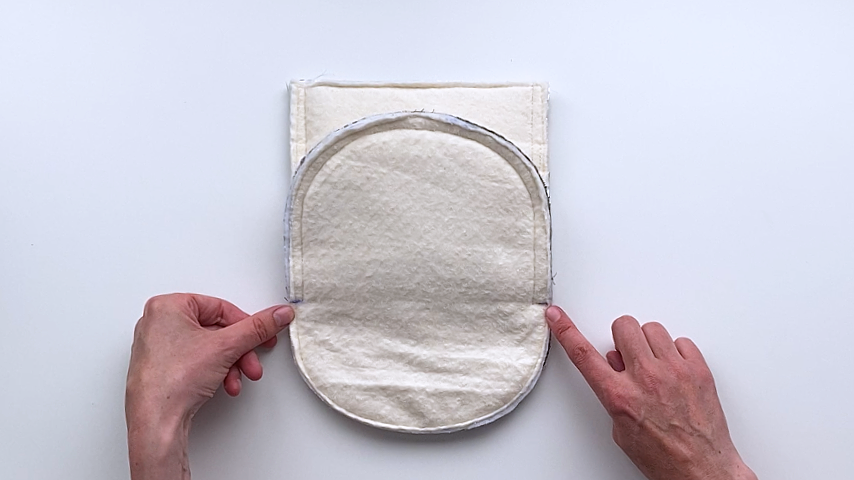
Step 6
Trim the seam allowance (by about half).
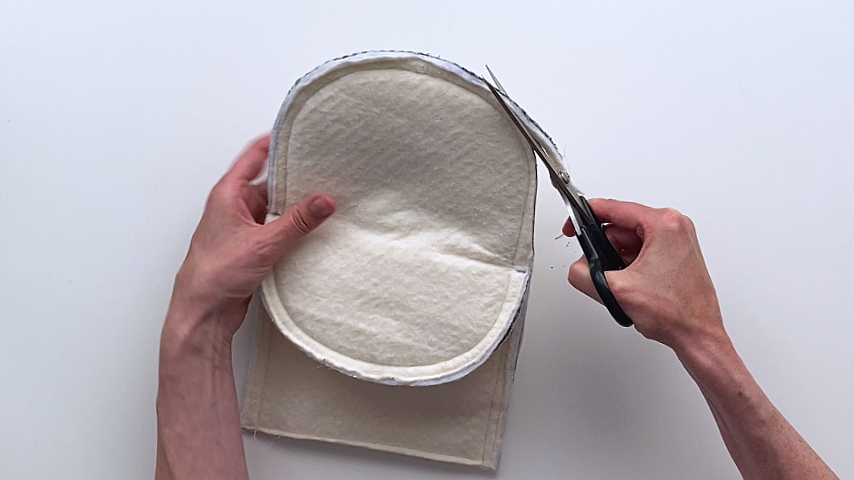
I also like to grade my batting to reduce the bulk in the seams. To do so, I hold my scissors almost parallel to the oven mitt (just angled slightly) and trim just the batting.
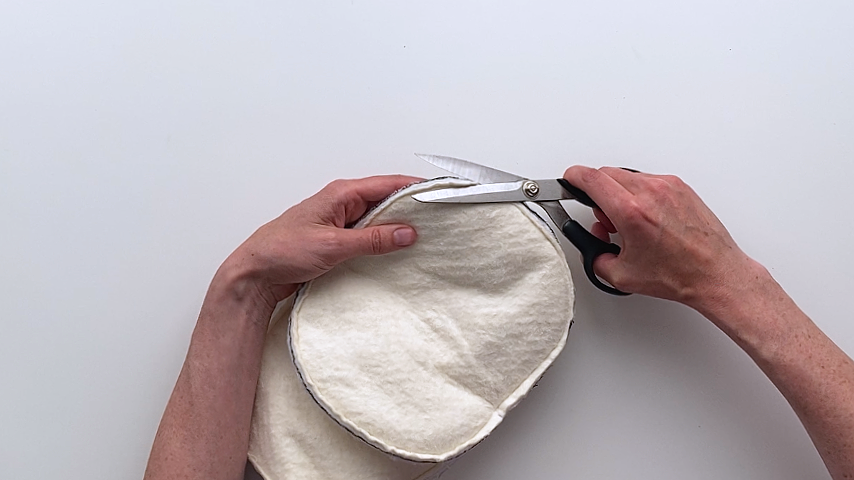
Step 7
Repeat steps 4, 5, & 6 to sew the lining pieces together, using a 5/8″ seam allowance.
Using a bigger seam allowance for the lining will ensure it sits snugly inside the outer oven mitt.
Turn your outer oven mitt right side out and use your fingers to push the seams fully out.
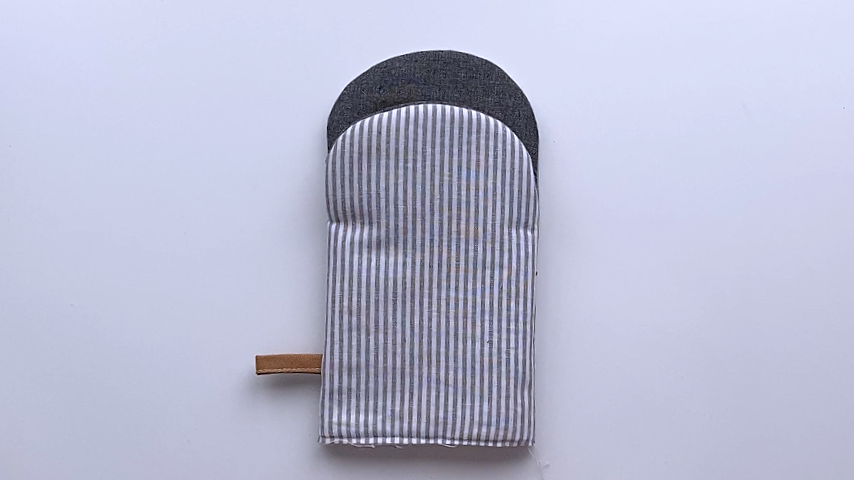
Check to make sure your seams look tight where the thumb, finger, and palm seams meet.
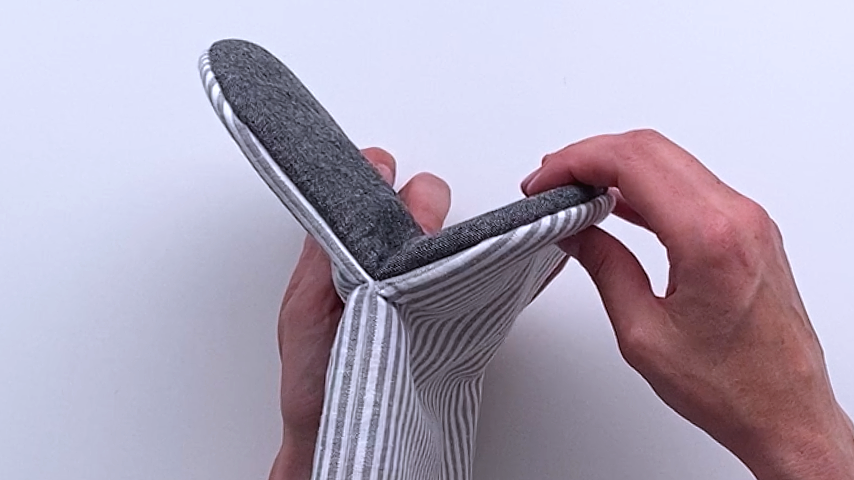
Leave the lining right side out and place it inside the outer oven mitt.
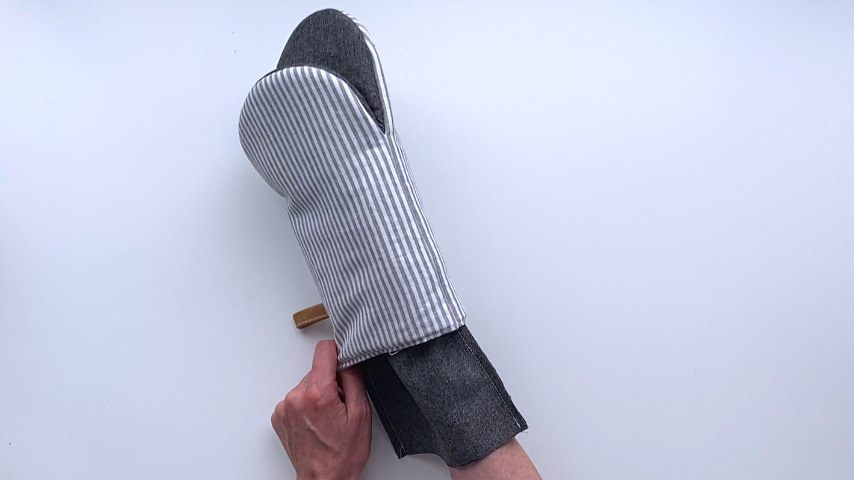
Use your fingers to press the lining’s seams tightly to the seams of the outer mitt and smooth out the lining inside the mitt. You’ll likely have some excess lining to trim along the bottom of the mitt.
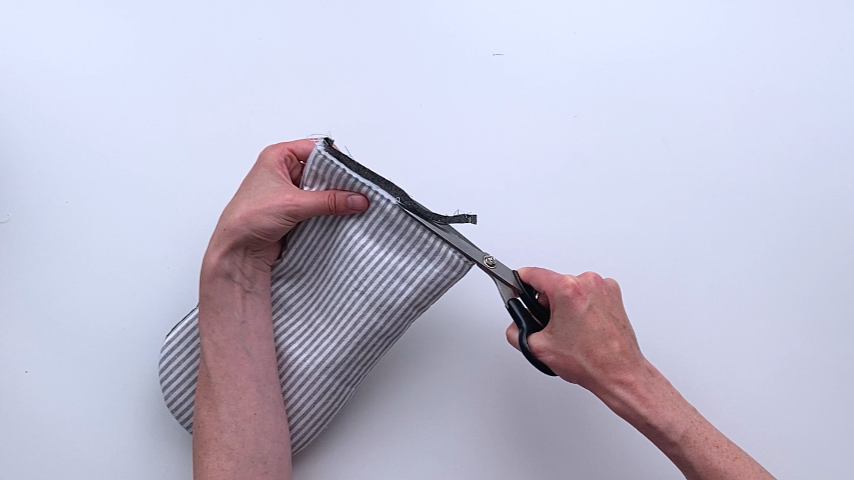
Baste the layers together along the bottom opening.
Step 8
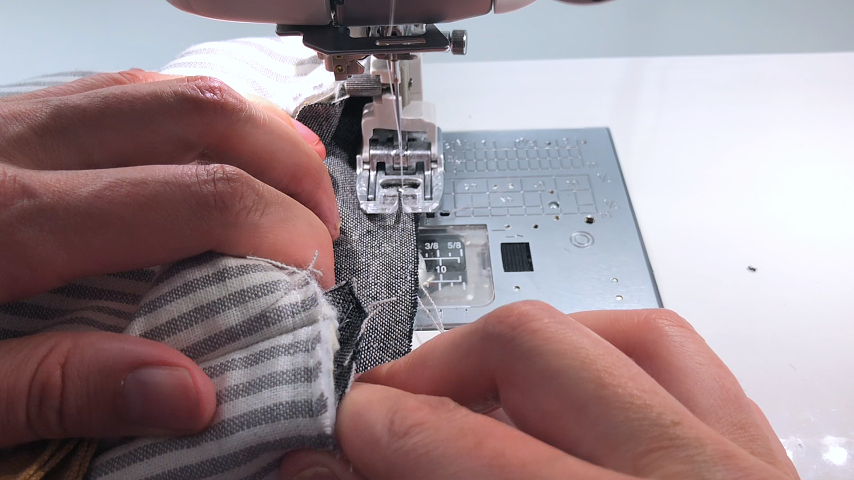
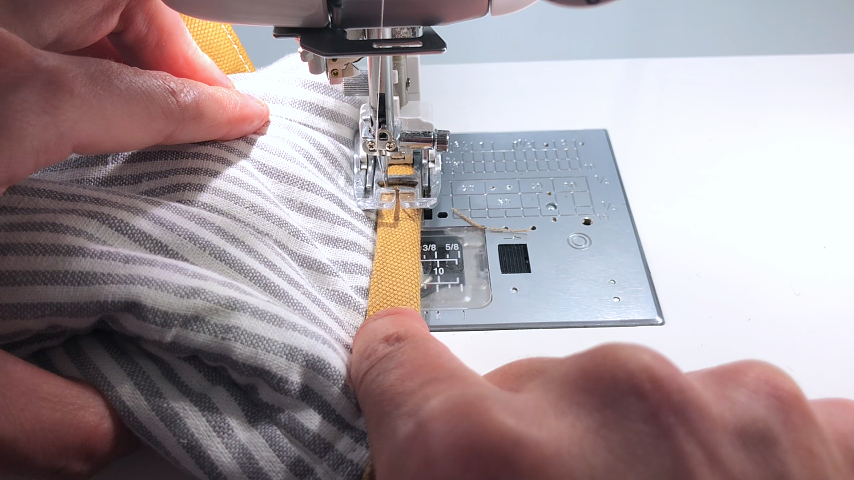
Sew your bias tape around the bottom opening of the oven mitt to finish off the raw edges.
I cut the end of my bias tape at a 45-degree angle, then fold the start of it back by about 1/2″. Then I sew my bias tape to the inside of the oven mitt, sewing in the first folded crease.
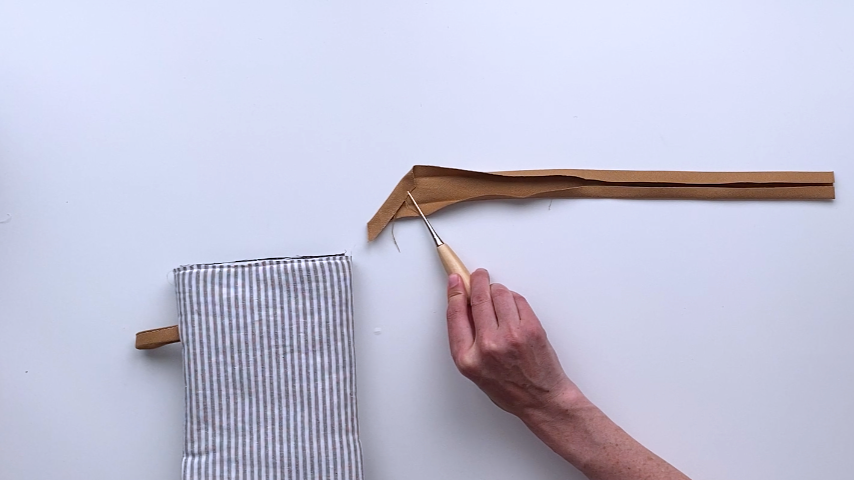
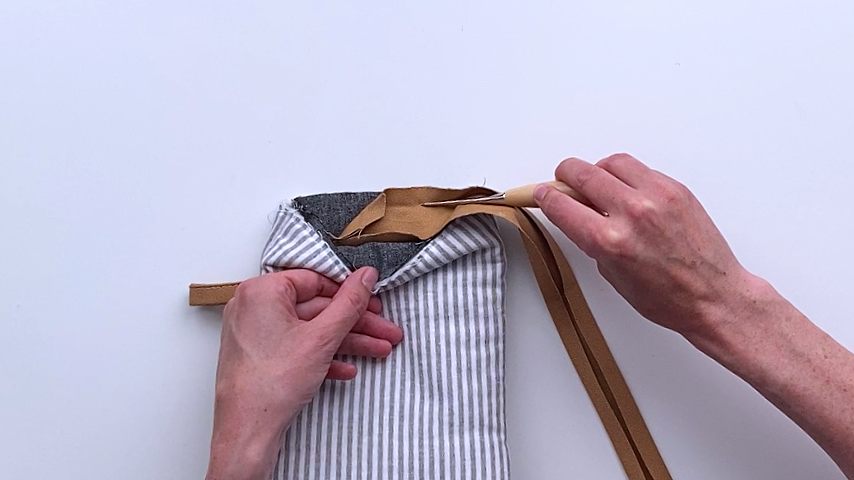
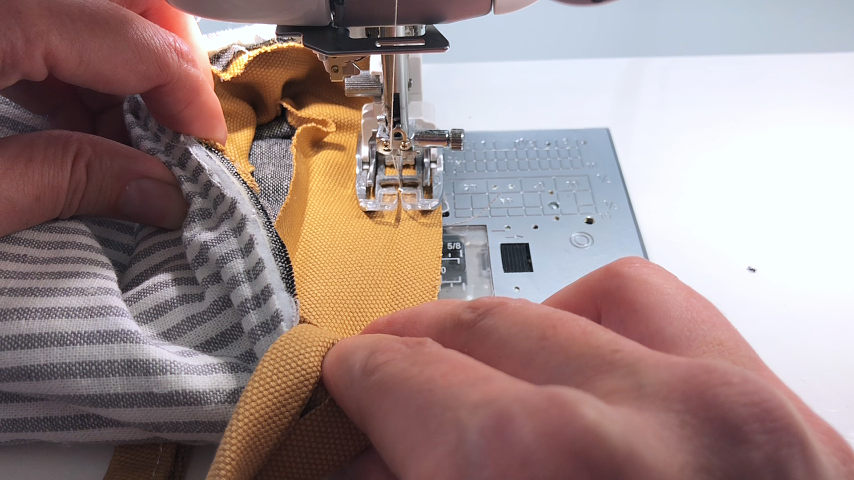
When you come back around to the start of your bias tape, set the end right over the start, and sew about a 1/2″ past the start of your bias tape.
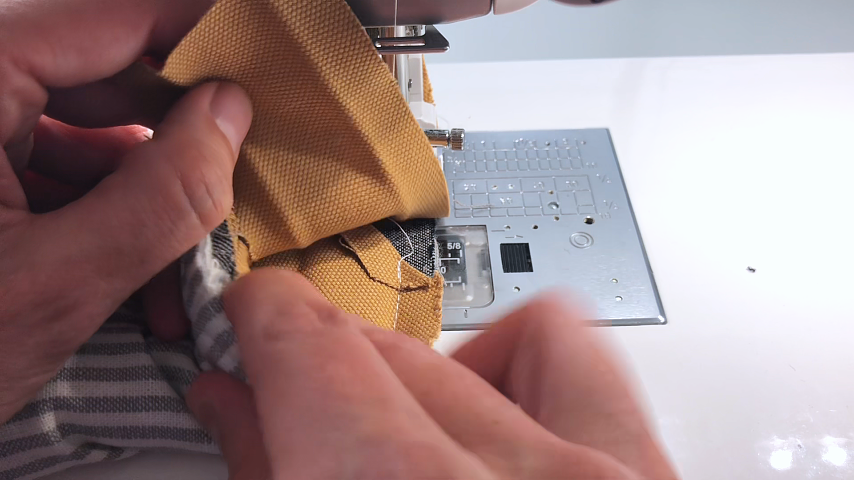
Trim the end of the bias tape at a 45-degree angle so that it overlaps the start of the bias tape by about 1/2″.
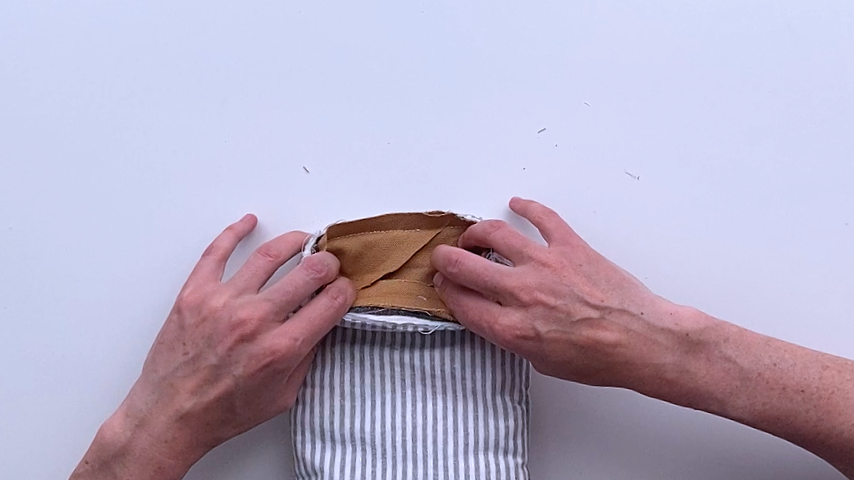
When you fold the bias tape to the other side of the oven mitt, fold the start and end pieces together (not separately).
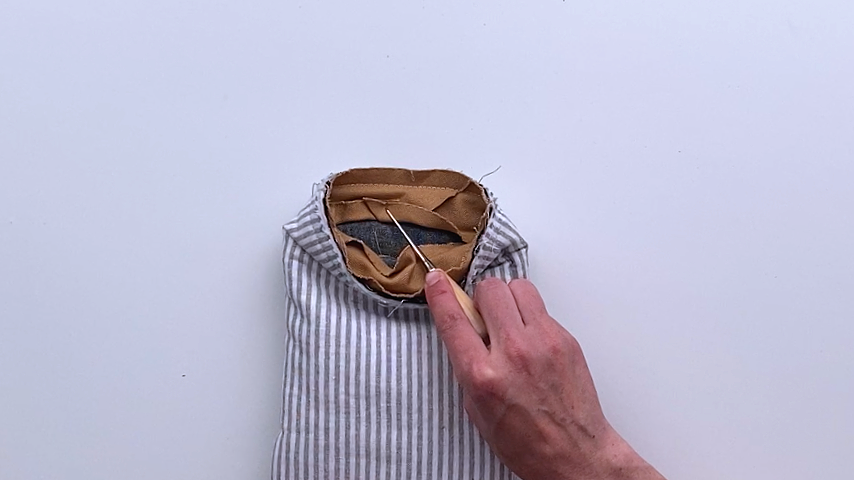
You can clip it into place, but I find the clips get in the way when I’m sewing. So I use one clip to hold the start and end of the bias tape together, then simply ensure the bias tape is just slightly covering the line of stitching as I go.
Sew about 1/8″ in from the inside edge of the bias tape.
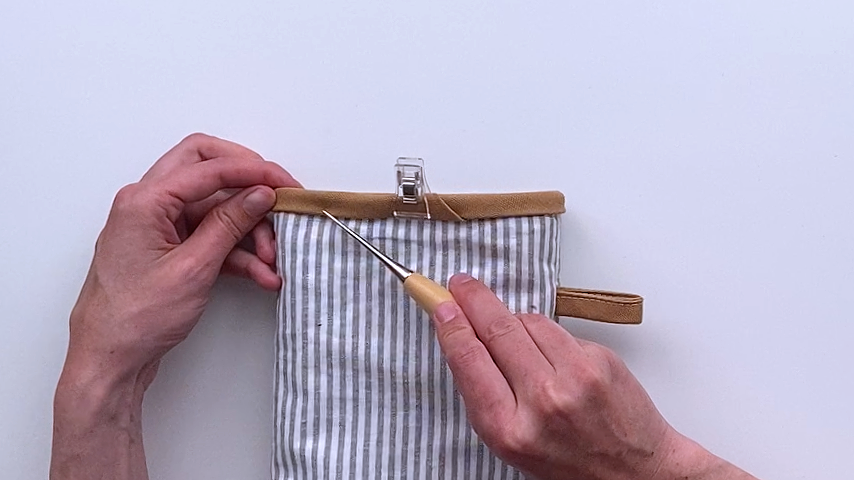
Your puppet-style oven mitt is complete!