How To Sew Hot Pot Lid Holders | Free Printable Pattern
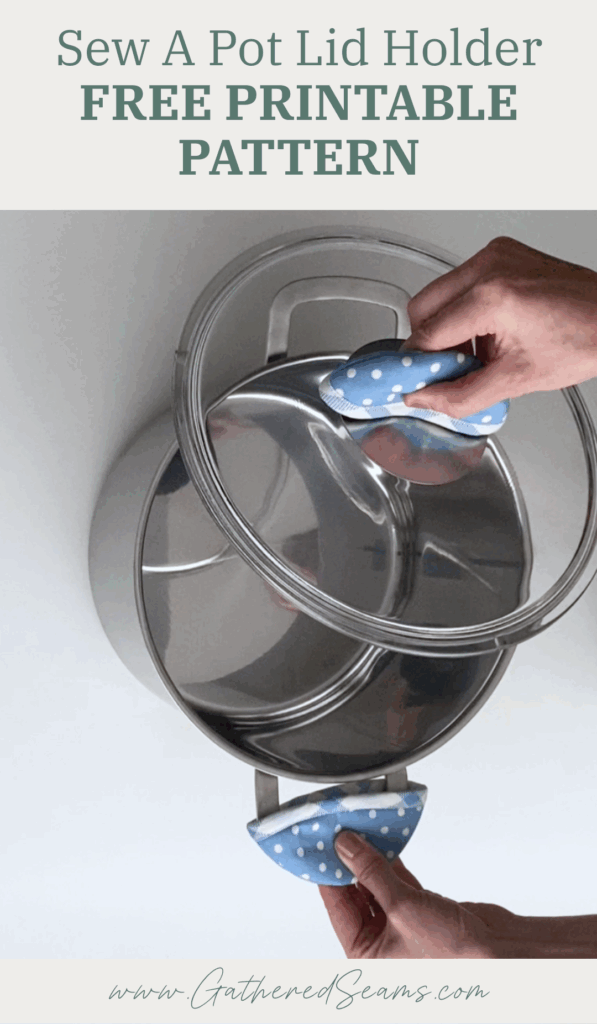
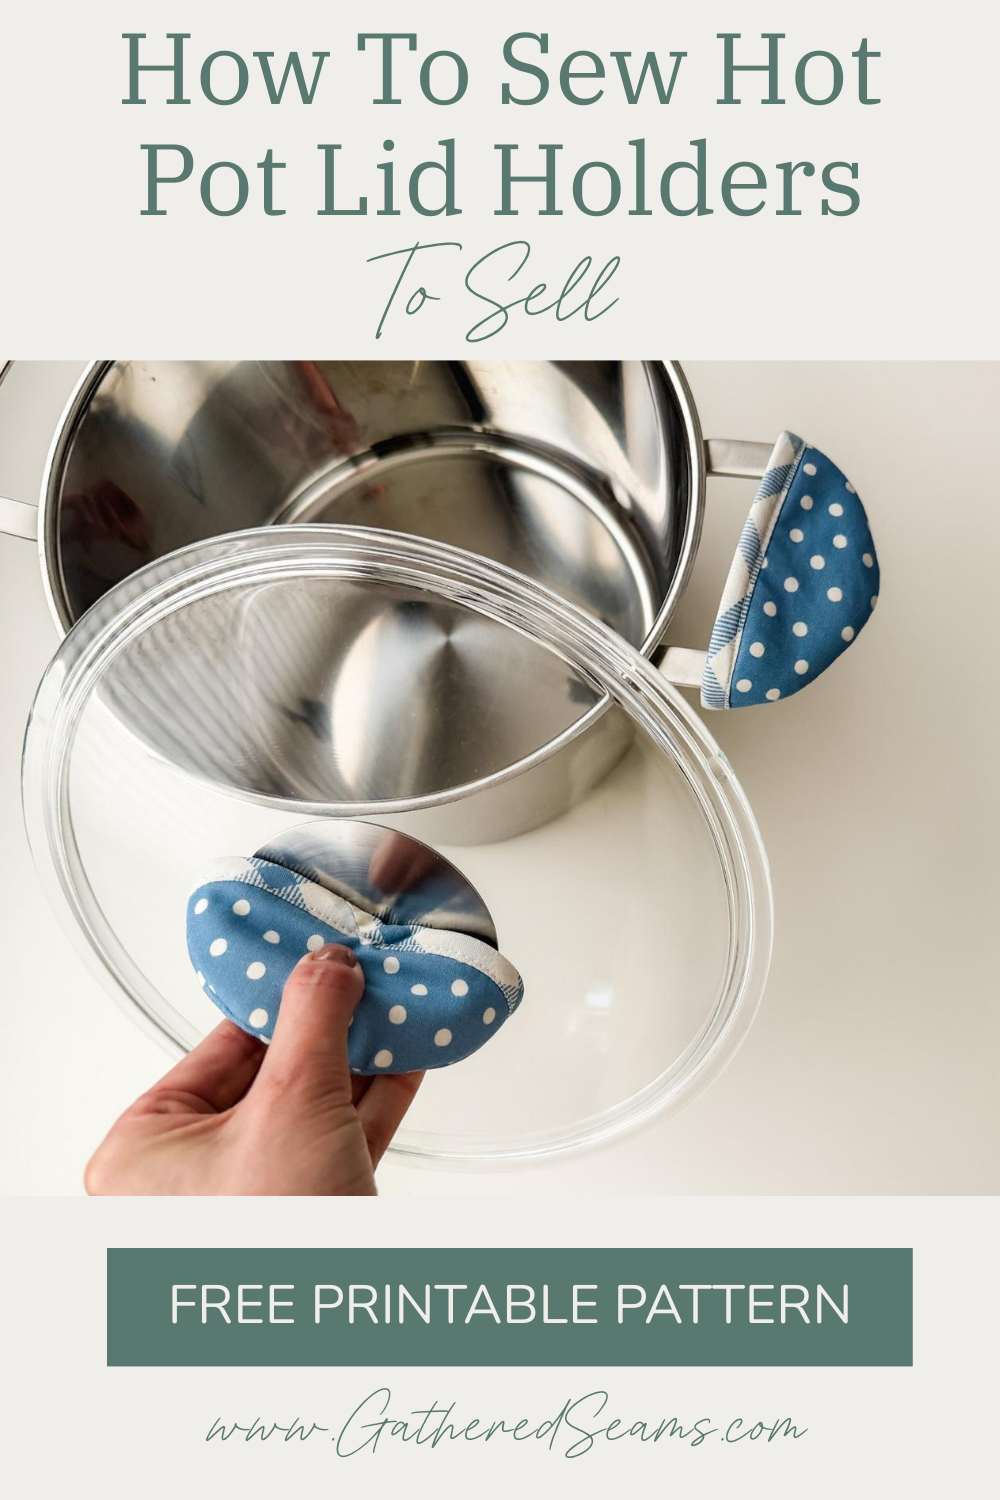
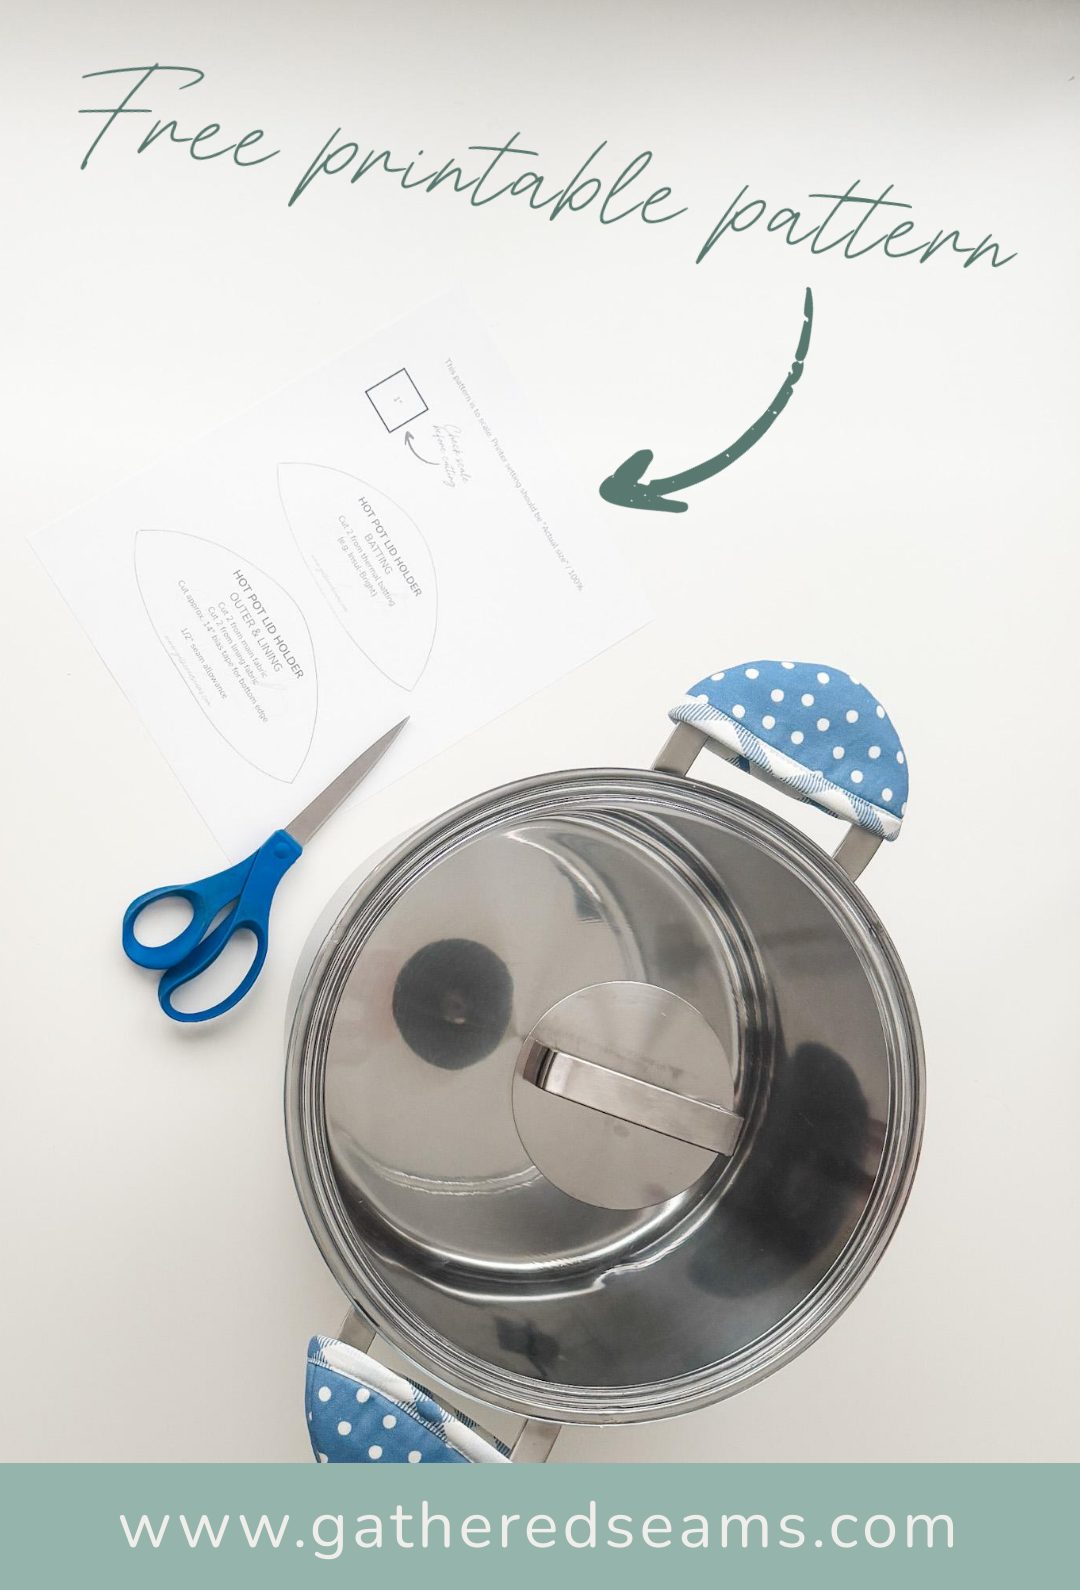
These pot holders are the perfect size for the lid or handle of a hot pot.
I like their size because you don’t have any extra material getting in the way, and it sits on your lid as you have it set aside (previously, I used a tea towel to grab a hot lid when stirring soup and was always worried about it getting a little too close to the element).
This pattern is a little different than others:
- Shape – Most pot lid holders are cone-shaped. I made these a little wider than the cones and rounded out the top.
- Edges – I use bias tape to finish the edges. I prefer this technique because it looks more polished (which is ideal when selling) and it reduces bulk in the seams.
- Skillet handle – I’ve also created a free printable pattern for a skillet handle. You can find the written instructions here: How To Sew a Skillet Handle Cover To Sell (free pattern). The pot lid holder is big enough to grab a hot handle on a pot or cast-iron pan, so the skillet handle can work with it to create a handy set.

Materials
As an Amazon Associate, I earn from qualifying purchases (see full disclosure here).
- Fabric – a natural fibre such as cotton or linen is ideal
- Thermal batting (a heat-resistant batting such as Insul-Bright is ideal. Alternatively, you can use two or three layers of a regular cotton batting but I would suggest using temporary fabric glue or a basting stitch to secure the layers together so they’re easier to sew)
- 1/2″ double-fold bias tape (it’s 1/2″ wide when double-folded, 2″ wide when unfolded) (you can make your own, here’s how: How To Make Bias Tape)
- Thread
Tools
- Sewing machine
- Walking foot (I recommend using one when working with batting)
- Pins or clips
- Iron
- Scissors
How to sew a hot pot lid holder
Step 1
Print your free pattern and cut it out.
Press your fabric (don’t press your batting) before cutting to ensure your cuts are accurate.
You’ll need:
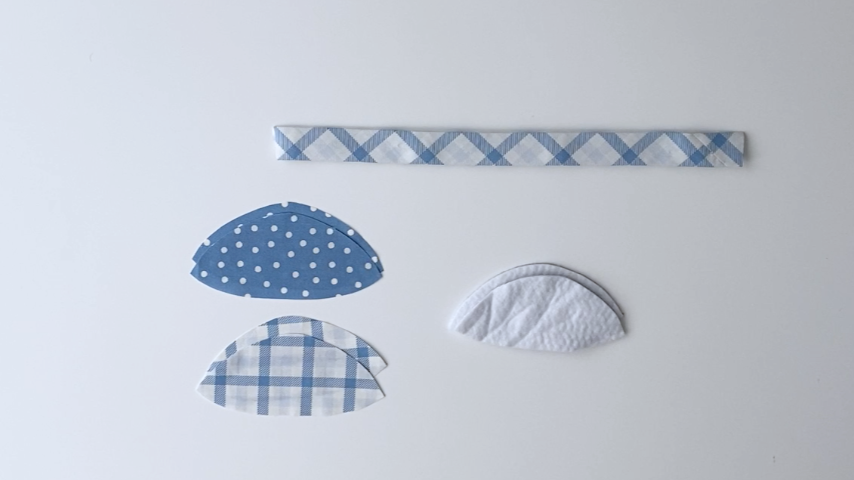
- Outer & lining – cut 4 pieces
- Batting – cut 2 pieces
- 1/2″ double-fold bias tape – approximately 14”
Step 2
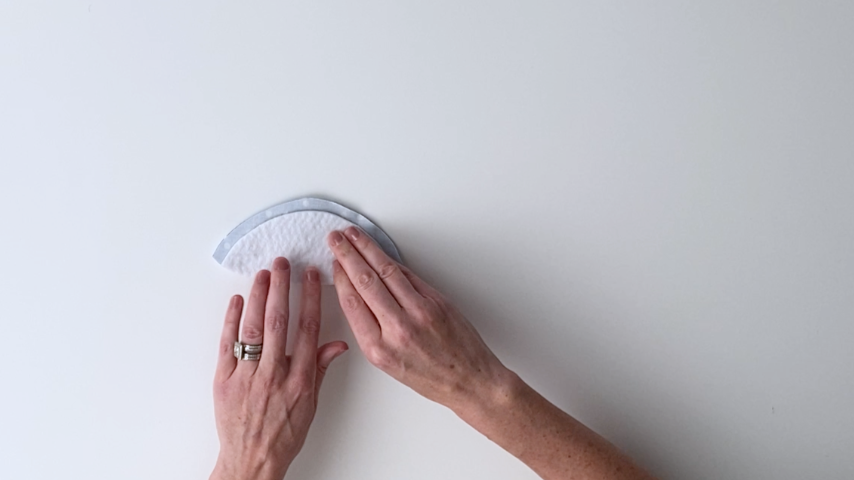
Place your two top pieces with right sides together and centre your batting on the wrong sides.
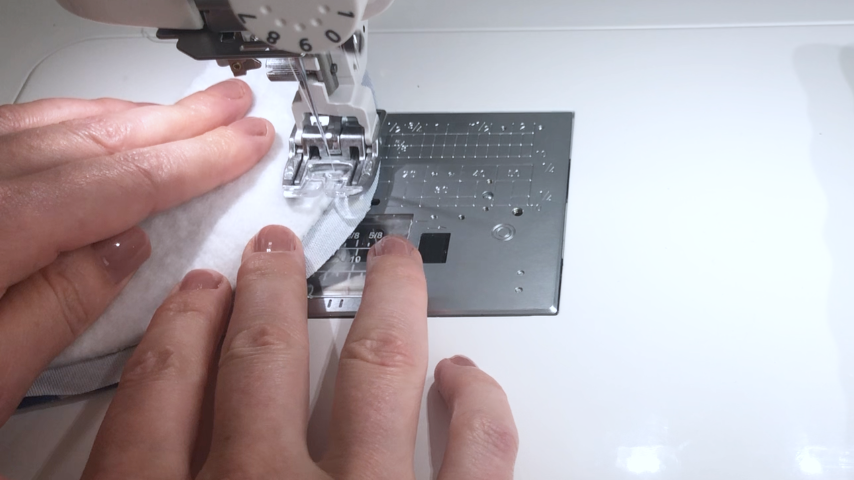
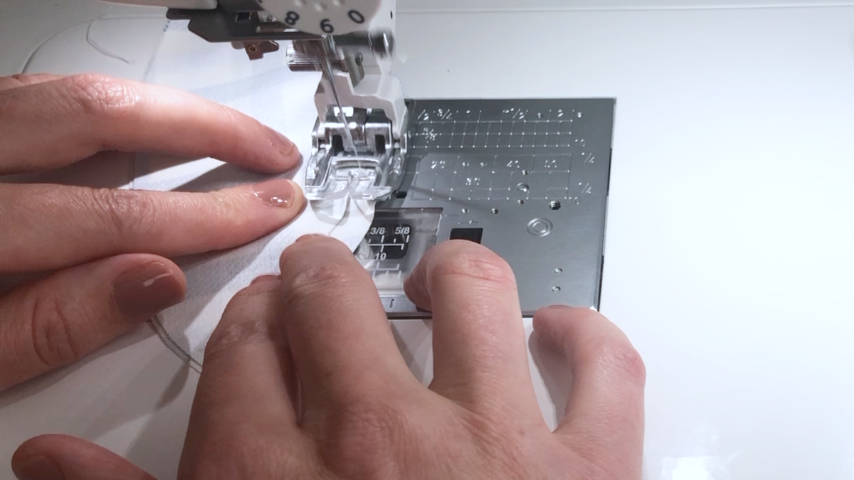
Sew along the curved edge, about 1/8” inside the batting, to just catch it as you sew.
Press the seam open, then trim the seam allowance.
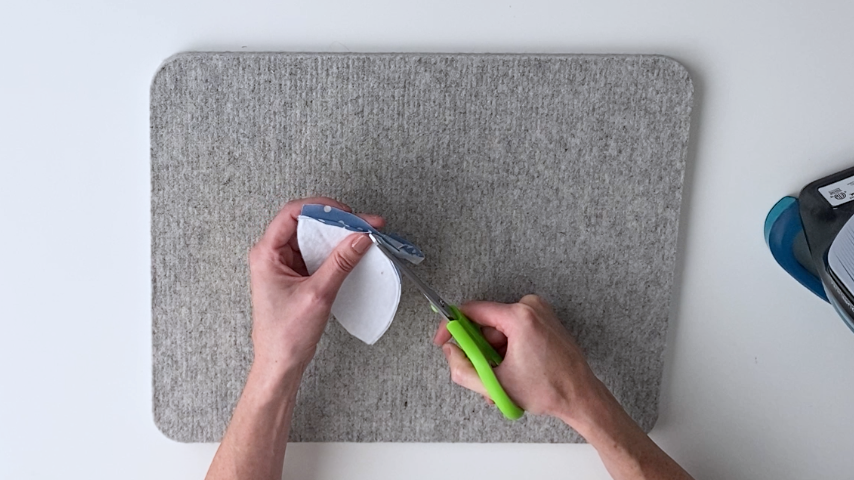
Turn right side out.
Step 3
Place your two lining pieces with right sides together.
Center your batting pattern on the back of an outer piece and use a temporary fabric pen to trace around it.
This will make it easy to get a consistent seam allowance.
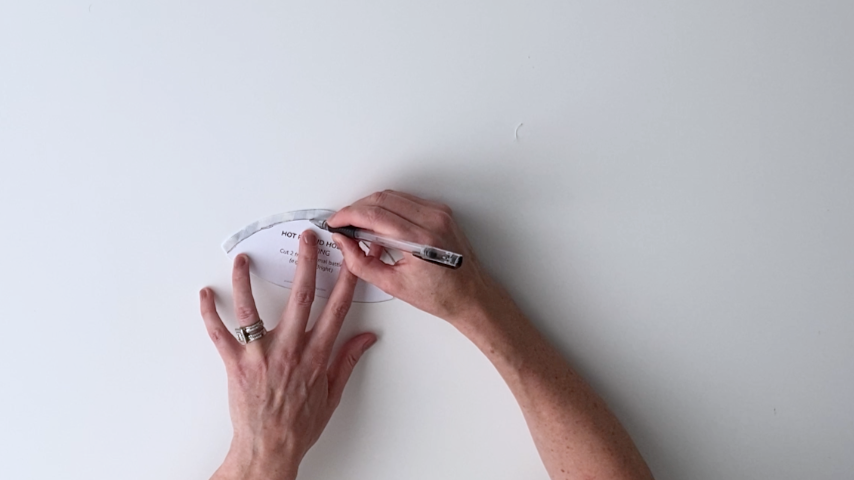
You should stitch about 1/8” inside this line (just as you did when sewing the batting to the lining).
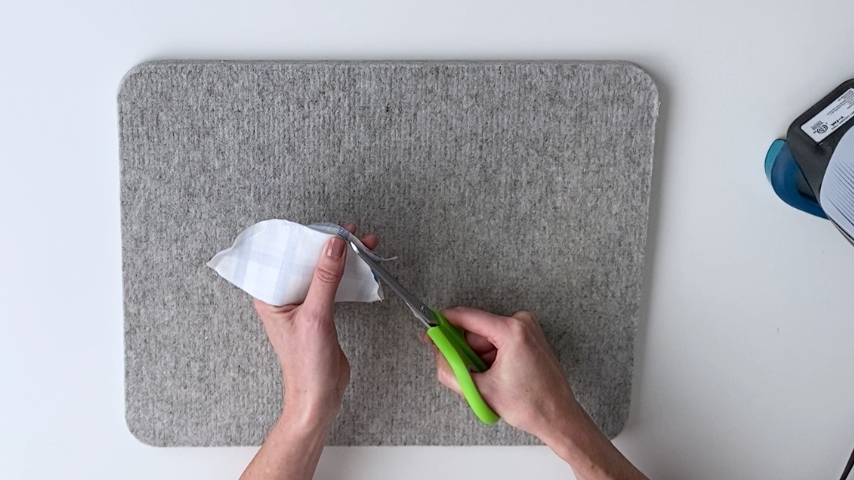
Press the seam open.
Trim the excess fabric around your seams.
Step 4
Nest the lining into the outer piece.
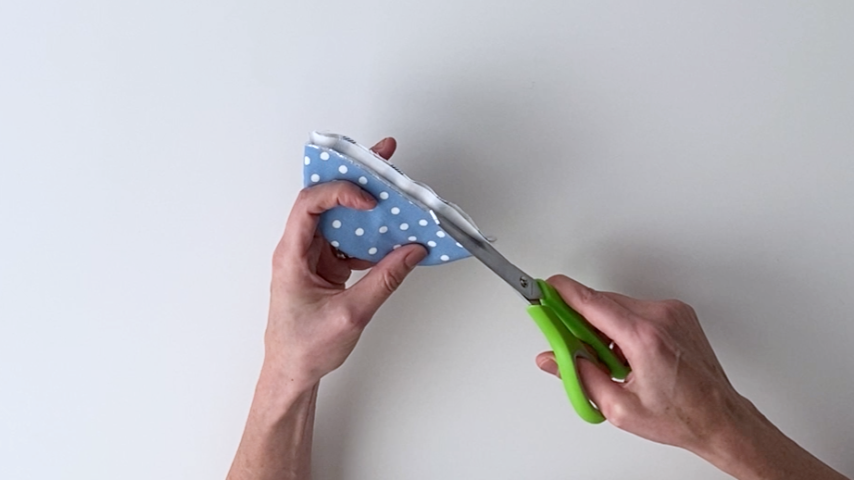
Trim excess material off the bottom of the lining so it lines up with the outer’s bottom edge.
Step 5
Sew the first side of the bias tape to the outside of the pot lid holder.
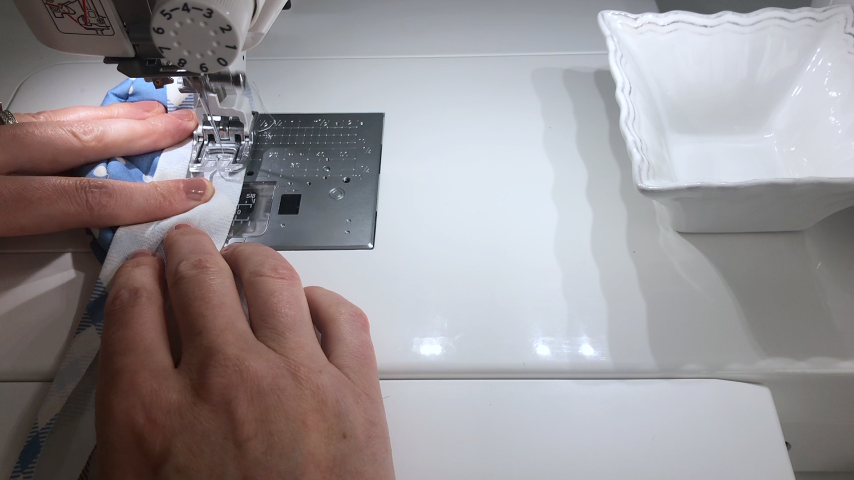
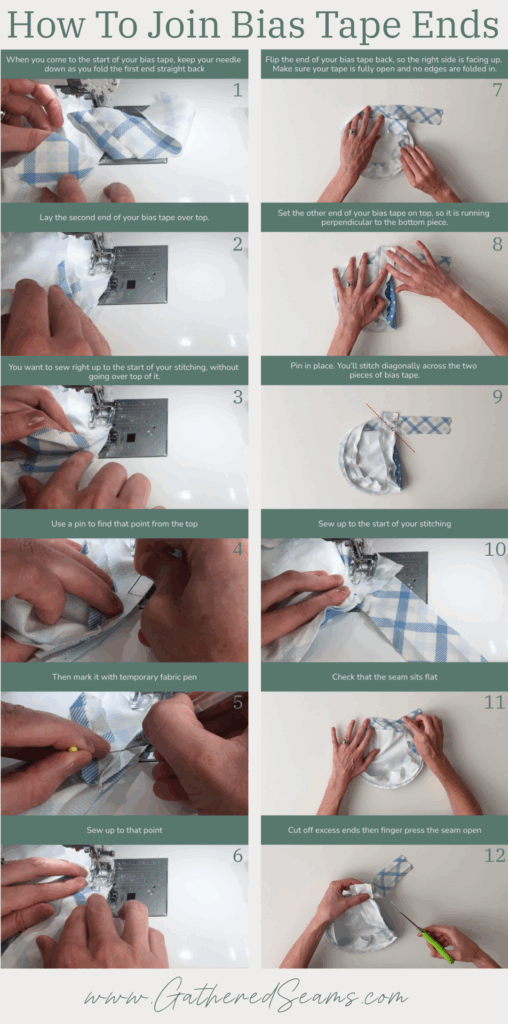
Follow the directions below to join the two ends.
Step 6
Flip the pot lid holder inside out and fold the bias tape over to cover the line of stitching and clip into place.
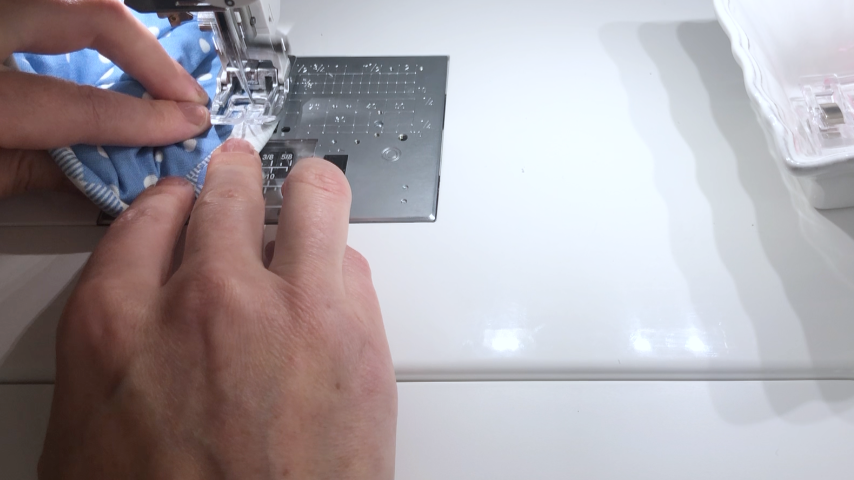
Sew the second side of the bias tape into place.
I stitch from the outside of the pot lid holder (rather than the lining side), sewing about 1/8” in from the inside folded edge of the bias tape, checking the other side as you go, making sure the bias tape is covering the stitching.
Flip the hot pot lid holder right side out and gently press to remove any creases.
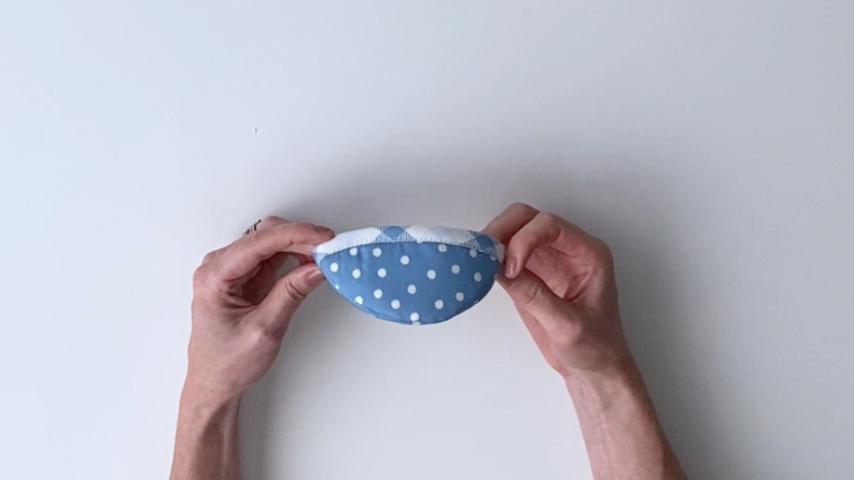
Your hot pot lid holder is complete!