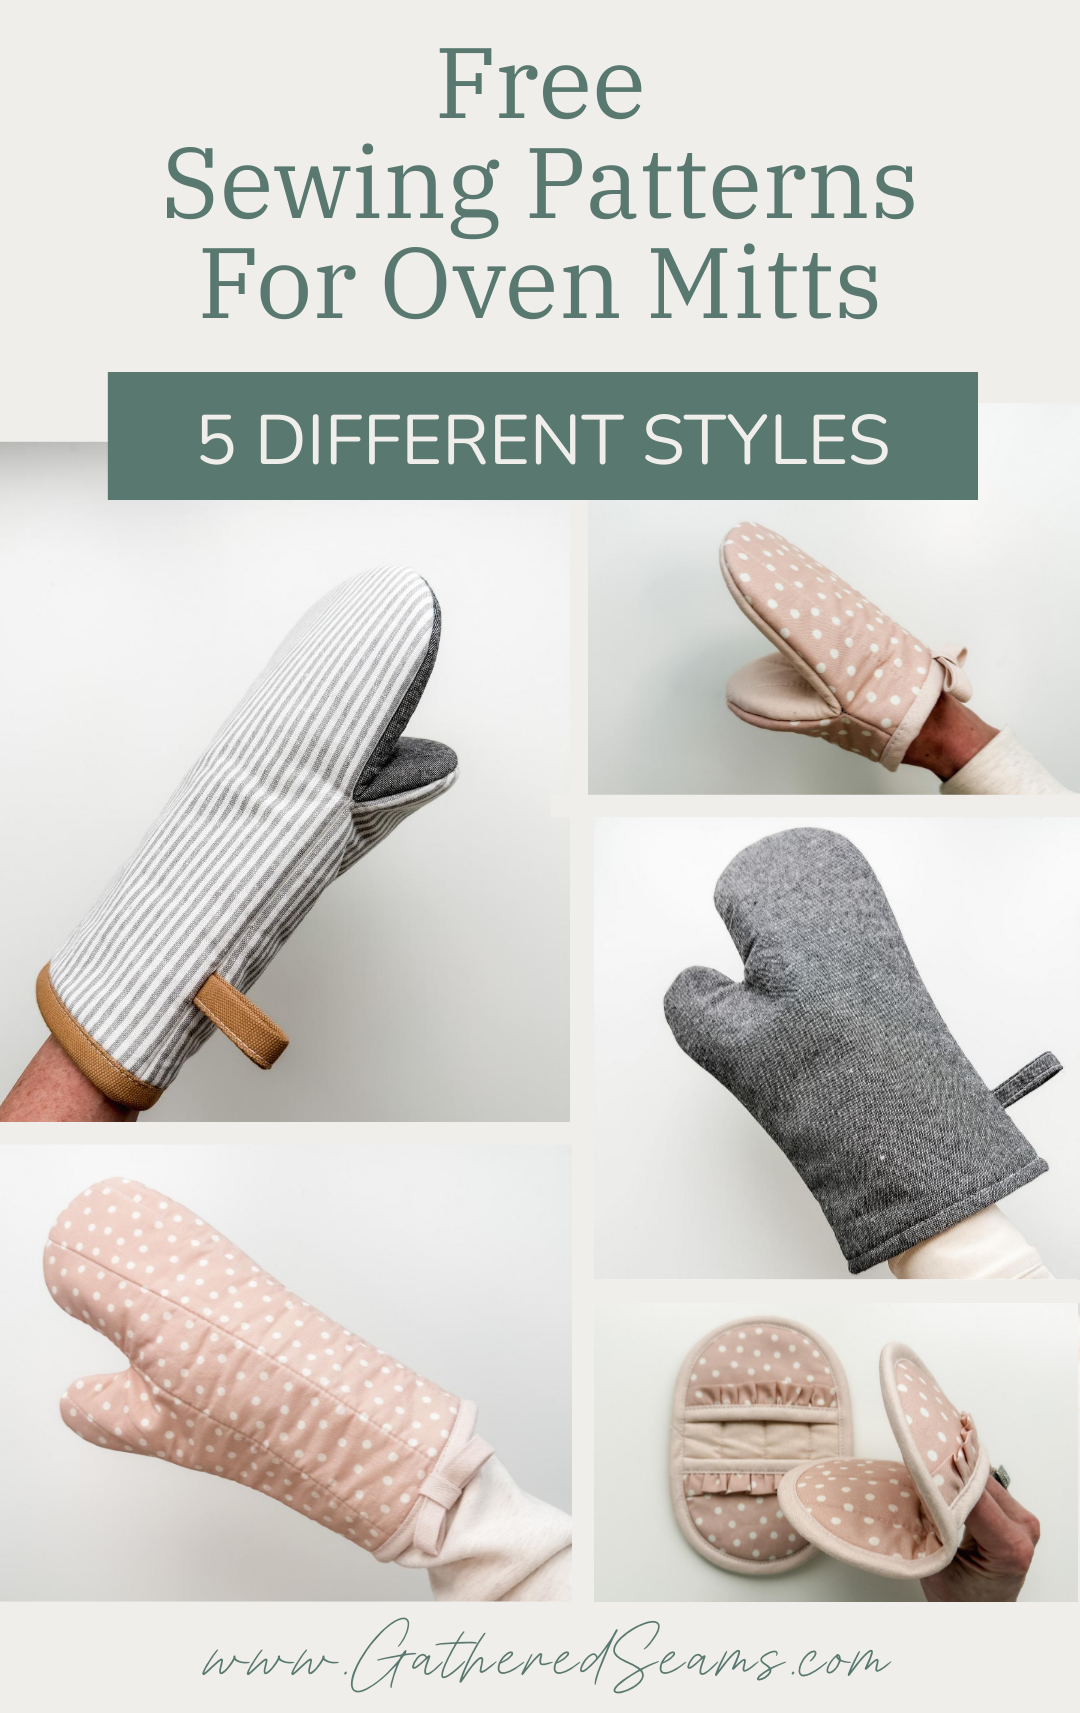
5 Free Sewing Patterns for Oven Mitts
Oven mitts are a practical item to sew. You can sew a set for your personal kitchen, to give as a gift, or sew many to sell at craft shows.
The sewing patterns in this list range from beginner to more advanced.
As an Amazon Associate, I earn from qualifying purchases (see full disclosure here).
Best fabrics for oven mitts
- Outer fabric – it’s best to use a natural fabric such as cotton or linen. Depending on your sewing skills and sewing machine, a heavier-weight cotton will also produce a more durable oven mitt.
- Batting
- Thermal batting – you’ll want to use a layer of thermal batting that will reflect the heat. Insul-Bright is the most popular thermal batting but it’s not my favorite. I’ve used it for several projects and it does provide adequate heat protection; however, it doesn’t have much loft (important if you want that fluffy, quilted look when adding quilting stitches) and it makes a crinkly sound when in use. I purchased this thermal batting as well and prefer it over the Insul-Bright.
- Cotton batting – it’s also recommended to use a layer of cotton batting, in addition to the thermal batting. The thermal batting will reflect heat while the cotton batting will absorb heat. Warm & Natural is the cotton batting I use.
- Lining – again, a natural fabric such as cotton or linen is ideal. For the lining, you can use a lighter-weight fabric.
Tips for sewing with batting
Sewing with batting does take a little practice. Here are a few tips I’ve learned along the way:
- Invest in a walking foot – if you’re planning to create several oven mitts, focus on heat protection items for the kitchen, or sew quilted items (such as a quilted tote), it will be beneficial to buy a walking foot for your sewing machine. Some sewing machines come with them, or are built in, and some makes will have a walking foot you can buy as an accessory. For my older sewing machine, I purchased this universal walking foot, which works great.
- Lower presser foot tension – if you don’t have a walking foot, it helps to reduce the presser foot tension, so the foot doesn’t push your fabric as you sew, which will cause shifting and wrinkles.
- Basting – you may want to use temporary fabric adhesive to help keep the layers in place as you sew. Alternatively, use several pins to temporarily keep the layers in place.
Beginner Oven Mitt
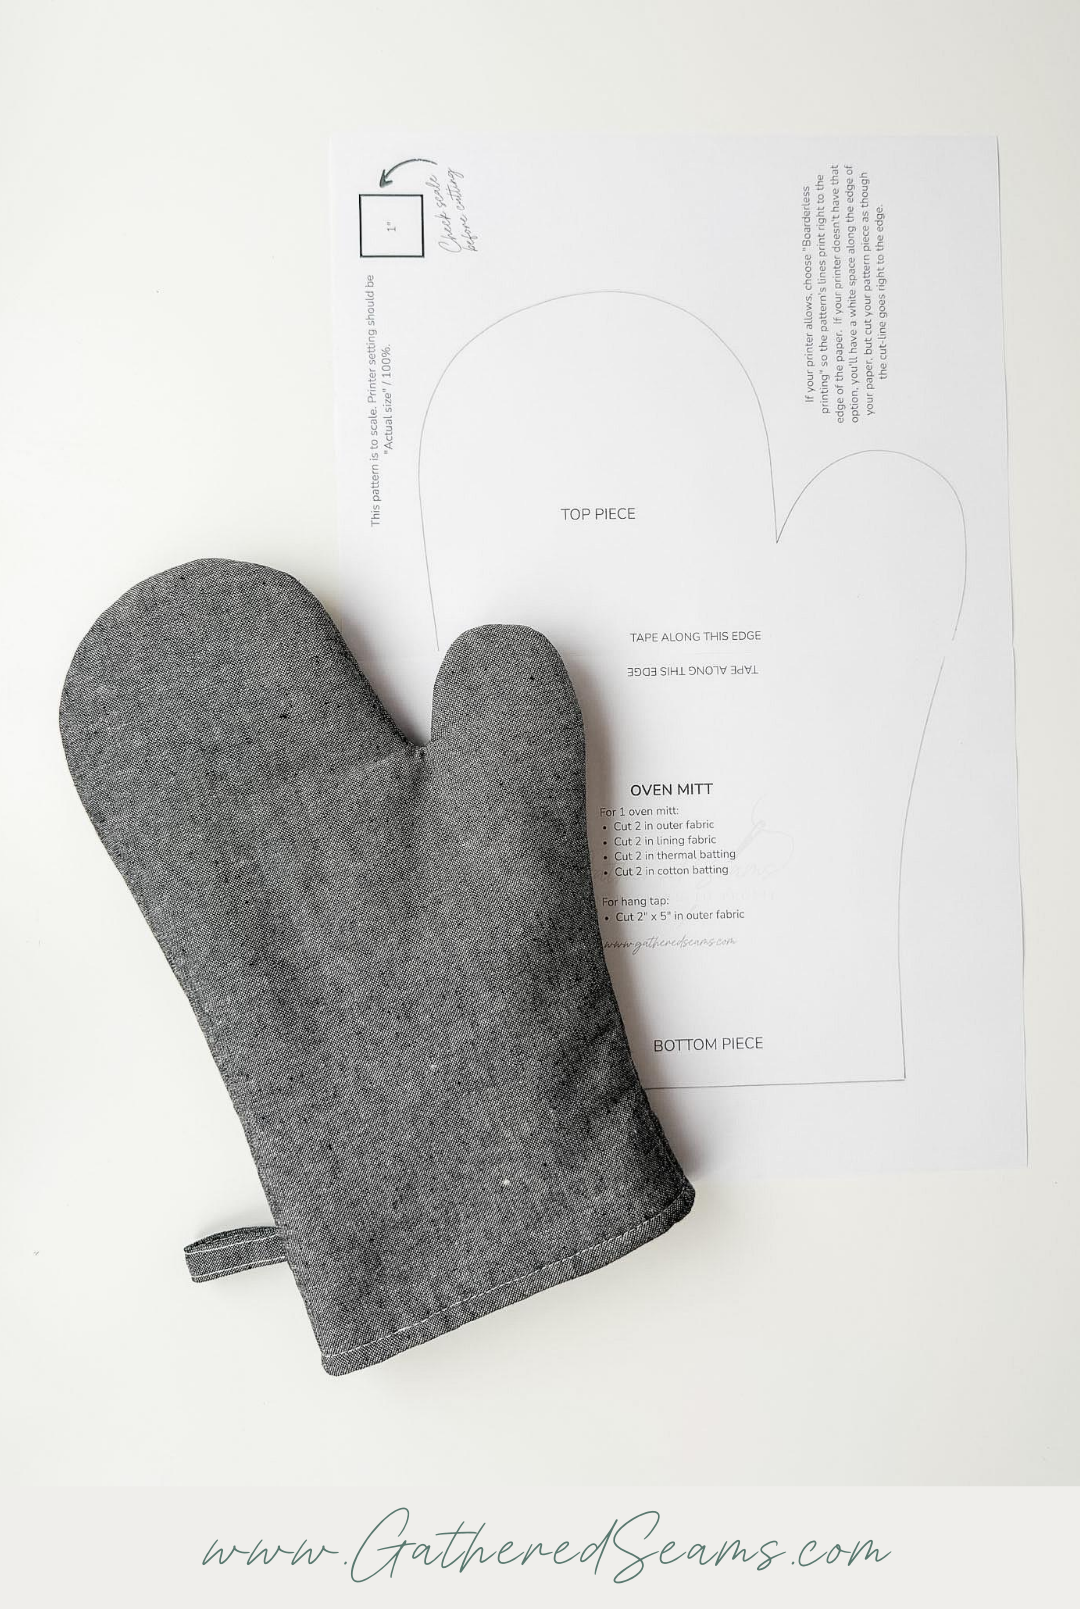

This oven mitt tutorial is as simple as you can get. It doesn’t require any quilting stitches and you don’t have to use the birthing method to sew the outer portion of the oven mitt to the lining.
This does require an extra step, but many sewists find it difficult to turn the oven mitt right side out through a hole left in the lining. So this tutorial skips that step.
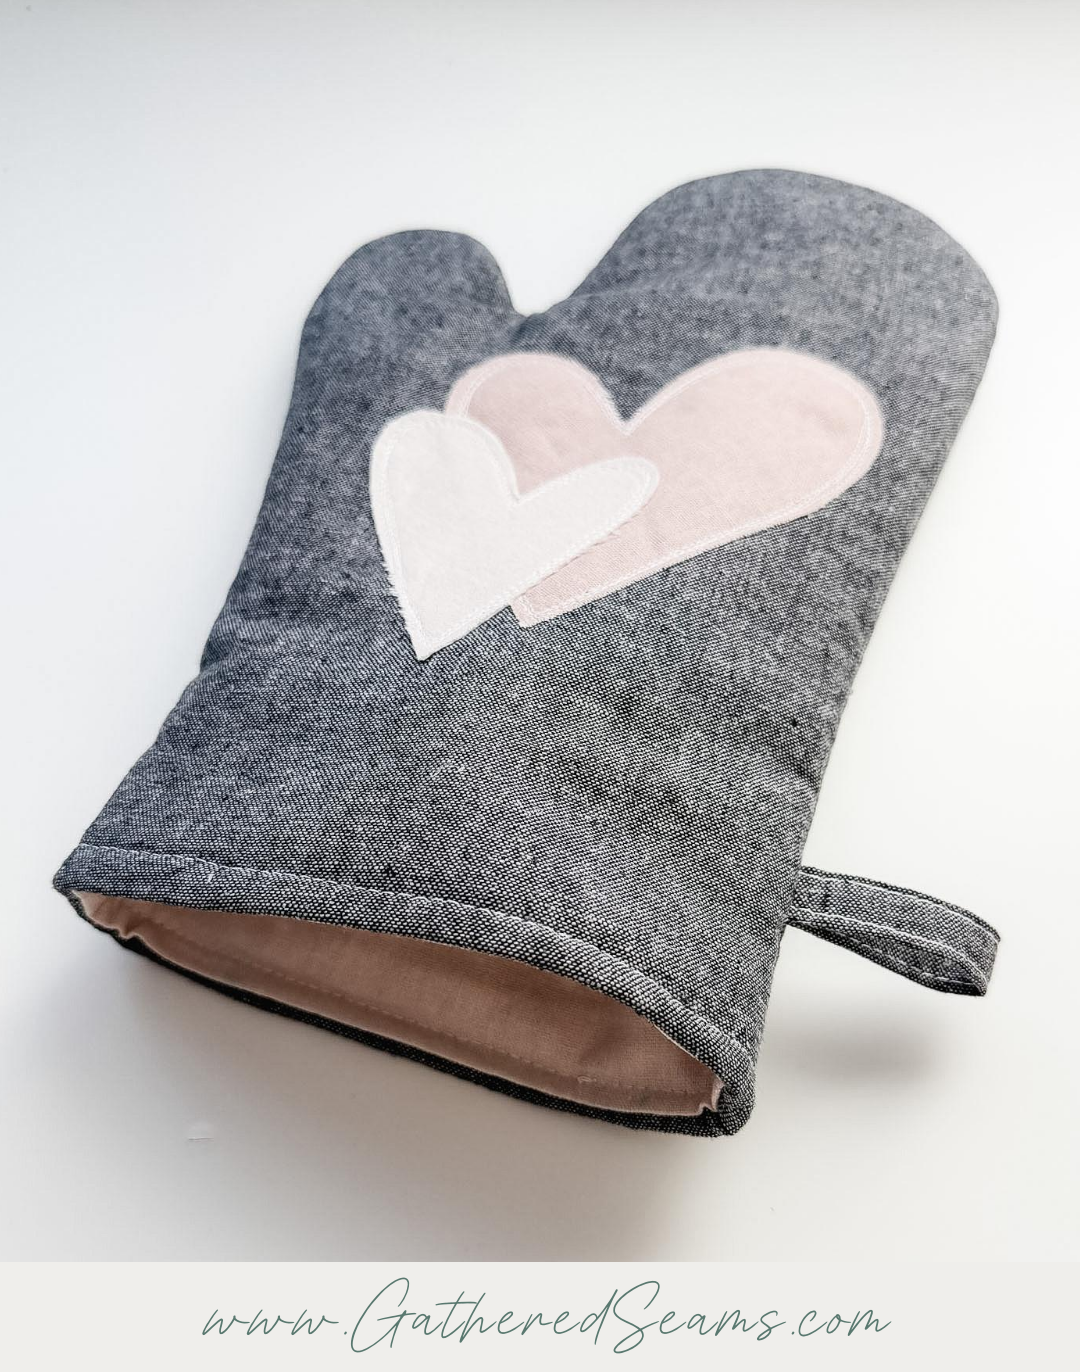
If you want to add a little more excitement to this basic sewing mitt, you can add an appliqué. I completed this step before layering the outer fabric with the batting. And the nice thing about the applique is, I think it looks better the less perfect the sewing lines are. It gives it a more rustic, handmade feel to have your stitching around the applique be uneven.
>> How To Add a Fabric Applique To A Sewing Project
Oven Mitt with Bias Tape
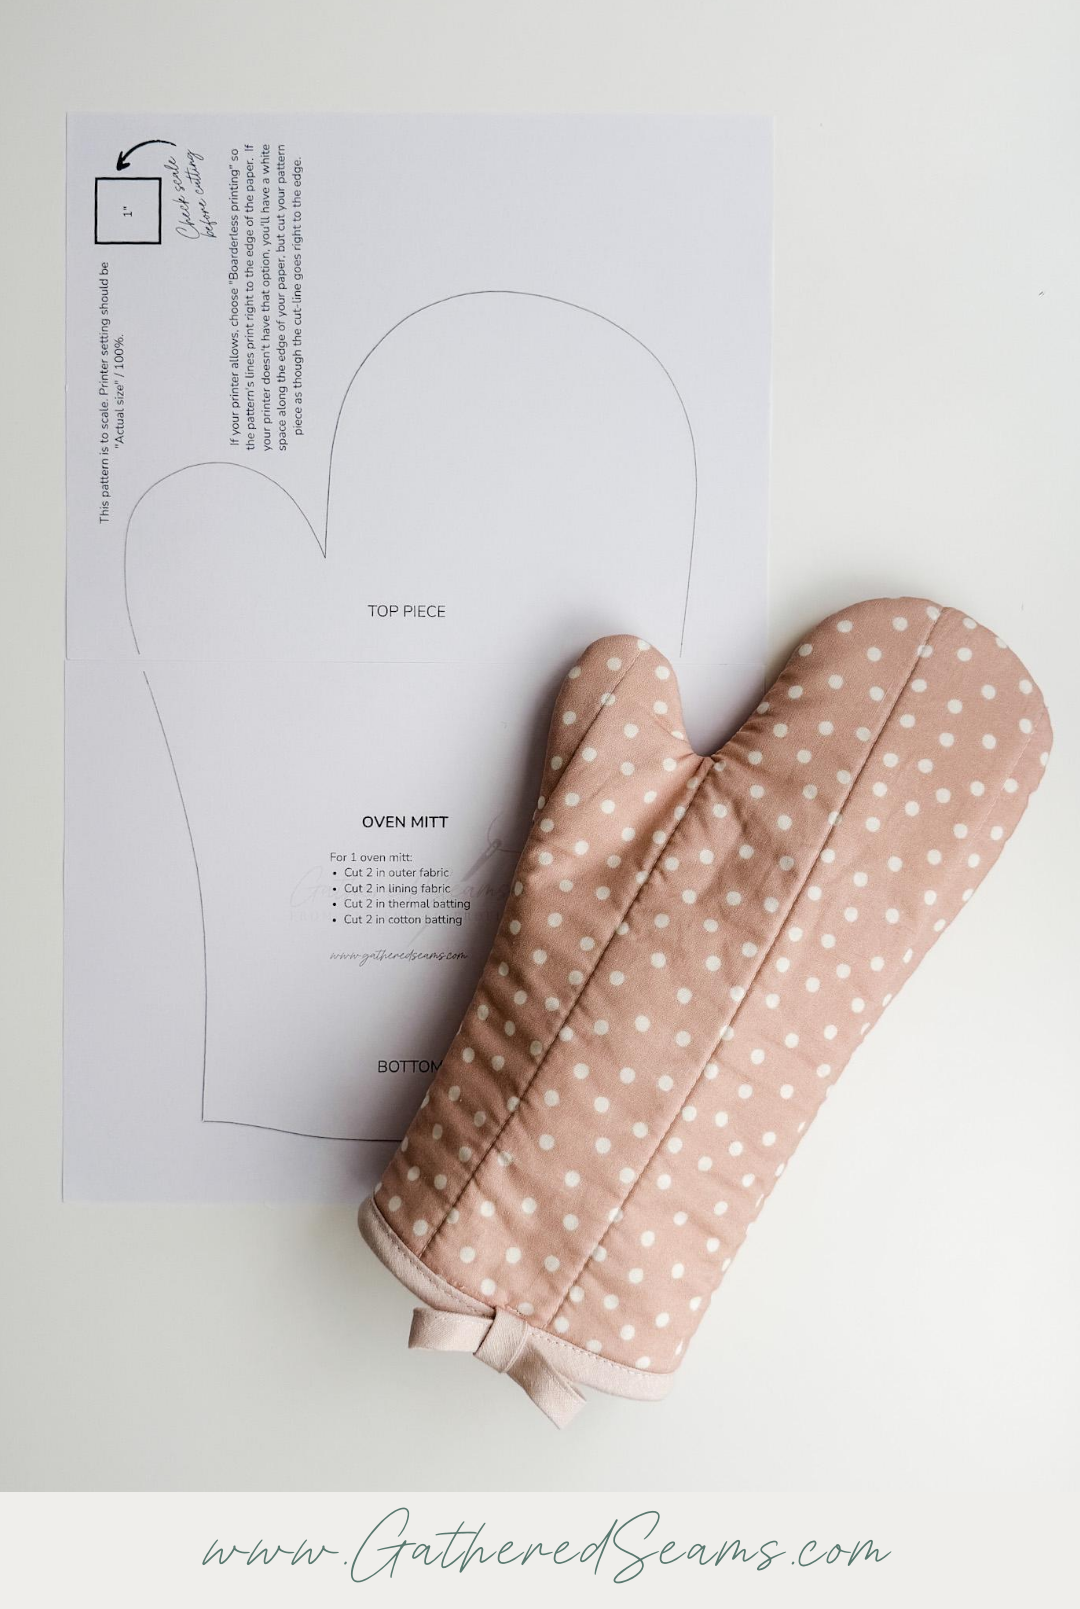
This sewing pattern introduces quilting stitches (to stitch the outer fabric and batting together) as well bias tape.
What I love about bias tape is:
- you can make your own (here’s how) so you can get creative with fabric colors and prints
- it reduces bulk in seams – when you finish an edge in the more typical way and sew the two pieces right sides together, it creates a lot of bulk in a seam, because the layers of fabric and batting are folded back on themselves. You can grade the seam allowance to reduce bulk, but you still have 2 layers of your outer fabric, 2 layers of batting, and 2 layers of the lining fabric. This can make the seam bulge and be difficult to topstitch over.
- you can skip the “birthing” method – using bias tape to close the bottom of the oven mitt allows you to sew the outer piece and lining piece to completion, place the lining inside the outer piece, then sew the bias tape on.
In this sewing tutorial, I join the ends of the bias tape by creating a bow, however, that’s optional.
Here’s my favorite way to join the ends of bias tape or binding with a simple seam:
>> How To Join Bias Tape Binding Ends (with the least bulk)
Puppet-Style Oven Mitt
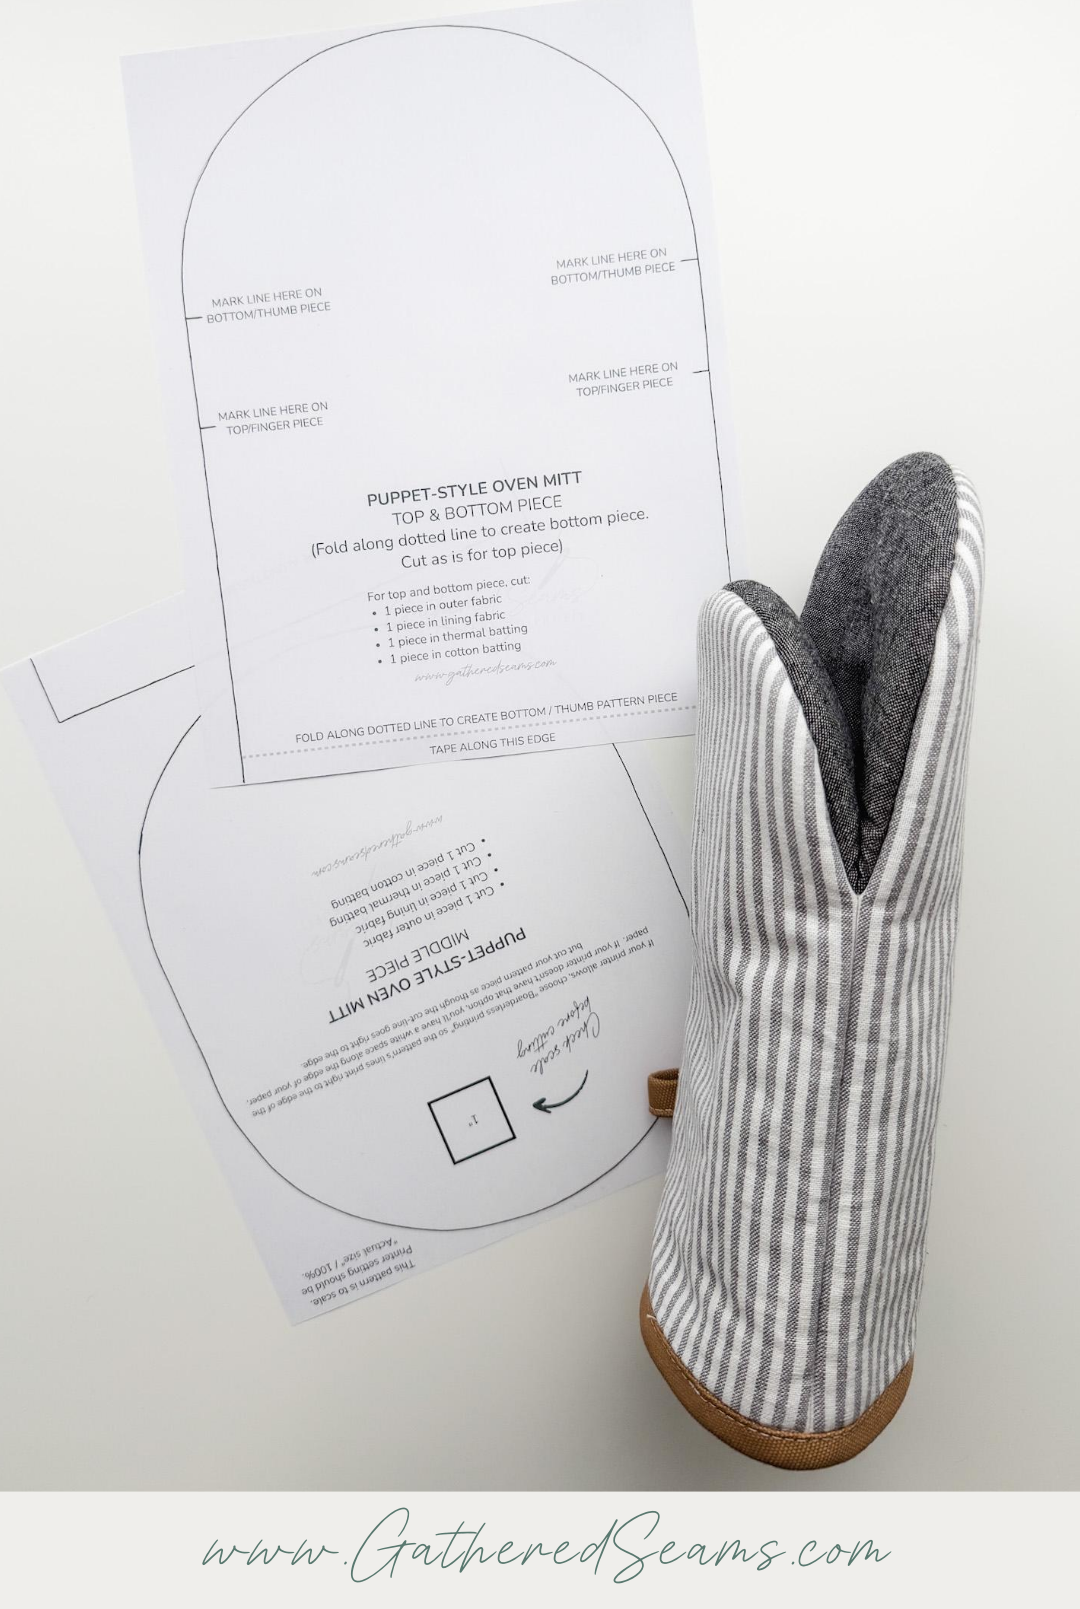
This style of oven mitt can be a little easier to sew, because you don’t have to sew around the tighter curves of the top and base of the thumb. However, you do have to be accurate with where you stop and start stitching to make sure the seam where the palm piece meets the side seams looks good.
It can also get a little more bulky to sew through, so you do need a sewing machine with a walking foot or that is capable of sewing through several layers of fabric and batting.
Mini Oven Mitt
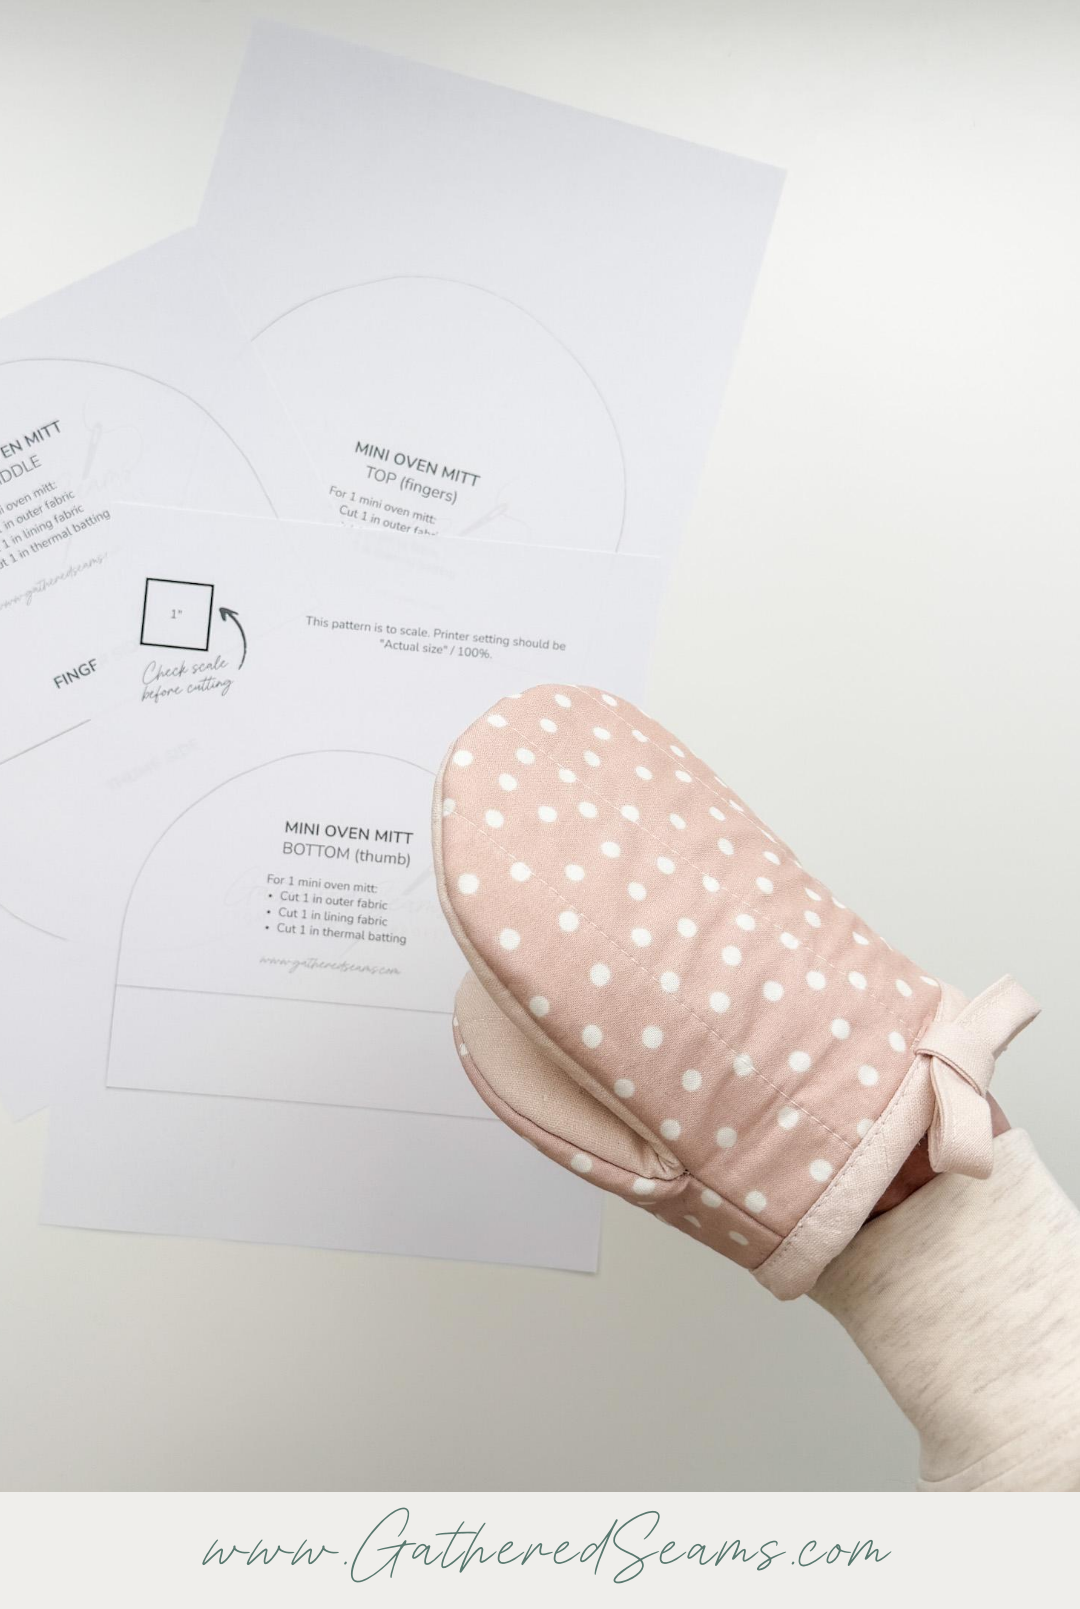
This is just a shorter version of the puppet-style oven mitt. I find that it’s handy for when you only have one hand free; it’s easier to slip it into a mini oven mitt than a full oven mitt.
You can even shorten this pattern so the oven mitt ends right at the bottom of the thumb, making it even easier to slip on.
Pot Pinchers

These are sort of a cross between a potholder and an oven mitt. They don’t require as much material, but they don’t offer as much protection as they don’t cover the back of the hand.
They sit nice and flat when not in use, but you could also add a few stitches so they stay in the V-shape when not in use and are a little easier to put your hand into.