How To Sew a Rectangular Tissue Box Cover | Free Pattern
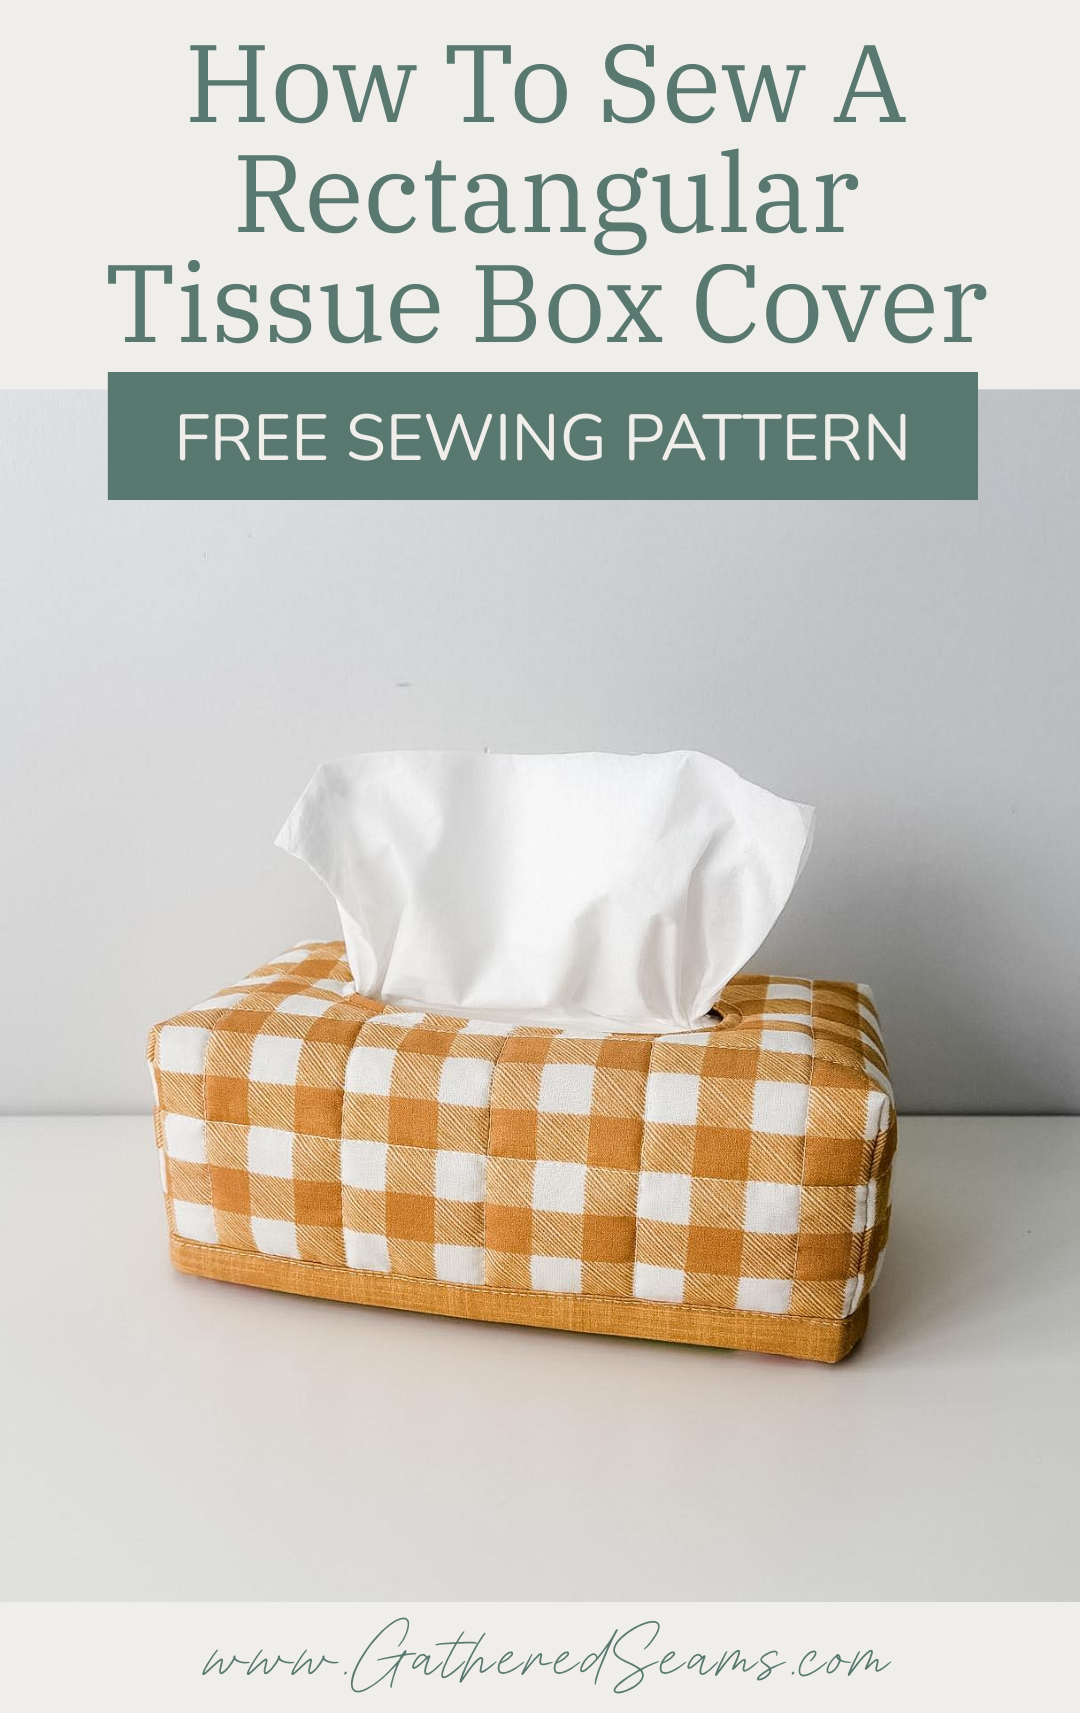
This rectangular tissue box cover is quick and easy to sew, especially if you skip the batting and quilting stitches.
It’s not designed to be reversible, but you can flip it inside out and make use of both sides. One side will have the self-binding hem, while the other will not.
I made this pattern to fit my Scottie’s brand rectangular tissue box. The finished size is approximately:
- 9-1/4″ (w) x 5″ (d) x 3-1/2″ (tall)
This is a beginner-friendly sewing project.
Materials
As an Amazon Associate, I earn from qualifying purchases (see full disclosure here).
- Fabric for both sides
- Batting/interfacing (optional; I used polyester batting to get a quilted look and for extra structure. You could use fusible interfacing or fleece if you want a bit of structure or aren’t going to add quilting stitches. Alternatively, you could use a heavier-weight fabric such as canvas.)
- Thread
Tools
- Sewing machine
- Temporary fabric pen or chalk
- Ruler
- Iron
- Scissors
- Pins or clips
Free printable sewing pattern for a square tissue box cover
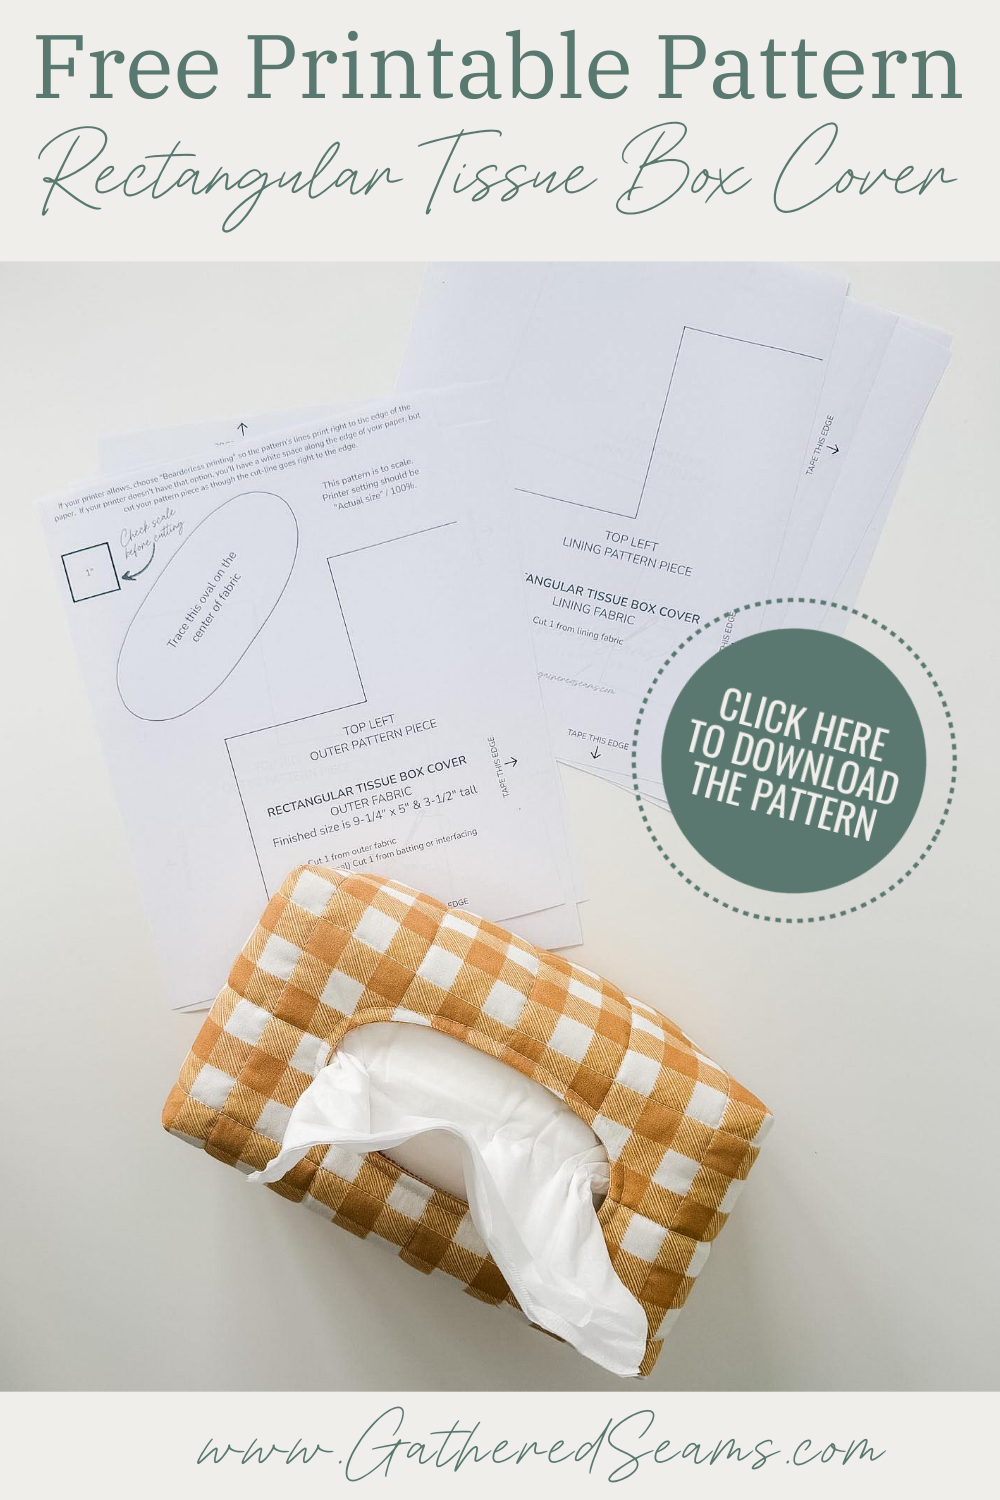

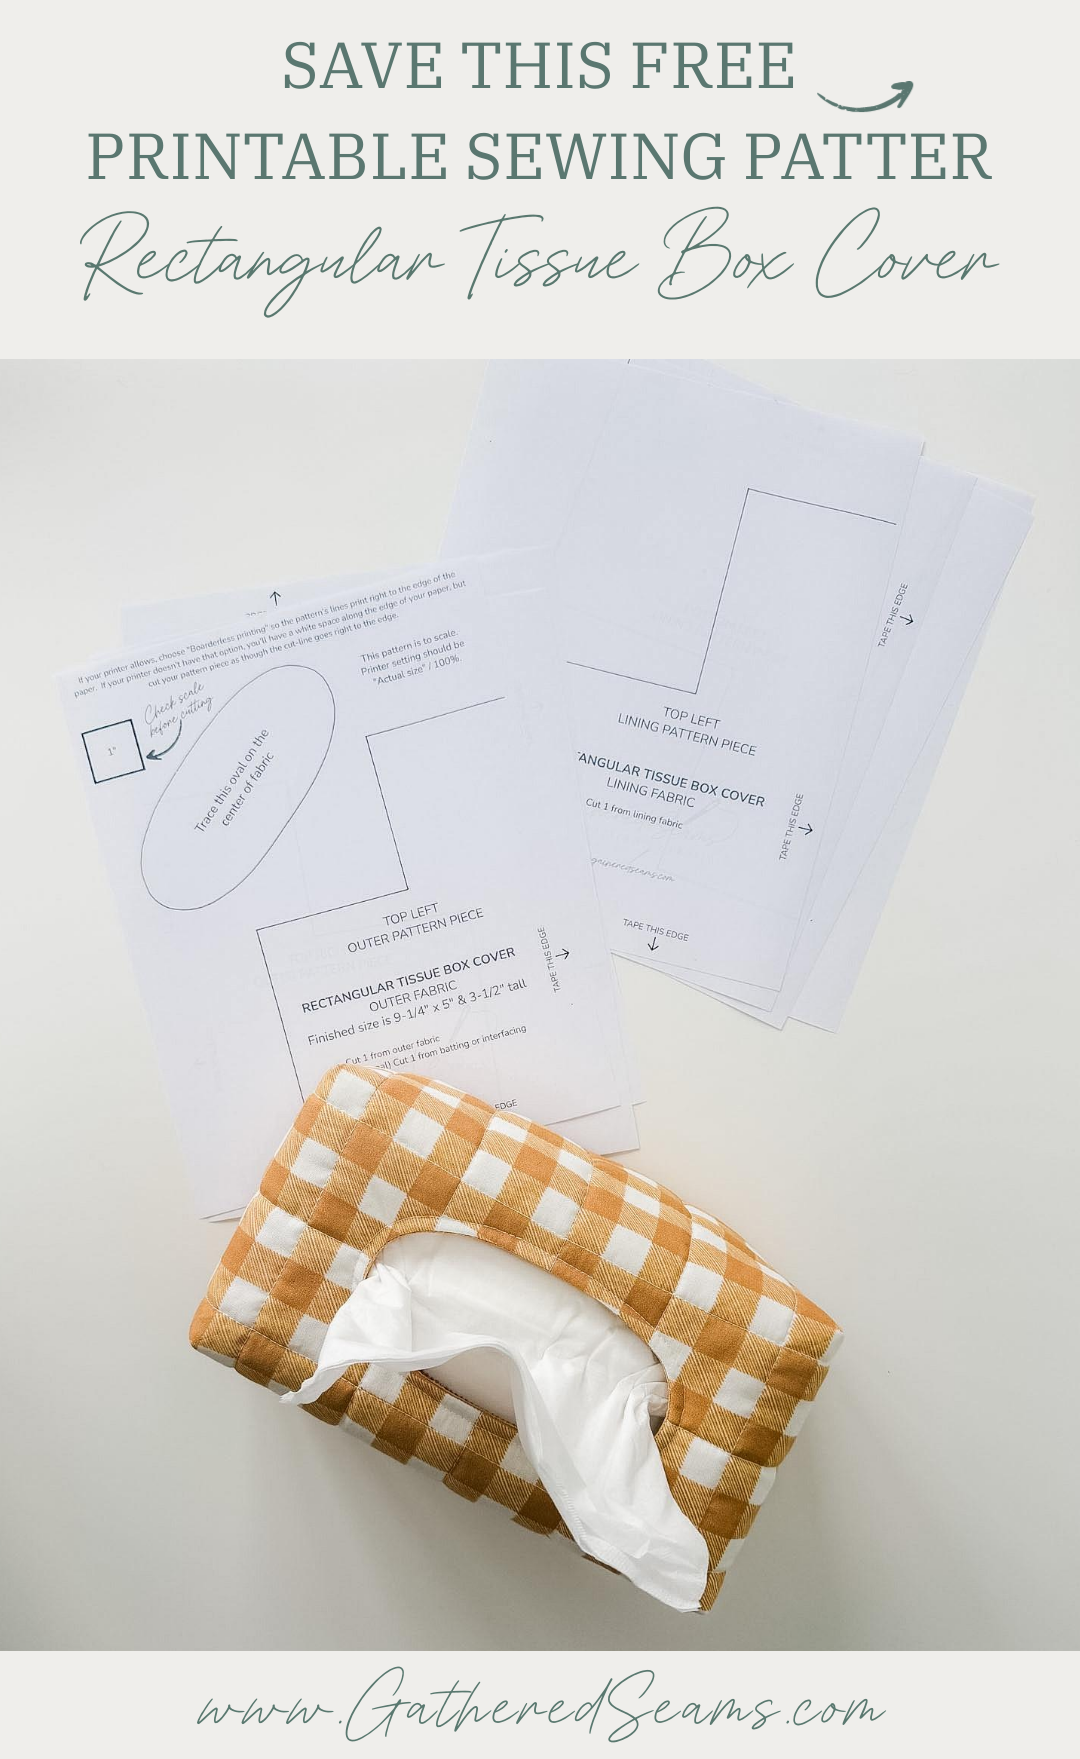
Download the free printable pattern, print it, tape the edges together, then cut out.
The edges of the paper should butt up together; no overlap.
You’ll simply be using the oval pattern piece to trace around on the center of your fabric, and then stitch on that line; don’t cut the oval into your fabric pieces yet.
You will need to cut:
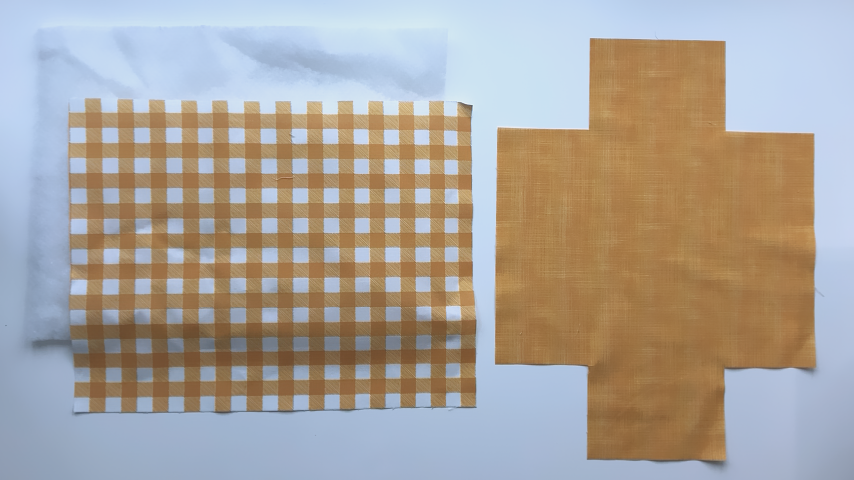
- Lining fabric from the lining pattern piece
- Outer fabric from the outer pattern piece
- (Optional) Batting or interfacing from the outer pattern piece
If you don’t want to print the pattern, you can cut out:
- Outer fabric & batting: 16-1/4″ x 12″ rectangle with 3″ x 3″ squares cut out of each corner
- Lining fabric: 18-1/4″ x 14″ rectangle with 4″ x 4″ squares cut out of each corner
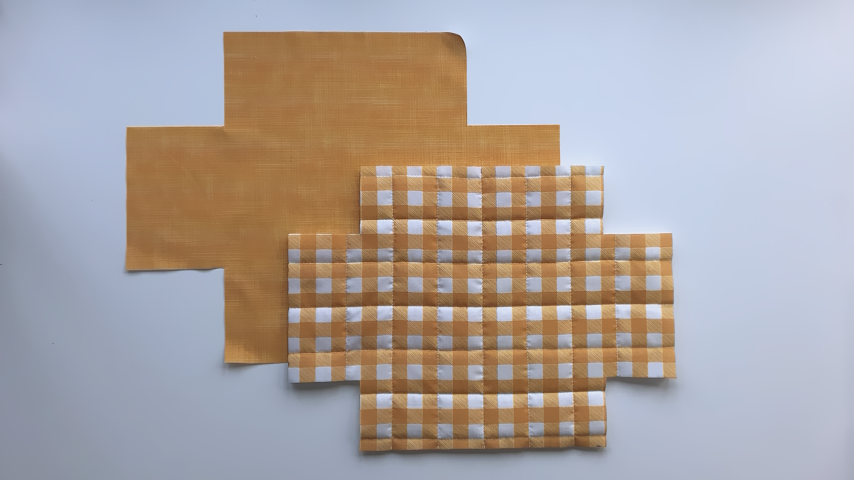
If you’re adding batting and quilting stitches, cut your fabric and batting larger. You want to add quilting stitches before cutting the pattern piece because the stitches will “shrink” the fabric.
I quilted my top fabric with the batting, then I cut my pattern pieces to size.
Steps to sew a reversible square tissue box cover
Step 1
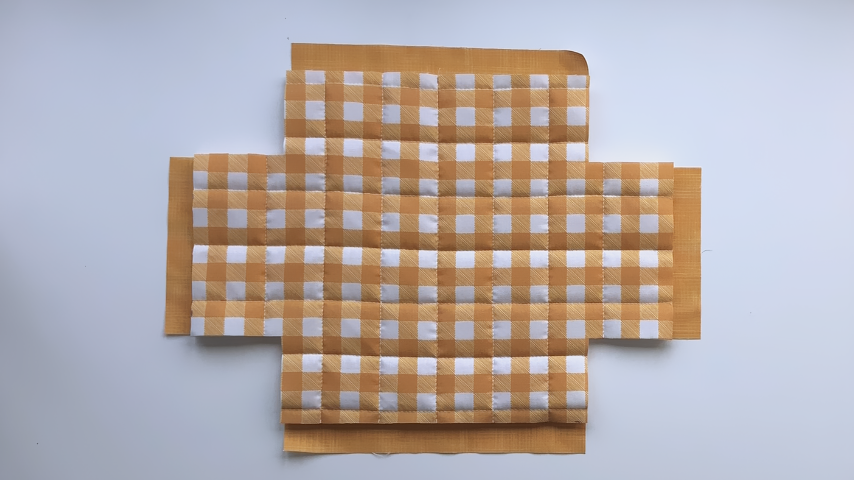
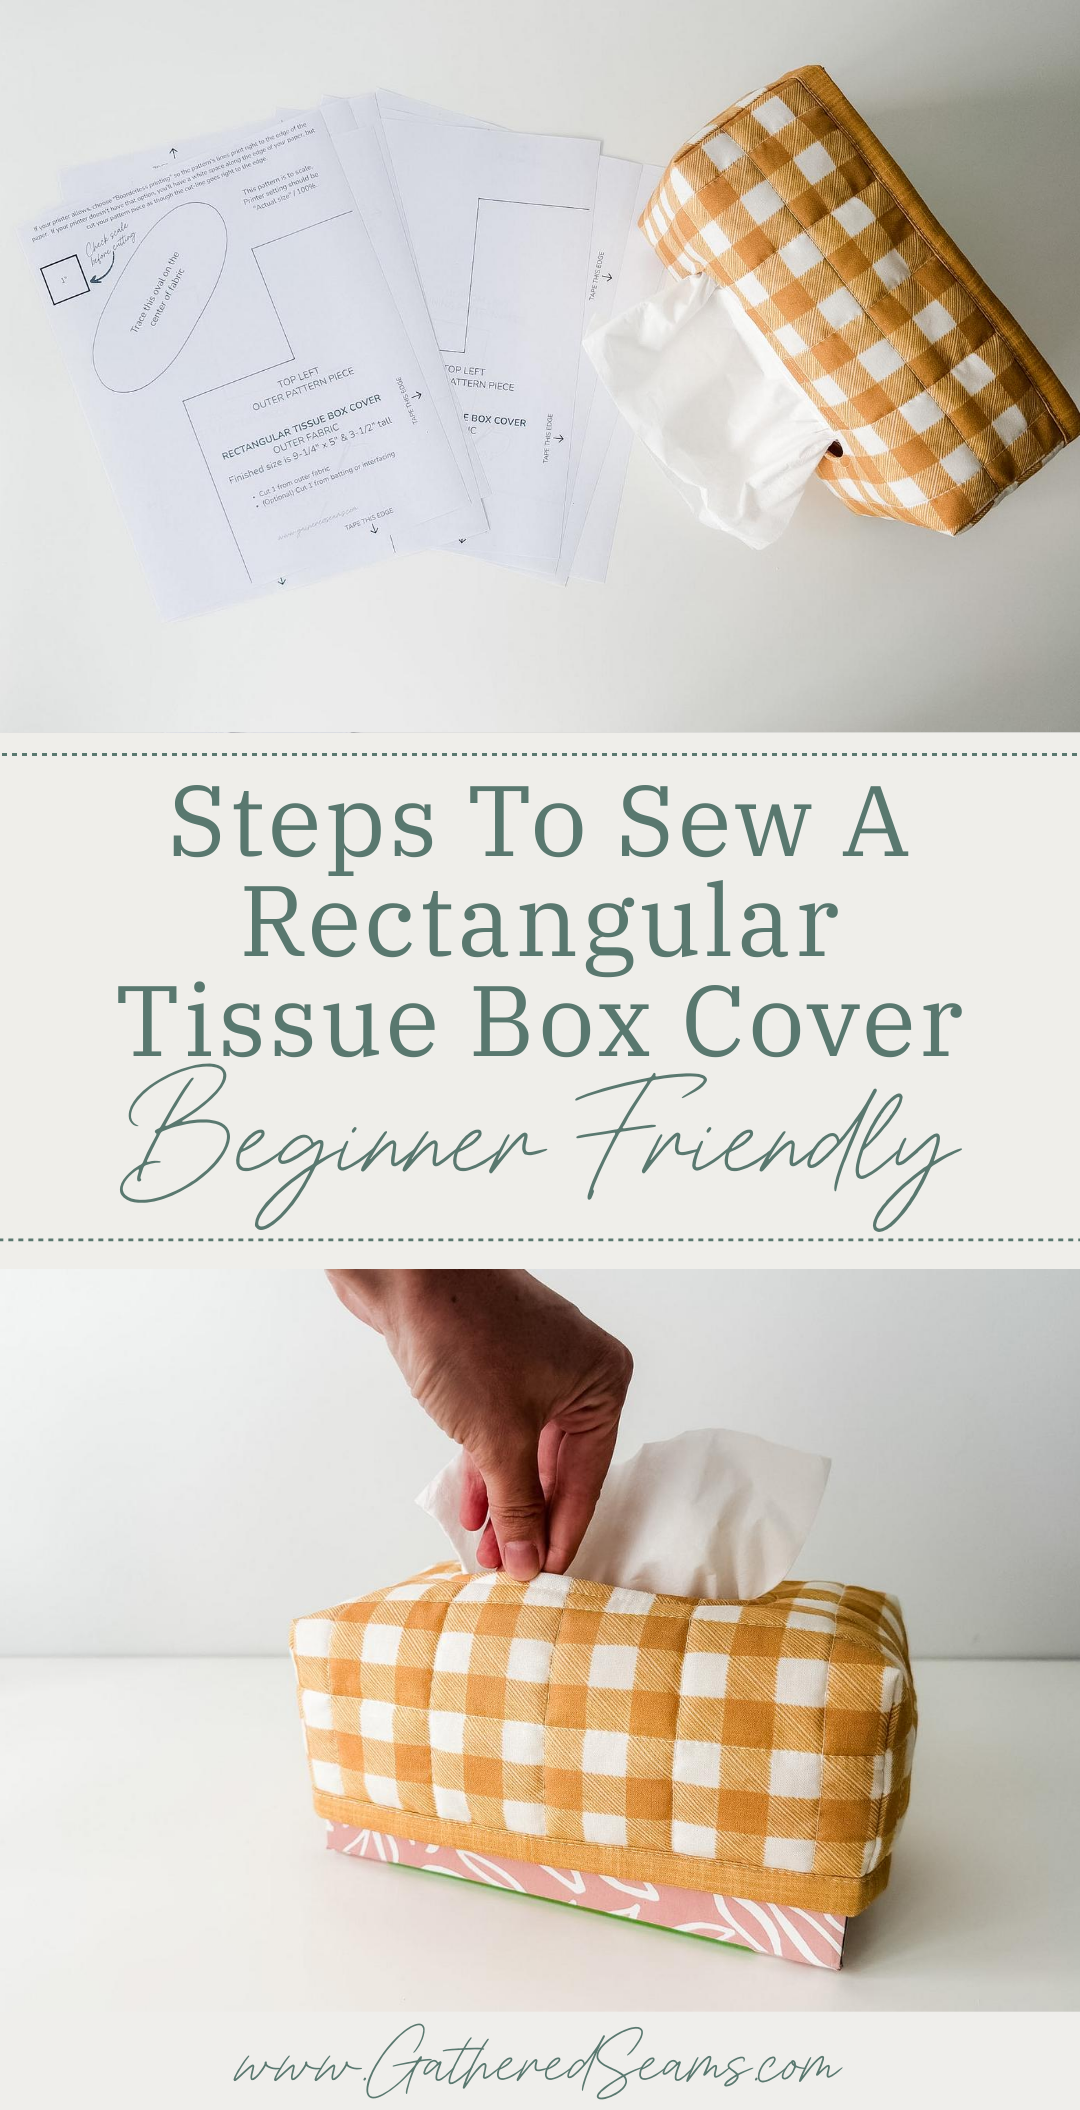
Use a temporary fabric pen to mark lines 1″ away from each edge.
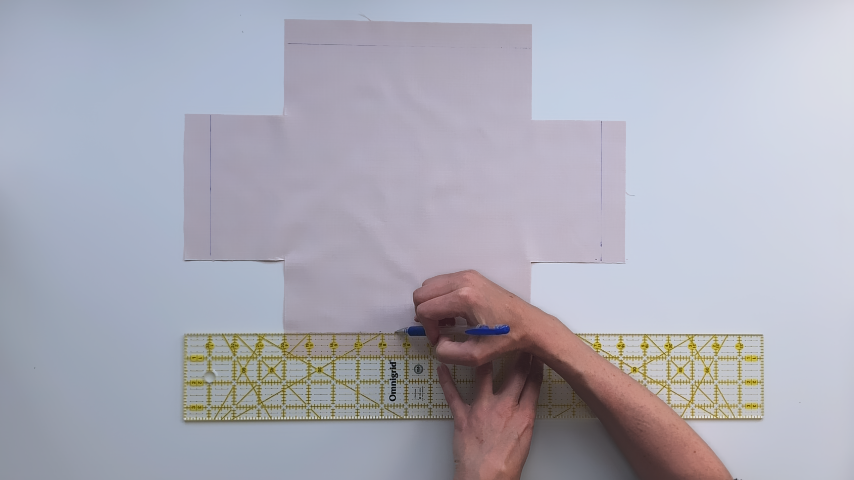
Fold the cut edge up to the line and press.
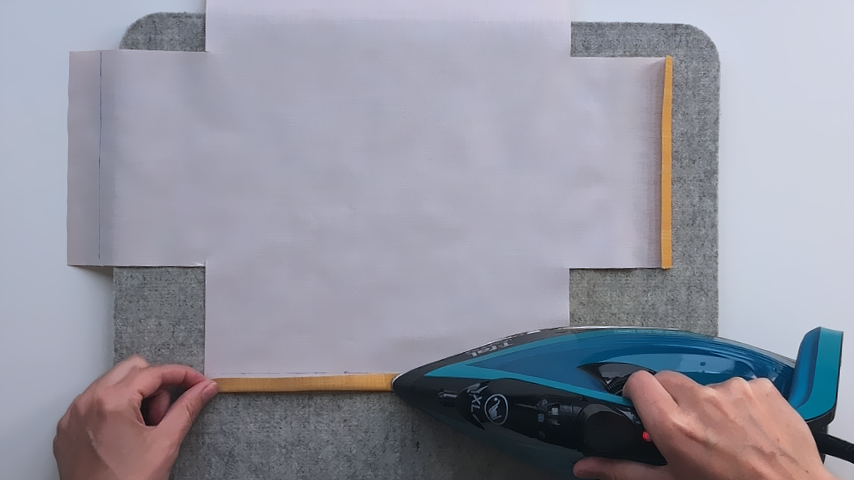
Then fold the hem in again, using the cut edge as a guide, to fold it in another 1/2″ and press.
Step 2
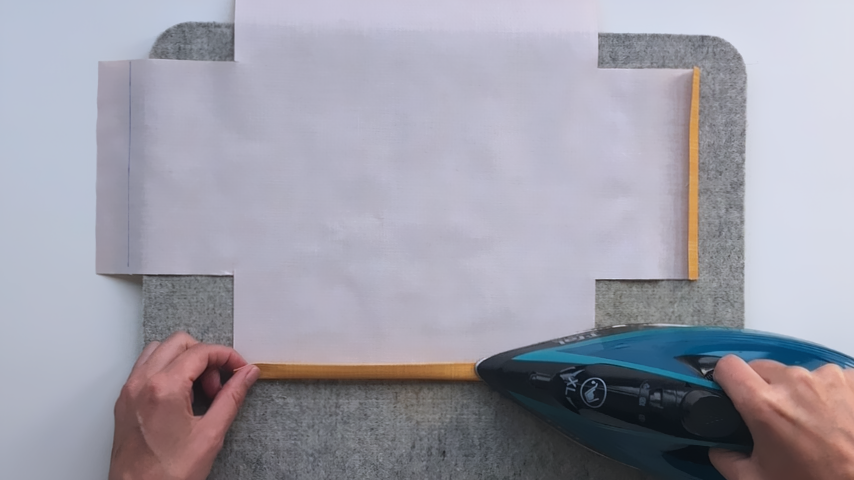
Place the two pieces of fabric right sides together, lining up the inside edges of the corners (the lining will extend 1″ past the outer fabric on all 4 sides).
Place pins through all layers to keep them in place as you sew the oval.
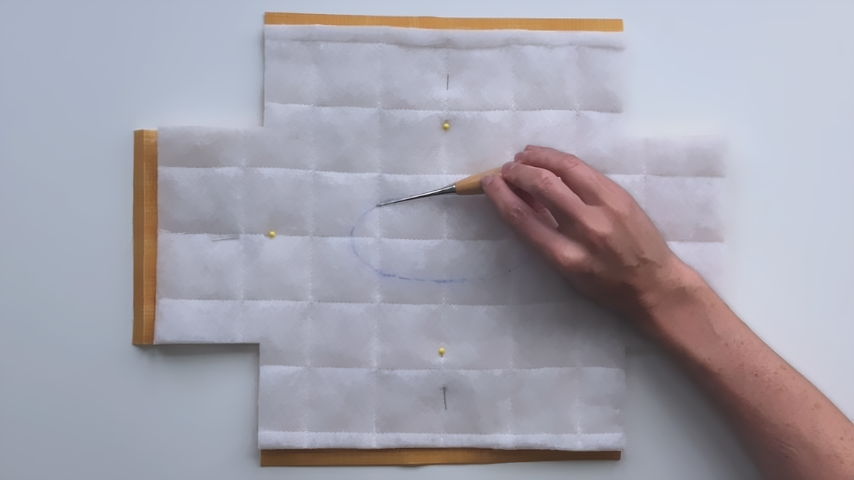
Center the oval pattern piece on your fabric and trace around it using a temporary fabric pen.
You’ll sew on that line around the oval, backstitching at the start and end.
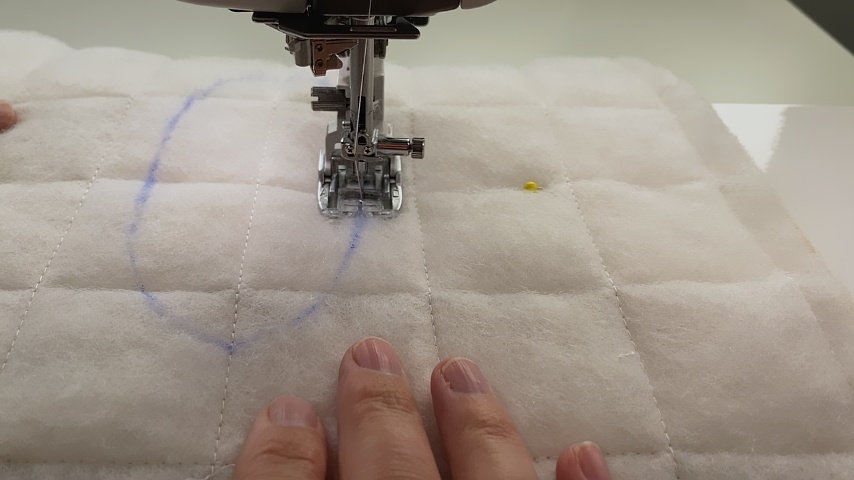
Shorten your stitch length (e.g. 1.5 mm – 2 mm), which will make it easier to sew around the curve, and go slow. Try not to pull on your fabric, or it will cause puckers. Instead, stop with your needle down, lift the presser foot and pivot your fabric if you need to.
Fold your fabric in half so you can cut a hole into all layers to get your scissors through.
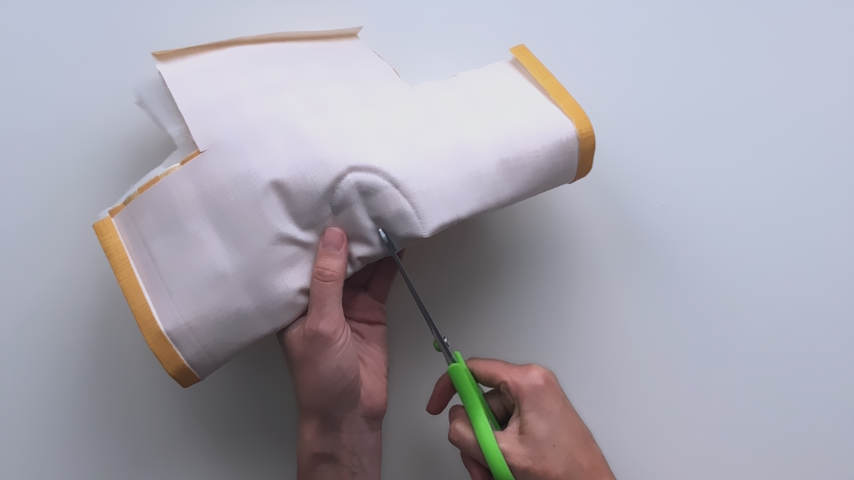
Then cut out the center of the oval, leaving about a 3/8″ – 1/2″ seam allowance around the stitching.
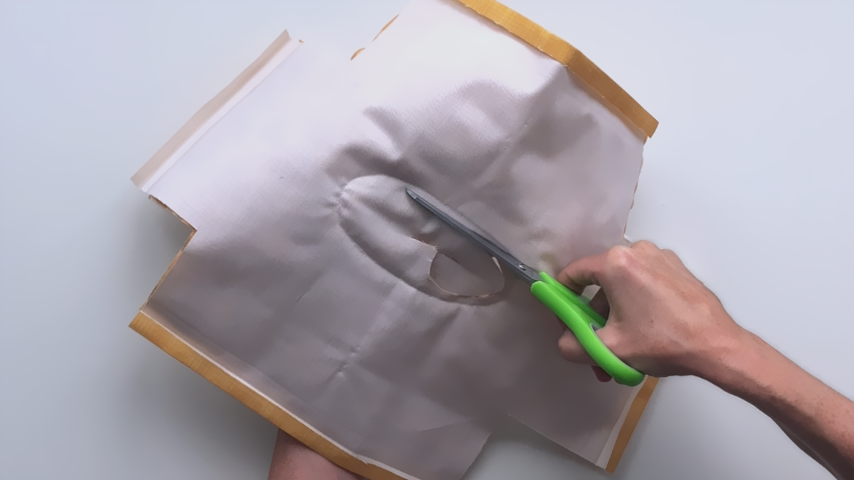
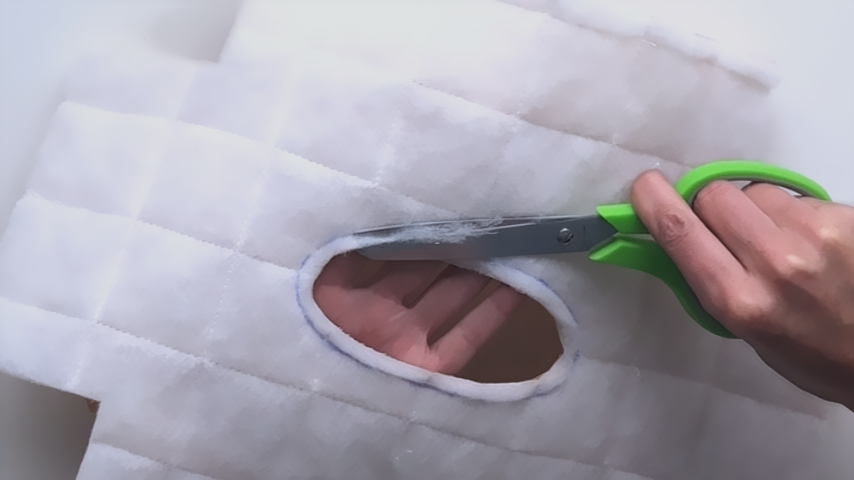
Angle your scissors so they are almost parallel to your fabric and trim away the batting. Holding your scissors at this angle allows you to cut close to the stitching, without cutting into it.
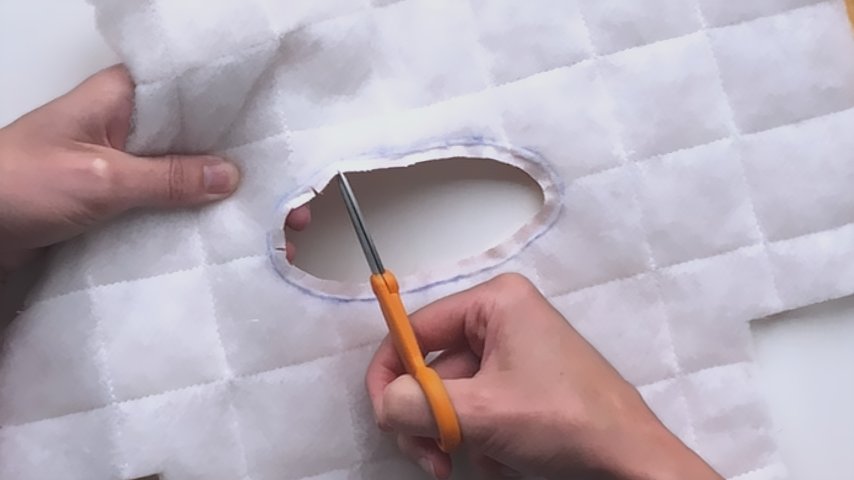
Use the tip of your scissors to cut slits in the seam allowance all around the oval. This will help your fabric sit flat when you turn it right side out.
Step 3
Push one of the layers of fabric through the oval opening to get the layers so they’re sitting wrong sides together.
Press around the opening to flatten the seam. If you’re using a polyester batting, be sure to lower your iron’s heat setting and don’t let your iron sit in one place for more than a couple of seconds, or you could melt the batting.
Topstitch around the opening, about 1/4″ away from the edge. I use a shorter stitch length (e.g. 3 mm) for this step, but not as short as when I was sewing the seam. Go slow during this step, as it is a bit challenging.
*Please ignore that the corner seams are sewn; I made a mistake and skipped this step before sewing them.
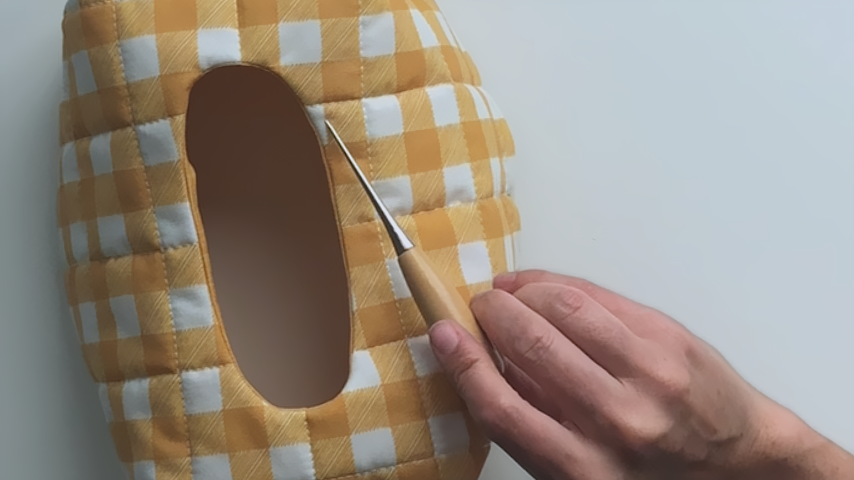
To keep my topstitching even, I don’t look in front of the needle (as I would when sewing a line seam and feeding the fabric through). Instead, I look to the left of the needle and ensure my fabric is staying a consistent distance away from the needle.
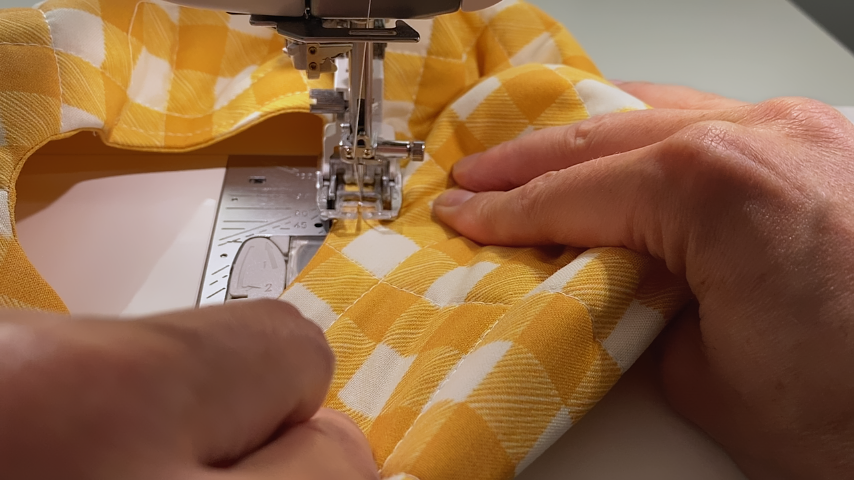
I also found it helped to pull on the fabric in front of the needle a little bit, to straighten it as you sew. Just be sure you’re not pulling it so much that it causes creases in the top fabric.
Step 4
Fold one layer of your fabric right sides together, so that two corner edges that are next to each other come together. Use your finger to ensure the fabric is sitting flat and isn’t bunched in the fold.
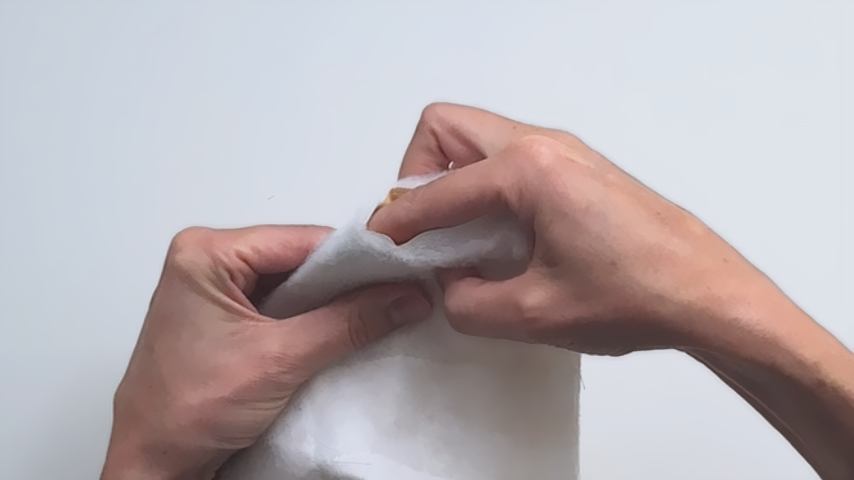
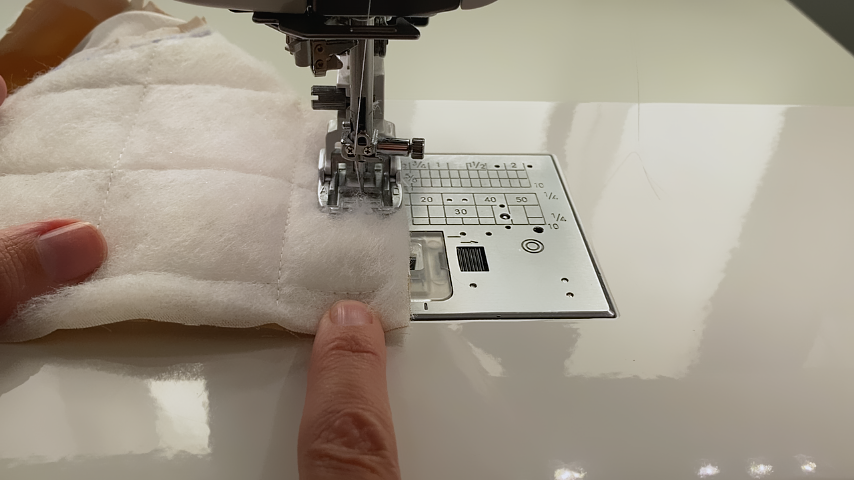
Sew using a 1/2″ seam allowance (or less if you’ve added bulky batting). I start sewing at the folded edge and sew toward the cut edge, backstitching at the start and end.
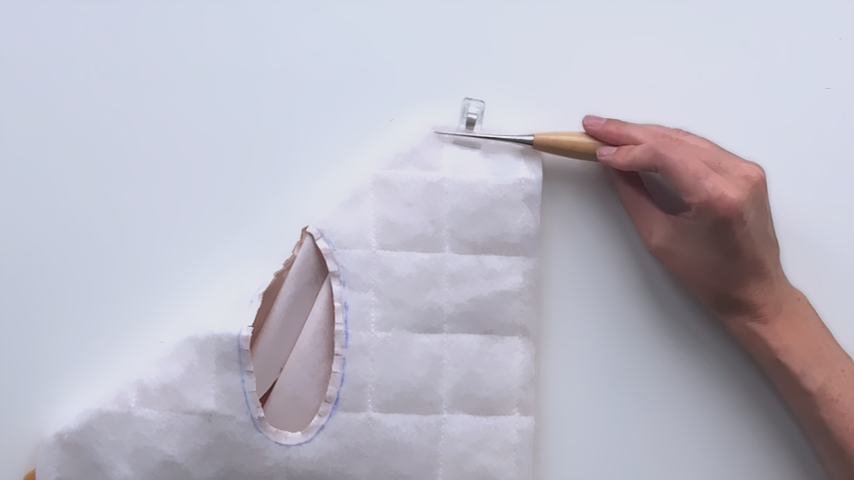
If you’ve added batting, use the tip of your scissors to cut the batting only up to the stitching so you can open the batting’s seam allowance.
If you haven’t added batting, you can skip this step and leave the fabric’s seam allowance as is.
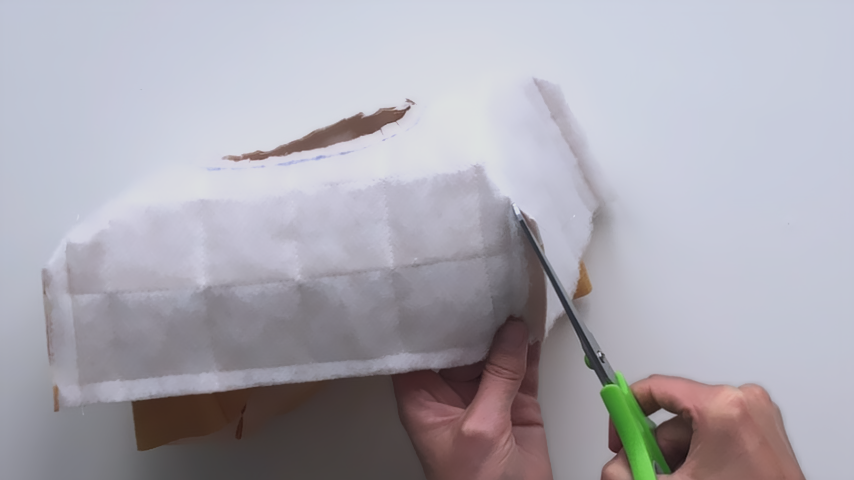
Then hold your scissors almost parallel to the fabric and cut the batting’s seam allowance, close to the stitching. Leave the fabric’s seam allowance in place.
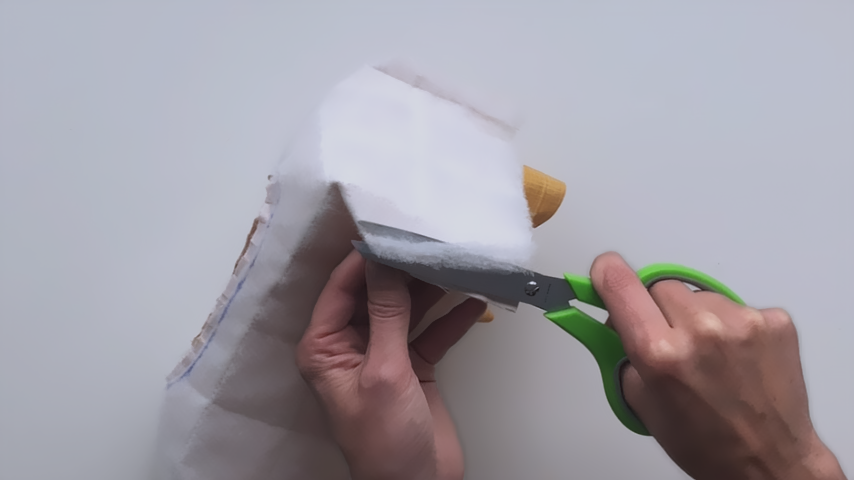
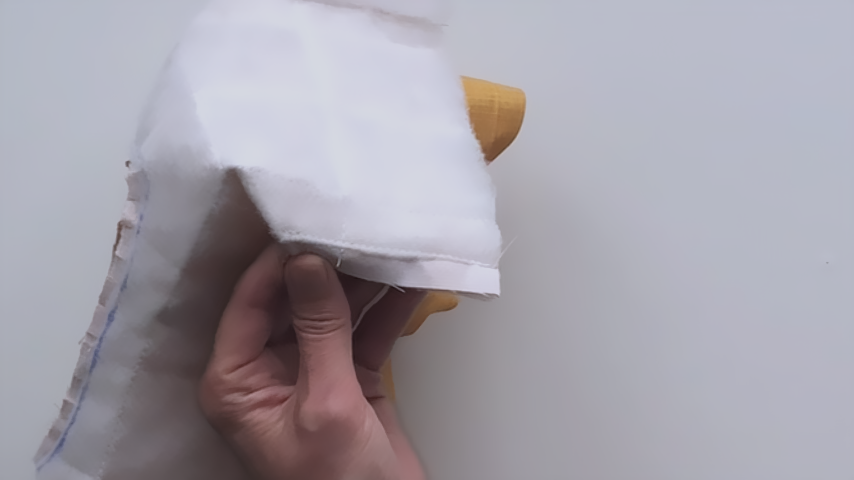
Repeat this on both sides of each seam to remove the bulky batting.
Sew the corner seams for each corner of your lining.
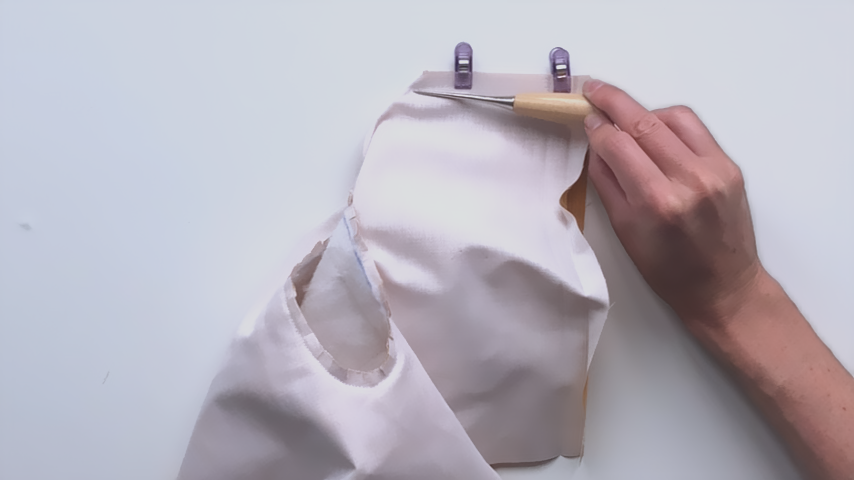
For the lining’s corner seams, use the tip of your scissors to clip up to the stitches, so you can open the seam.
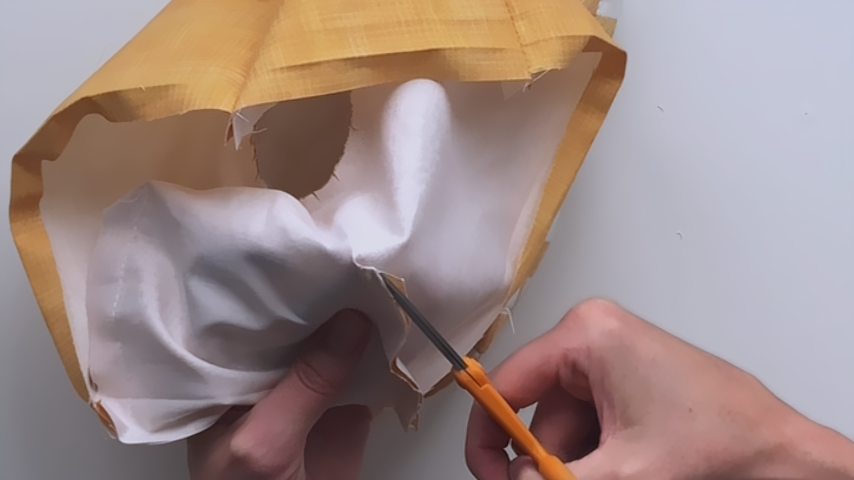
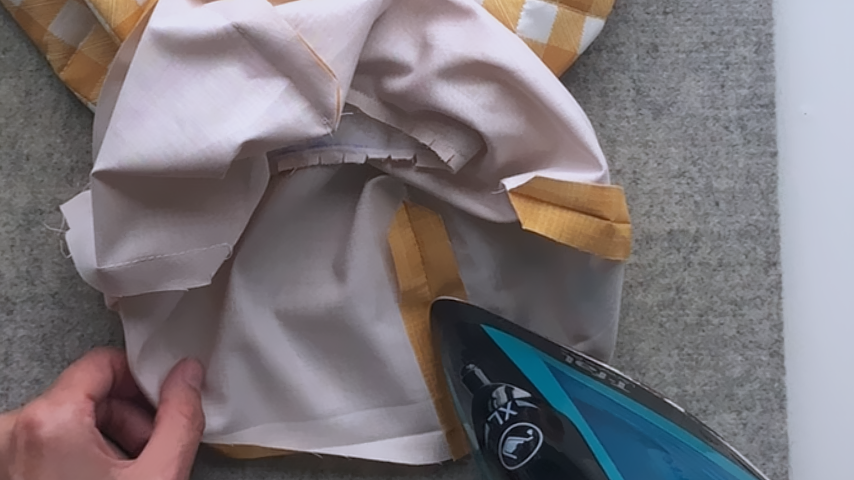
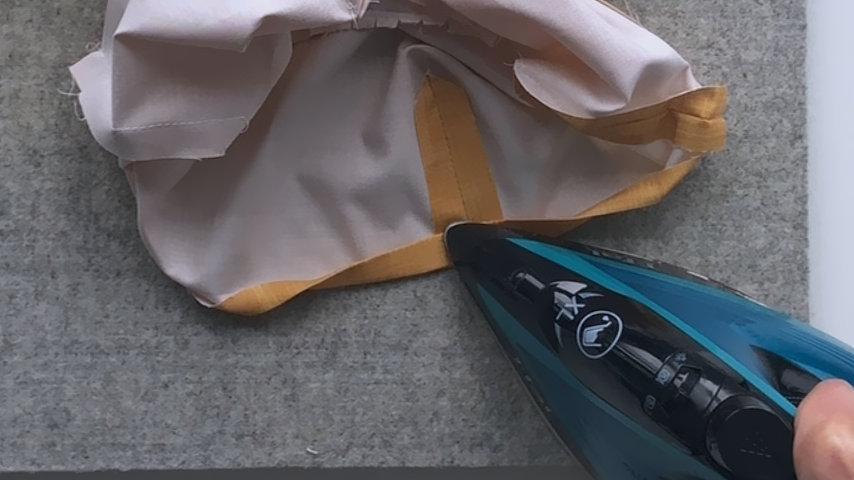
Press the seam open, then fold the hem up and press.
Step 5
Place the two layers of fabric wrong sides together and line up each corner seam.
Fold the corner seam allowance of the outer fabric to one side; the lining’s seam allowance will be open.
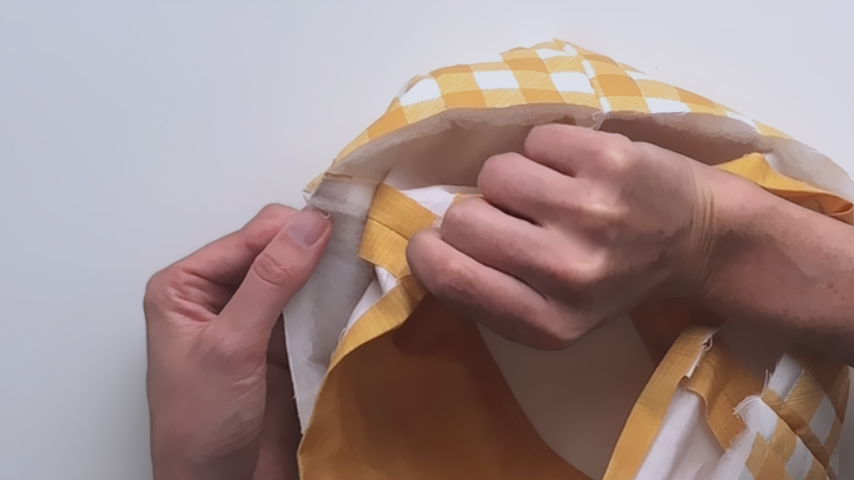
From the outside, make sure the corner seams of the outer fabric and lining line up, clip into place. Fold your lining’s hem over the bottom of the outer piece and clip into place.
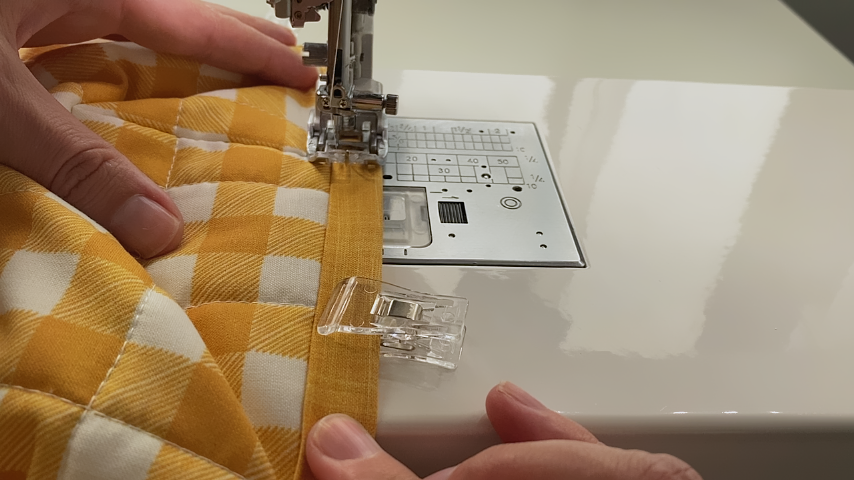
Flip the cover wrong side out so you can sew the lining’s hem into place, sewing about 1/8″ in from the inside edge.
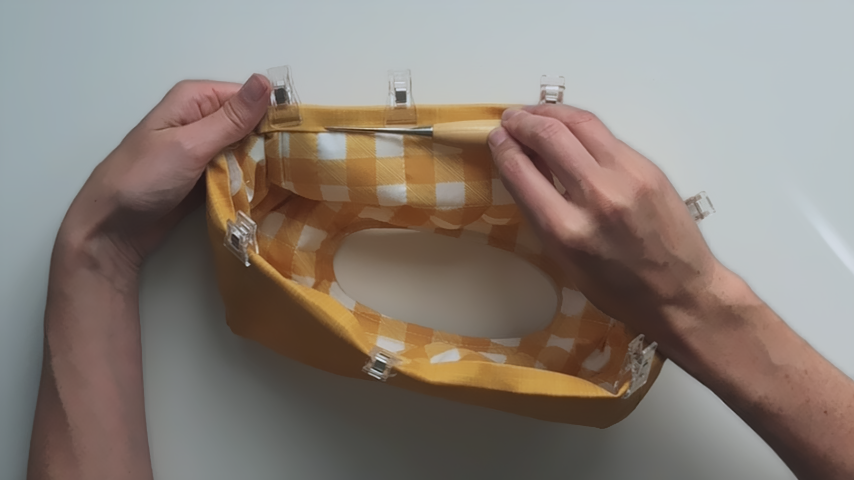
Your rectangular tissue box cover is complete!