How To Sew Square Coasters with Binding
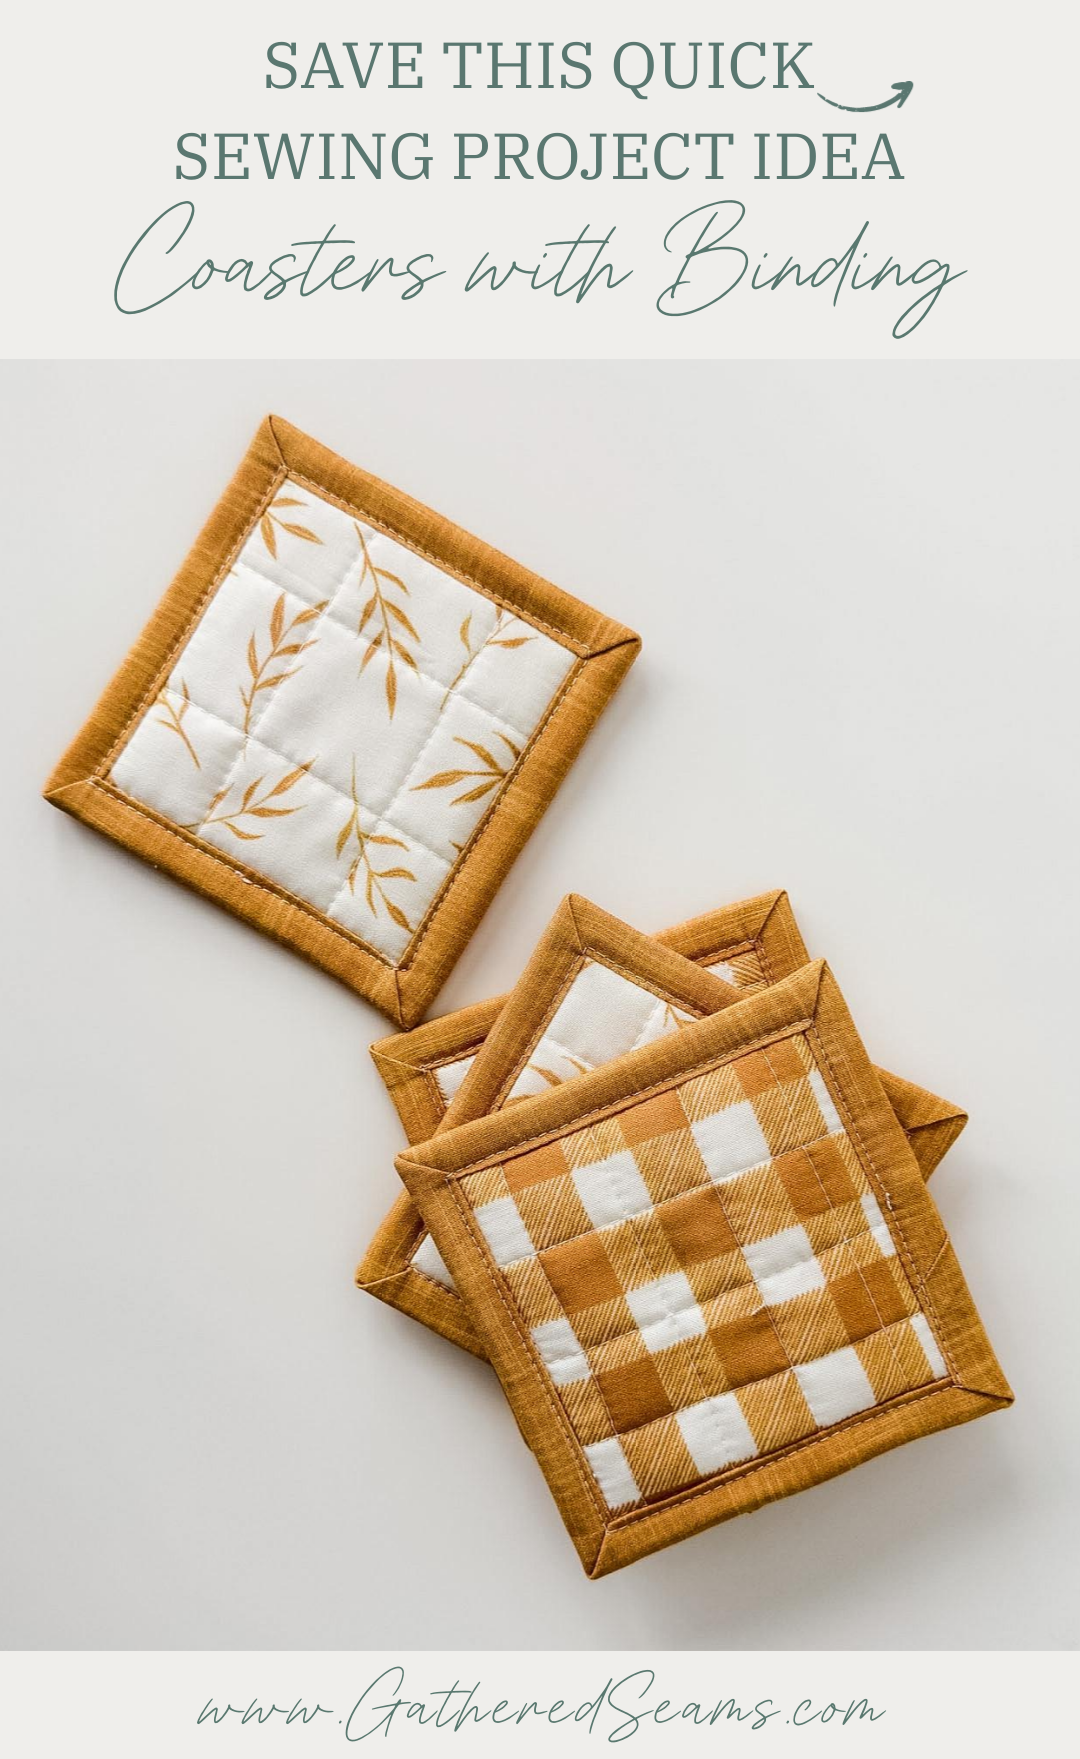
Coasters are a quick and (fairly) easy sewing project. These square coasters with the binding finished edges are a little more challenging than my beginner coasters and coasters with a mitered hem, but they’re a good project when you have scraps leftover from a quilted project.
I tested a few different ways to join the ends of the binding, and I figured out a way that makes the joining seam almost invisible.
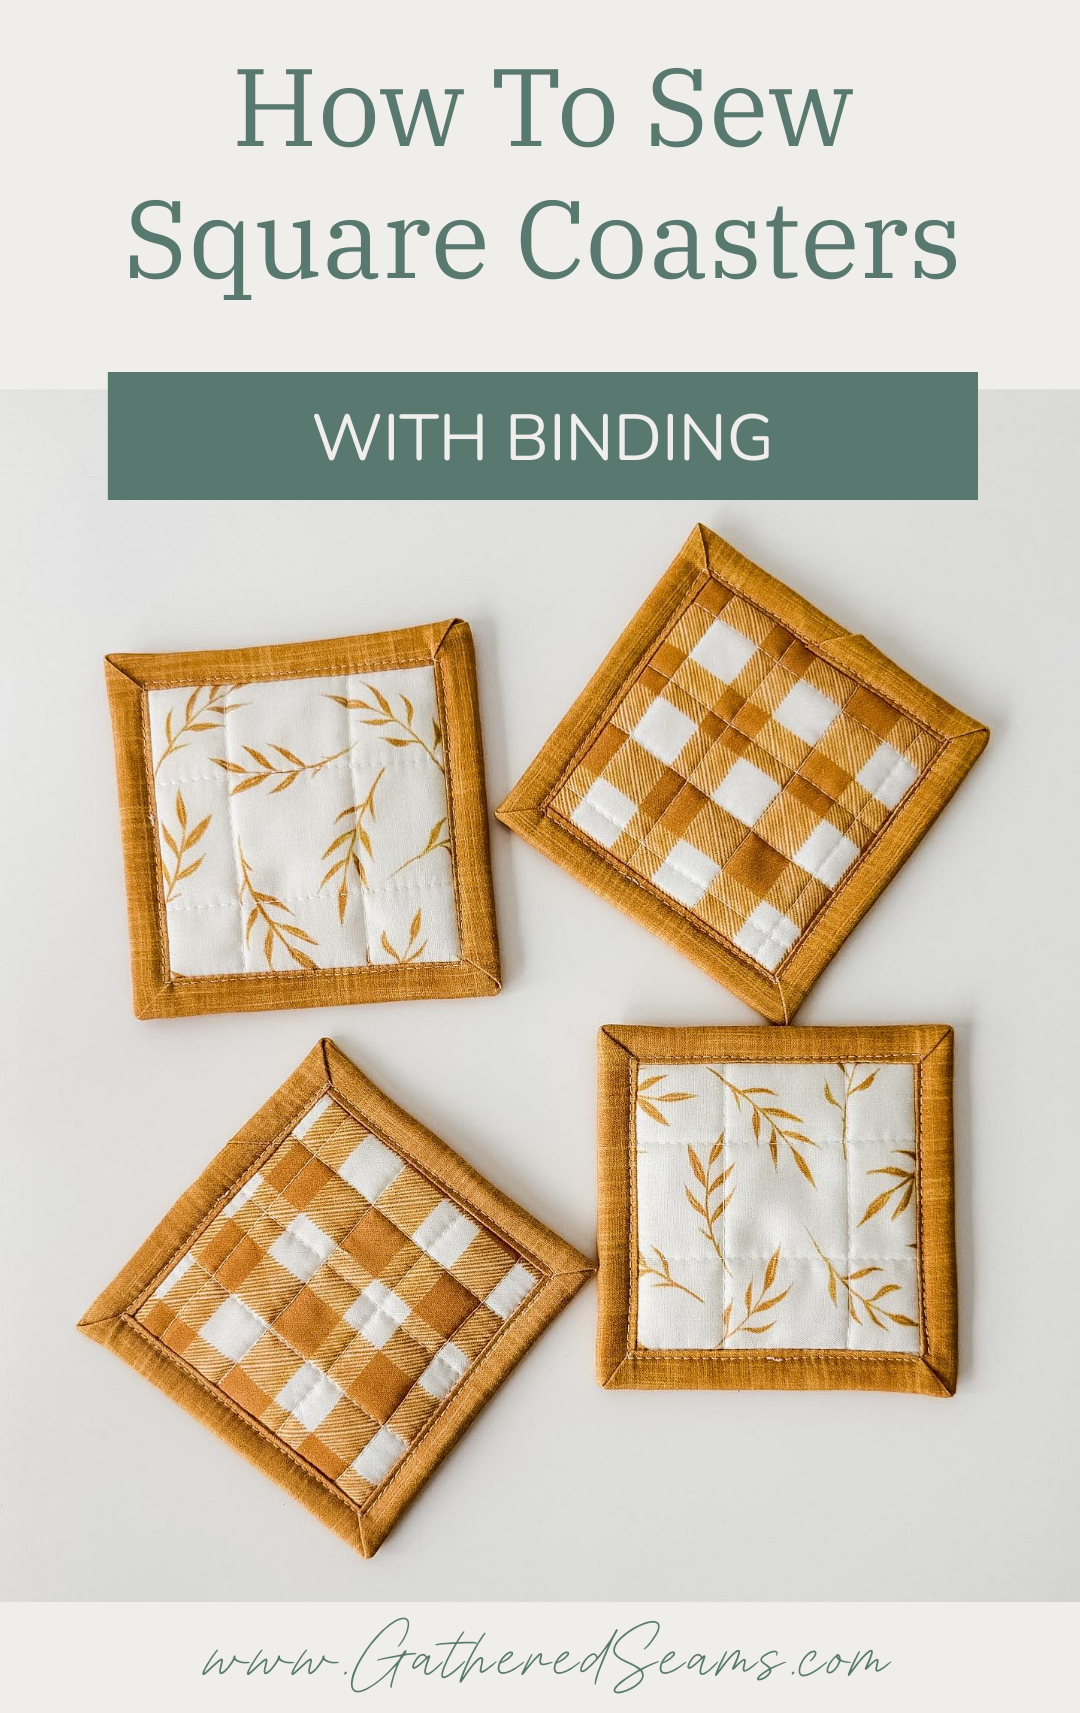
You can see in the photo below that the top right and bottom left coasters have the ends join in the middle of one of the sides. Whereas the other two coasters, I used a method to completely hide the joining seam.
Once you get the hang of sewing binding on, this will be a simple project.
Materials
As an Amazon Associate, I earn from qualifying purchases (see full disclosure here).
- Fabric for both sides
- Batting (thermal batting is ideal to protect surfaces from hot drinks)
- 1/2″ double-fold binding (2″ wide when unfolded) – you can make your own out of a 2″ wide strip of fabric.
- Thread
Tools
- Sewing machine
- Temporary fabric pen or chalk
- Ruler
- Iron
- Scissors
- Pins or clips
Steps to sew square coasters with binding
Step 1
Cut out your squares in your top fabric, bottom fabric, and batting.
You can cut these to any size you like.
4″ x 4″ is a typical size for a coaster.
I was using the corners I cut out of my fabric to make my square tissue box cover, so my squares are 4-1/2″ x 4-1/2″.
Add your batting between your top and bottom fabric and then use a quilting stitch to secure those layers together.
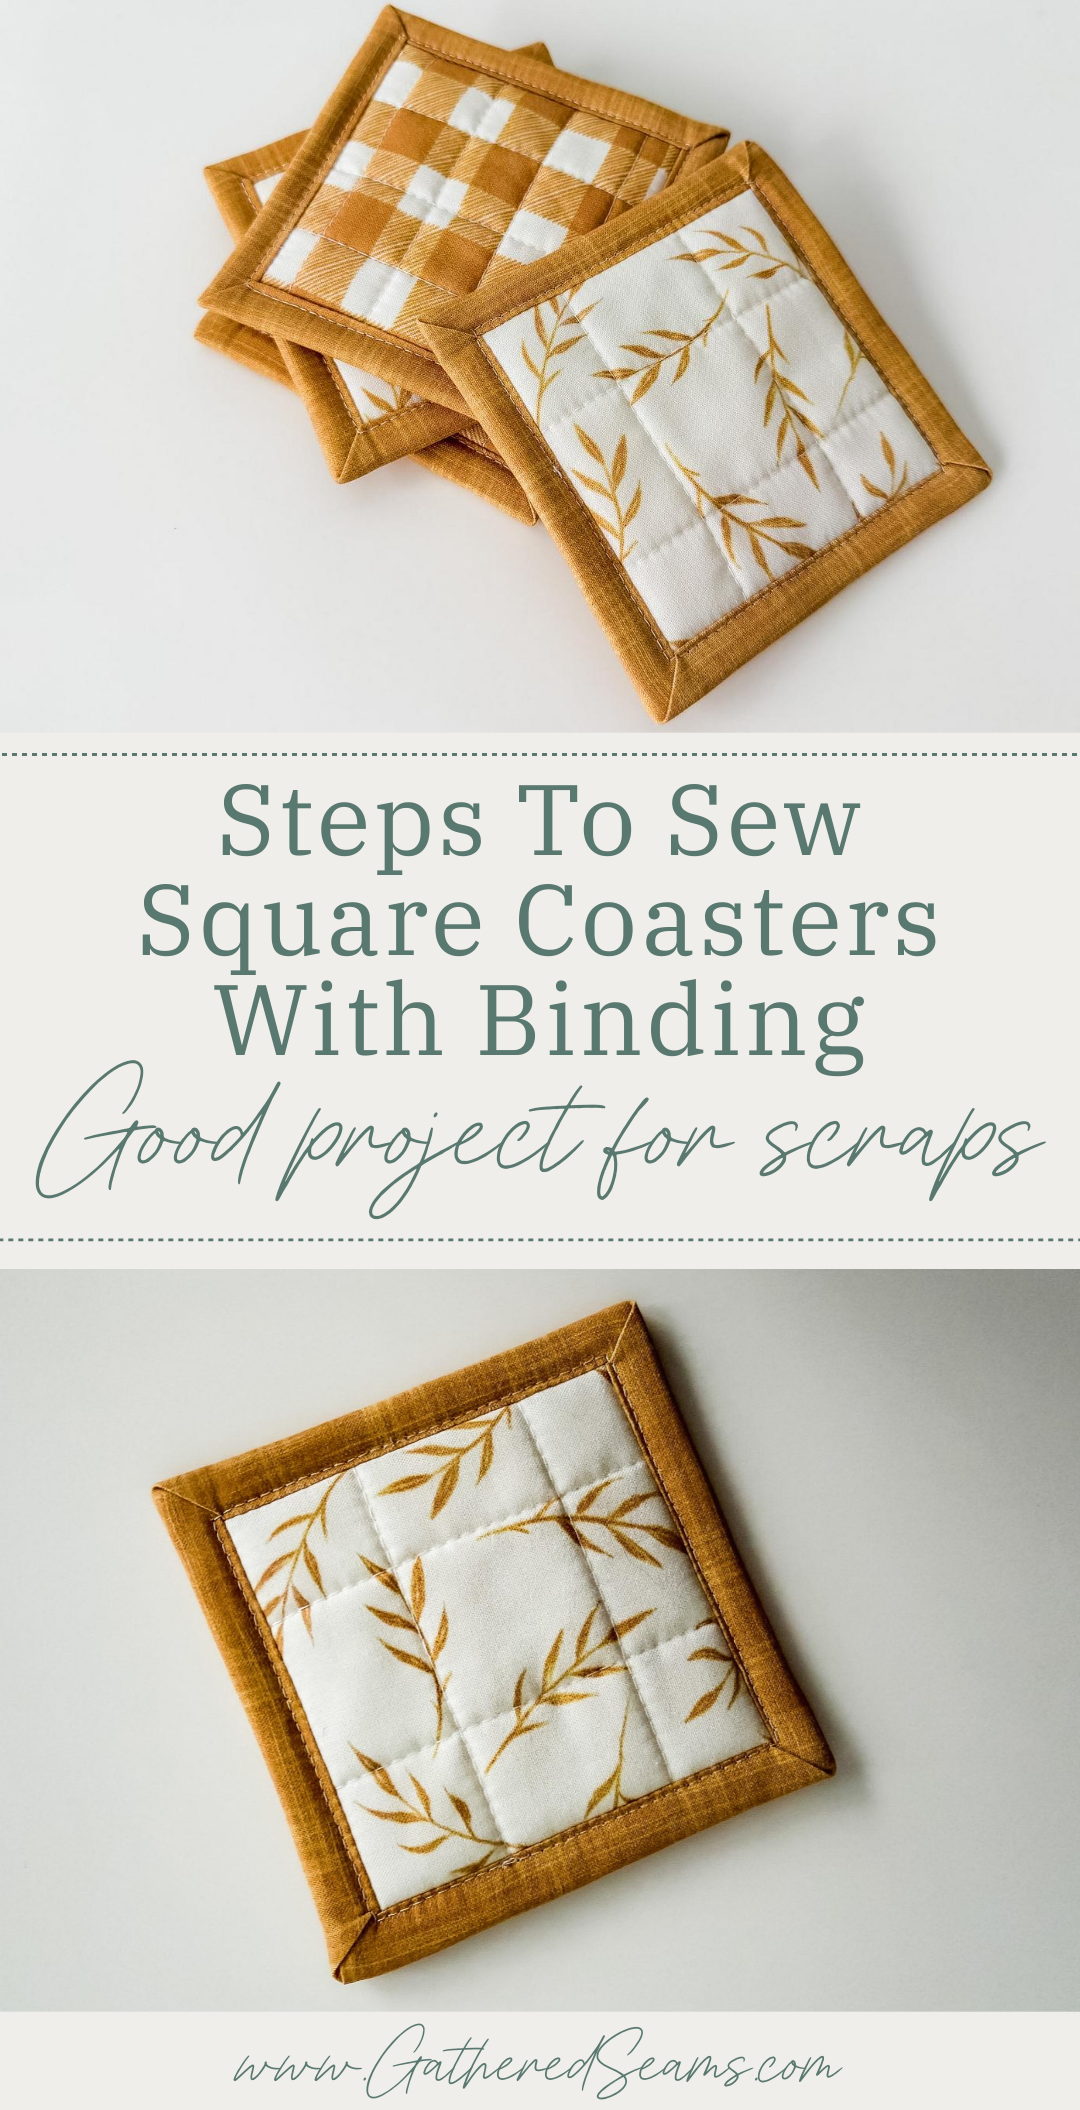
These are the scrap pieces I had; each layer of fabric was already quilted together with the batting.
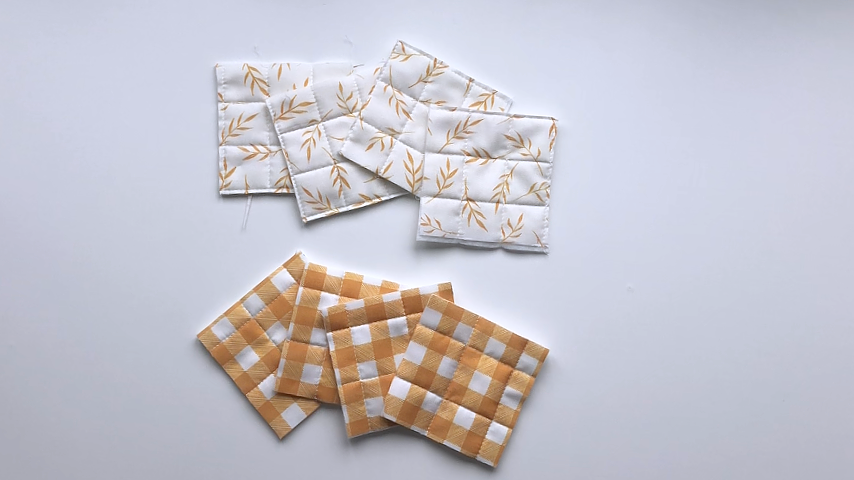
If you’re also using quilted scraps, place the two pieces, wrong sides together.
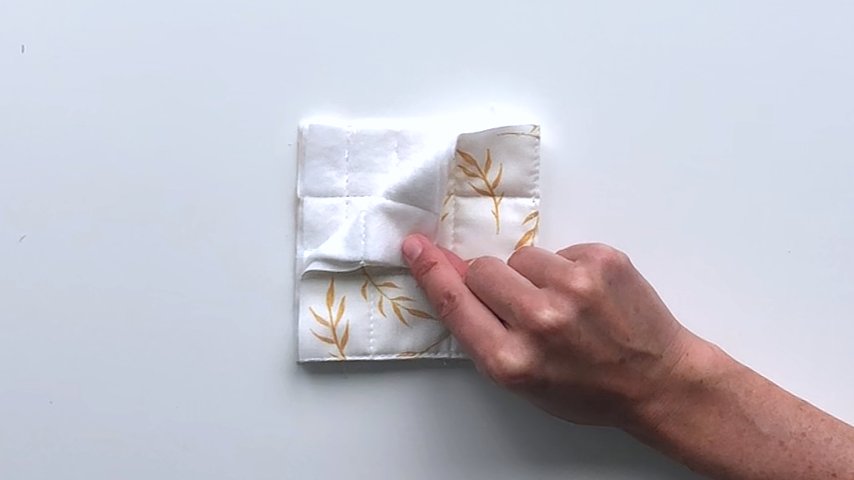
Then baste around the edges to “squish” all the layers together, which will make it easier to sew your binding on.
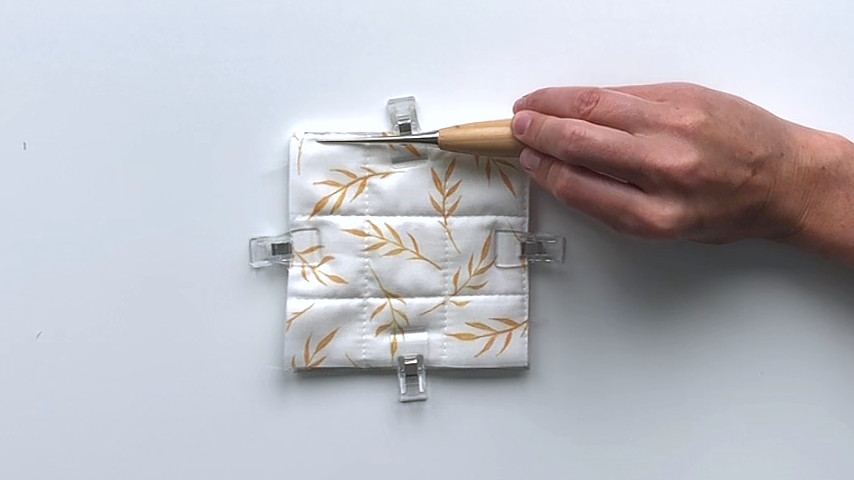
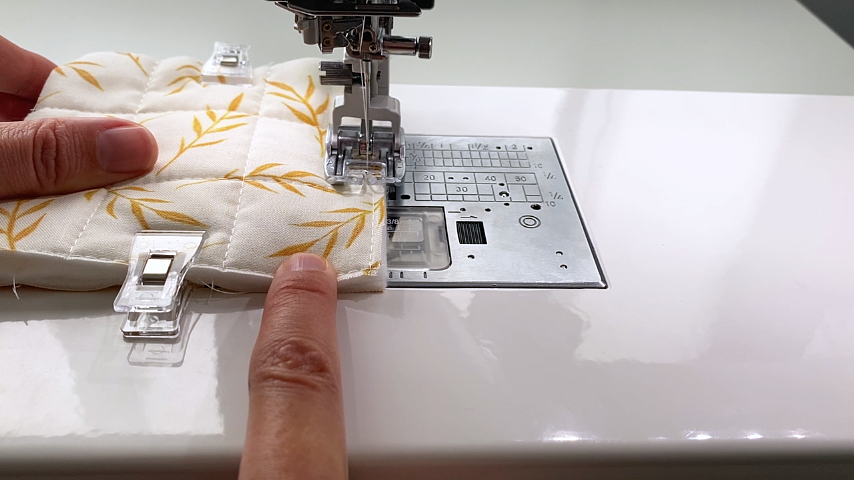
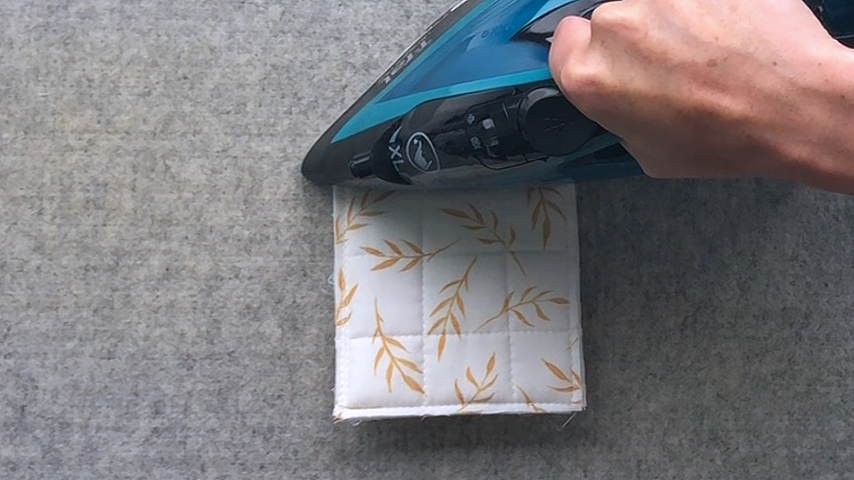
I like to press the edges down, which will also make it easier to sew the binding on. Be sure you don’t hold the iron in one place too long or use too hot of a setting; you don’t want to melt the batting.
Step 2
Unfold your binding and line the edge up with the edge of the coaster. You want the end of the binding to extend past the top edge of the coaster by about 1″.
You’ll start sewing in the first fold of the binding, about halfway down the side of the coaster. When you get to a corner, you’ll keep your needle down, lift the presser foot, and pivot the coaster so you can sew off the point of the corner, at a 45-degree angle.
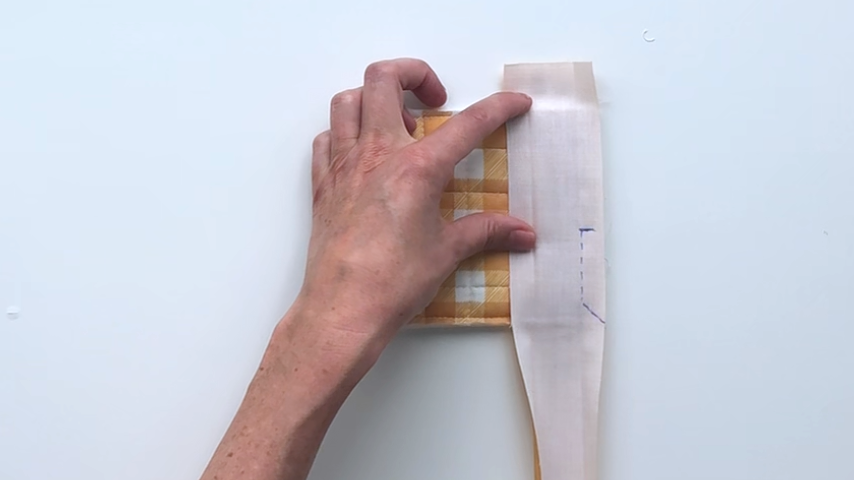
To get an accurate 45-degree line to sew along, you can fold your binding, so the edge closest to you lines up with the edge of the coaster. Use your finger to press a crease, and then sew along that crease.
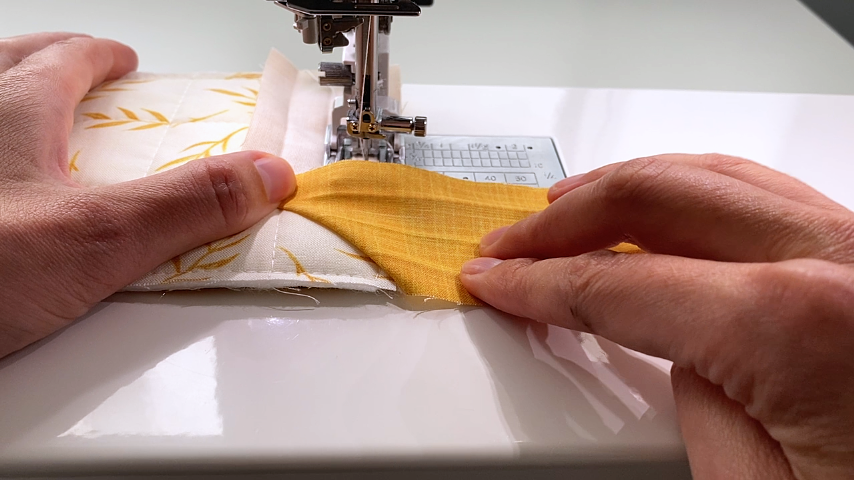
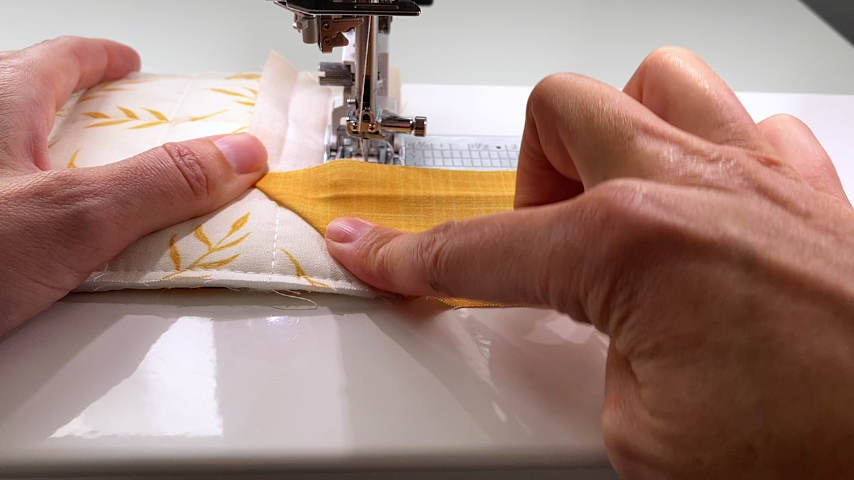
You want to sew right off the point of the corner:
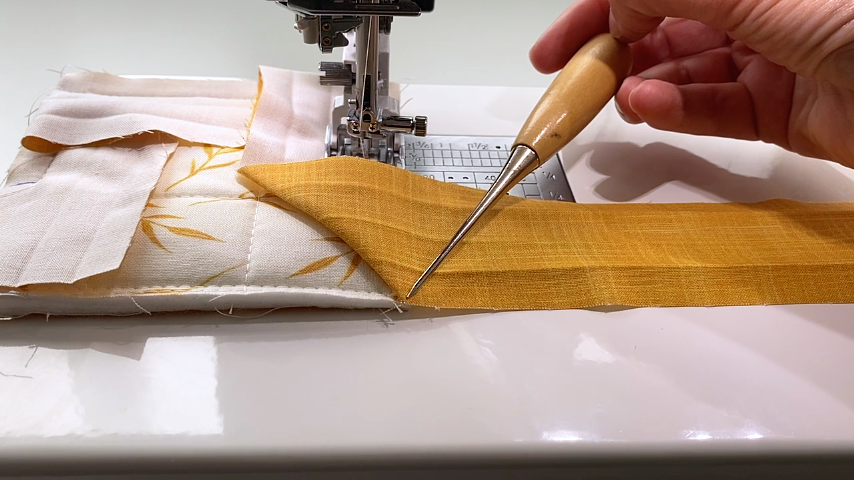
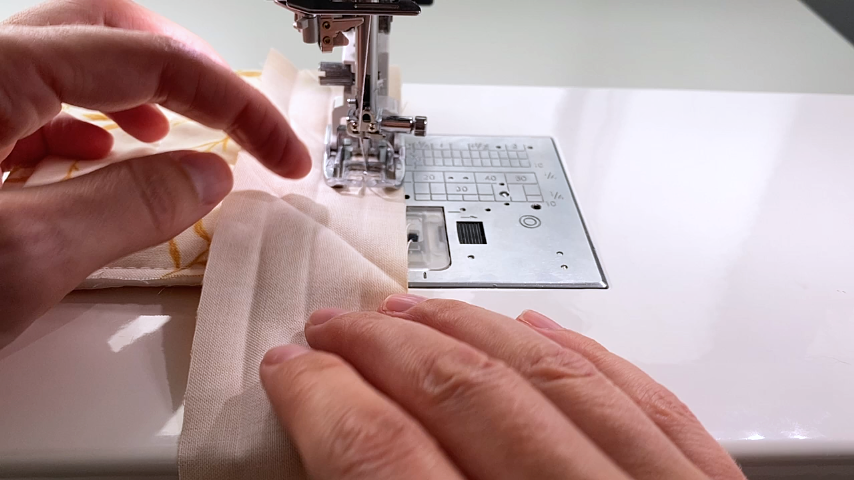
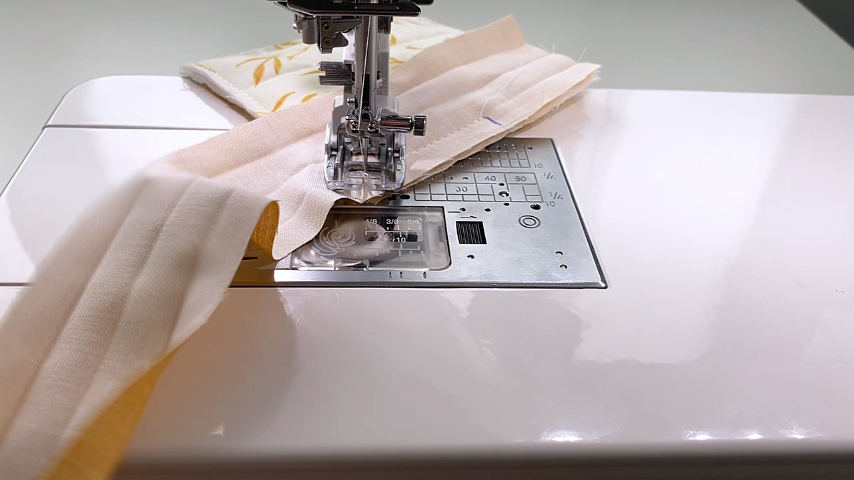
Remove the coaster from under the presser foot and fold the loose end of the binding back, so the fold follows that 45-degree line from the corner.
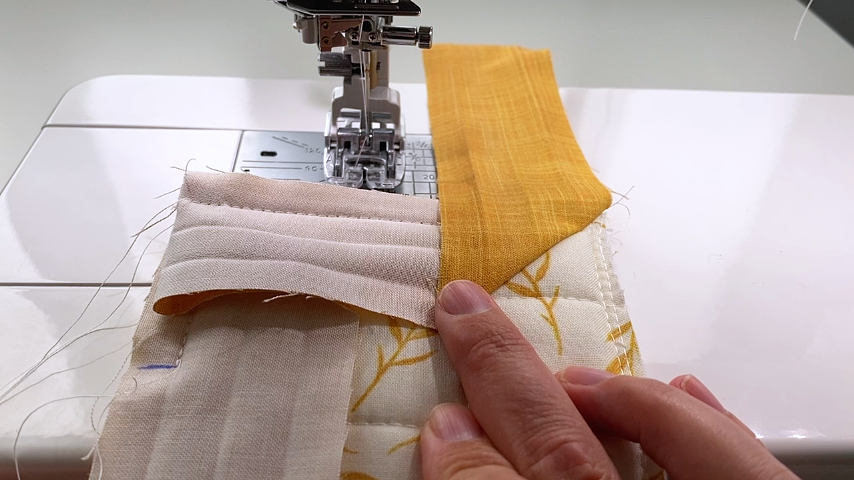
Then bring the binding forward again, lining up the outer edges, and ensuring the top fold is in line with the top edge of the coaster.
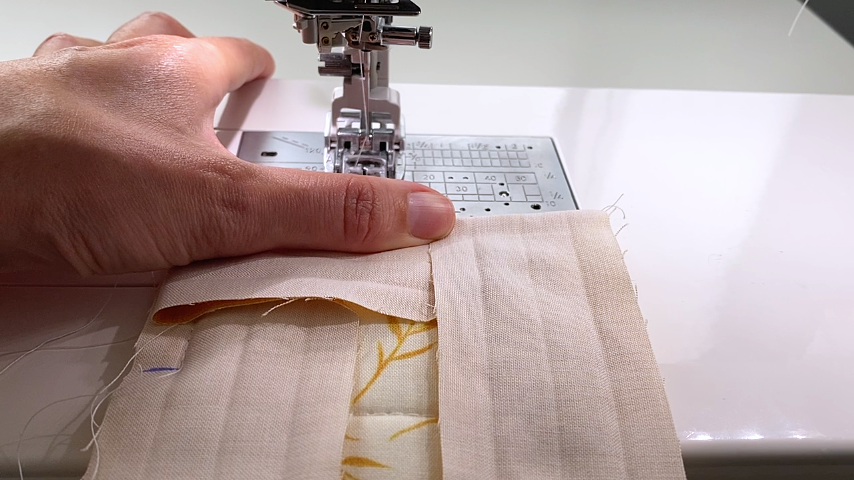
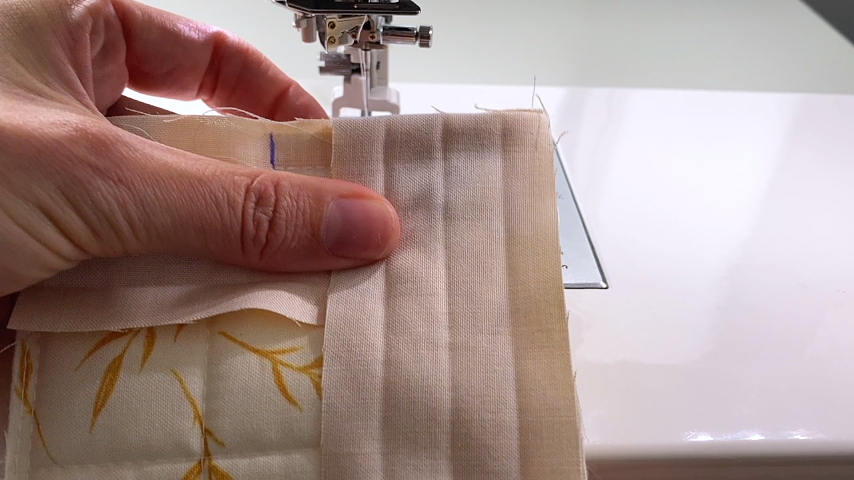
Sew from the top of the coaster, in the first fold of the binding, up to the next corner, and repeat the steps.
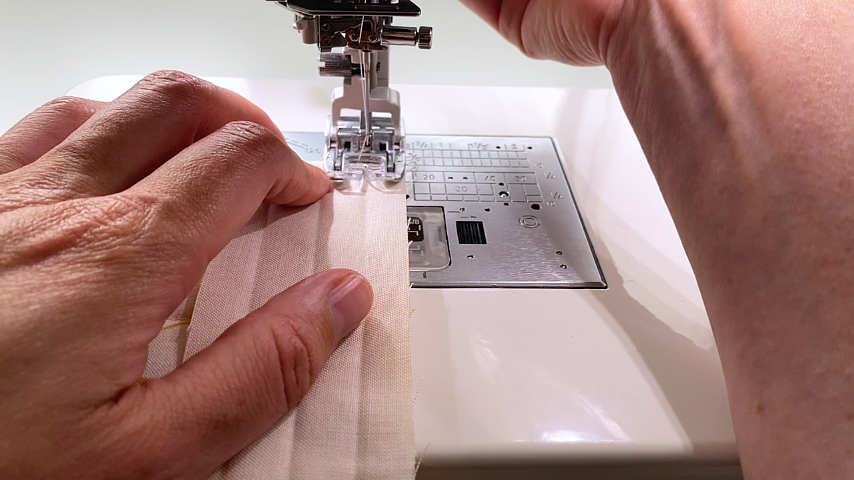
When you come to the last corner, sew off it at the 45-degree angle, fold the binding back, then set the start of the binding on top.
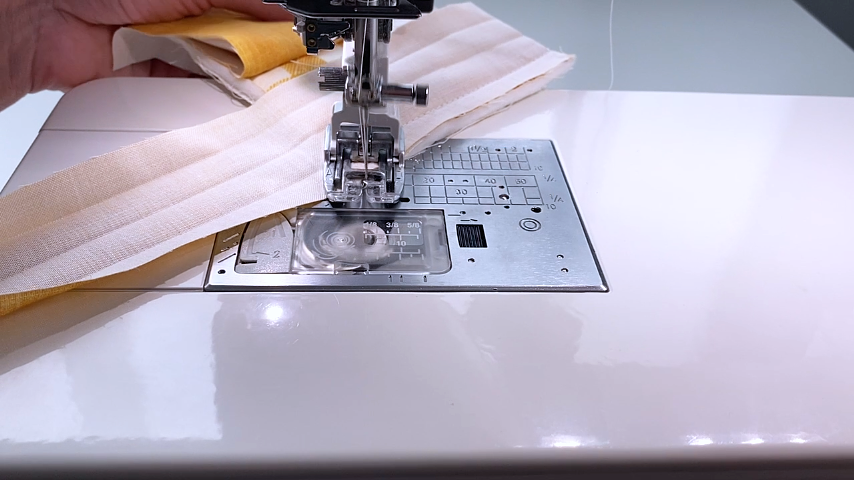
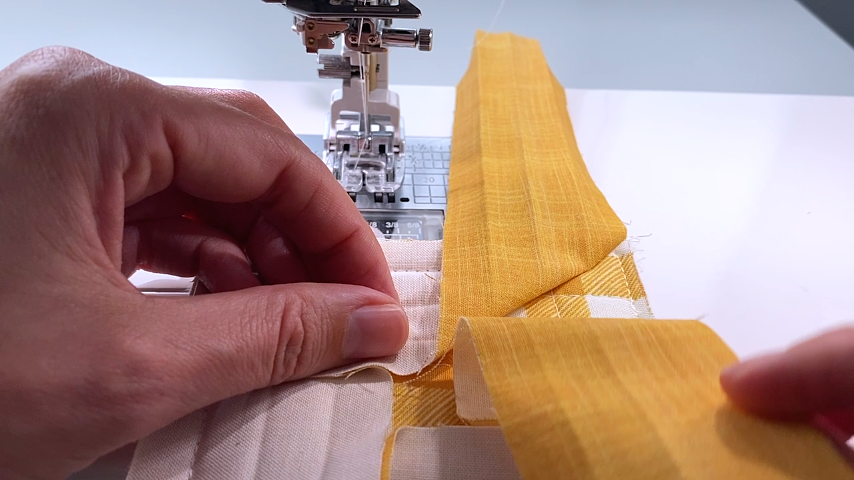
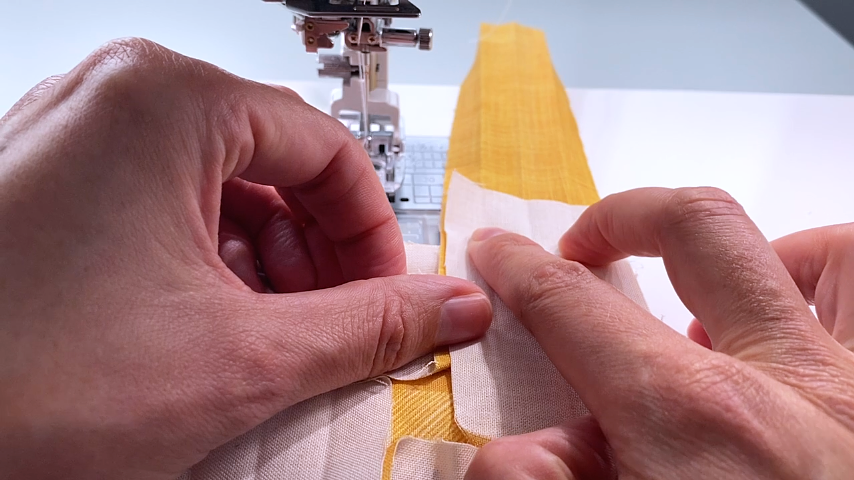
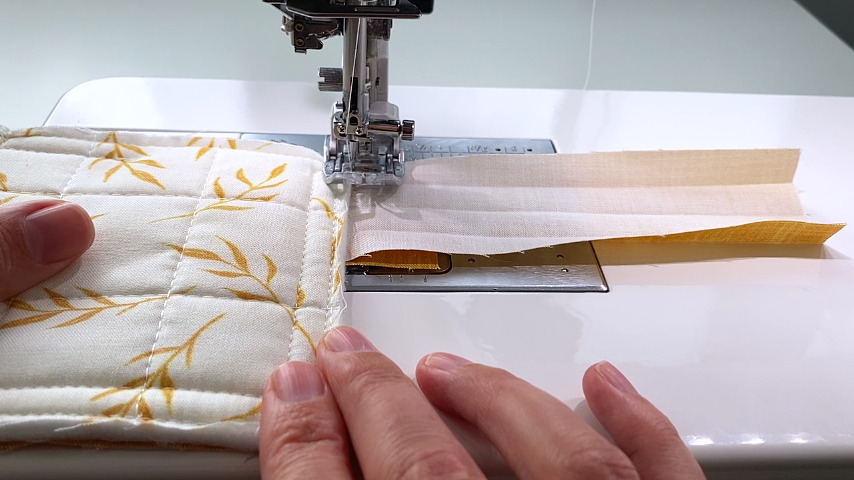
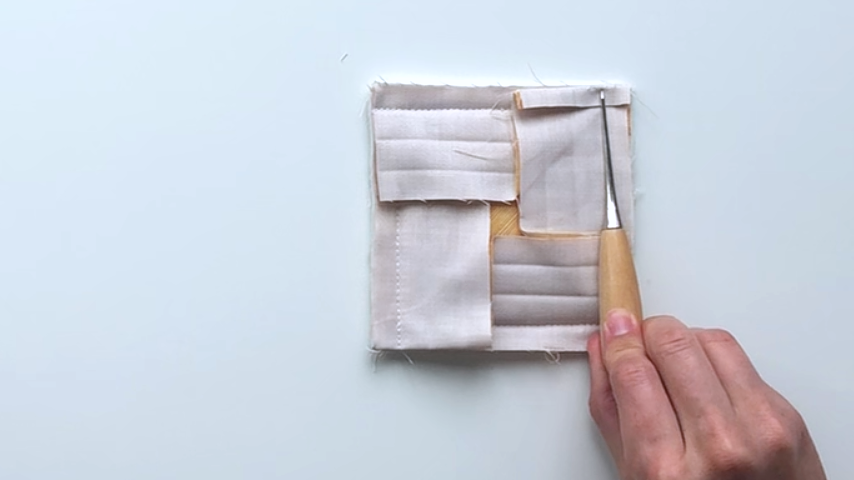
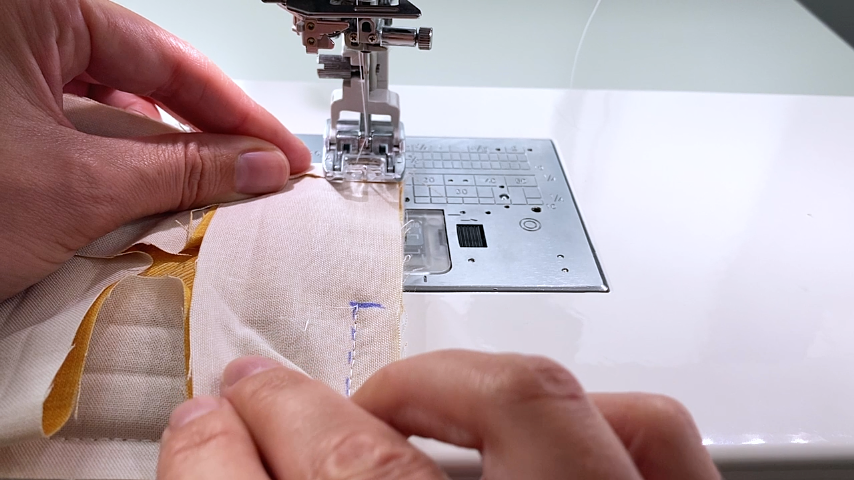
You’re going to join the two ends right at the end of the coaster. You want to sew as close to the coaster’s edge as possible, without catching the coaster.
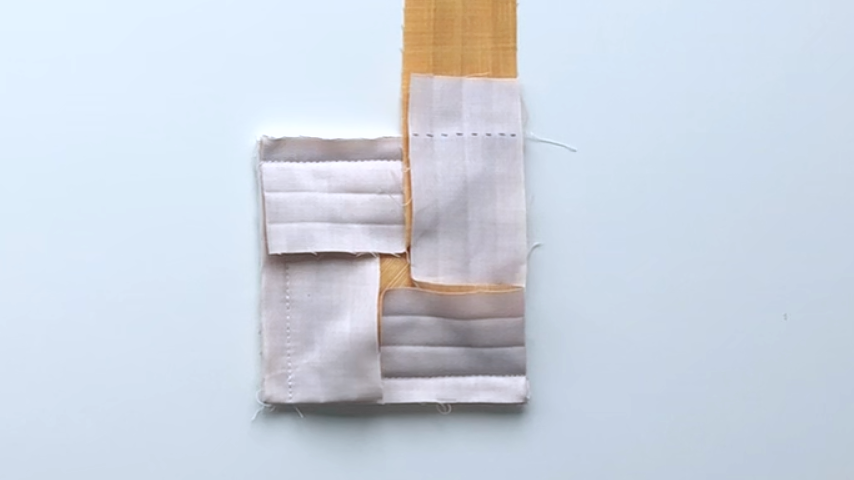
I move my needle to the left and flip the coaster over, so the binding is on the bottom, which I find makes it easier to sew close to the coaster.
Trim the seam allowance to about 1/4″. You want to reduce the bulk as much as possible in this corner, so I found grading the seam allowance (cutting one side shorter than the other) also helps.
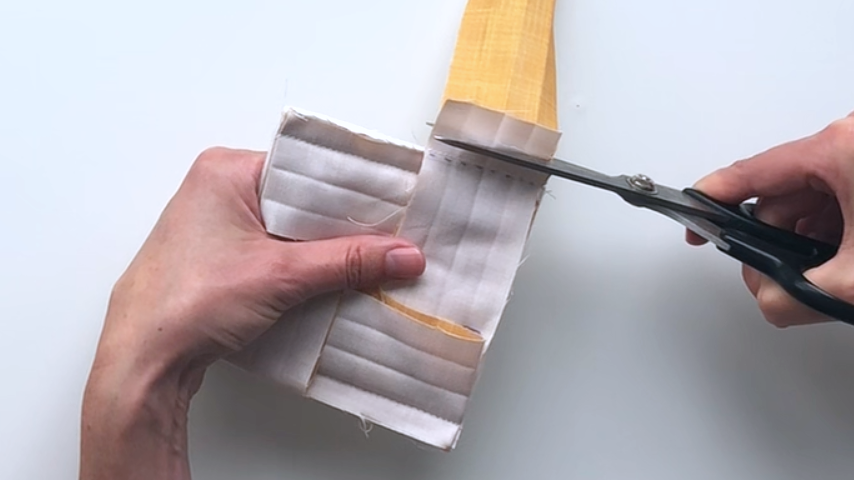
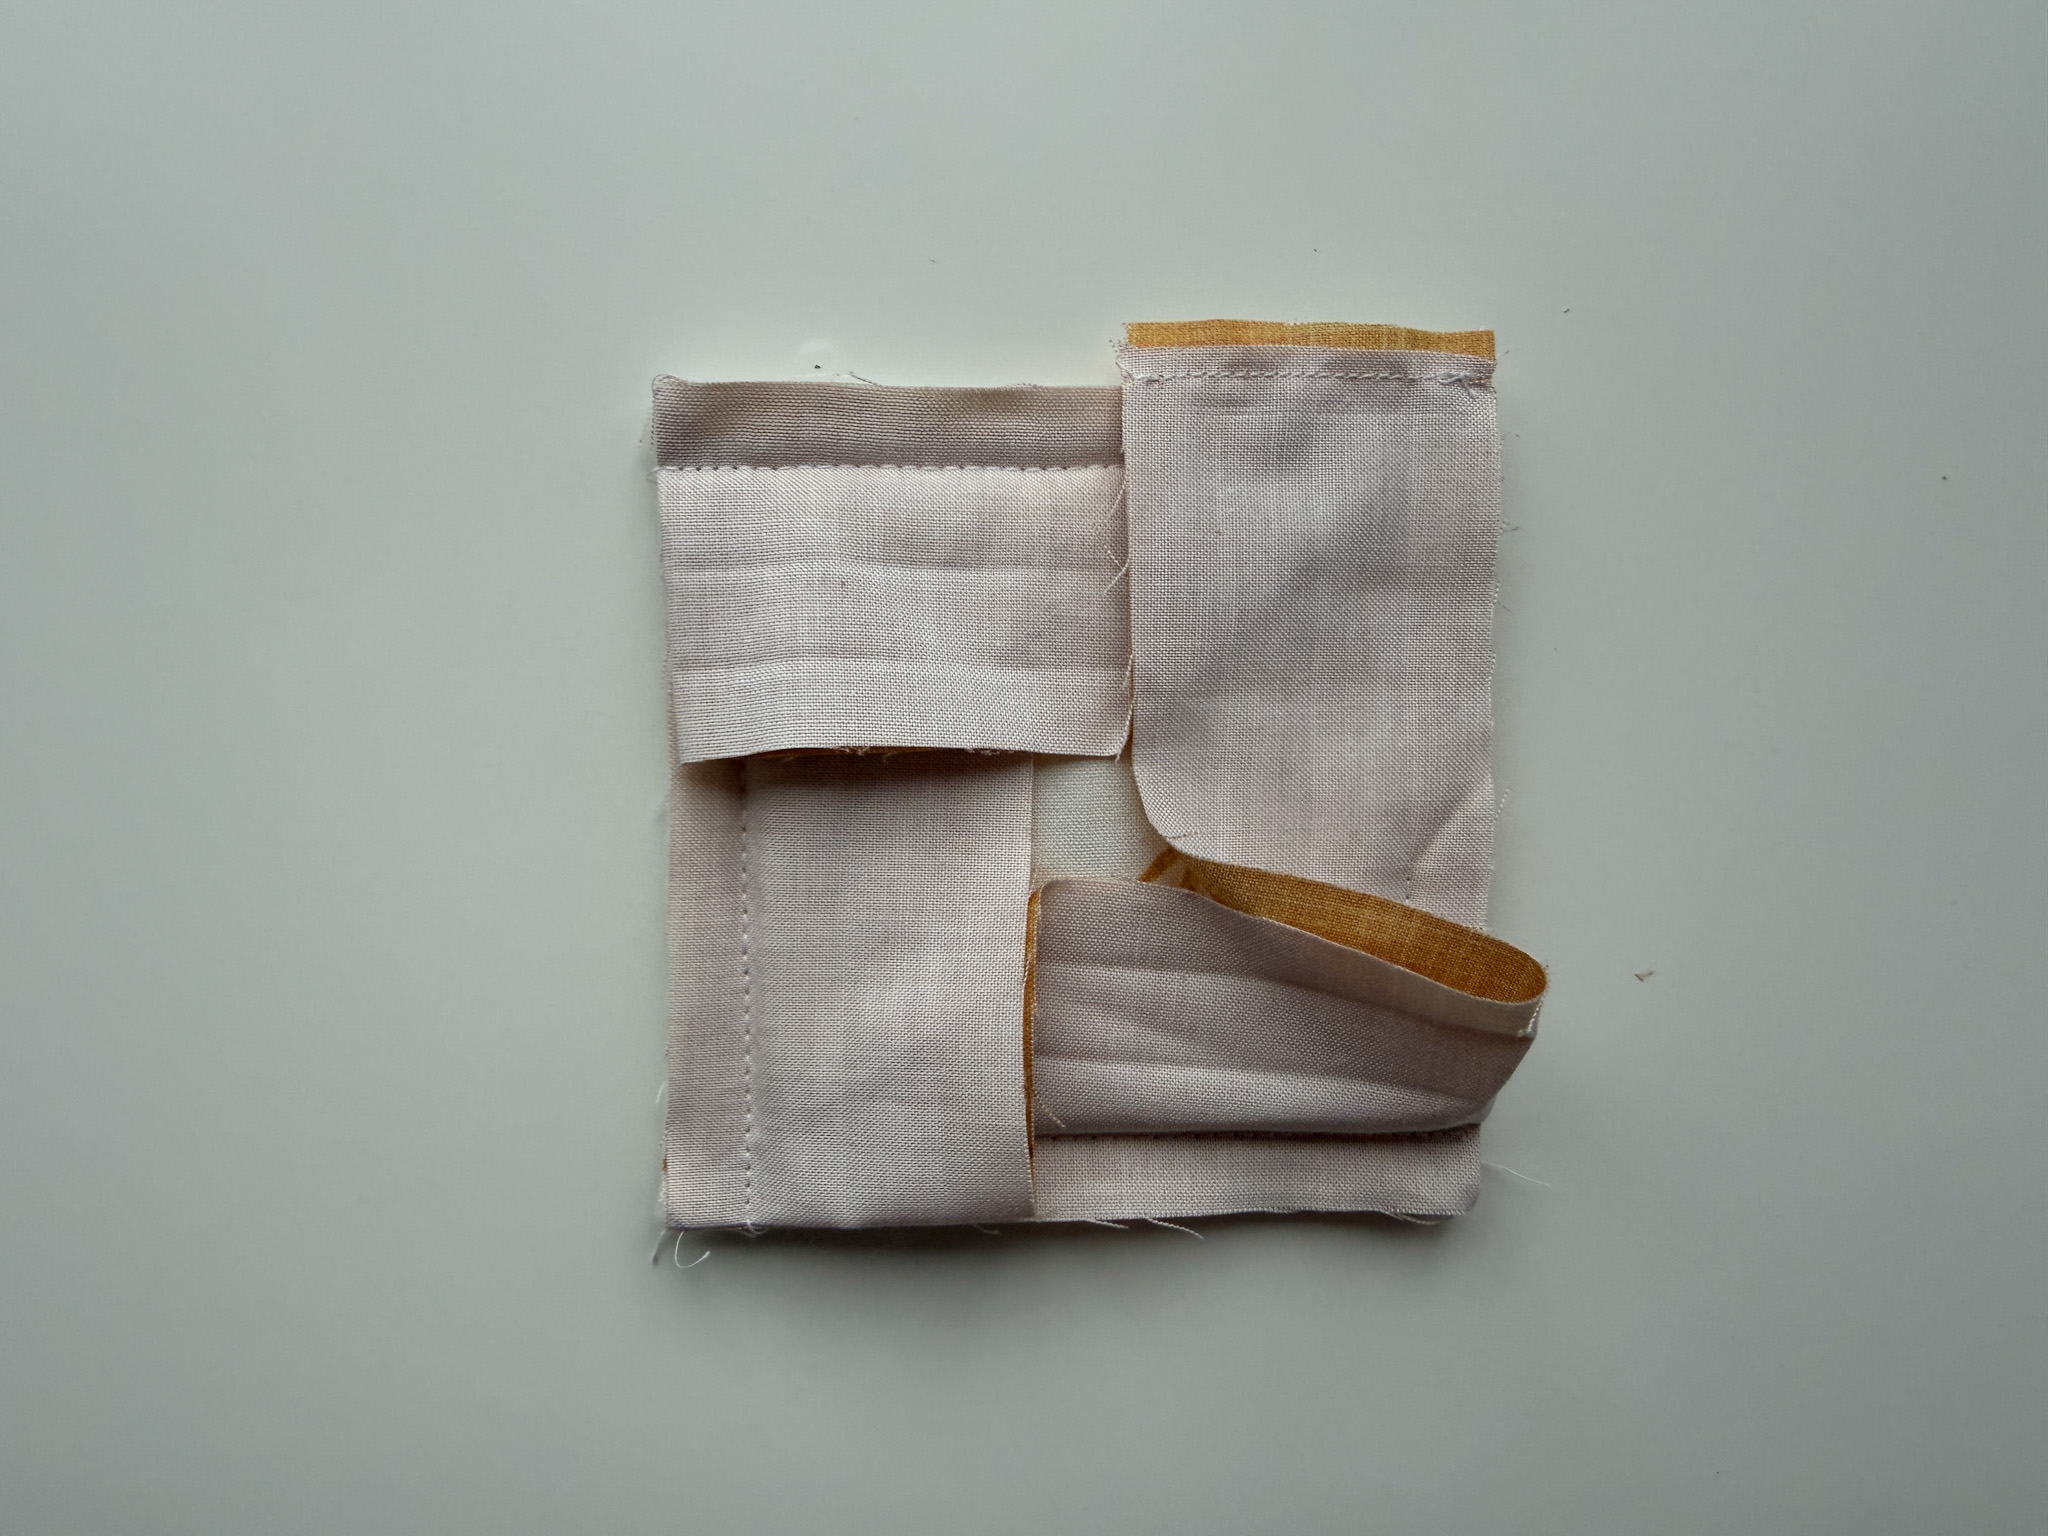
Fold the seam allowance down, and continue sewing the binding from the top edge up to the start of your stitching.
Step 3
Flip your binding to the other side, making sure you’re pulling the corners nice and tight.
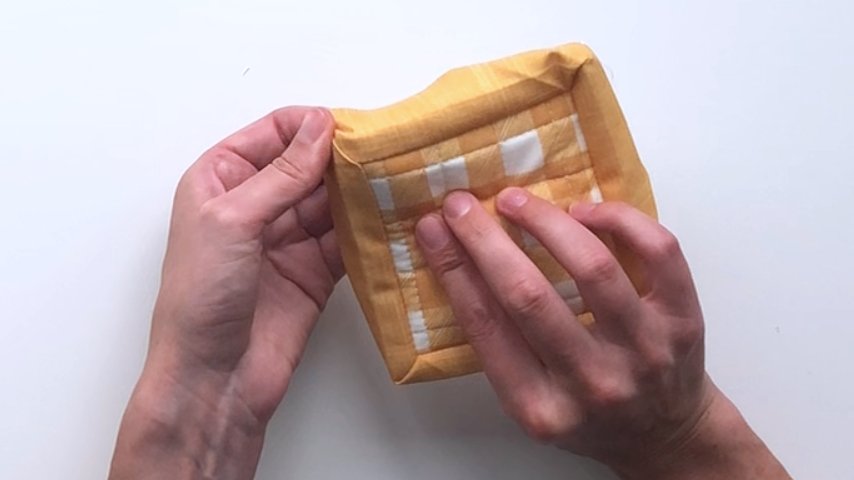
Fold the first edge of the binding in.
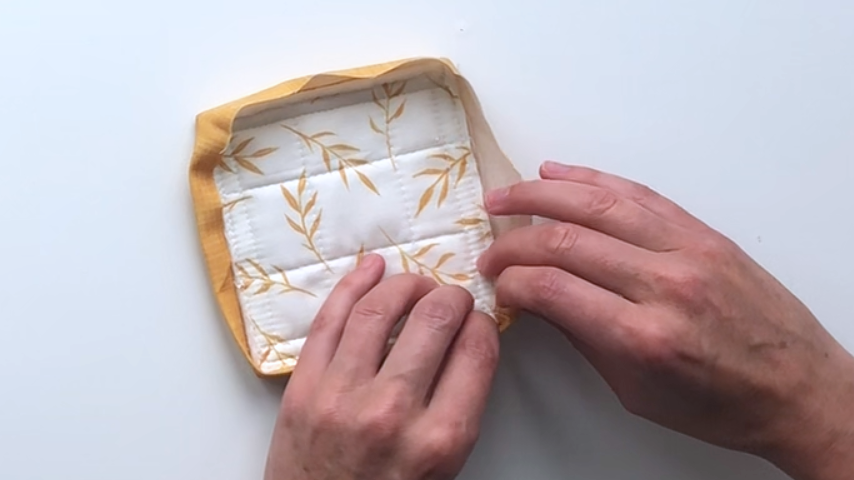
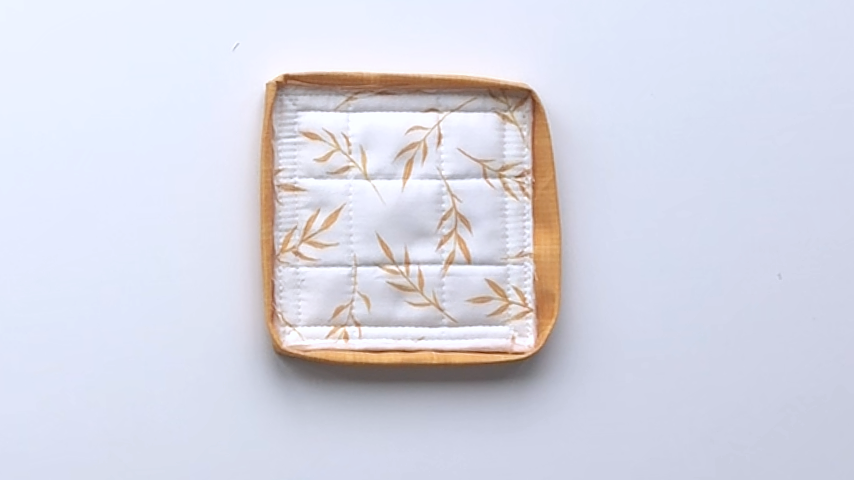
Look at the binding from the side that is already sewn on. The edge that has the corner fabric folded on top, will have the corner fabric underneath on the other side. This will reduce the bulk in the corners.
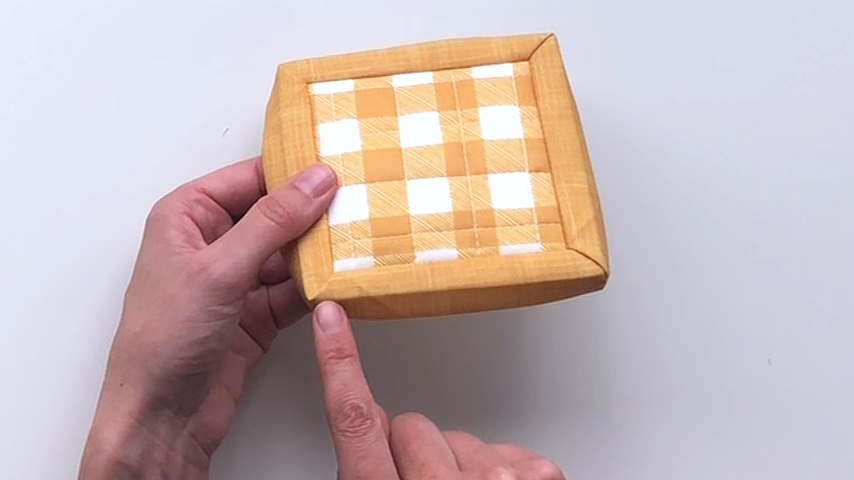
So fold that edge flat to start.
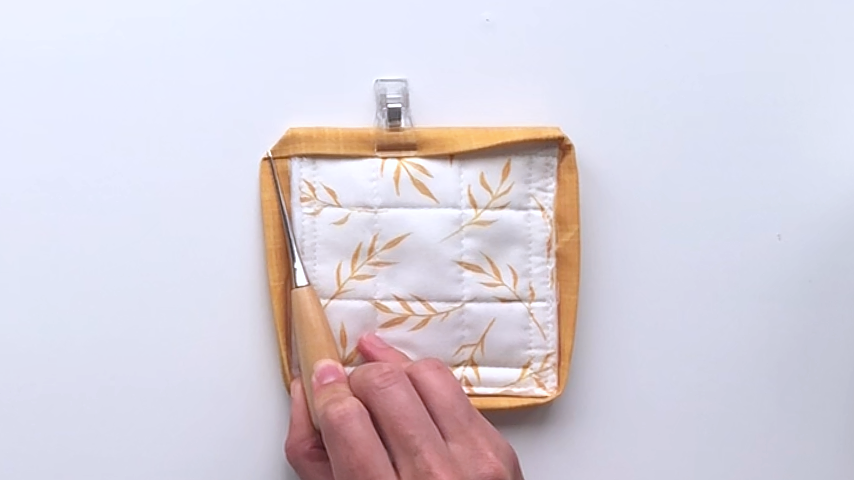
Then fold the other edge in.
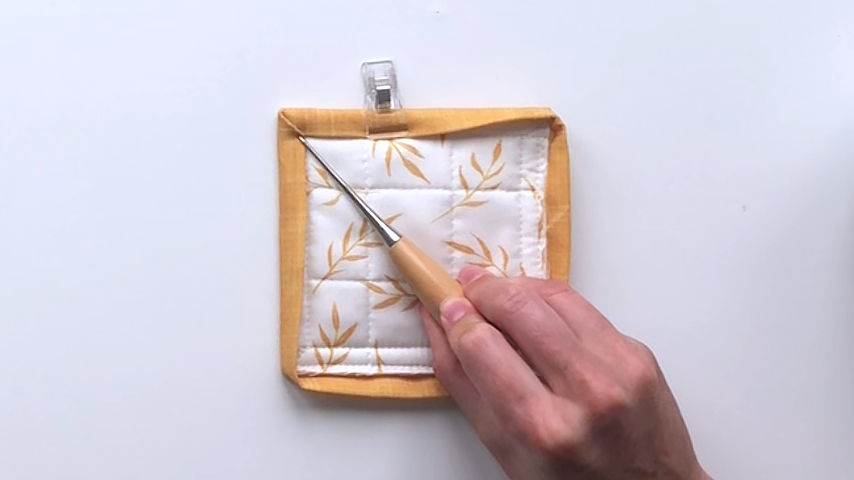
On the corner that has the seam, you’ll fold it the opposite way as the other corners. The top fold will be the same on both sides of the coaster. That way you can hide the seam under the fold:
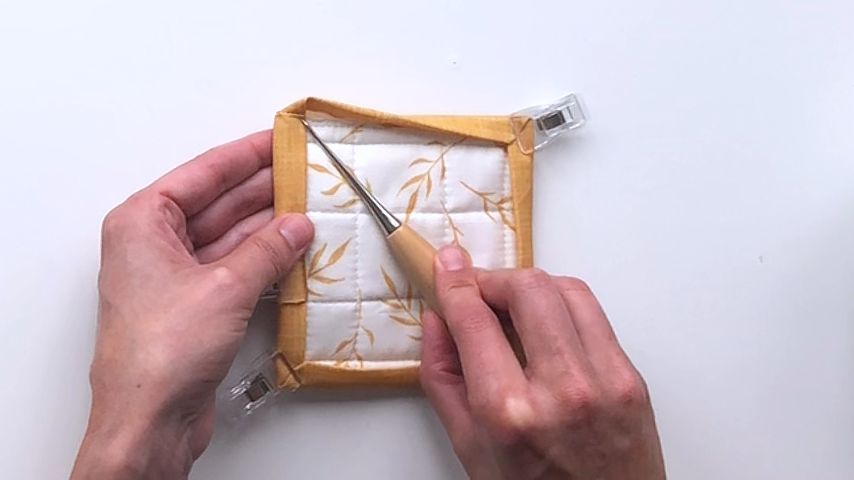
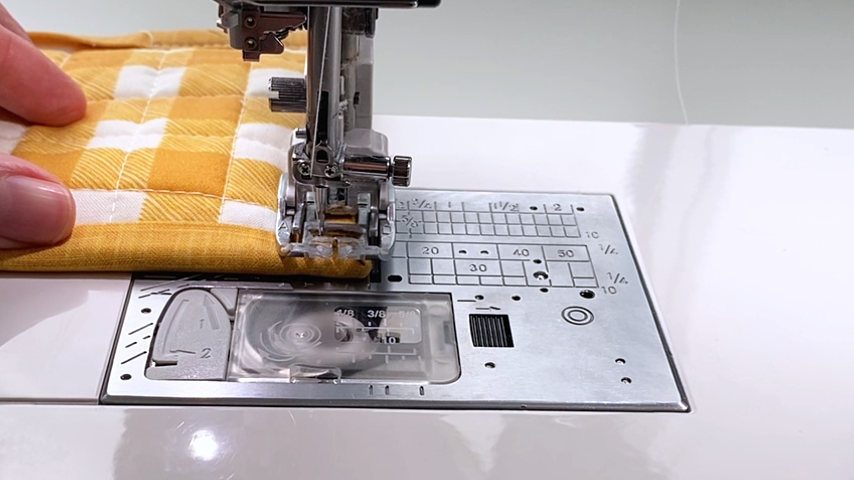
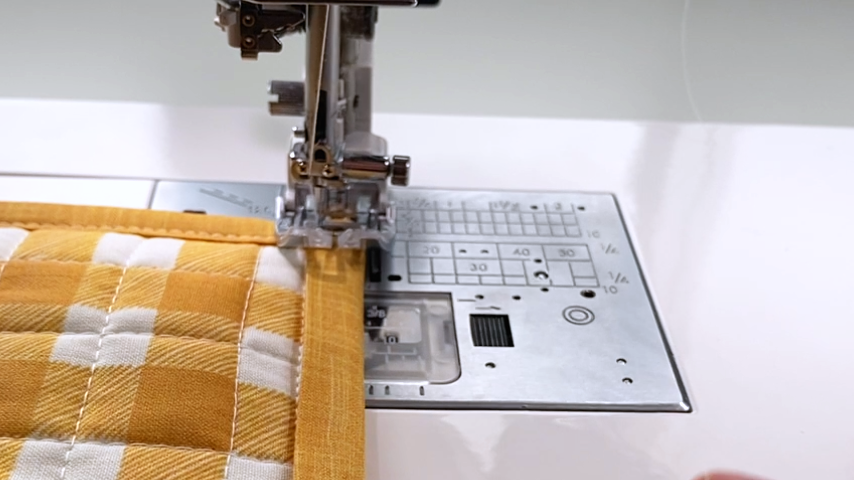
You’ll top stitch around the edge of the binding, sewing about 1/8″ in from the inside fold.
Make sure the inside edge of the binding is sitting on top of the line of stitching, just ever so slightly covering it. If you check that as you sew, and keep that consistent, your topstitching will look good from both sides.
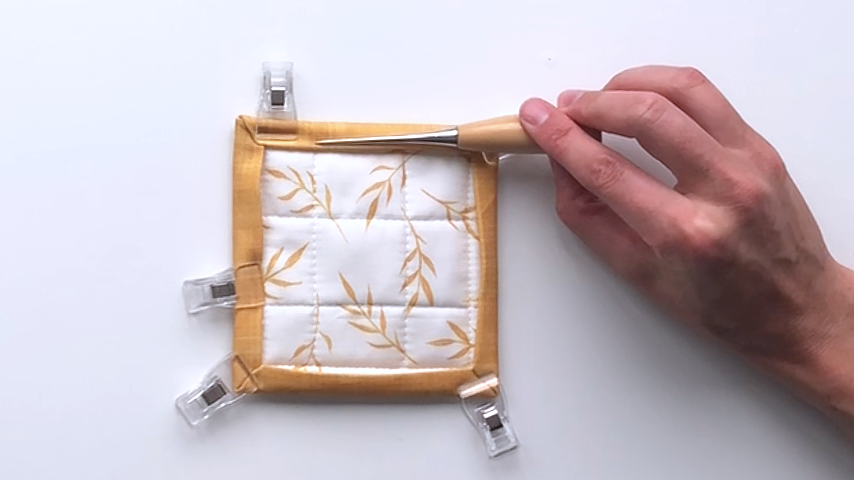
When I come to a corner, I use a sewing stiletto to push the fabric down, off the edge of the coaster, and then fold the top over. This ensures my corner fold comes to a point where the two edges intersect.
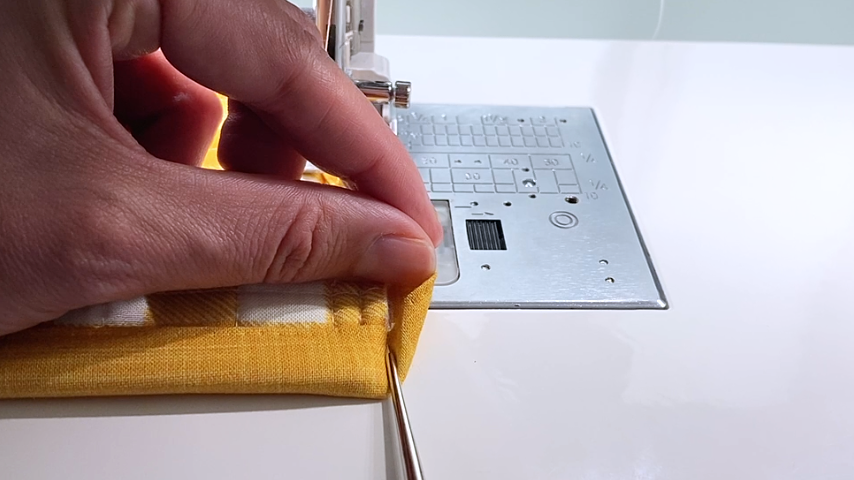
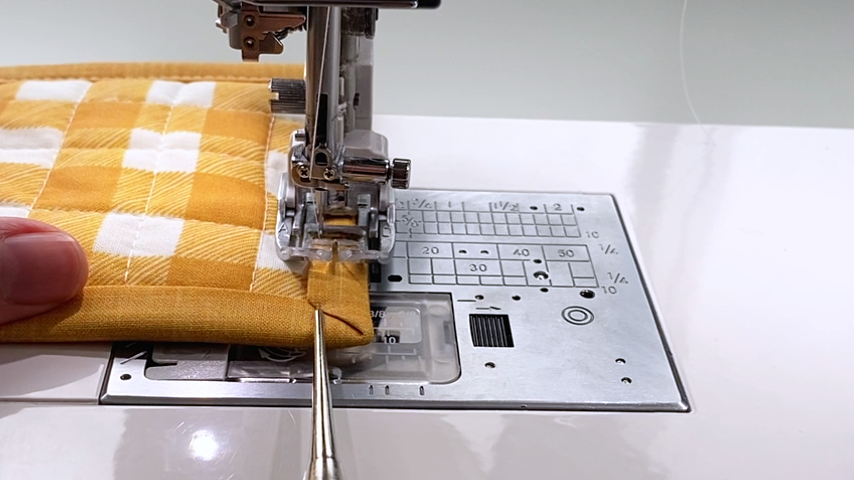
When you come to the corner, stop with the needle down in the fold of the corner, lift your presser foot, pivot your coaster, then continue sewing.
Your coaster with binding finished edges is complete!