How To Join Bias Tape Binding Ends (with the least bulk)
This is my favorite way to join the ends of bias tape or binding, as you’re sewing it onto your project.
It does take a bit of practice, and the bulkier the item, the more difficult it is.
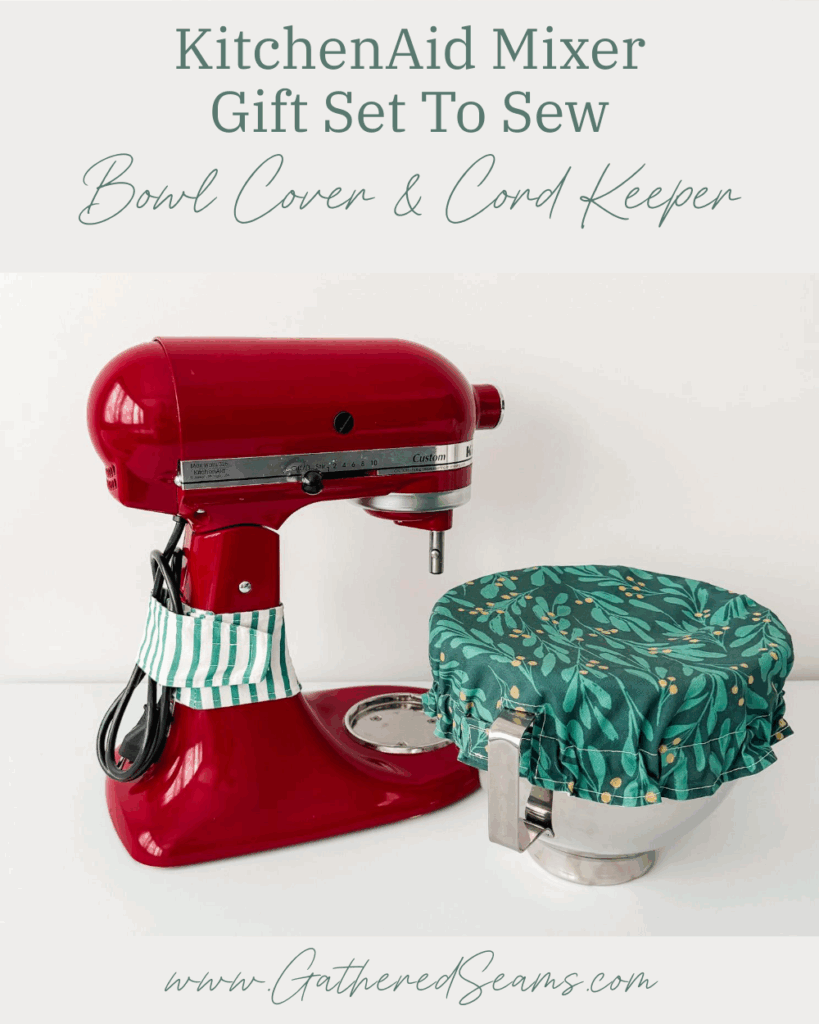
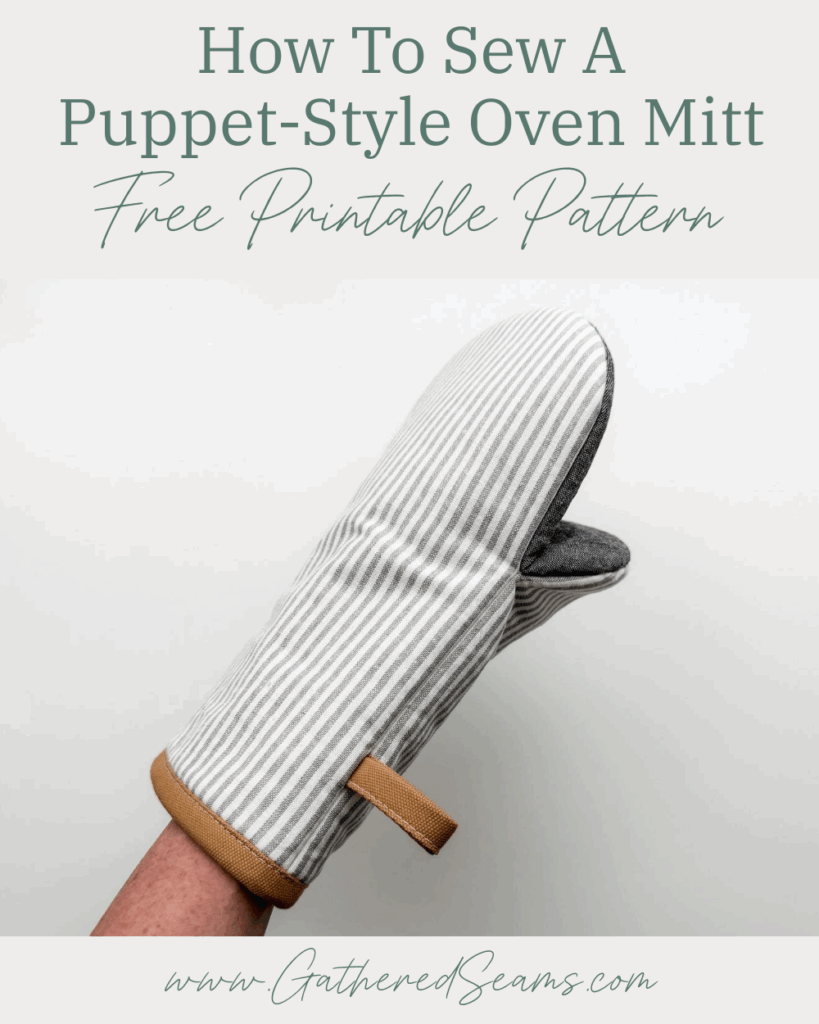
For example, using the method when applying binding to a bowl cover (with 2 thin layers of fabric) is much easier than applying it to pot pinchers (with several layers of fabric and batting).
But if you want your binding seams to have the cleanest finish, this method is the way to go.
Bias tape and binding are also easy and inexpensive to make and allow you to work with more fabrics and different colors and prints:
The cleanest way to join the ends of bias tape or binding
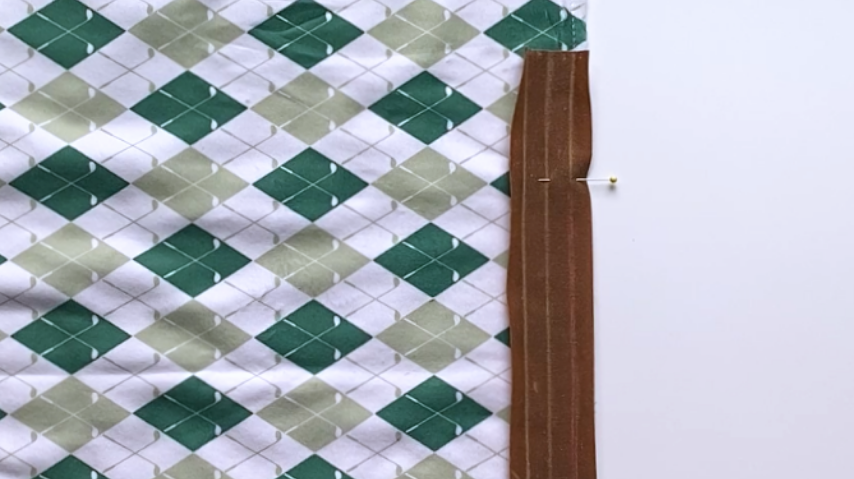
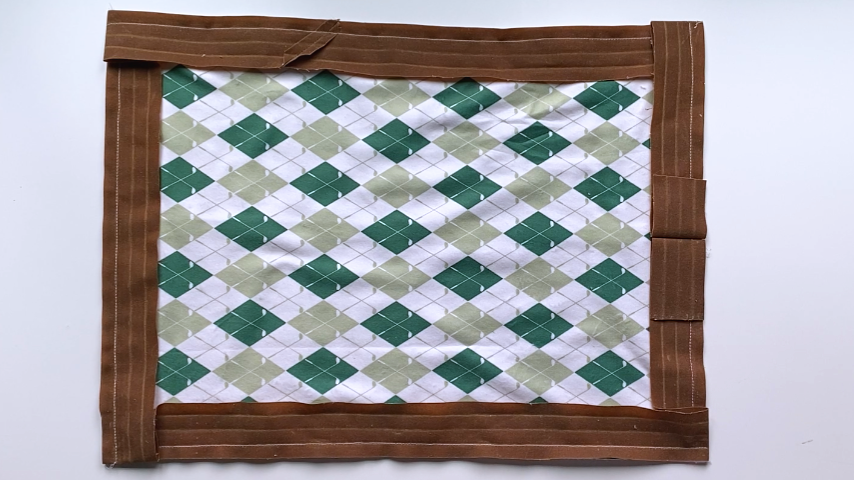
Start sewing the binding on, about 2-1/2″ away from the end (where the pin is in the image below). Backstitch to start. You want to leave at least 2″ loose to be able to join it with the end of the binding. Sew in the first crease of the bias tape or binding.
Tip
- Think about where you’d like the joining seam to be on your project. I typically place mine at the bottom, and never too close to a corner or on a curve (if it can be avoided).
- I also like to set my binding just slightly past the edge of the fabric; so the binding is covering the edge of the fabric by about 1/16″. This gives you just a little extra wiggle room for the other half of the binding to cover the line of stitching on the other side of the project.
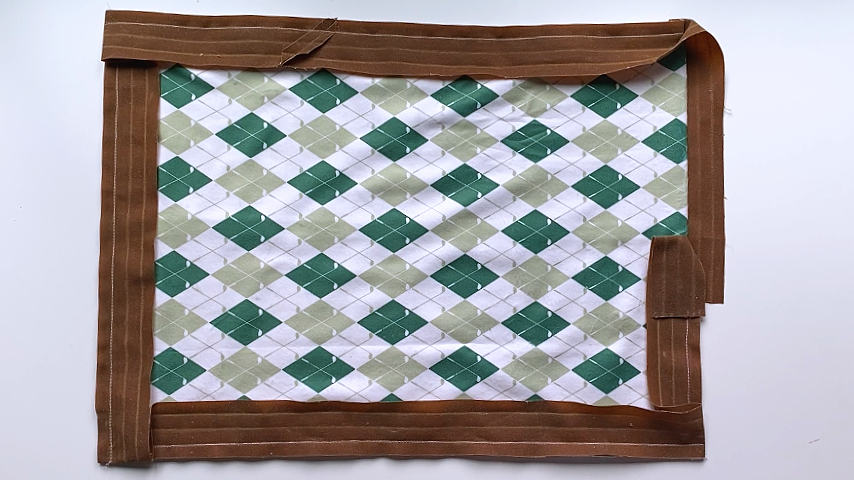
As you sew your binding on and you come back around to the start of your binding, stop sewing about 3″ – 4″ before the start of your binding.
Fold the start of the binding back and set the end of the binding on top.
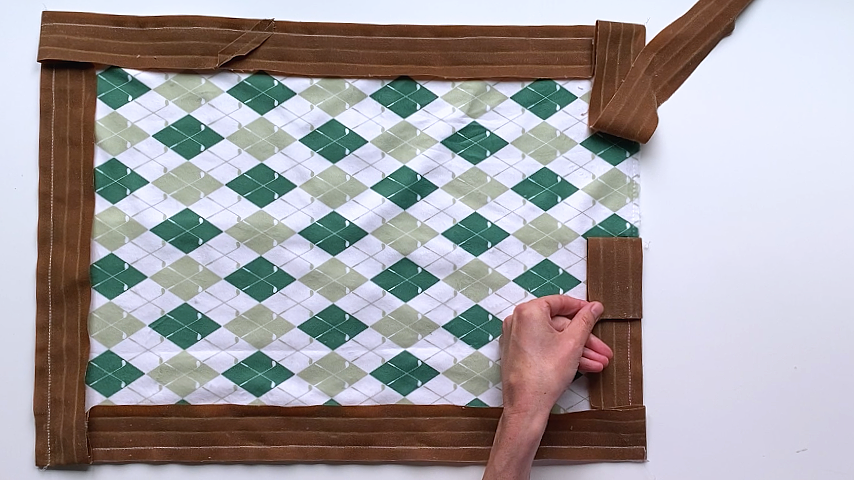
You’ll continue sewing the end of your binding on, running the stitches right up to the folded edge of the start of your binding.
You may want to mark this line with a temporary fabric pen to ensure you don’t sew past it and onto the start of the binding.
Backstitch at the end.
Tip
- When completing this step at the sewing machine, I use a pin to find the exact point I should stop sewing, and I simply make a pin mark with it. Then I sew up to that small pinhole.
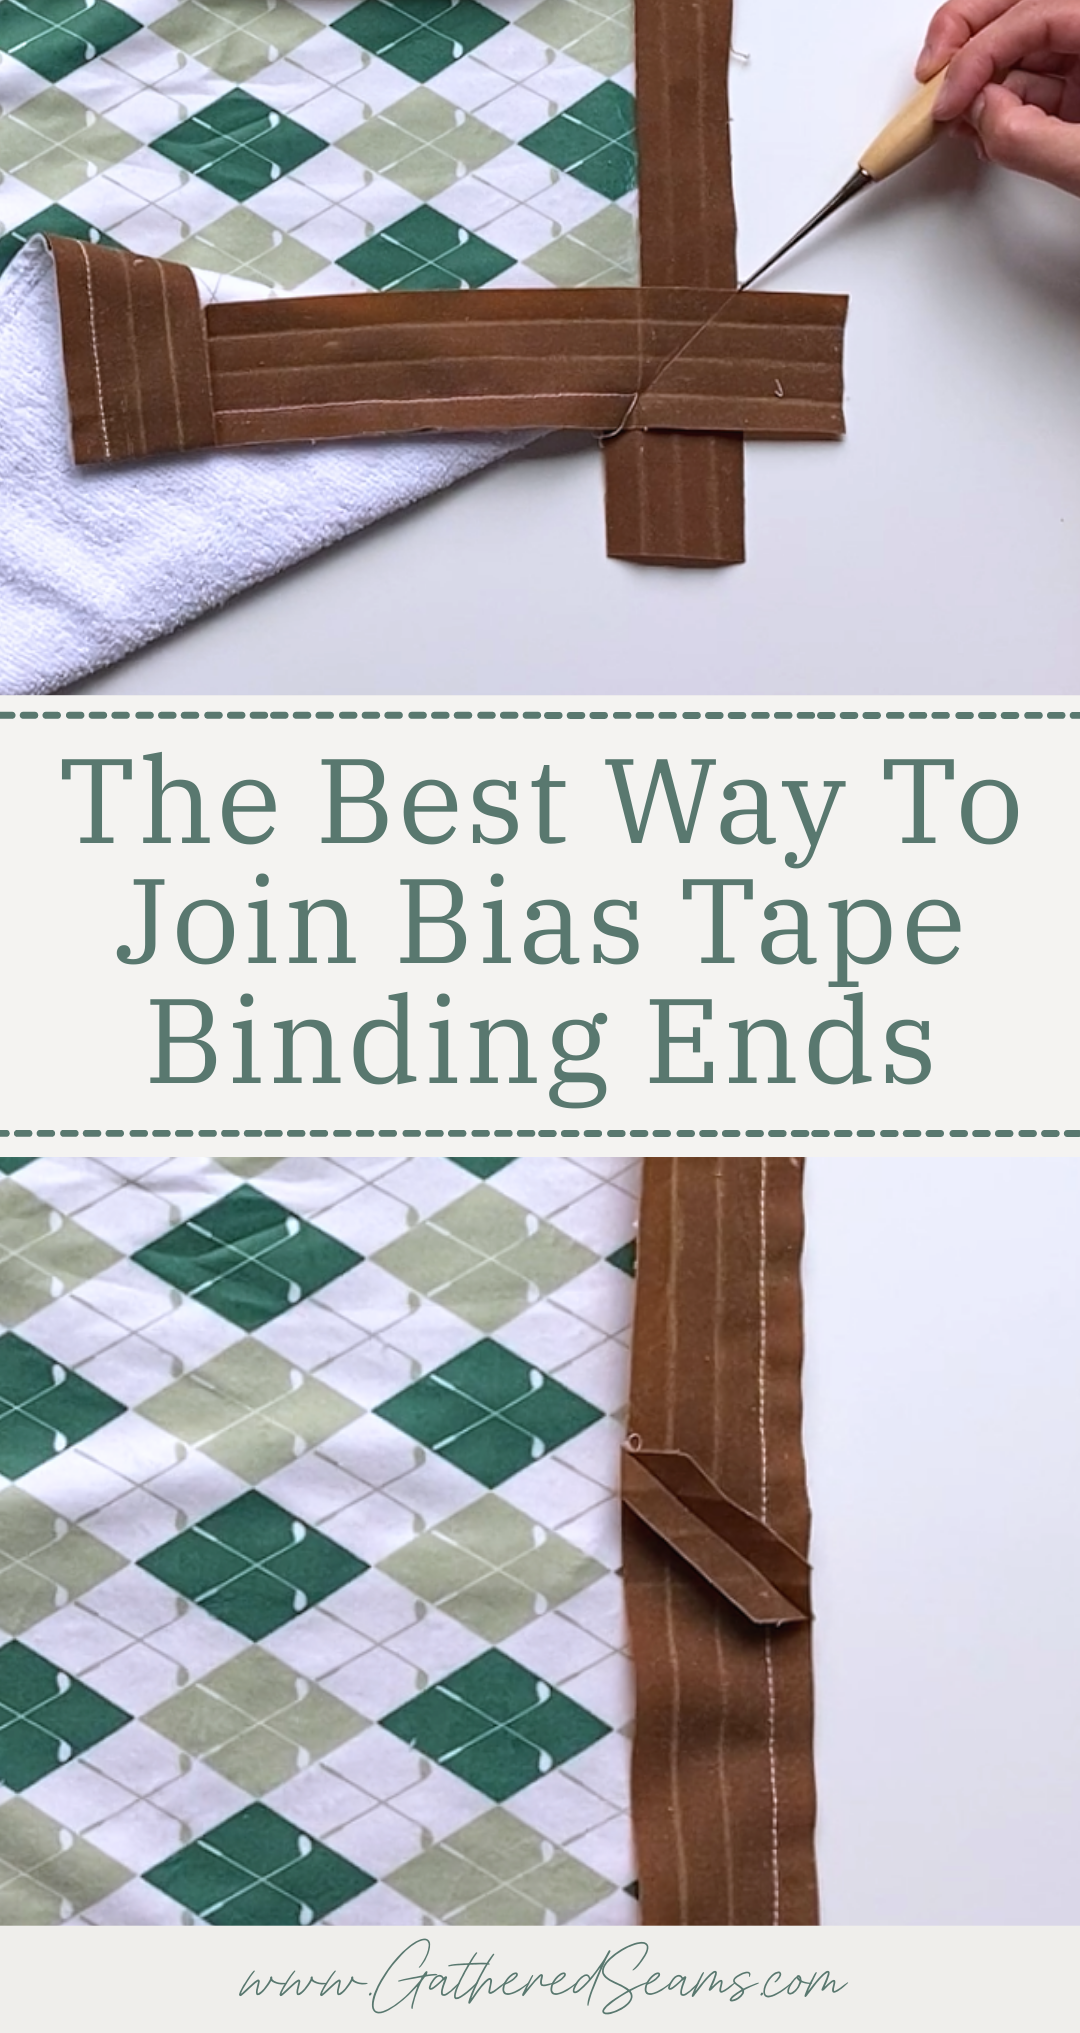
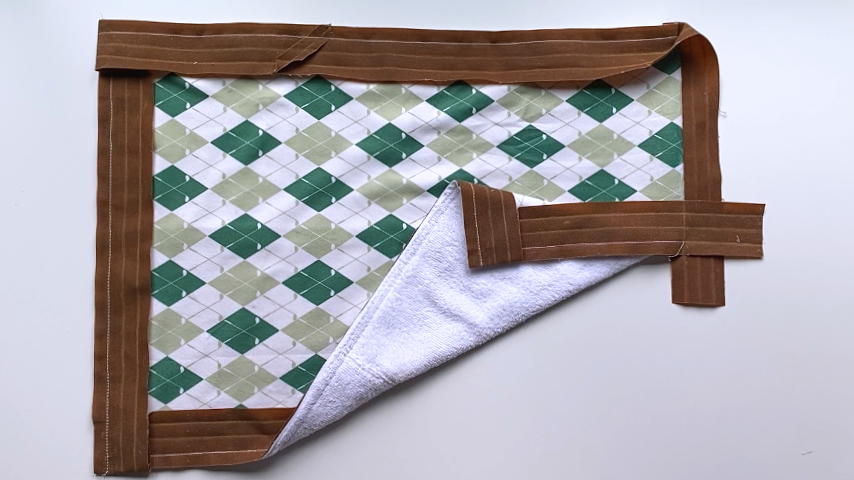
Here’s how your ends should look once you’ve finished sewing:
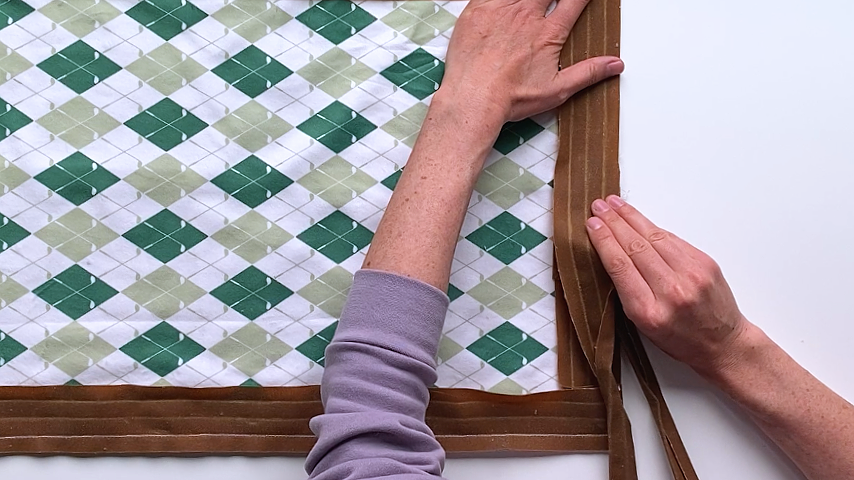
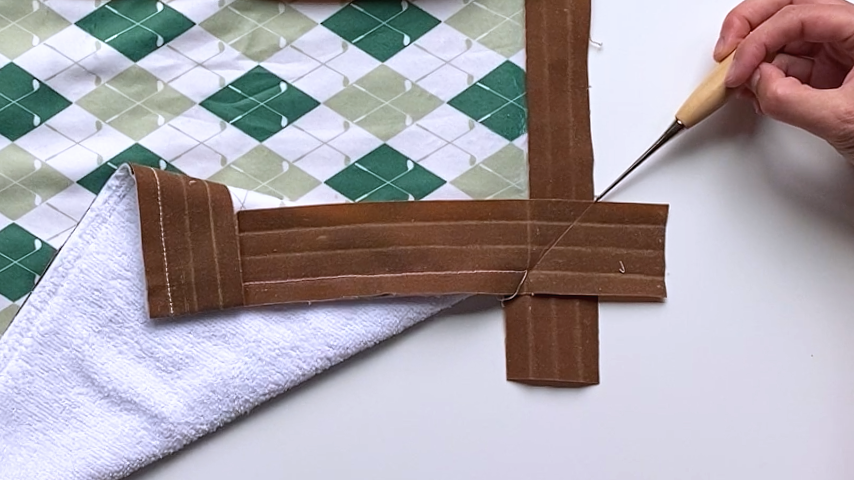
Flip the end of the binding to the other side and unfold it completely
Then fold your fabric so you can set the starting end of the binding at a 90-degree angle to the end of it.
Notice in the picture below how the end tail of the binding is fully unfolded (and the inside edge of the binding isn’t folded in:
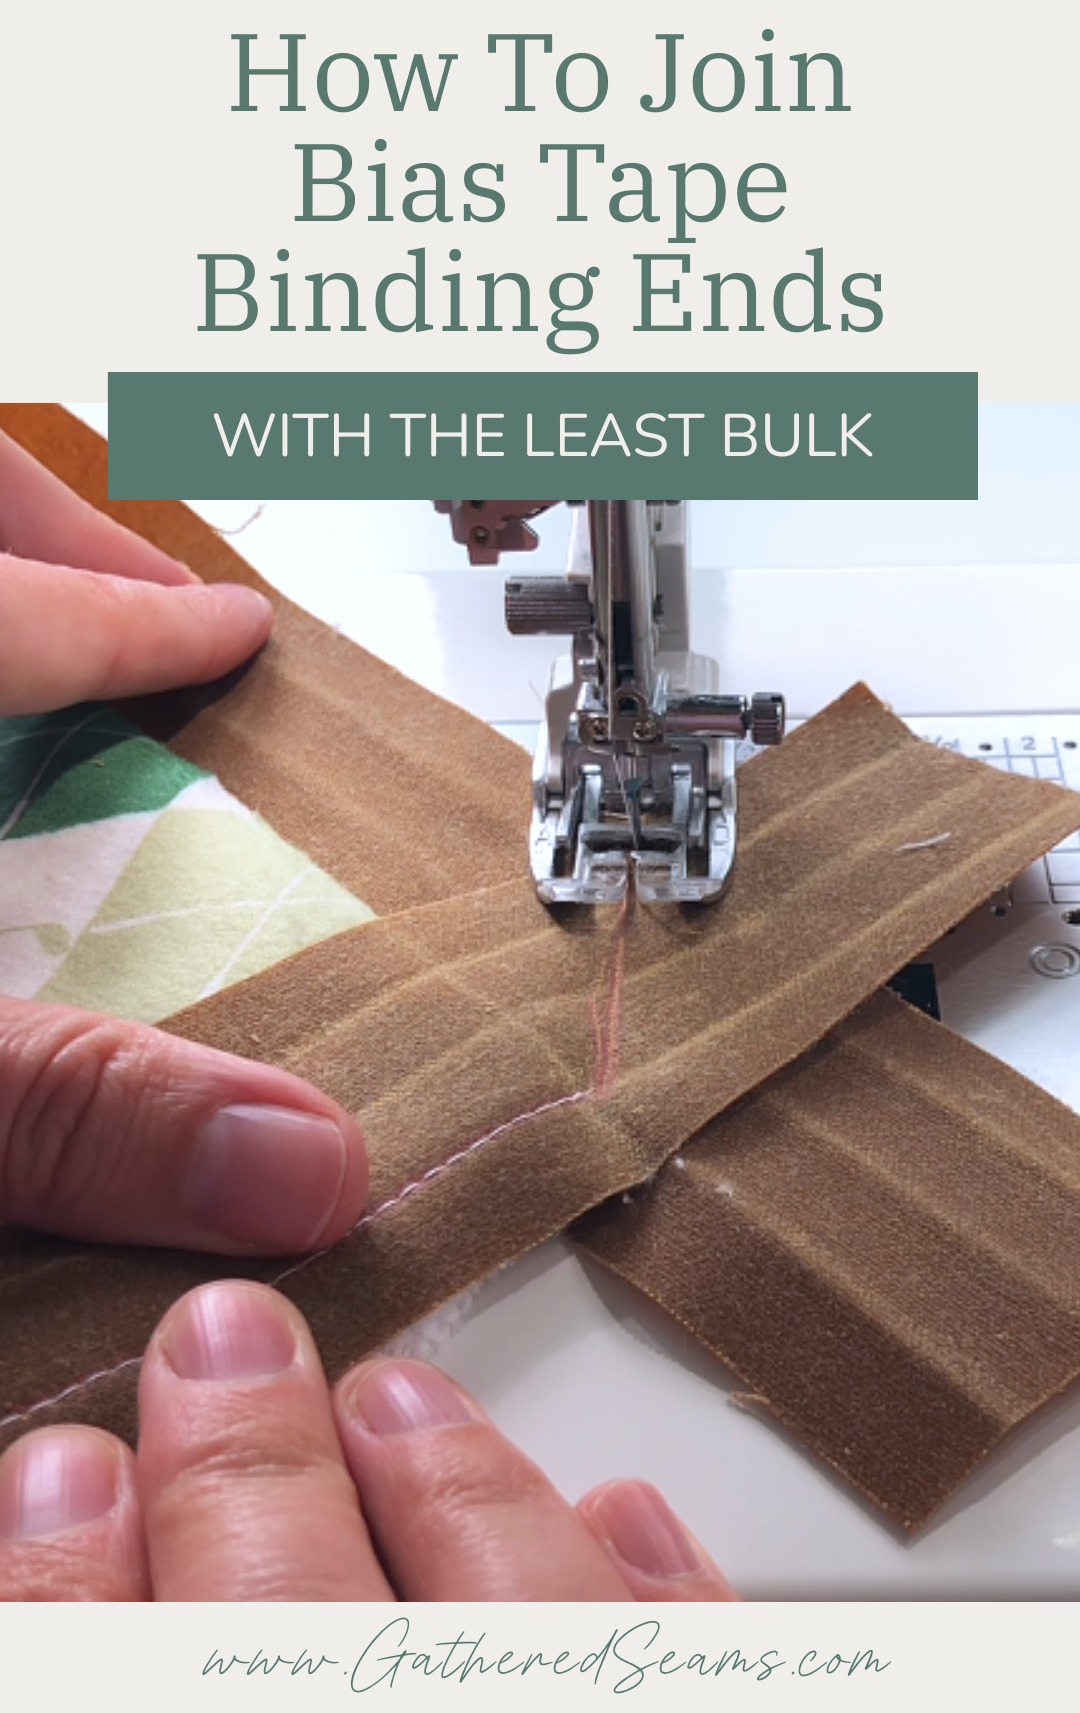
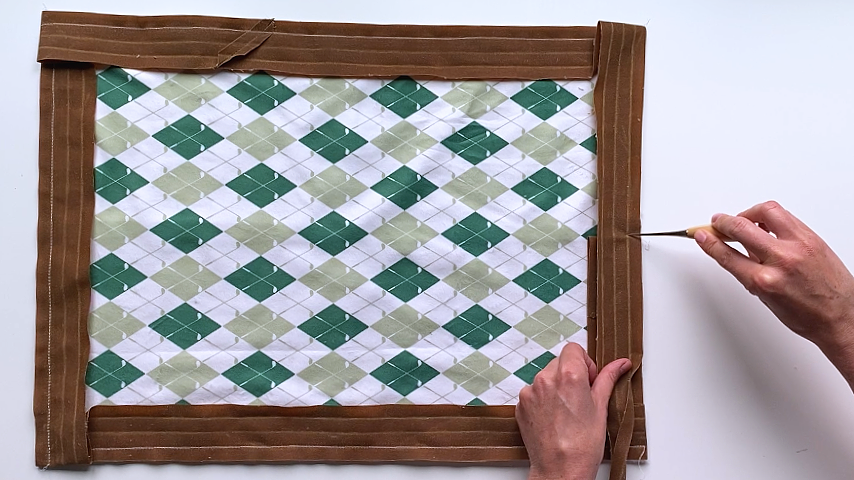
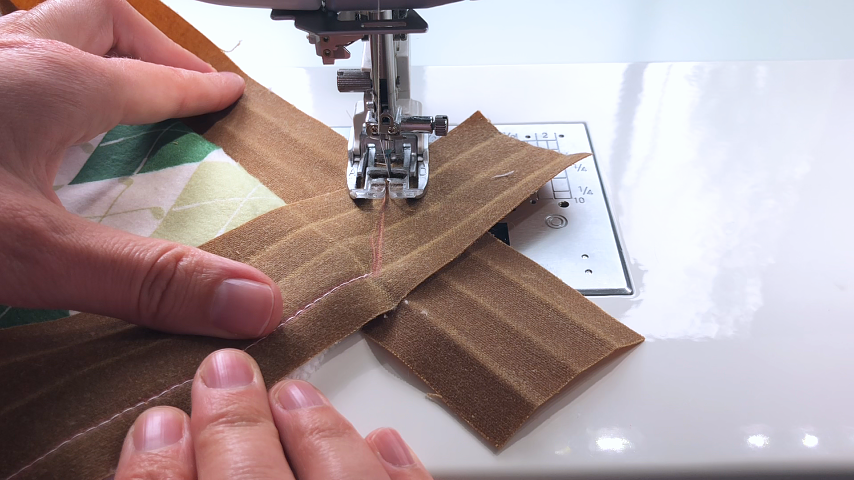
You’ll sew across the two ends at a 45-degree angle. Your stitching should start at the point where your two ends intersect, and end where the start of your stitching is. You can sew past it, right off the other end of the binding, but I typically find that’s hard to do because of the bulk of the fabric.
It helps to draw a line between these two points so you get a straight joining seam.
Tip
- Shorten your stitch length (around 2mm) so you don’t have to backstitch at the start and the end. This step can be finicky, so eliminating backstitching can help, and the shorter stitch length ensures your stitching won’t easily unravel.
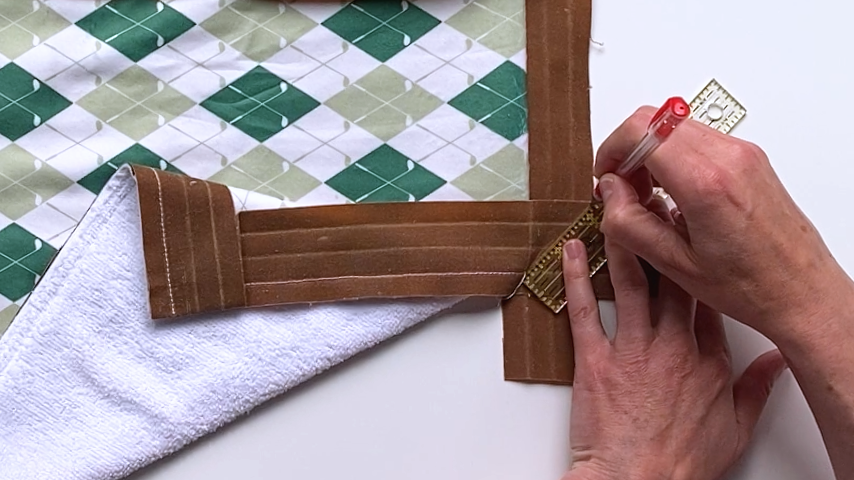
Below shows where you’ll start your stitching:
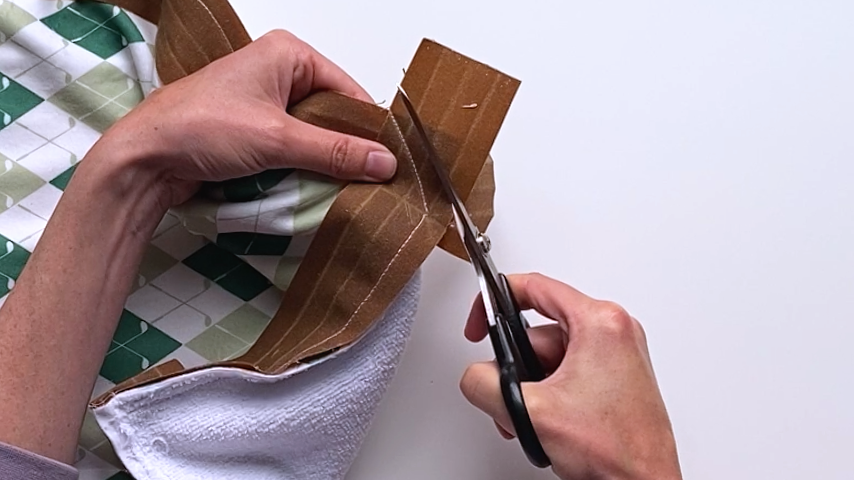
Check to be sure the seam looks good and sits flat, then cut off the excess ends of the binding and finger-press the seam open.

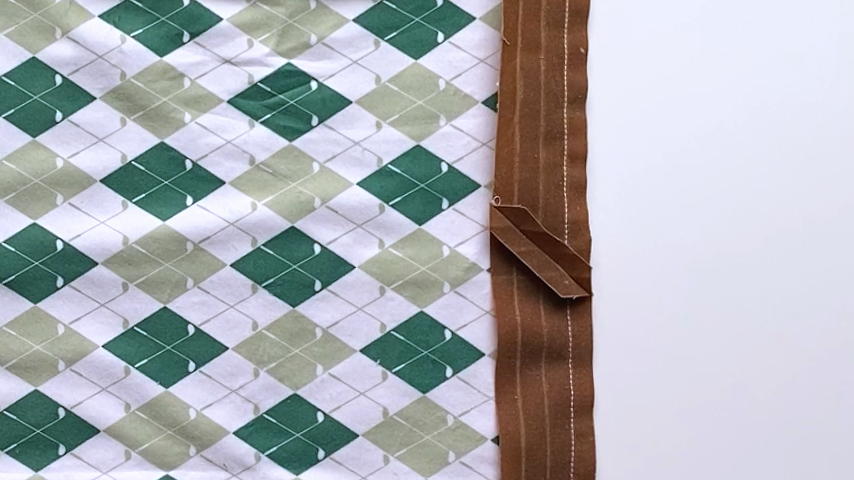
Now you can flip the bias tape/binding to the other side of the project and finish sewing it on.