How To Sew A Binder Cover | Free Sewing Pattern
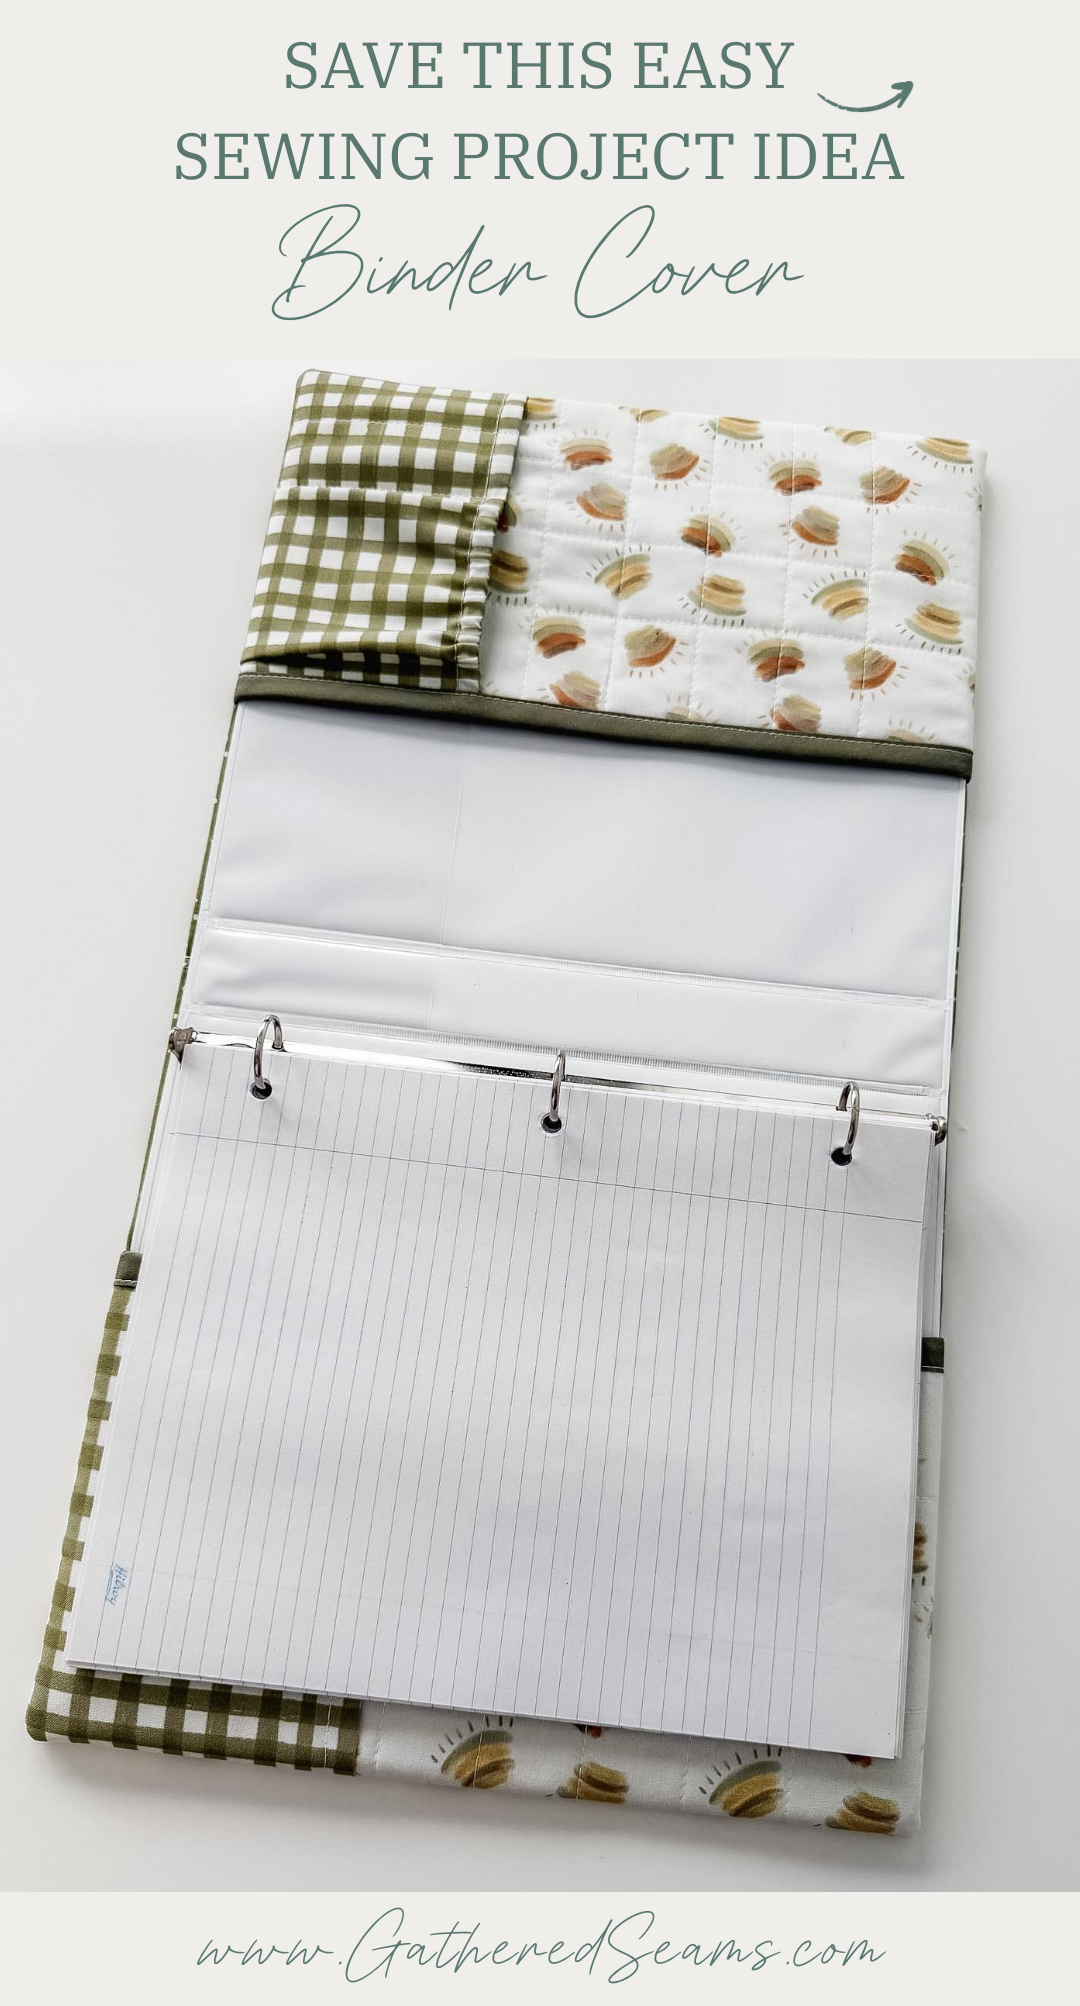
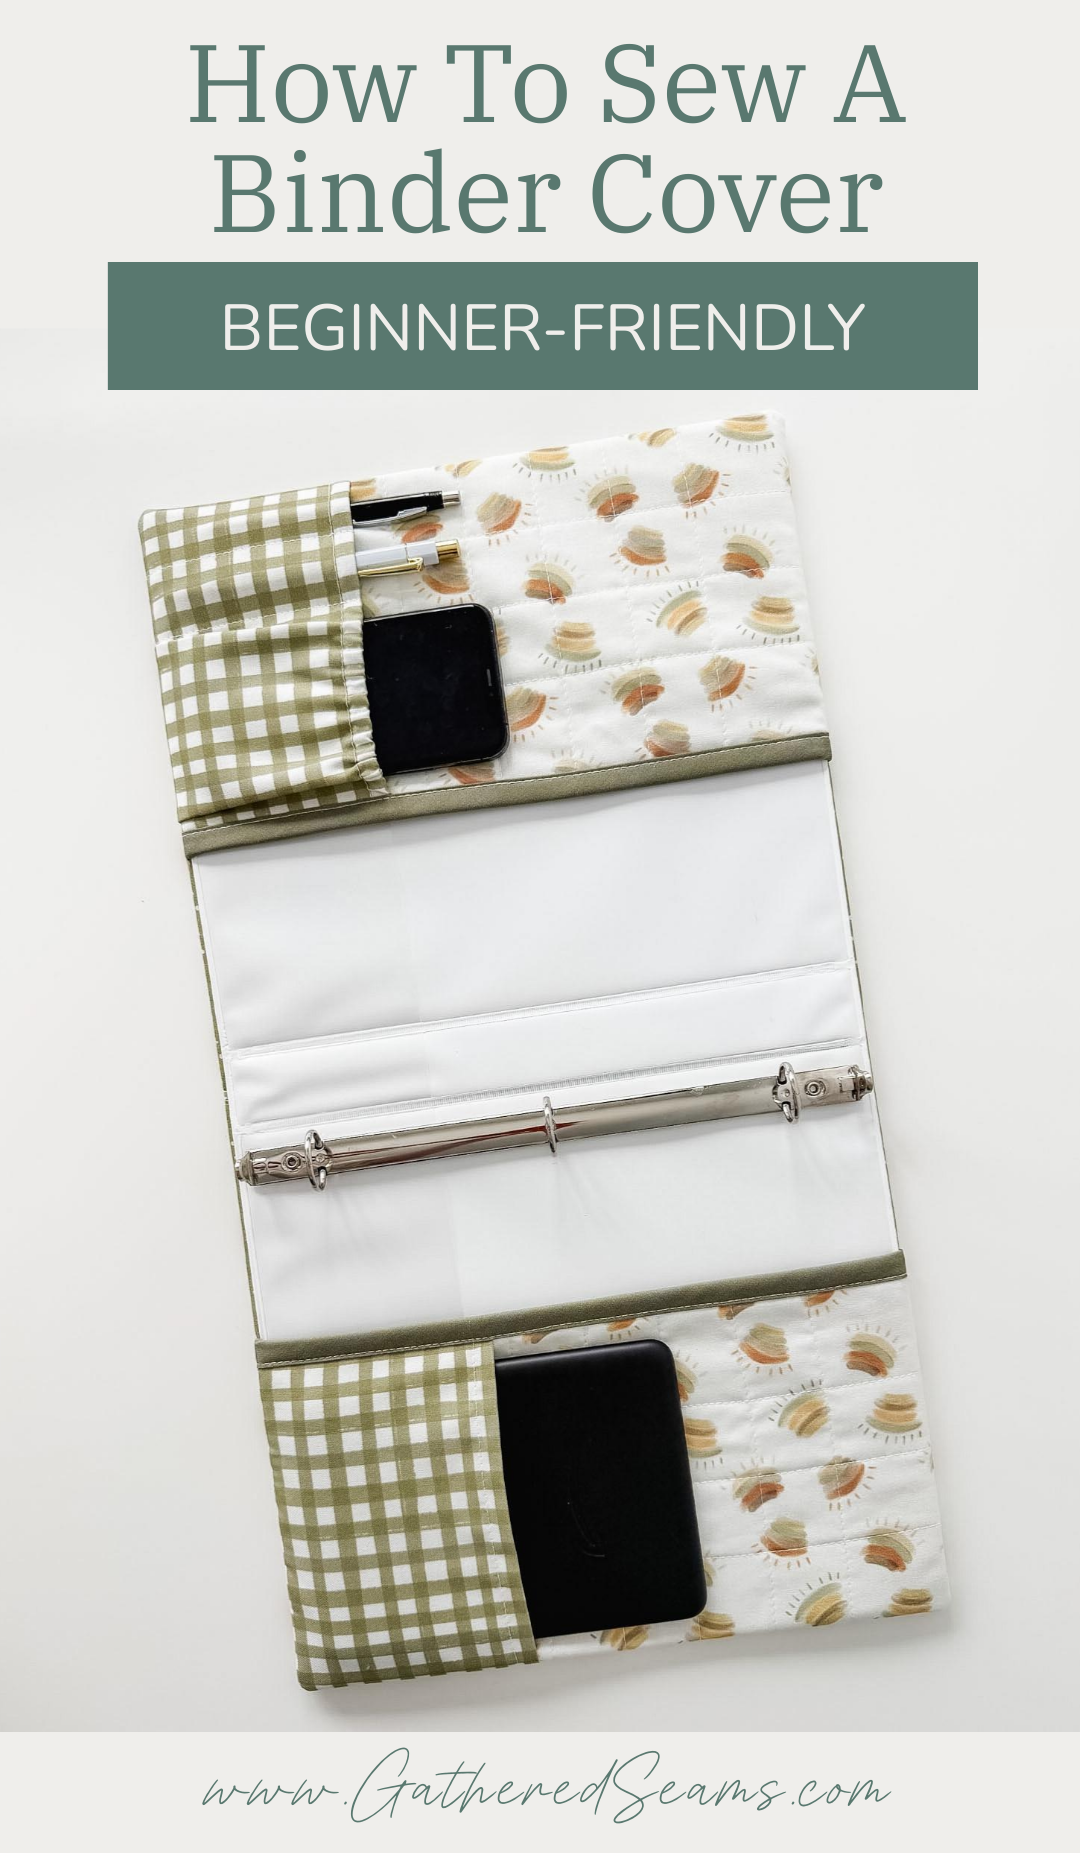
A binder cover is a great sewing project for back-to-school. It can update an old binder, protect a new binder, change the color/theme of a binder, and add extra pockets for storage.
I made this binder cover for a 1″ binder, and I share the pattern pieces below. But I’ll also share how to measure for a different binder size.
I created pockets that will fit 2 pens, a phone, and a Kindle. Of course, depending on age, what your child will keep in the pockets will vary. So adjust the size of the pockets and pocket segments to your requirements. You can also play with different closures (e.g. add a zipper pocket).
This is a beginner-friendly sewing project.
If you want to make this project even easier, you can skip the binding along the edge of the binder pockets. I’ll share an alternative in the steps below.
Materials
As an Amazon Associate, I earn from qualifying purchases (see full disclosure here).
- Fabric
- (Optional) Batting (I used polyester batting to get a quilted look. You could use fusible fleece if you want a bit of padding but don’t want to add quilting stitches. Alternatively, you could use a heavier-weight fabric such as canvas.)
- 1/2″ double-fold binding (or make your own out of 2″ wide strips of fabric)
- Thread
Tools
- Sewing machine
- Temporary fabric pen or chalk
- Ruler
- Iron
- Scissors
- Pins or clips
- Seam ripper
- Safety pin
Pattern pieces for a binder cover
*If you’re adding batting and quilting stitches, cut your outer cover fabric and batting, and your binder pocket pieces in the outer fabric and batting slightly bigger (e.g. 1/2″ – 1″). Complete your quilting stitches, then cut the pattern pieces according to the measurements below. Quilting stitches will “shrink” fabric in.
- Outer cover: 22-3/4″ x 13″
- Cut in fabric and batting (optional)
- Cover lining: 11-7/8″ x 13″
- Cut 2 in lining fabric
- Binder pockets: 7″ x 13″
- Cut 4 in fabric (2 for the top of the binder pocket, 2 for the bottom of the binder pocket)
- Cut 2 in batting (optional)
- Pen & phone pocket: 9″ x 8″ (folded in half creates a 4-1/2″ tall x 8″ wide pocket)
- Kindle pocket: 10″ x 7″ (folded in half creates a 5″ tall x 7″ wide pocket)
- Binder pocket binding: 2″ x 13″
- Cut two in fabric and double-fold to create binding, or cut 2 pieces of 1/2″ double-fold binding to 13″ long
You will also need to cut:
- A 7″ piece of 1/4″ wide elastic (for the phone pocket)
Please keep in mind, these pockets won’t hold a phone or Kindle securely; they could slip out if the binder is held upside down. So if these pockets will be used for a device, you may want to add a flap with Velcro closure.
*Batting isn’t shown in the photos below because I have quilted the outer fabric and batting together.
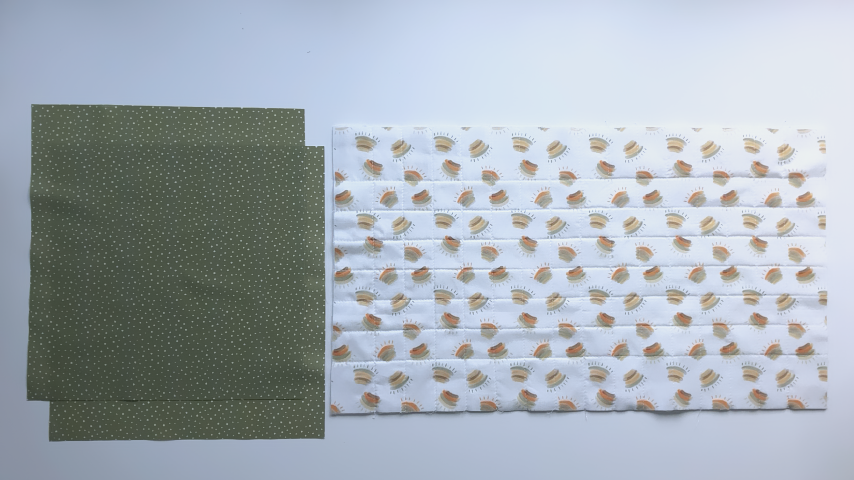
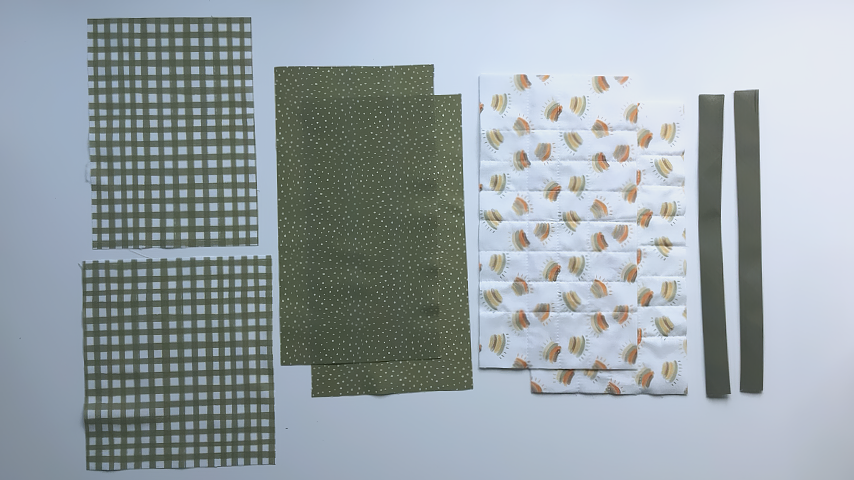
To measure for a different size of binder (that holds 8.5″ x 11″ paper), you should only have to adjust the width of the outer cover and cover lining.
The thickness of the spine of the binder is the only thing that changes, while the front and back panels, as well as the height of the binder, should be standard size. So you can use the above measurements and simply adjust the width of the outer cover and cover lining.
Measure the width of your binder and add 1-1/2″ to account for a 1/2″ seam allowance on either side, plus 1/4″ extra for batting on either side. That will be the width of your outer cover (and batting).
Divide that number in half and then add 1/2″ to get the width of your two lining pieces.
For example, if your binder is 26″ wide:
-
- 26″ + 1/2″ (for 1/4″ padding on either side) + 1″ (for 1/2″ seam allowance on either side) = 27-1/2″
- 27-1/2″ divided by 2 = 13-3/4″ + 1/2″ = 14-1/2″
You will need to cut your outer cover fabric to 27-1/2″ x 13″ and 2 pieces of your lining fabric to 14-1/2″ x 13″.
Steps to sew a binder cover
Step 1
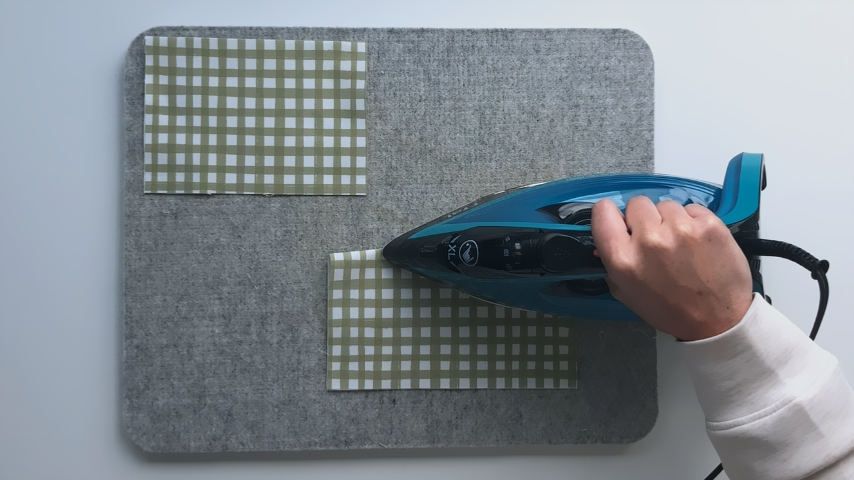
Fold the pen/phone pocket piece (9″ x 8″) and the Kindle pocket piece (10″ x 7″) in half lengthwise, with wrong sides together, and press.
You should now have a 4-1/2″ x 8″ piece and a 5″ x 7″ piece.
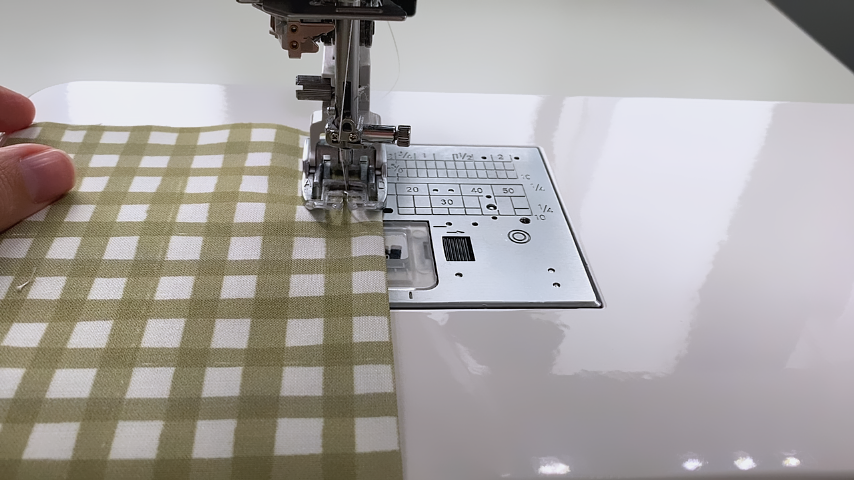
Topstitch 3/8″ away from the folded edge.
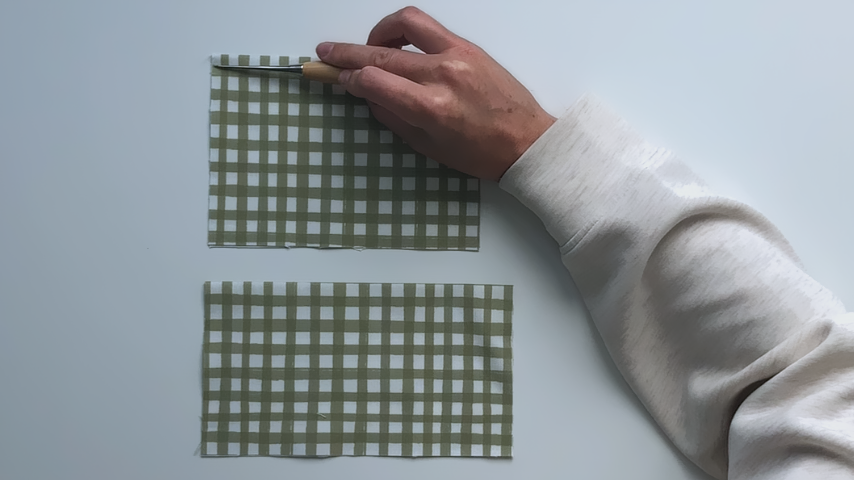
Use a safety pin to thread the 1/4″ wide elastic (7″ long) through the channel of the 4-1/2″ x 8″ pocket.
Leave the safety pin in and stop when the other end of the elastic is in line with the edge of the pocket.
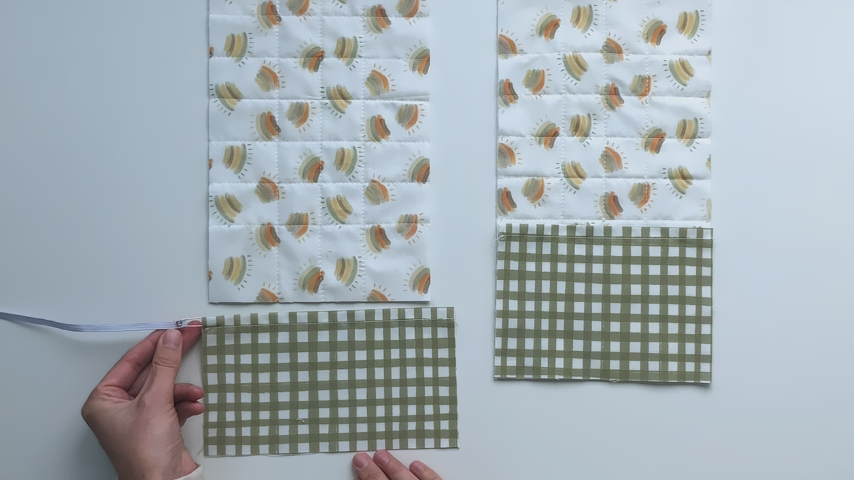
Baste the one edge of the pocket to the binder pocket to secure the elastic end in place.
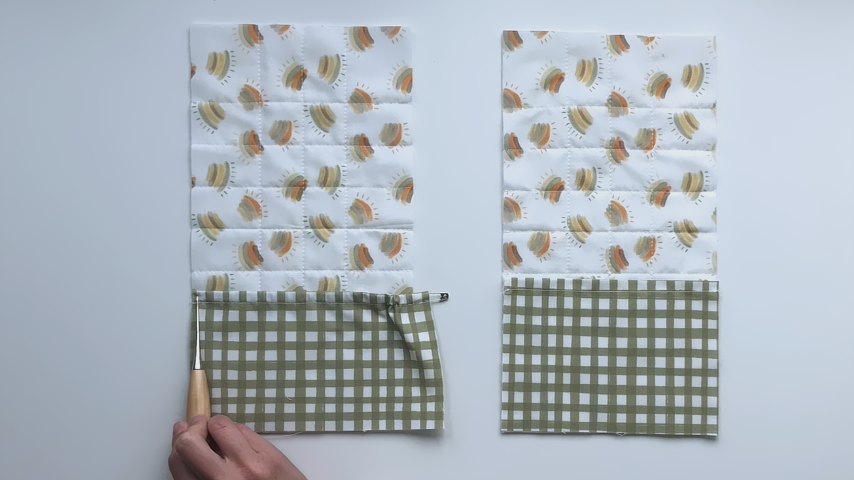
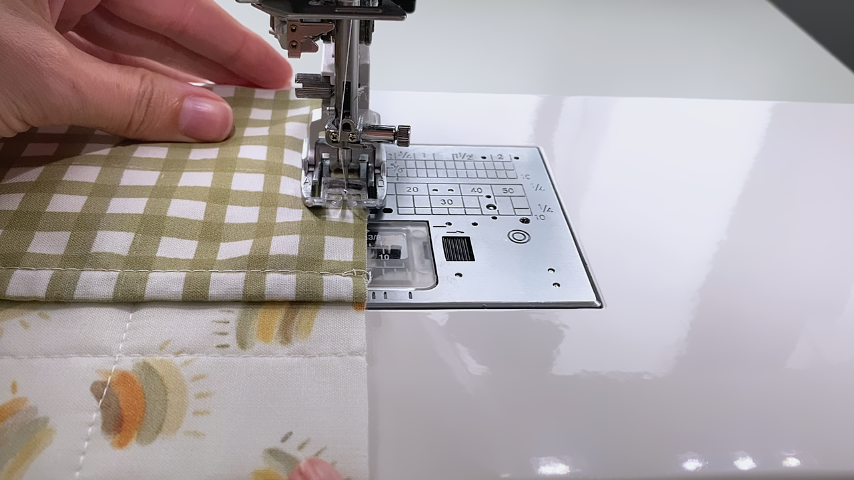
Use a temporary fabric pen to mark two lines:
- 1st line is 1-3/4″ away from the edge of the pocket
- 2nd line is 1-1/4″ away from the first line
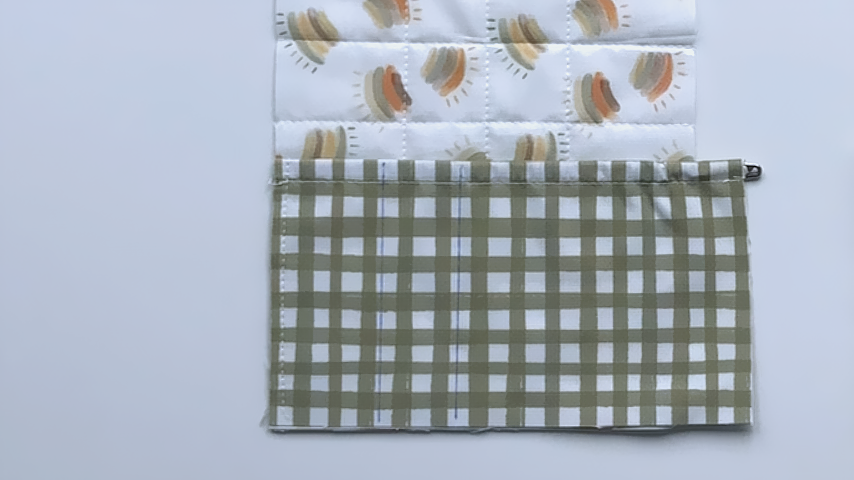
Sew along those lines to create the pen pockets, backstitching at the start and end.
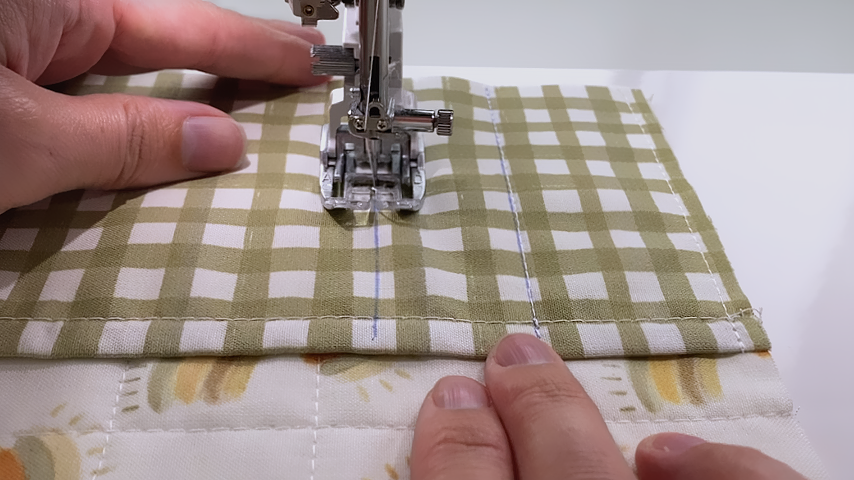
Now you can pull the rest of your elastic through, so the other end of the elastic lines up with the other edge of the pocket.
Baste that side of the pocket and elastic to the binder pocket.
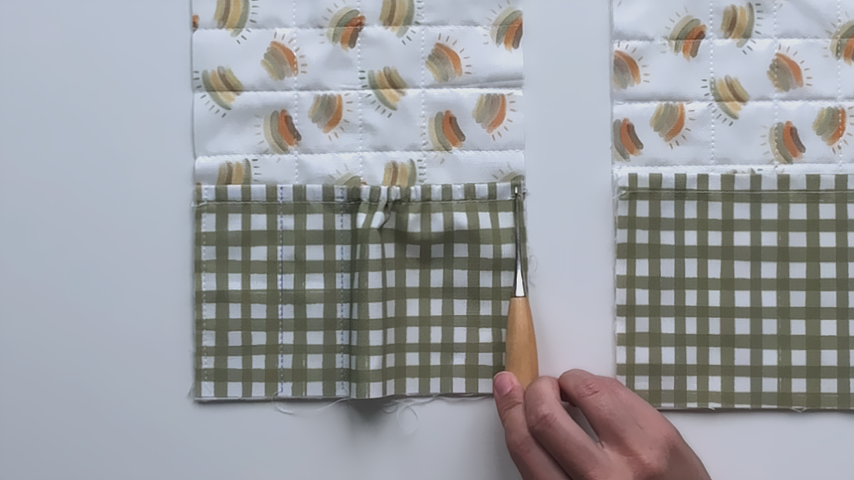
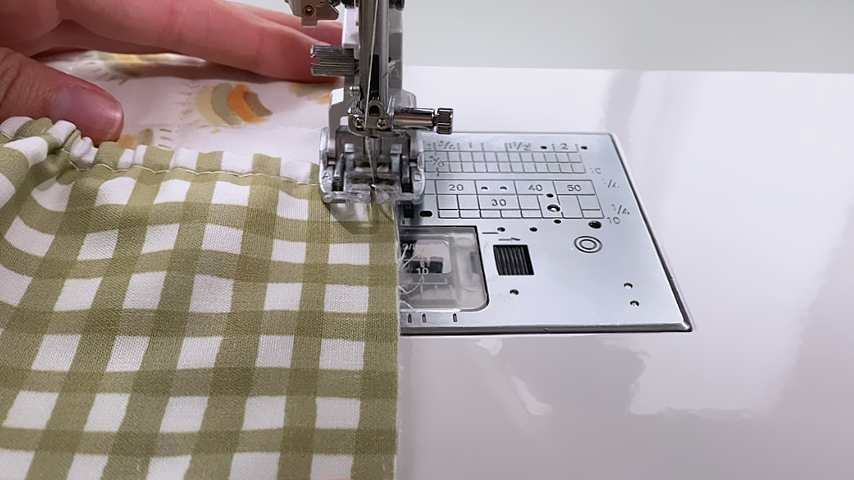
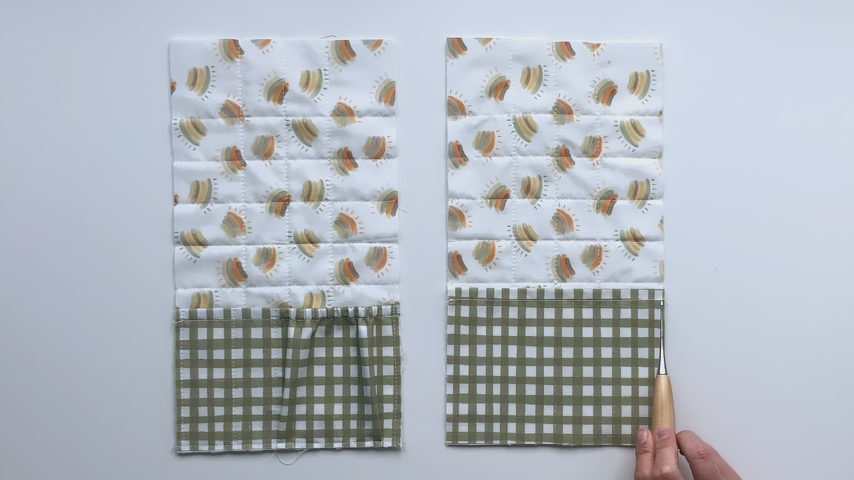
Use a temporary fabric pen to mark a line 1/2″ away from the bottom edge of the pocket (on the phone pocket side), then fold the extra material so the one folded edge lines up with the drawn-on line and the other folded edge lines up with the 2nd line of stitching. Pin in place, then baste along the bottom edge of the pocket.
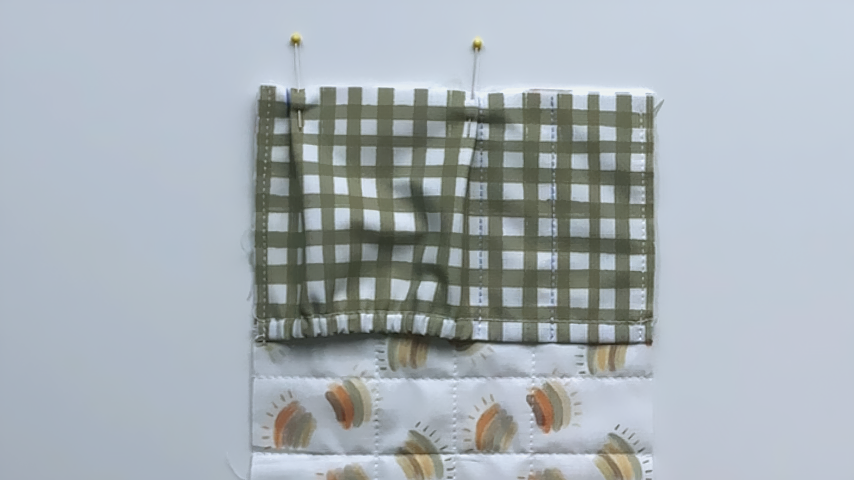
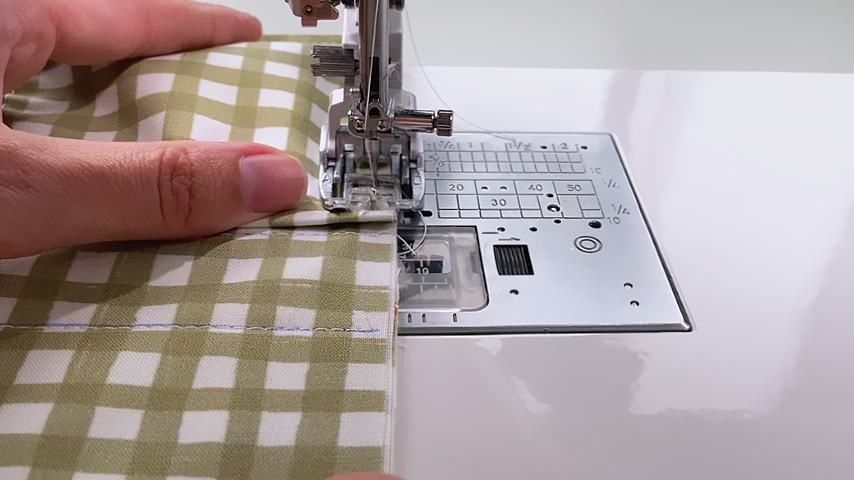
Baste the sides and bottom of the other pocket to the other binder pocket piece.
Step 2
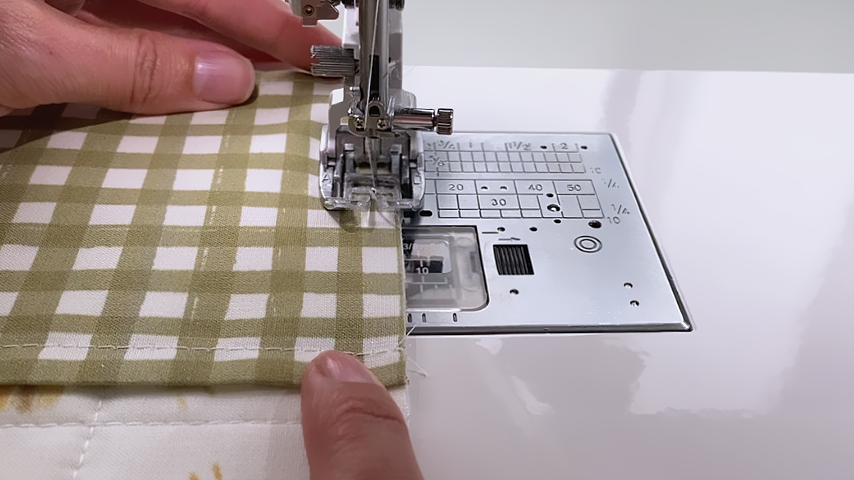
*If you don’t want to use binding to finish the inside edges of the binder pockets, place the top and bottom binder pocket pieces right sides together and sew along the inside edge of the pocket, using a 1/2″ seam allowance. Fold the pieces back so wrong sides are together, press the inside edge and then topstitch along it.
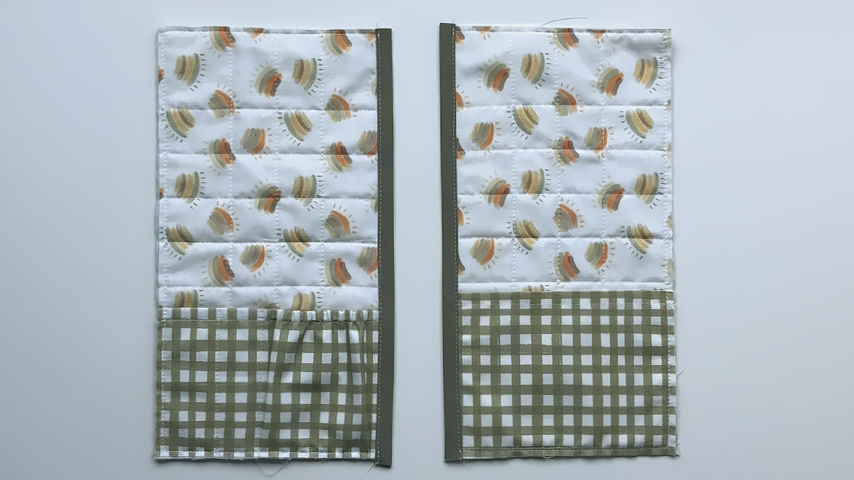
To add binding to the inside edge of the binder pockets, place your top binder pocket pieces and your bottom binder pocket pieces wrong sides together and line up the edges.
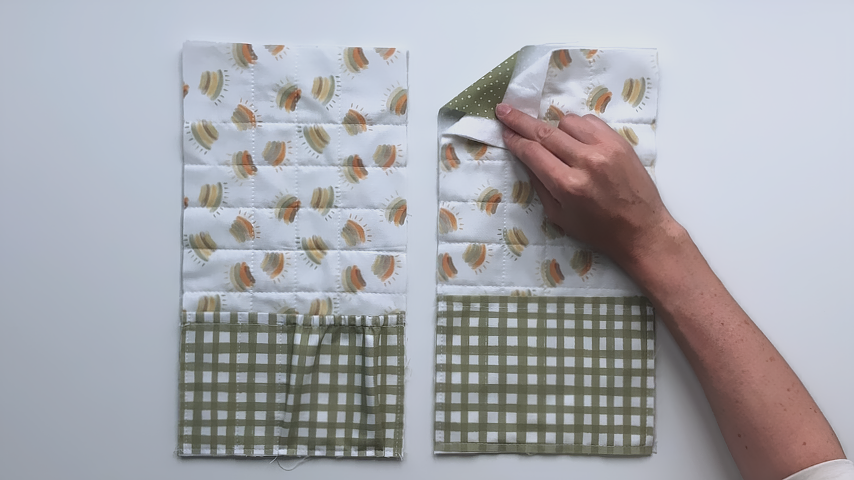
Baste around all 4 sides to secure the pieces together.
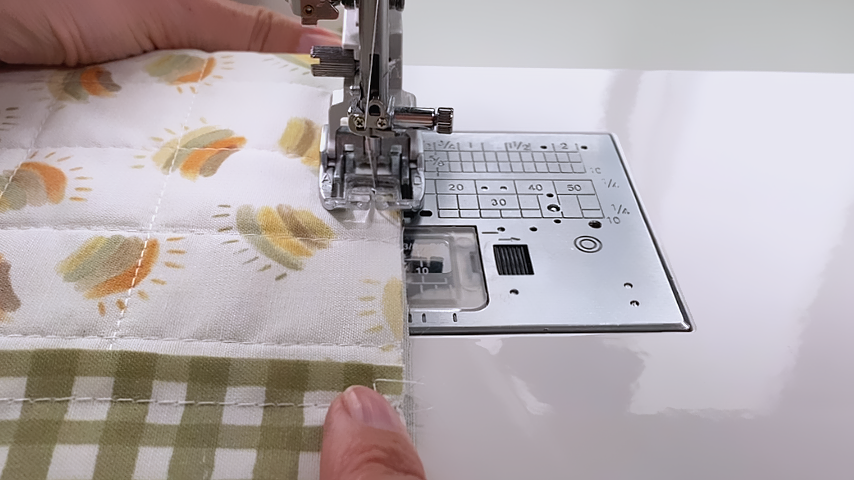
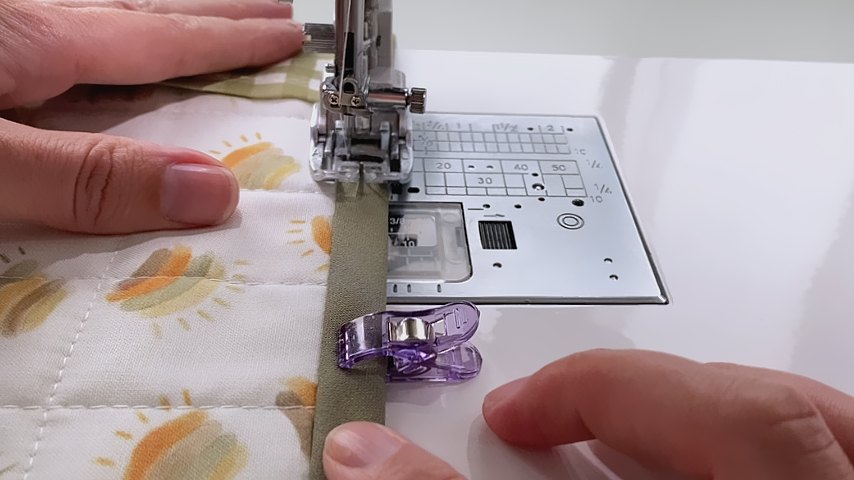
Line your binding up along the right edge of one binder pocket piece and the left edge of the other binder pocket piece.
Sew in the first fold of the binding.
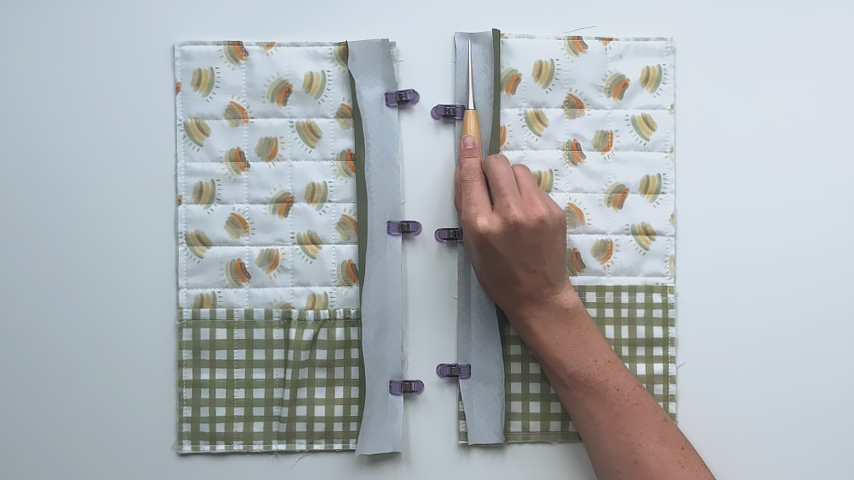
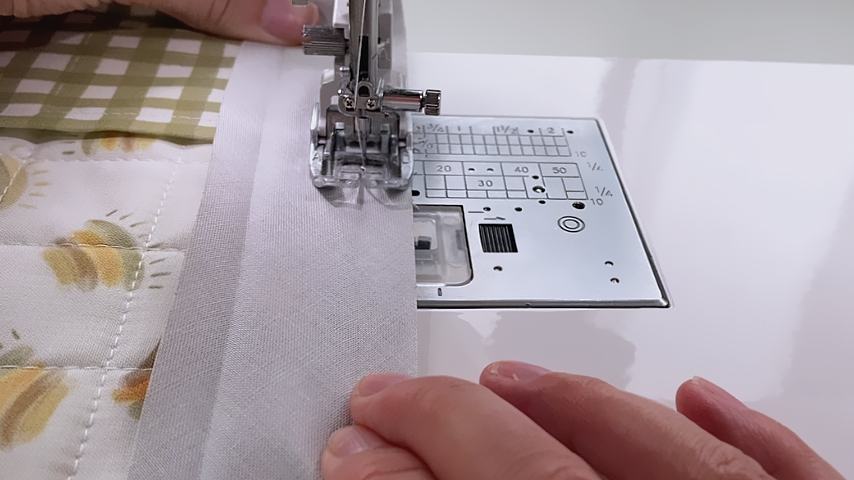
Fold the binding over to the back side of the binder pockets and clip it into place so the inside folded edge is just covering the line of stitching.
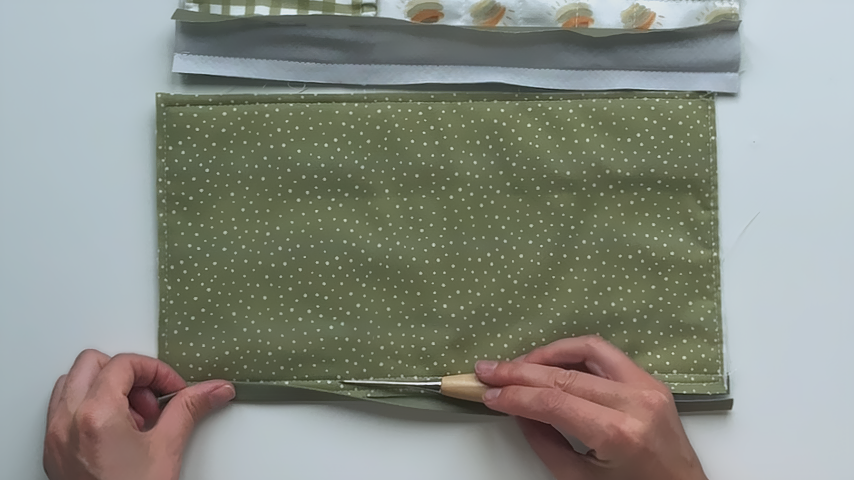
From the front of the binder pocket, sew about 1/8″ in from the inside fold of the binding.
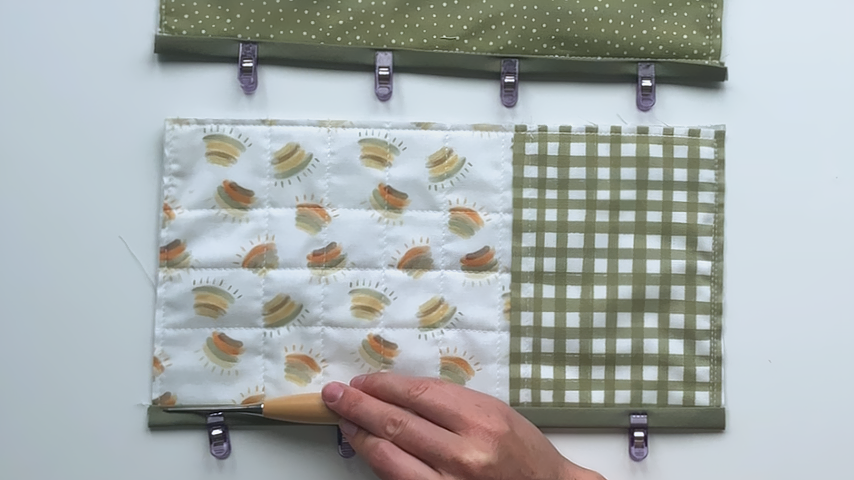
Step 3
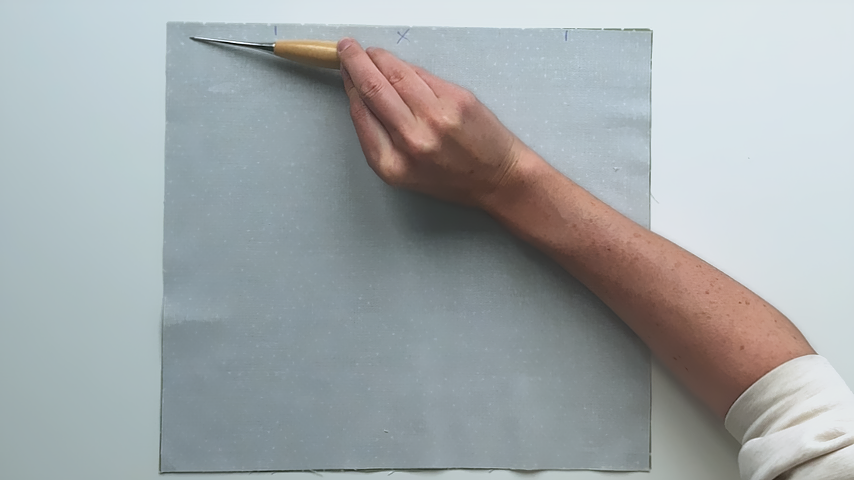
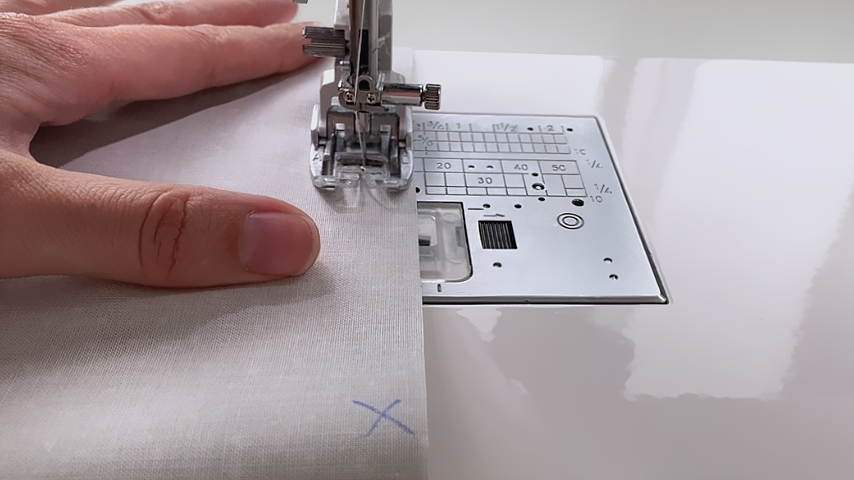
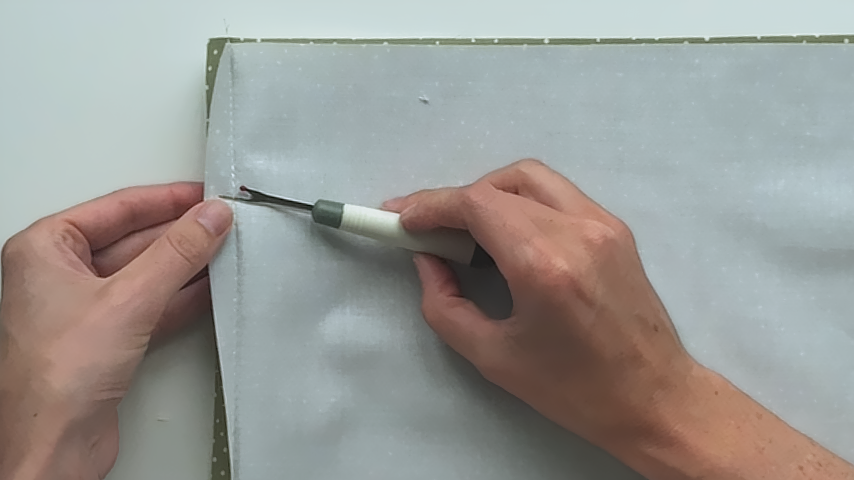
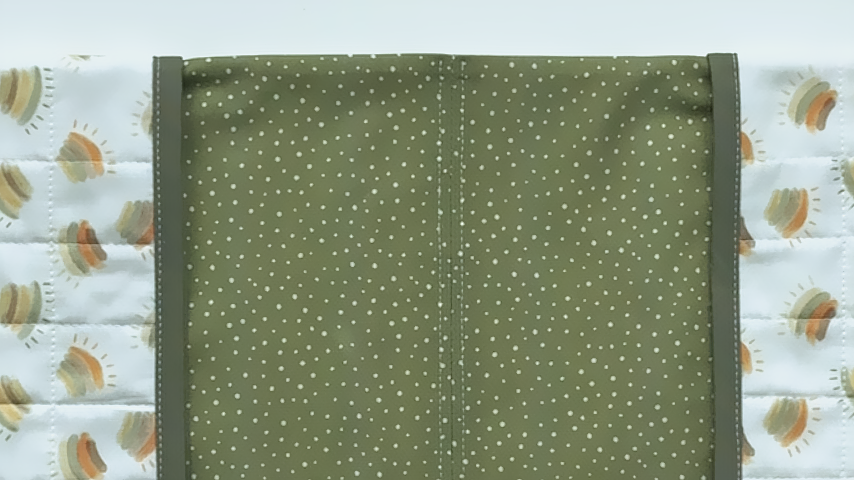
Place your two binder lining pieces right sides together. Along one of the 13″ edges, mark 2 lines that are about 6″ apart. You’ll backstitch on either side of these lines and use a basting stitch (longest stitch length) between them.
Sew along the edge using a 1/2″ seam allowance.
Press the seam open.
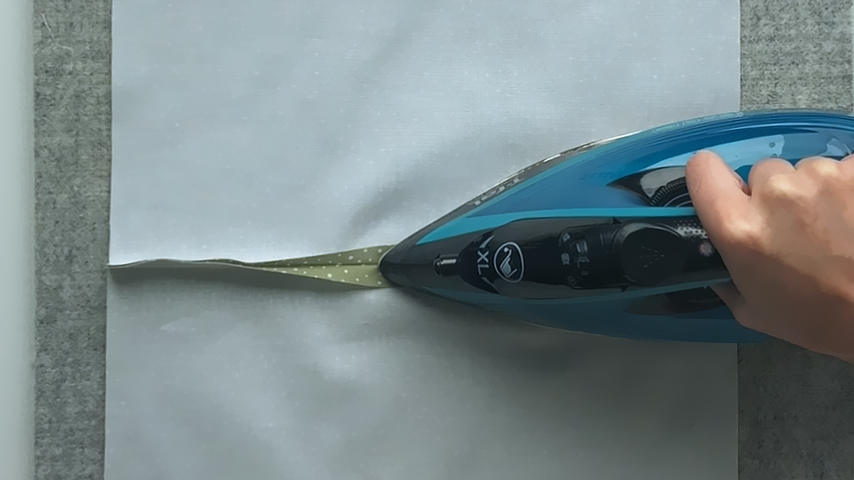
Use a seam ripper to remove the basting stitches.
Step 4
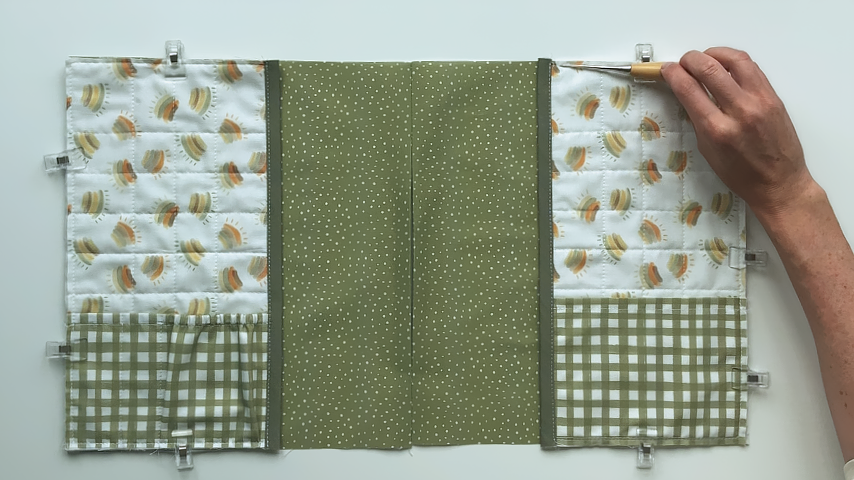
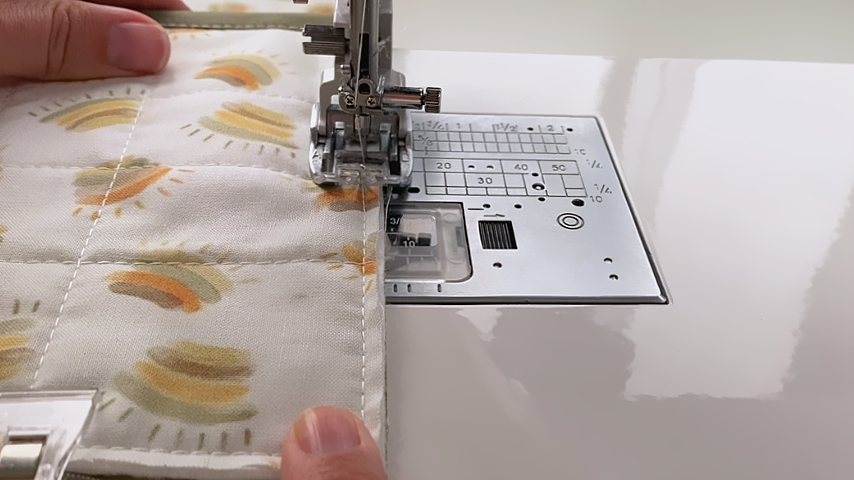
Place the binder lining and binder pockets wrong sides together, lining up the top, bottom, and side edges. Baste around the top, side and bottom of each pocket.
Step 5
Place the outer binder cover and lining right sides together.
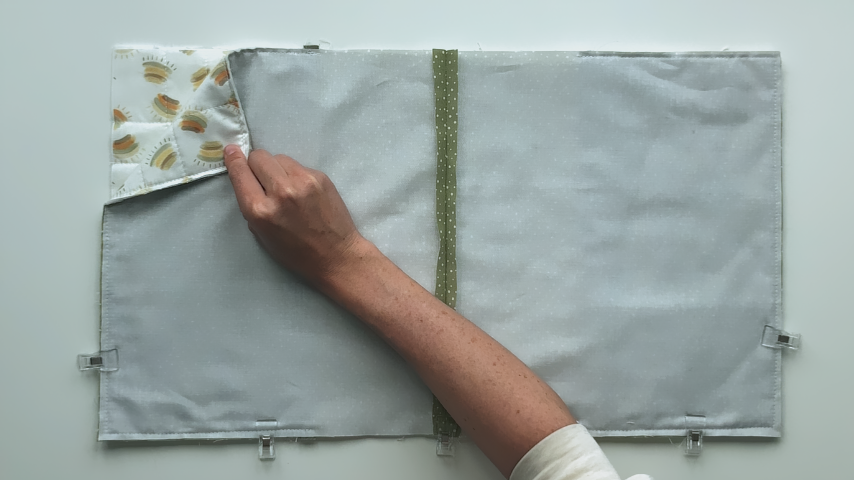
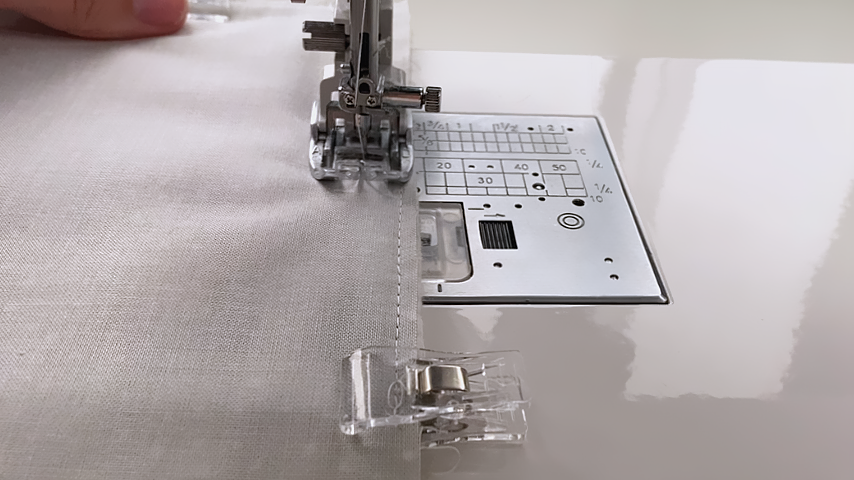
Line up the edges, clip into place, then use a 1/2″ seam allowance to sew around all 4 sides.
*You may want to increase or decrease your seam allowance to account for the thickness of your batting or lack of batting. This pattern accounts for batting that is about 1/8″ thick. If you’re using a thicker batting, decrease your seam allowance accordingly (e.g. if your batting is 1/4″ thick, decrease your seam allowance by 1/8″ so you’re sewing with a 3/8″ seam allowance). If you’re not using batting, you may want to increase your seam allowance to 5/8″.
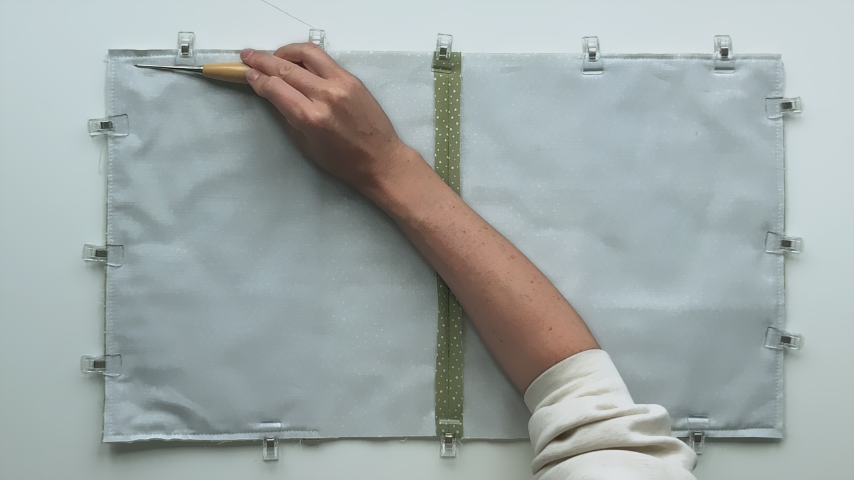
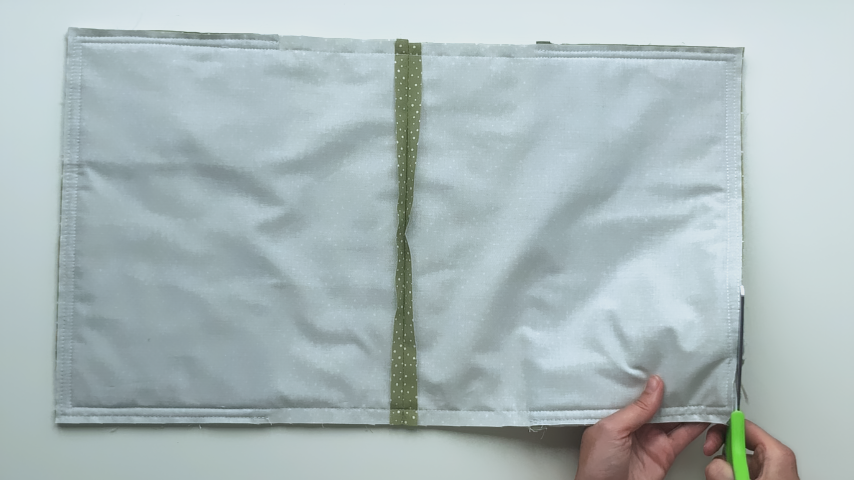
Trim the seam allowance in half and clip the corners.
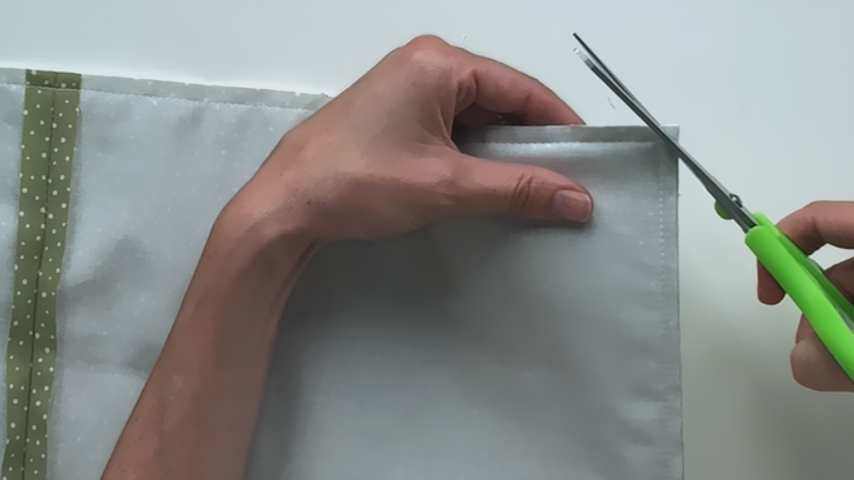
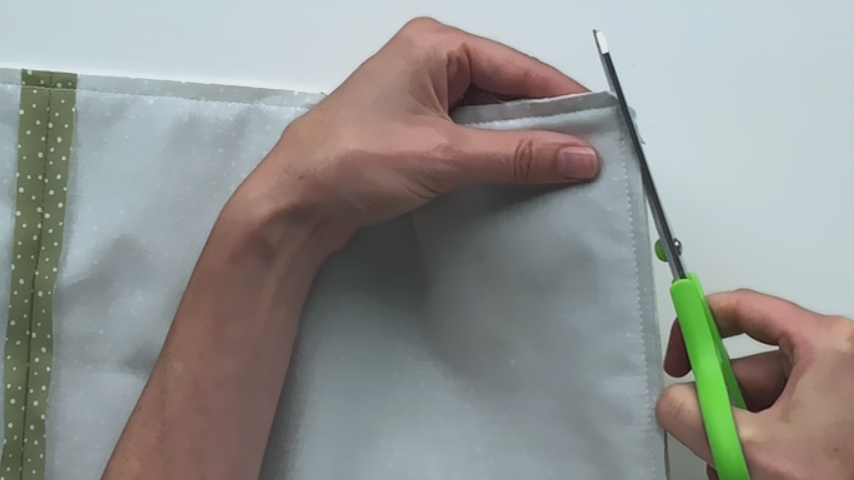
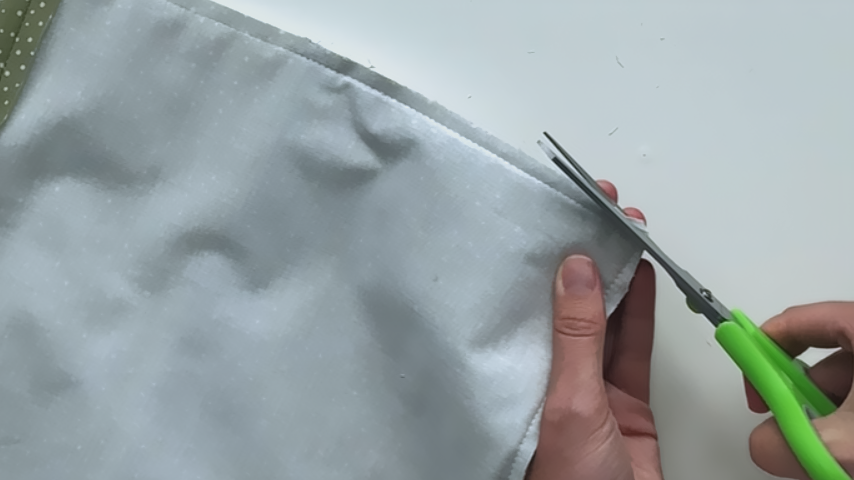
Step 6
Use the opening in the center of the lining to turn the cover right side out.
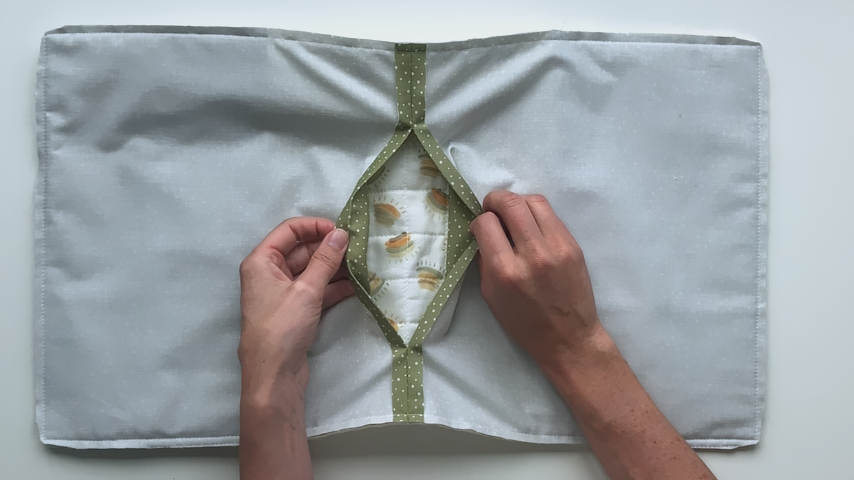
Use a point turner through the lining’s opening to push the corners out.
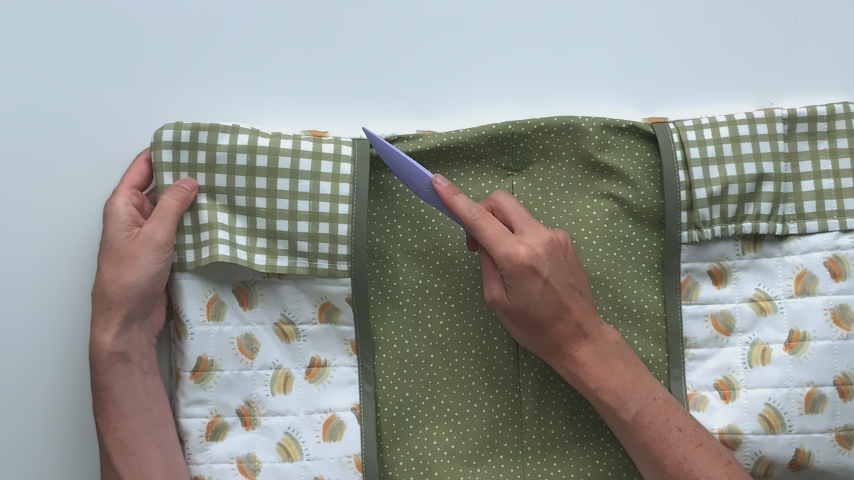
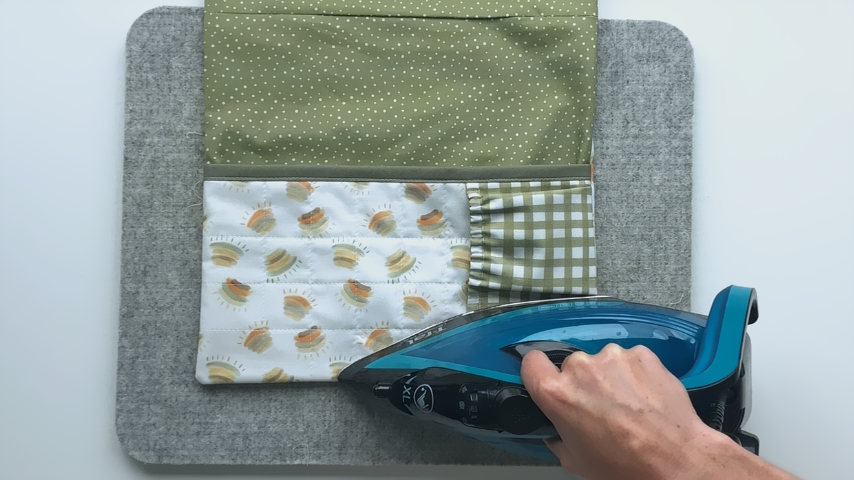
Roll the edges out so they’re straight, then press the edge seams. Be sure to lower the temperature on your iron so you don’t melt your batting (if using polyester batting), and don’t hold the iron in one place for too long.
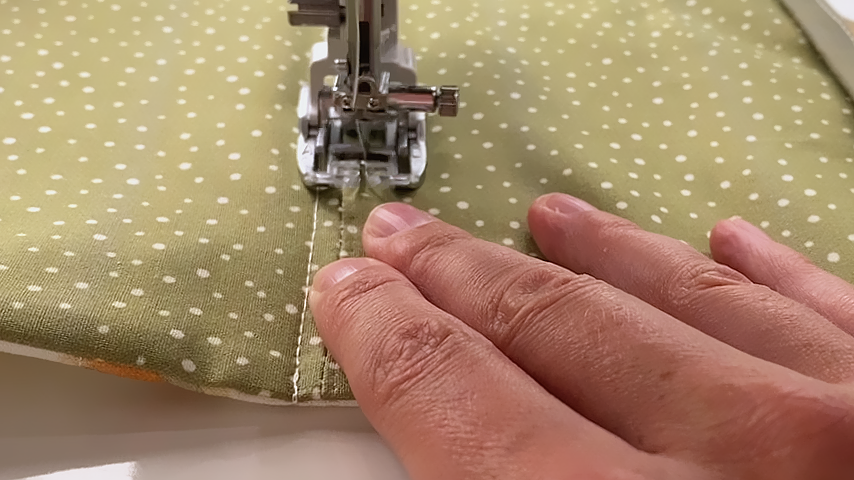
Sew about 1/8″ on either side of the center seam to close the opening.
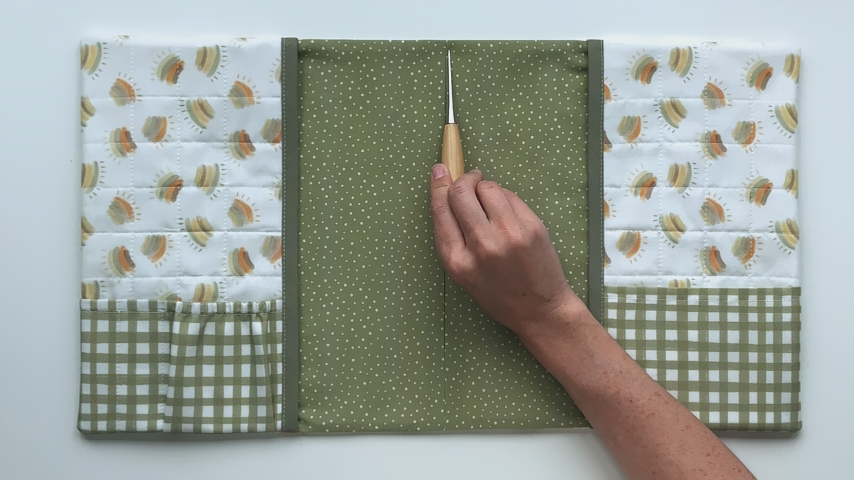
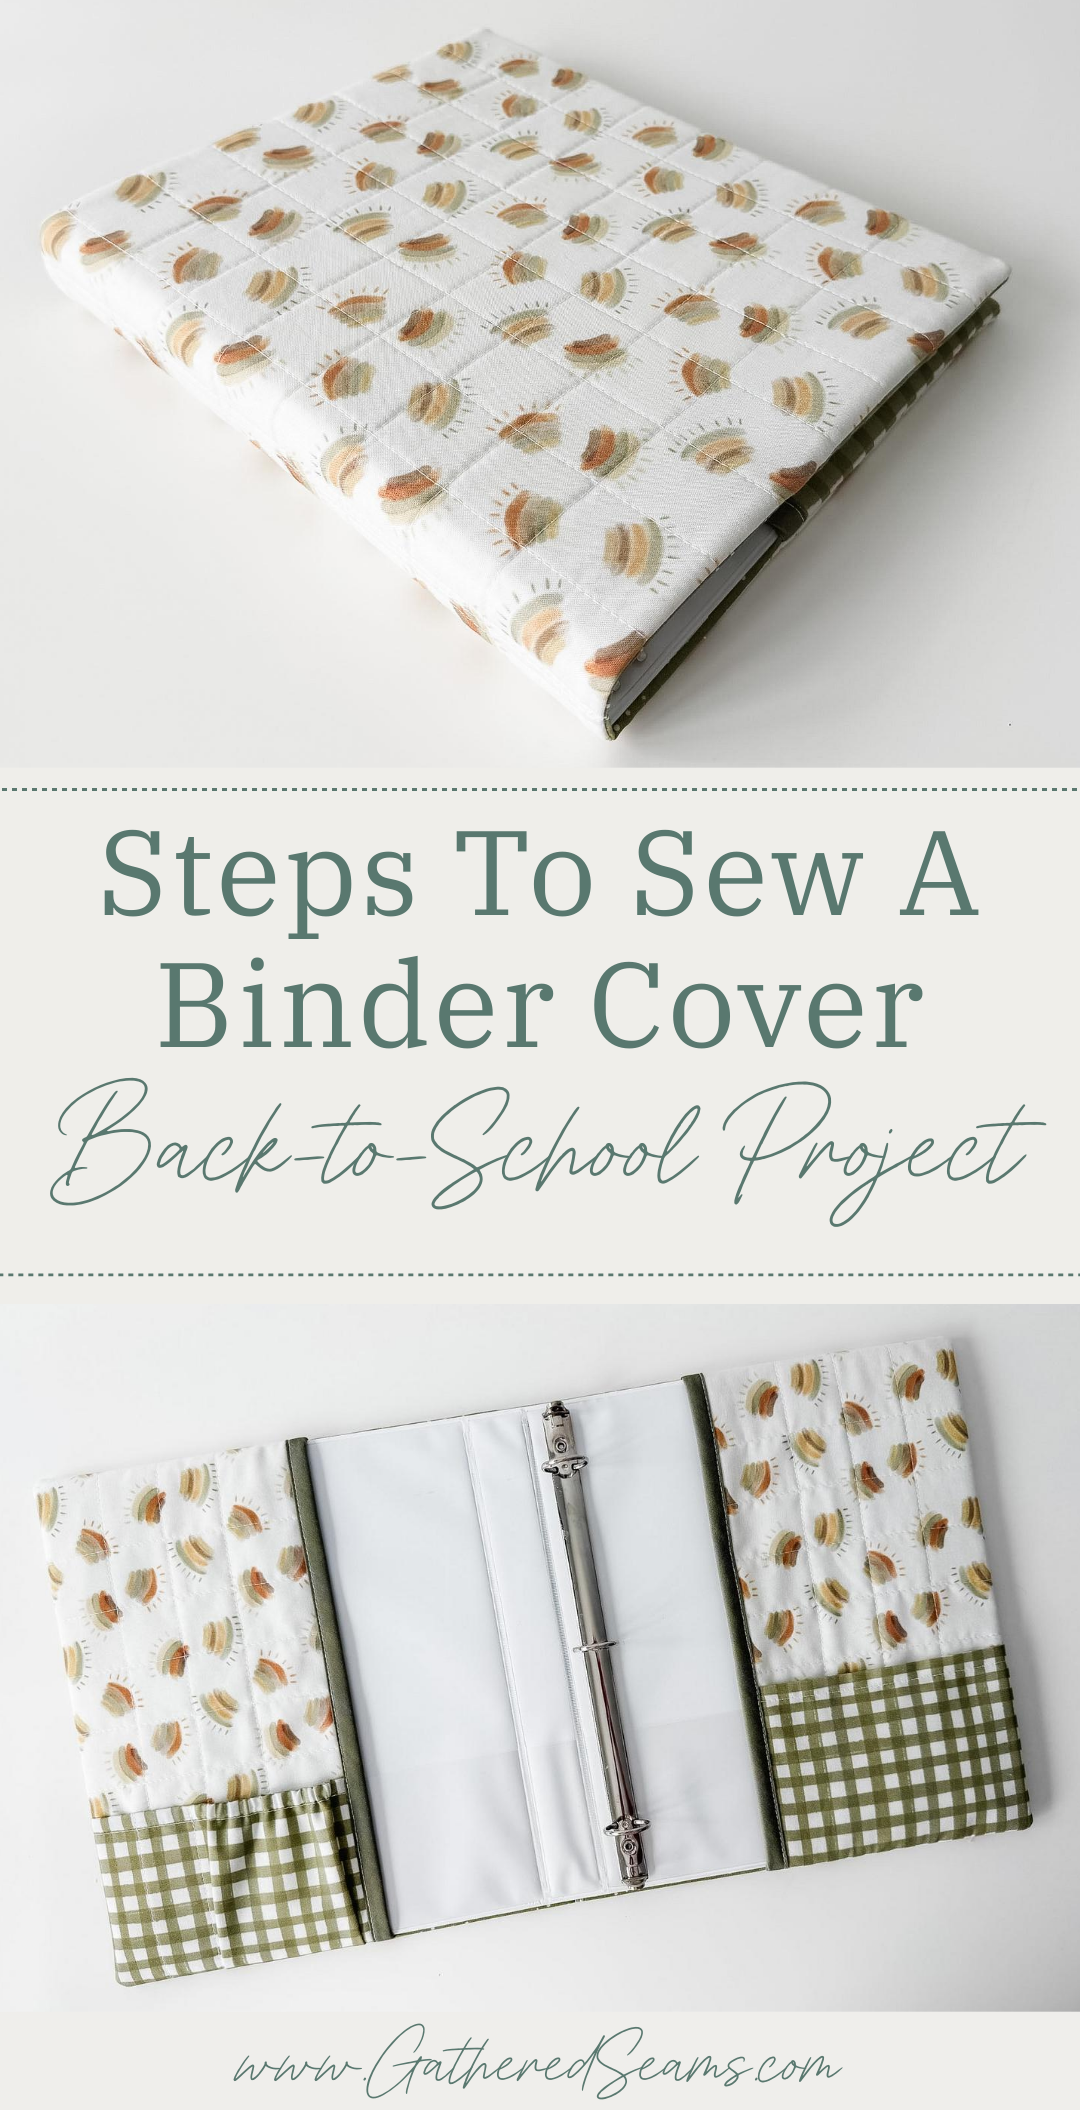
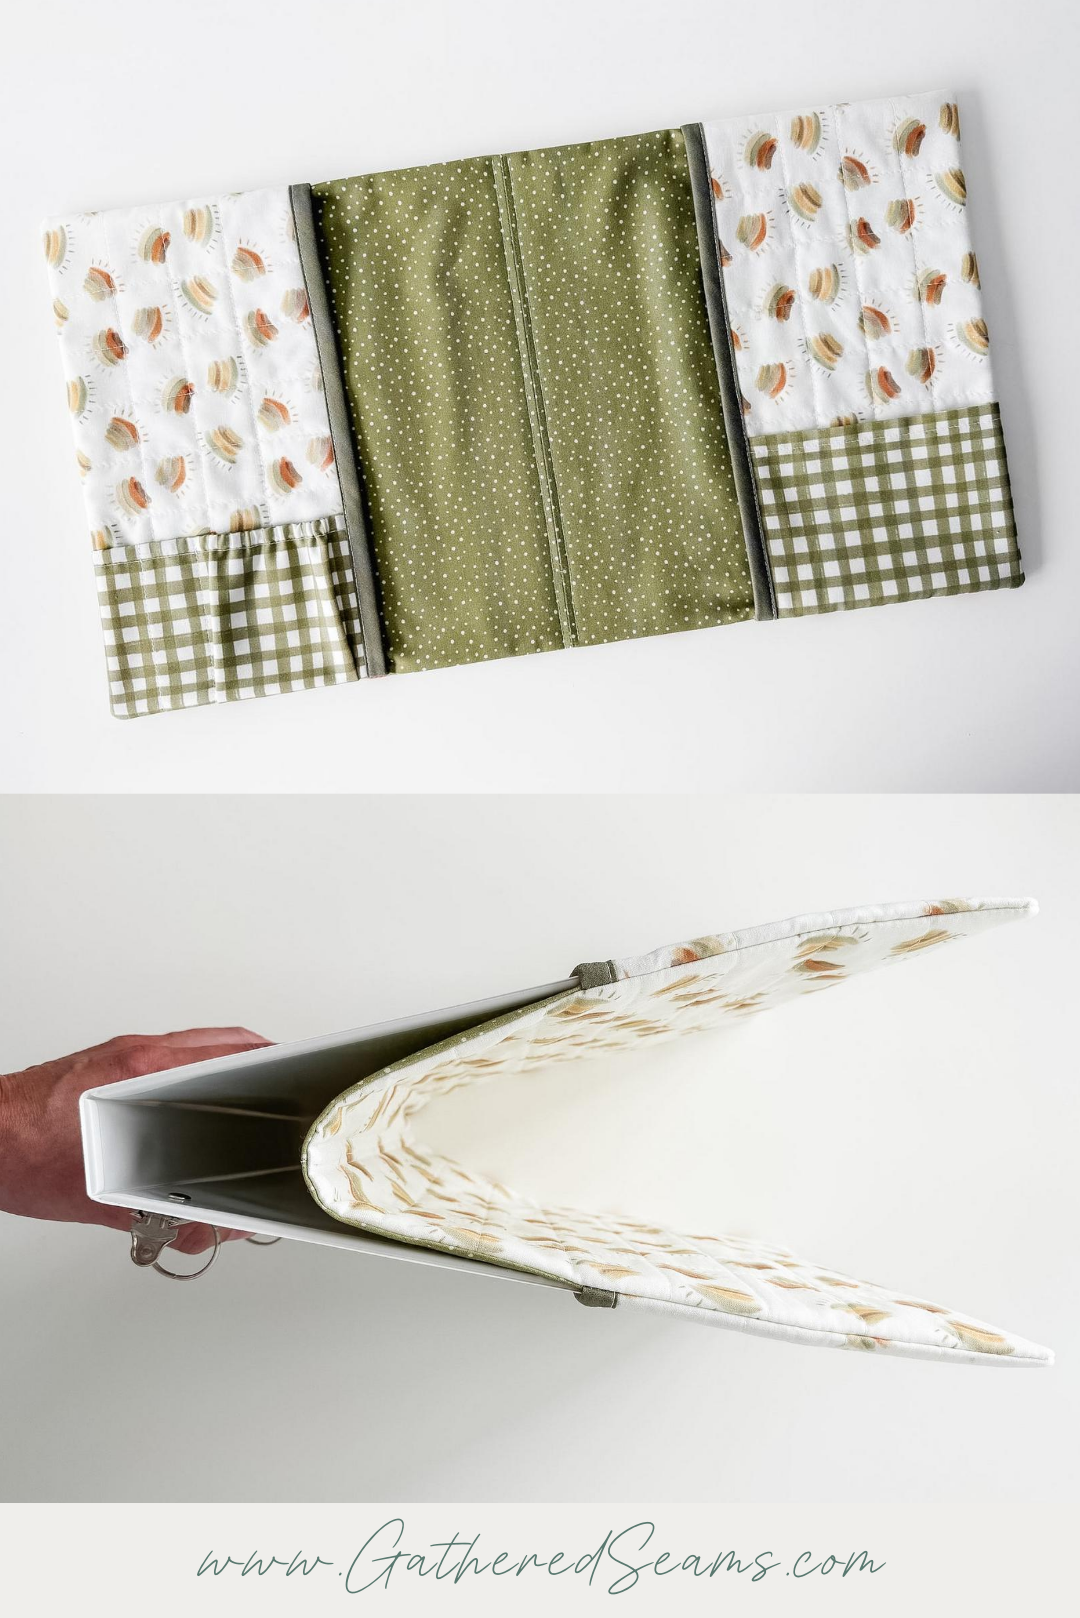
Your binder cover is complete!
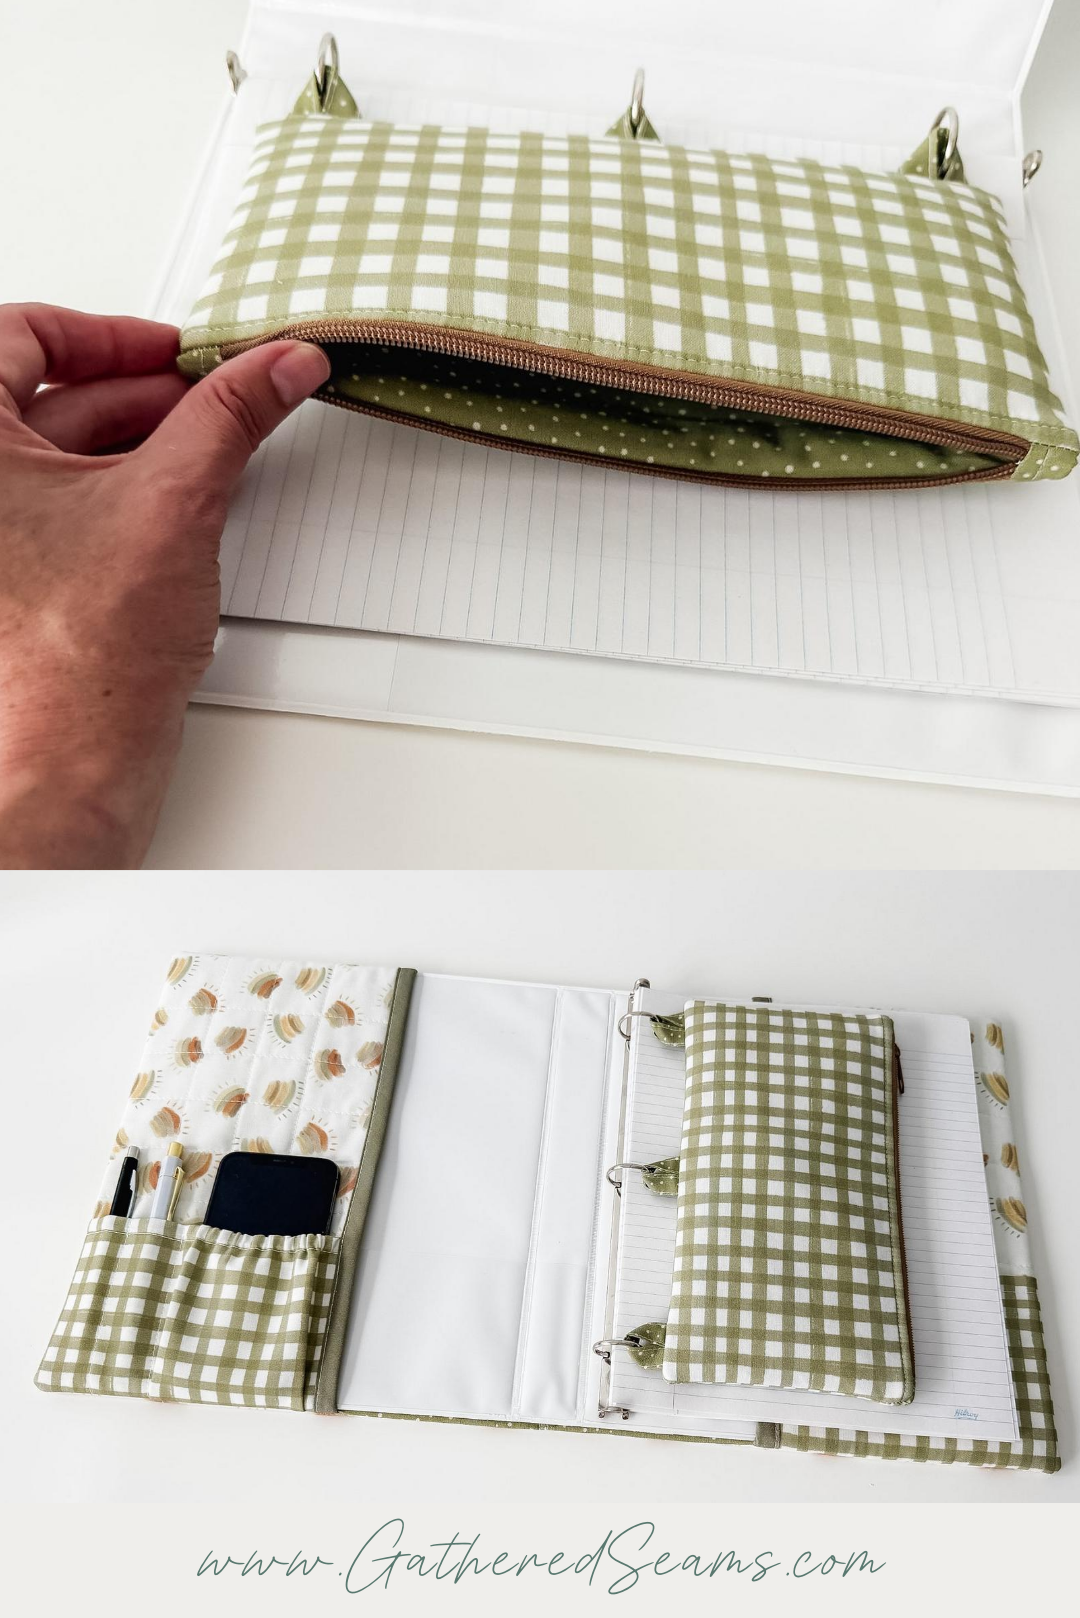
You may also want to sew a binder pencil pouch:
>> How To Sew A Binder Pencil Pouch | Free Pattern