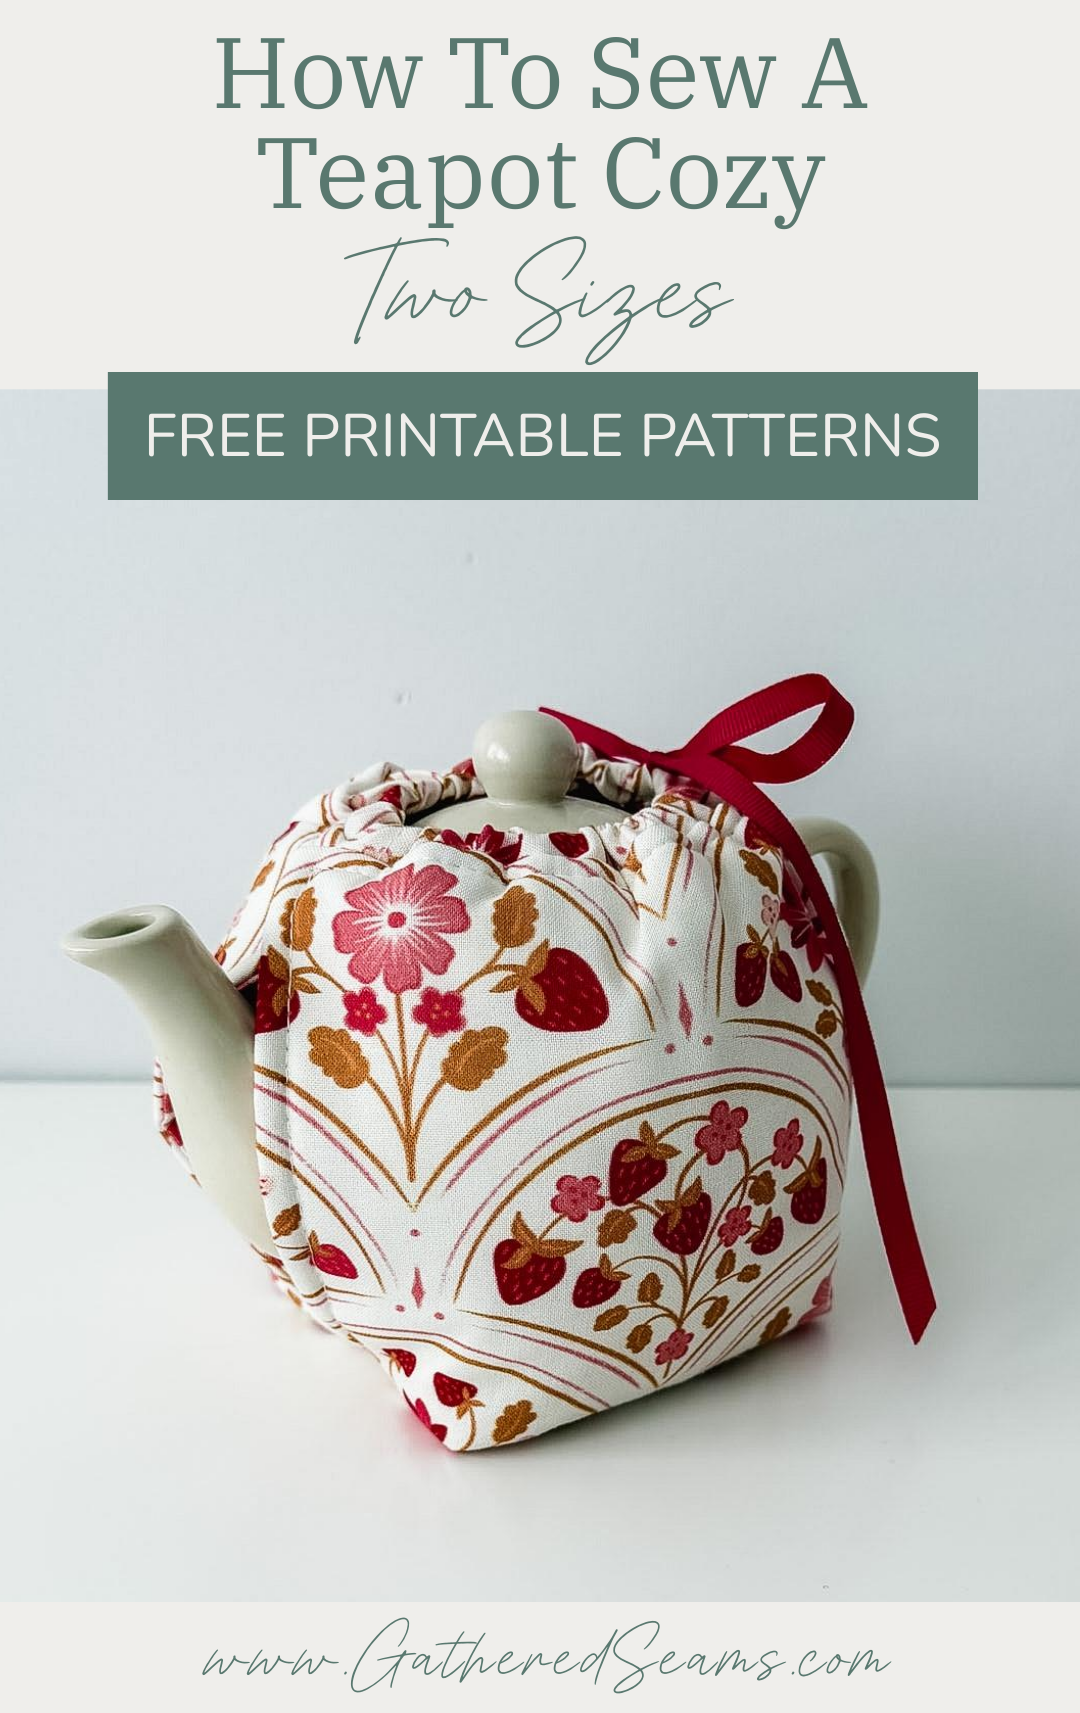
How To Sew A Teapot Cozy | Free Printable Pattern
An insulated teapot cozy will help keep a pot of tea hot for longer. I also like the design of this one because it acts as a coaster for the teapot to help protect a table’s surface.
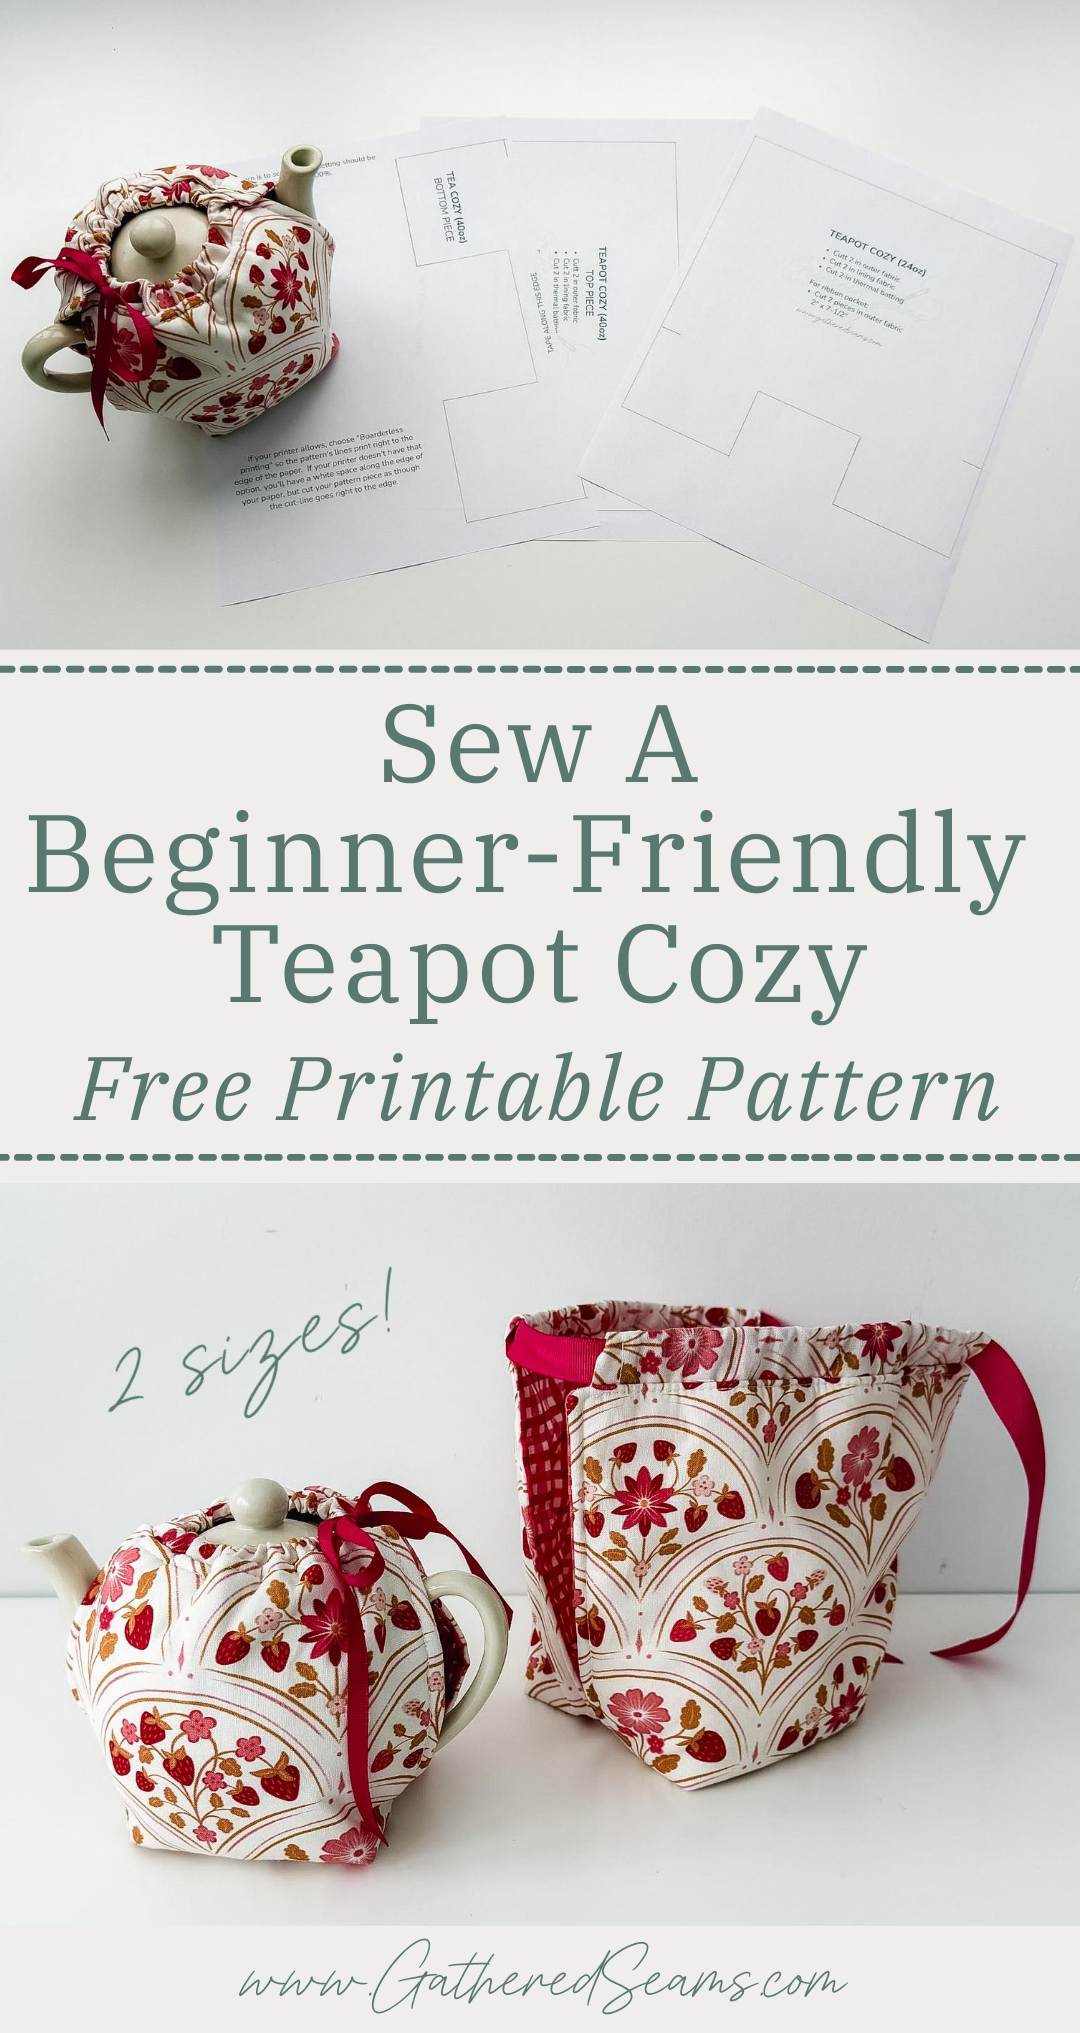
This is a simple sewing project that’s perfect for beginners. It doesn’t take long to sew and also makes a great gift.
Change up the material based on the recipient’s home decor or interests (e.g. a cat-print fabric for a cat lover, or a grey linen for a bachelor pad).
The free patterns include 2 sizes:
- Small teapot cozy – this should fit most 2-cup teapots (approx. 24-ounce)
- Large teapot cozy – this should fit most 4-cup teapots (approx. 40-ounce)
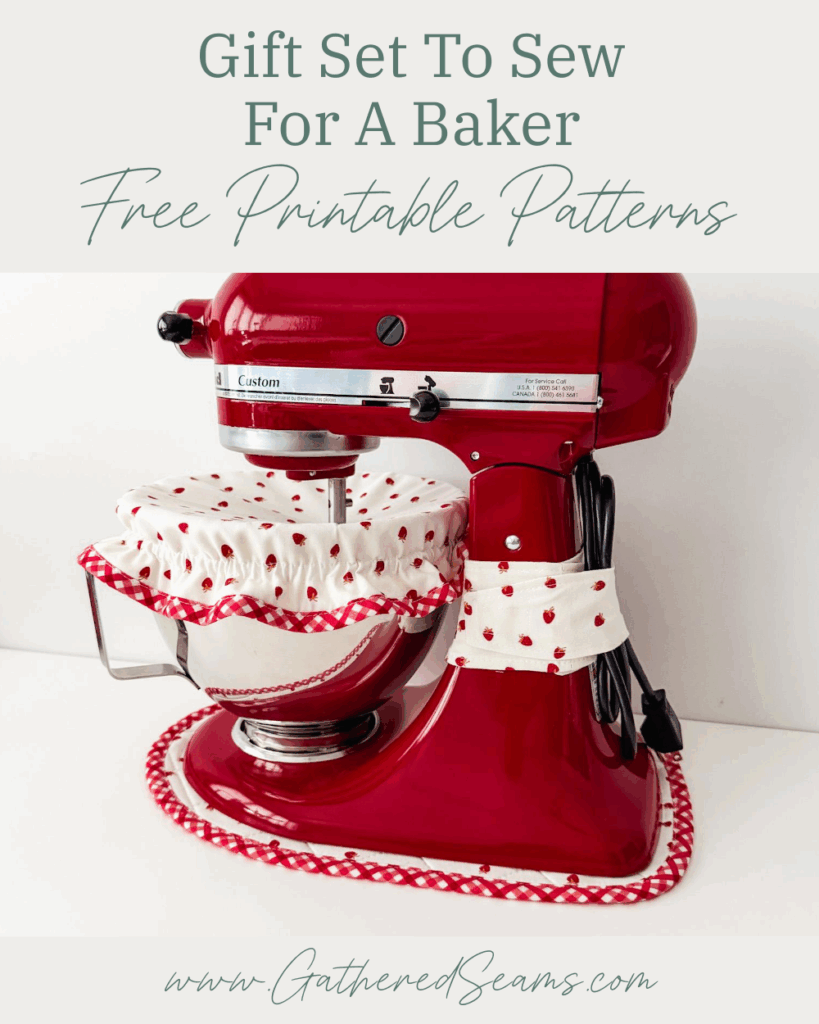
If you’re making this item as a gift, here are a few items you can sew or buy to add to the gift:
To sew
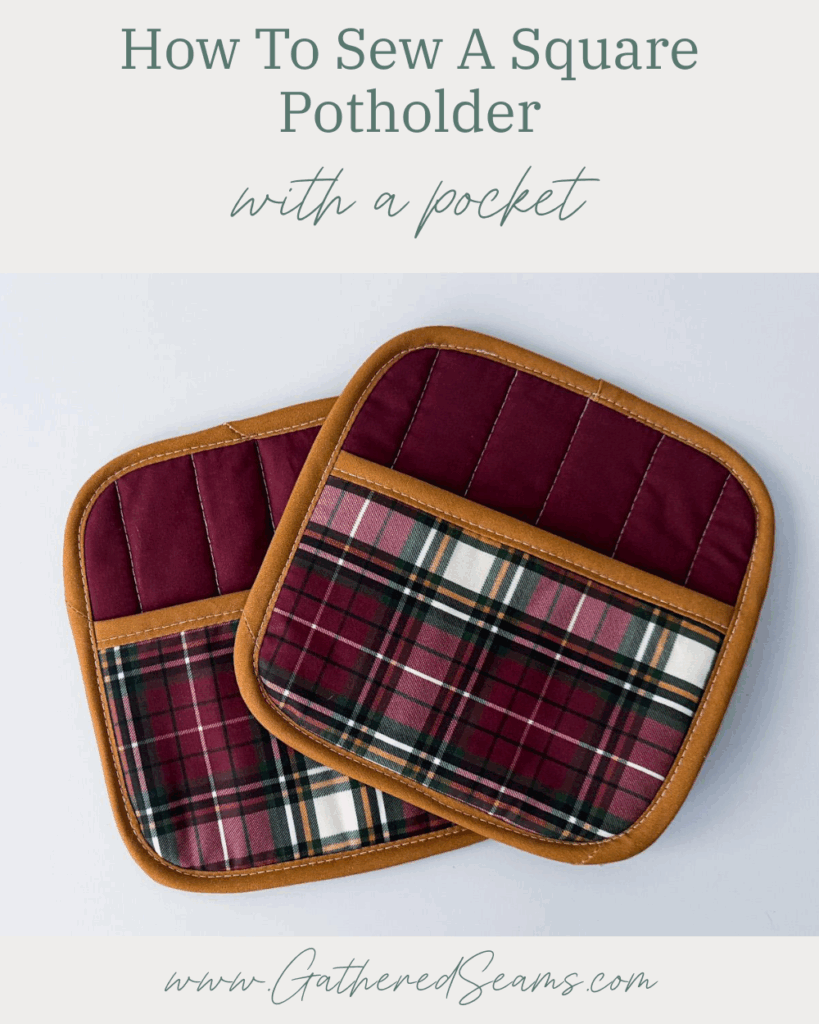
- mugrug or coasters
- mug cozies
- tea wallet (and put an assortment of tea packets in it)
- reusable tea bags
- tea towel (ruffled tea towel, double-sided tea towel, or fringed tea towel)
To buy
As an Amazon Associate, I earn from qualifying purchases (see full disclosure here).
- A teapot (2-cup or 4-cup)
- A teapot, cup, and saucer set
- teacup or mug set
- a tea set
- cookies (or include homemade cookies or biscuits)
Materials
As an Amazon Associate, I earn from qualifying purchases (see full disclosure here).
- Cotton or linen fabric (avoid synthetic materials)
- Thermal/heat-resistant batting (Insul-Bright or something similar) (this has “heat-reflective” properties) – it’s best to avoid synthetic batting to ensure the batting doesn’t warp or melt next to a hot teapot. If you want more insulation, you may add a layer of cotton batting as well (i.e. thermal batting and cotton batting). If you don’t have thermal batting, a couple layers of cotton batting will also work.
- Cotton thread
- Ribbon
Tools
- Sewing machine
- Walking foot (this makes sewing with thicker materials, like batting, easier. This is the universal one I purchased for my Baby Lock, which is a different machine than what’s shown in the photos)
- Seam ripper
- Point turner
- Temporary fabric pen or chalk
- Temporary fabric adhesive
- Ruler (if buying a new ruler, be sure it’s in the measurement system you prefer; imperial or metric)
- Iron
- Scissors
- Pins or clips
- Safety pin
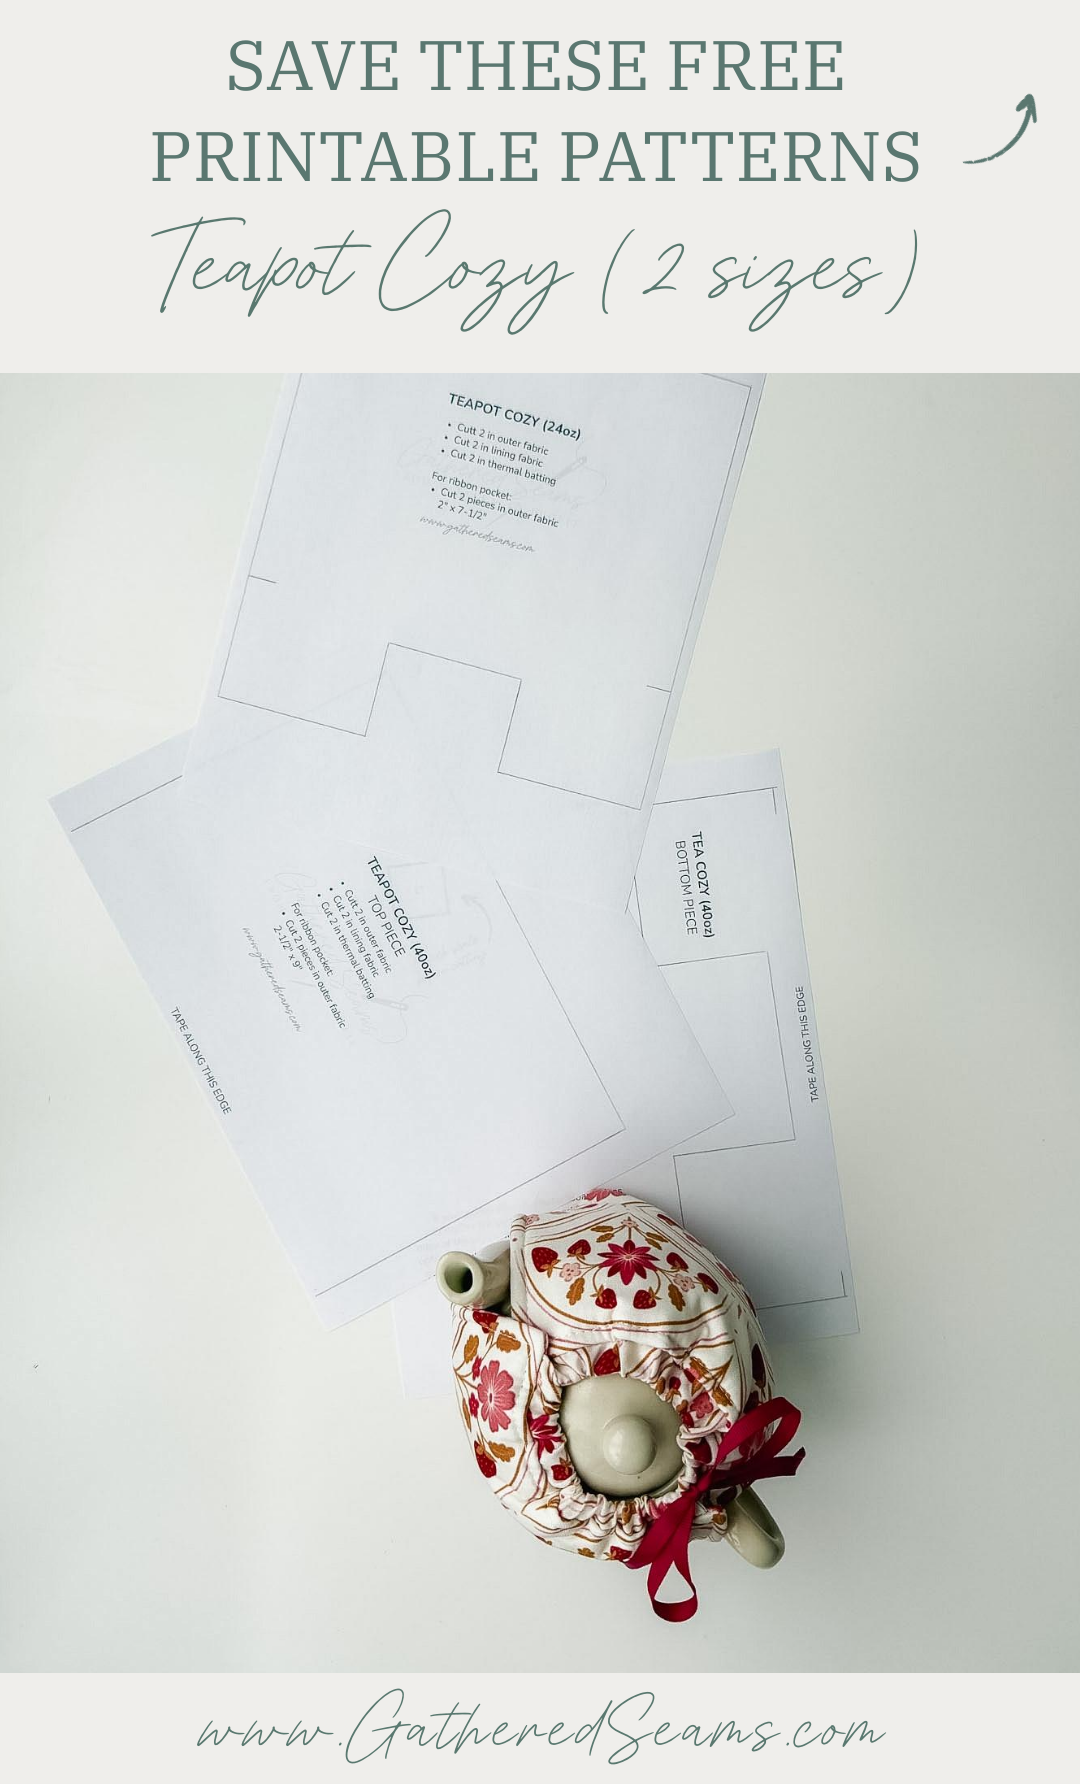
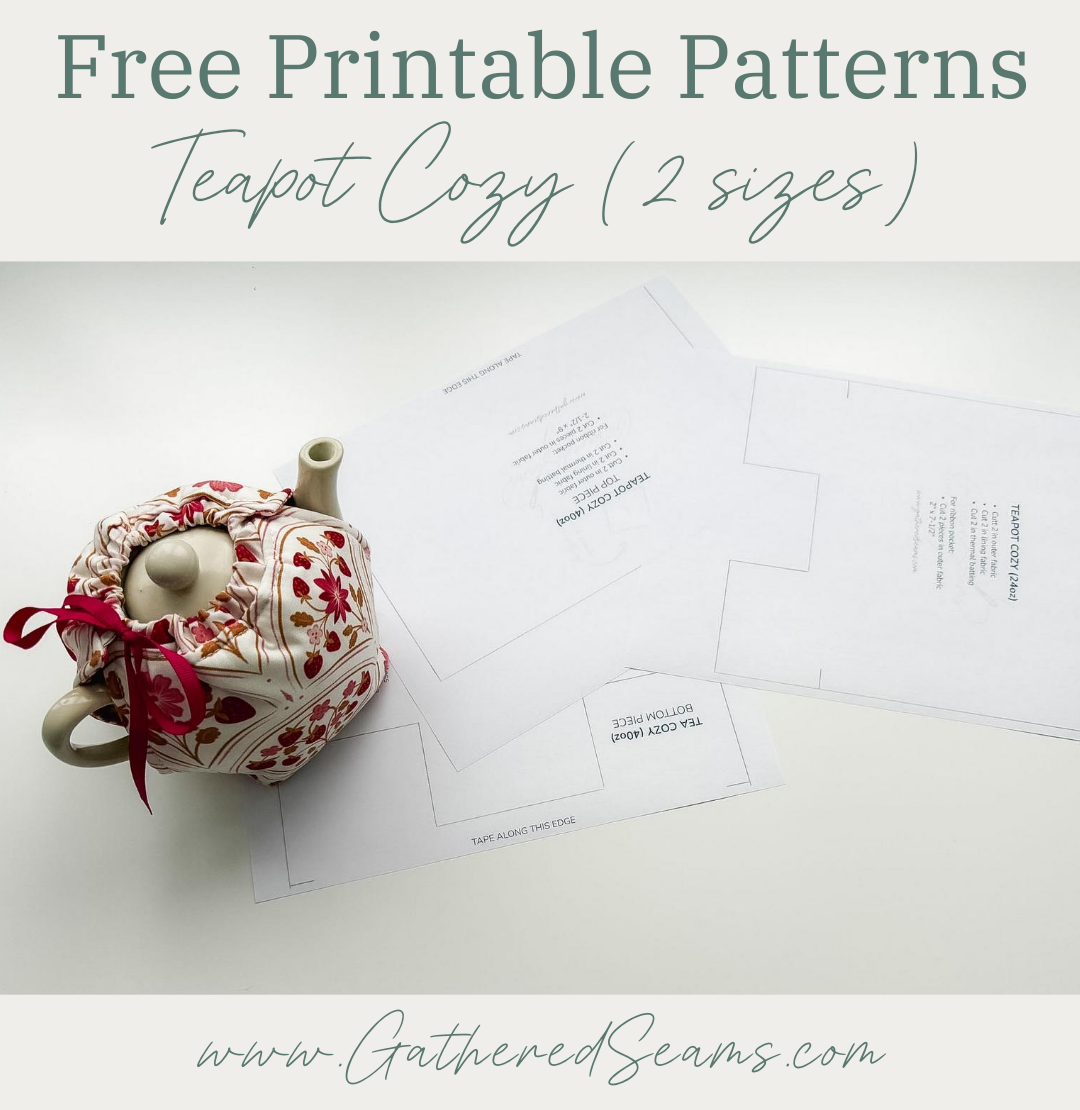
Free printable sewing pattern for a teapot cozy
This PDF includes both sizes of teapot cozies.

Steps to sew an insulated teapot cozy
Step 1
Download the free printable pattern and print it out. Tape the pieces so the edges butt together, and there is no overlap. Then cut the pattern shape out.
You will need to cut the pattern piece in:
- 2 pieces in outer fabric
- 2 pieces in lining fabric
- 2 pieces in thermal batting
You will also need to cut ribbon and 2 rectangles for the ribbon channel, the size/length differs based on the size of the teapot cozy you’re making and is indicated on the printable pattern.

Step 2
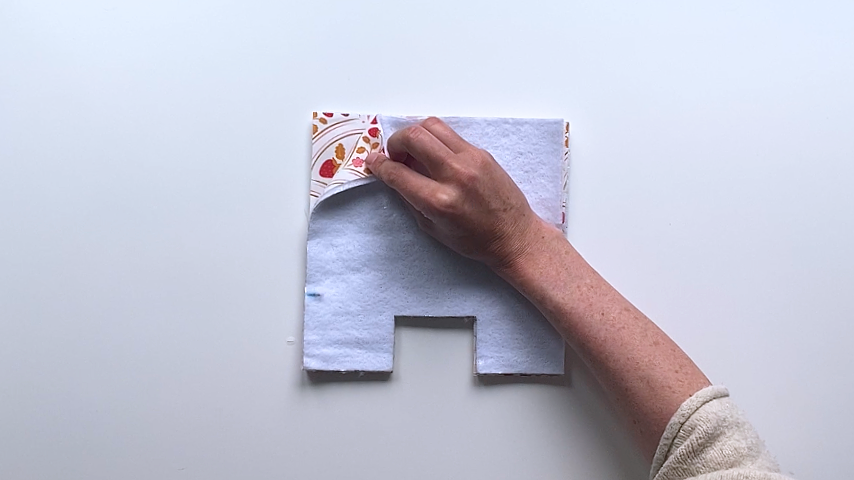
Mark two lines on the wrong side of your fabric or batting, as indicated on the printed pattern.

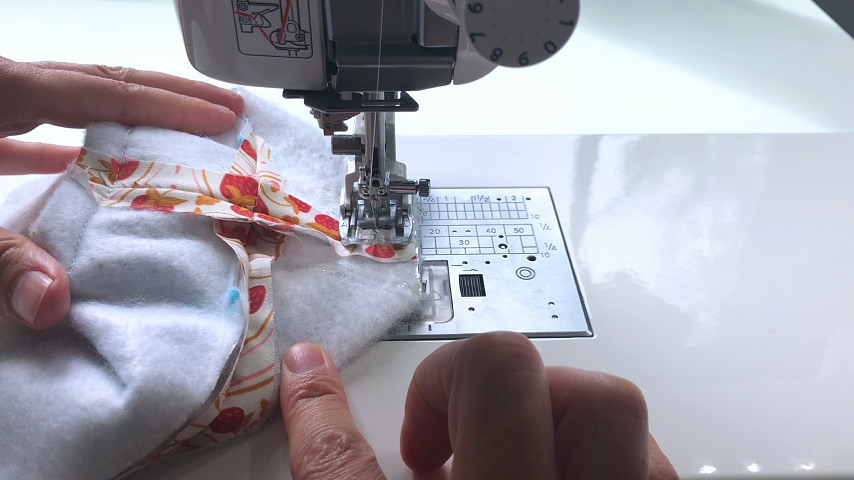
Place your batting and fabric wrong sides together and use temporary fabric adhesive to keep the batting in place. You can also add quilting stitches if you like.
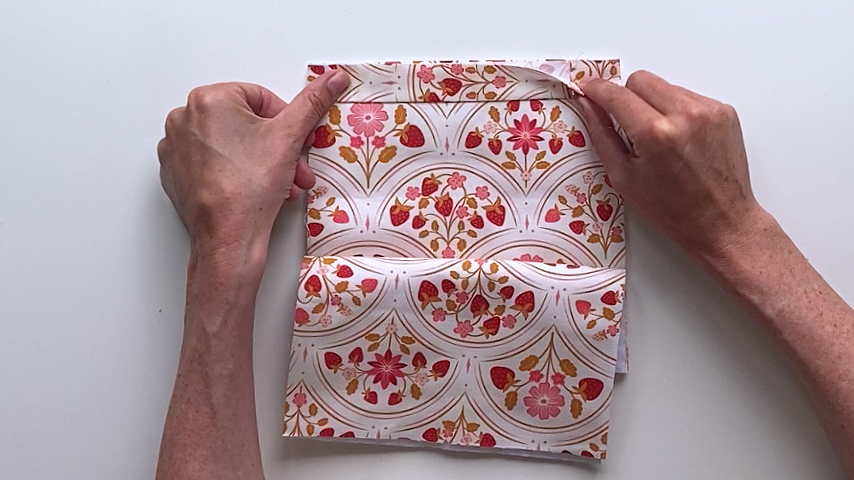
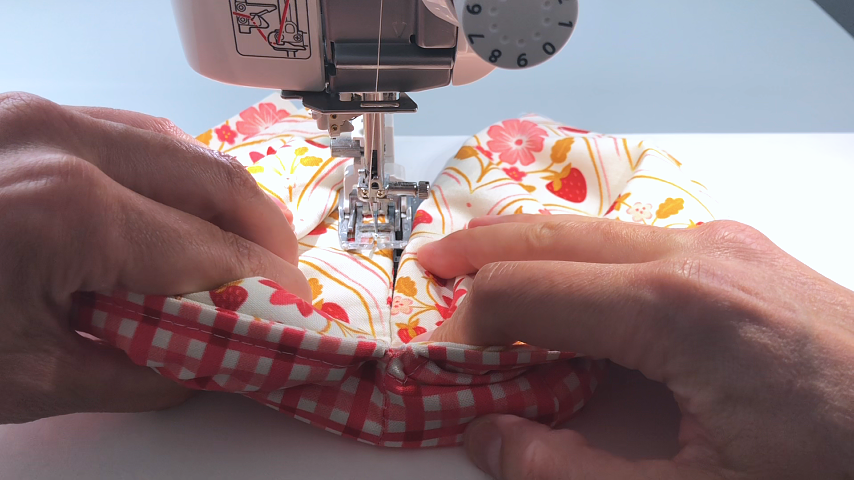
Place the two piece of outer fabric/batting right sides together.
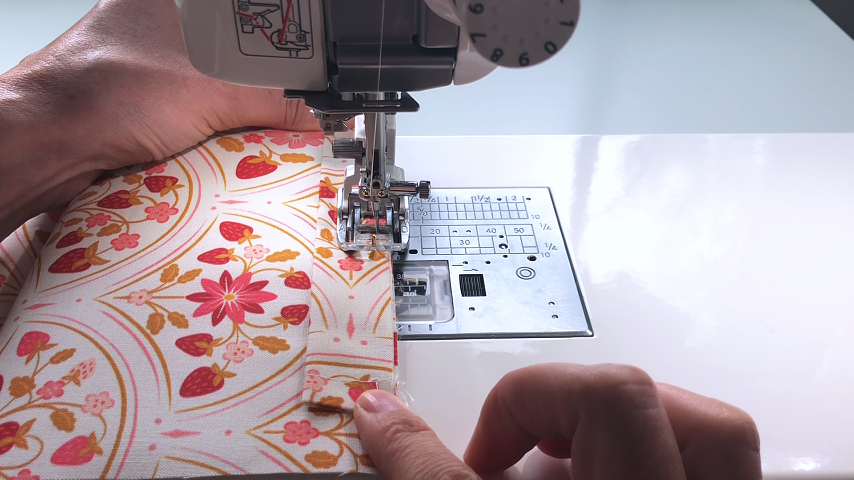
Using a 1/2″ seam allowance, sew from the bottom up to the lines on either side of the cozy. Backstitch at the start and end.
Step 3
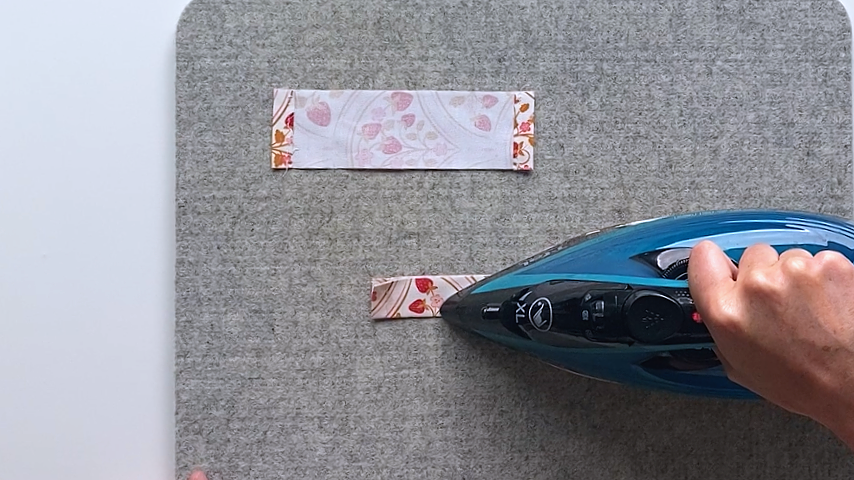
To create the channels for the ribbon, mark a line 1″ away from the ends of the rectangular pieces:
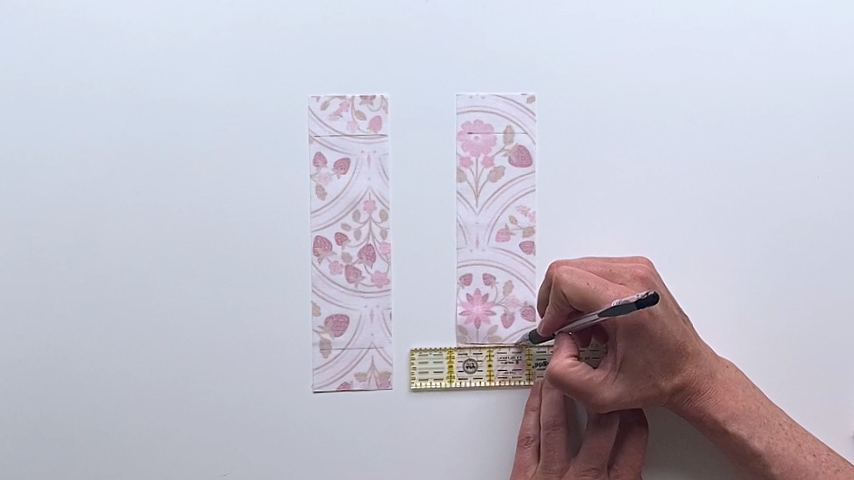
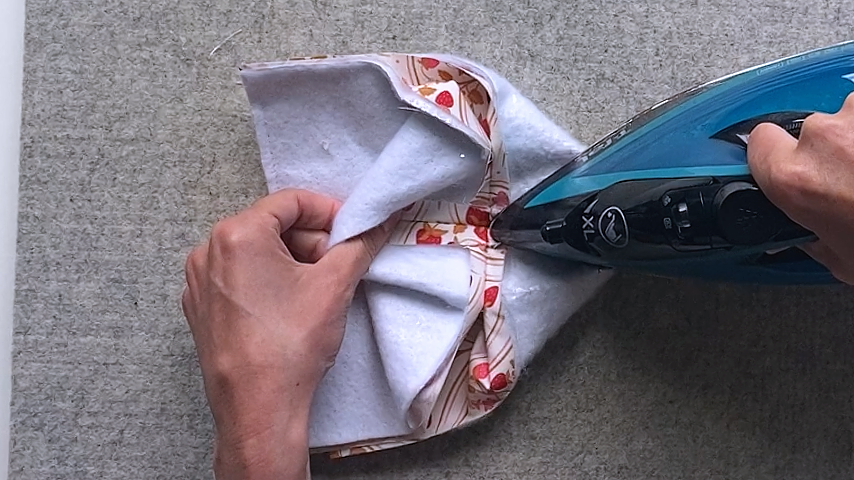
Fold the ends up to meet that line and press into place.
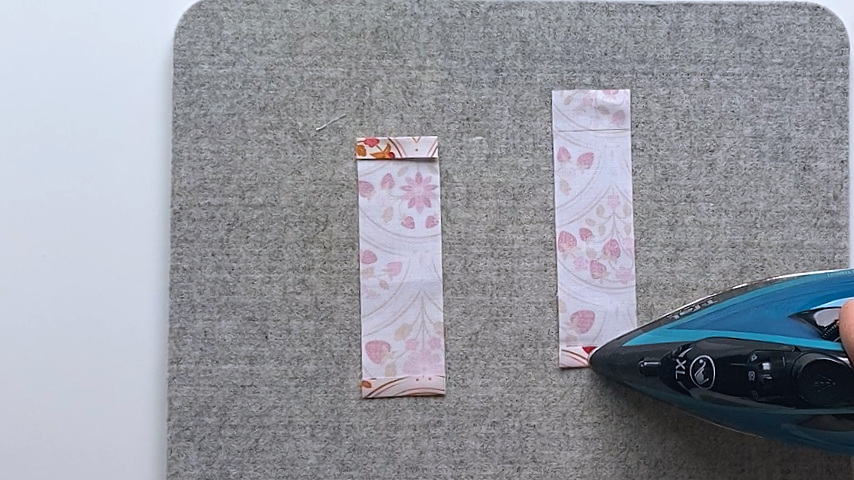
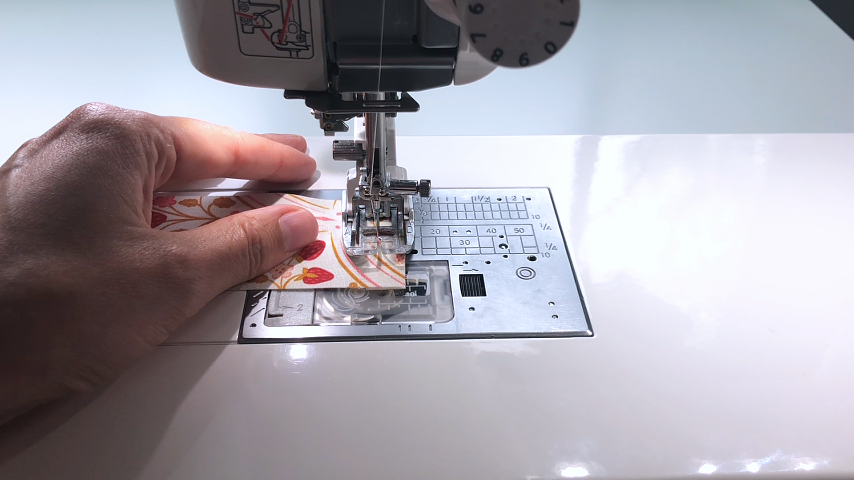
Topstitch to hold the hems in place.
Fold the pieces lengthwise, wrong sides together and press.
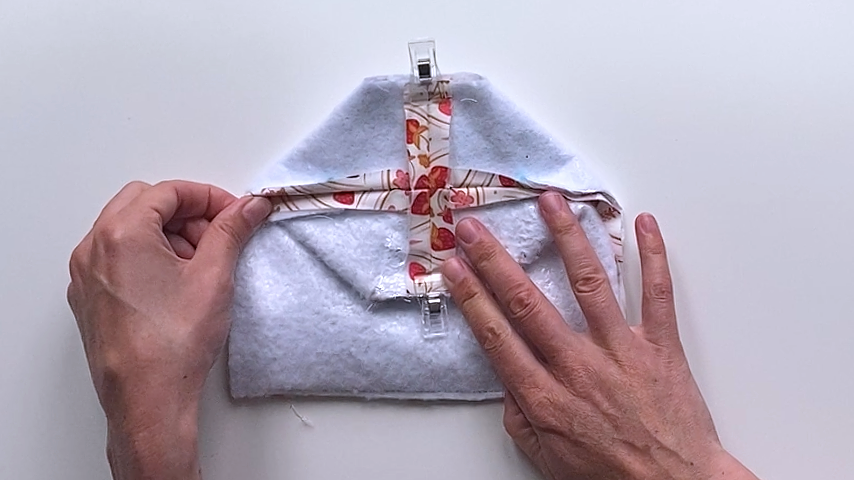
Find the center on the top of your outer pieces (for both front and back pieces) and center the channel, lining up cut edges.
Baste the ribbon channel into place.

Step 4
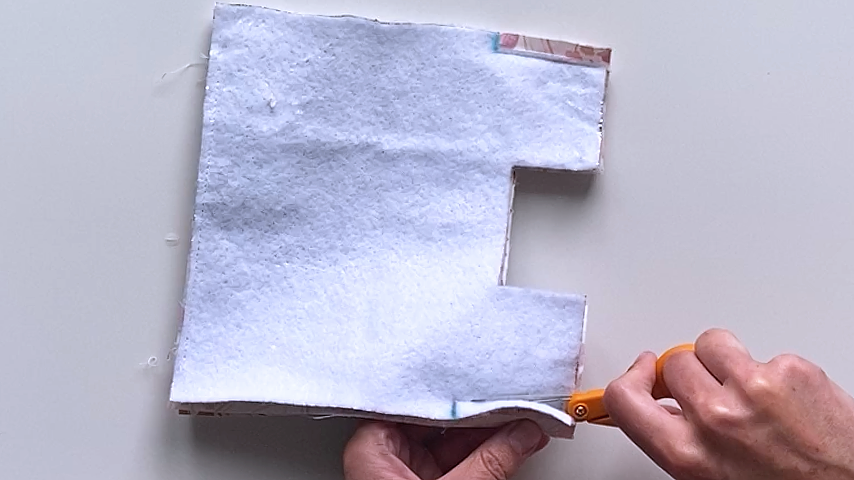
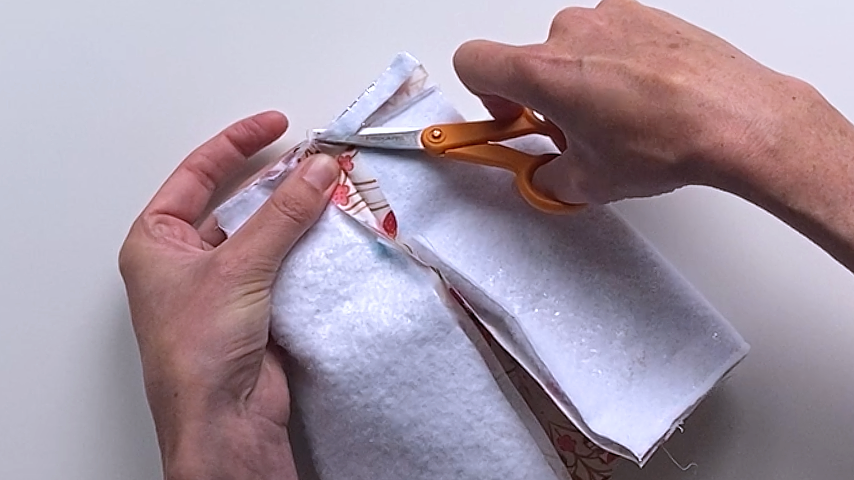
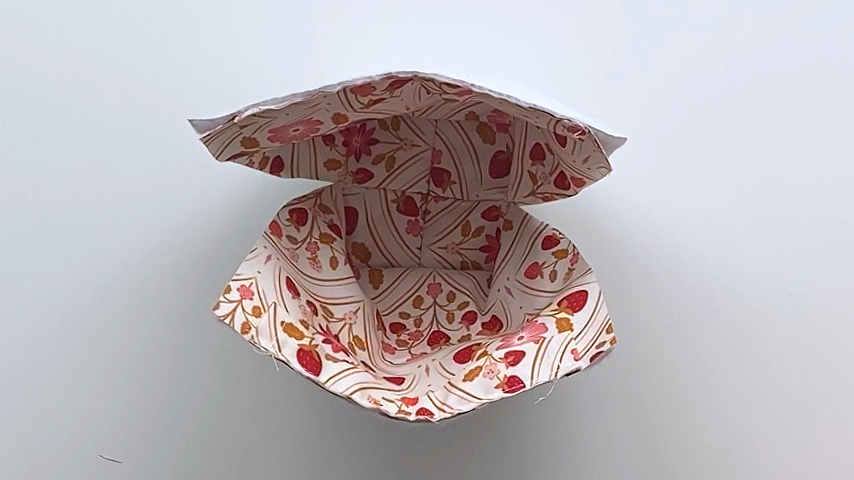
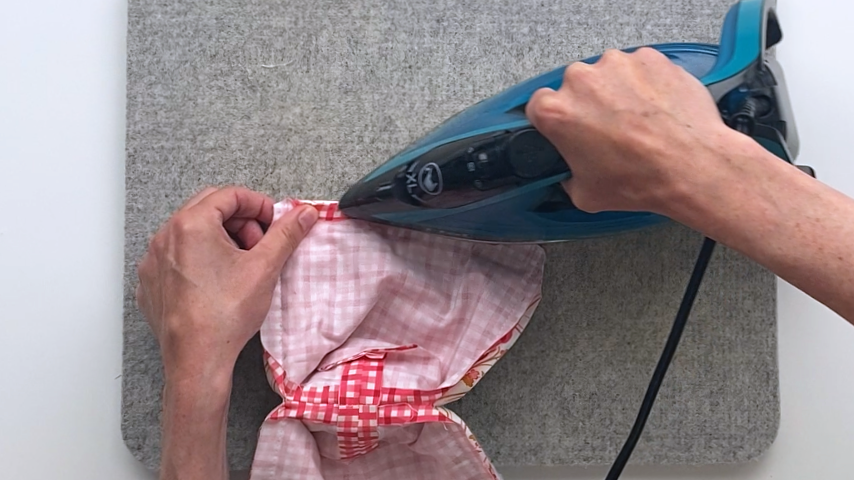
Press open the side seams.
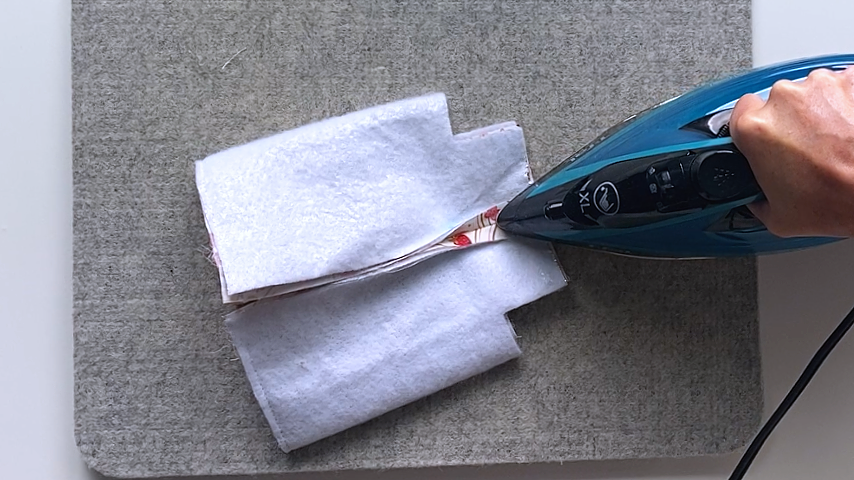
Trim the batting away on either side of both side seams. This will reduce the bulk and make sure the teapot has a flat surface to sit on.
Line up the side seams so they are stacked on top of each other.
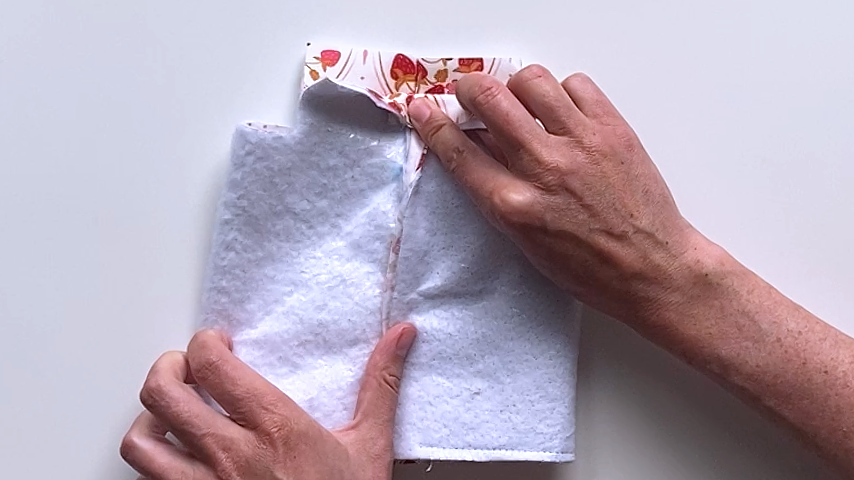
Using a 1/2″ seam allowance, sew across the bottom.
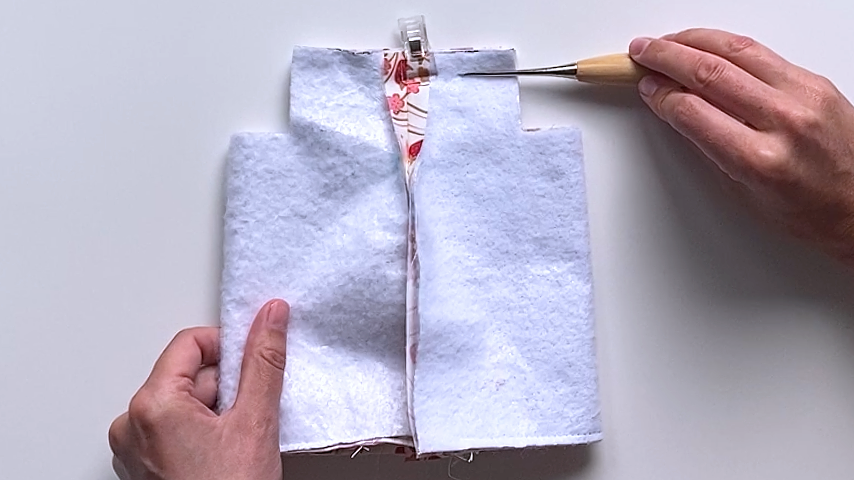
Trim away the batting on either side of the seam. I also try to cut the batting away under the fabric’s seam allowance.
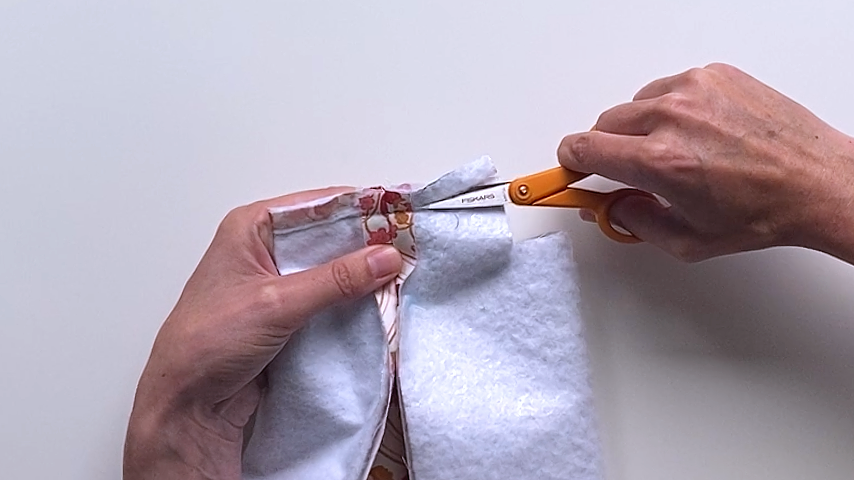
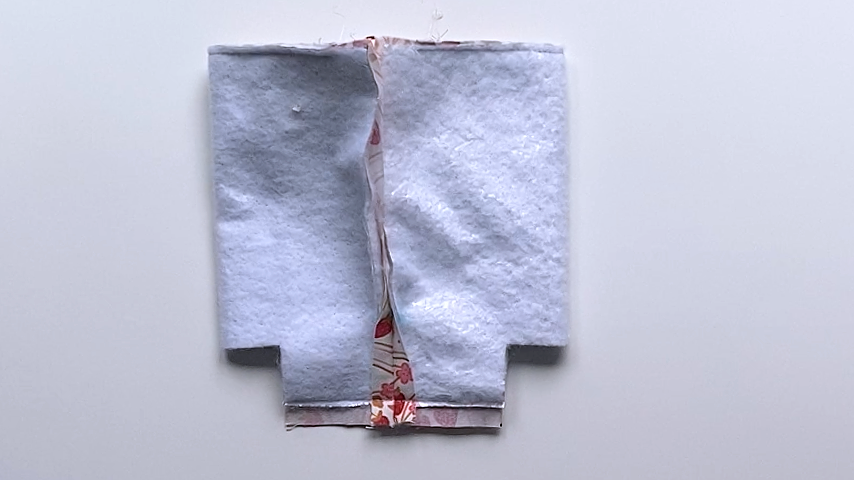
Press the seam open.
Line up the corner edges, clip into place, then sew across using a 1/2″ seam allowance.
Repeat these steps to sew the lining pieces together. No need to trim any seam allowance on the lining.
Step 5
Place your outer piece and lining right sides together.
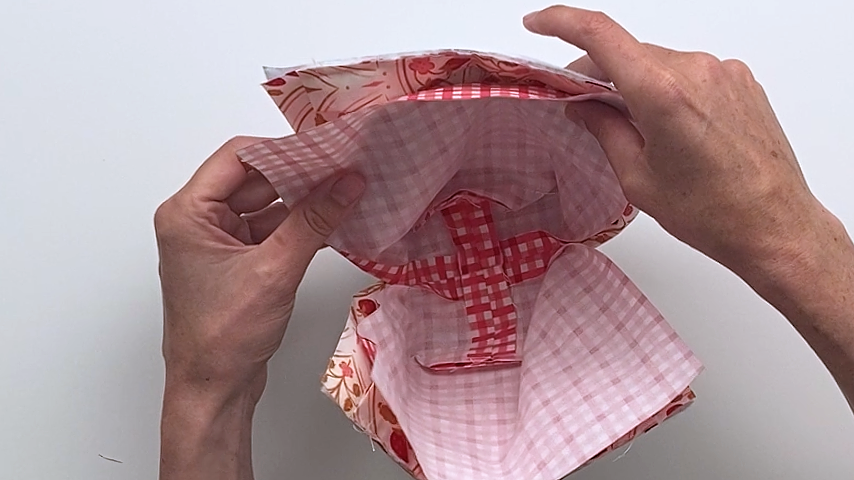
Line up all edges and clip together.
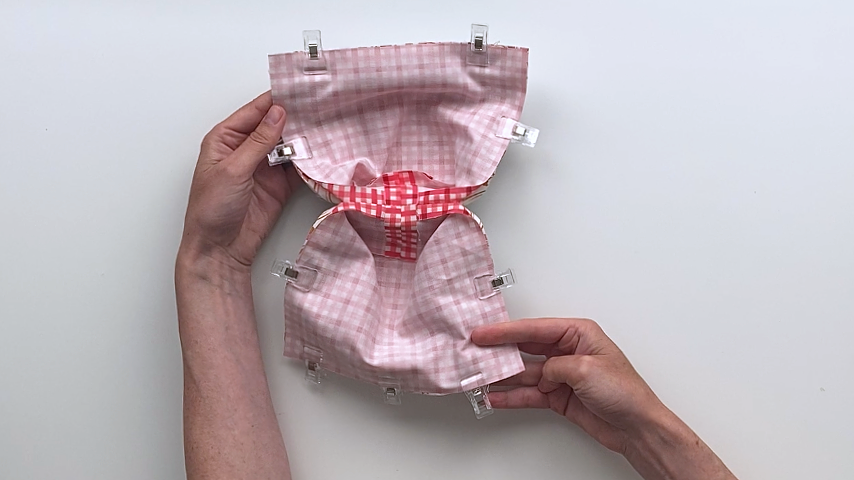
Mark two lines, about 4″ apart, along the top of one side of the teapot cozy. You’ll backstitch at the start and end of these lines and use a basting stitch (longer stitch length, e.g. 5mm) between the two lines.
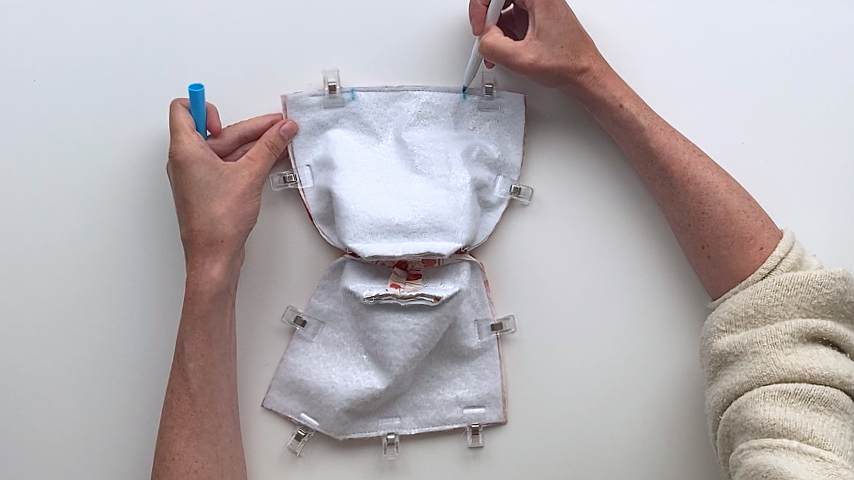
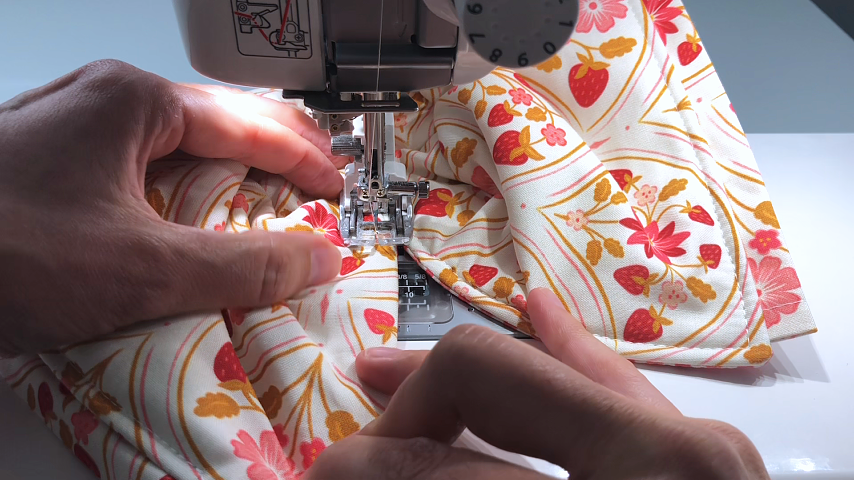
You’ll sew up the side, across the top and down the other side using a 1/2″ seam allowance, for both the front and back of the teapot cozy.
This step can be a little finicky. You need your seam allowance to sit flat and to stitch right up to the stitching that’s in place to close the bottom sides.
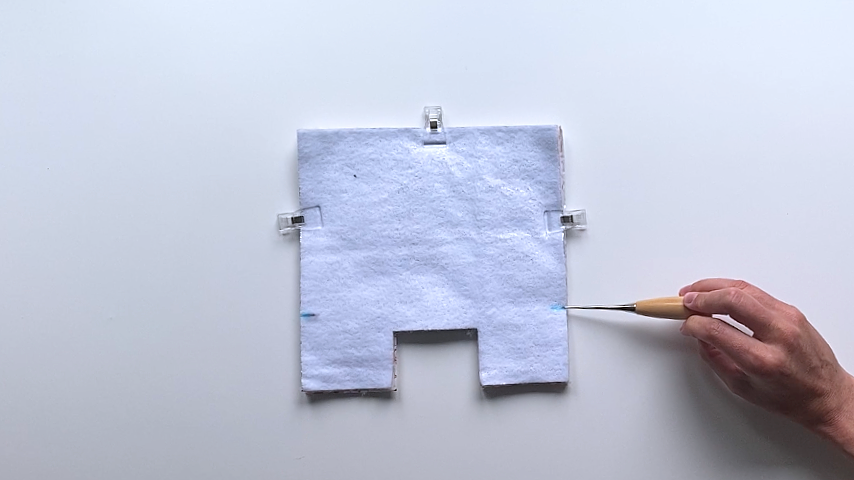
This photo shows a blue dotted line indicating where to sew:
Start/stop sewing right on top of the stitching at the bottom:
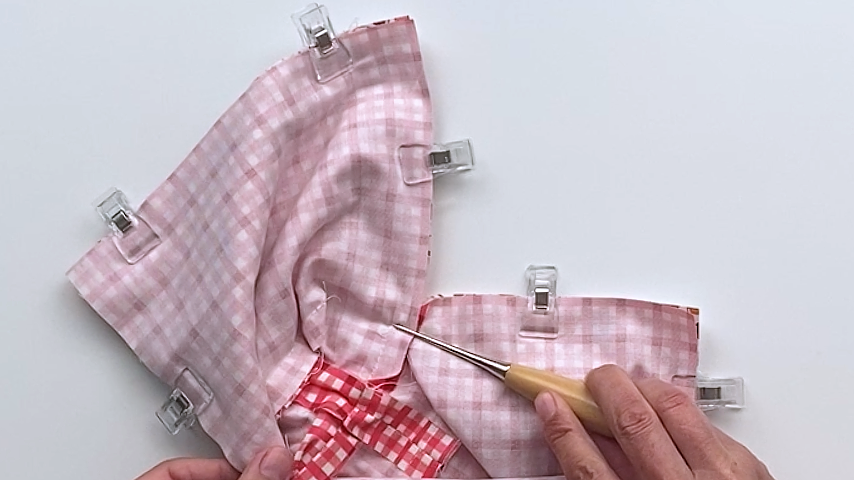
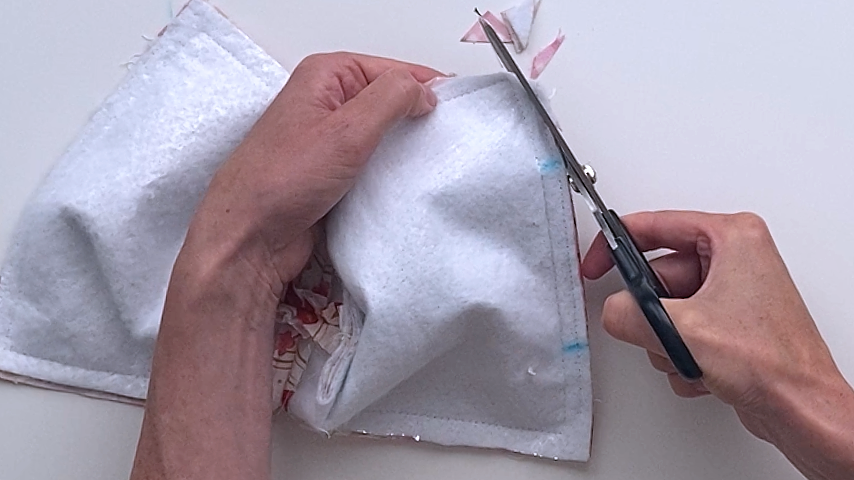
Step 6
Trim the corners at a 45-degree angle, then angle the sides in toward the corner.
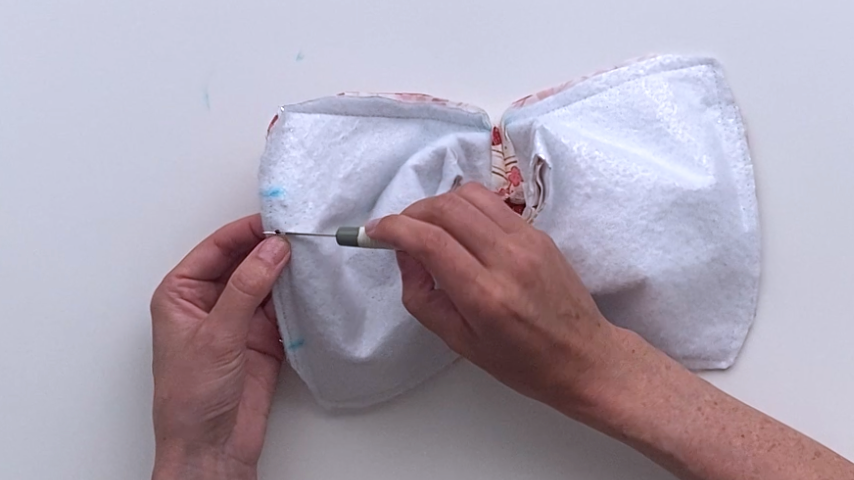
Press the seam open along the basting stitches at the top.
Use a seam ripper to remove the basting stitches between the two lines.
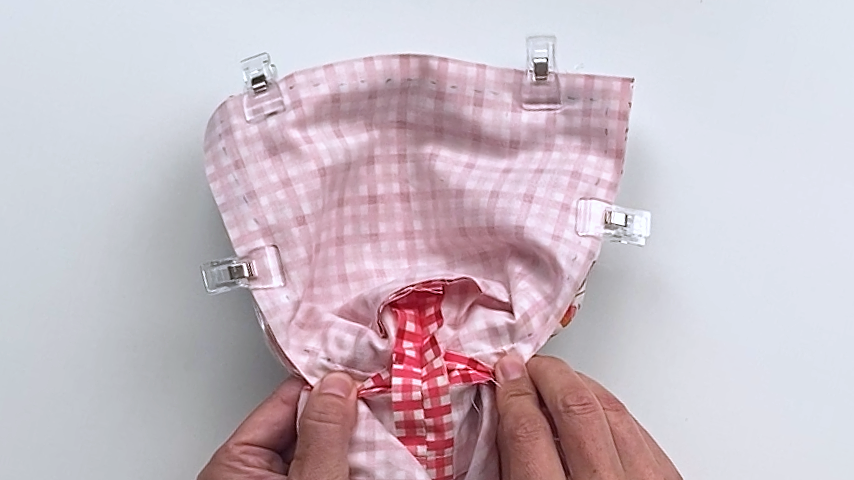
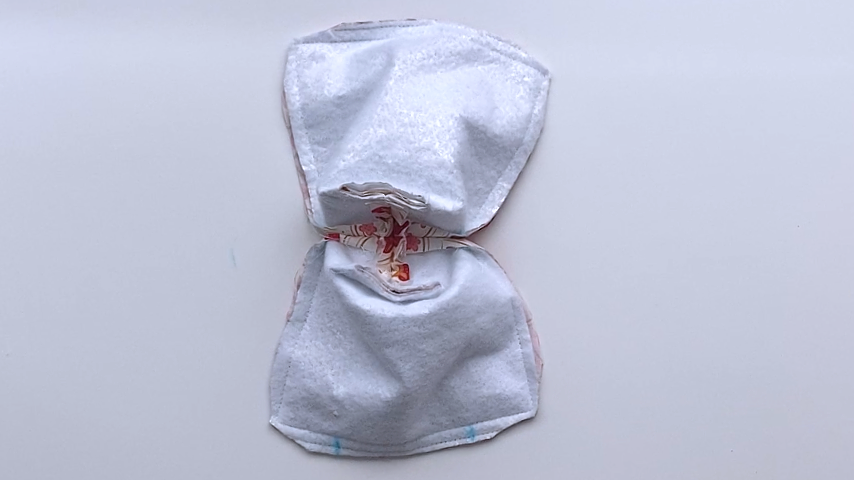
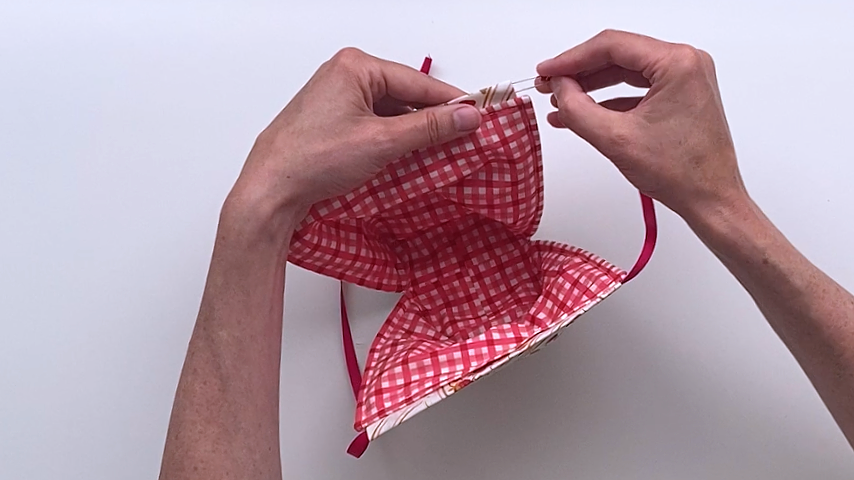
Turn the cozy right side out by putting your fingers in the opening at the top, pinching the fabric on the other side of the cozy, and pulling it through the opening.
Use a point turner (or chopstick or knitting needle) from the inside, to push the corners of the cozy out.

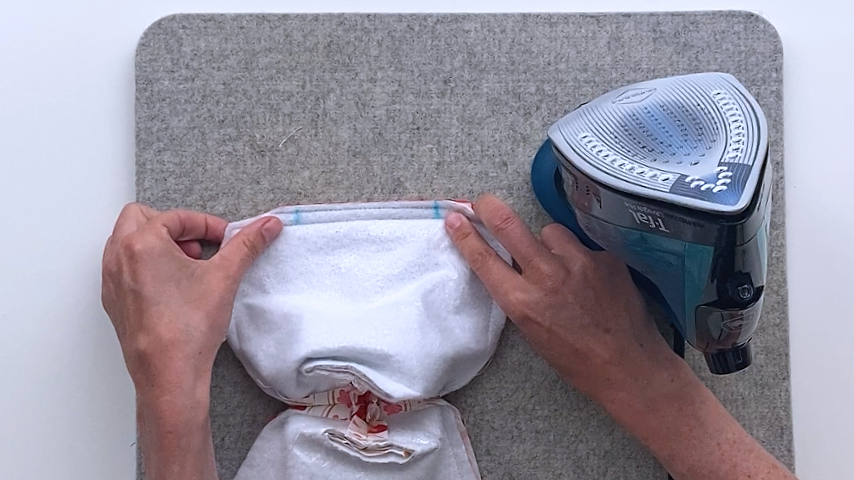
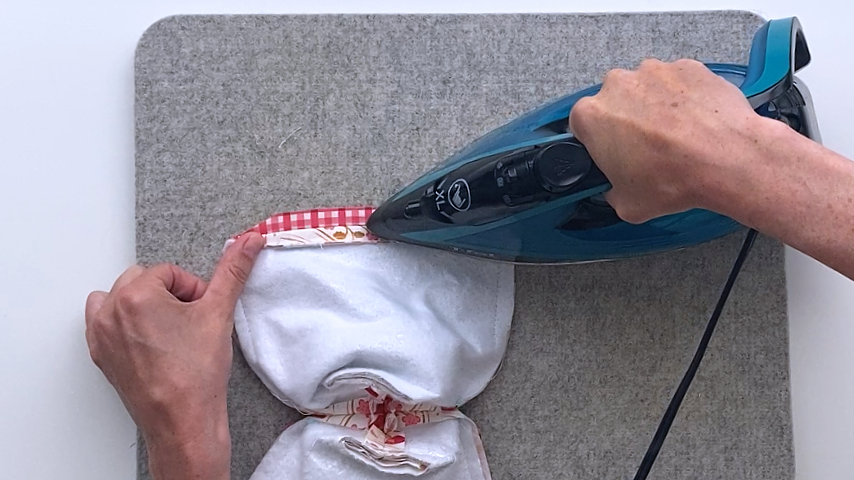
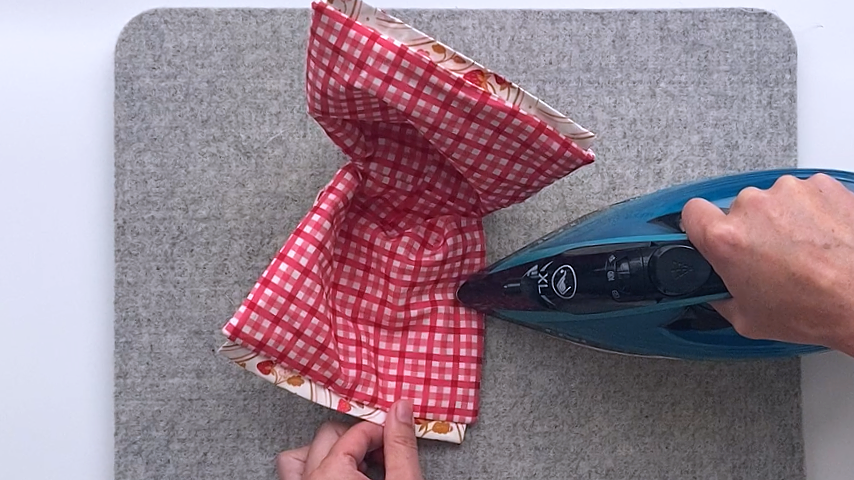
Press the seams around the cozy.
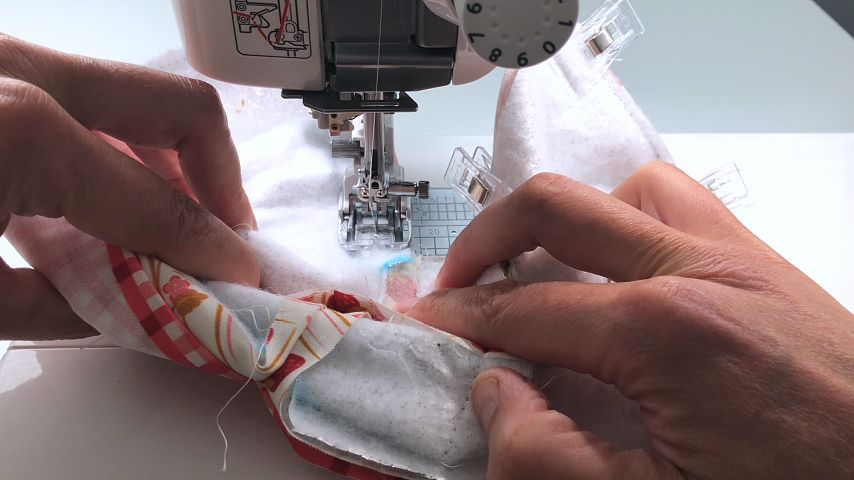
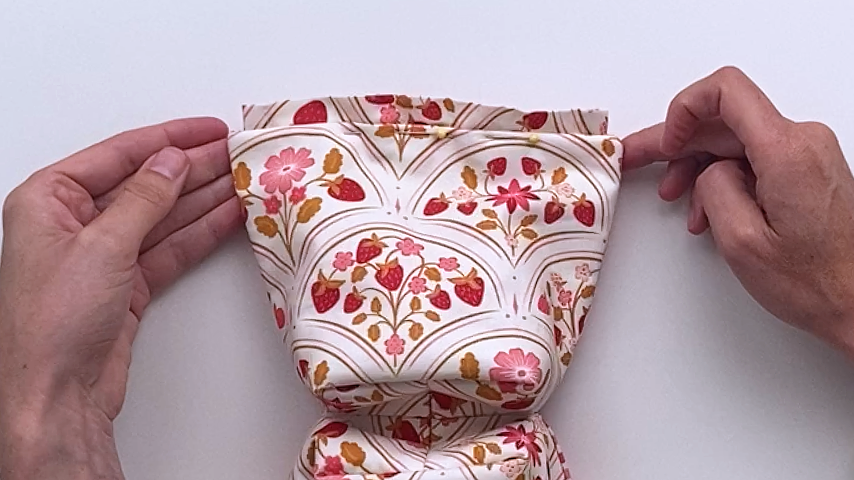
Pin the opening closed, so the edge of the lining fabric lines up with the edge of the top fabric.
Topstitch around the entire cozy. When you come to the side seam, sew just past the opening, across the bottom, then back up the other side.
Step 7
Use a safety pin to thread the ribbon through the channels.
Use fray-stop on the ends of the ribbon or a lighter to melt the ends to ensure they won’t fray.
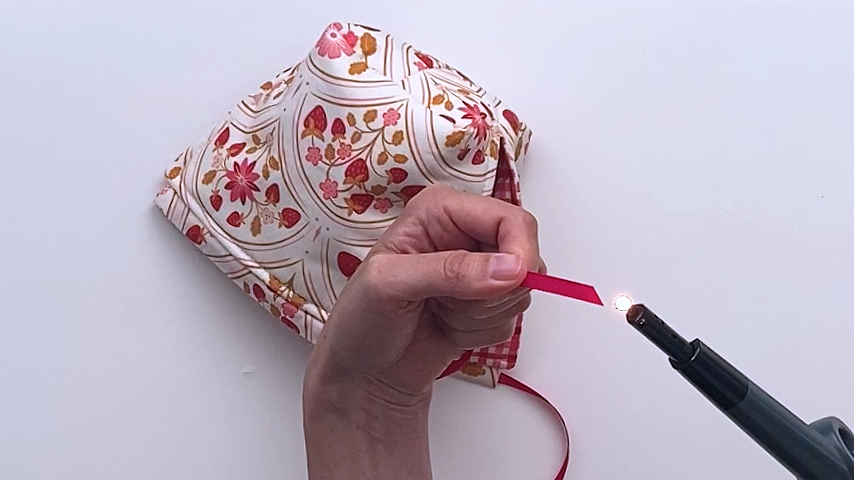
Your teapot cozy is complete!