How To Sew A Pen Holder Bookmark | Free Sewing Pattern
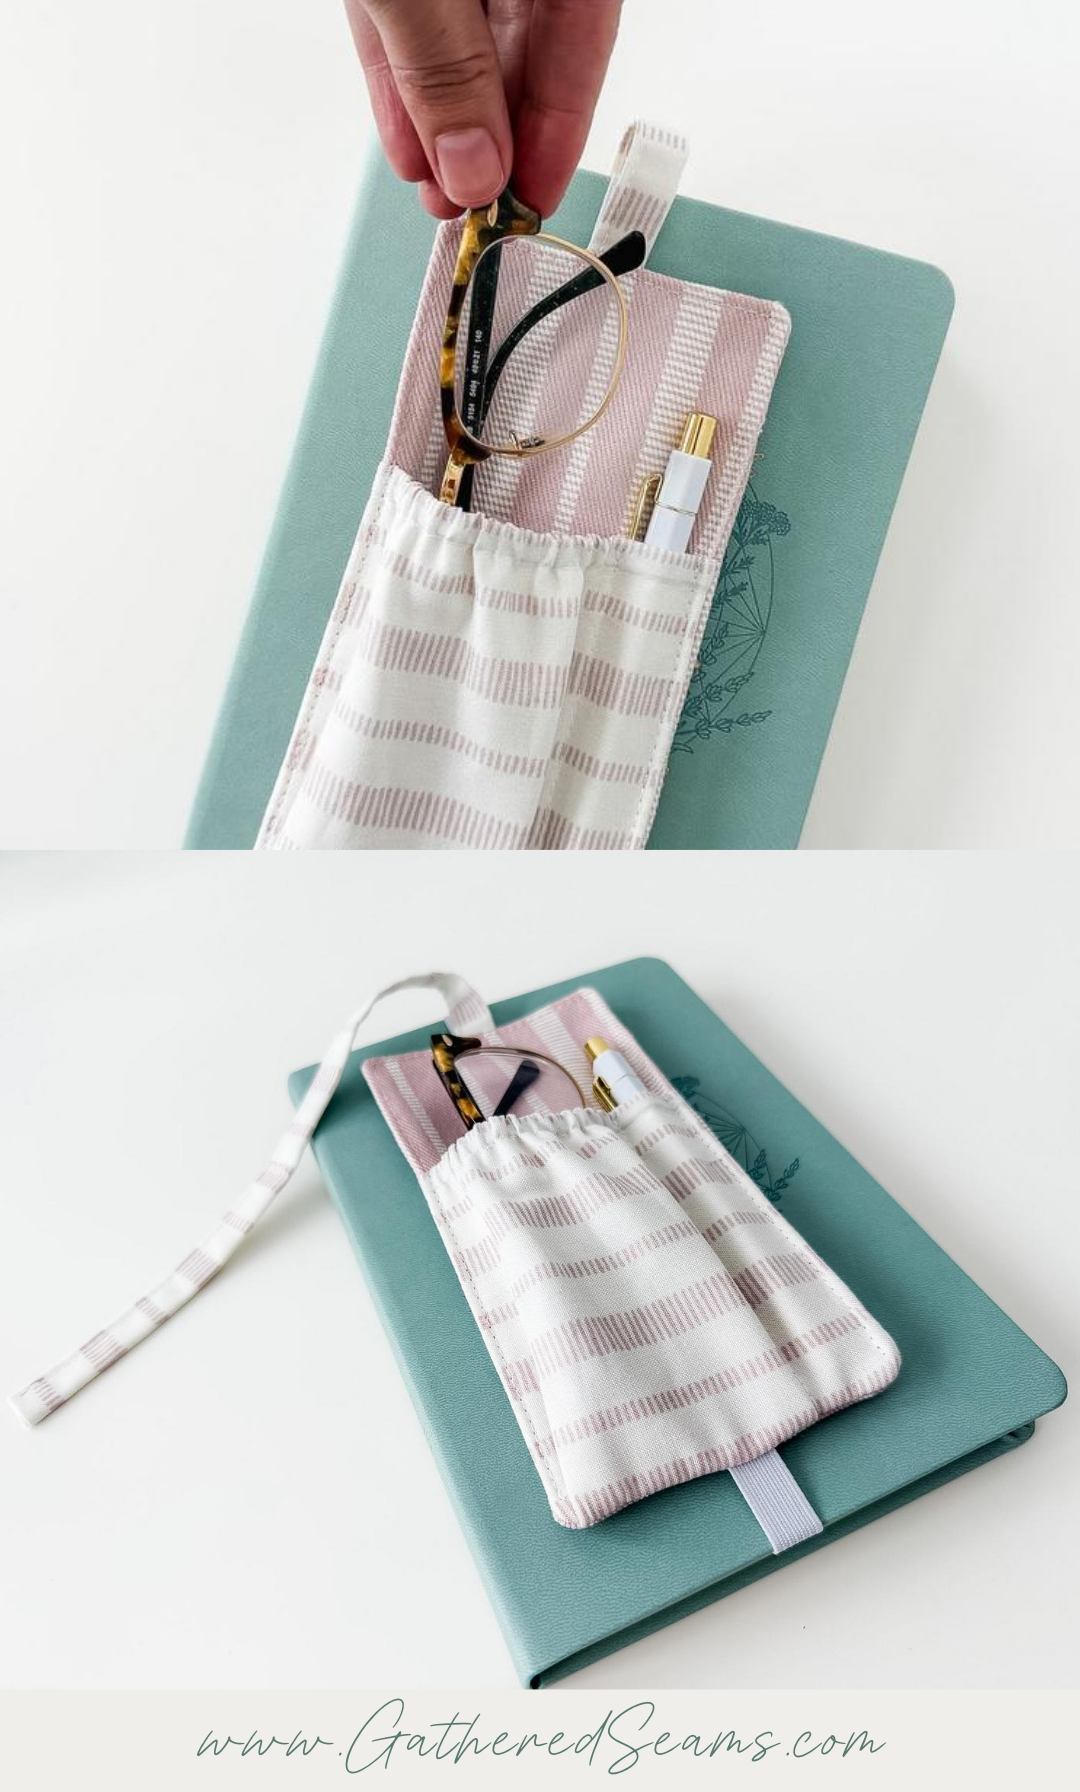
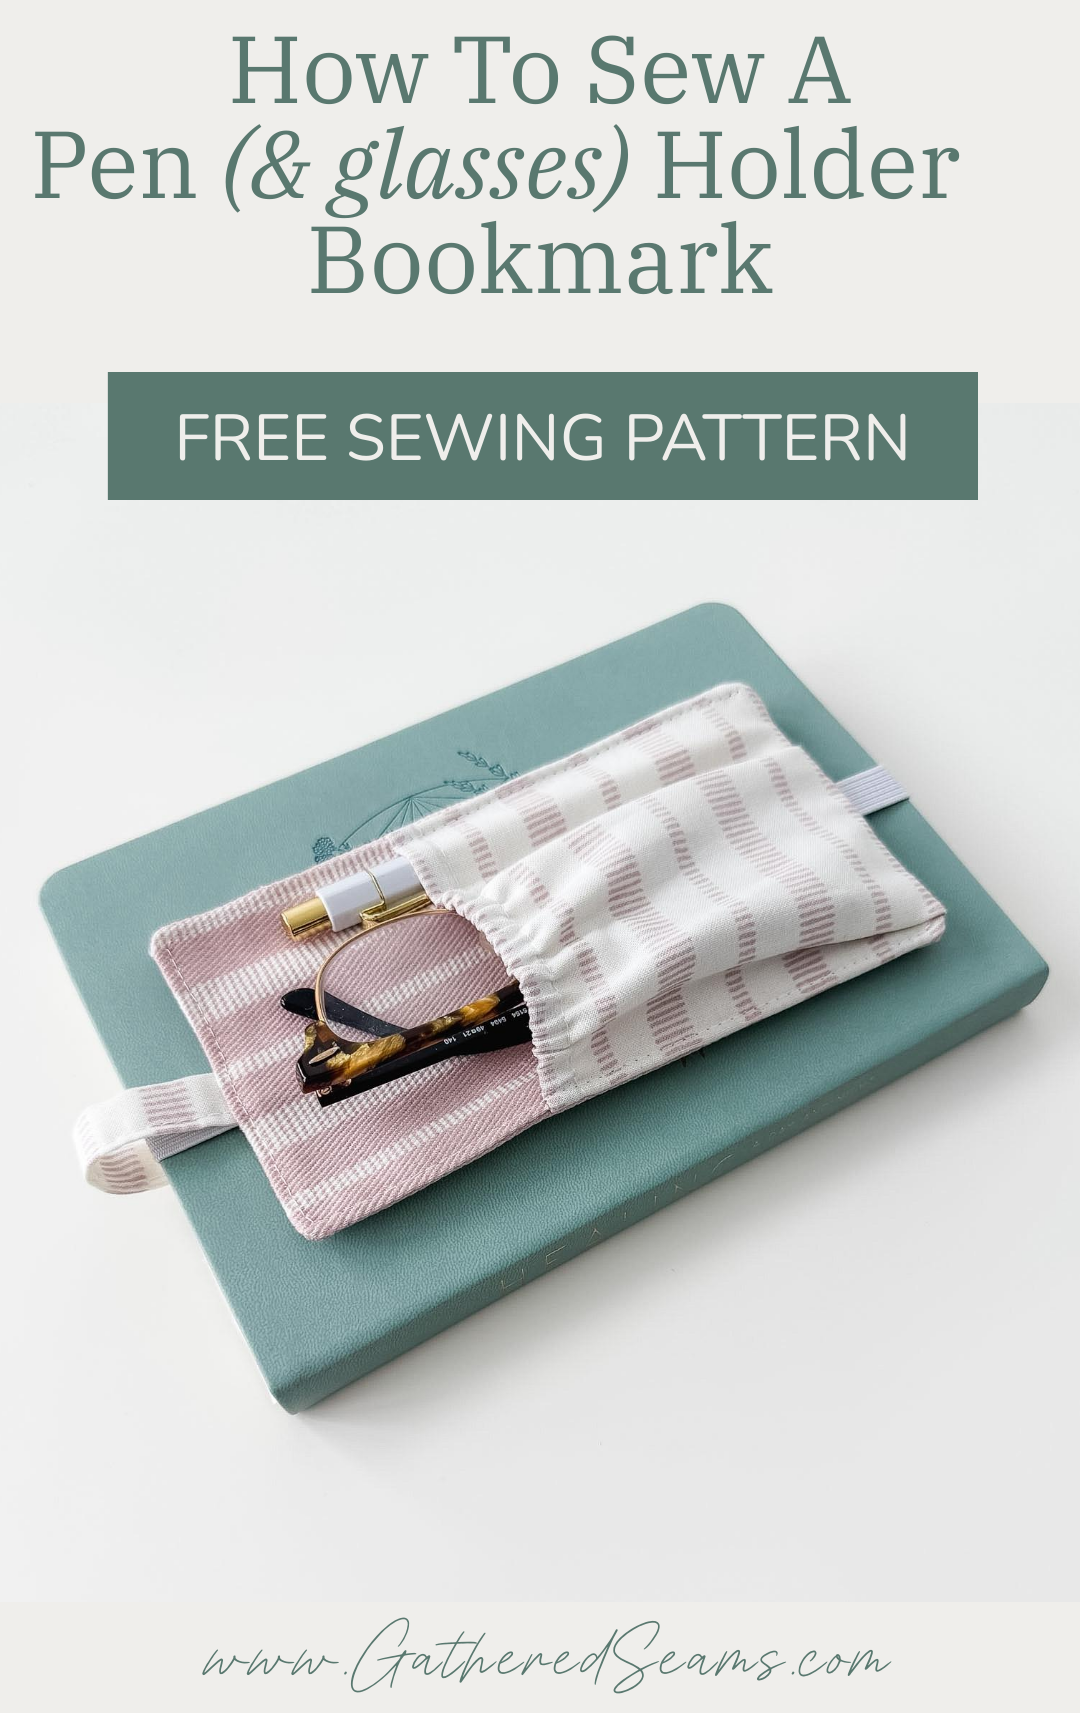
Not only does this bookmark hold a pen, it also has a pocket for your reading glasses.
This pen holder bookmark is 7″ tall by 3-1/2″ wide, and the elastic can be cut to length to fit a smaller book (e.g. 8″ tall) or a bigger notebook (e.g. 11-1/2″ tall).
There is also an optional bookmark ribbon, so you don’t have to adjust the elastic between pages each time.
This is a beginner-friendly sewing project and is quick to make.
Great gift to sew for a student or book lover.
Materials
As an Amazon Associate, I earn from qualifying purchases (see full disclosure here).
- Fabric for top, bottom, and pocket
- Ribbon or fabric for bookmark ribbon
- Fusible fleece (optional; I like to add this to give the bookmark a little structure)
- 1/2″ wide elastic (to fit around book cover)
- 1/4″ wide elastic (for the top of the pocket)
- Thread
Tools
- Sewing machine
- Temporary fabric pen or chalk
- Ruler
- Iron
- Scissors
- Pins or clips
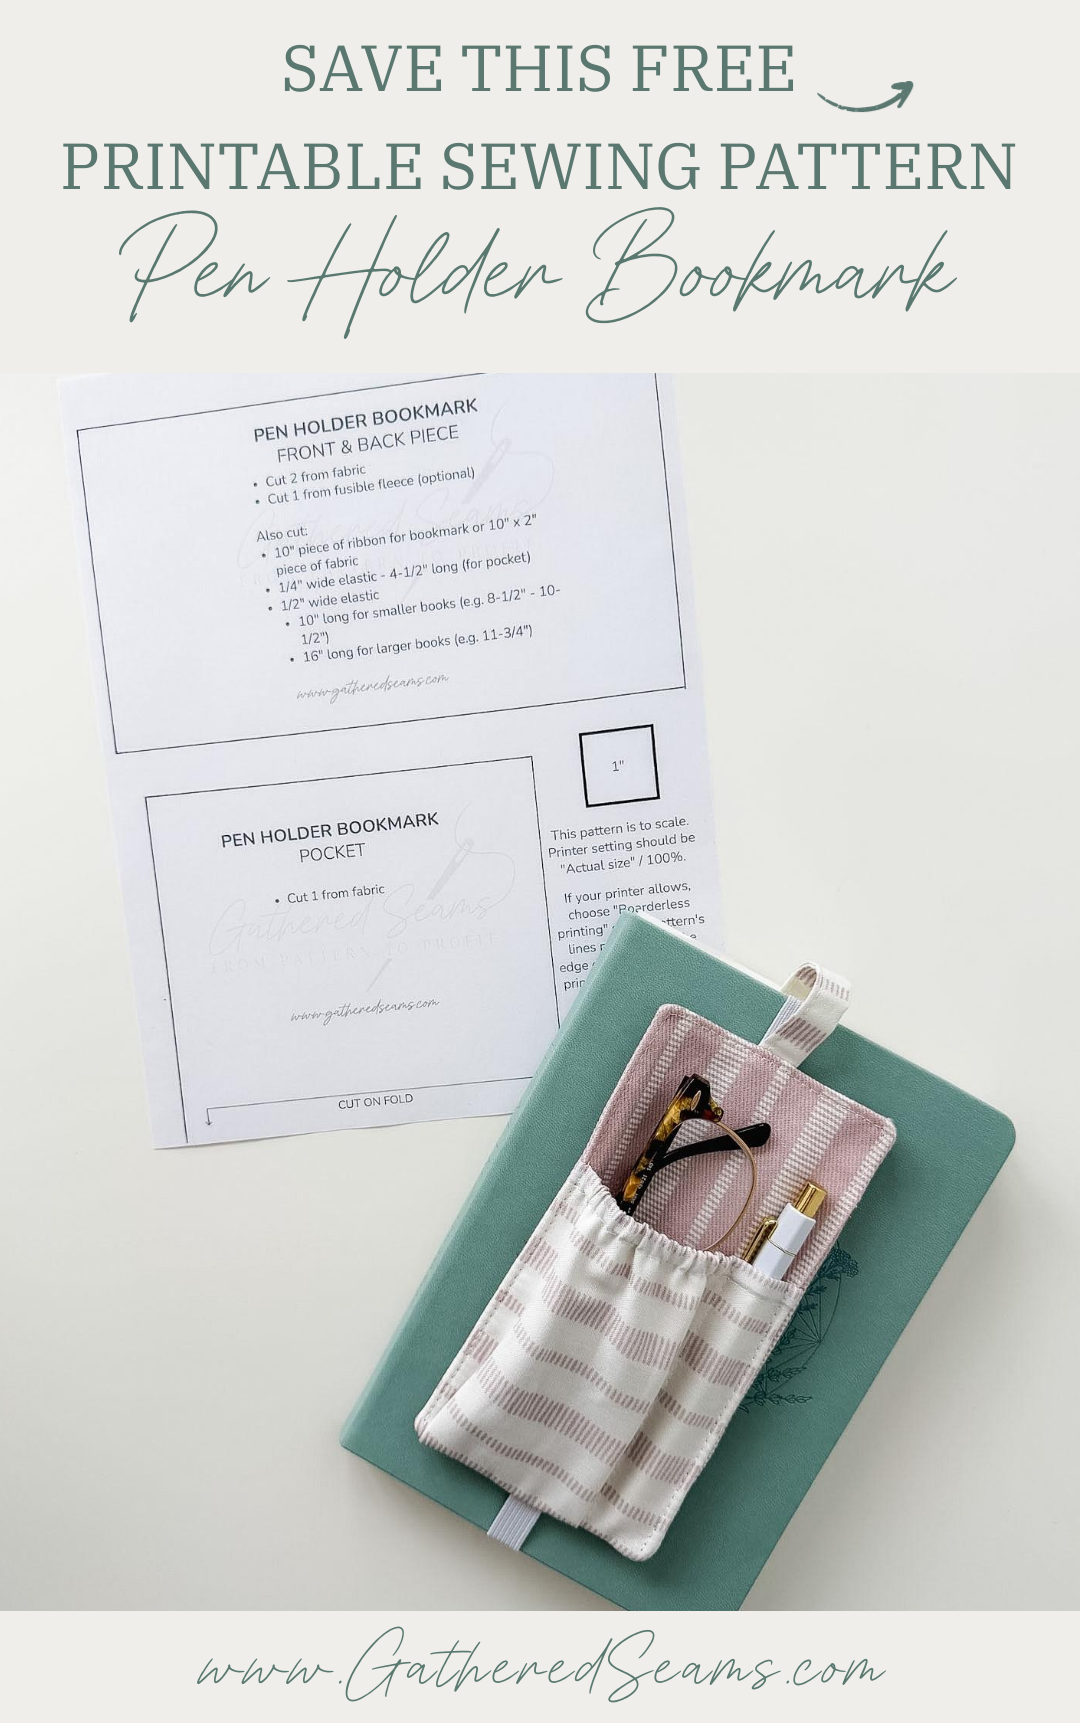
Free sewing pattern for a pen holder bookmark (with glasses pocket)
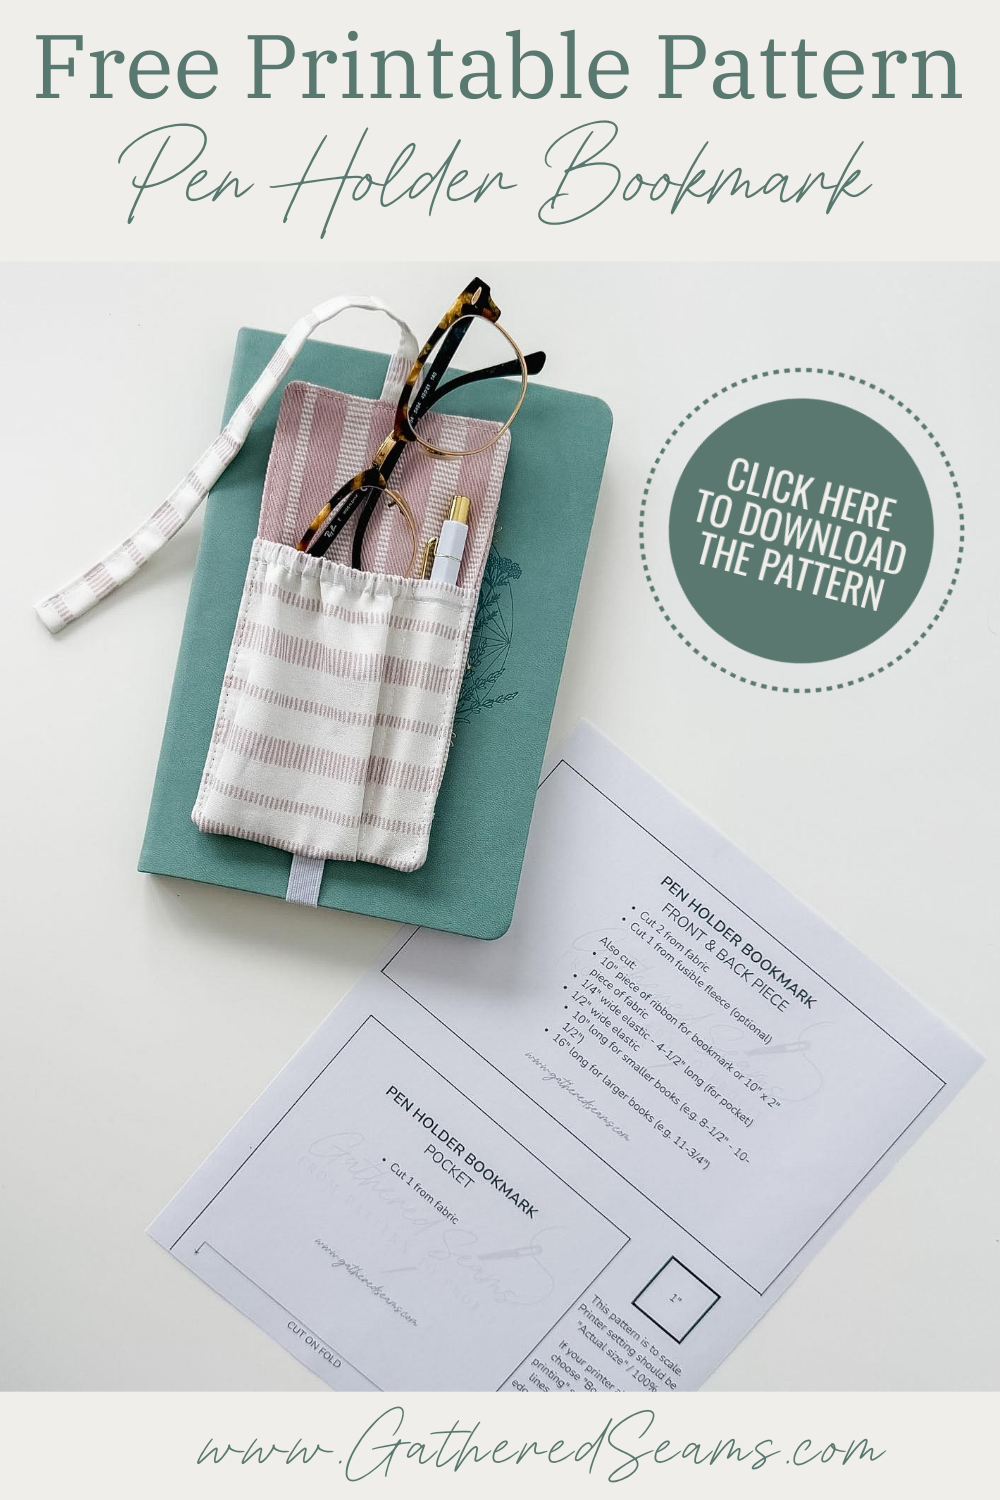

You can download the printable pattern here, or simply cut your fabric in the following sizes:
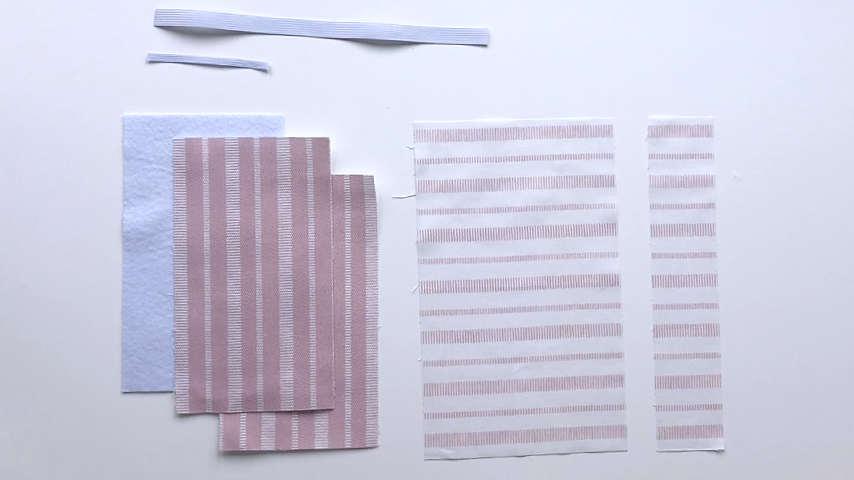
- 2 pieces of fabric for the top and bottom: 8″ x 4-1/2″
- 1 piece of fusible fleece (optional): 8″ x 4-1/2″
- 1 piece of fabric for the pocket: 10″ x 5-1/2″
- 1 piece of fabric for the bookmark: 10″ x 2″ (or cut a piece of ribbon 10″ long)
- 1/2″ wide piece of elastic: 10″ – 16″ (depending on the size of book you want it to fit around)
- 1/4″ wide piece of elastic: 4-1/2″
Steps to sew a pen holder bookmark
Step 1
If you’re using ribbon for the bookmark, you can skip this step.
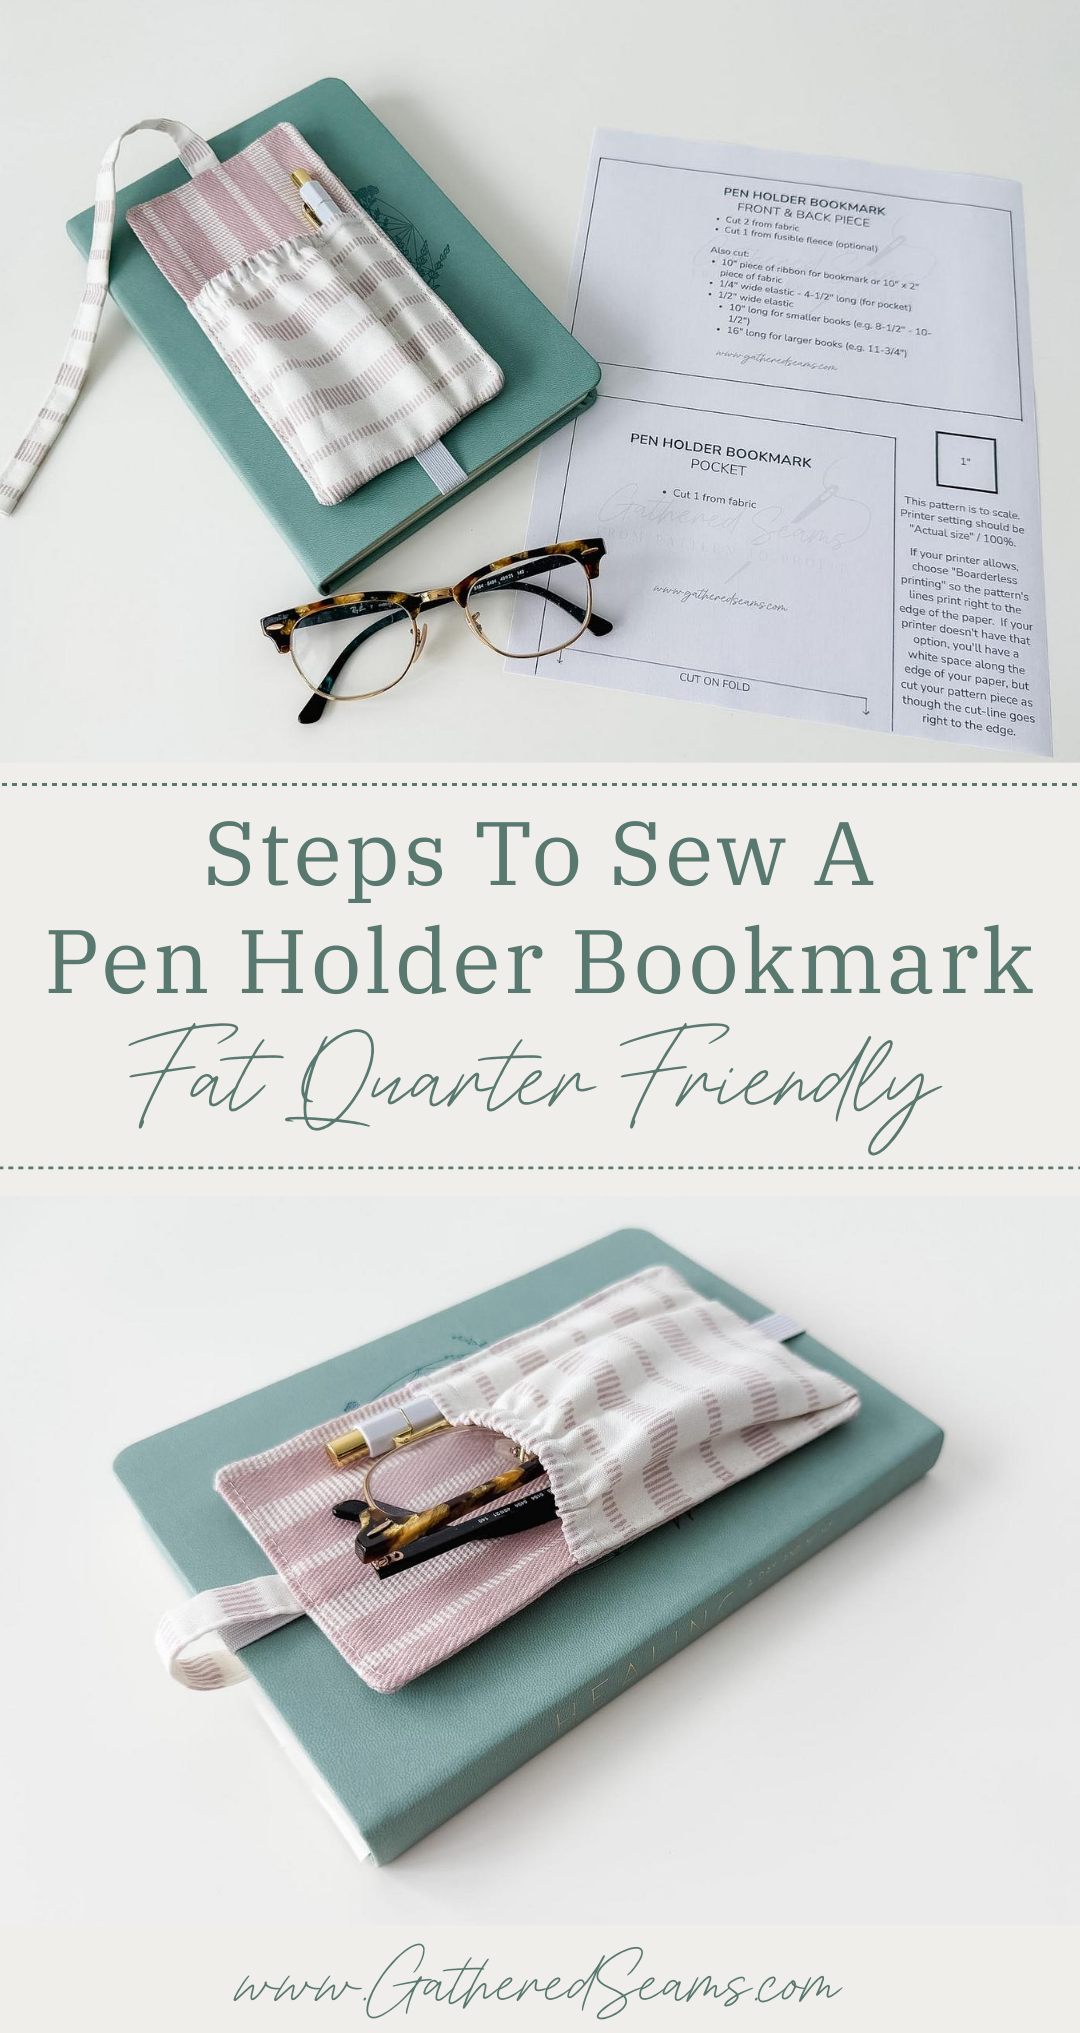
If you’re adding a fabric bookmark ribbon, fold the hem in on one end by 1/2″ and press.
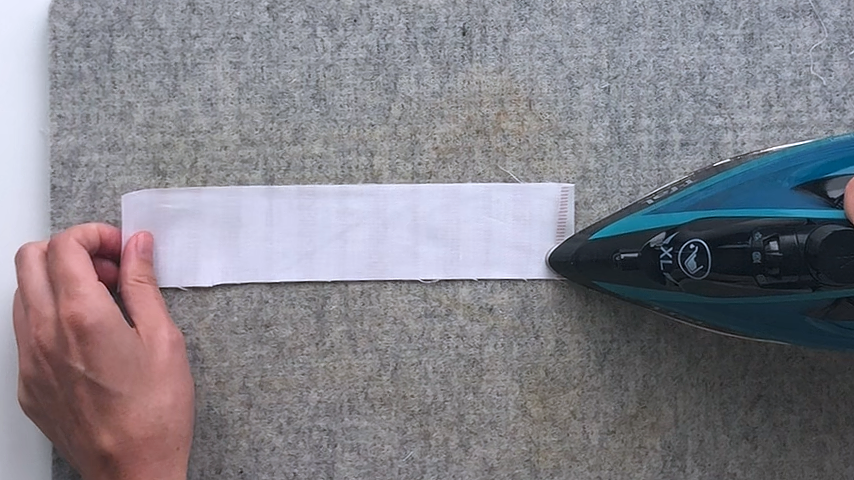
Fold the fabric in half lengthwise, with wrong sides together and press.
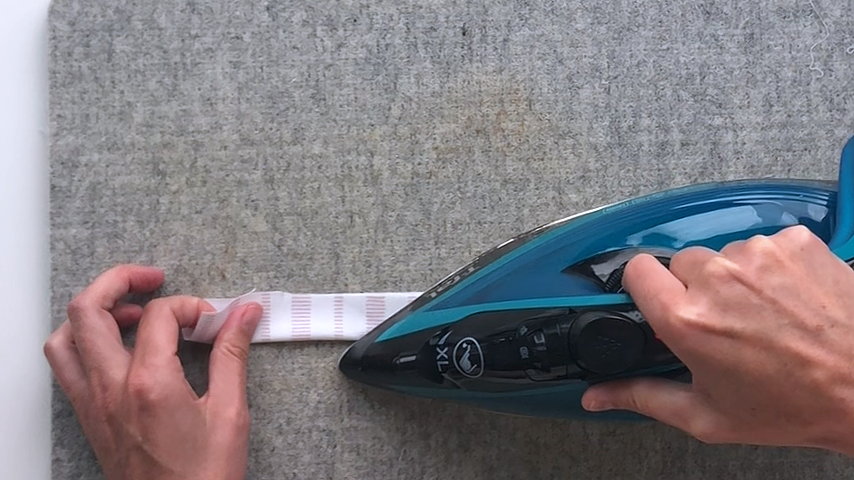
Open the fold and then fold the bottom edge to meet the center crease and press. And the top edge down to meet the center crease and press.
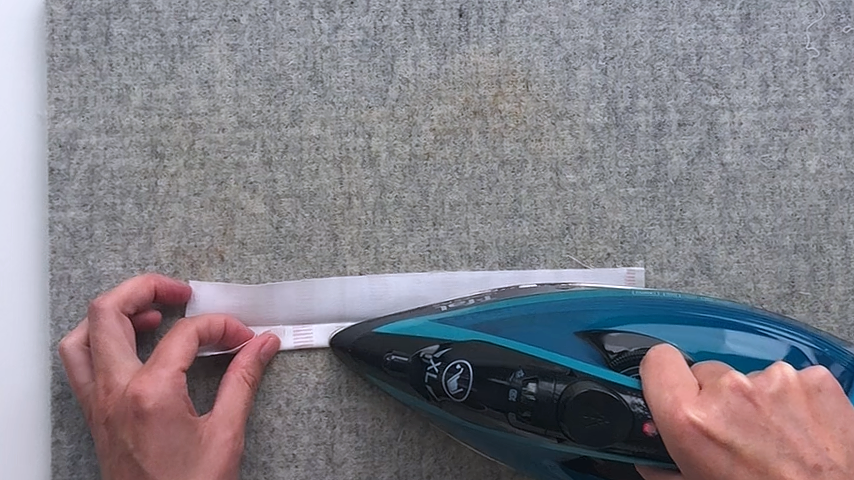
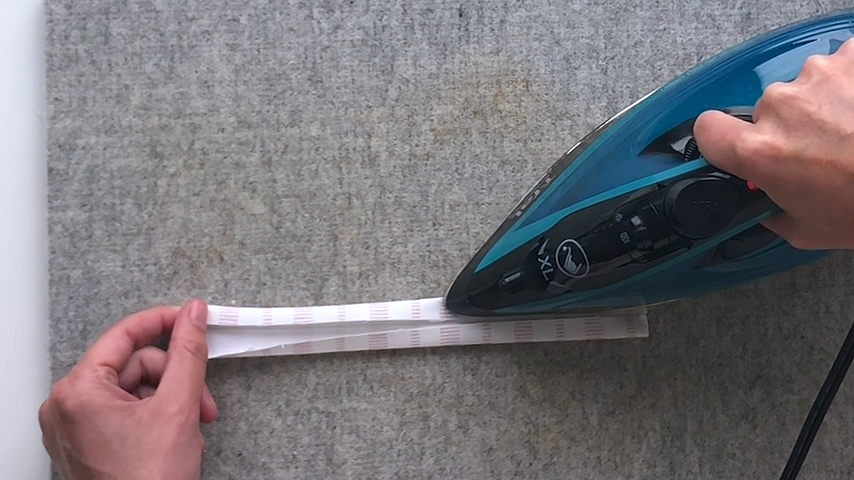
Fold in half again, lengthwise, and press.
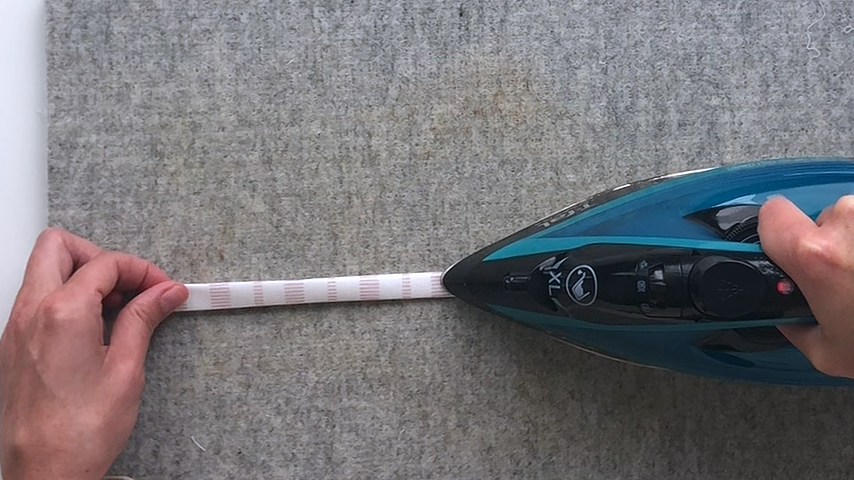
Top stitch along the one edge to sew the folded edges together. I find it easiest to start sewing at the end with the raw edges and sew towards the folded-in end.
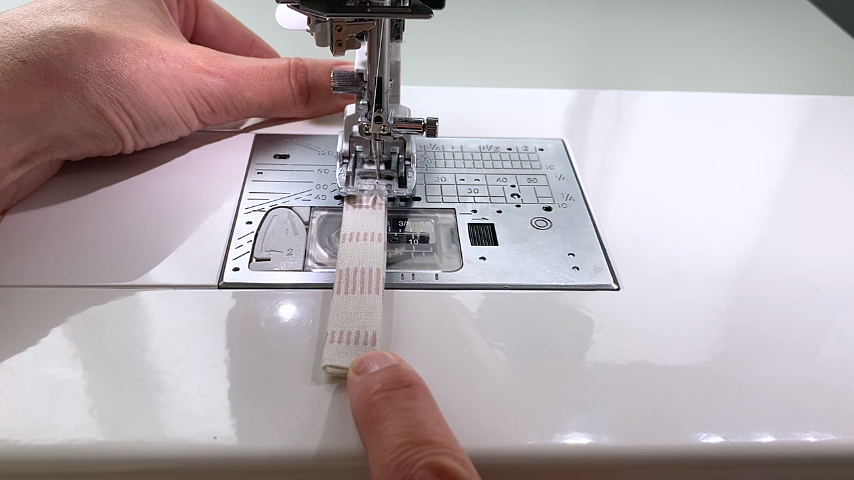
Step 2
Fold the pocket fabric in half, wrong sides together, and press the folded edge.
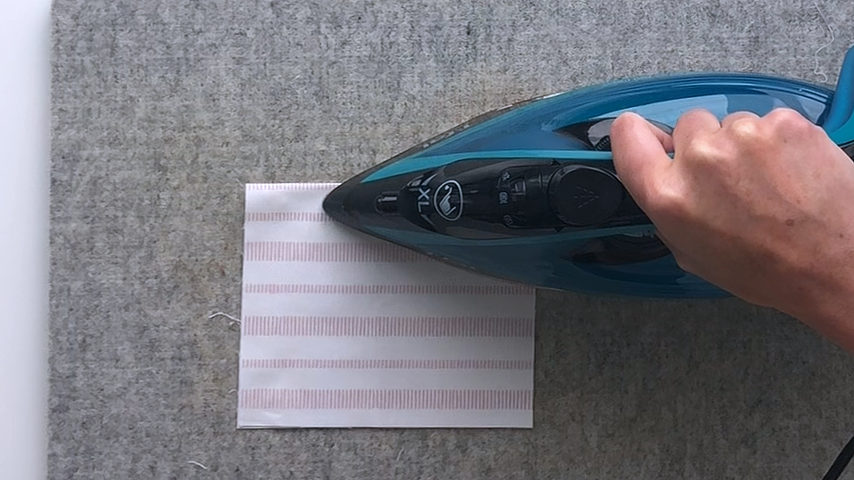
Sew 3/8″ away from the folded edge to create a channel for the elastic. If you’re using a wider elastic, make the channel wider.
Also ensure your channel is wide enough to fit your safety pin or bodkin through.
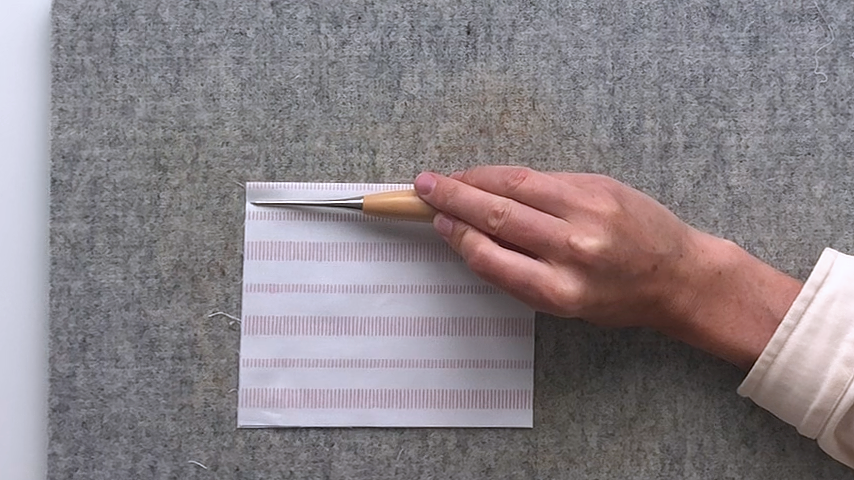
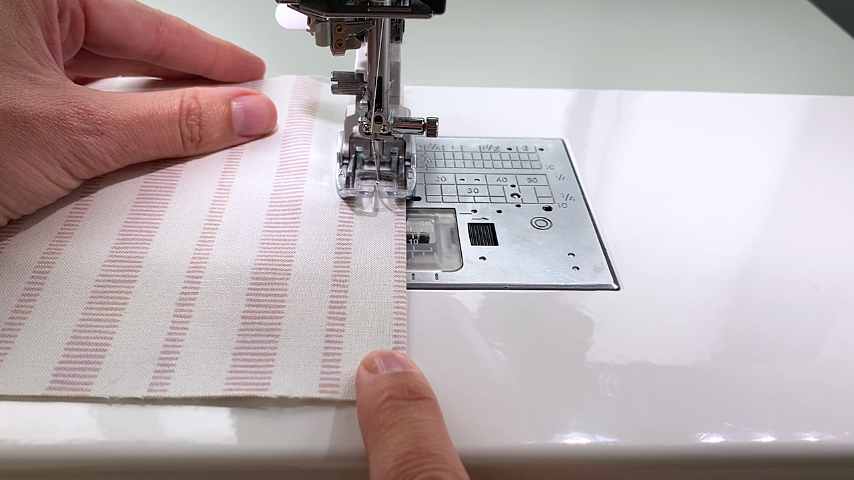
Use a safety pin or bodkin to feed the 1/4″ wide 4-1/2″ long piece of elastic through the channel, but not all the way.
Stop when the end of the elastic is in line with the edge of your pocket.
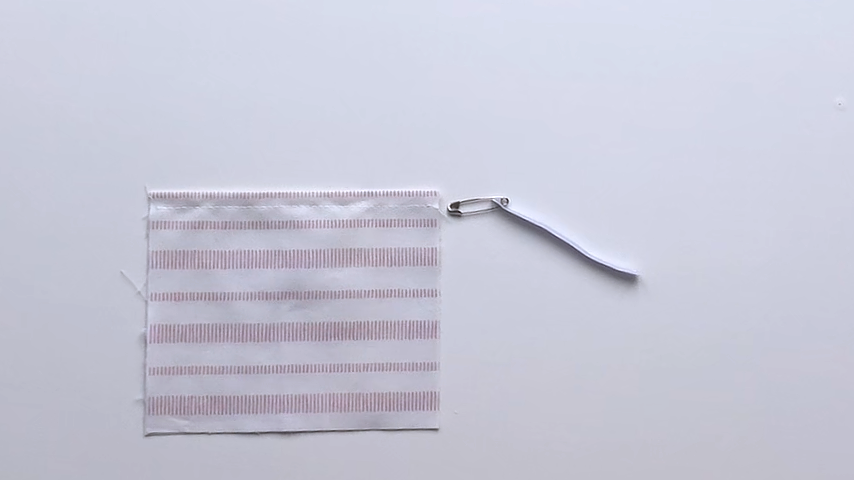
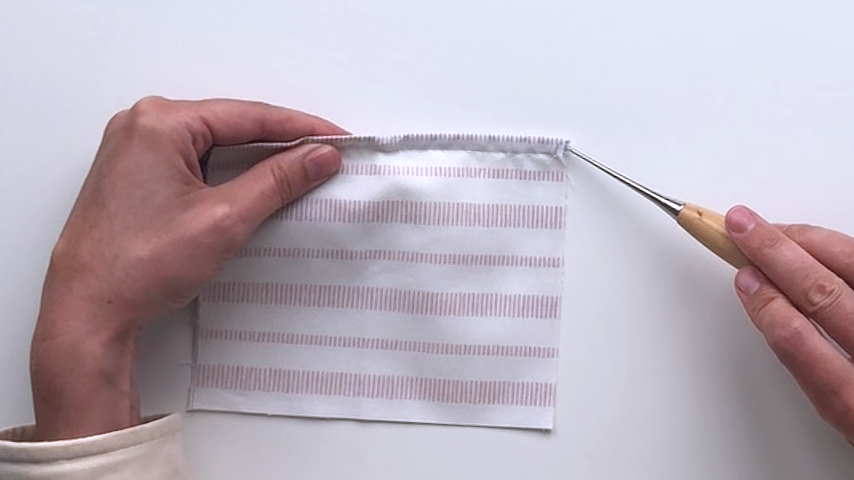
Baste the one edge of the pocket to the edge of the top piece of fabric.
Leave the safety pin in the other end of your elastic.
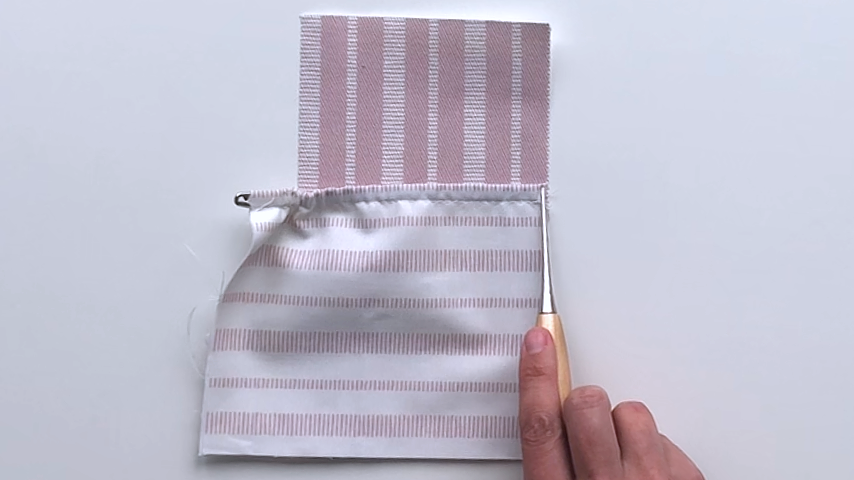
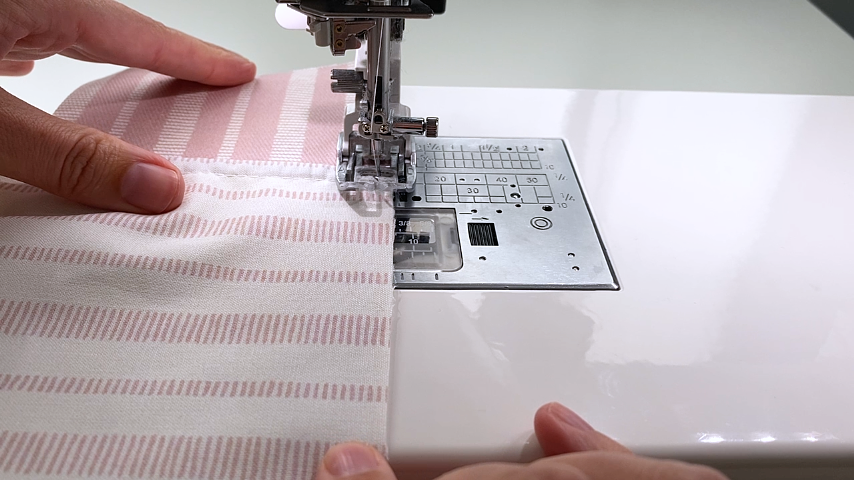
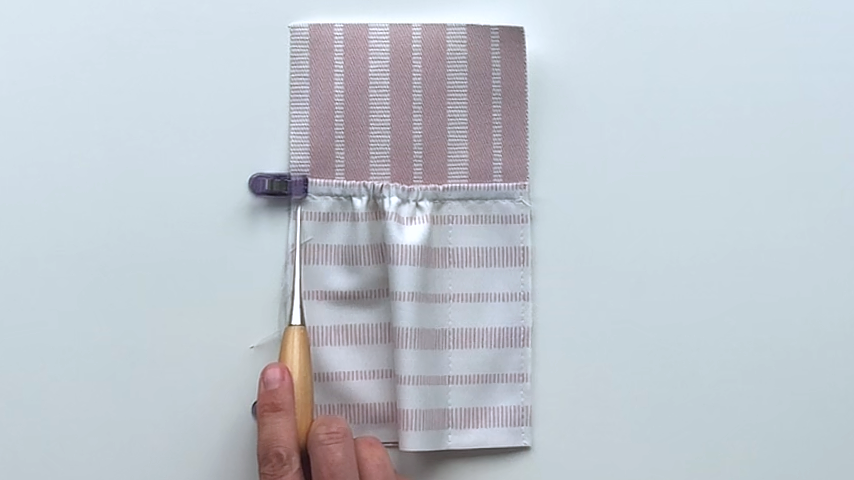
Use a temporary fabric marker to draw a line 1-1/2″ away from the edge of the pocket you just basted into place.
Your elastic should sit flat from the edge up to this line. This will be the pen pocket, and you don’t need any gathering here.
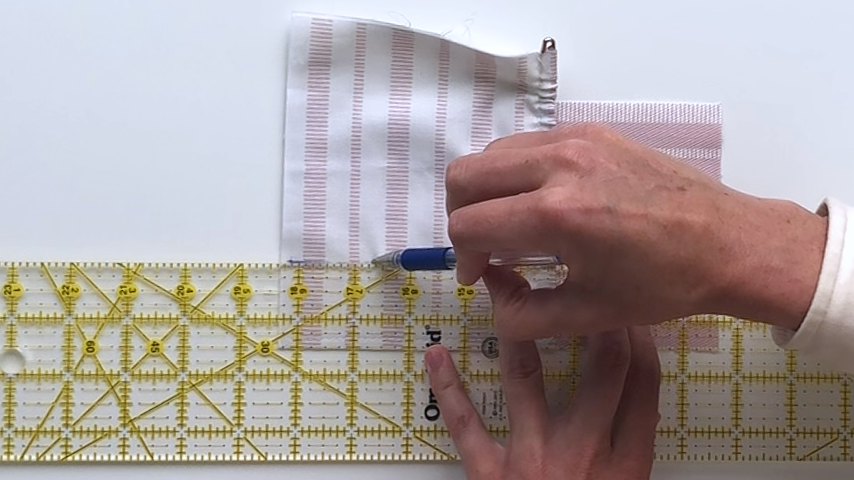
Sew along that line, backstitching at the top and bottom of the pocket.
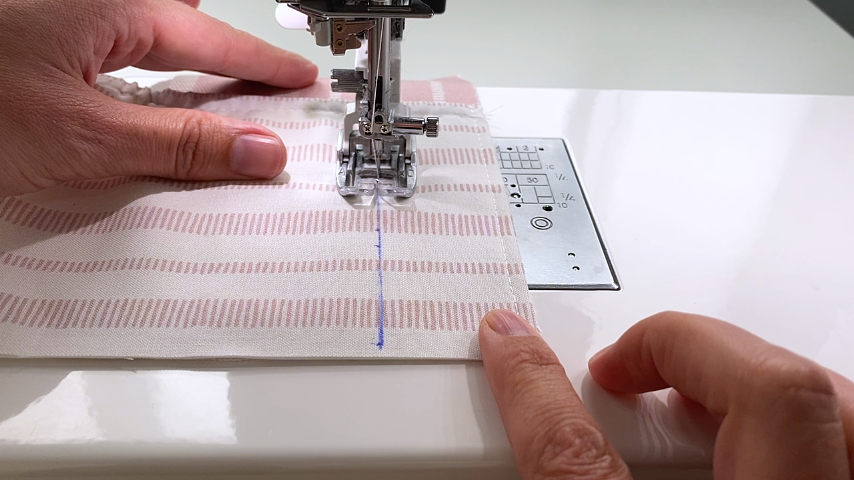
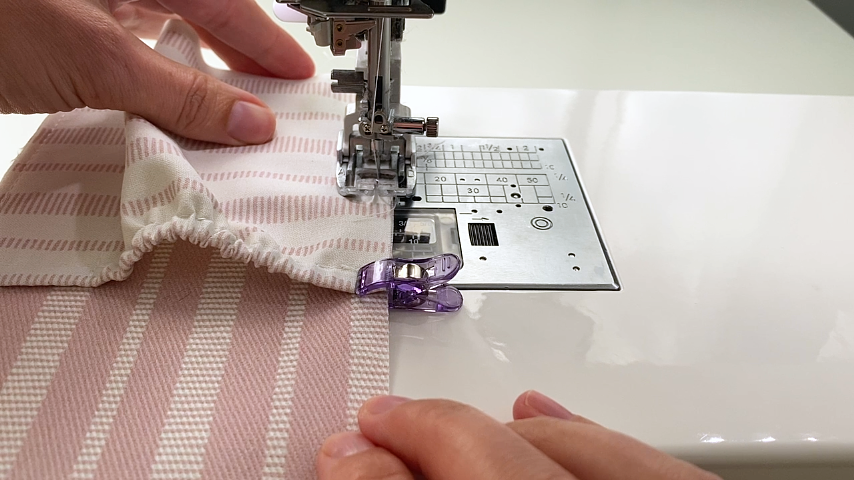
Now you can feed the rest of the elastic through the fabric and pin/clip the edge of the elastic to the edge of the pocket. All of your fabric gathers should be on this part of the pocket.
Clip the pocket to the other side of the top fabric panel and baste into place along that edge.
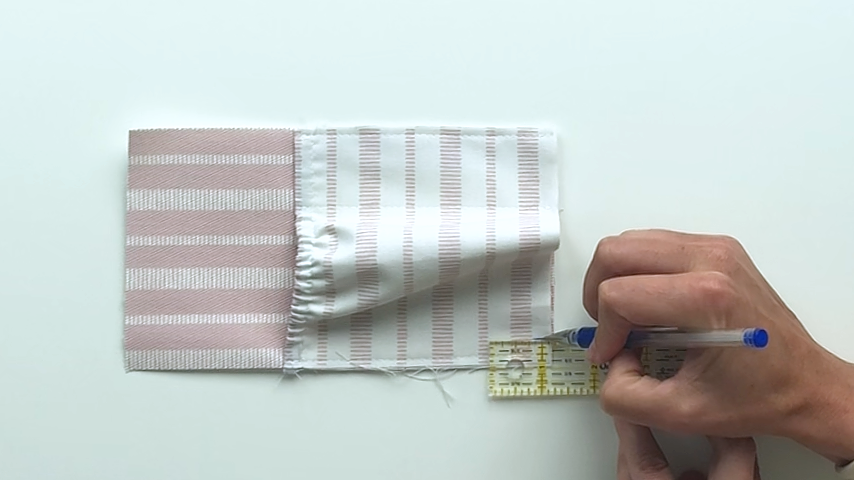
Using a temporary fabric pen, mark a line 1/2″ in from the edge (the side with the glasses pocket), along the bottom.
Fold the bottom edges of the glasses pocket so they fit within the line of stitches that divide the pen pocket from the glasses pocket, and the 1/2″ line you just drew on. Clip the folds into place.
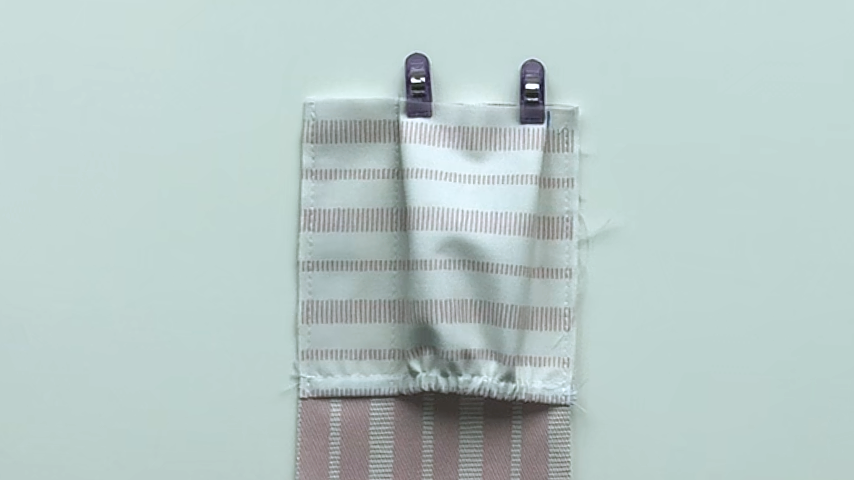
Baste the bottom of the pocket to the bottom of the top fabric panel.
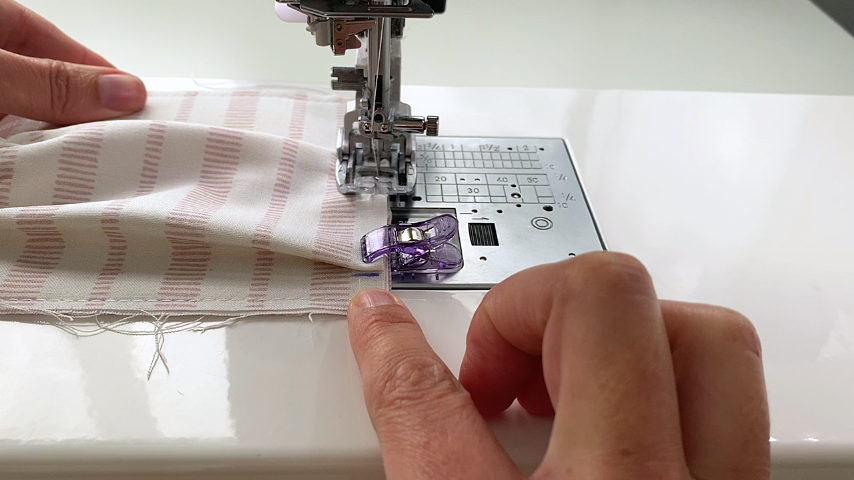
Step 3
Baste the bookmark ribbon to the top center of the fabric panel.
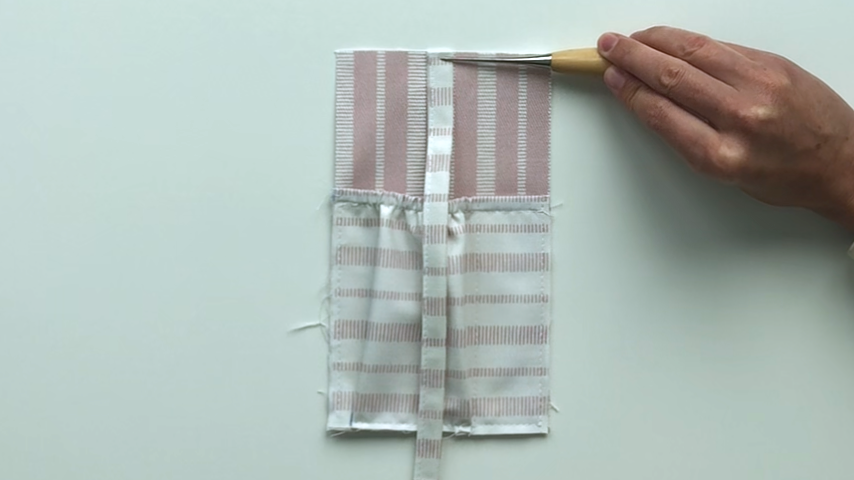
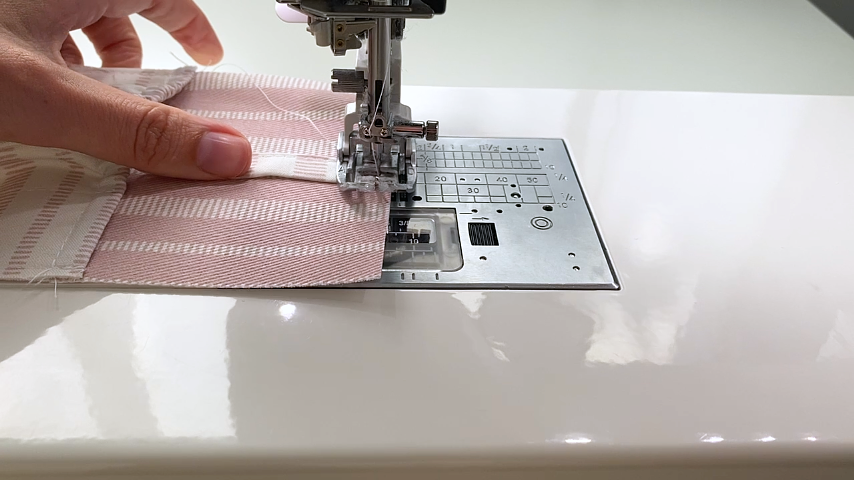
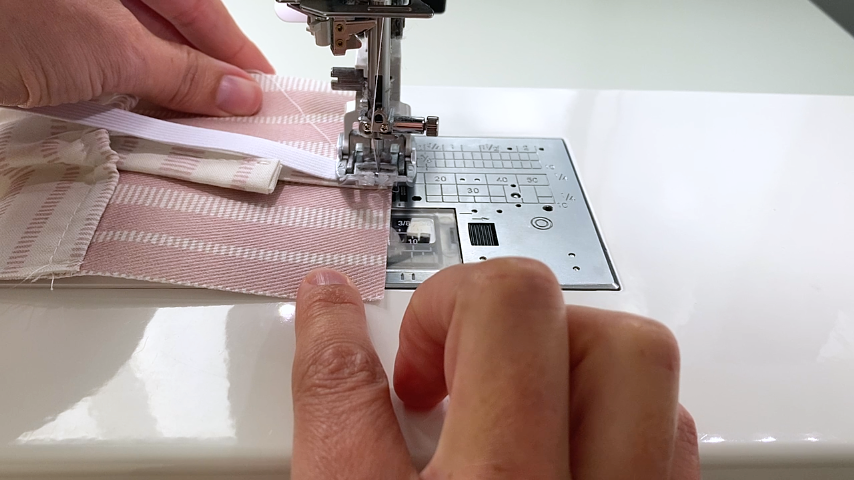
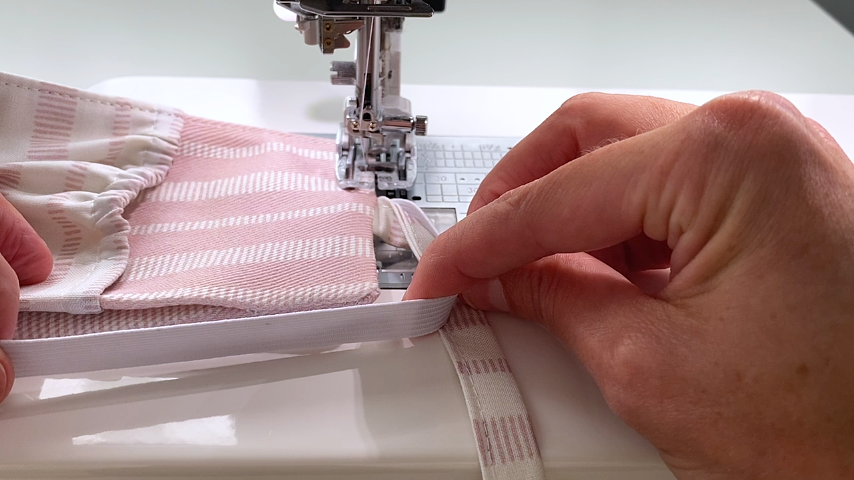
Center each end of your 1/2″ wide elastic on the top and bottom of your top fabric panel and baste into place along the top and bottom edge.
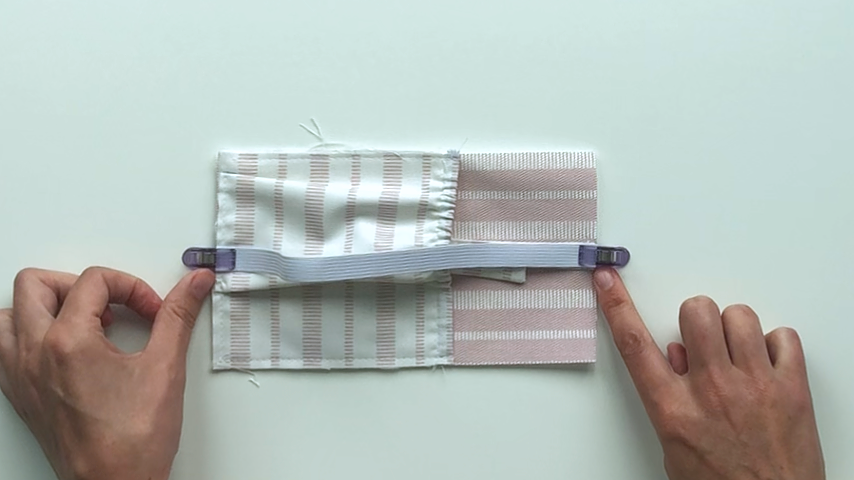
Step 4
If you’re using fusible fleece, press that to the wrong side of your bottom fabric panel.
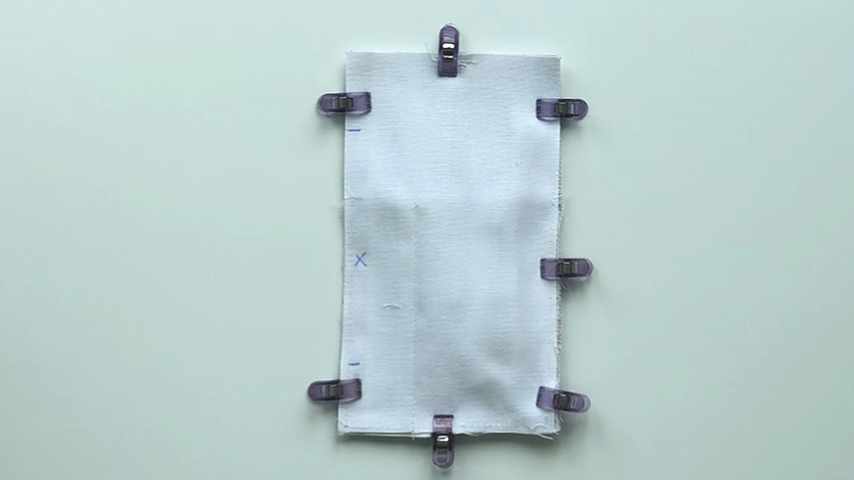
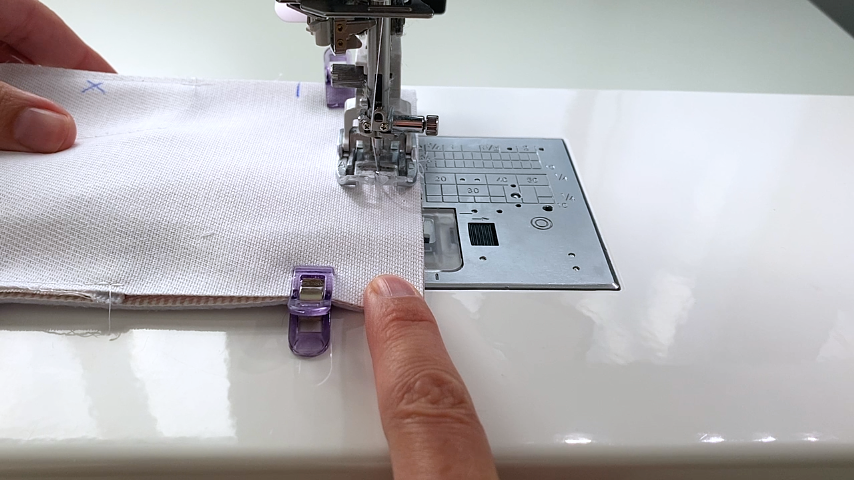
Place your top panel and bottom panel right sides together and sew around all 4 edges using a 1/2″ seam allowance, leaving a 3″ – 4″ opening along one side. Baste along the opening to ensure your seams line up, backstitching on either side of the opening.
Press the seam open where the opening is.
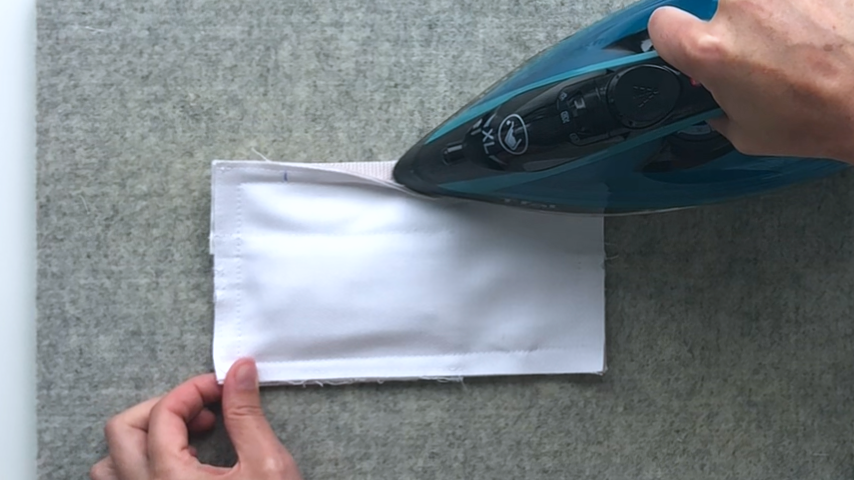
Grade the fusible fleece close to the stitching. Then trim all layers of seam allowance in half, except where the opening is.
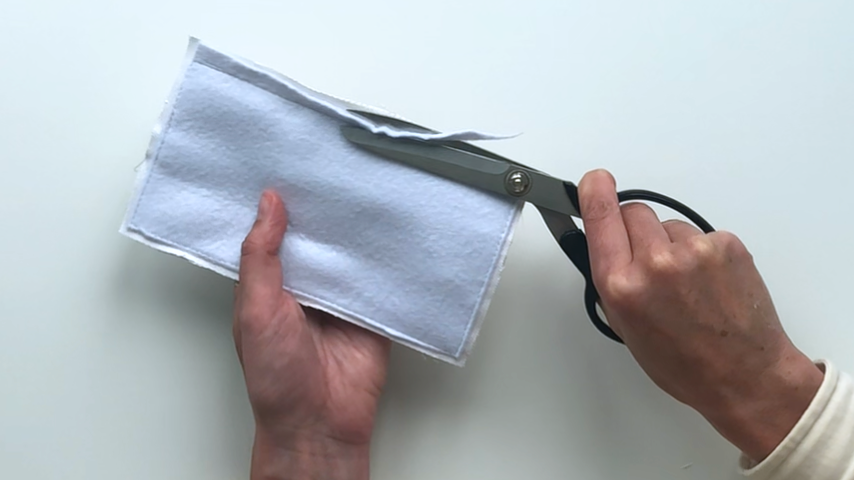
Clip the corners by cutting each corner at a 45-degree angle, then angling each side in toward the corner.
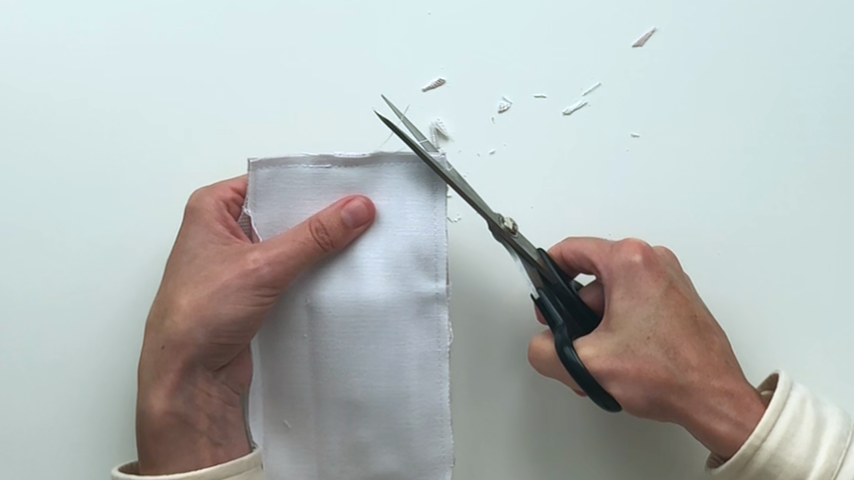
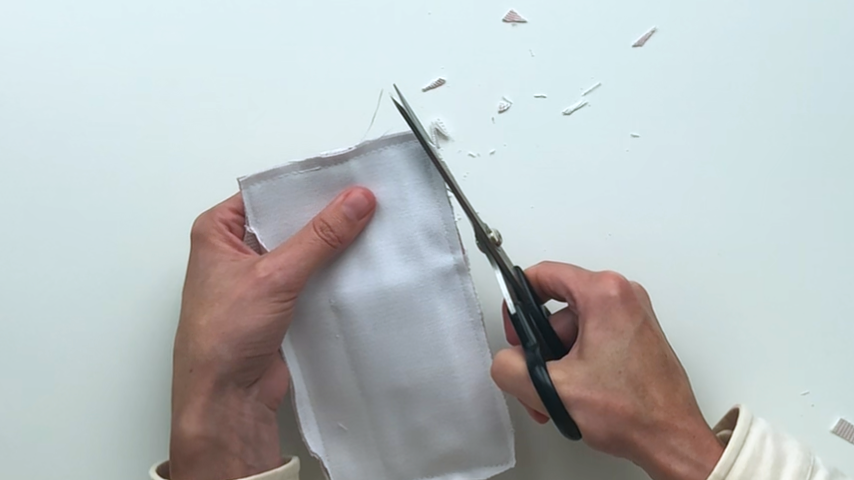
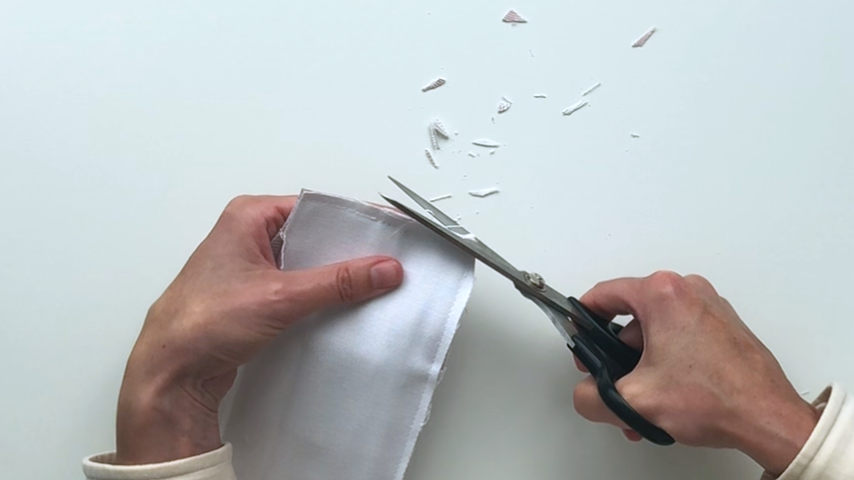
Remove the basting stitches along the opening.
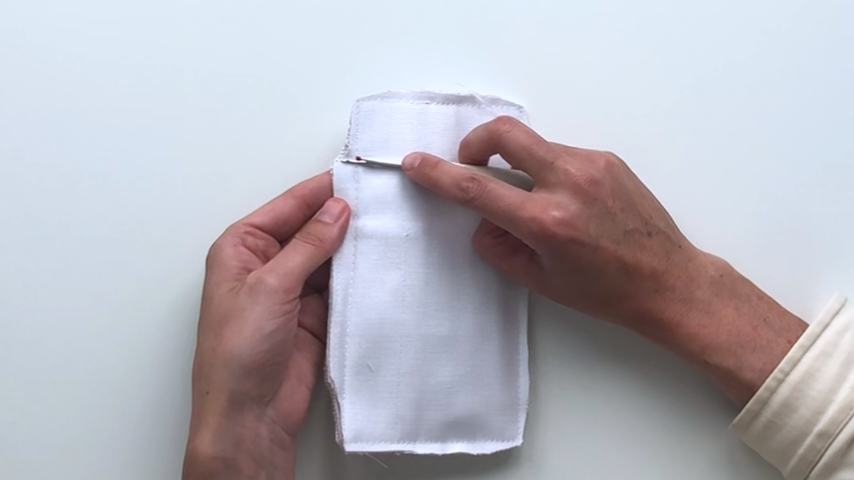
Step 5
Use the opening to turn the piece right side out. Use a point turner to push the corners fully out.
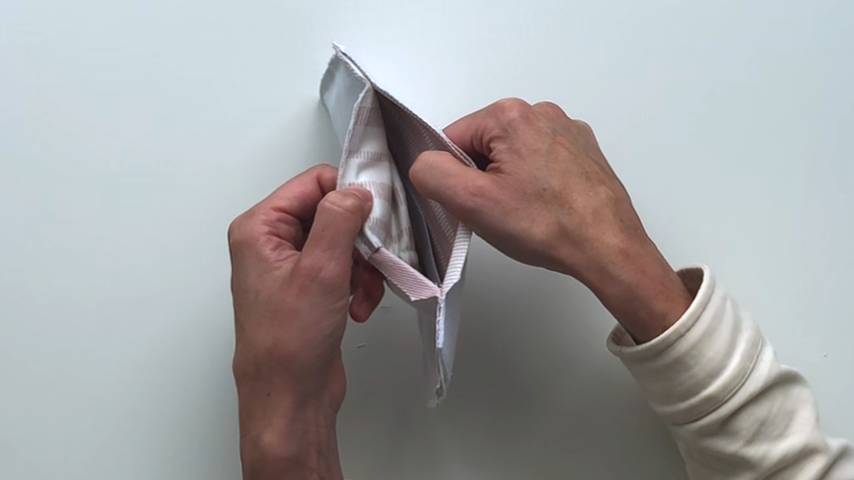
Press the edges.
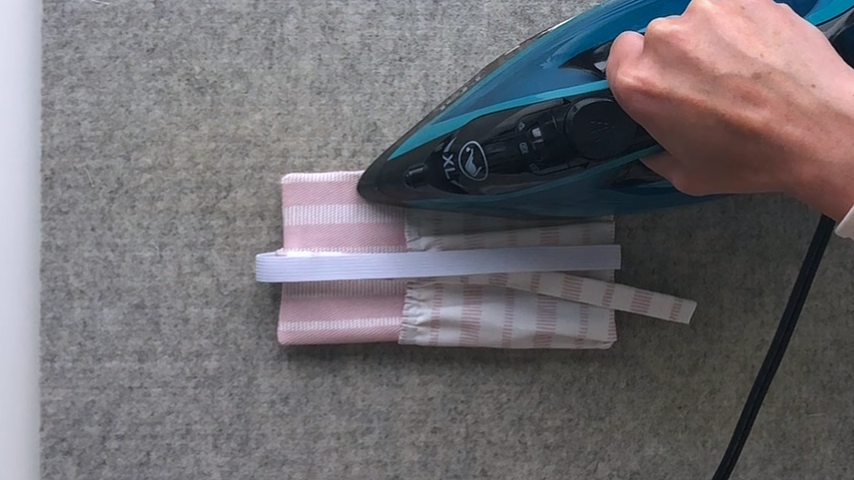
Topstitch around the bookmark, backstitching at the start and end. I don’t sew along the bottom of the pockets; just up one side, across the top, and down the other side.
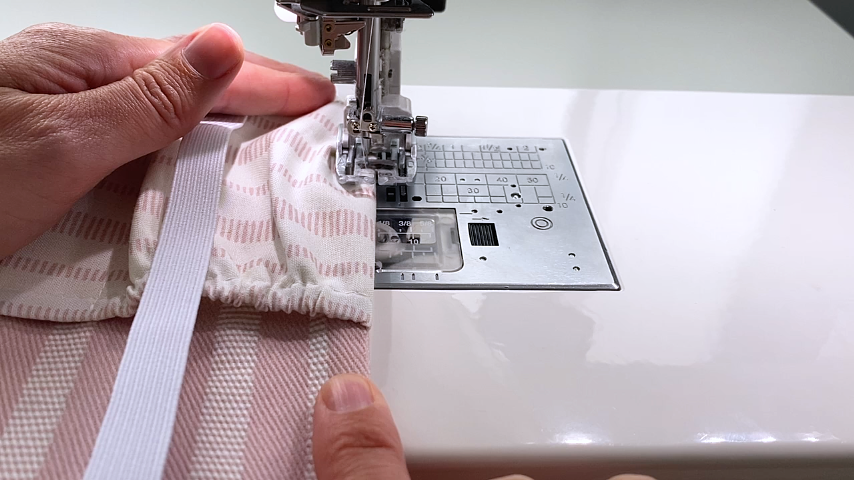
When you come to the top, you can simply pull the bookmark ribbon and elastic toward you and out of the way to complete your topstitching.
Your pen holder bookmark is complete!