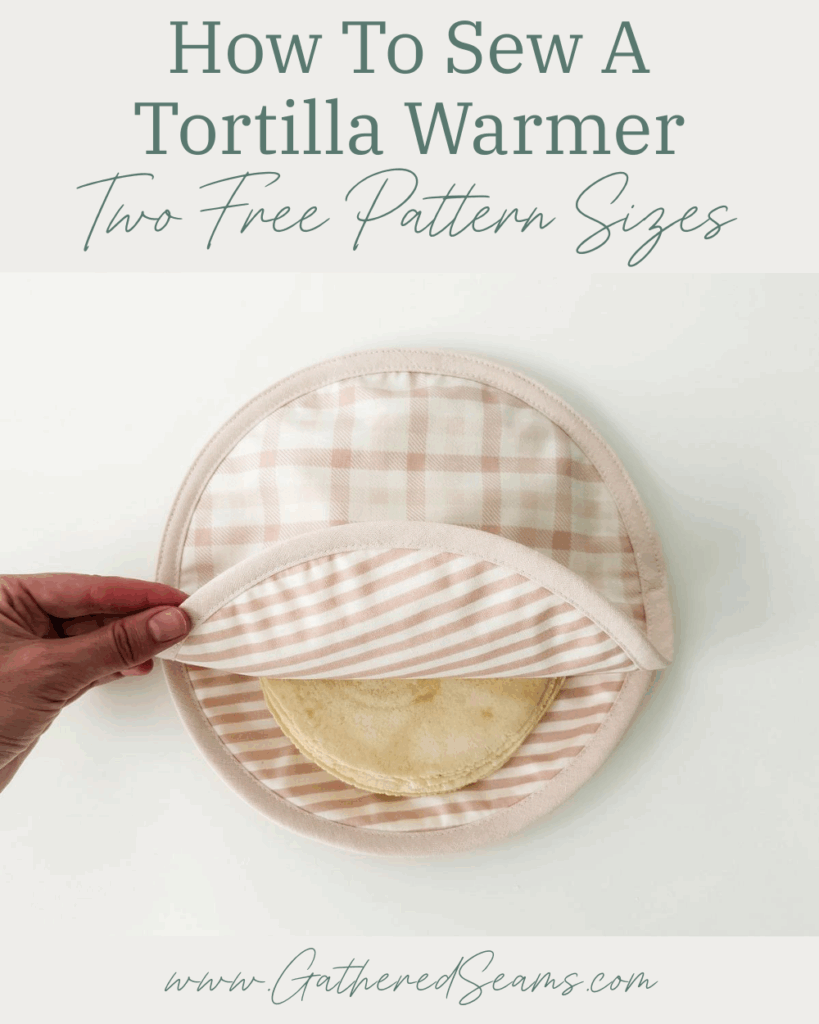
How To Sew a Corner Tie Basket | Beginner Friendly
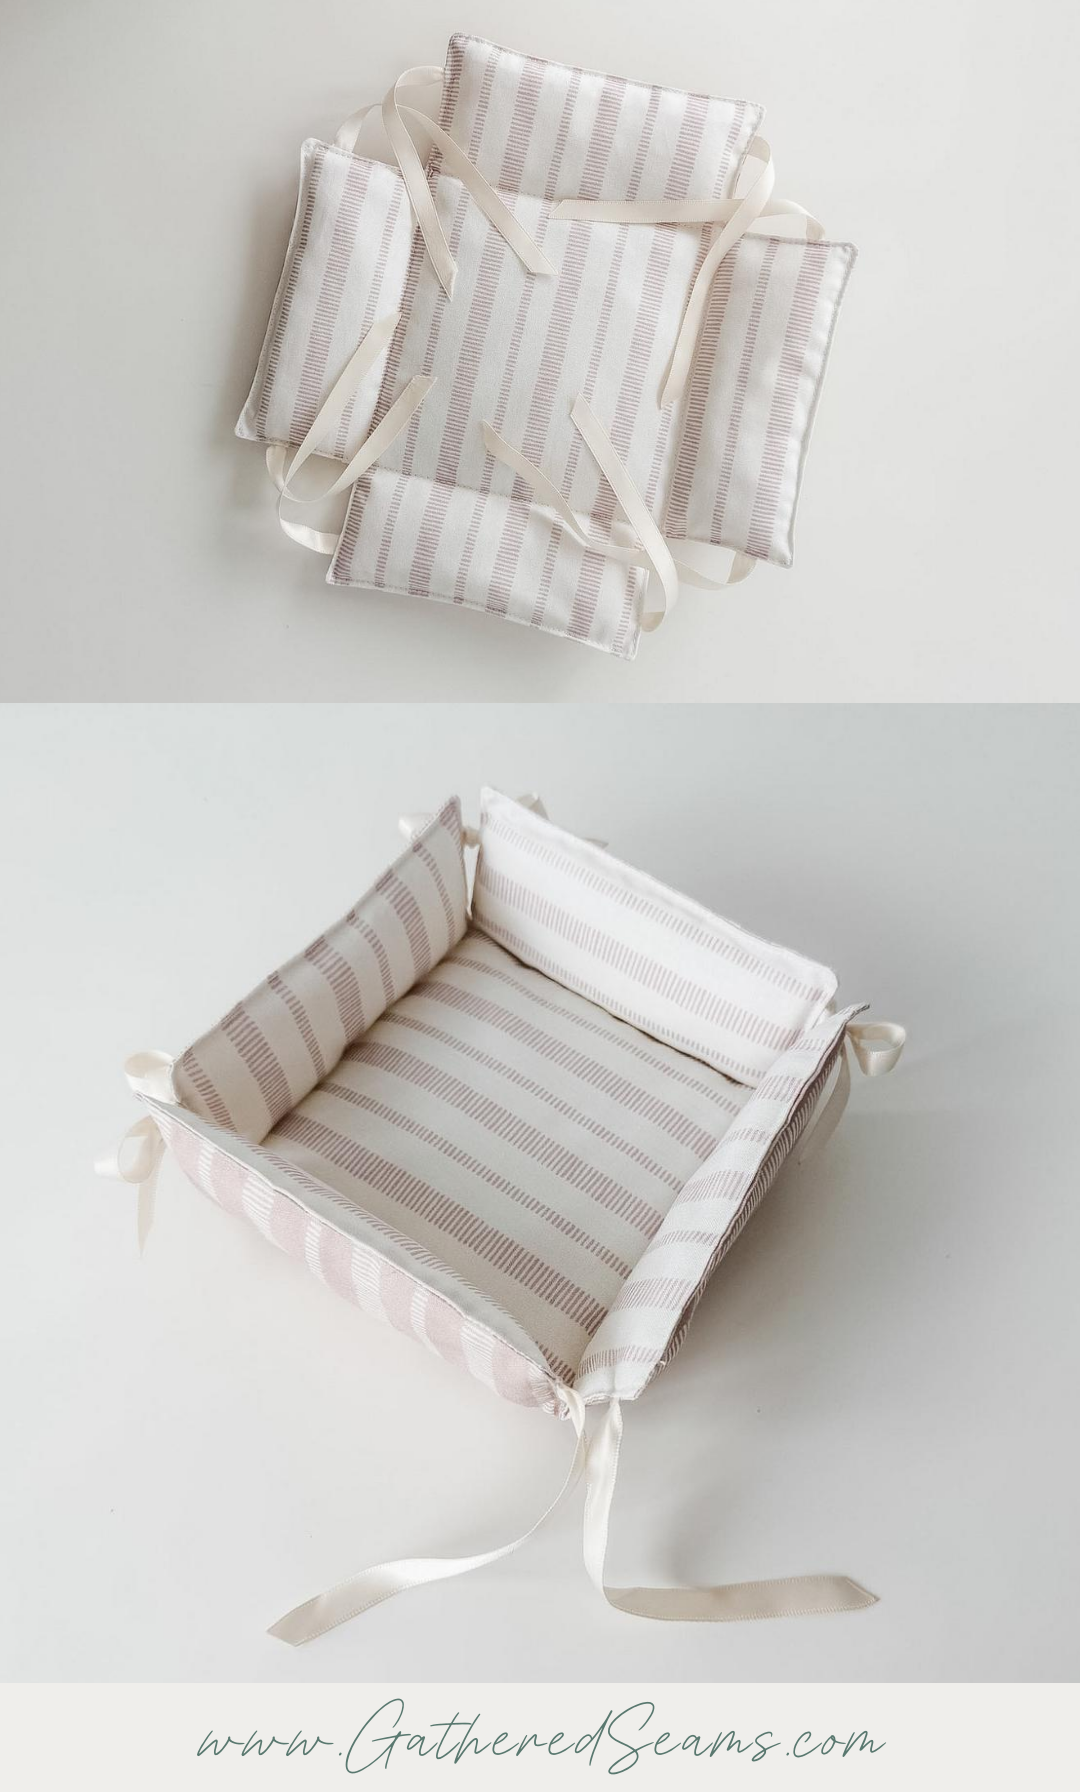
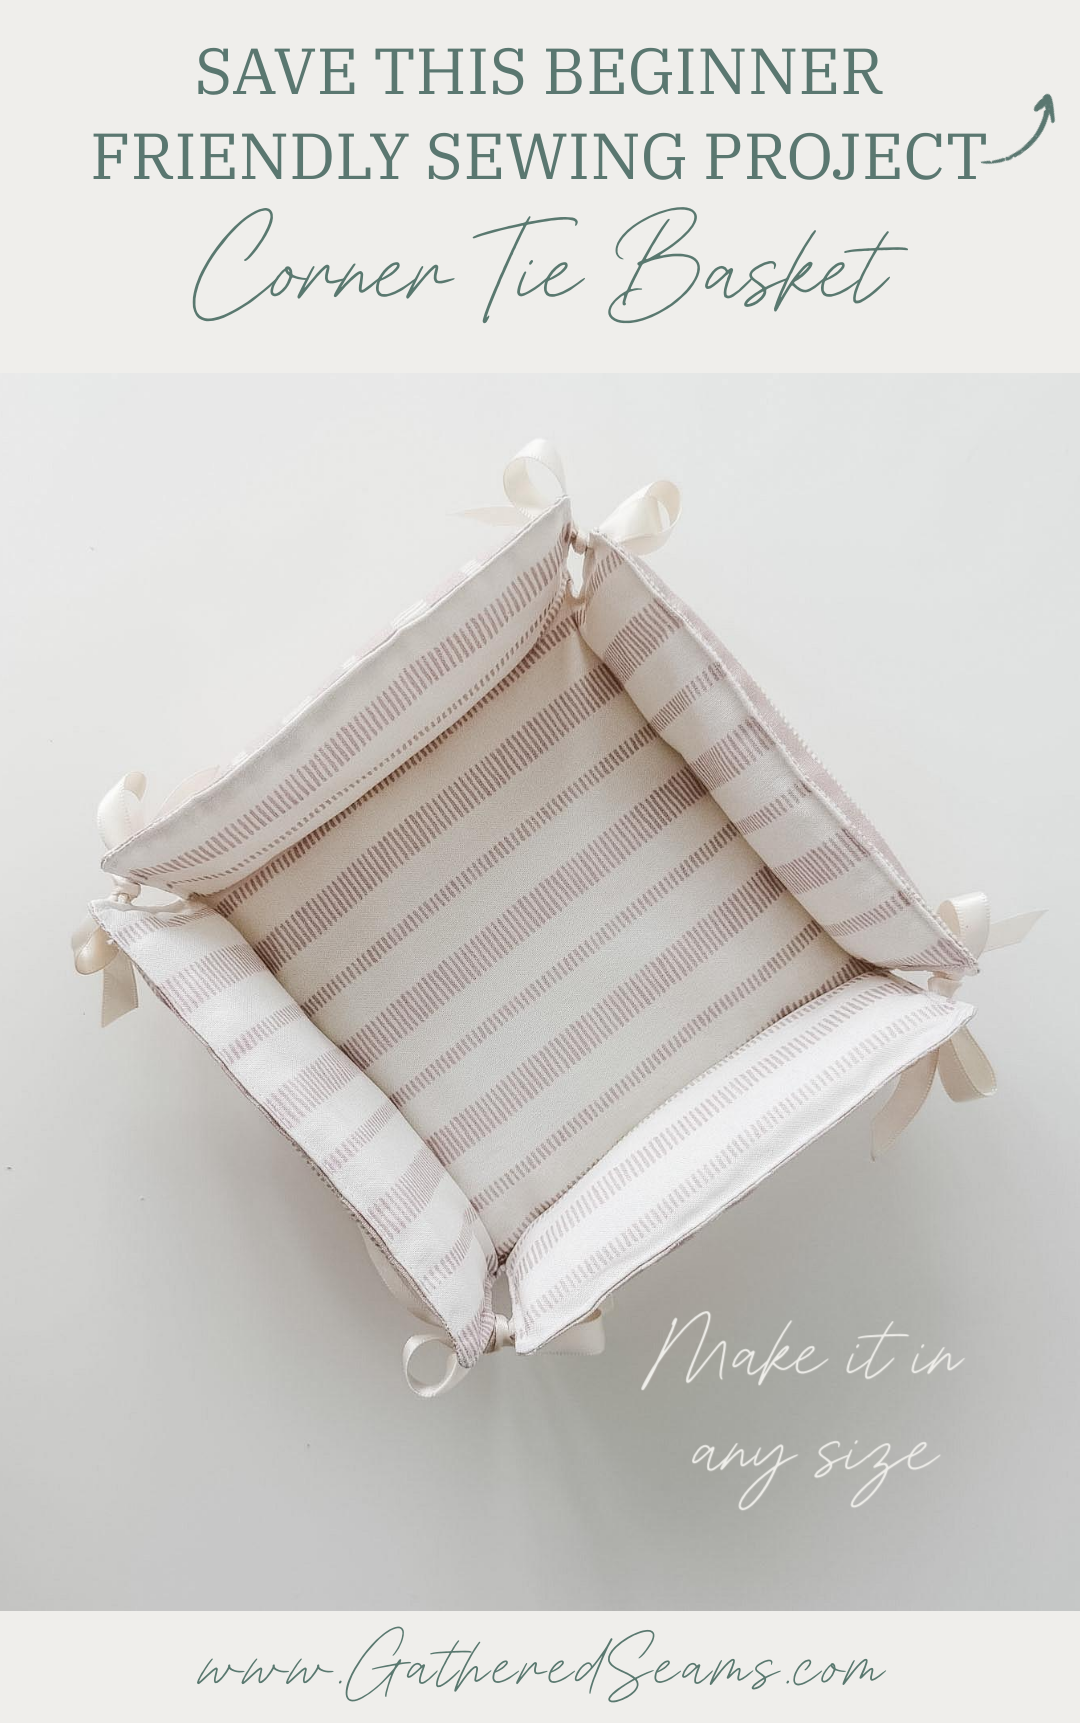
This is a simple basket to sew, and you can easily adjust the size to fit a variety of items. I wanted to give it a pillowy look, so I added 2 layers of high-loft batting, but you could use interfacing or a heavyweight fabric if you don’t like the pillow look.
Out of my other two baskets (bread basket & puffy basket), this one is a little more time-consuming, but is still a quick and easy sewing project.
It’s reversible, so play with different fabric combinations. I also like that it stores flat when not in use by untying the bows.
One thing to keep in mind with this basket is: the corners don’t fully close, so you won’t want to fill this basket with small items. You could use a wider ribbon to close in more of the corner, or try a similar-style basket, such as my bread basket pattern.
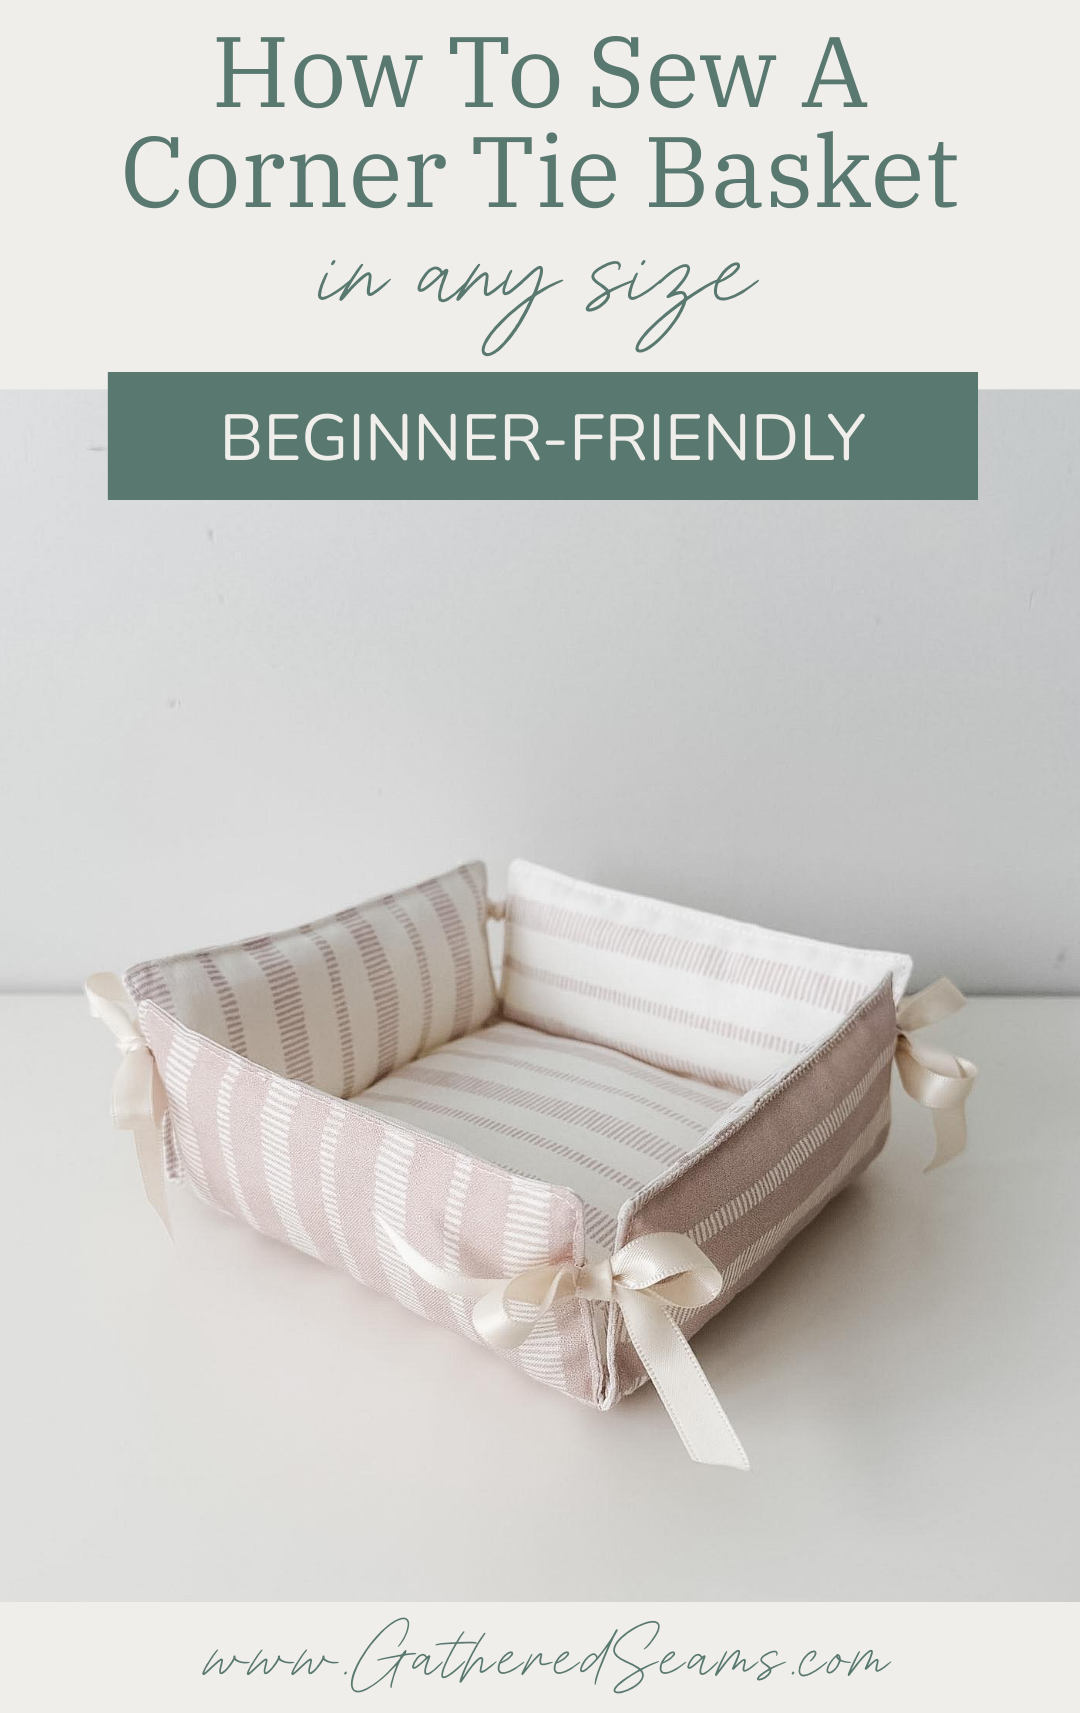
Materials
As an Amazon Associate, I earn from qualifying purchases (see full disclosure here).
- Fabric for exterior and lining
- Batting or interfacing for structure (I used 2 layers of extra loft batting)
- Ribbon
- Thread
*The batting is optional, but it does give the basket some structure. If you’re going to skip the batting, go with a heavier-weight fabric, such as canvas, denim, etc.
Tools
- Sewing machine
- Walking foot (this makes sewing with thicker materials, like batting, easier. This is the universal one I purchased for my Baby Lock, which is a different machine than what’s shown in the photos)
- Point turner (I like this one which is also a Hera Marker to crease lines instead of using chalk)
- Temporary fabric pen or chalk
- Iron
- Scissors
- Pins or clips
Sewing pattern for a corner tie basket
You can make this basket in any size you like. Here’s how to determine your pattern pieces:
Determine the width, depth, and height of your basket, as well as your seam allowance, then plug those numbers into this equation.
-
- Total width of pattern piece: Width + 2(Height) + 2(Seam Allowance)
- Total depth of pattern piece: Depth + 2(Height) + 2(Seam Allowance)
- Corner cutouts: height by height
- Batting size:
- Depth + 2(Height)
- Width + 2(Height)
- Corner cutouts: height by height
For example, let’s say I want to make a basket that is 6″ x 6″ and 2-1/2″ high (1/2″ seam allowance).
- Total width: (Width) 6″ + (2 x Height) 5″ + (2 x Seam Allowance) 1″ = 12″
- Total depth: (Depth) 6″ + (2 x Height) 5″ + (2 x Seam Allowance) 1″ = 12″
- Corner cutouts: (Height) 2-1/2″ x (Height) 2-1/2″
- Batting size:
- (Depth) 6″ + (2 x Height) 5″ = 11″
- (Width) 6″ + (2 x Height) 5″ = 11″
- Corner cutouts: (Height) 2-1/2″ x (Height) 2-1/2″
You will need to cut:
- Top & bottom fabric in total width x total depth, plus corner cutouts (e.g. 12″ x 12″ with 2-1/2″ x 2-1/2″ corner cutouts)
- Batting width & depth plus corner cutouts (e.g. 11″ x 11″ with 2-1/2″ x 2-1/2″ corner cutouts)
- 8 pieces of ribbon for corner ties, cut to 7″ long
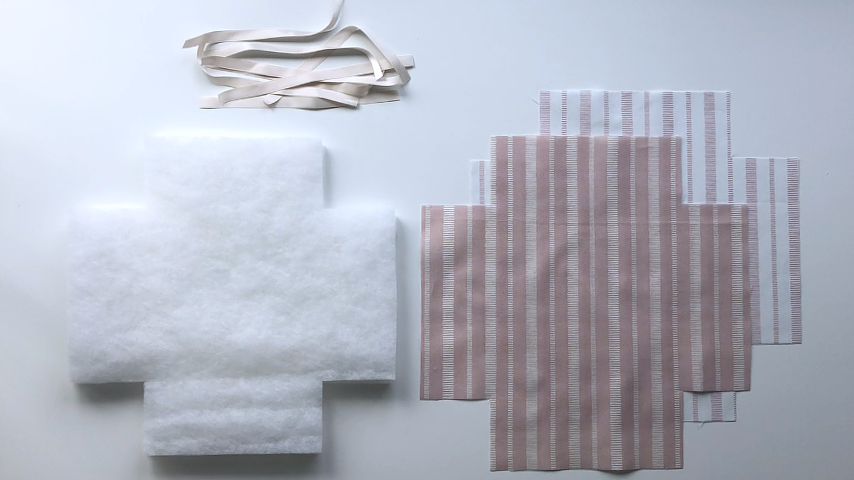
Steps to sew a corner tie basket
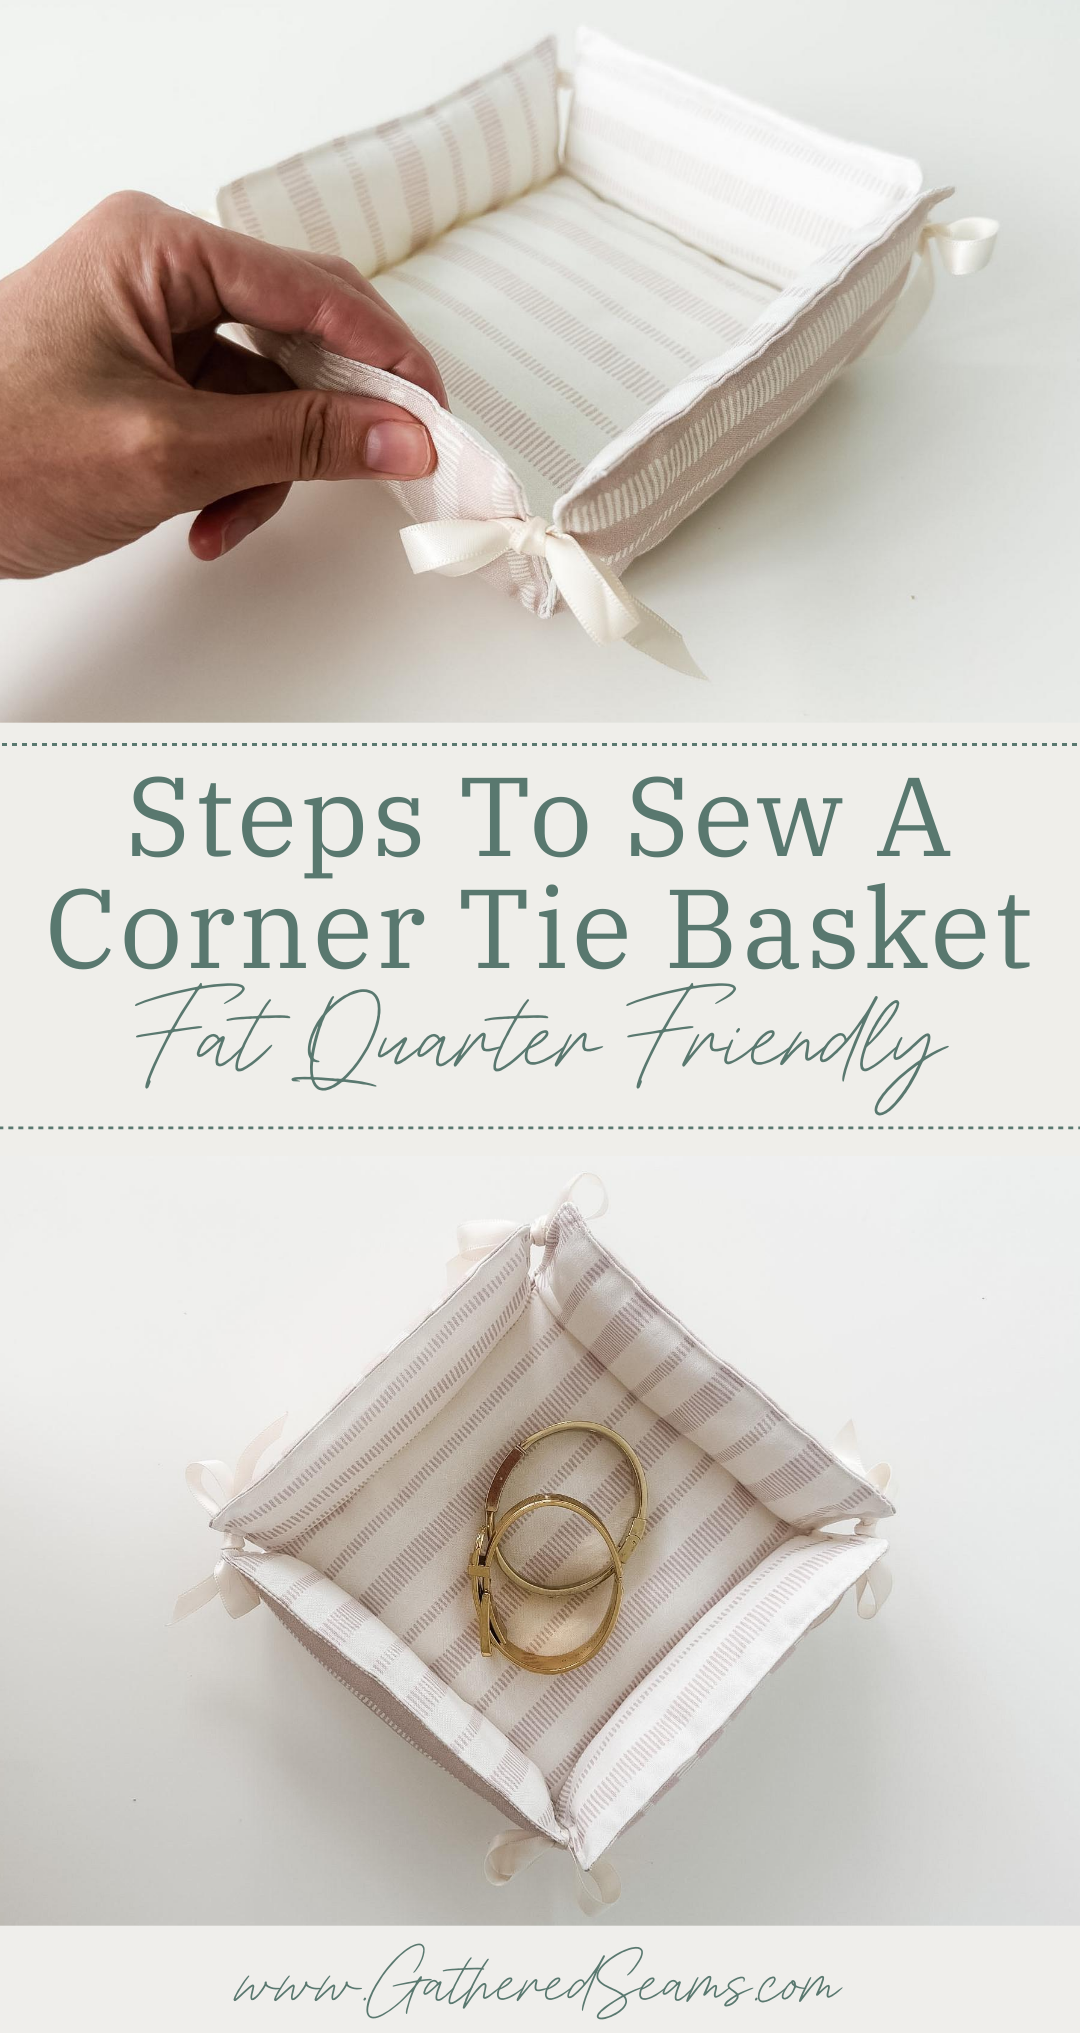
Step 1
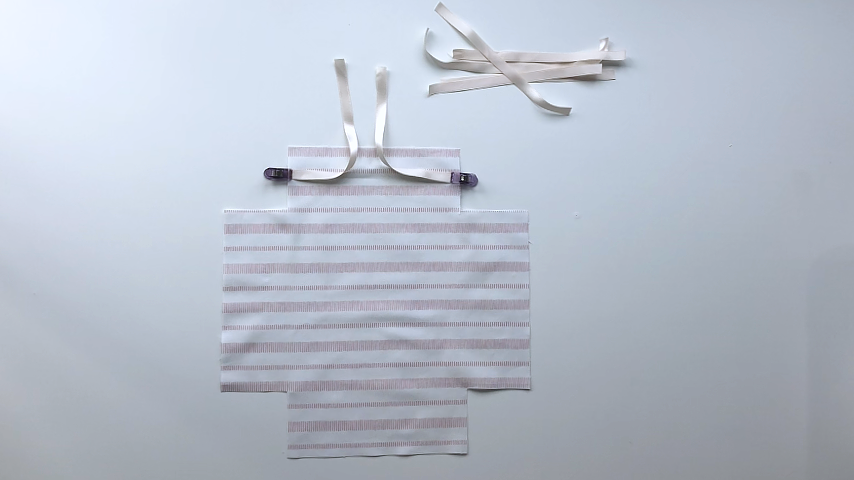
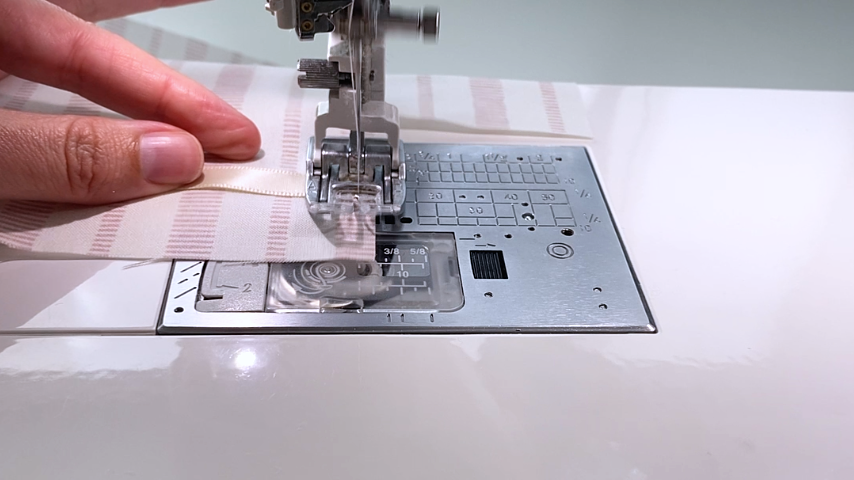
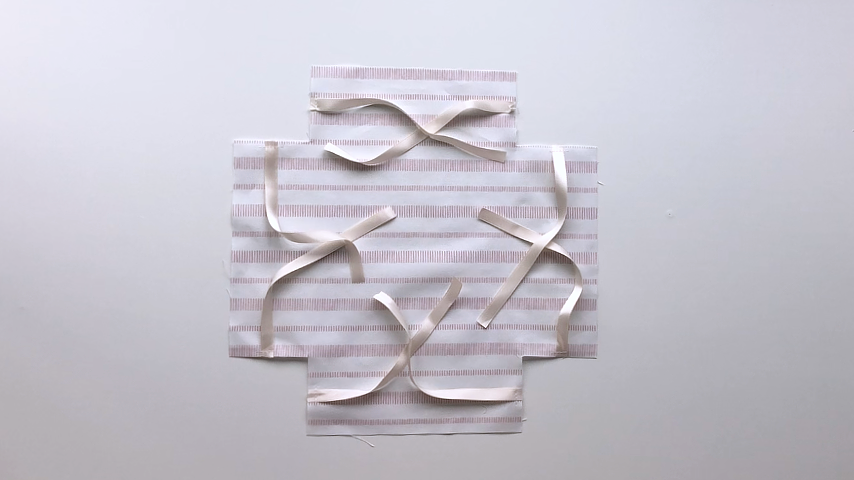
Clip your ribbons to the middle of each corner and baste into place.
Step 2
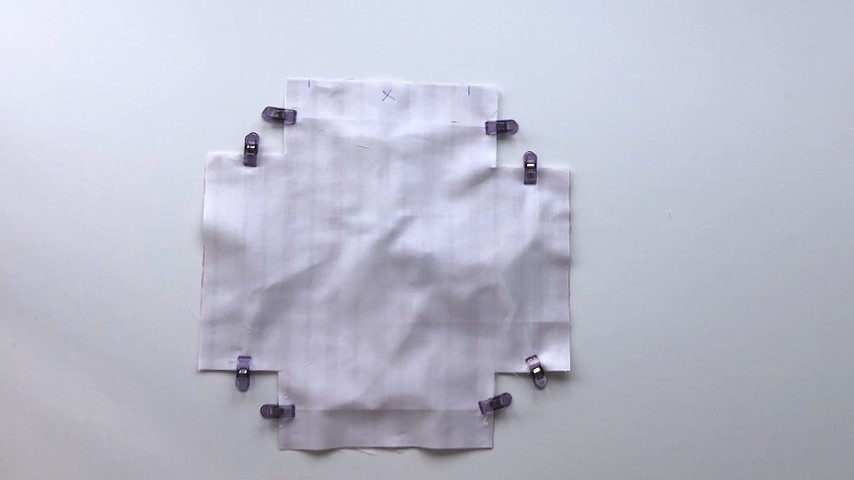
Place your bottom and top pieces right sides together, lining up the edges. Make sure your ribbons stay away from the edges so you don’t accidentally sew one of the ends into a seam. You may want to pin the ends to the fabric.
Use a temporary fabric pen to mark two lines along one edge for your opening. Try to leave this opening big enough that you will be able to fit your hand (or most of your fingers) through it, which will make it easier to guide the batting in.
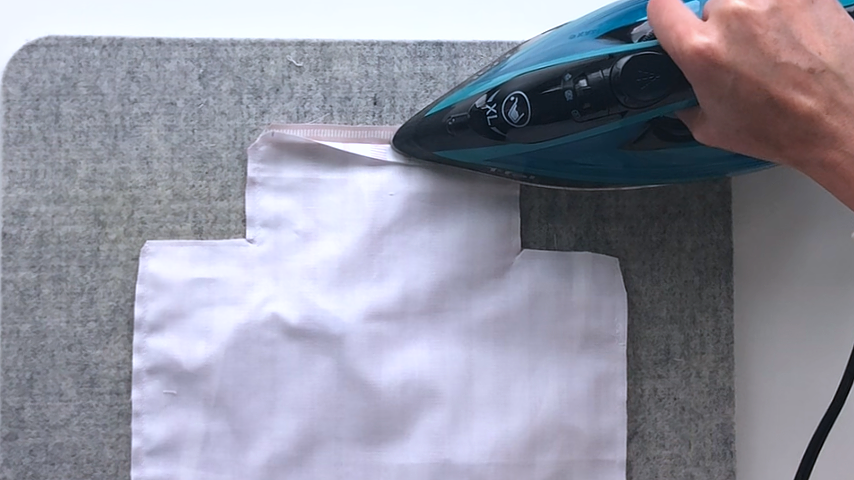
I sew across this opening using a basting stitch (longest stitch length), so it’s easy to remove, but I can be sure my seams will line up when top stitching, and I can easily press the seam open.
Use a 1/2″ seam allowance to sew around all the edges and corners.
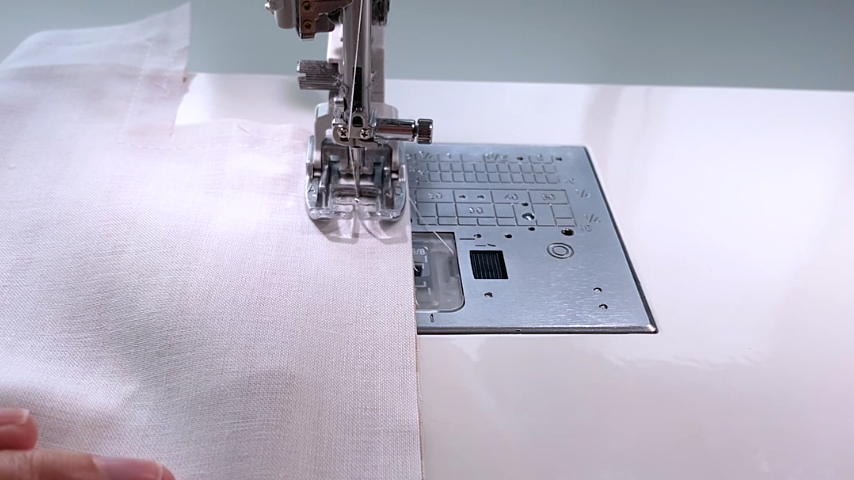
Trim the seam allowance in half along all edges, except where your opening is.
Clip your outer corners at a 45-degree angle.
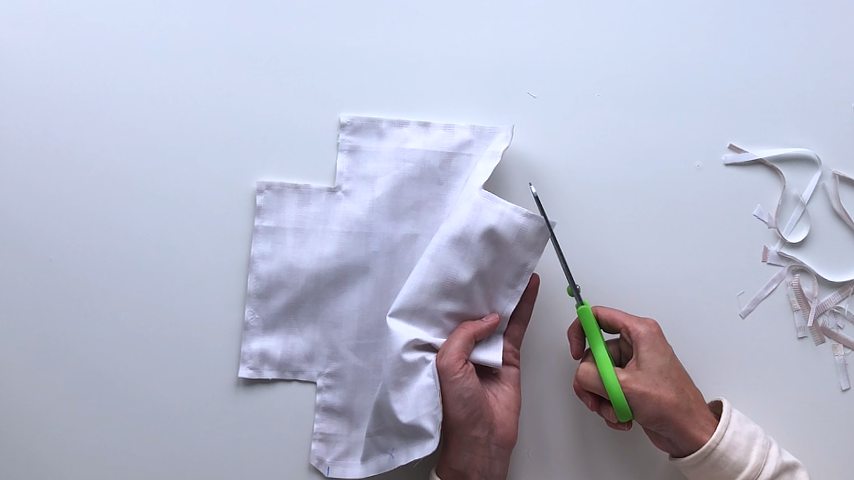
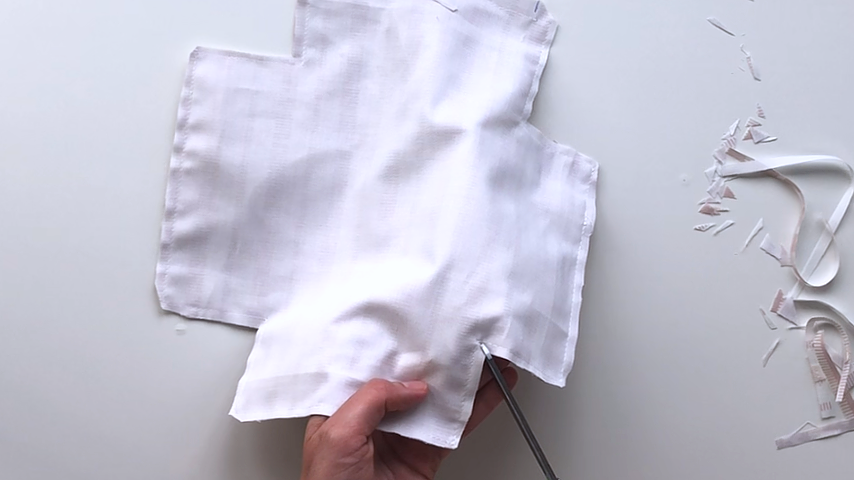
Make a clip in your inner corners, close to the stitching, being careful not to cut into it.
Press open the seam at your opening.
Use a seam ripper to remove your basting stitches across the opening.
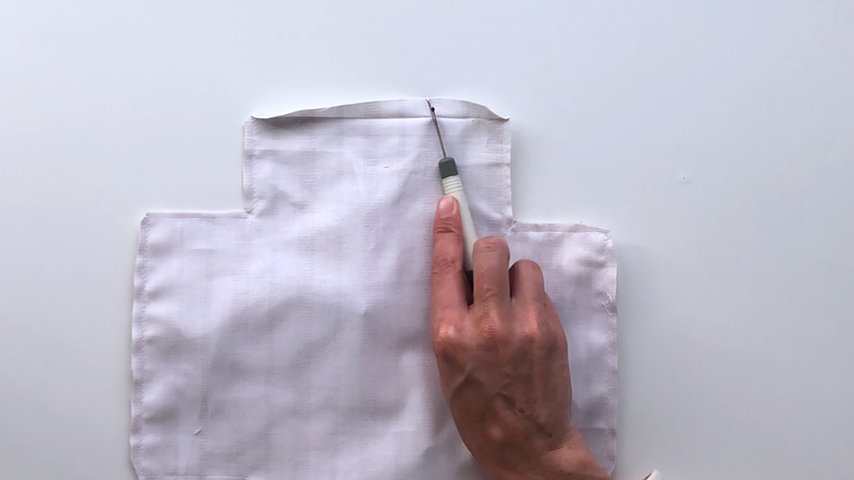
Step 3
Use the opening to turn the basket right side out.
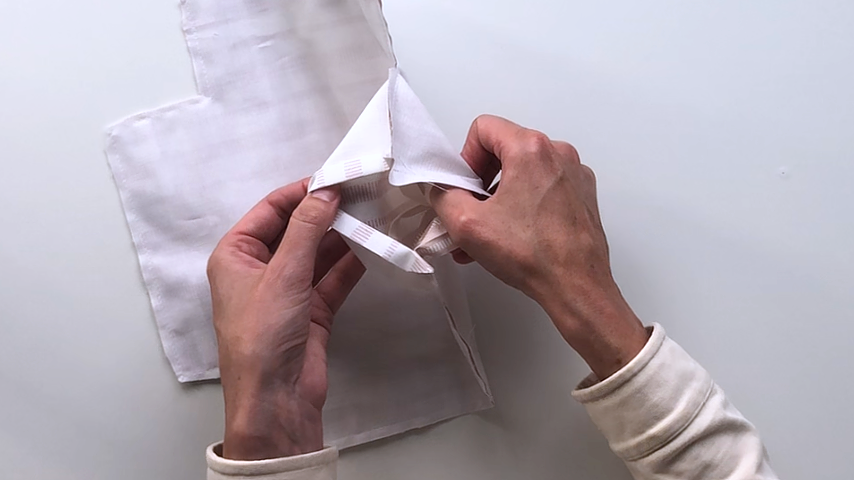
Use a seam ripper to push the corners out.
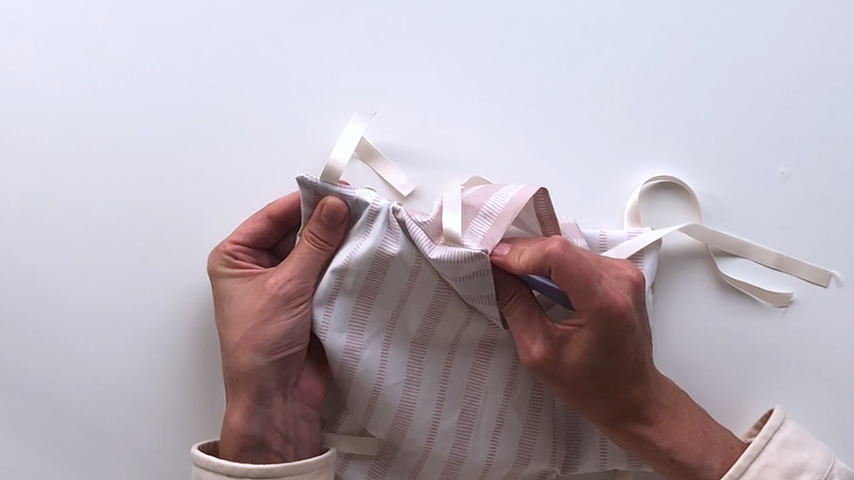
Use your iron to press the seams and remove wrinkles.
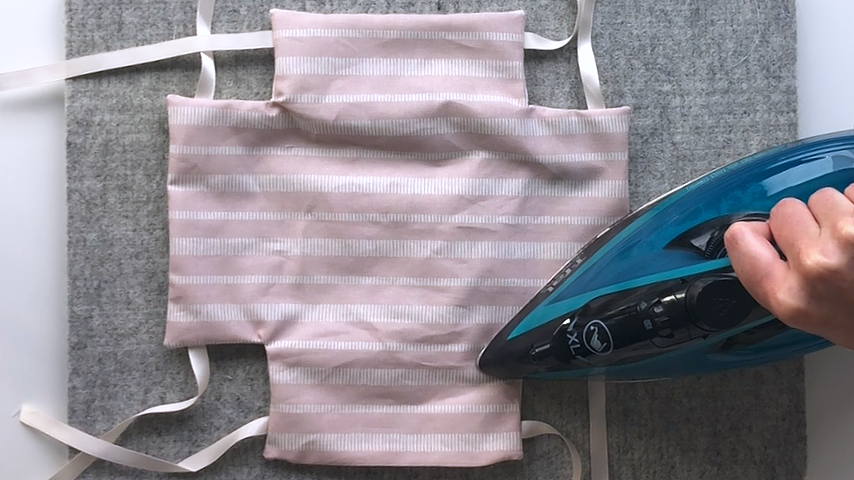
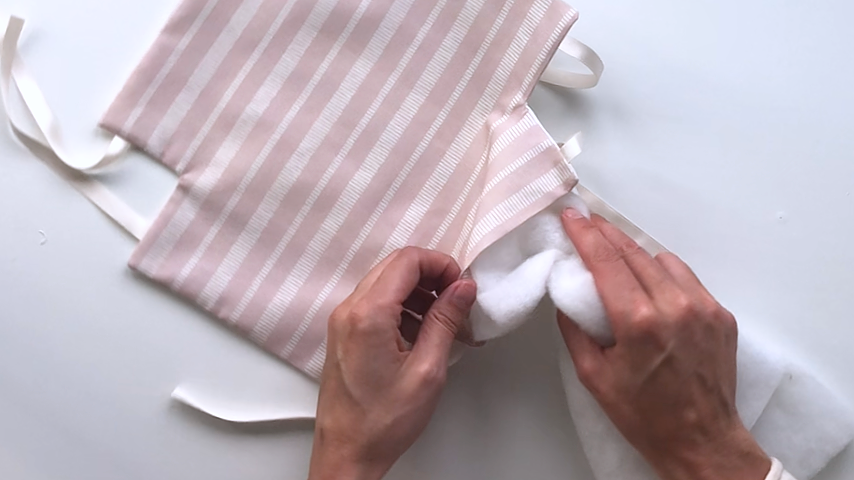
Guide your batting in through the opening. Once the bulk of my batting was in, I grabbed a corner of it and pushed it into the corner of the basket, repeating for each corner and smoothing the batting out until it looked good from the outside.
If you have any wrinkles in your fabric after this step, you can hover your iron over the fabric and use the steam button. While the fabric is still warm and slightly damp, use your hand to smooth out wrinkles. Don’t press the iron to the fabric or you’ll melt the polyester batting.
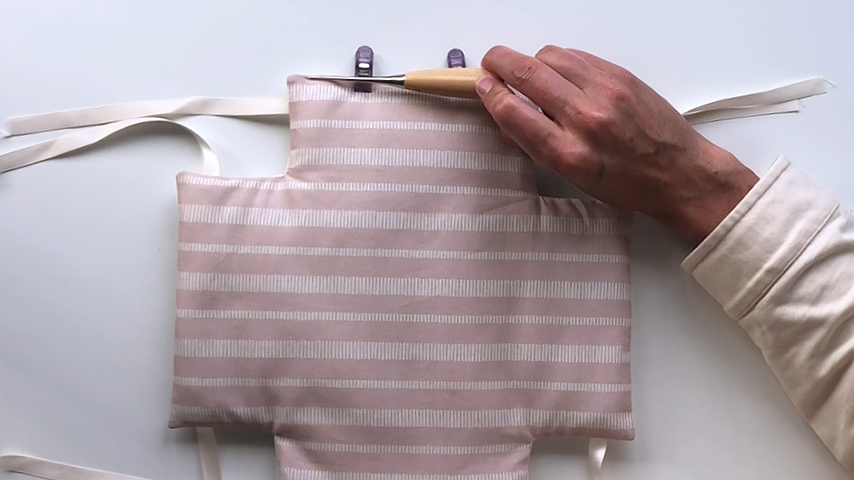
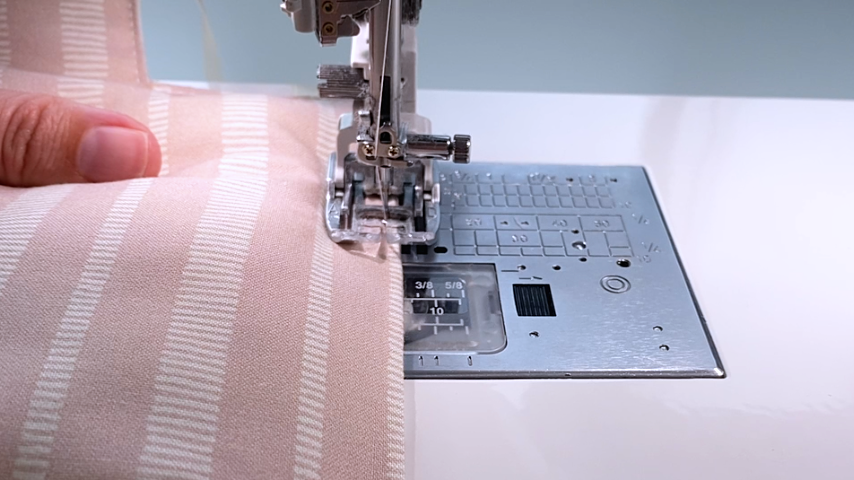
Clip the opening closed and topstitch around all the edges, sewing as close to the edge as possible. Alternatively, you can simply handstitch the opening closed.
Step 4
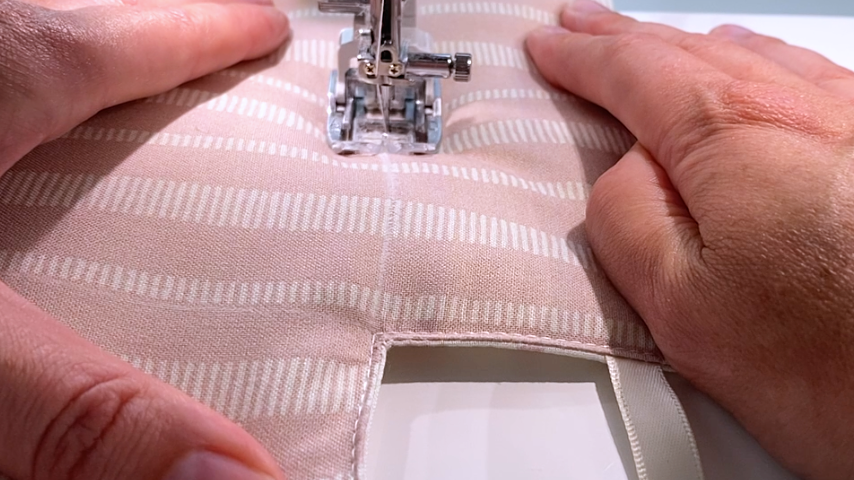
Use a temporary fabric pen, chalk, or Hera marker to mark lines from one interior corner to the next. Then sew along those lines.
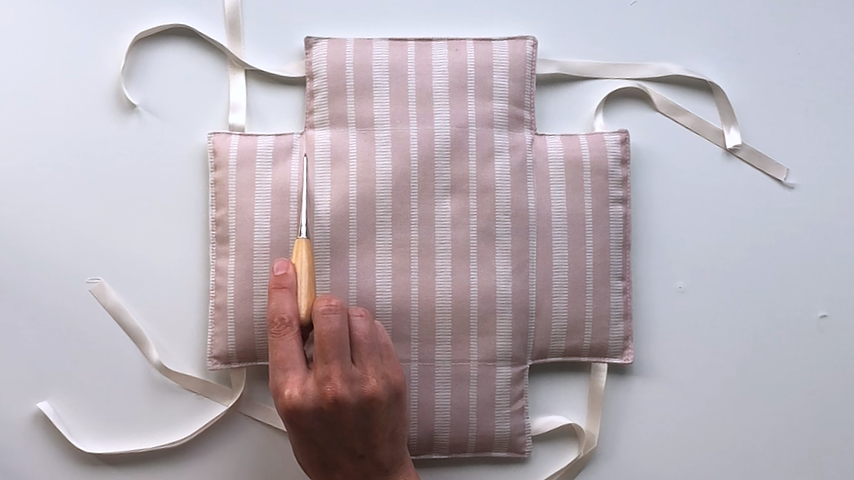
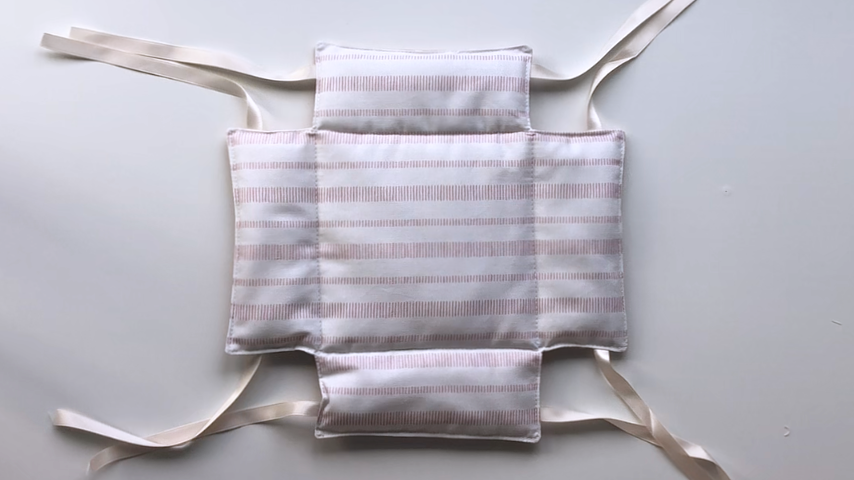
Tie each corner in a bow, then trim the ribbon to length.
You can use fray stop to prevent the ends of the ribbon from fraying.
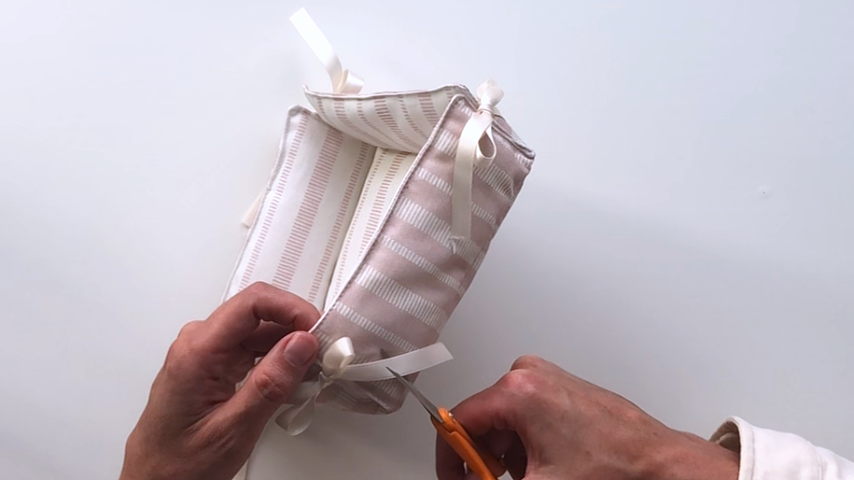
Your corner tie basket is complete!