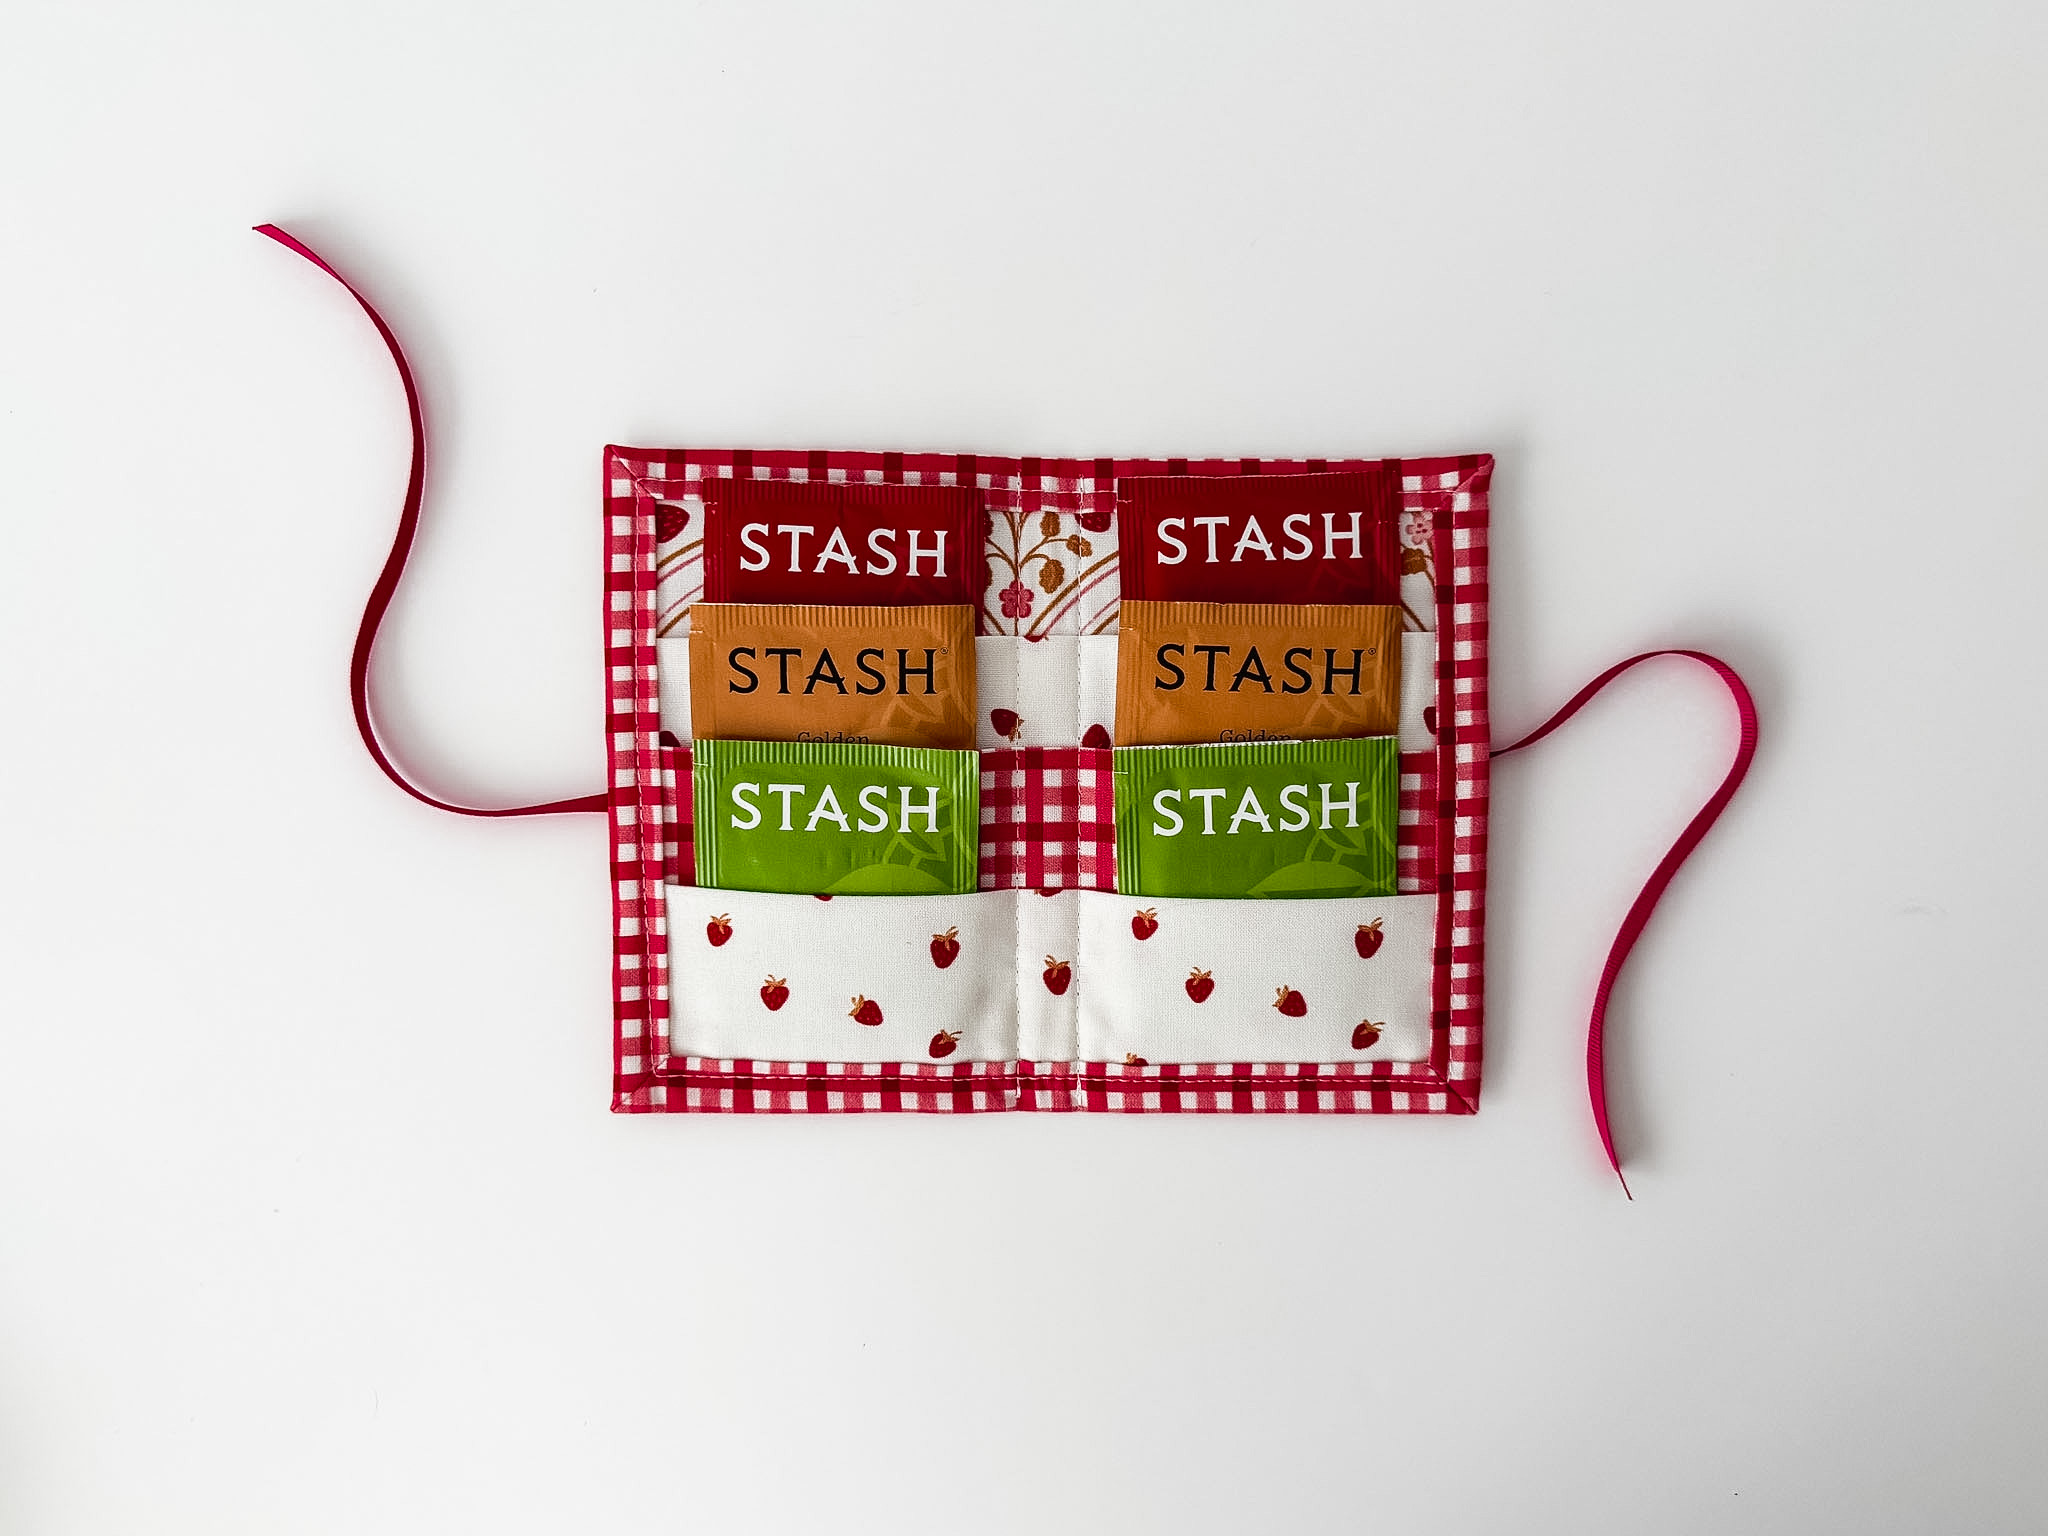
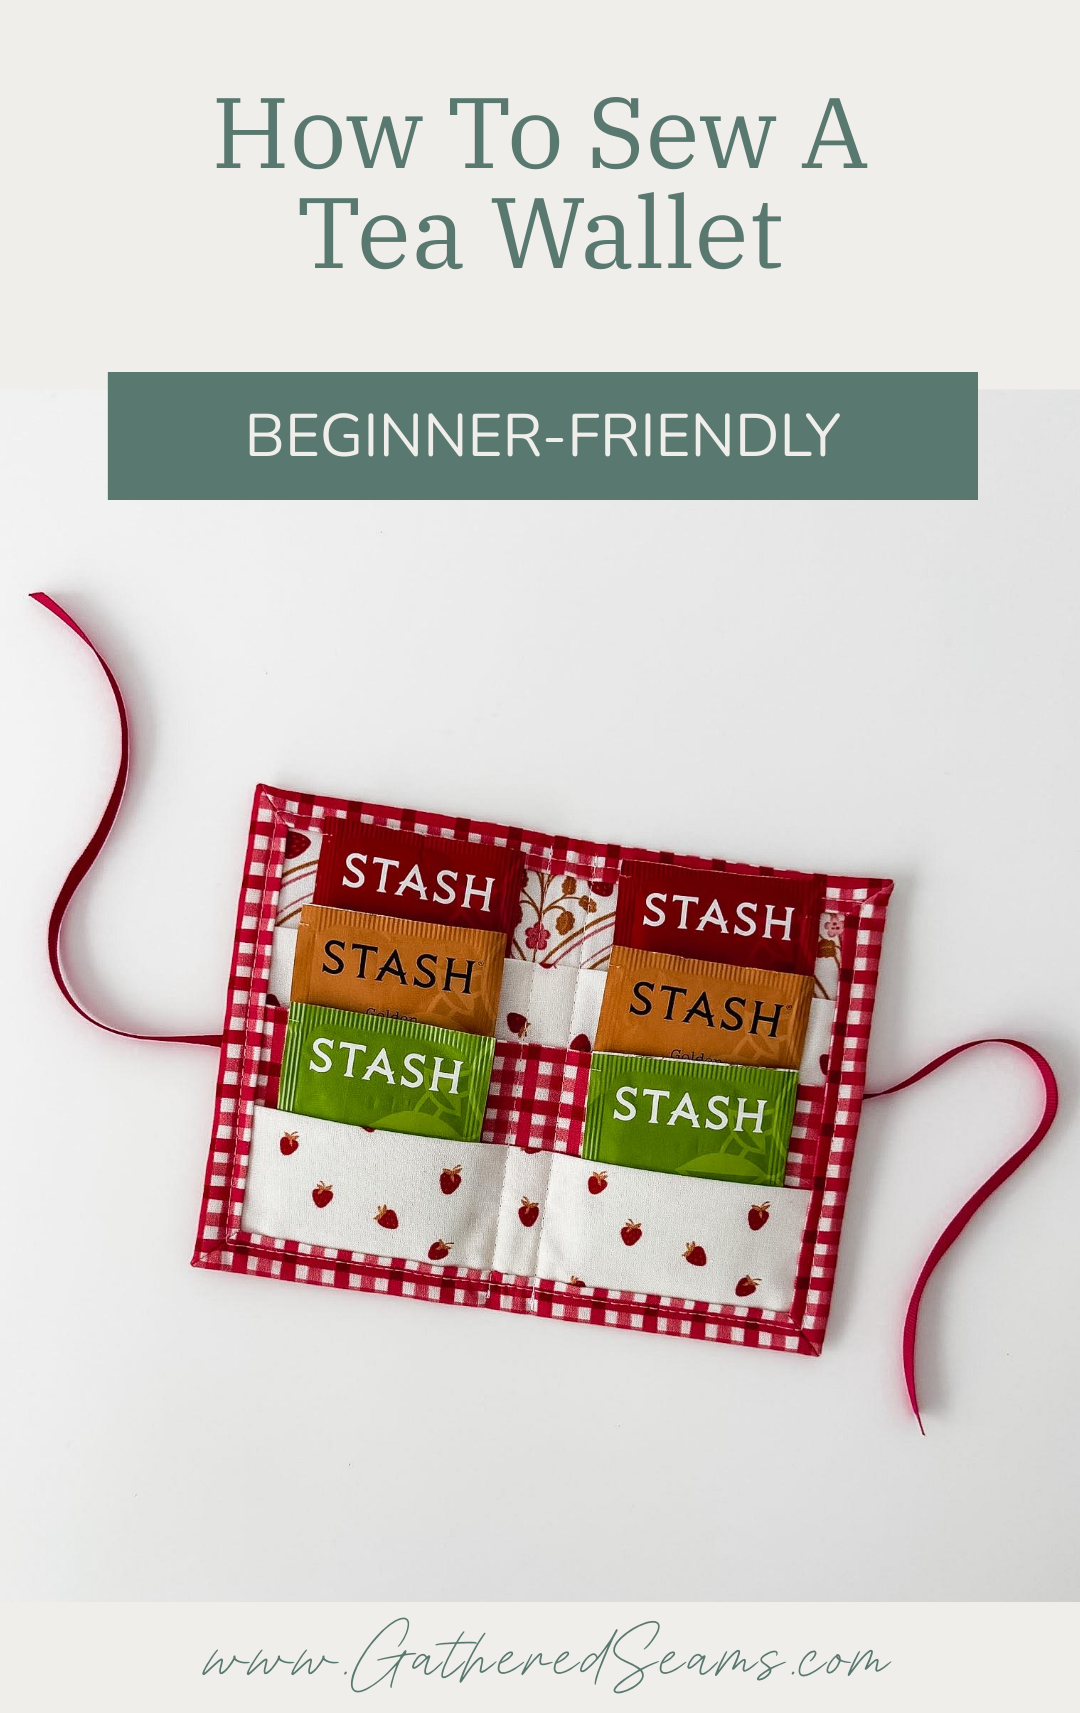
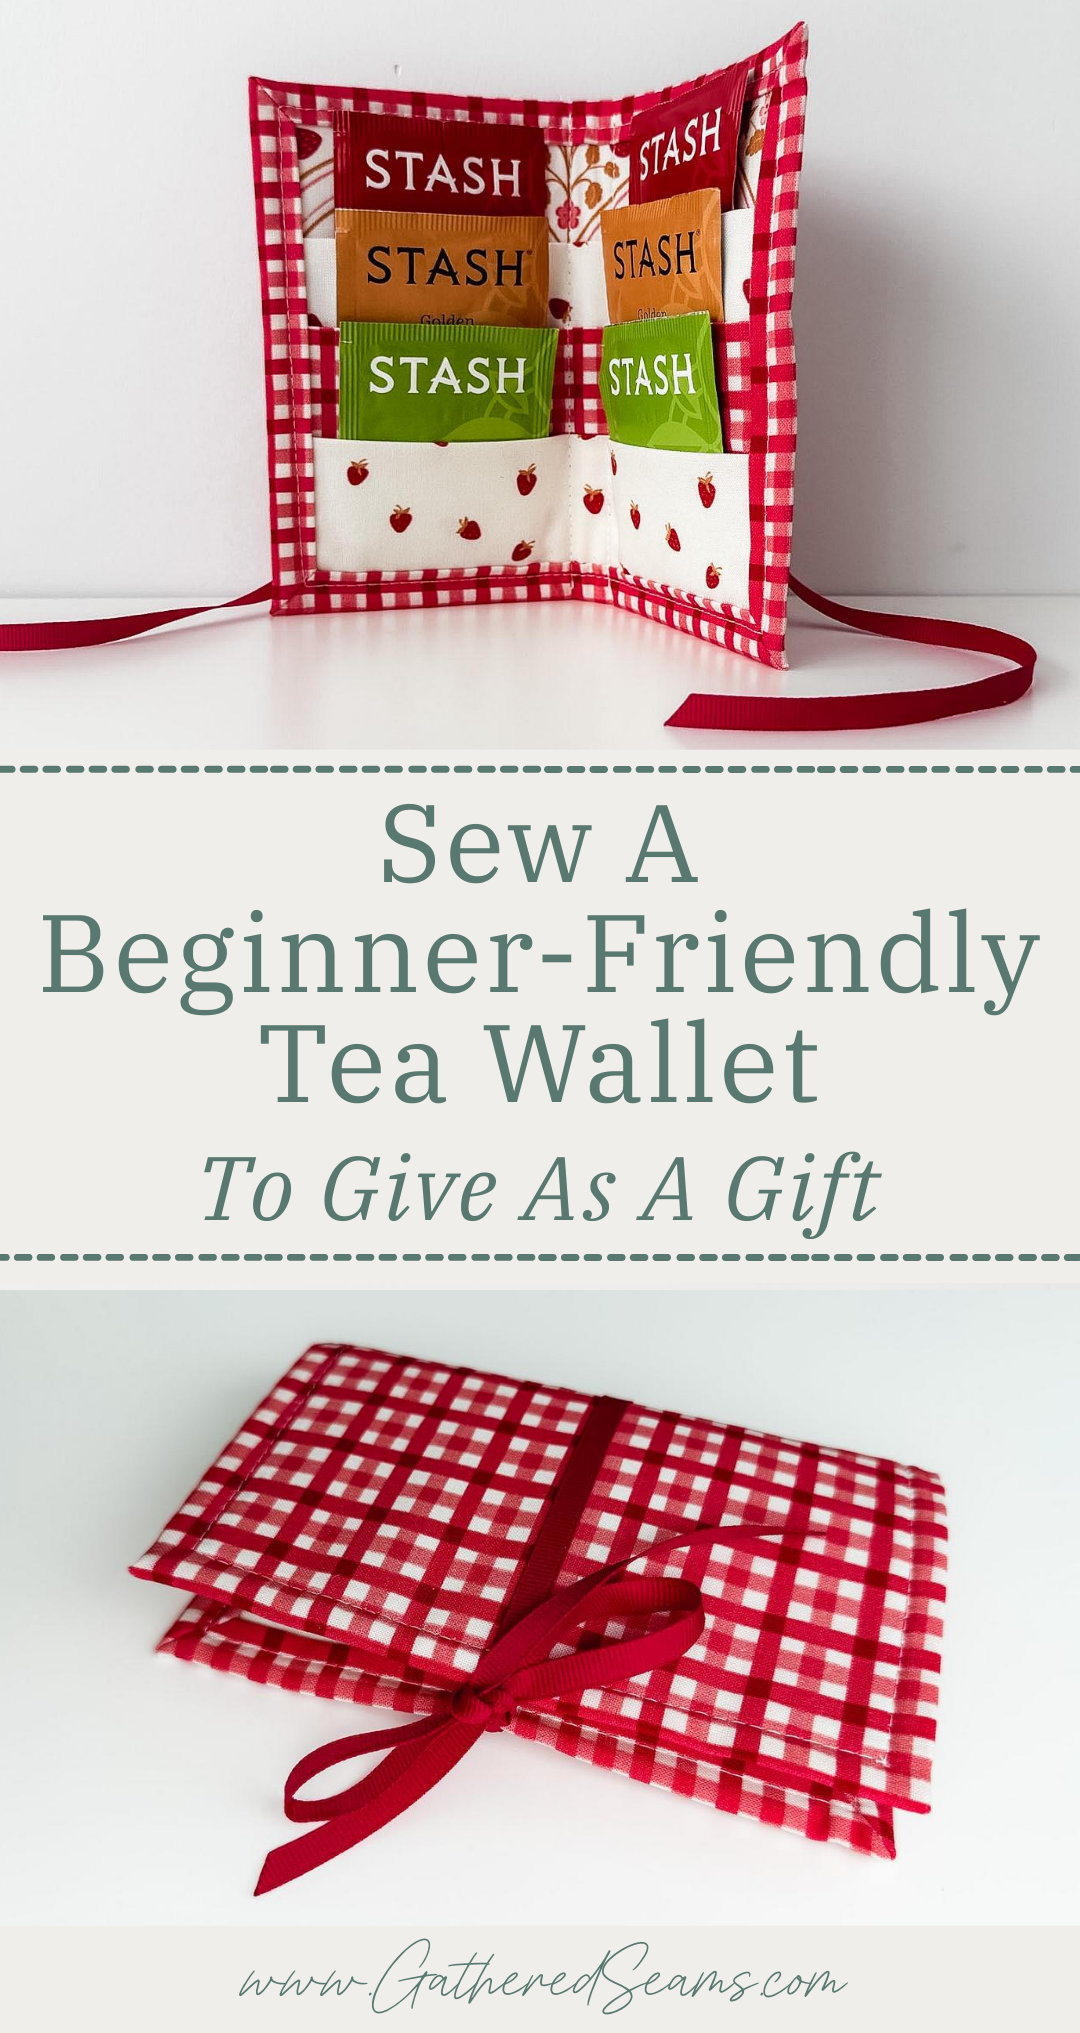
How To Sew A Tea Wallet (Beginner-Friendly)
A tea wallet (also known as a tea bag holder) makes a perfect little gift. This also makes it a good item to make and sell at craft shows.
It’s quick and easy to make and doesn’t require much in the way of materials. So it’s a good beginner-friendly sewing project.
Give this item on its own (filled with your favorite tea packets), or add other items to create a gift set.
Here are a few things you can build on the gift with:
To sew
- mug cozies
- teapot cozy
- coasters
- reusable tea bags
- tea towel (ruffled tea towel, double-sided tea towel, or fringed tea towel)
To buy
As an Amazon Associate, I earn from qualifying purchases (see full disclosure here).
- teacup or mug set
- A teapot (2-cup or 4-cup)
- A teapot, cup, and saucer set
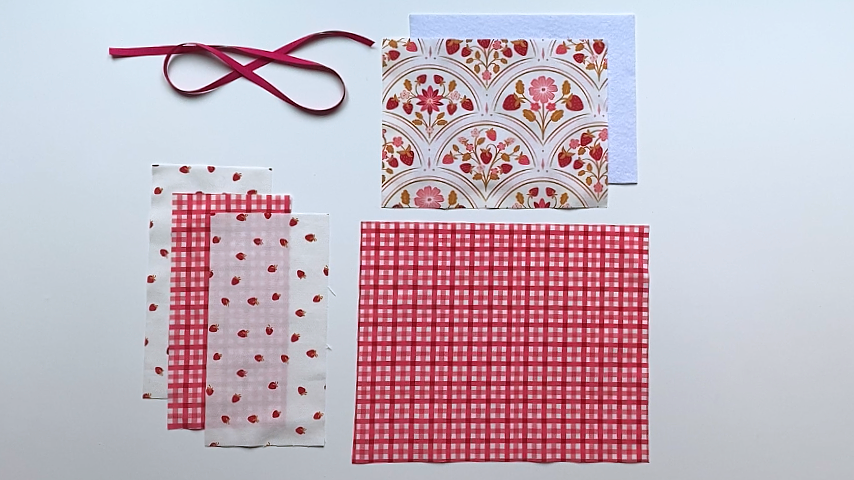
Materials
As an Amazon Associate, I earn from qualifying purchases (see full disclosure here).
- Fabric (lightweight fabric is ideal, such as quilting cotton)
- Fusible fleece (this is optional, but it does add a little structure to the wallet and give it a more polished look)
- Cotton thread
Tools
- Sewing machine
- Point turner
- Temporary fabric pen or chalk
- Ruler (if buying a new ruler, be sure it’s in the measurement system you prefer; imperial or metric)
- Iron
- Scissors
- Pins or clips
Steps to sew a tea wallet
Step 1
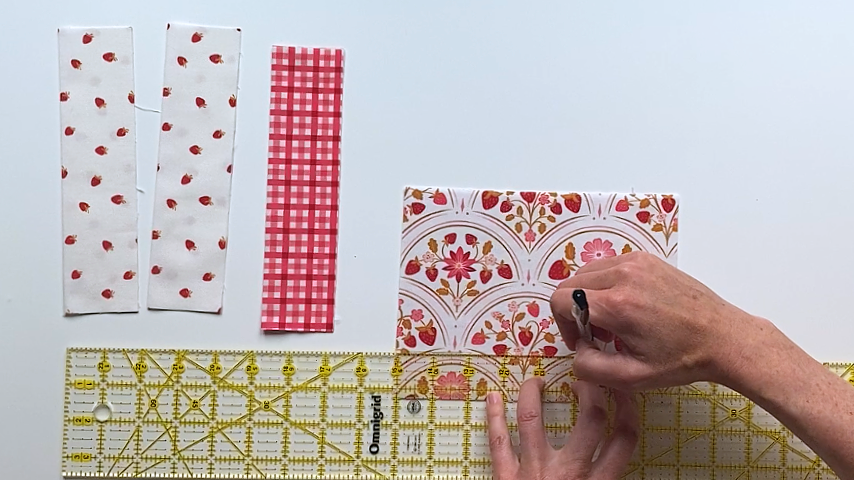
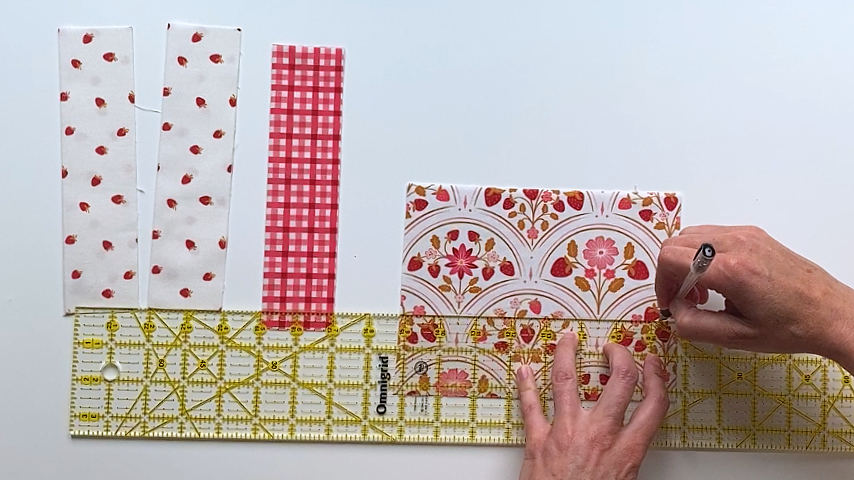
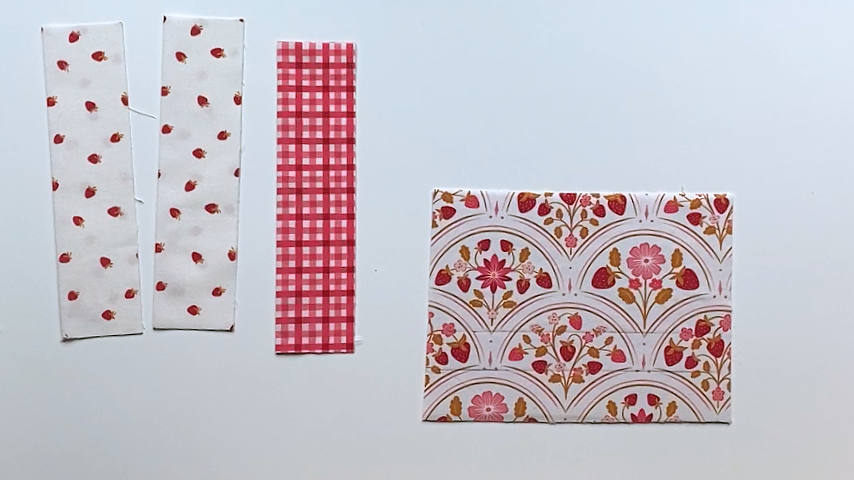
Cut out your pattern pieces. You will need:
- 1 piece of fabric for the top that is 8″ x 6″
- 1 piece of fusible fleece that is 8″ x 6″ (optional)
- 1 piece of fabric for the bottom that is 10-1/4″ x 8-1/4″
- 3 pieces of fabric for the pockets that are 4″ x 8″ each
- 1 piece of ribbon that is 24″ long
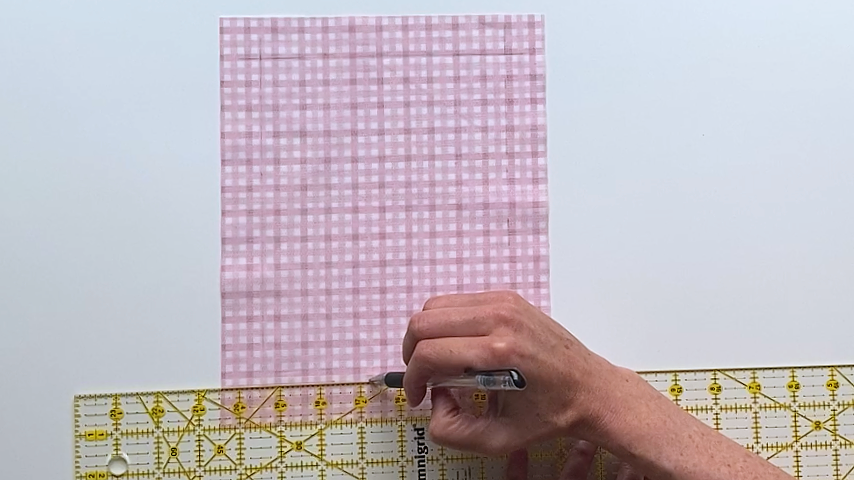
Step 2
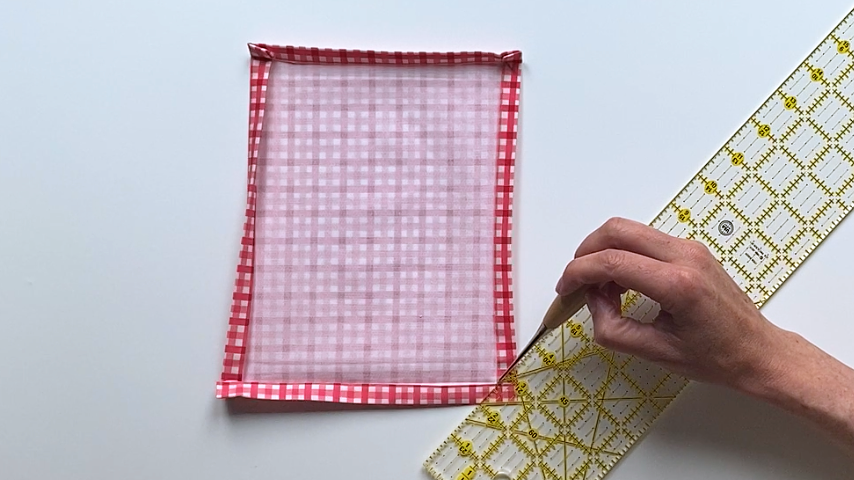
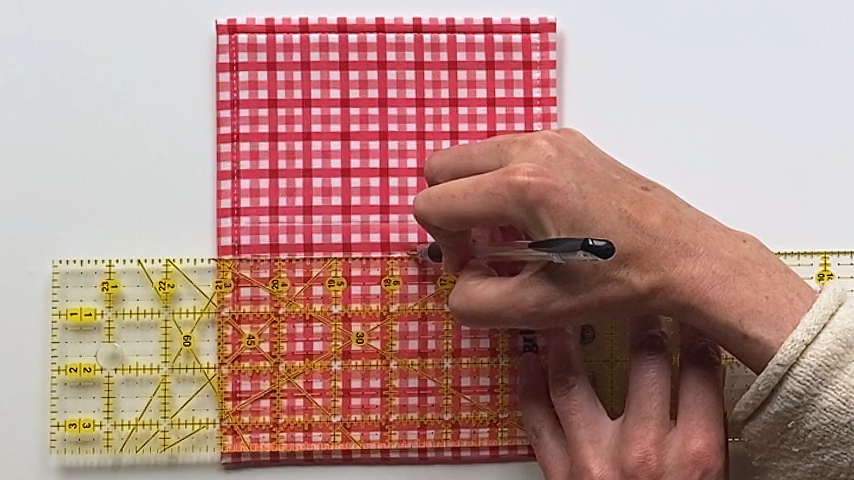
Use a temporary fabric pen to mark lines 1″ away from the four edges.
Fold the cut edges up to meet the lines and press into place.
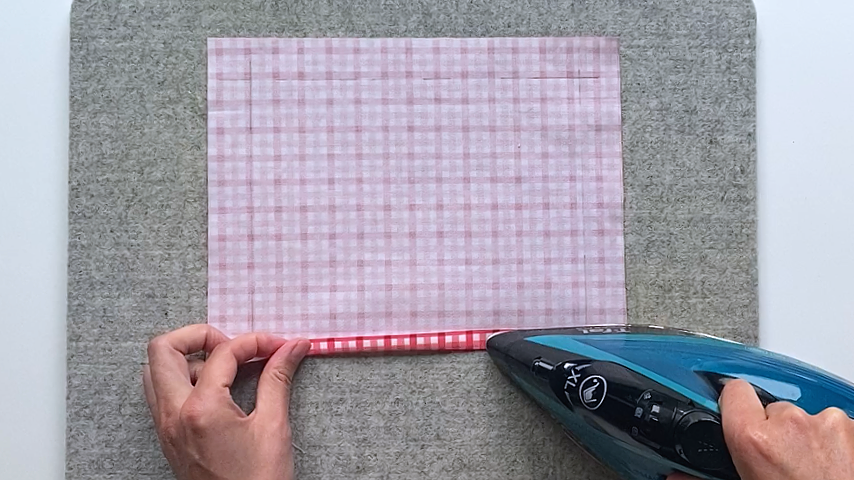
Fold the hem in again, another 1/2″, using the first folded hem as a guide. Complete on all 4 sides.
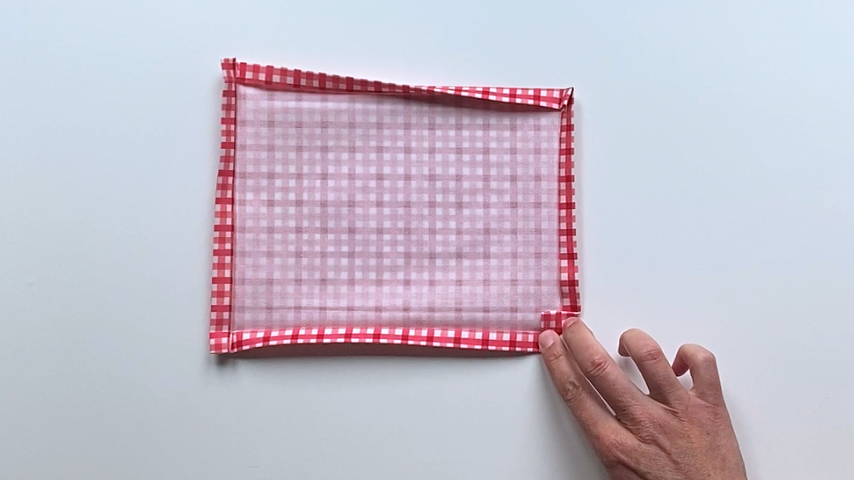
Open the second hem (so your edges are only folded in once).
Then draw a line at a 45-degree angle across each corner. The center of the line should go right through the point of where the second folds meet/where the two raw edges intersect:
To draw your 45-degree lines, you can use a ruler that has a 45-degree marking on it, or you can fold the corner in, finger press, then draw along the crease:
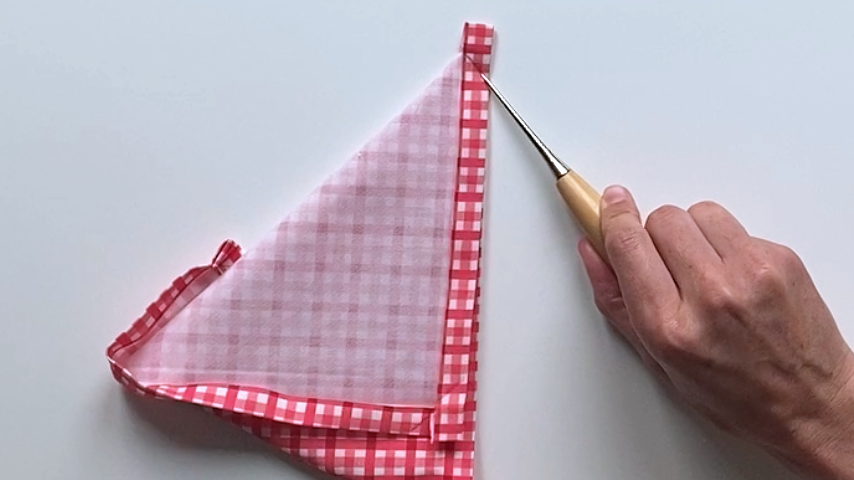
Next, you’ll sew the corners to create the mitered hem. Fold the rectangle in half diagonally, so the corner comes to a perfect point and the two edges are stacked on top of each other perfectly.
Sew along the drawn line.
You’ll do this for all 4 corners.

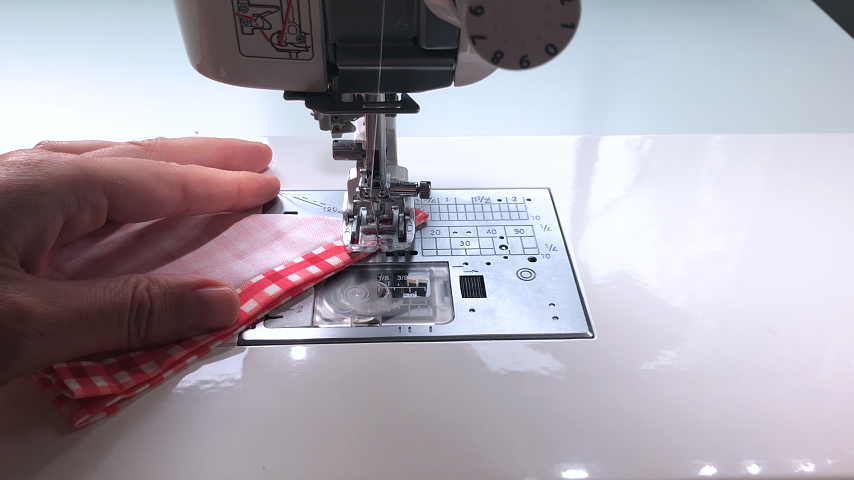
Shorten the stitch length on your sewing machine and start with the needle on the fabric, then backstitch to the start of the fabric. This ensures the fabric doesn’t bunch up as you start to sew.
Then sew to the end of the fabric and backstitch back onto the fabric. This ensures the ends of your thread will be hidden back in the hem (and won’t stick out along the edge of the hem).
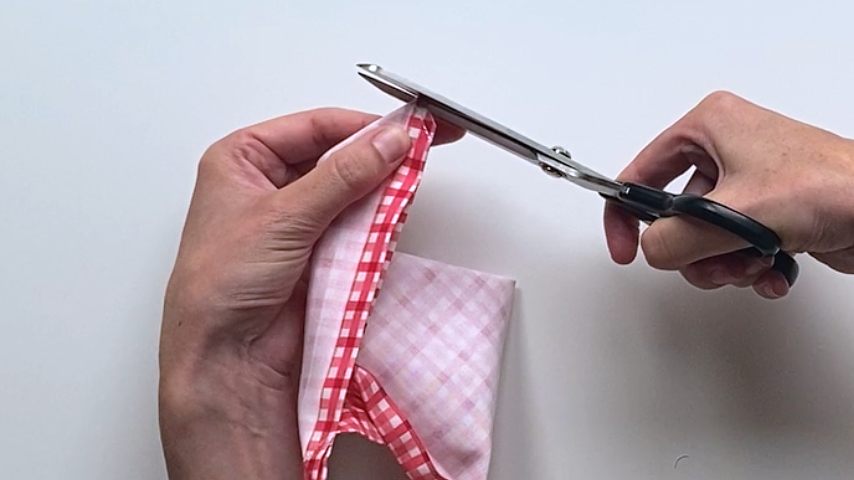
Trim the seam allowance by cutting about 1/8″ away from the stitching.
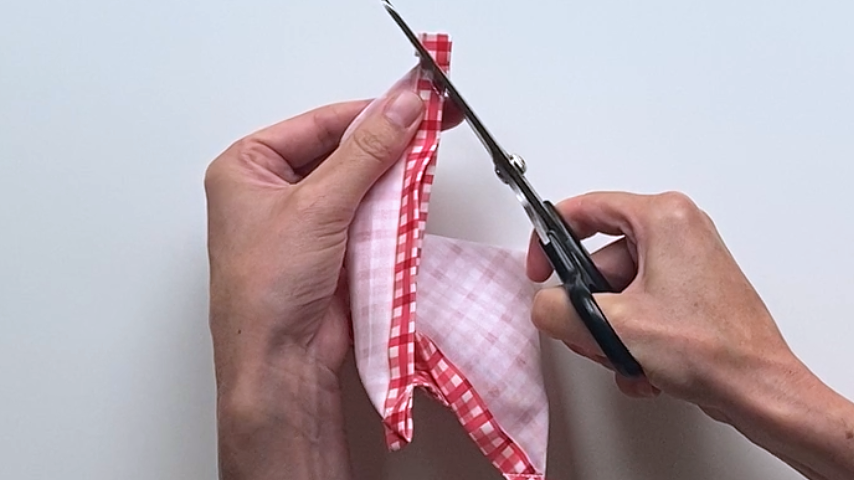
Then cut straight across the top, about 1/8″ away from the stitching. This will reduce the bulk in the seam.
Repeat for all 4 corners.
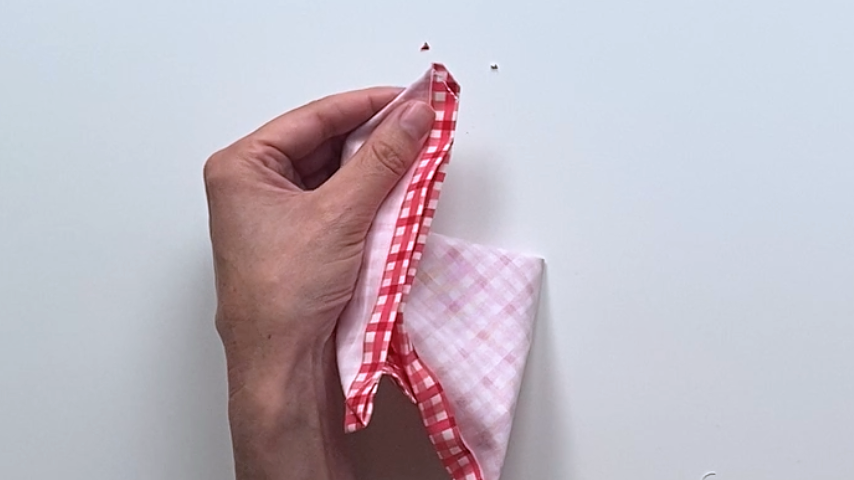
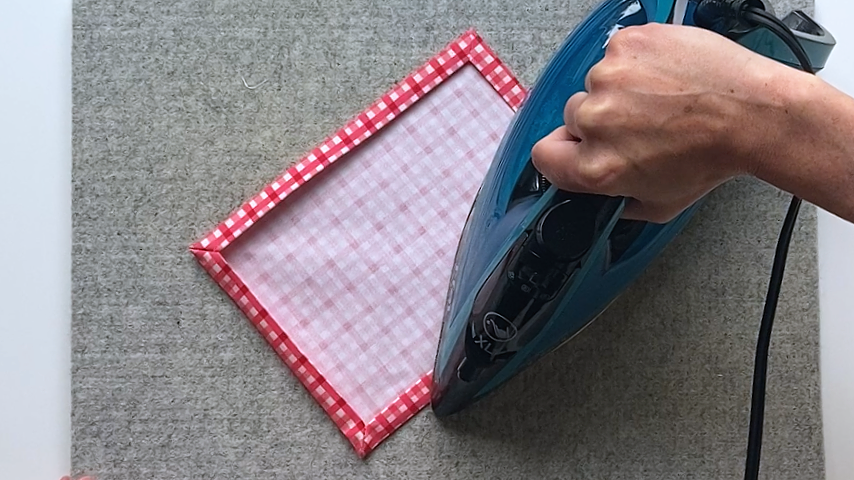
Turn the corners right side out and use a point turner to push them fully out. You can also pull on either side of the seam to ensure your seam sits flat.
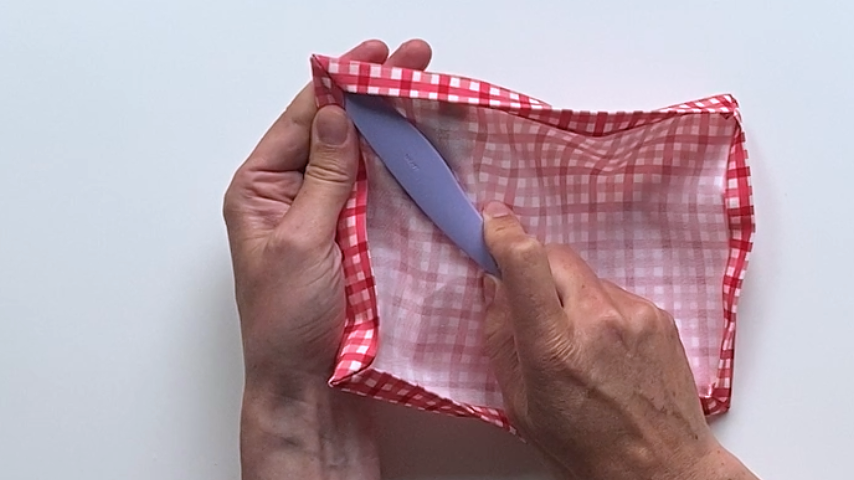
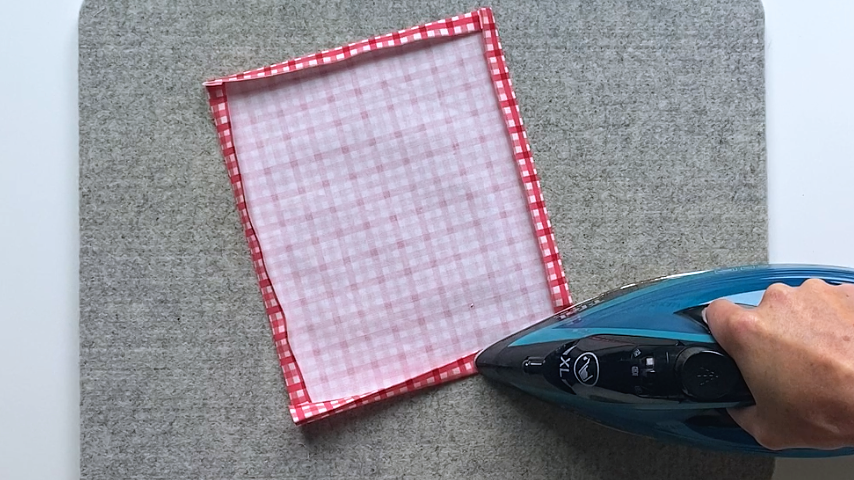
Press your hem.
Step 3
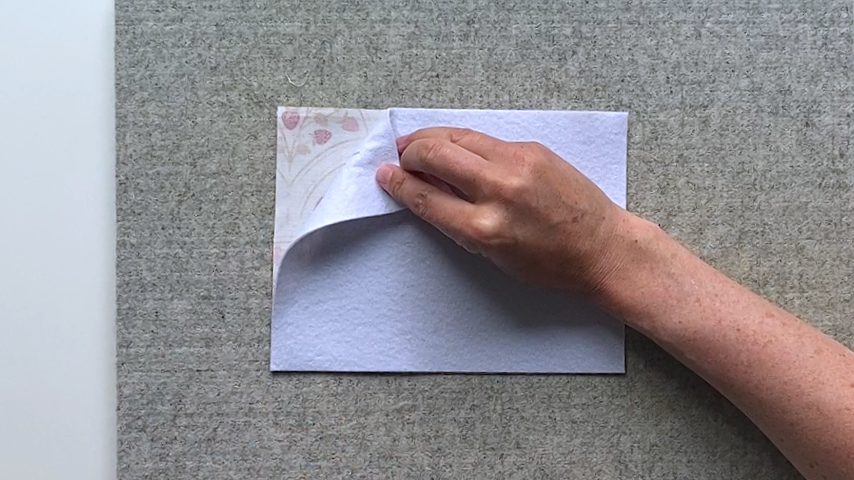
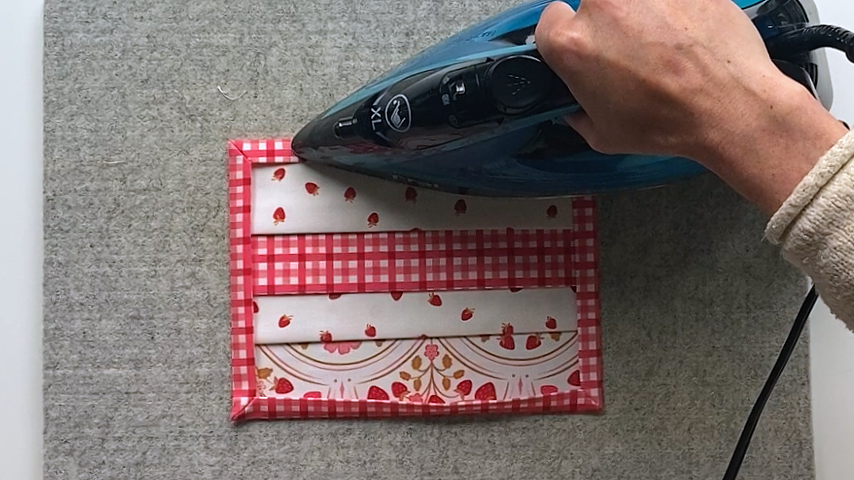
Iron your fusible fleece to the wrong side of the top fabric.
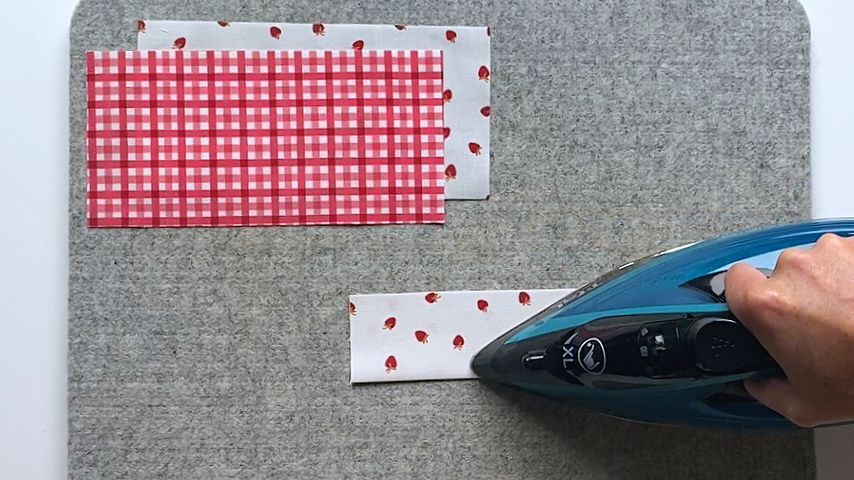
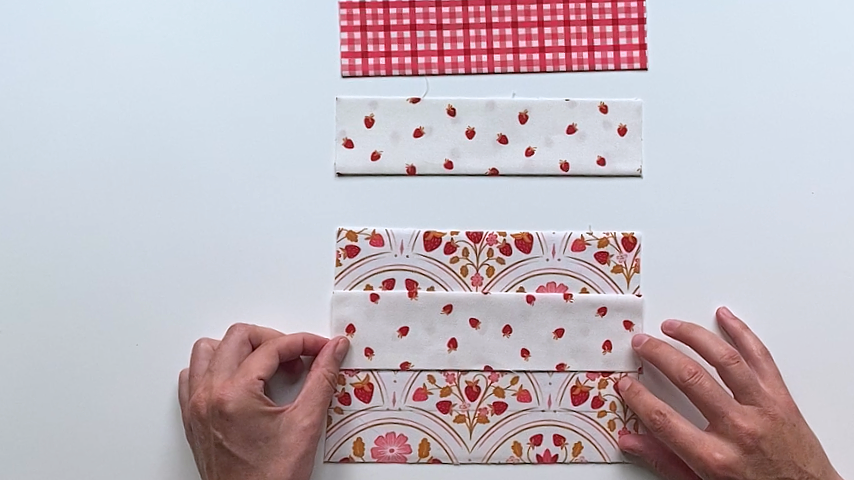
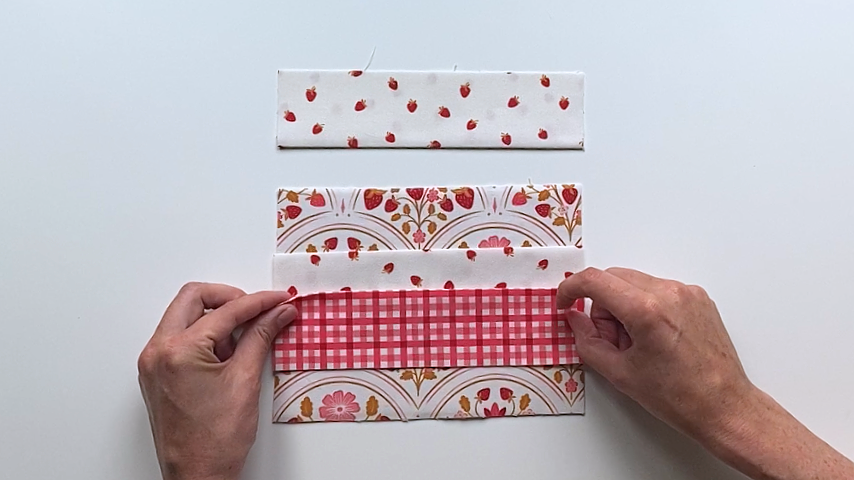
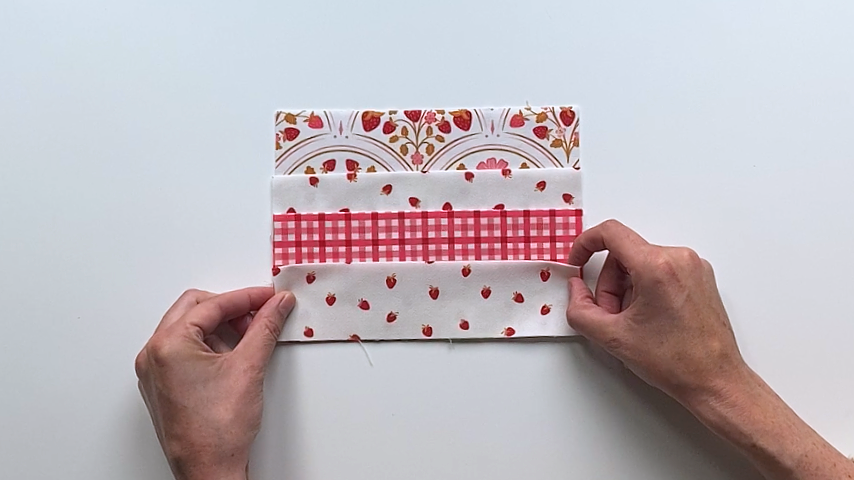
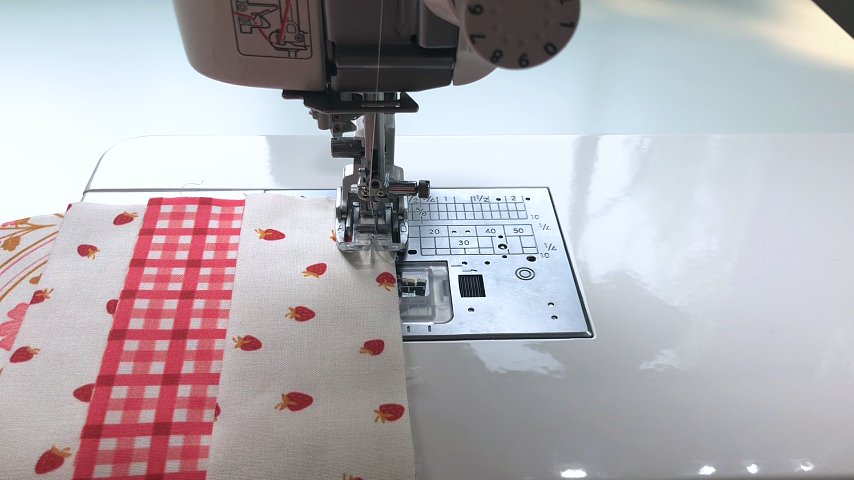
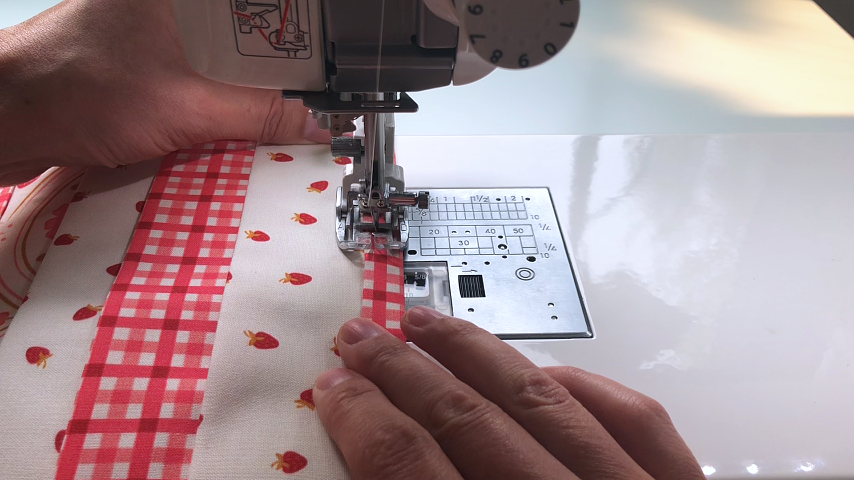
Fold each of your 4″ x 8″ pieces in half, with wrong sides together, and press to create your pocket pieces.
Using a temporary fabric pen, mark 2 lines:
- 1 that is 1-1/4″ from the bottom edge
- 1 that is 2-1/4″ from the bottom edge
Place one of your pocket pieces with the cut edge in line with the drawn line that is 2-1/4″ up from the bottom edge.
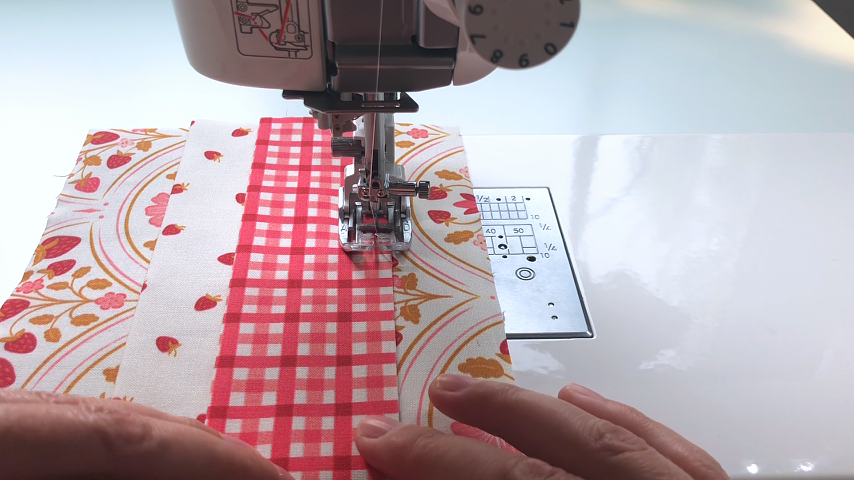
Sew 1/4″ away from the bottom edge of the pocket.
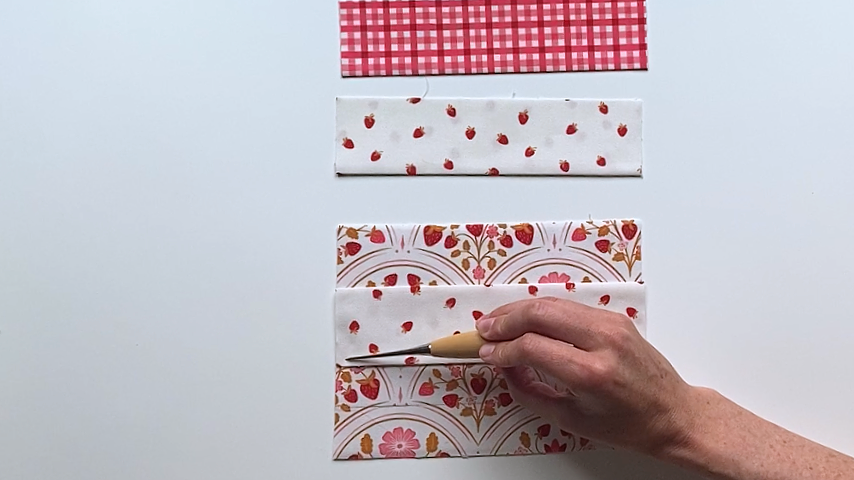
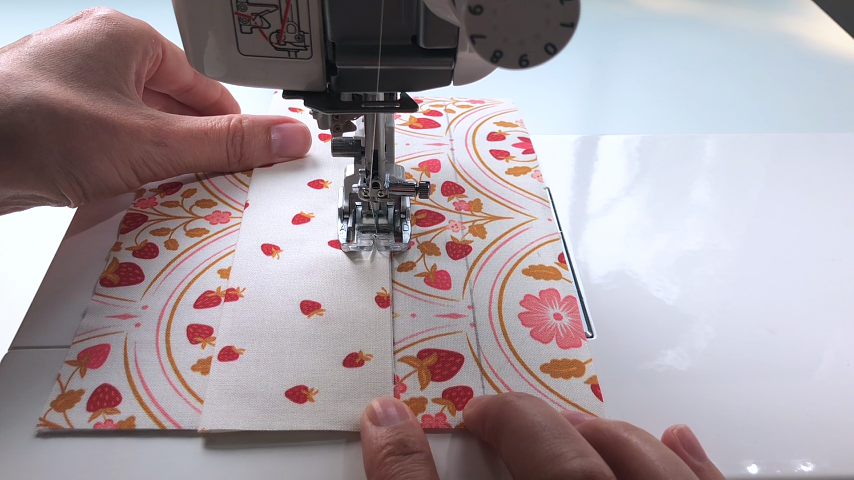
Place another pocket piece with the cut edge in line with the line that is 1-1/4″ away from the bottom edge.
Sew 1/4″ away from the cut edge of the second pocket.
Place the third pocket piece so the cut edge is in line with the bottom edge of the wallet.
Sew 1/4″ away from the cut edge.
Step 4
Place your top piece on top of your bottom piece.
You should be able to see about 1/16″ – 1/8″ of your bottom hem around the top piece. This will ensure the top piece fits inside the hem and doesn’t push the hem out.
If you need to trim your top piece to see that 1/16″ – 1/8″, you can do that.
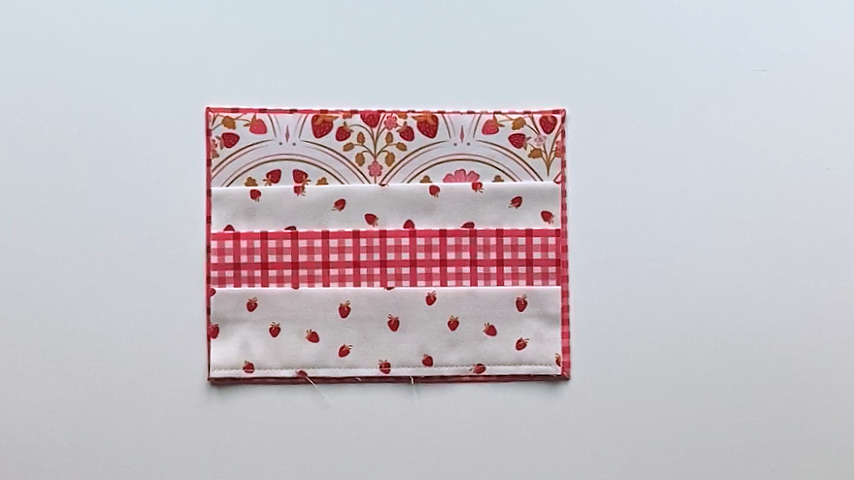
With the top piece centred on the bottom piece, lift the bottom hem to slide the edges of the top piece under it.
Use a point turner to push the corners in and ensure they’re flat.
Press around the hem to help it sit flat for topstitching.
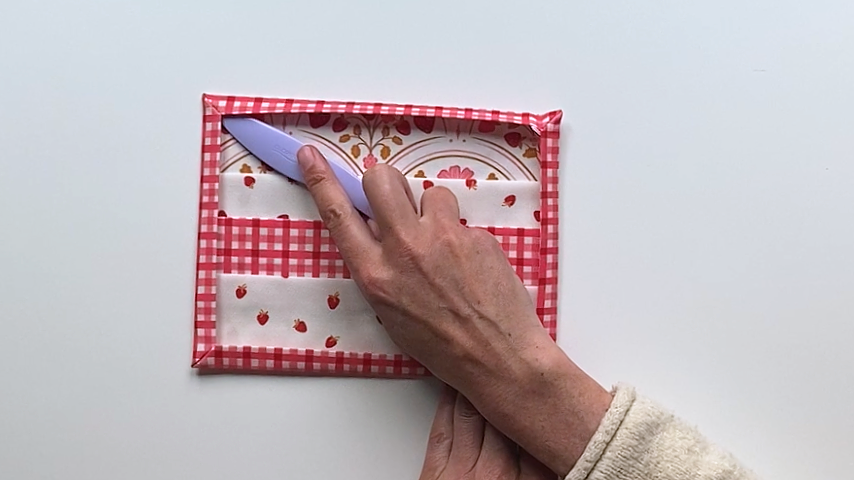
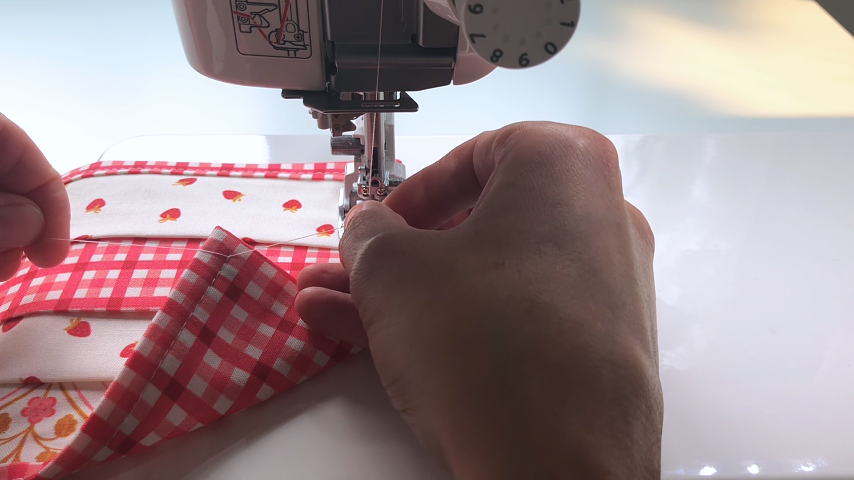
Topstitch around the hem, about 1/8″ in from the inside edge.
Leave the top and bobbin thread tails long and start in the seam of a corner. Don’t backstitch.

Before you come back around to the start, fold the edge of the wallet back where you started sewing. Pull on the bobbin/bottom thread so you can see the loop of the top thread. Pull on that loop to pull your top thread to the back.
Tie a double knot to secure the threads, then clip them close to the knot.
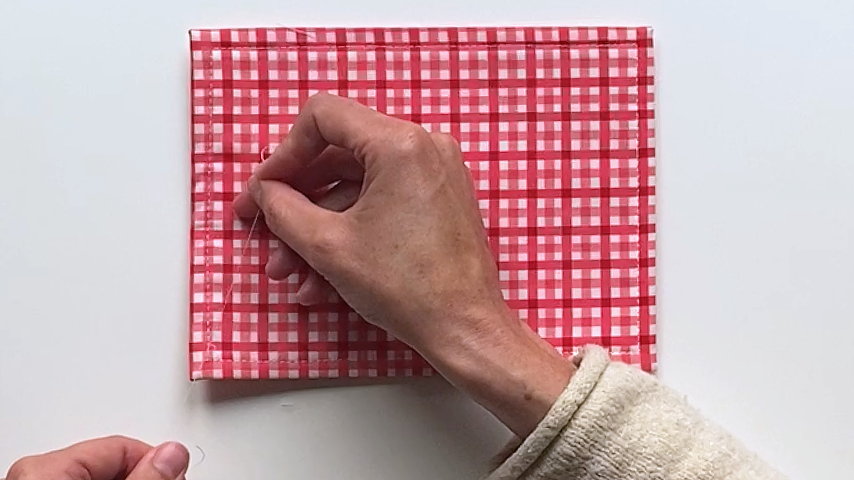
Once you’ve sewn all around the hem, leave the thread tails long and don’t backstitch.
Pull on the bobbin/bottom thread until you see the top thread. Pull the top thread to the back, tie a double knot and cut the threads close to the knot.
Step 5
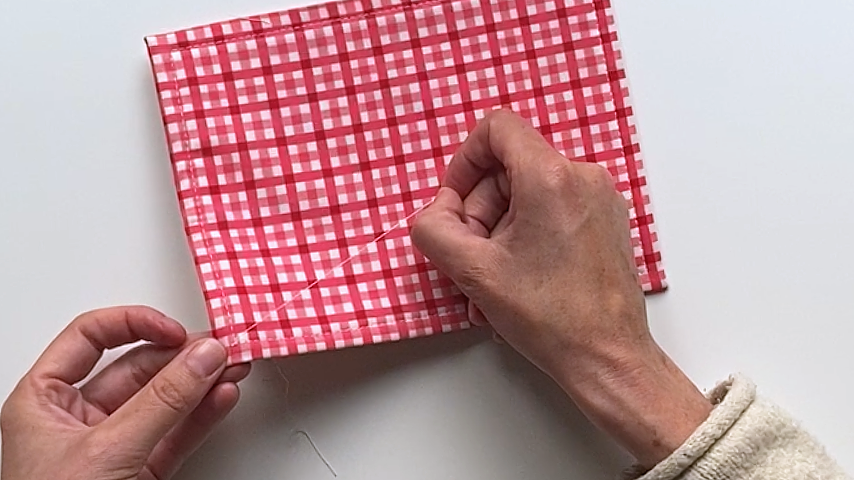
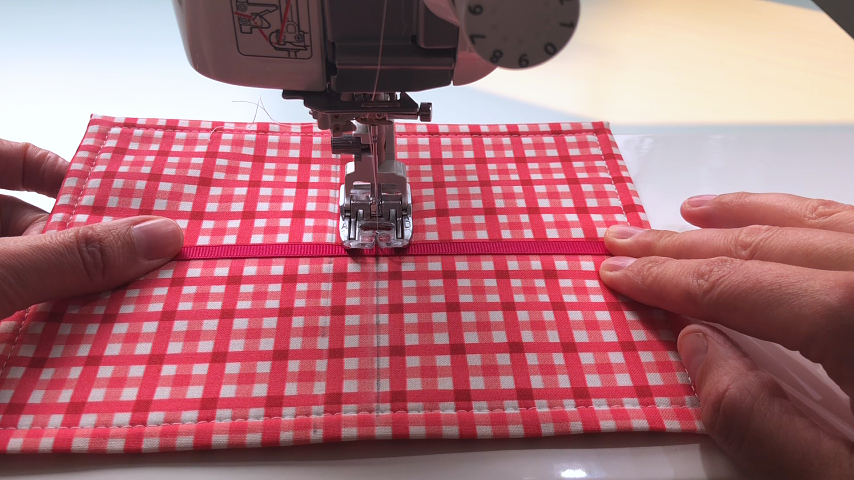
Use a temporary fabric pen to draw two lines on the back of the wallet, down the center.
Each line should be 3-3/4″ away from the left side of the wallet and the right side.
Find the center of the ribbon and center it top to bottom of the back of the wallet.
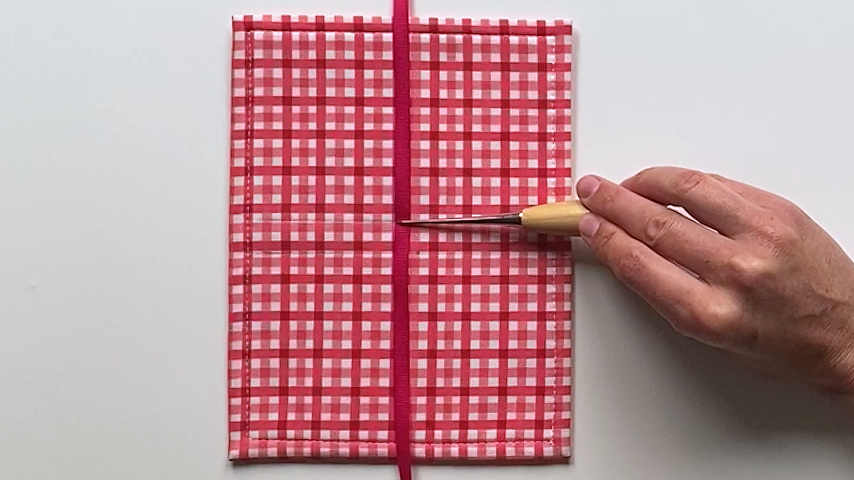
Sew down the two drawn lines to create the “spine” of the wallet and secure the ribbon in place. Backstitch at the start and end of each line of stitching.
Fold the wallet closed and tie the ribbon in a bow. Trim the bow ends to the length you like.
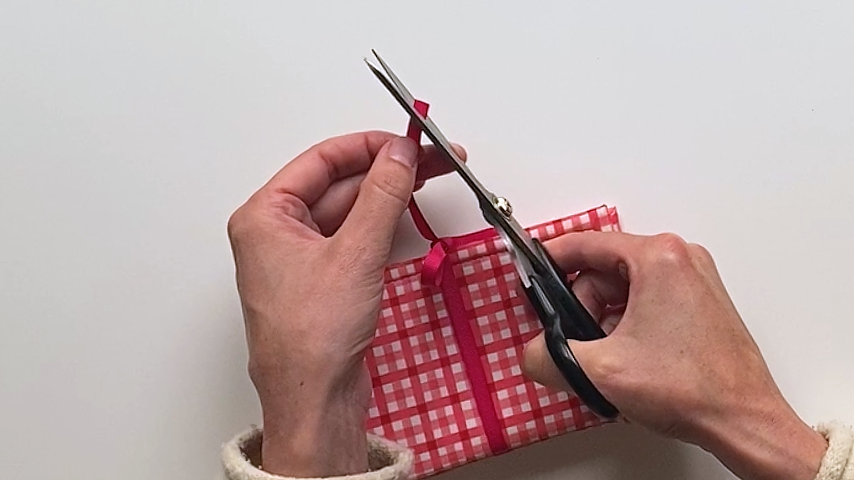
Use a lighter to lightly melt the ends of the ribbon to ensure they don’t fray.
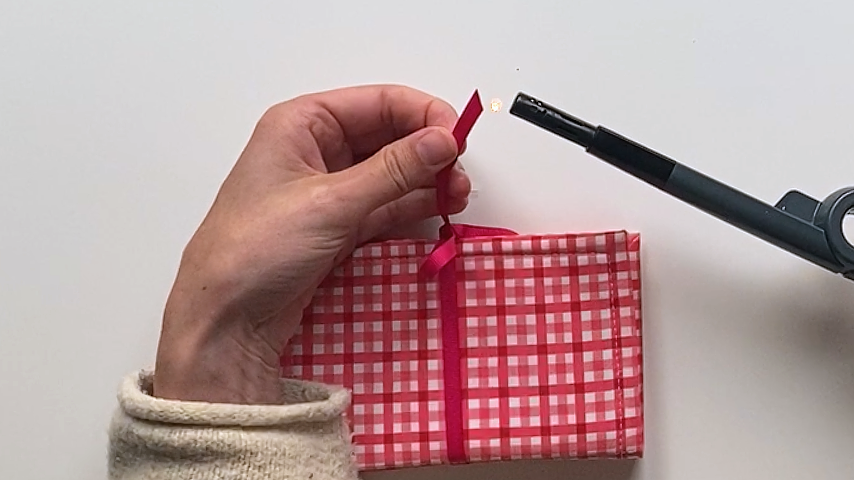
Your tea wallet is complete!