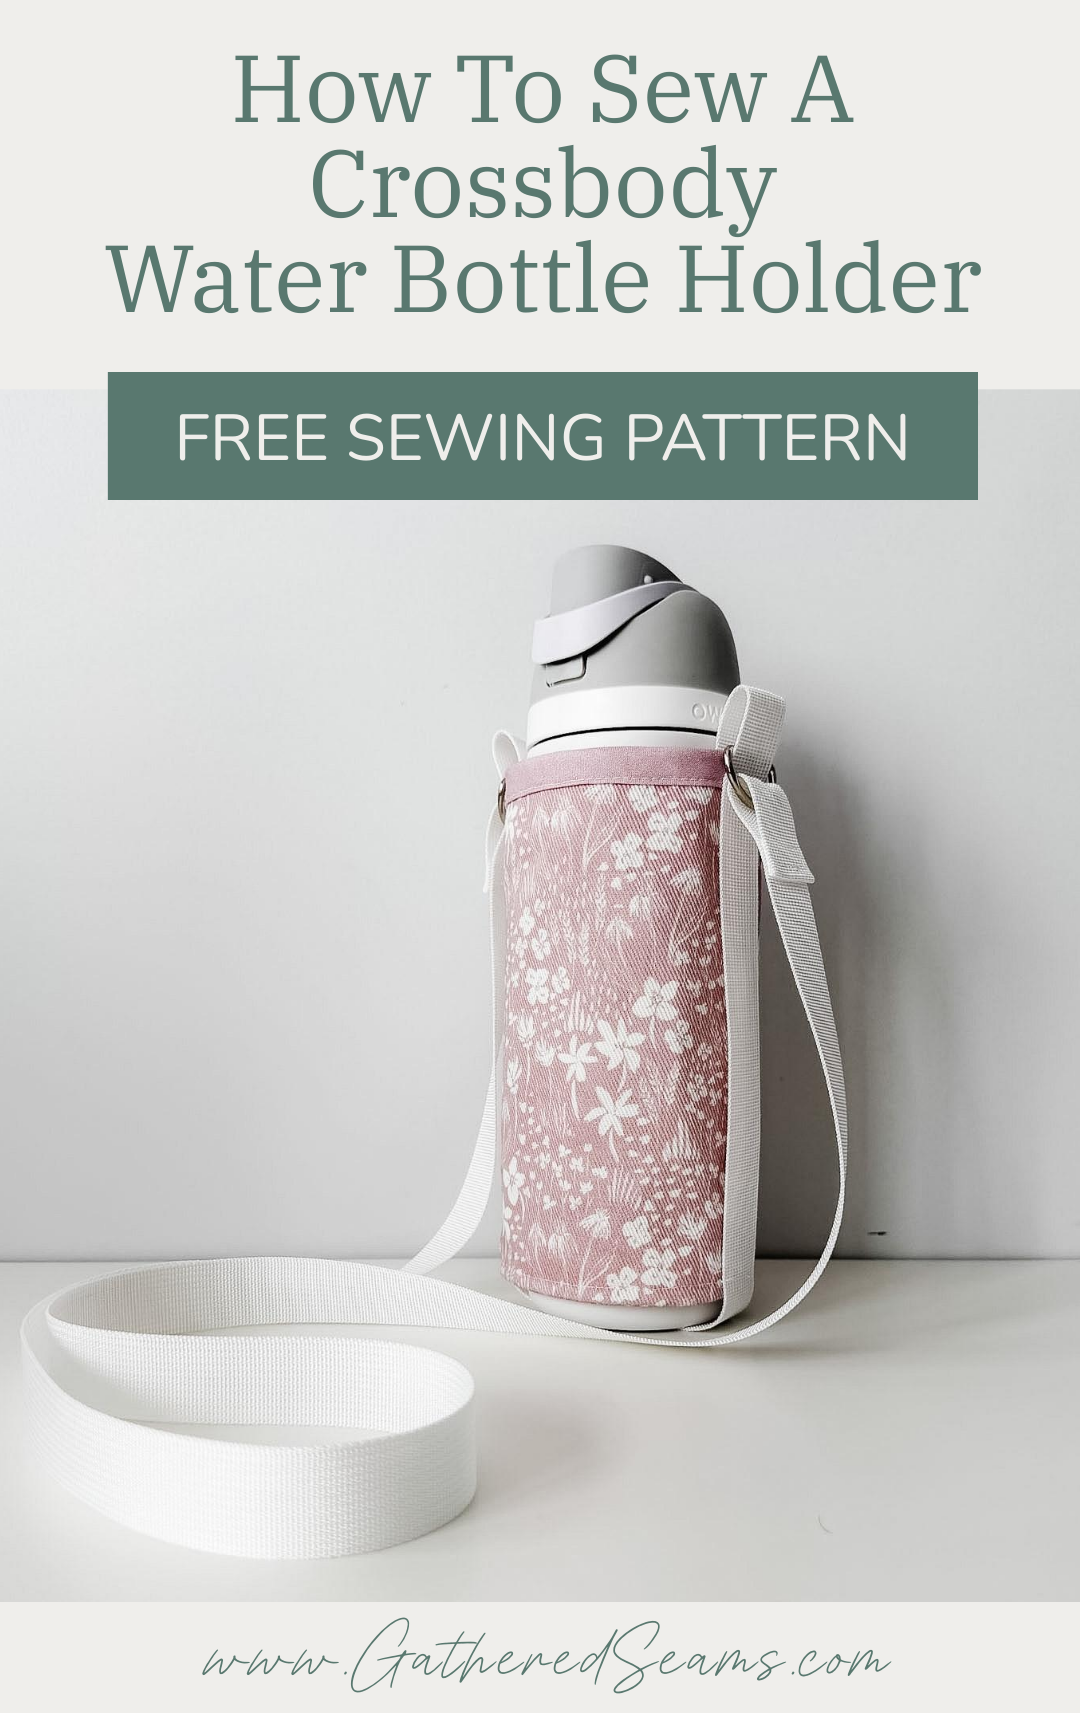
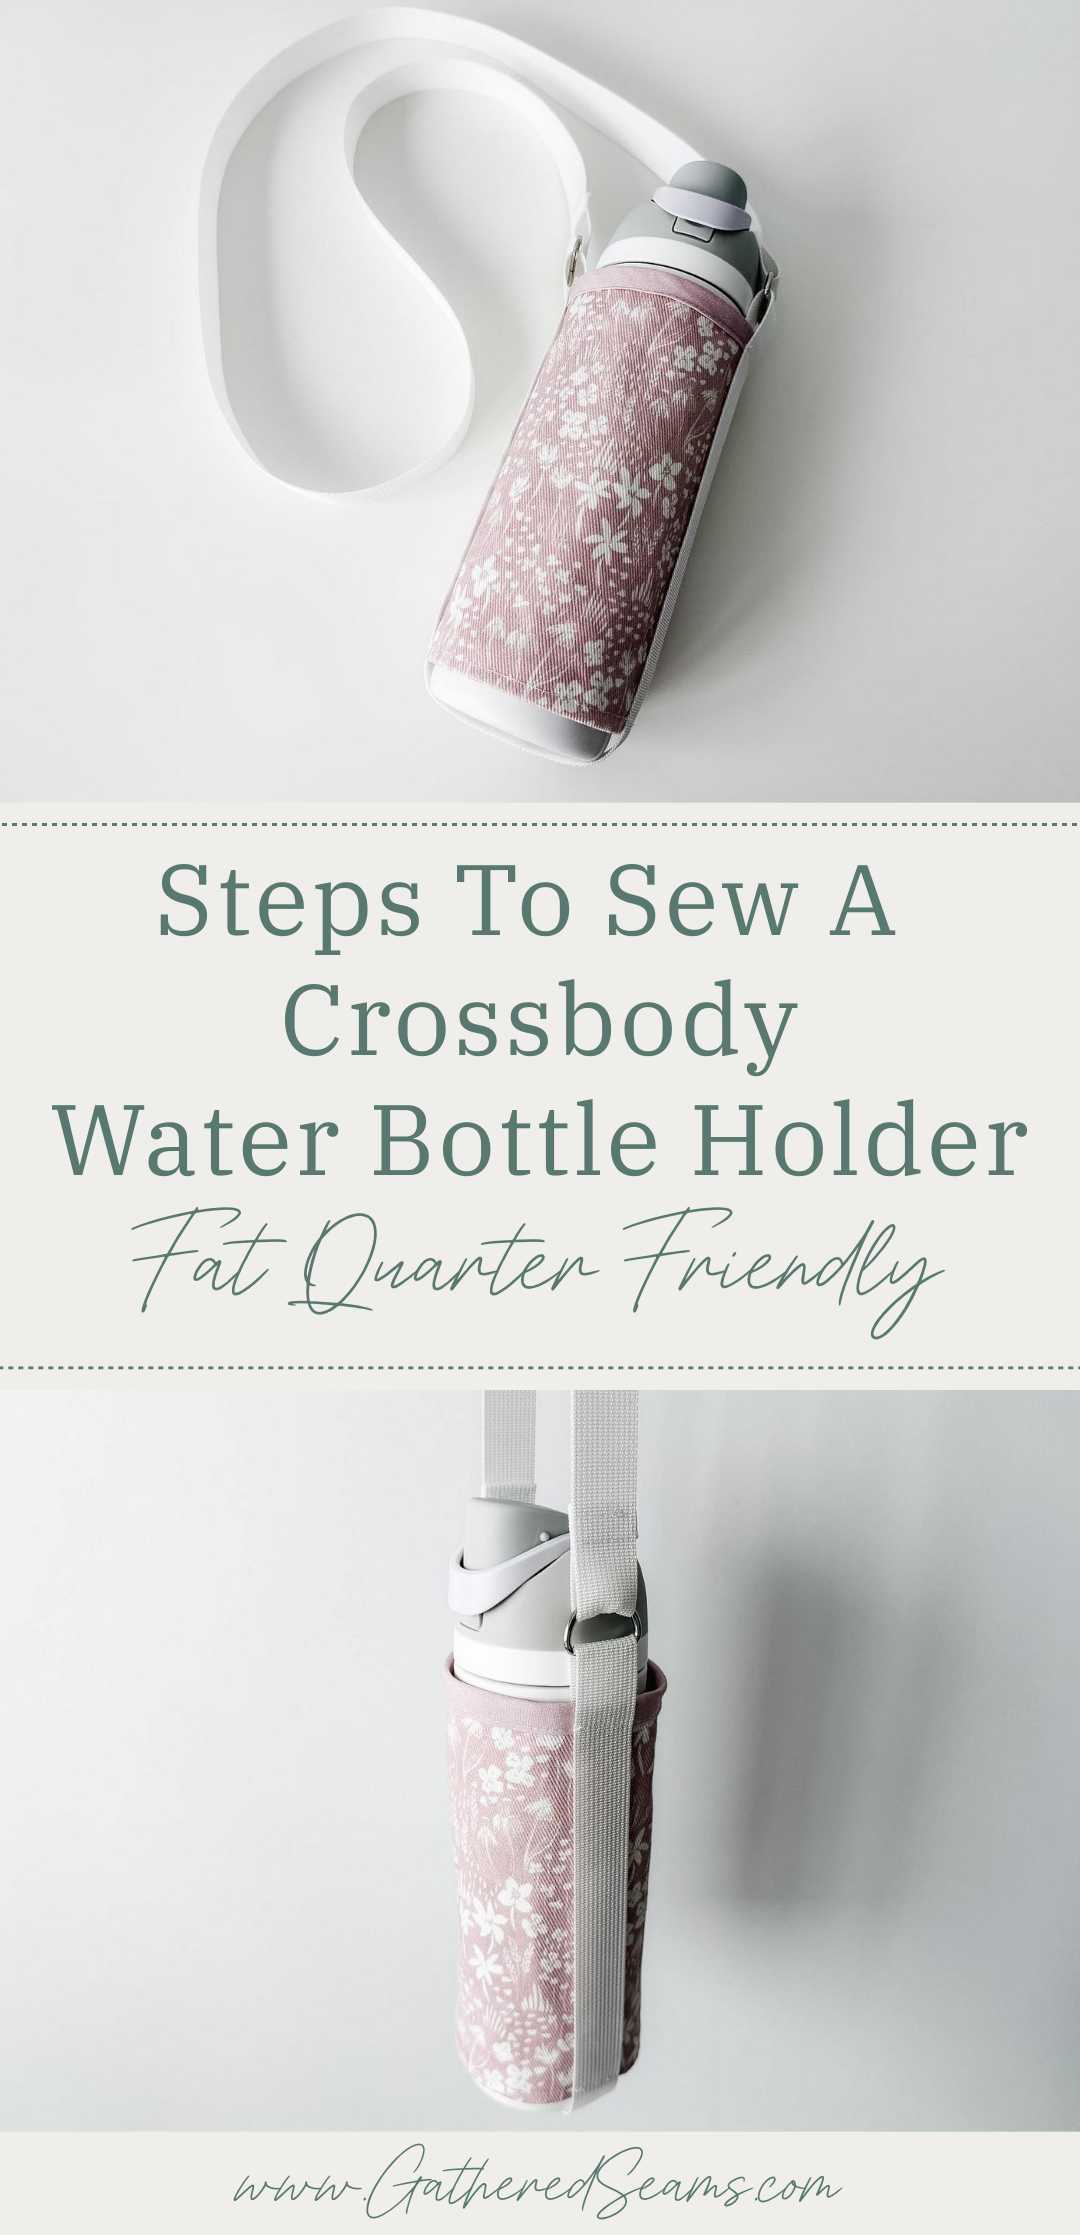
How To Sew An Crossbody Water Bottle Holder | Free Pattern
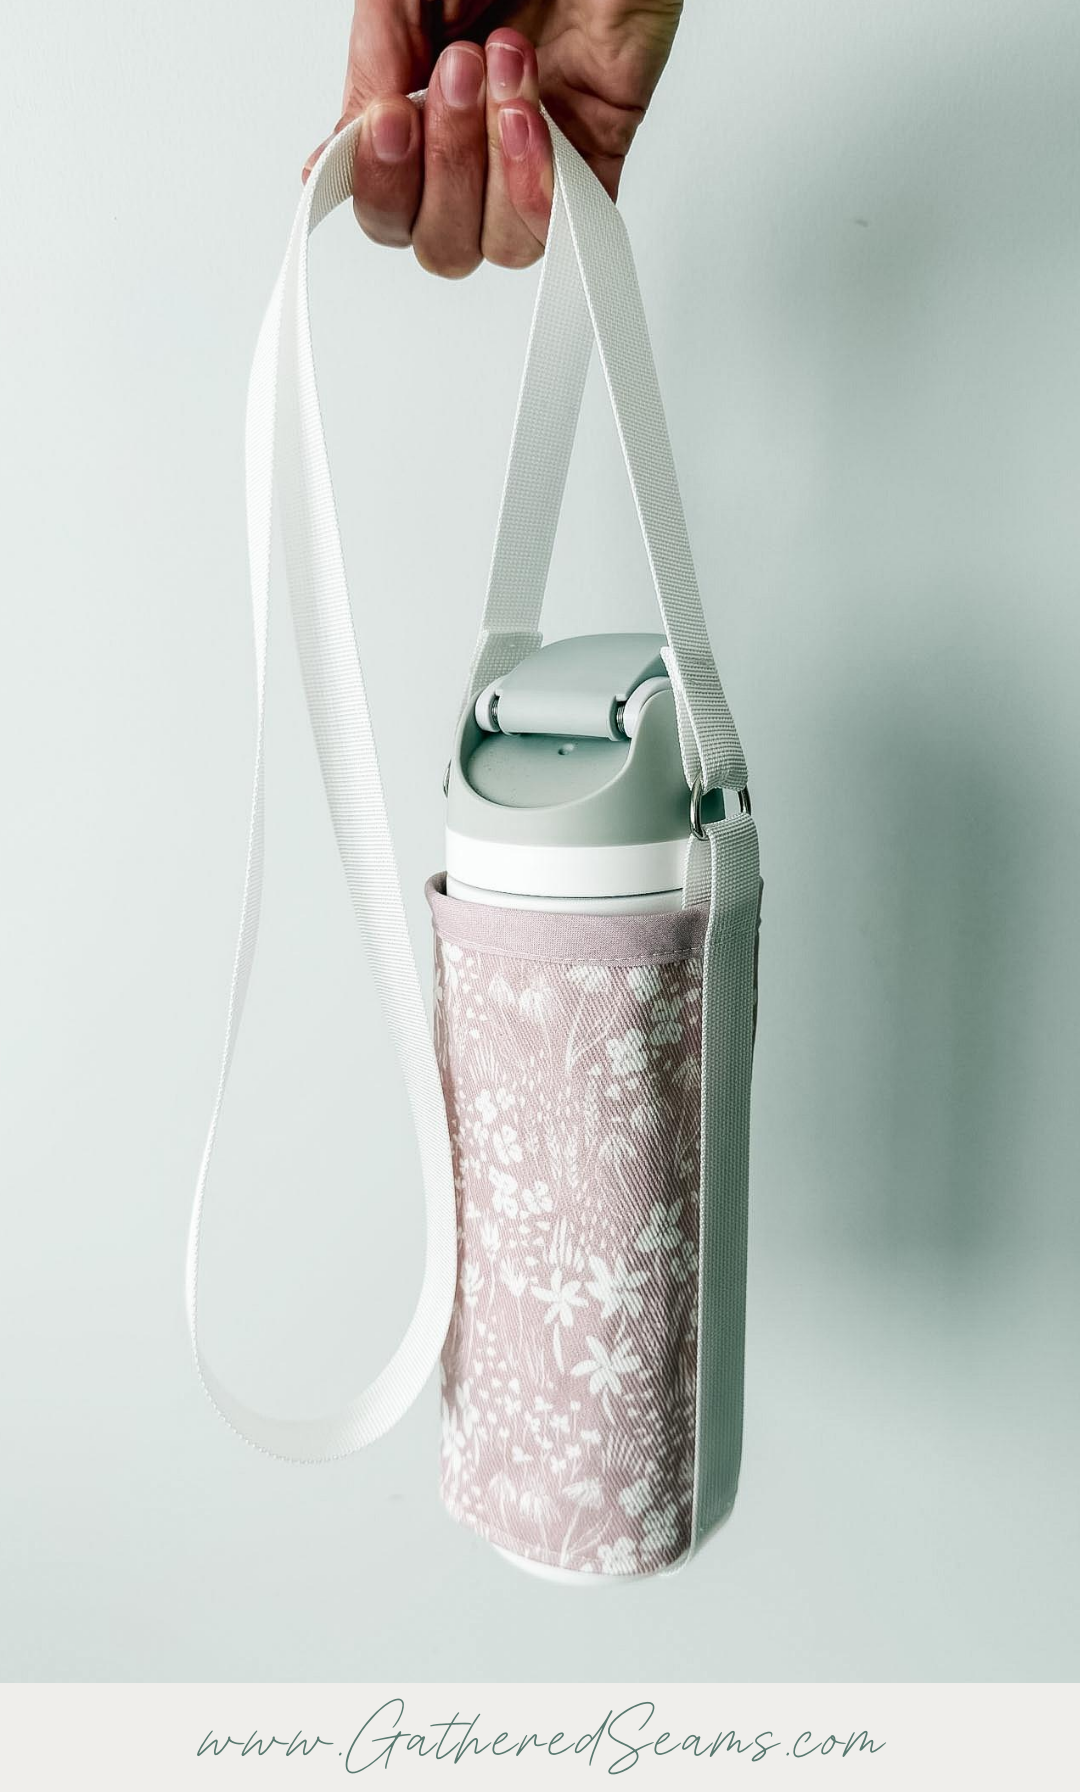
I made this pattern for my 24-ounce Owala water bottle, which is about 3.1 inches wide.
The finished holder is 7-1/2″ tall and 5-1/2″ wide (when flattened), so it will fit a variety of brands and sizes.
This sewing pattern is intermediate.
It looks like a simple design, but sewing the binding around the top edge and attaching the straps proved a little challenging.
Depending on how popular this water bottle sewing pattern is, I may create more designs.
So if you’d like to see more sizes and designs, please be sure to pin this pattern to Pinterest and/or contact me to let me know if you’d like me to create other water bottle holder patterns.
Materials
As an Amazon Associate, I earn from qualifying purchases (see full disclosure here).
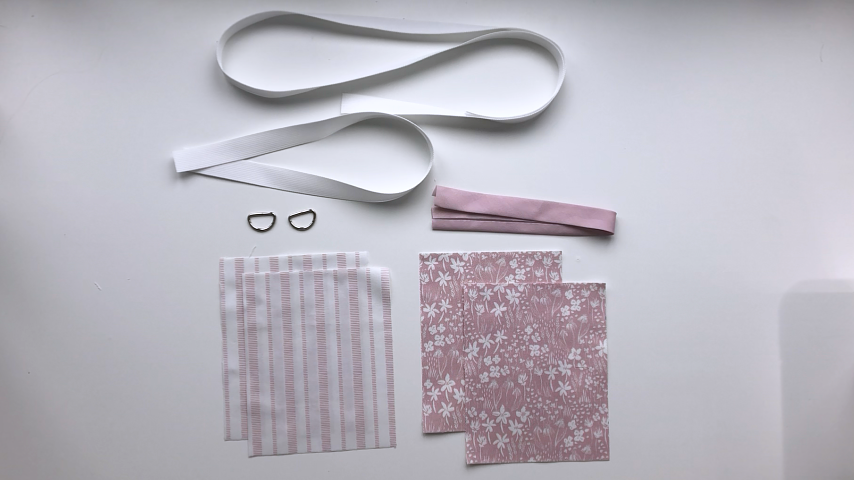
- Fabric for outside and lining
- Fusible fleece (optional; you can add this to your outer fabric if you want more structure, but it will make this a little more challenging to sew. I would also suggest reducing your seam allowance by 1/16″ – 1/8″ to account for the thickness of the fleece.)
- Webbing for straps (or you can make your own out of fabric)
- D-rings and sliders (these are also optional. If you don’t want to use D-rings, simply create one strap that loops around the carrier and your shoulder. Add a slider if you want the length of your strap to be adjustable.)
- 1/2″ double-fold binding (2″ wide when unfolded)
- Thread
Tools
- Sewing machine
- Temporary fabric pen or chalk
- Ruler
- Iron
- Scissors
- Pins or clips
Pattern pieces for a crossbody water bottle holder
My crossbody water bottle holder fits my 24-ounce Owala bottle, which is approximately 3.1″ wide and 9-5/8″ in circumference (at its widest point).
I cut:
- 2 pieces in outer fabric: 8″ (tall) x 6-1/2″ (wide)
- 2 pieces in lining fabric: 8″ (tall) x 6-1/2″ (wide)
- 15″ piece of 1/2″ double-fold binding (to finish the edges along the top of the holder)
- 2 pieces of 1″ wide webbing for the straps:
- 25″ piece (wraps down the sides and under the bottom of the holder/bottle)
- 52″ piece (for shoulder strap; adjust shorter or longer depending on how you want it to fit on your body)
You will also need:
- 2 D-rings to connect the bottom strap to the top strap
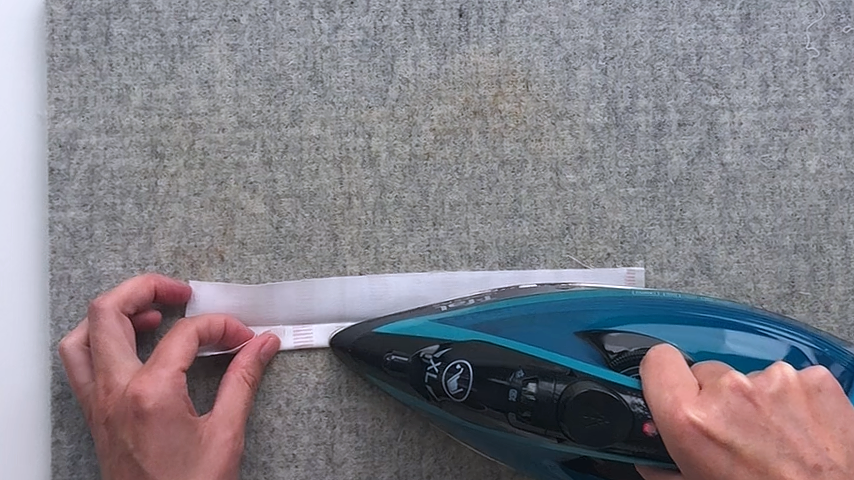
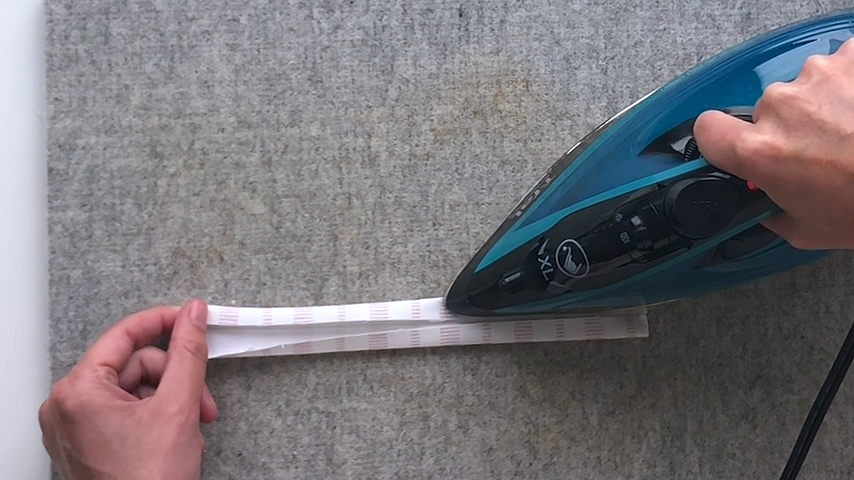
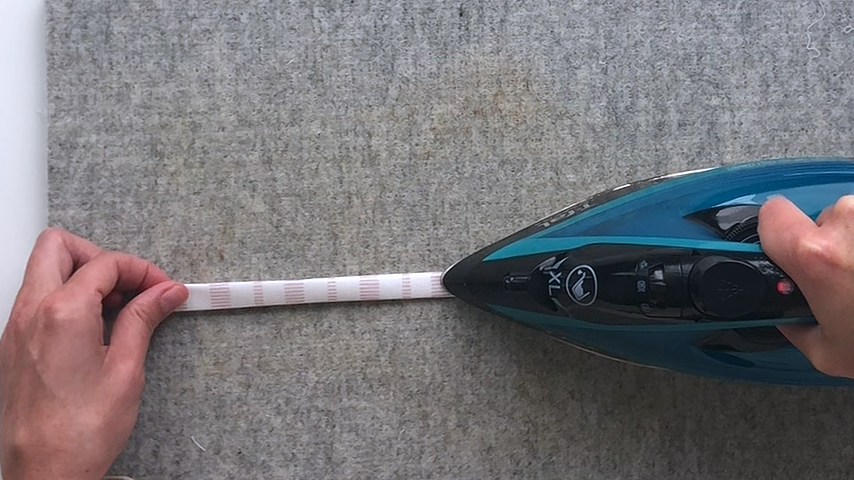
If you don’t want to use webbing, you can cut a strip of fabric that is 25″ long and 4″ wide.
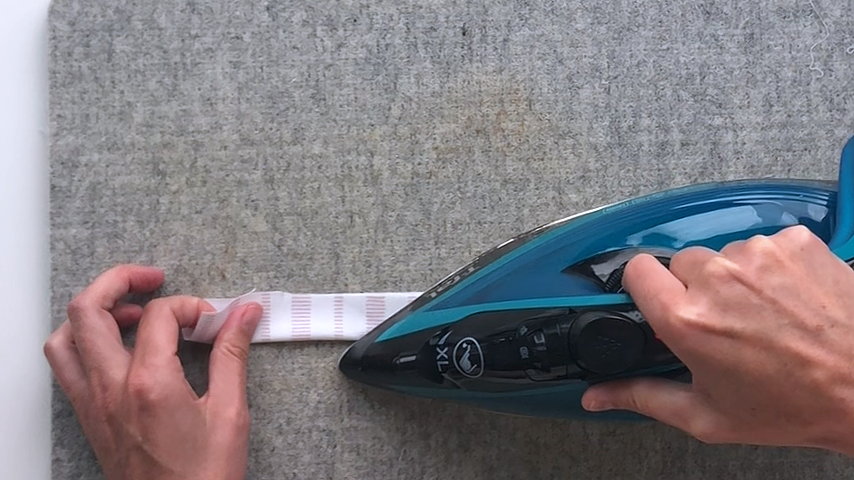
Fold in half lengthwise and press to create a center crease. Fold the top edge in to meet the center and press, then the bottom edge to meet the center and press. Then fold in half lengthwise and press. Topstitch along both sides.
Repeat this to create the longer strap, cutting a 52″ x 4″ piece.
The photos below help explain:
Steps to sew a crossbody water bottle holder
Step 1
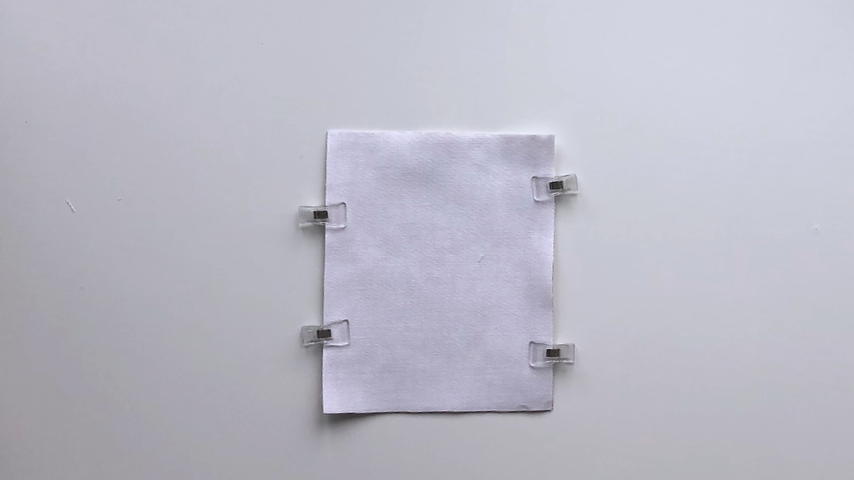
Place your two outer pieces right sides together and sew down the two sides (8″ long sides) using a 1/2″ seam allowance, backstitching at the start and end.
Make sure that your fabric pieces are facing the right direction if you’re using directional fabric (i.e. the fabric print has a top and bottom).
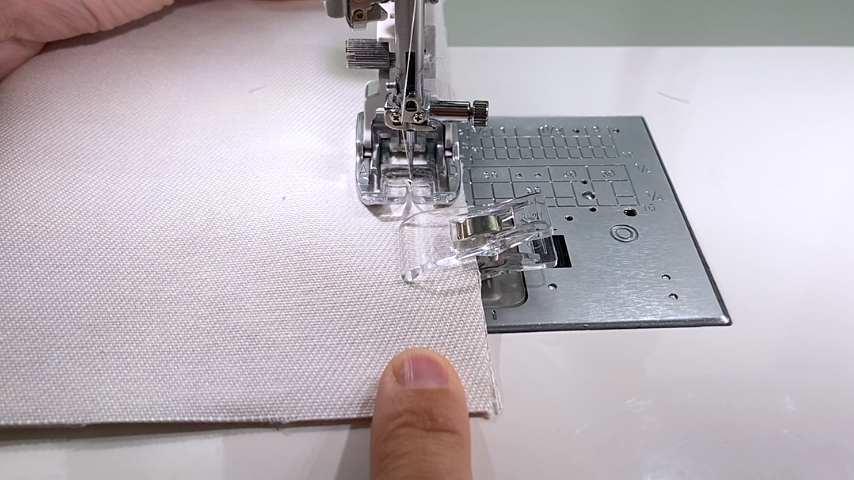
Press open the seams.
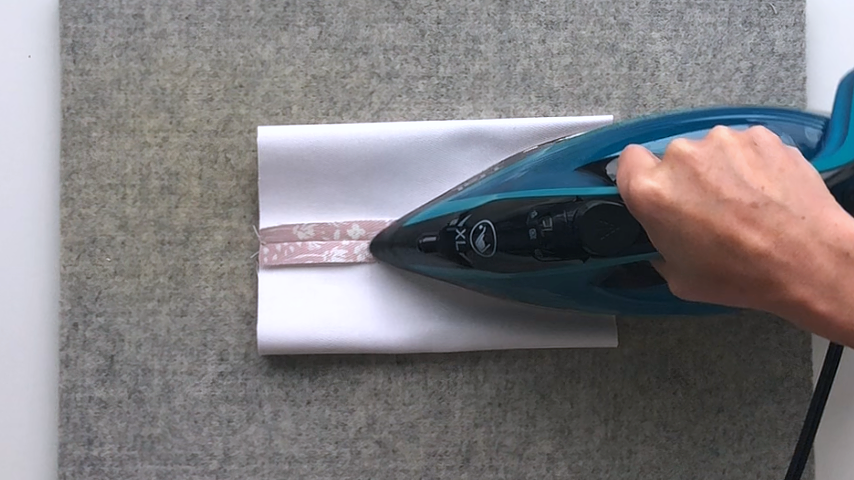
Repeat those steps to sew your lining pieces together.
If you’re adding fusible fleece or batting on your outer fabric, decrease the seam allowance on your lining to account for the batting’s thickness.
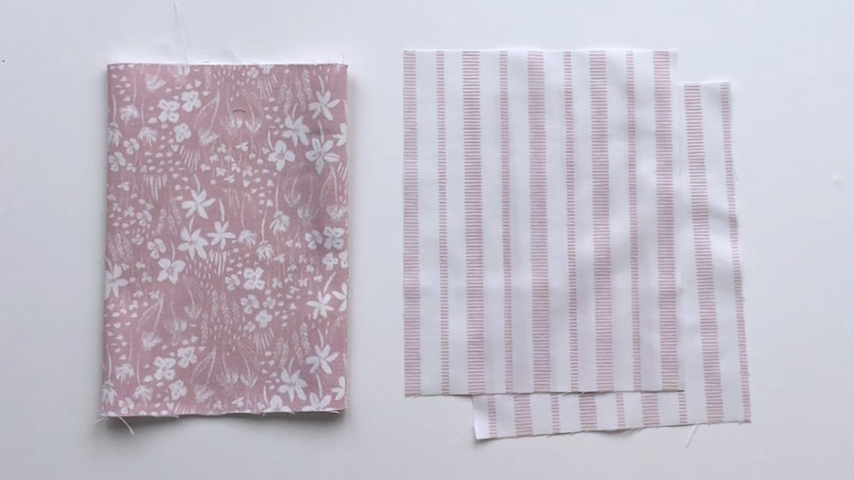
Step 2
Place your outer tube and lining tube right sides together, lining up the side seams.
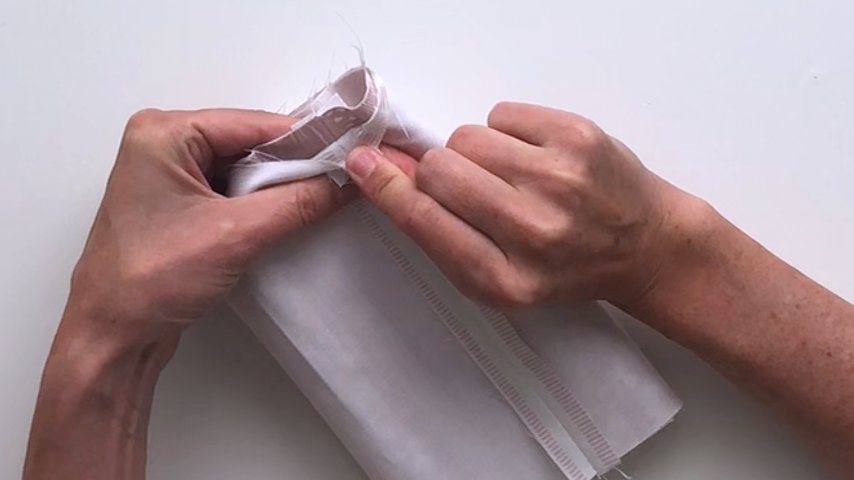
Sew along the bottom edge using a 1/2″ seam allowance.
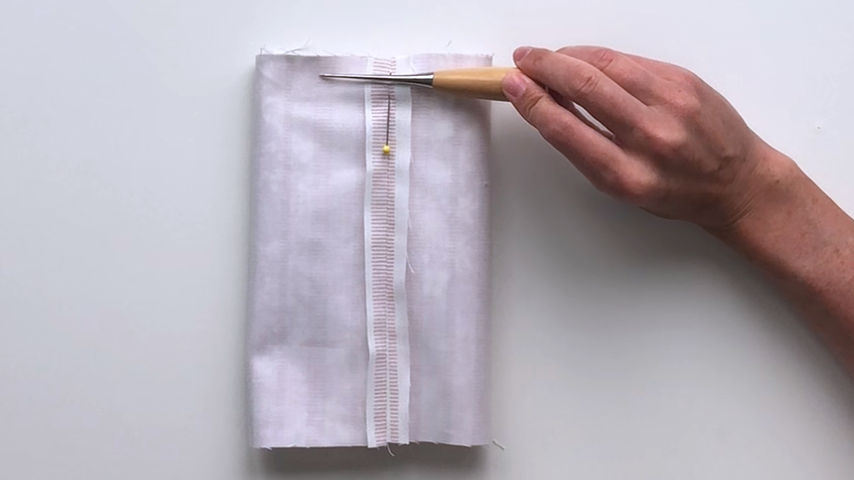
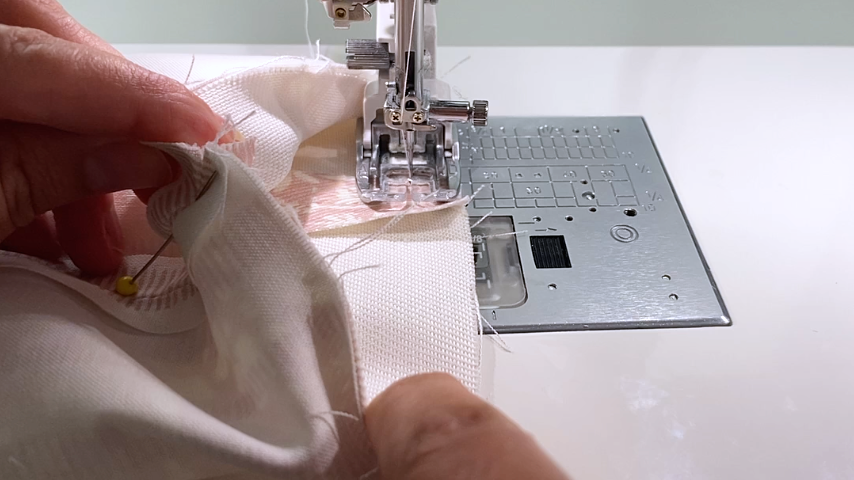
Separate the lining and outer fabric, then stuff the lining down the center of your outer tube, so wrong sides are together, and the top edges line up.
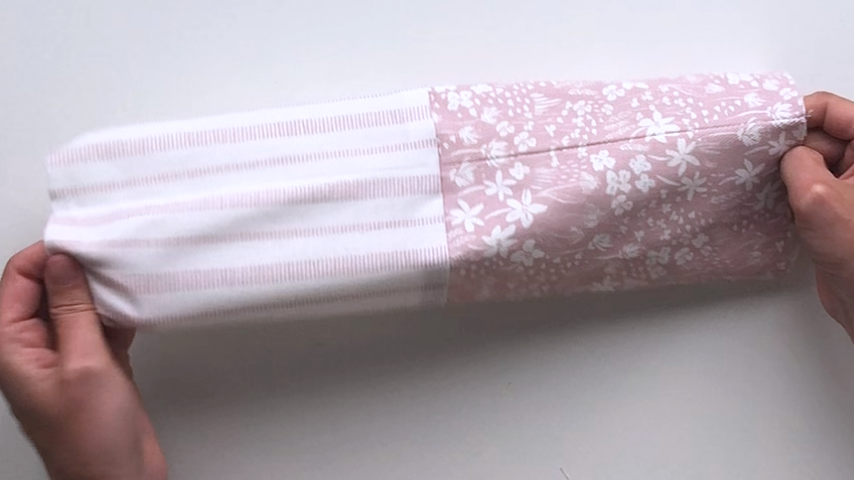
Press the seam along the bottom edge. I like the lining to sit just above the bottom edge so you don’t see it from the outside of the holder.
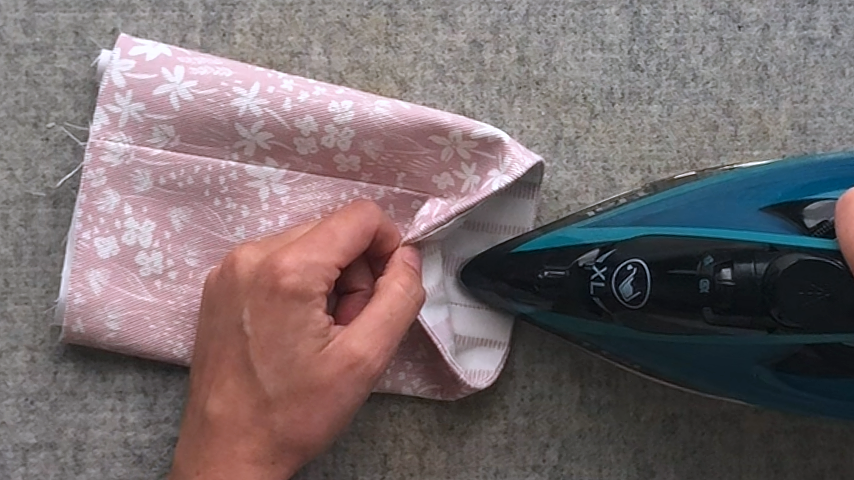
Topstitch around the bottom edge, about 1/8″ in from the edge.
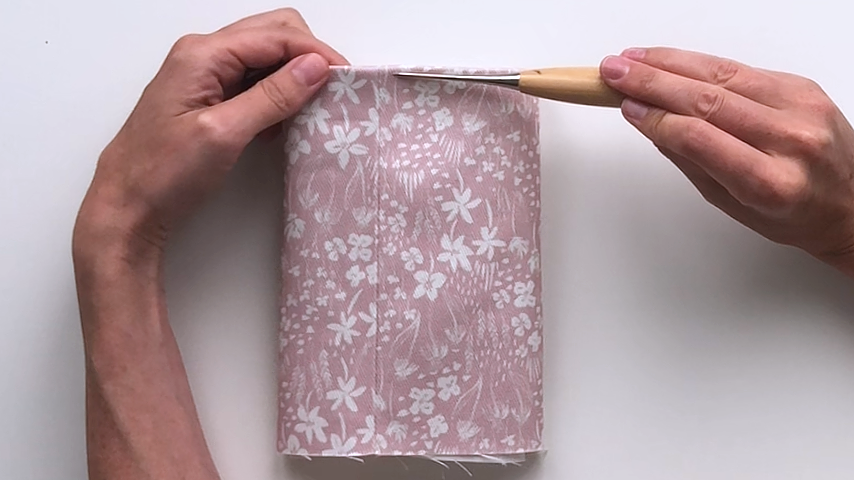
I sew from the inside of the tube so it’s easier to pull the fabric out of the way.
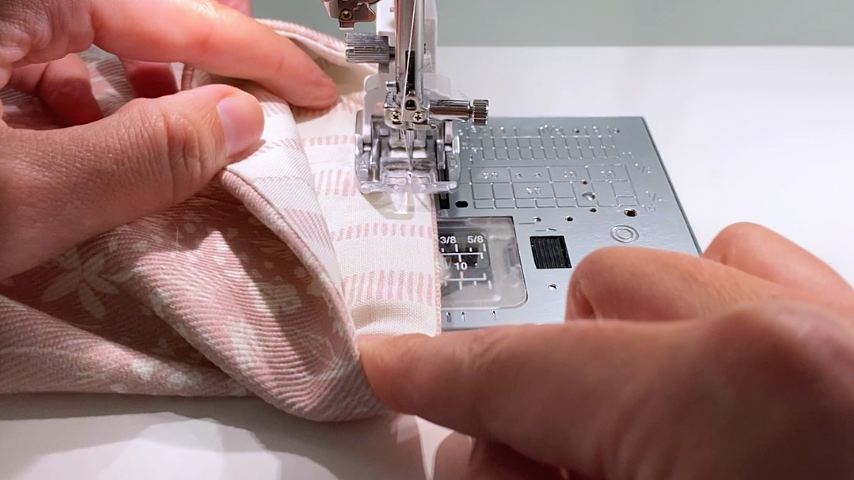
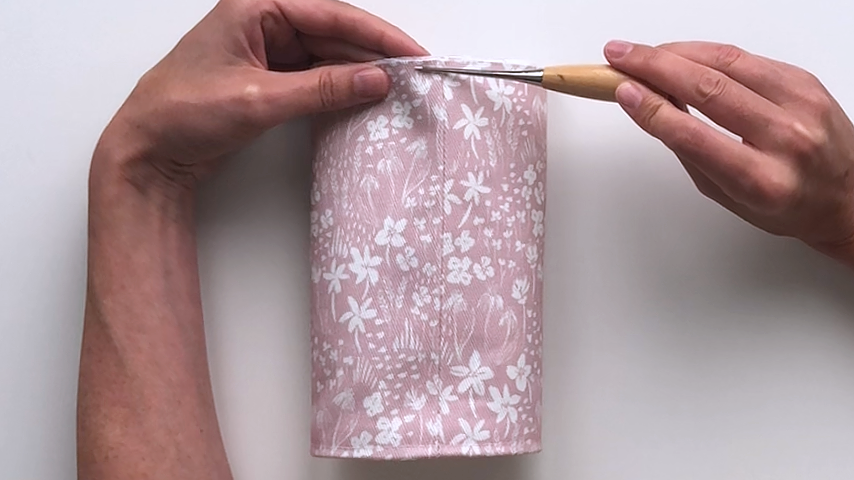
You may need to trim your lining along the top of your holder, depending on how much you set the lining in along the bottom.
Line up the top edges and side seams and baste them together (sewing about 1/4″ away from the edge using a longer stitch length).
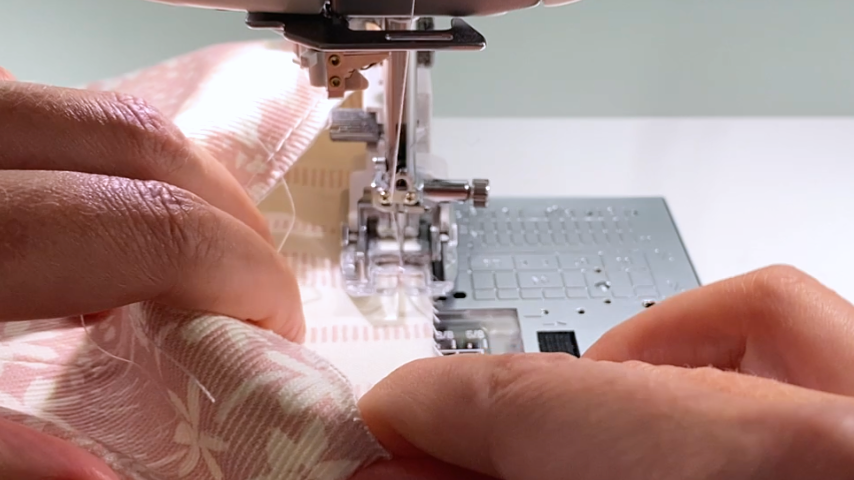
Step 3
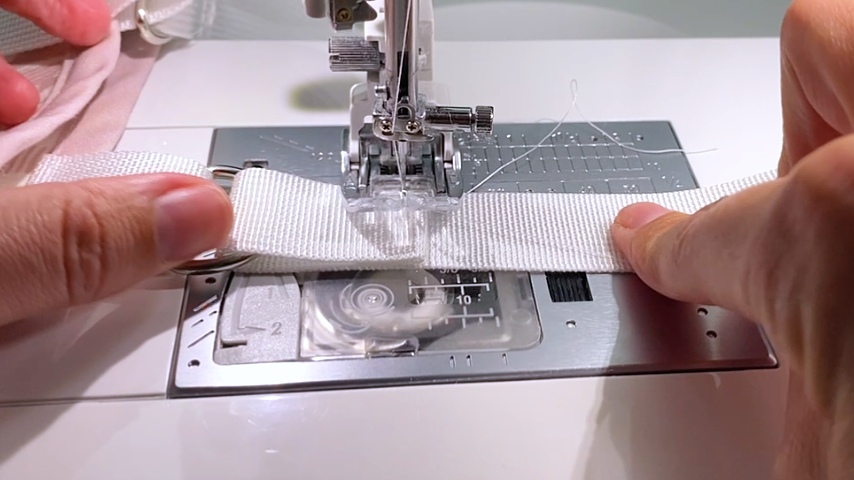
Slide the two D-rings onto your shorter piece of webbing (25″ piece). They need to be on the strap but out of the way.
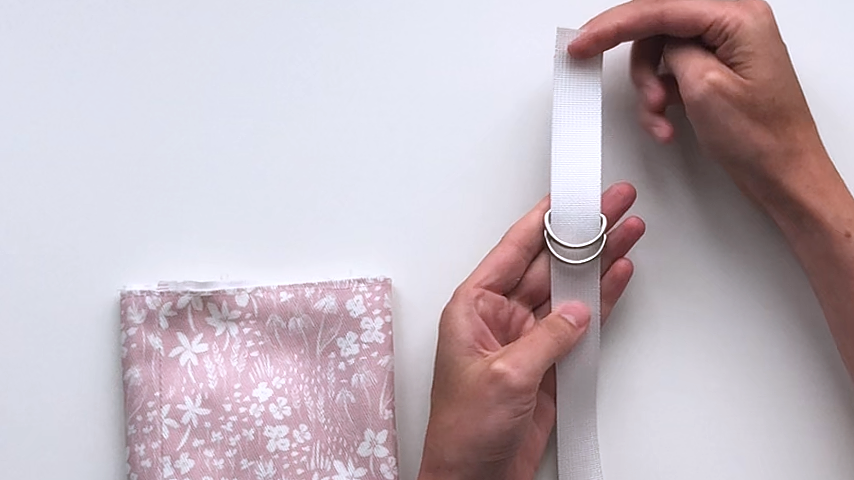
Guide the D-rings to the center of the strap, so they’re out of the way, and make sure your strap isn’t twisted.
Set it inside the tube, lining each end of the strap with the top edge, centered over a side seam.
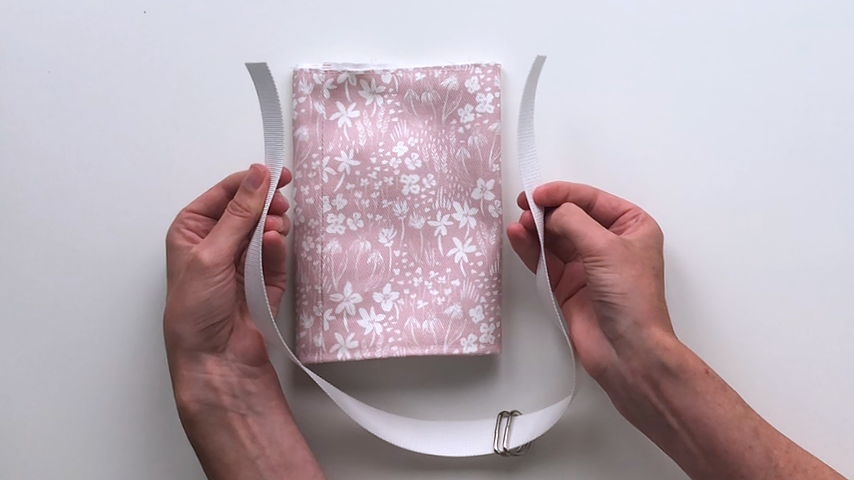
Baste the top edges of the strap into place.
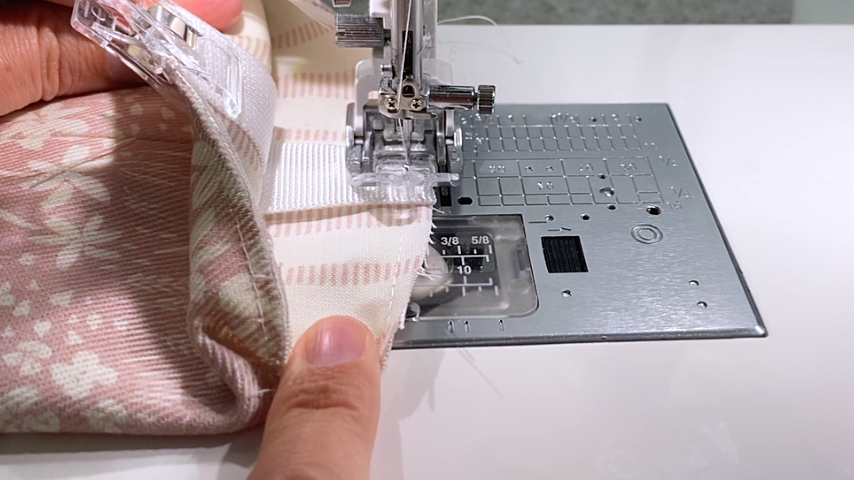
Step 4
You can follow your preferred technique to sew the binding onto the top edge of your water bottle holder and join the two ends.
Here’s how I completed this step.
Fold one end of the binding in by 1/2″.
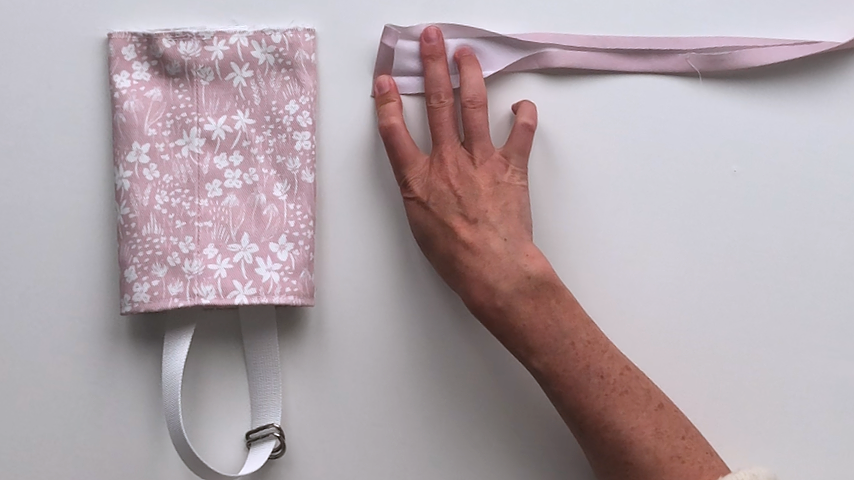
Place that folded end so it’s centered on a strap and sew along the first crease.
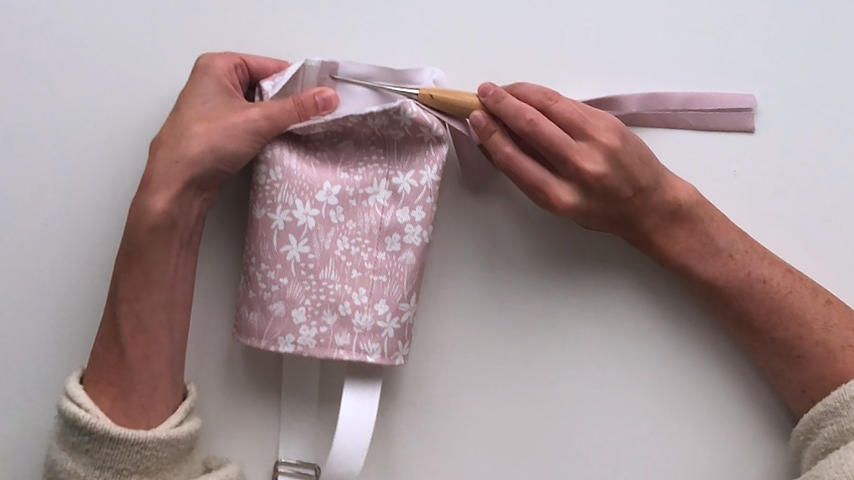
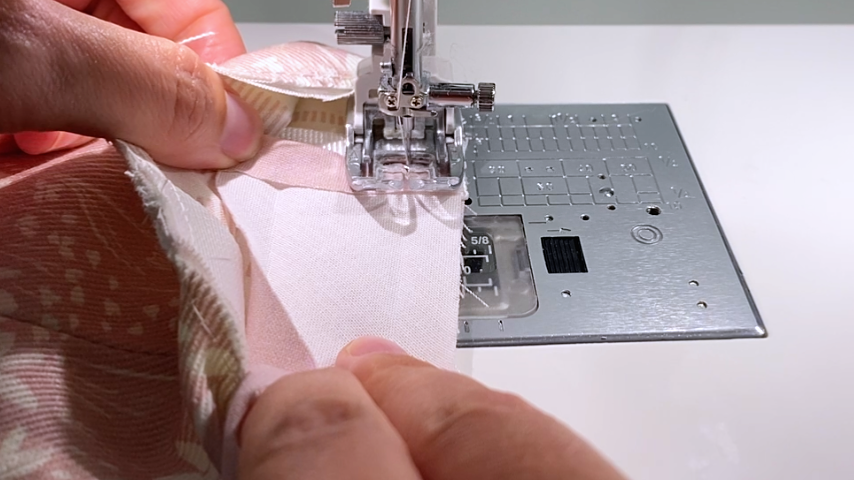
When you come back around to the start of your binding, place the end right on top, and sew 1/2″ past the start of the binding.
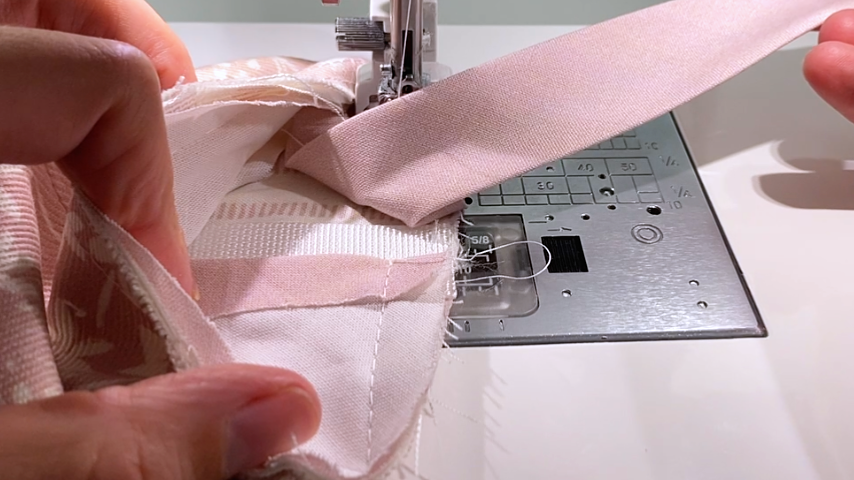
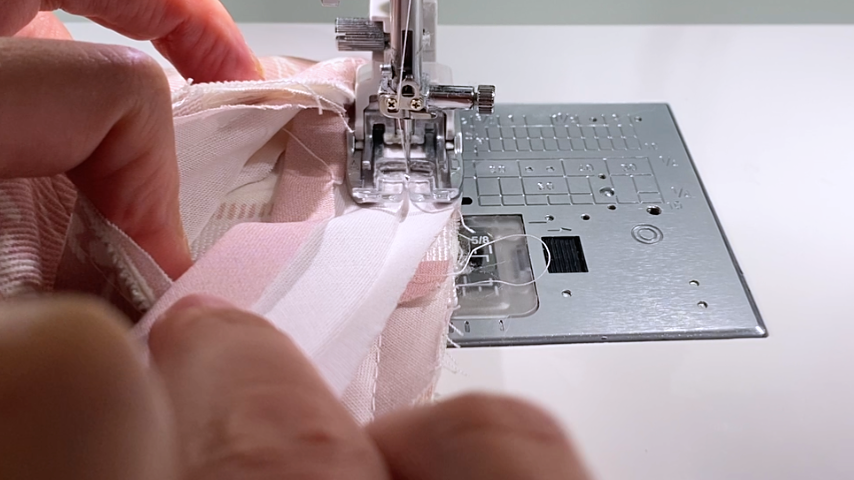
Trim the excess binding.
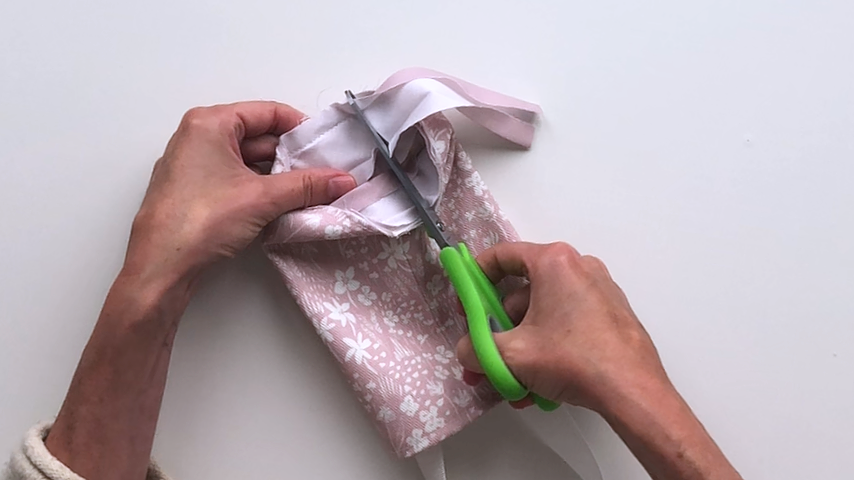
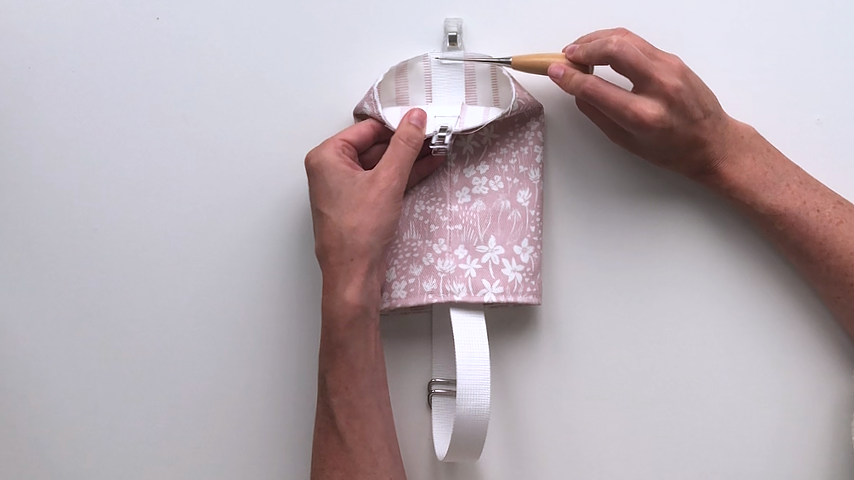
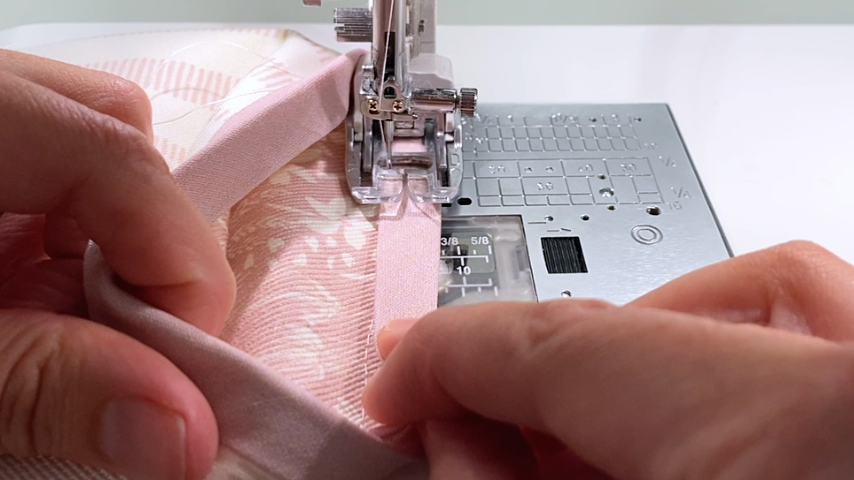
I flip the holder so it is lining side out; this makes it easier to sew the second side of the binding on. Fold the binding over and ensure the inside folded edge is just slightly covering the line of stitching.
Topstitch the second side of the binding in place, about 1/8″ in from the inside edge.
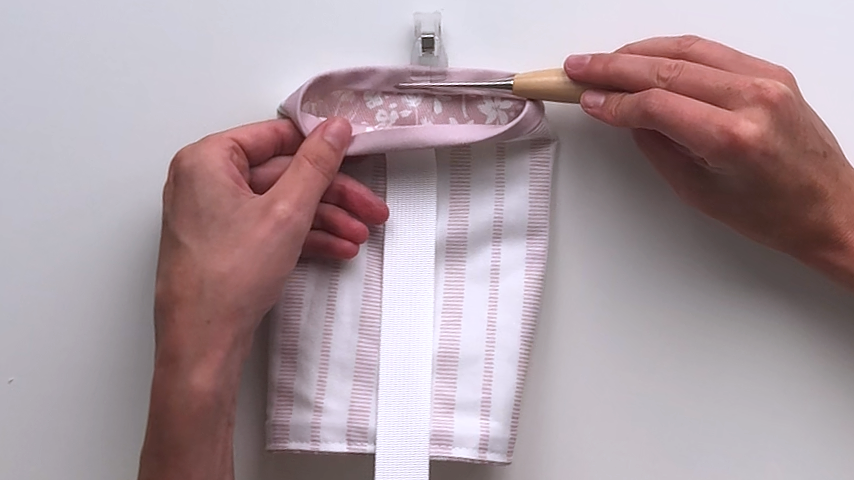
I stop and check as I go to ensure the inside edge of the binding is just slightly covering the line of stitching:
Step 5
Turn the tube so it is right side out, then flip the strap to the outside of the tube so it wraps down the sides and under the bottom of the tube.
Slide the D-rings to the top of the strap.
Adjust your straps so that from the folded edge of the strap to the top edge of the tube it equals 3/4″. Clip into place and repeat on the other side.
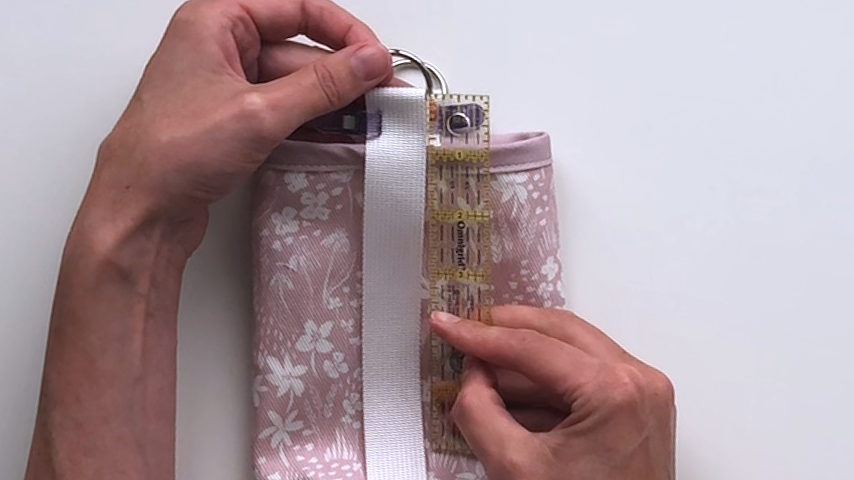
Clip the bottom edges of your straps to the bottom edge of the tube, making sure the straps cover the side seams, are sitting straight, and you have enough strap along the bottom that you can fully open your tube.
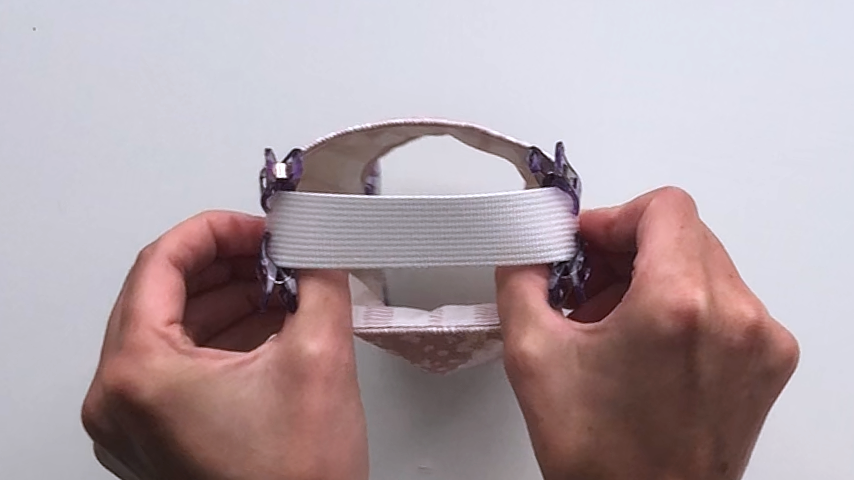
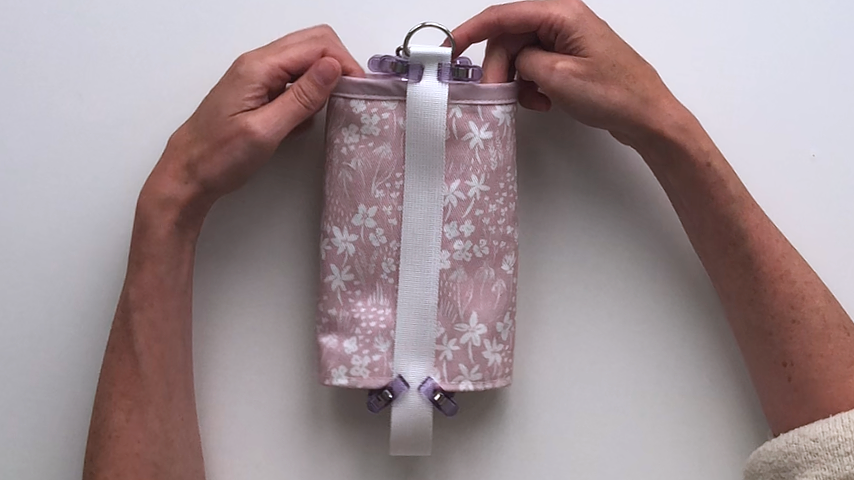
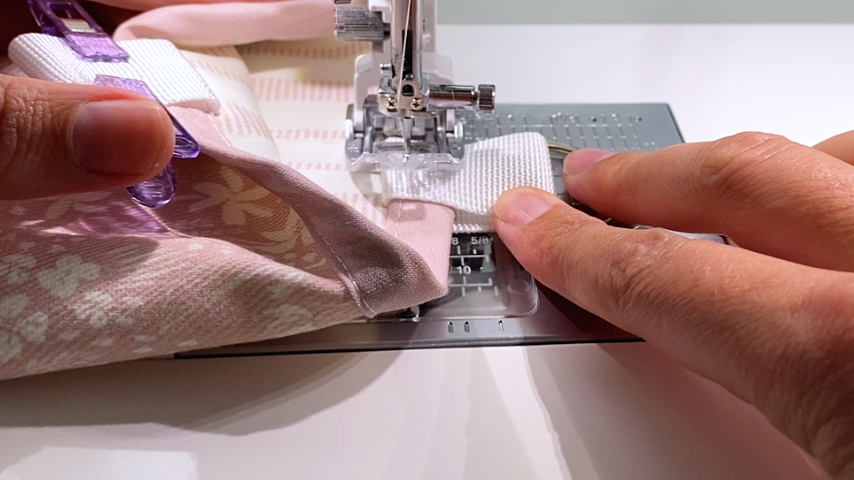
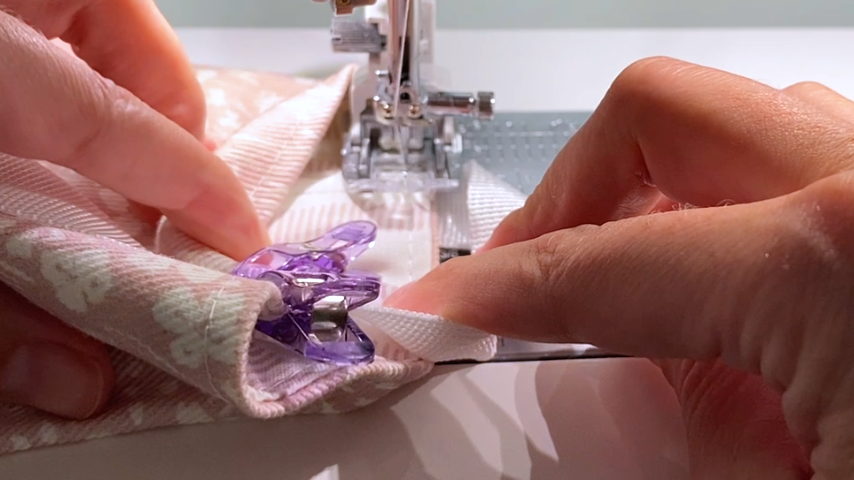
Sew the straps into place along the top and bottom edges. I sew so that my strap stitching lines up with the topstitching on my binding and my topstitching along the bottom edge.
Step 6
Connect your longer (52″) strap to your D-rings and clip into place, making sure the strap isn’t twisted.
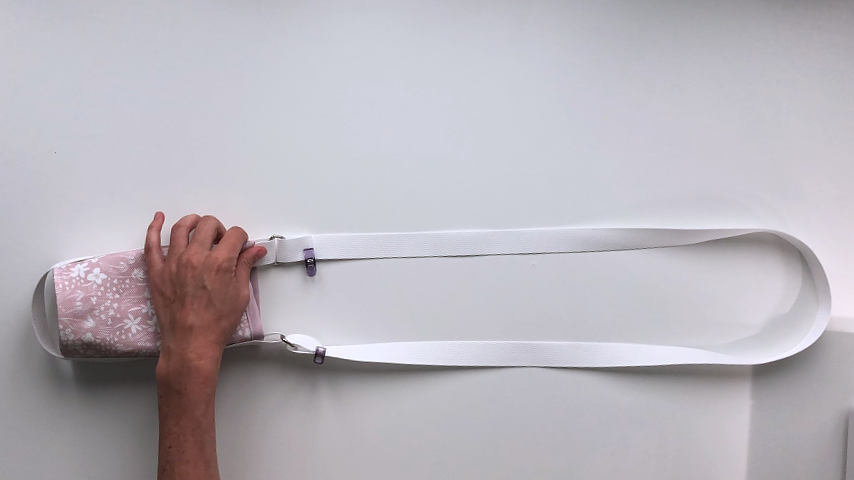
I fold the cut edges under about 1/2″, then place that folded edge about 1″ away from the D-ring. This gives me enough room to stitch a box stitch (sew a square or rectangle with an X in the middle for reinforcement) without the D-ring getting in the way.
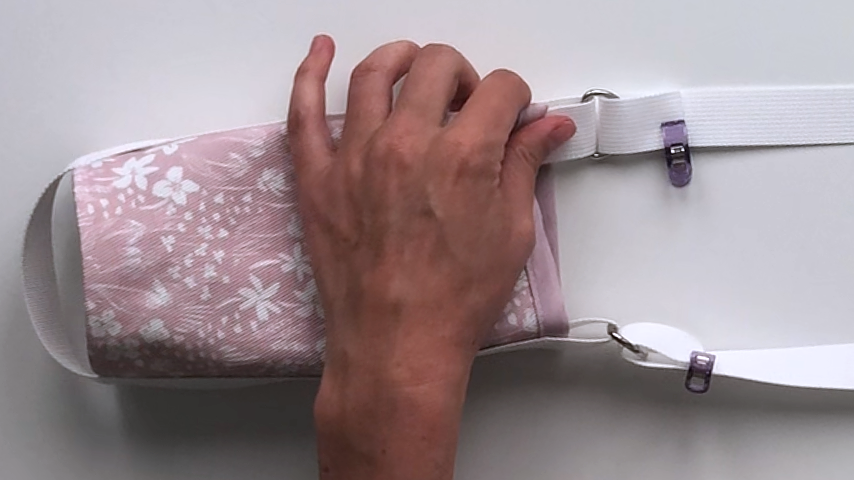
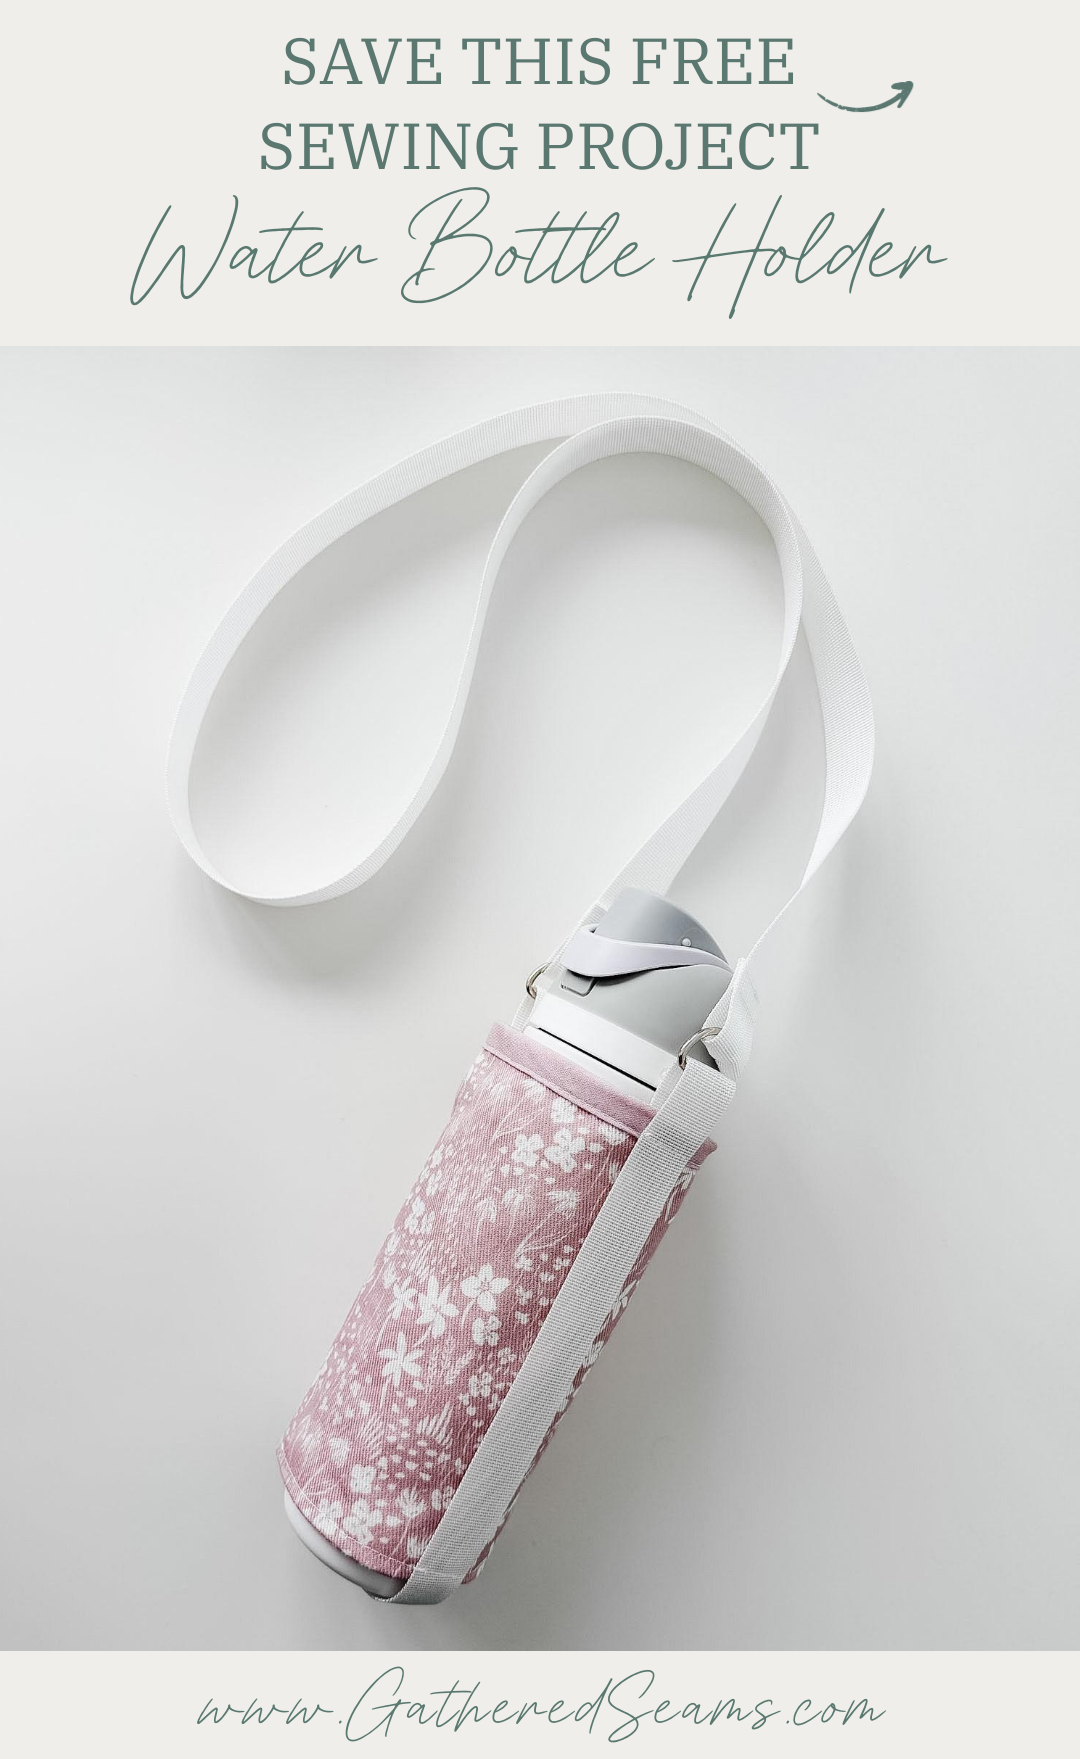
Your crossbody water bottle holder is complete!