How To Sew Measuring Cup Covers | Free Printable Patterns
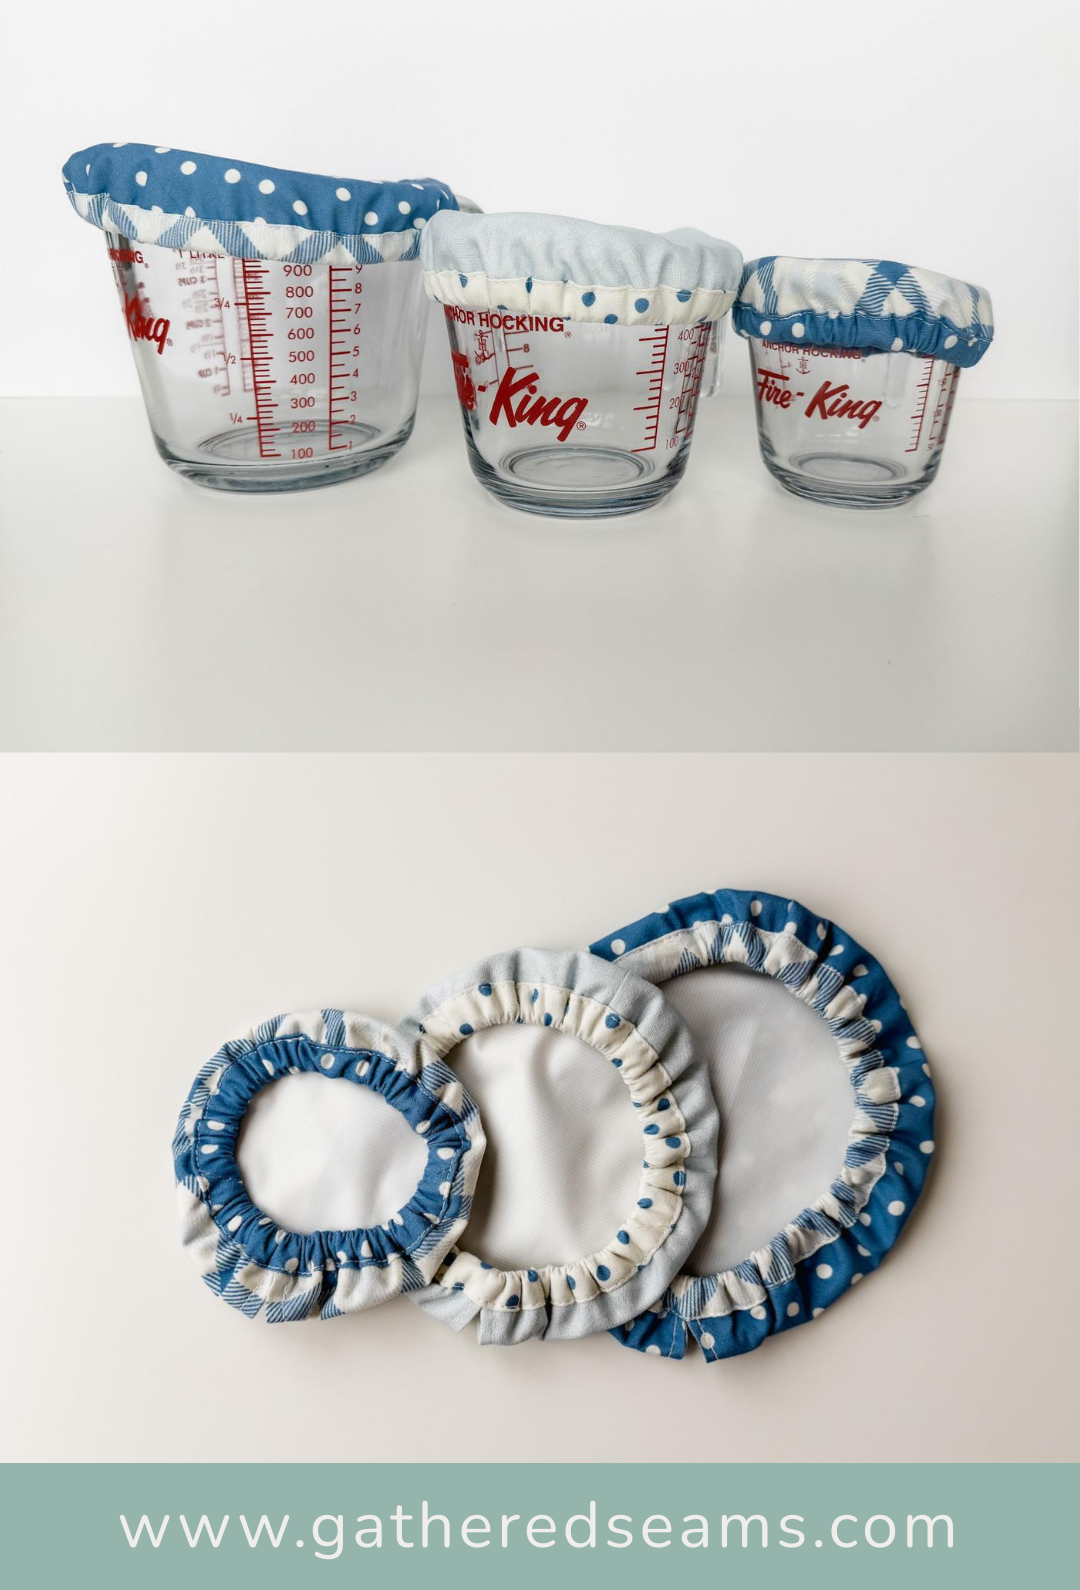
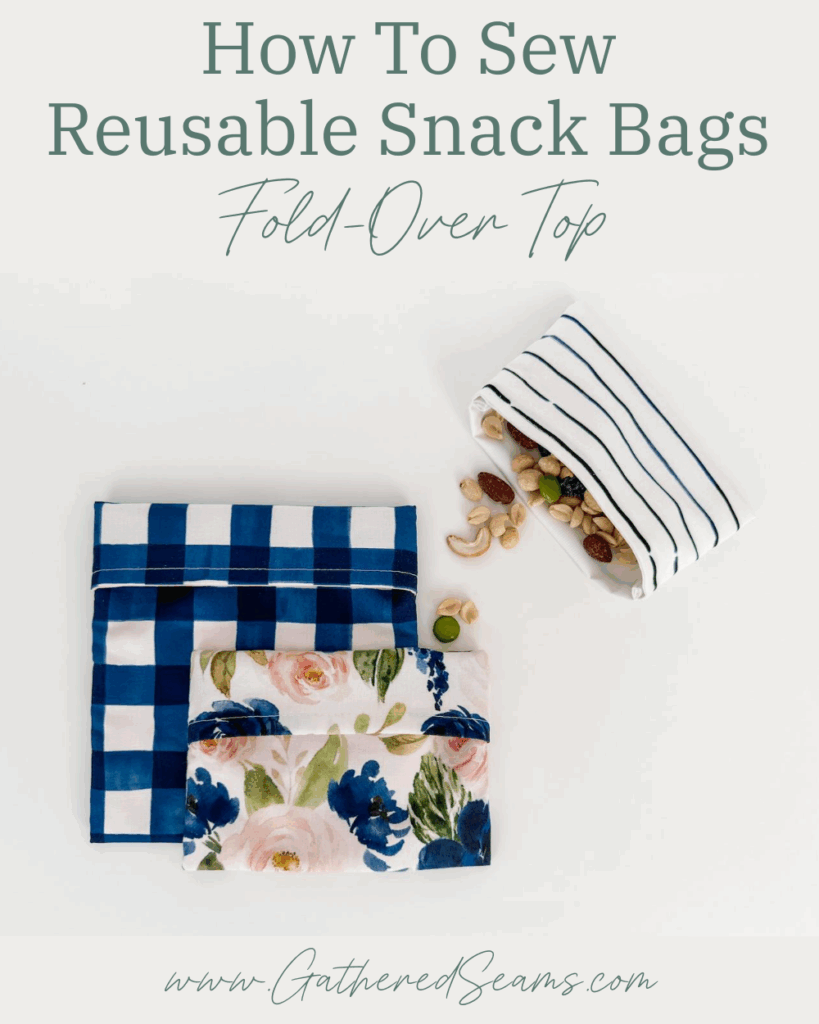
These reusable covers are ideal for using with measuring cups to make dressings and sauces, and then storing them in the refrigerator.
I’m always using beeswax wraps to cover my measuring cups when storing homemade salad dressing in the fridge, but I find they don’t stick as well.
So I decided to draft a pattern for my set of liquid measuring cups.
Pattern Notes
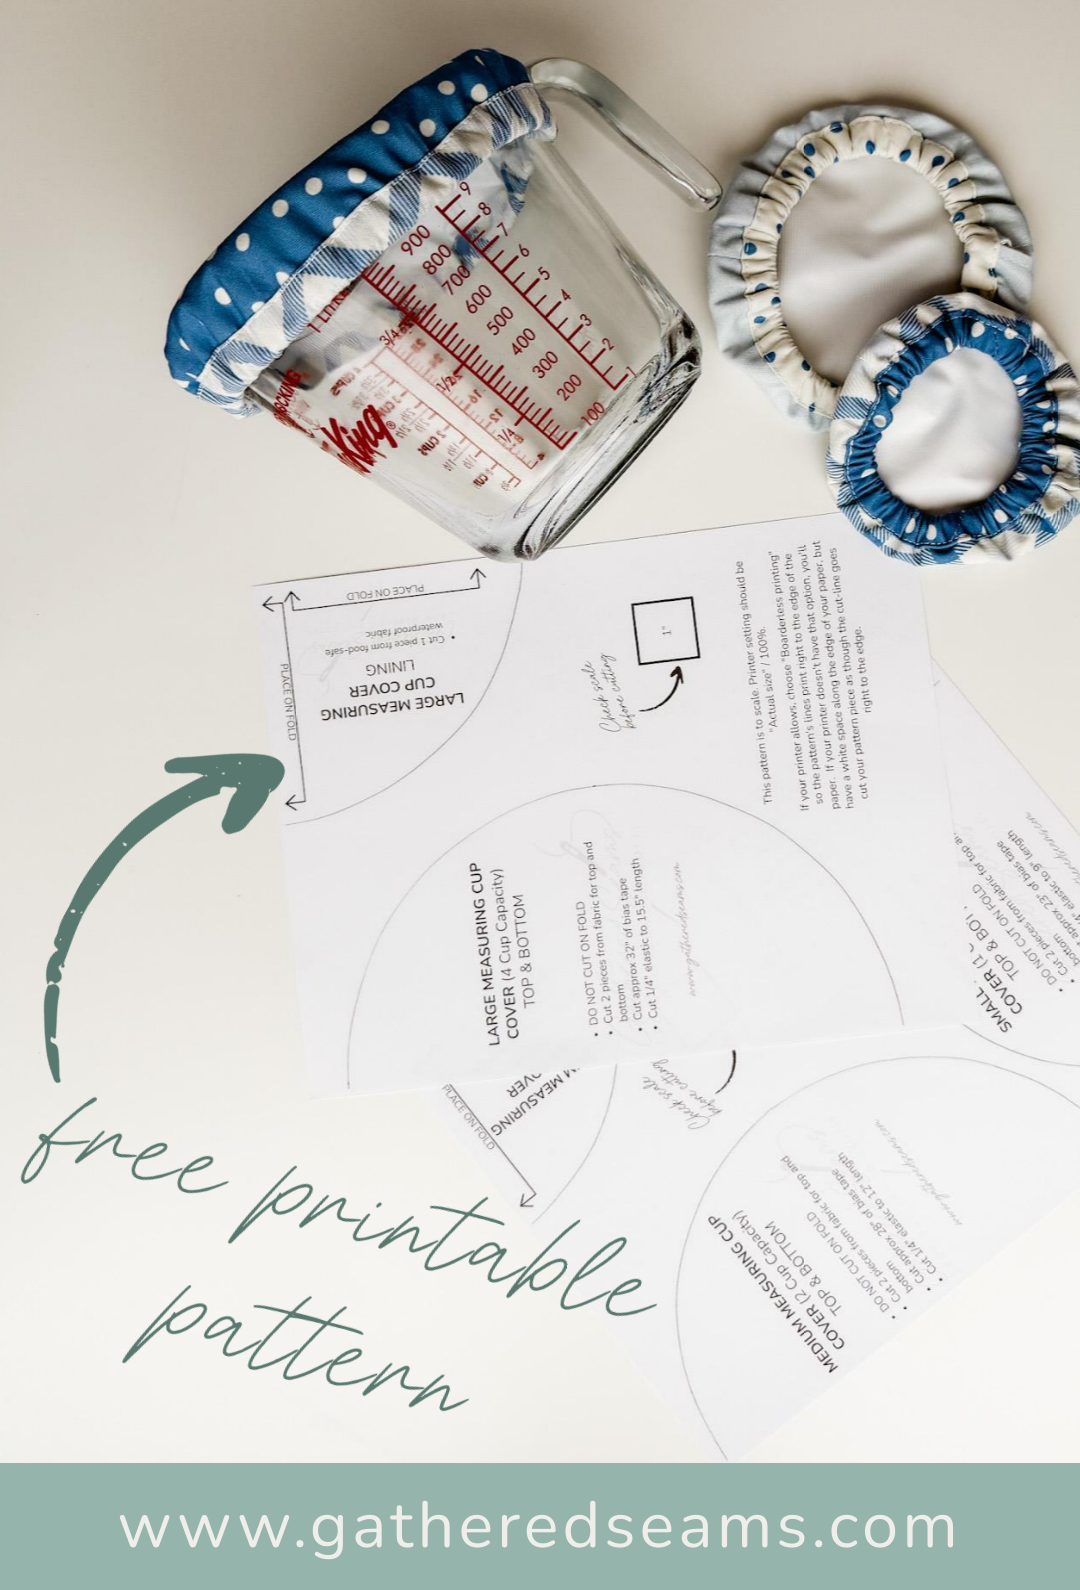
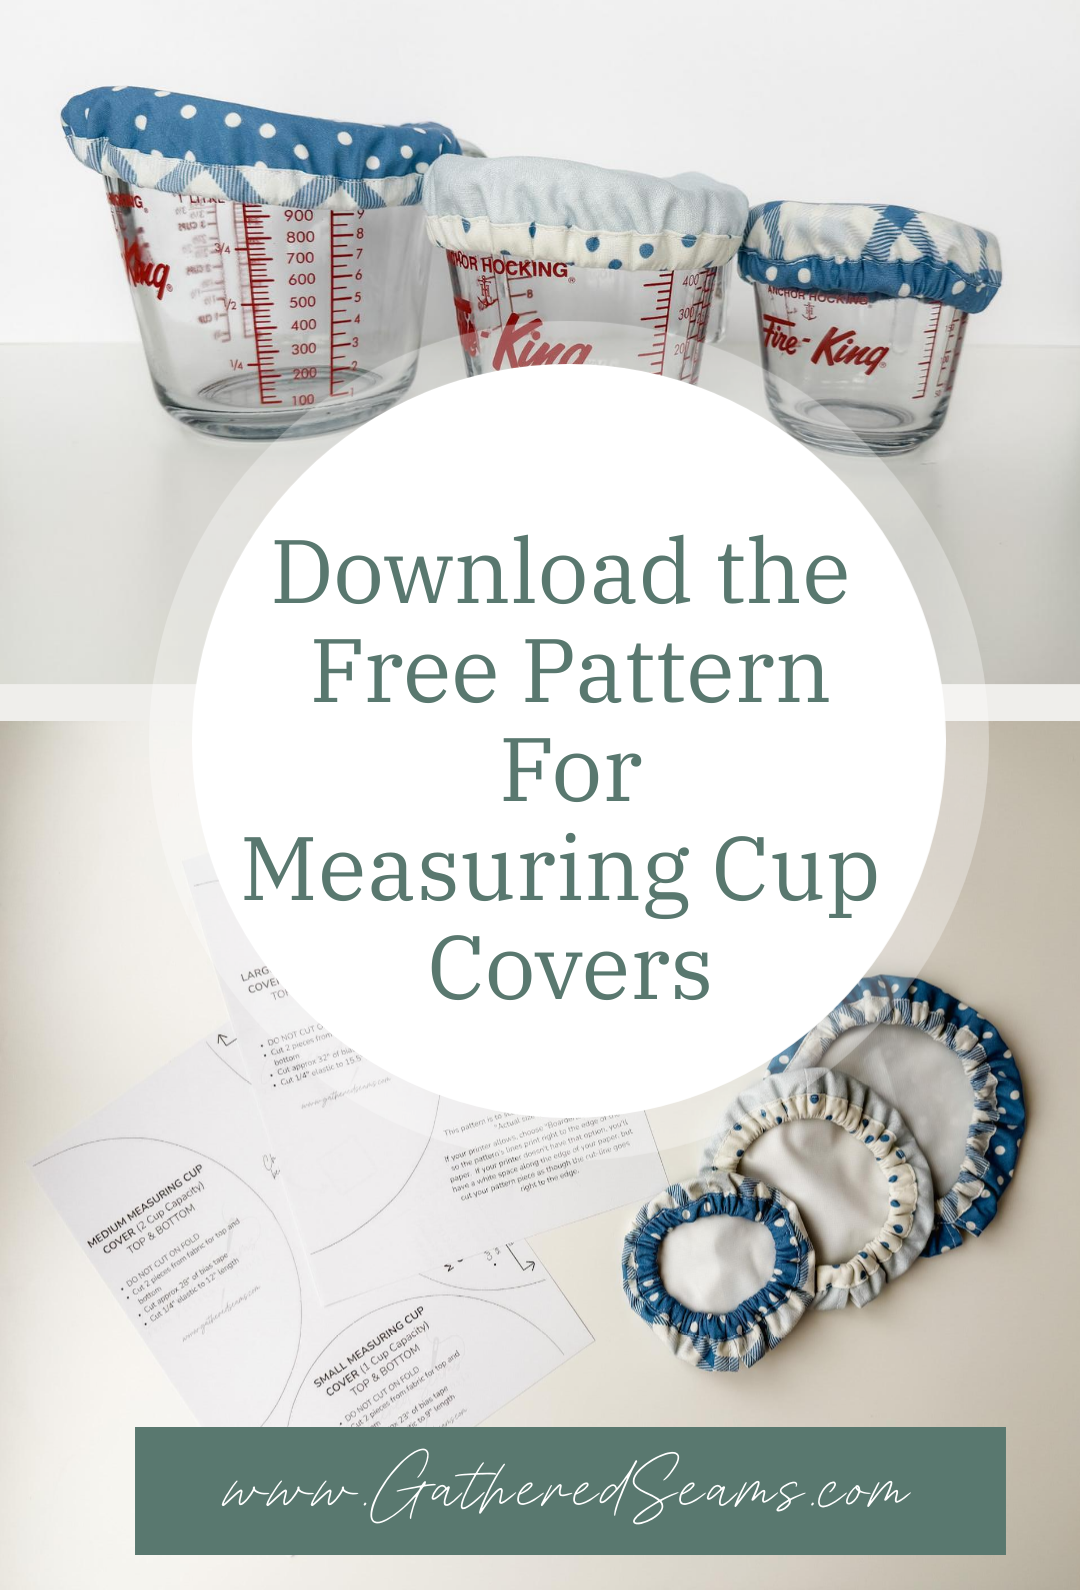
- Sizing – this free pattern comes in small, medium, and large sizes, which are designed for 1 cup, 2 cup, and 4 cup capacities.
- Style – the pattern was designed using glass Anchor Hocking liquid measuring cups. I haven’t tested these on other brands of measuring cups, but they should work on most that have an open handle. This pattern won’t work for D-handles. If you’d like these to fit over larger open handles, you can make a larger opening.
- Waterproof – these covers have a food-safe PUL lining so they’re wipeable and will help keep moisture in.

As an Amazon Associate, I earn from qualifying purchases (see full disclosure here).
Materials
- Top fabric (cotton or linen are ideal)
- Food-safe waterproof fabric: food-safe PUL, food-safe waxed cotton, food-safe nylon, food-safe laminated cotton)
- *1/2″ double-fold bias tape (it’s 1/2″ wide when double-folded, 2″ wide when unfolded; the wider the bias tape, the easier it will be to thread elastic through). Here’s how to make your own (which is cheaper).
- *1/4” wide elastic
- Thread
*Length varies based on the size you’re making. Please see each pattern piece for lengths.
Tools
- Sewing machine
- Scissors
- Safety pin or bodkin *It’s important that your safety pin/bodkin is small enough to fit inside the binding, which is about 3/8″ wide once stitched.
- Fabric clips
- Iron
Steps to sew measuring cup covers
Step 1 – Cut out pattern pieces
Print your free patterns and cut them out.
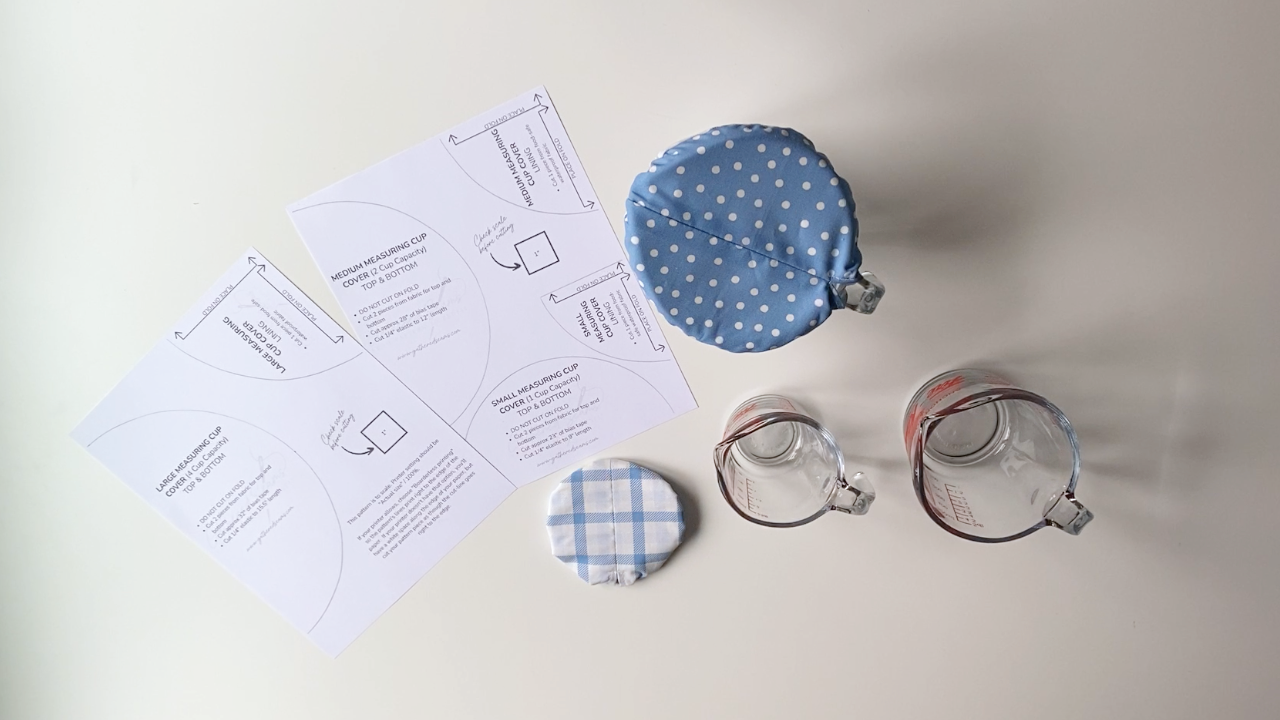
Iron your cotton fabric first (do not iron your waterproof fabric), so you can be sure your cuts are accurate. Then set your pattern pieces on your fabric. If a pattern piece has an arrow with “FOLD” along the edge, you can either:
A) Fold your fabric so that each edge with “FOLD” along it, lines up with a folded edge.
C) Trace the pattern piece onto your fabric using a temporary fabric pen, flipping the piece each time and tracing to create a full circle.
B) Print the pattern piece four times, cut them out, flipping each piece over, so they mirror each other and create a full circle, and tape them together with no overlap.
Cut:
- 2 pieces out of cotton or linen for the top
- 1 piece from food-safe PUL for the bottom
- Bias tape – length varies depending on size; please see each pattern piece for length needed
- Elastic – length varies depending on size; please see each pattern piece for length needed
Here are instructions for making your own bias tape: How To Make Bias Tape
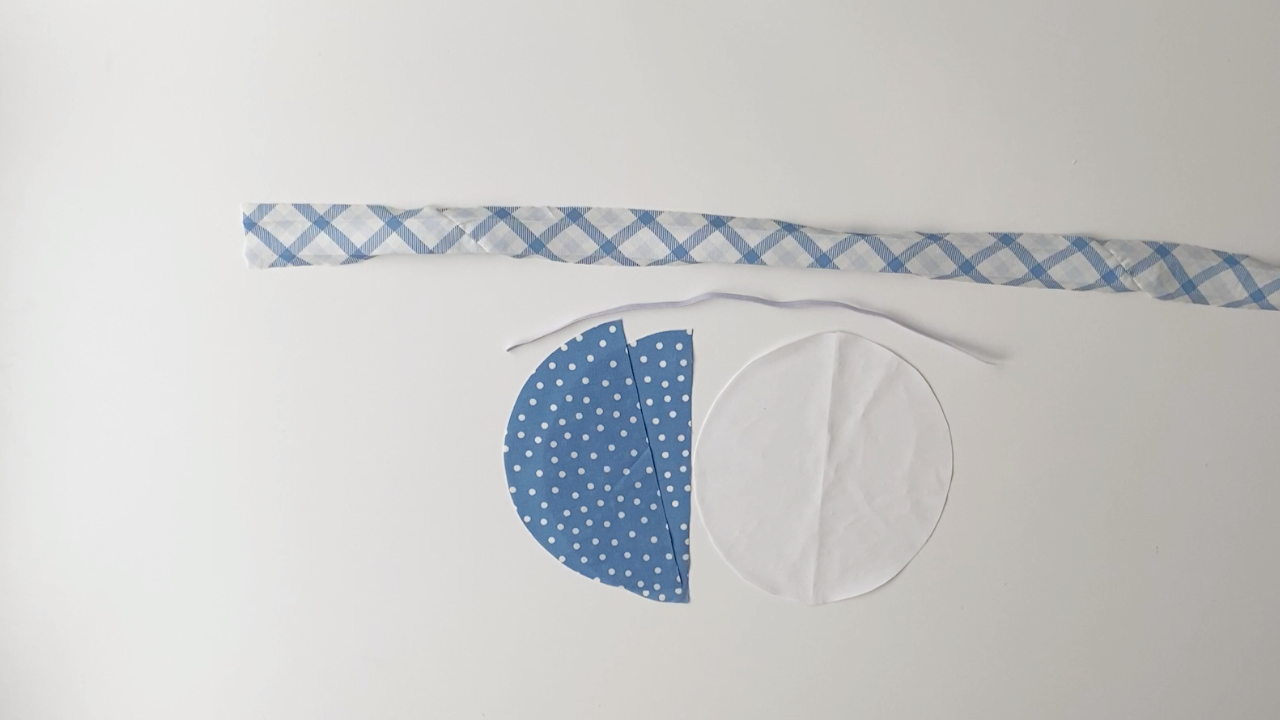
Step 2 – Sew top pieces together and create slit
Place your two semicircles with right sides together.
Using a temporary fabric marker, mark a line 2” away from one end, this will create a slit for the handle.
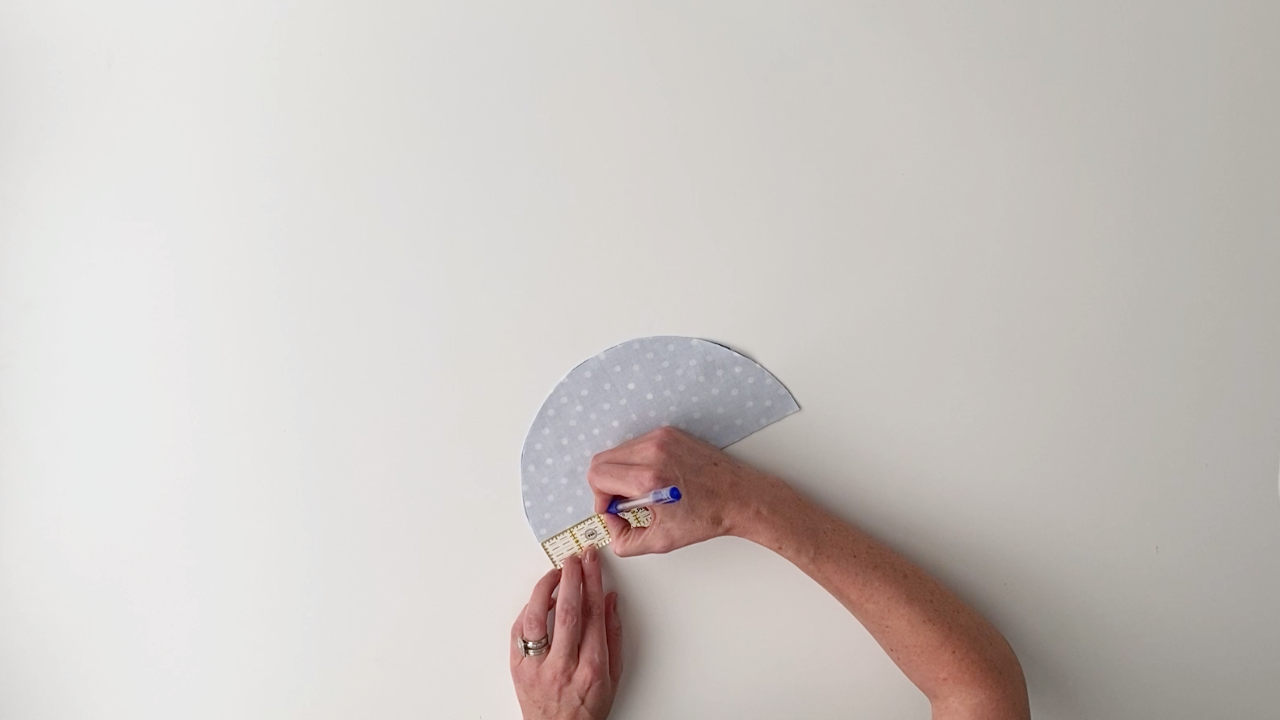
Sew along the straight edge using a 1/2” seam allowance, stopping at the 2” mark and backstitching.
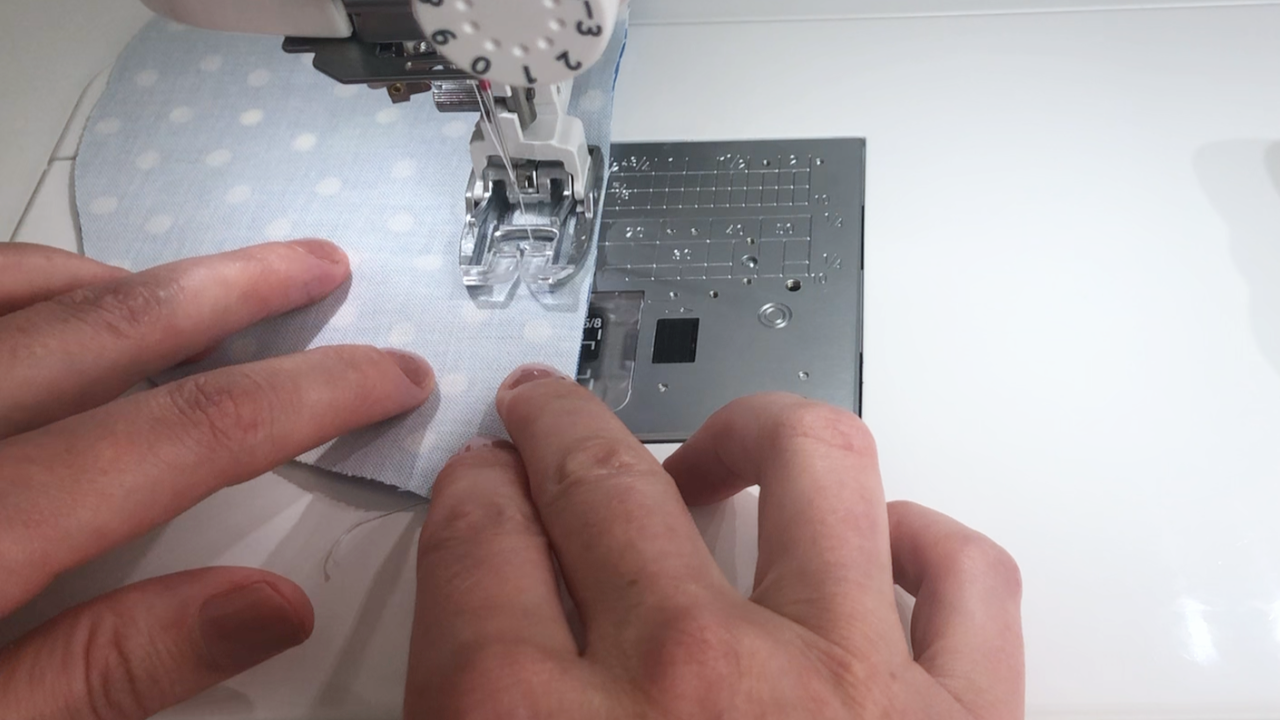
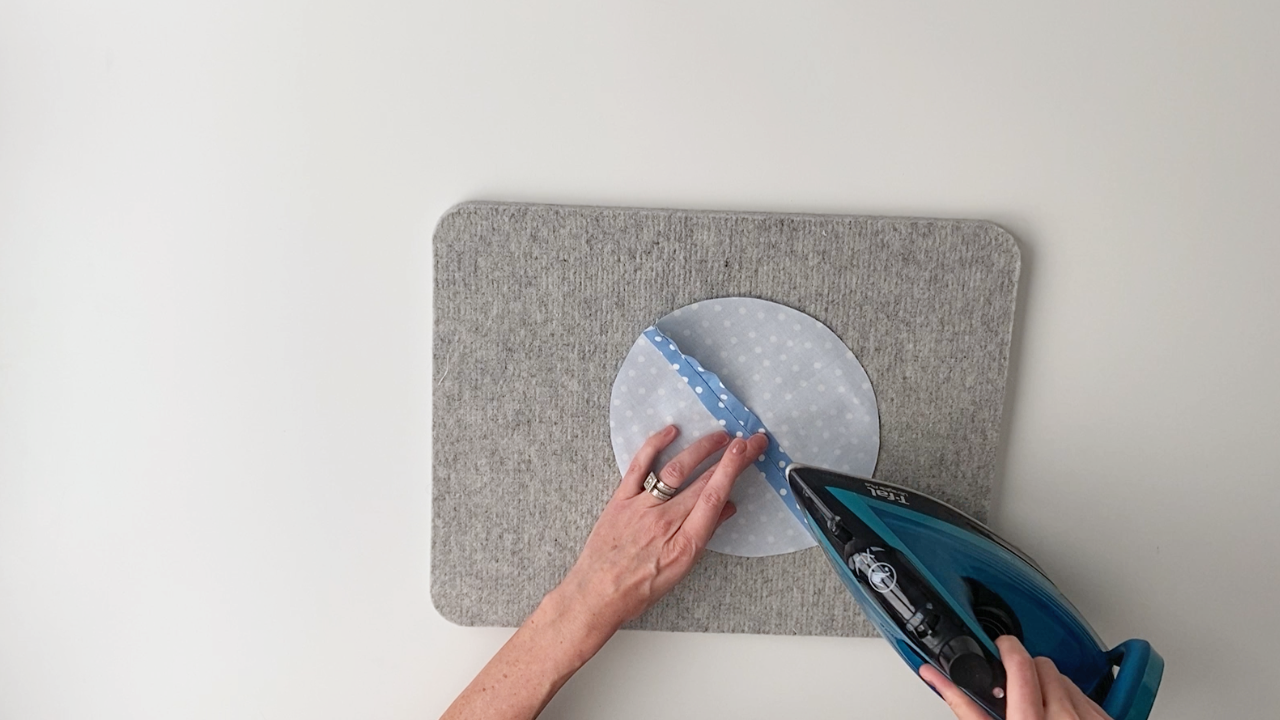
Press that seam open.
Step 3 – Layer top and bottom pieces
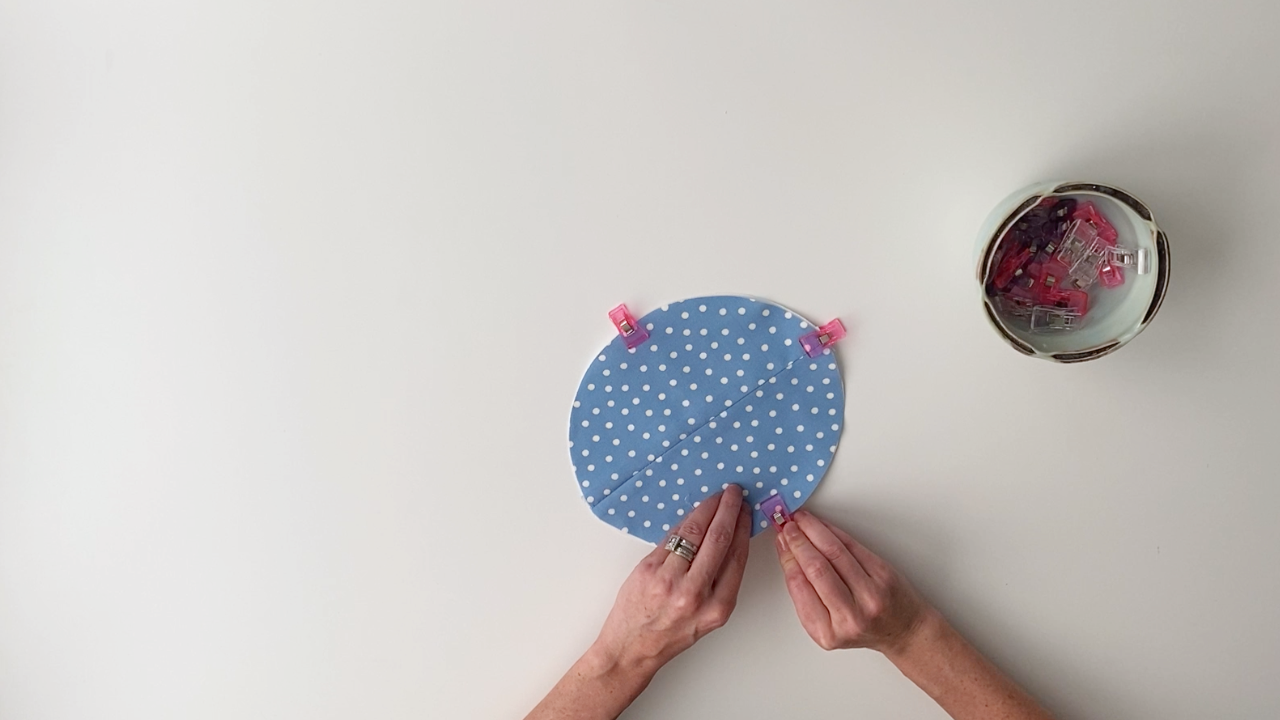
With wrong sides together, layer your top piece on top of the lining and clip together.
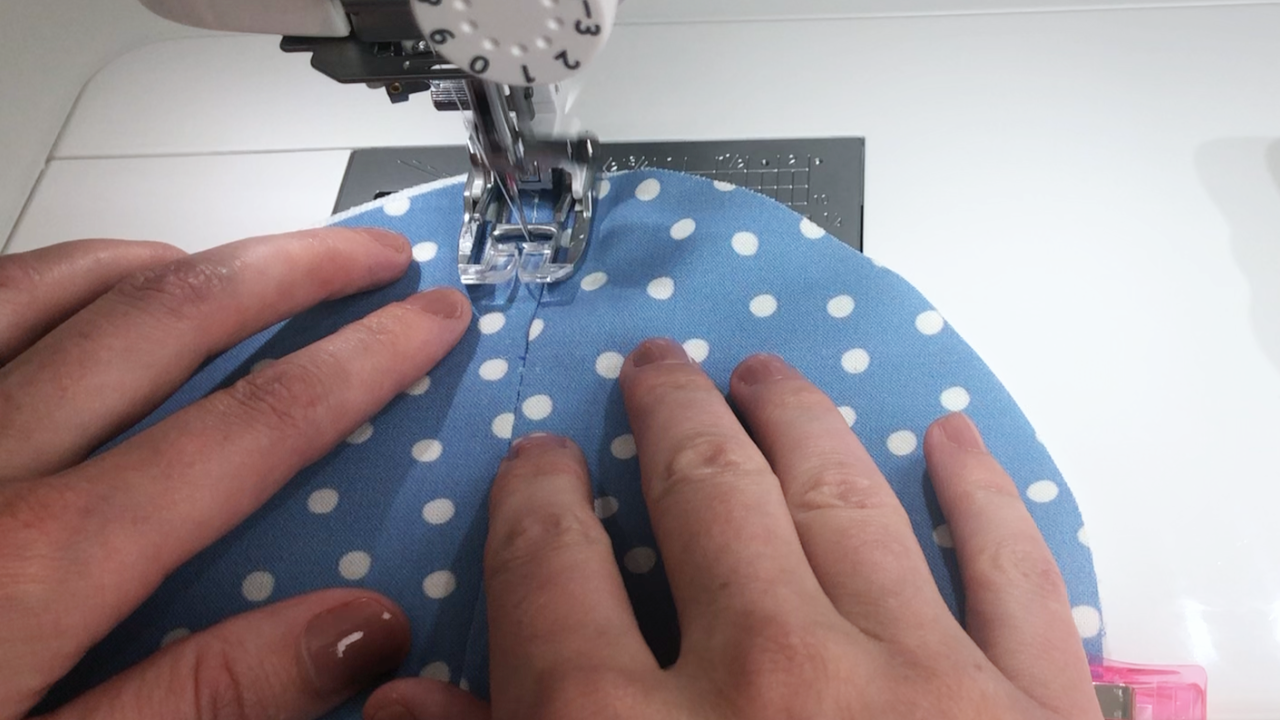
Sew up on one side of the slit, across the top, then back down.
You can use a temporary fabric marker to mark the top of your slit (so you know where to stop sewing and pivot your fabric).
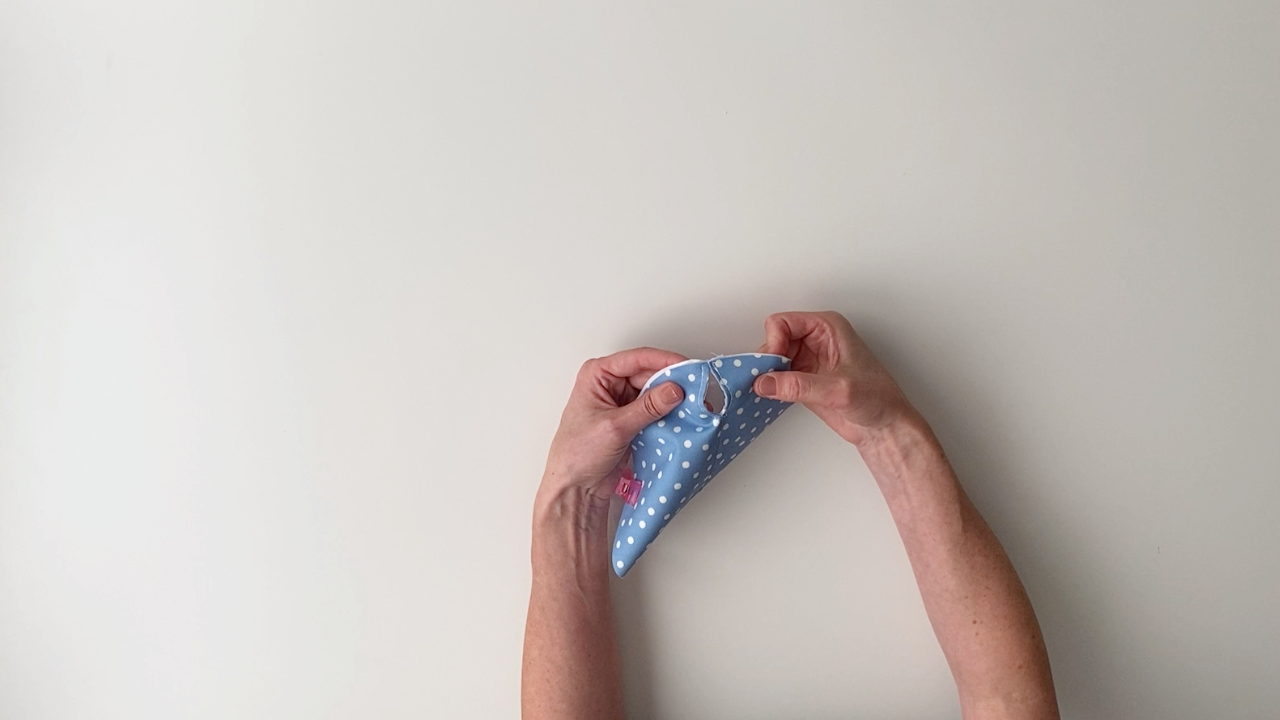
Step 4 – Cut slit in lining
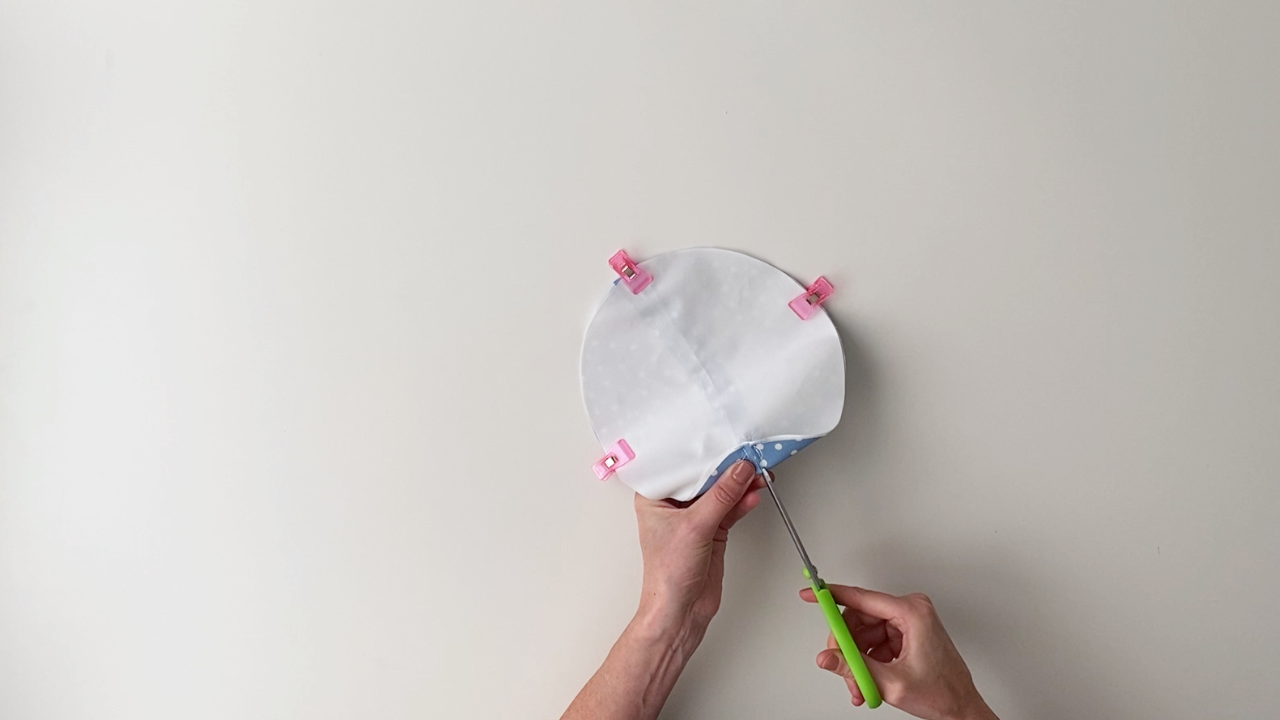
Cut a line in your lining to follow the slit, but leave about 1/2″ of the bottom edge of the plastic lining together.
I use my rotary cutter, but you can also fold your fabric in half and use scissors to cut an opening.
Step 5 – Sew bias tape to first side
With your top and bottom still clipped together, you’ll sew the bias tape on.
Start sewing your bias tape about 3” in (so you have 3″ of loose bias tape).
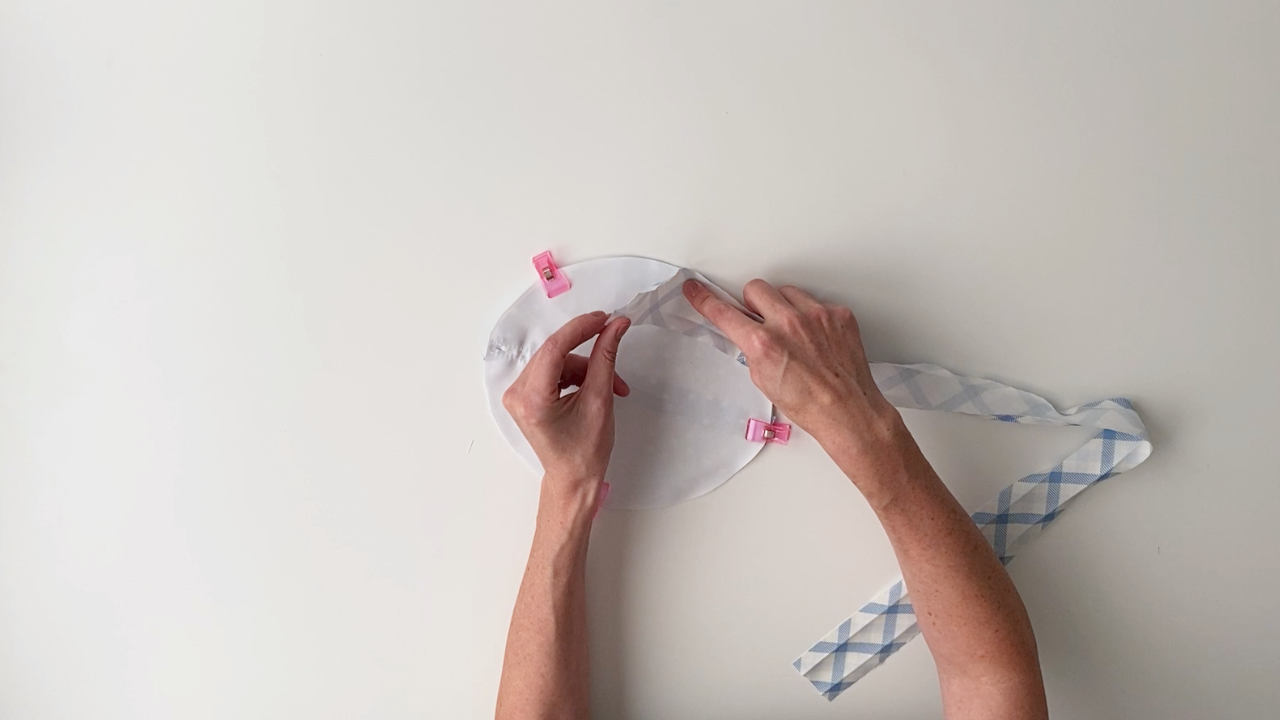
Sew the first side of your bias tape to the lining side first. I find the plastic sticks to my sewing machine surface if the plastic side is down.
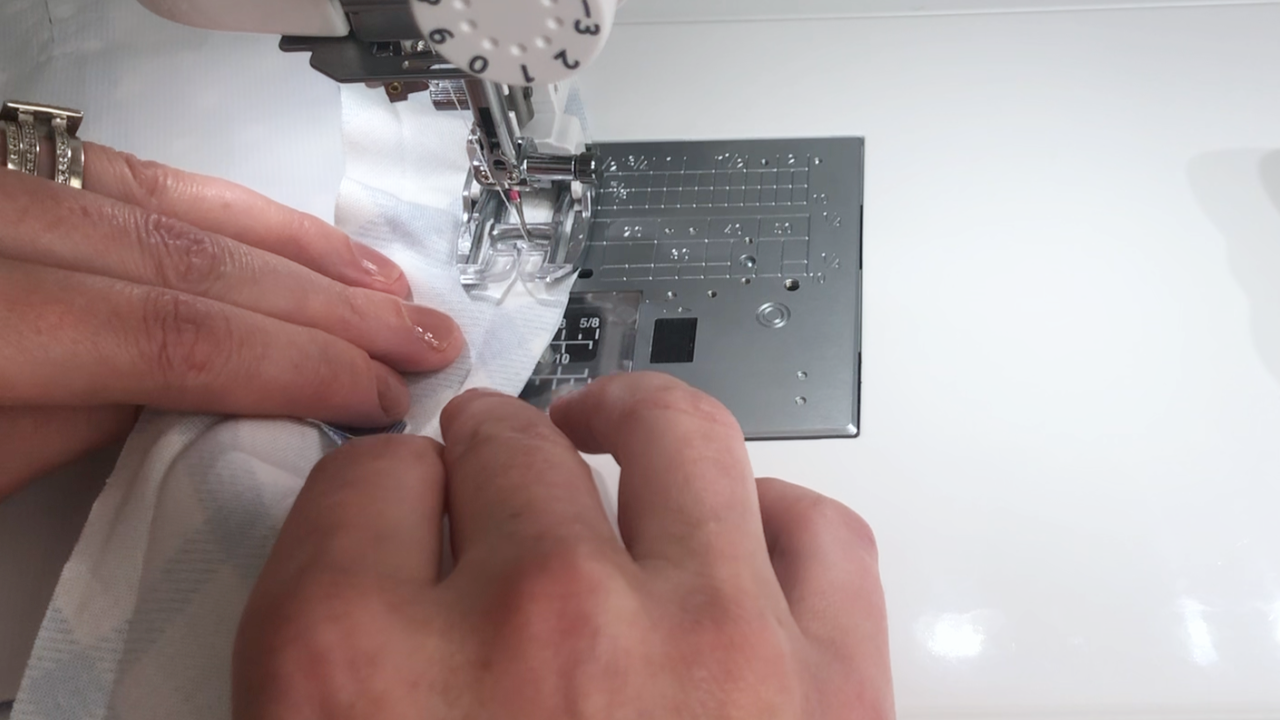
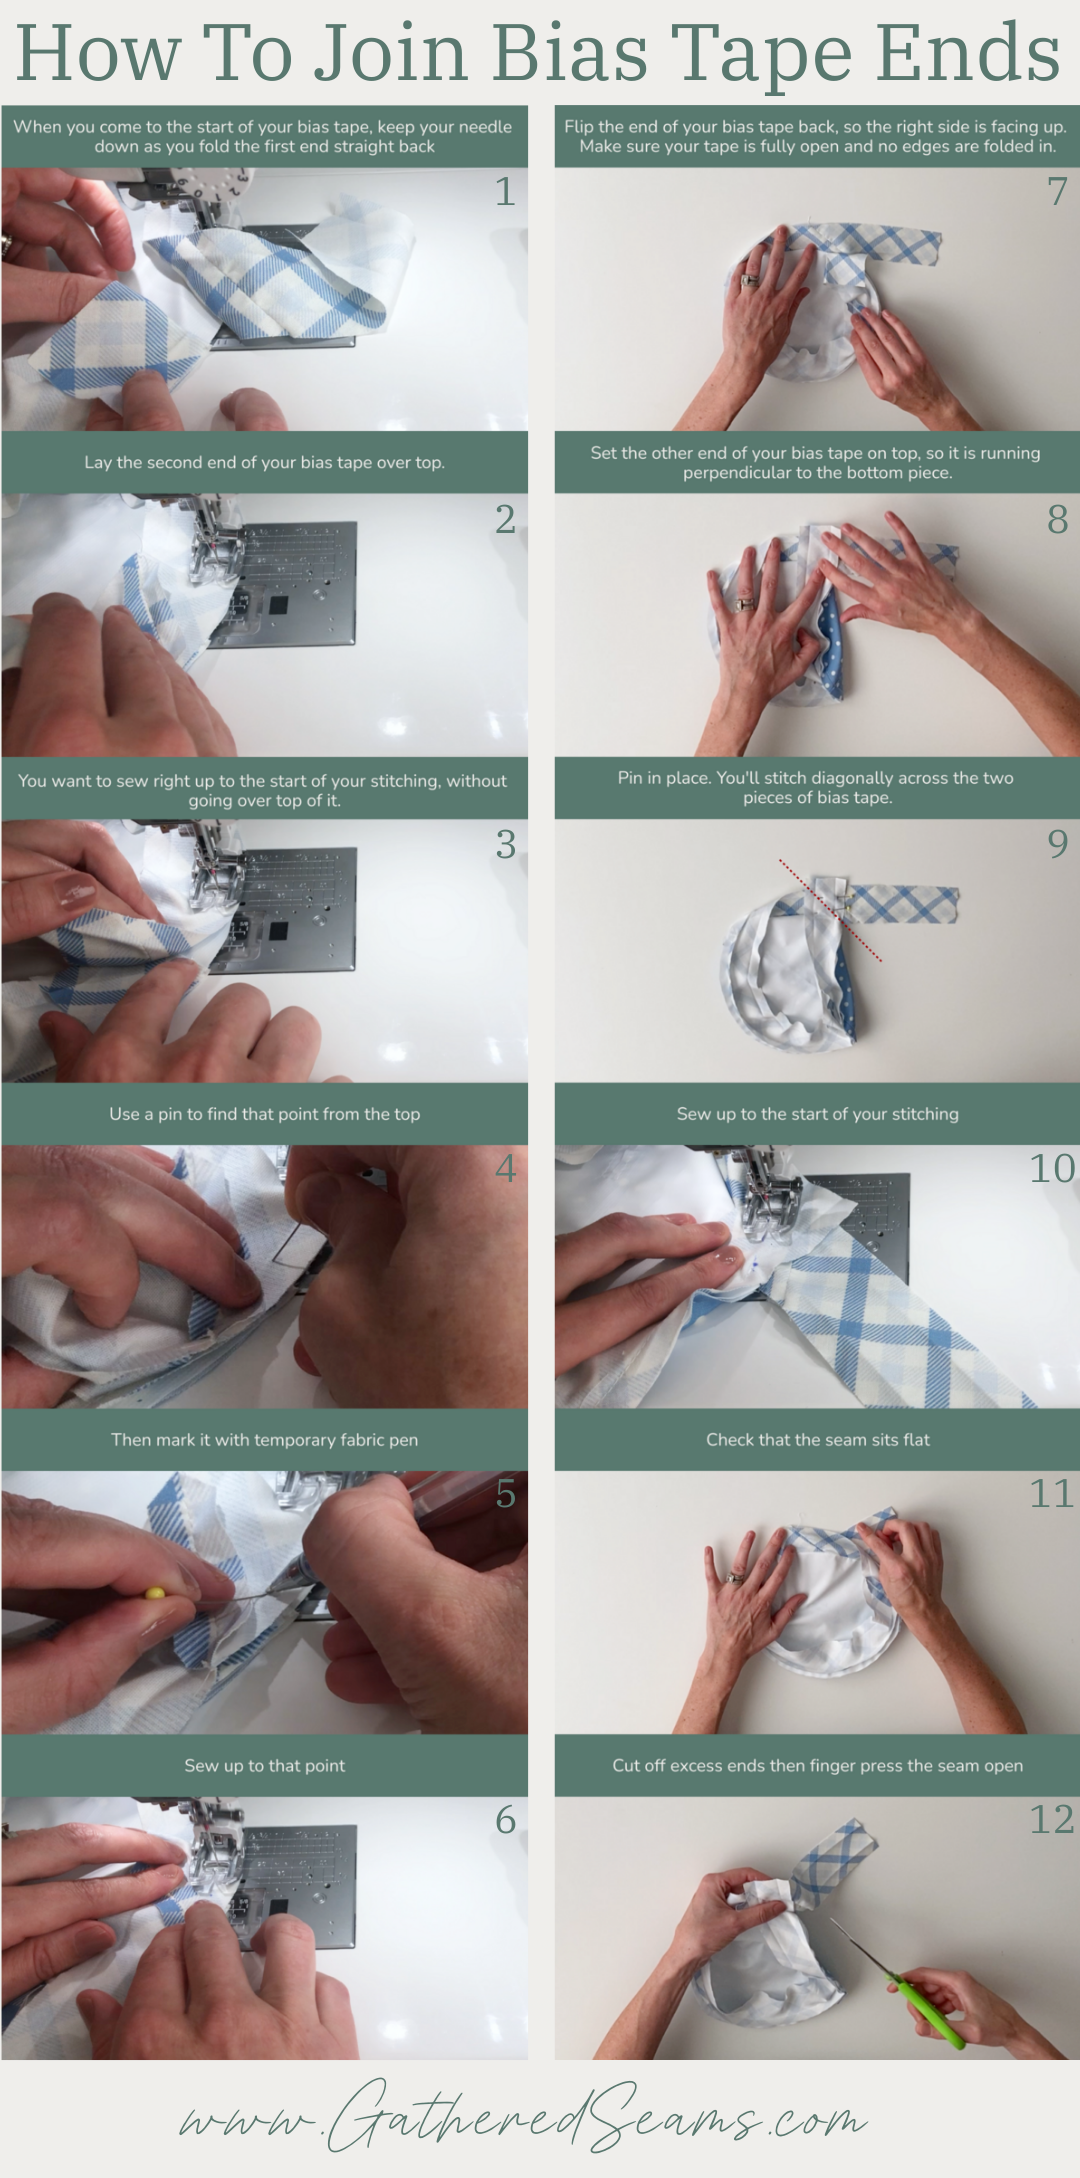
Sew the ends of your bias tape together, then finish stitching.
There are many ways to attach the ends, I share my favourite way in the video and in the visual below:
Step 6 – Flip bias tape and clip
Flip your bias tape to the top side of your cover and clip into place so the inside folded edge of the bias tape is covering the line of stitching you just completed.
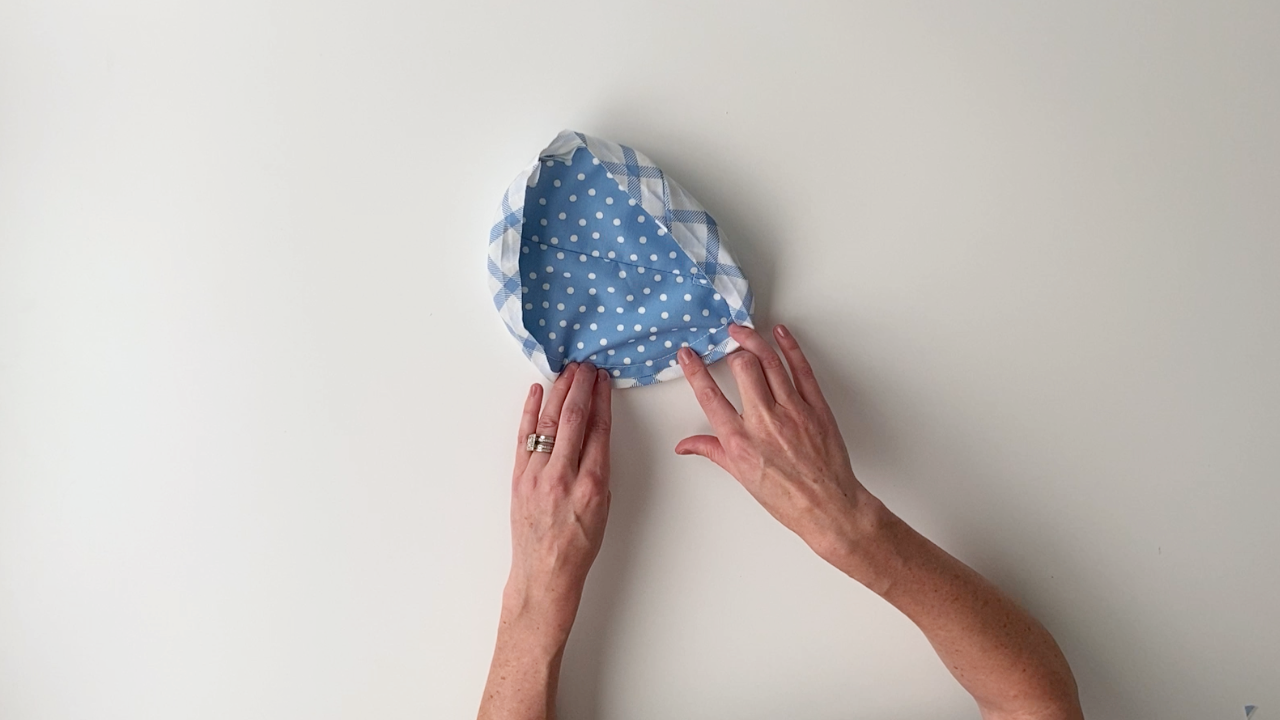
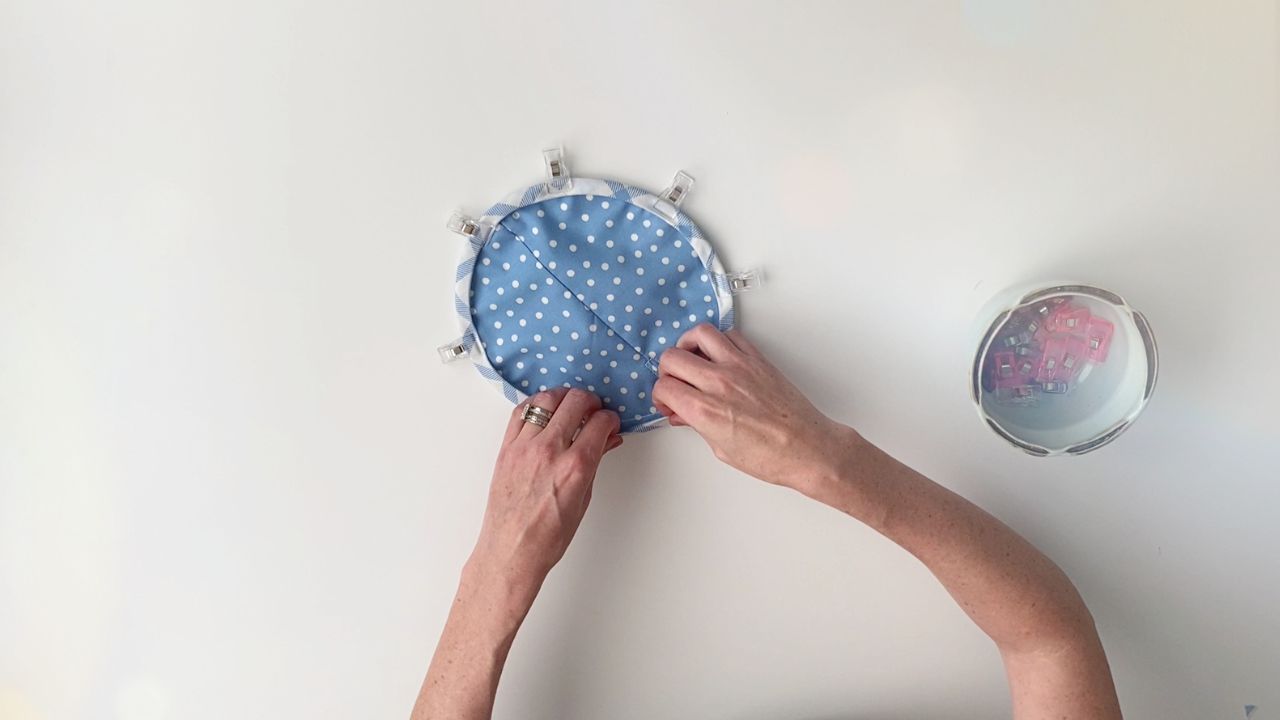
If there are any spots that your bias tape doesn’t extend to cover the line of stitching, simply trim some of the excess fabric from the edge of your circle.
Step 7 – Top-stitch bias tape
Using a temporary fabric marker, mark two lines, approximately 1” apart, which will indicate where you stop and start sewing, leaving an opening to feed the elastic through.
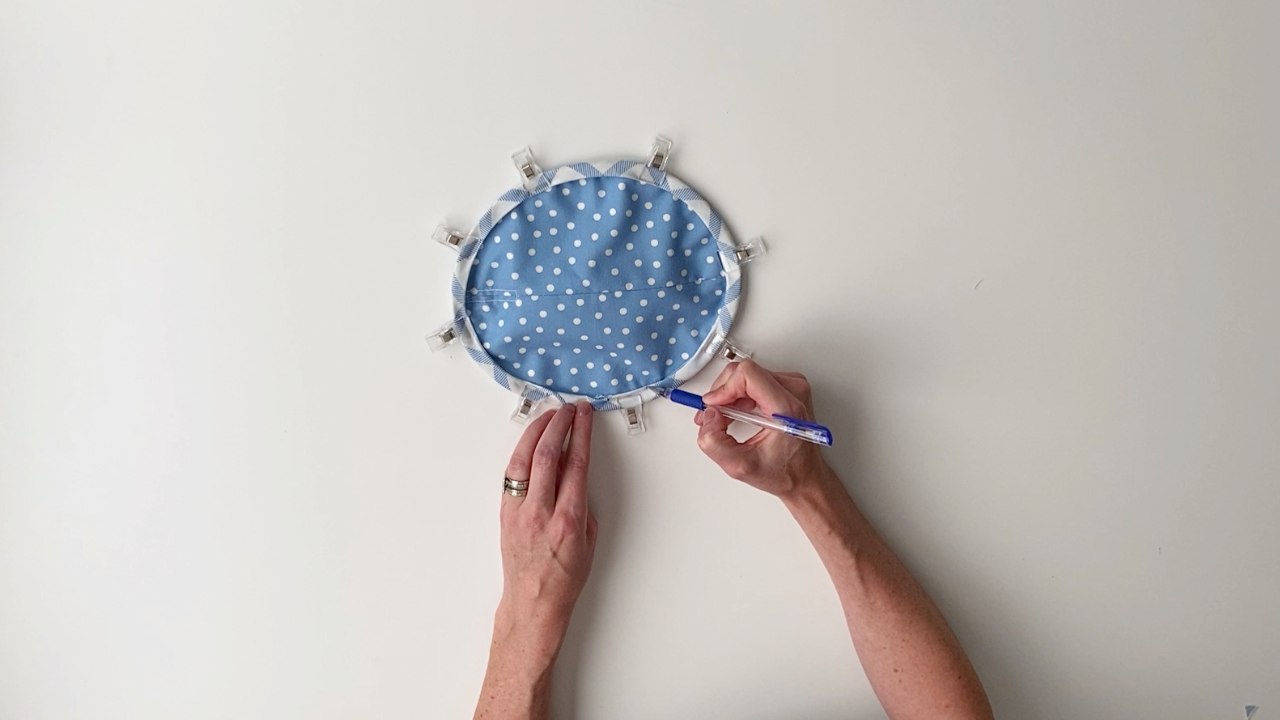
With the cotton fabric side up, stitch the second side of the bias tape into place.
Sew about 1/8” away from the inner edge of the bias tape.
It’s important to sew far enough away from the outer edge of the circle that you’ll be able to fit a safety pin inside the bias tape.
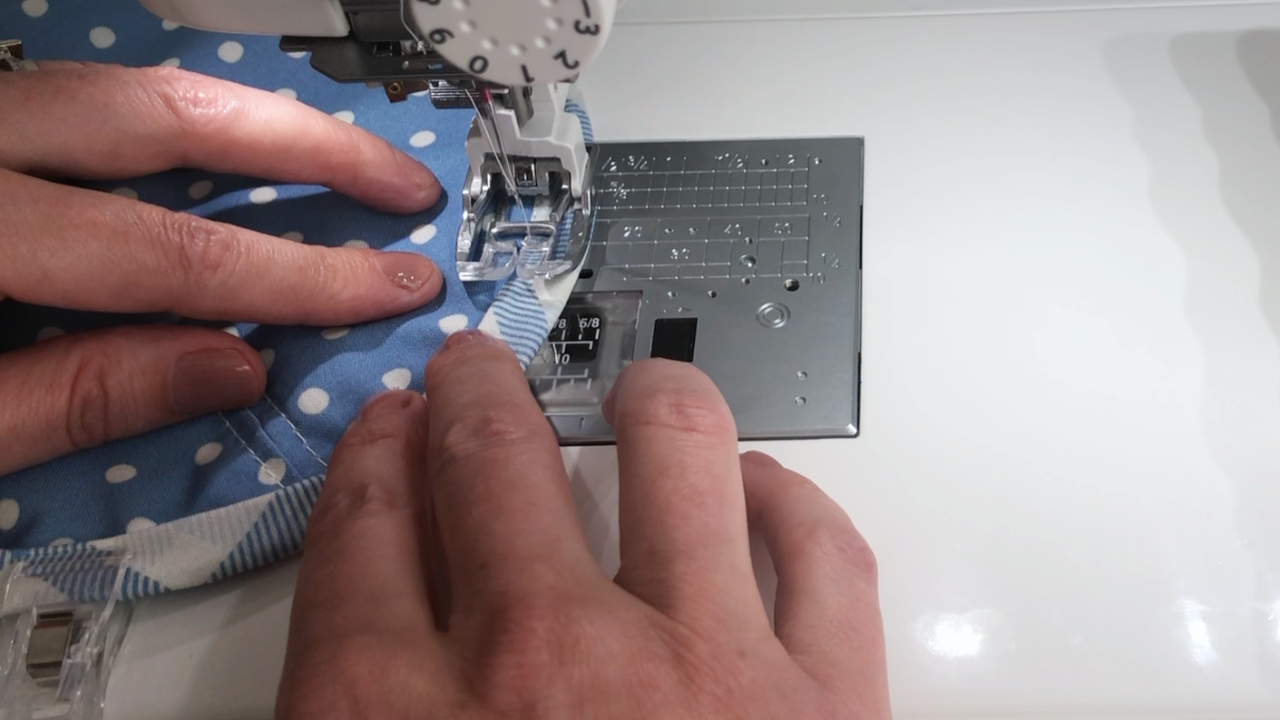
Step 8 – Thread elastic through bias tape channel
Attach a safety pin to one end of your elastic and thread it through the opening left in the bias tape.
You can attach a second safety pin to the other end of your elastic and secure it to the bias tape to be sure it doesn’t get lost inside the loop.
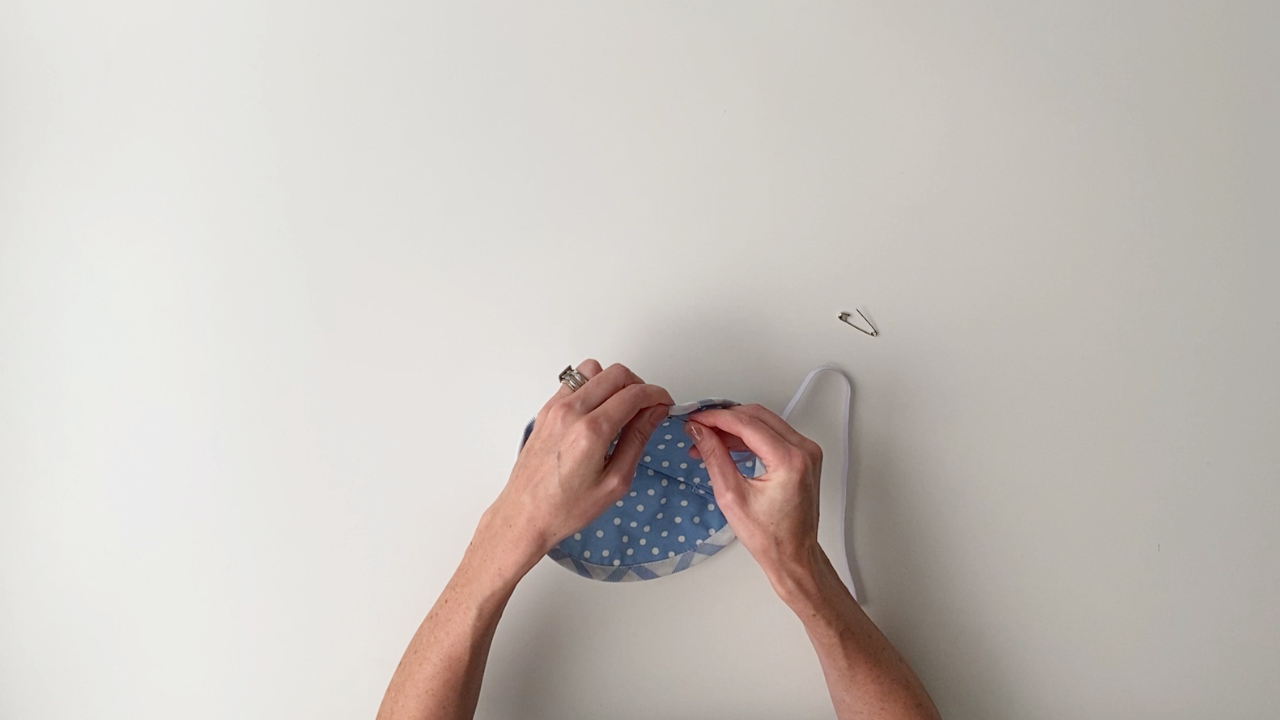
Once you’ve threaded the elastic all the way around the outer edge of the circle and you have both ends out, tie the ends of the elastic together. I like to use a balloon knot and pull it tight.
Pull that knot into the bias tape (so you don’t have to sew around it) and sew your opening closed.
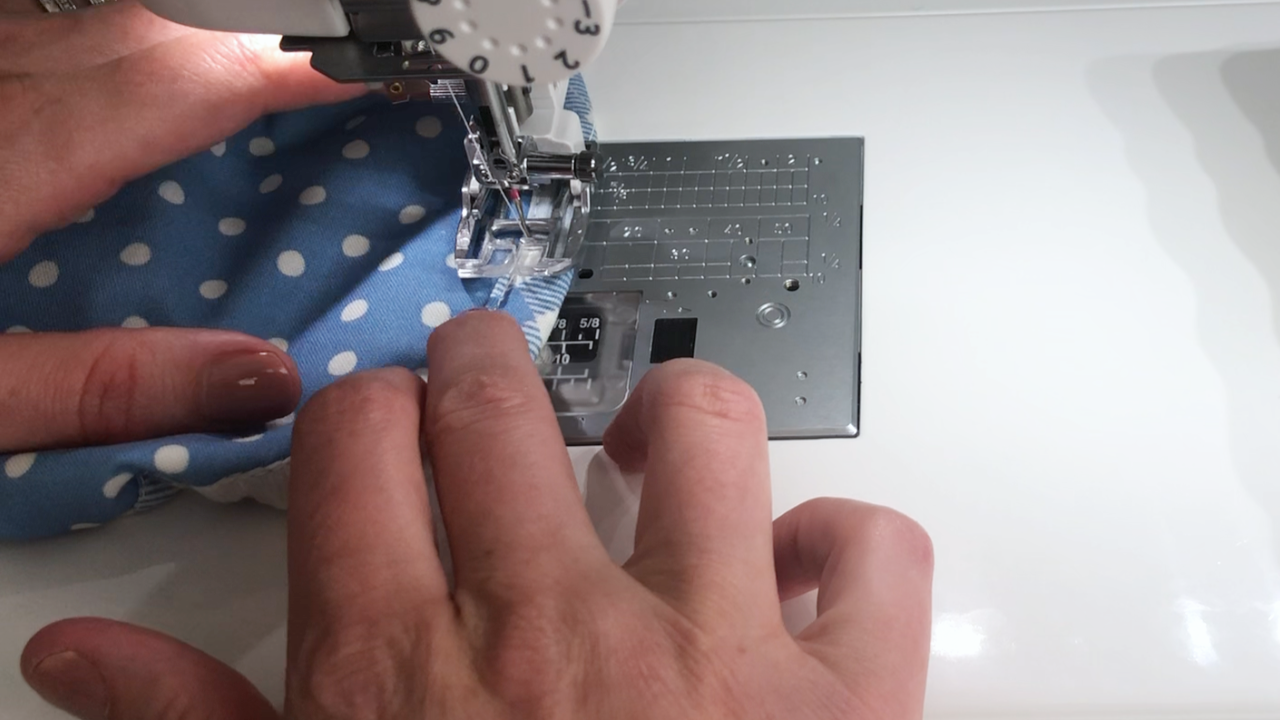
Stretch your bowl cover to distribute the fabric evenly around the elastic.
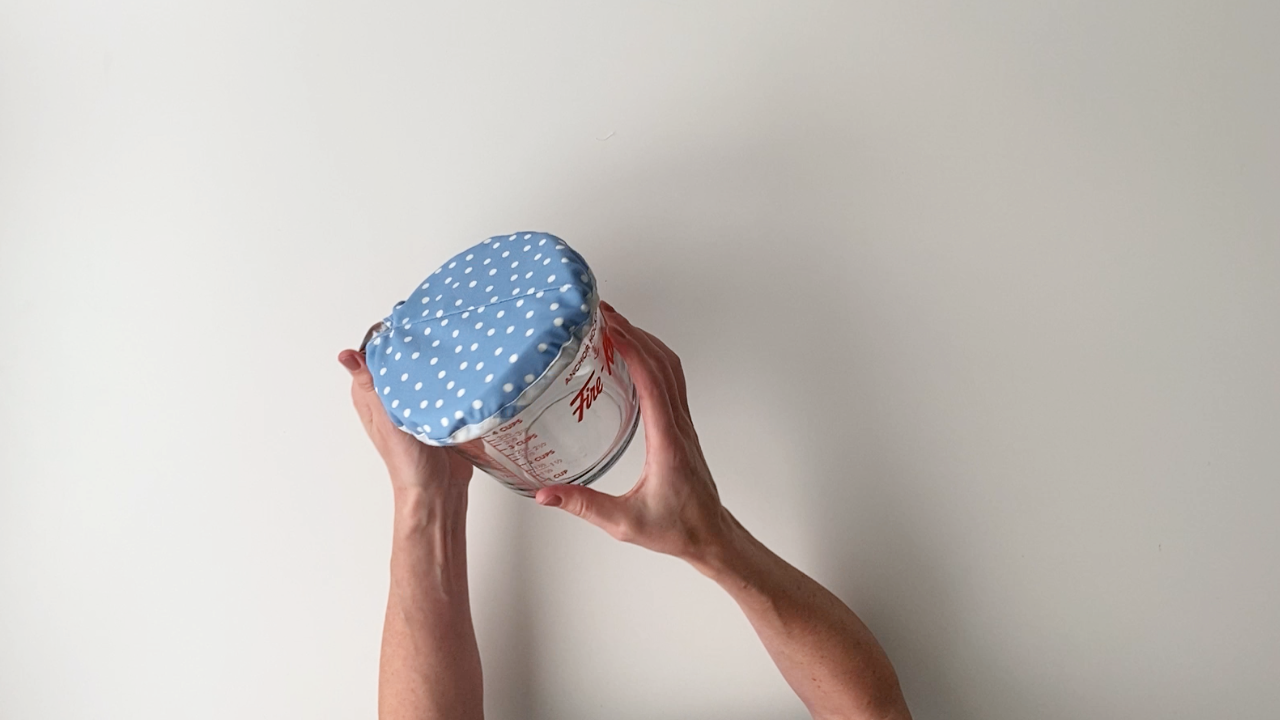
And your cover is complete!