How To Sew a Pint Ice Cream Cozy | Free Printable Pattern
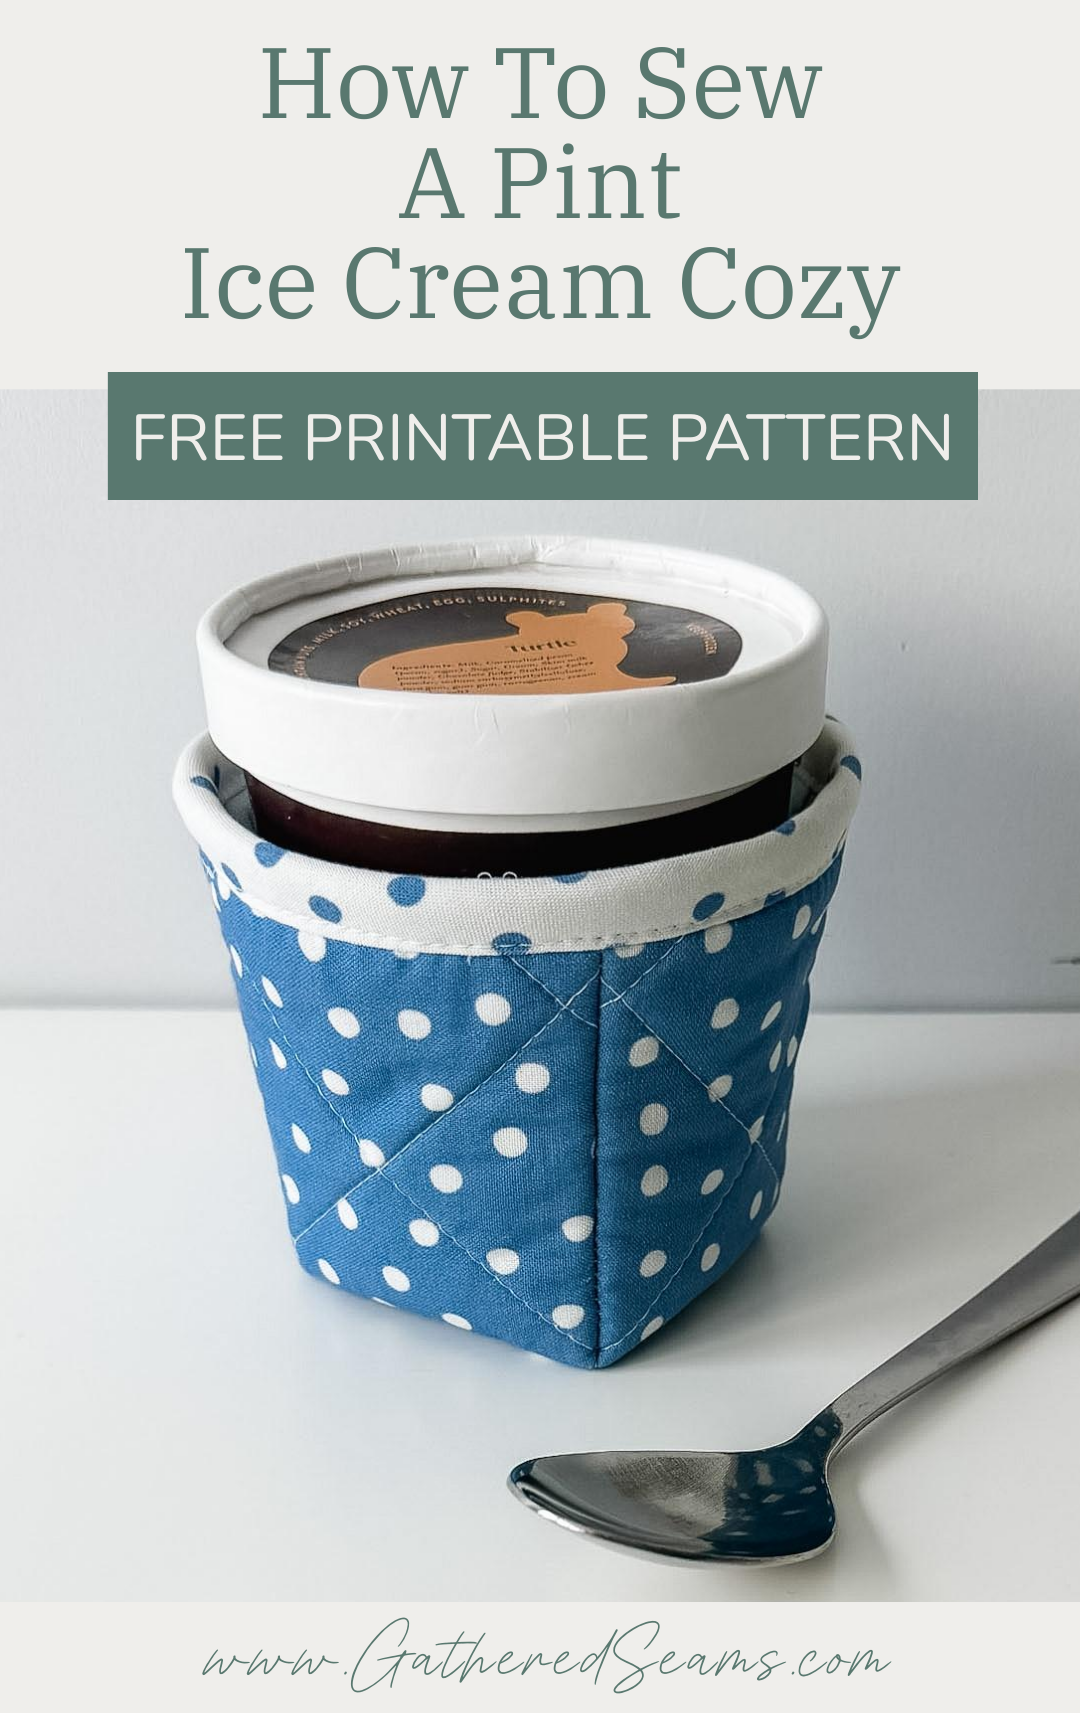
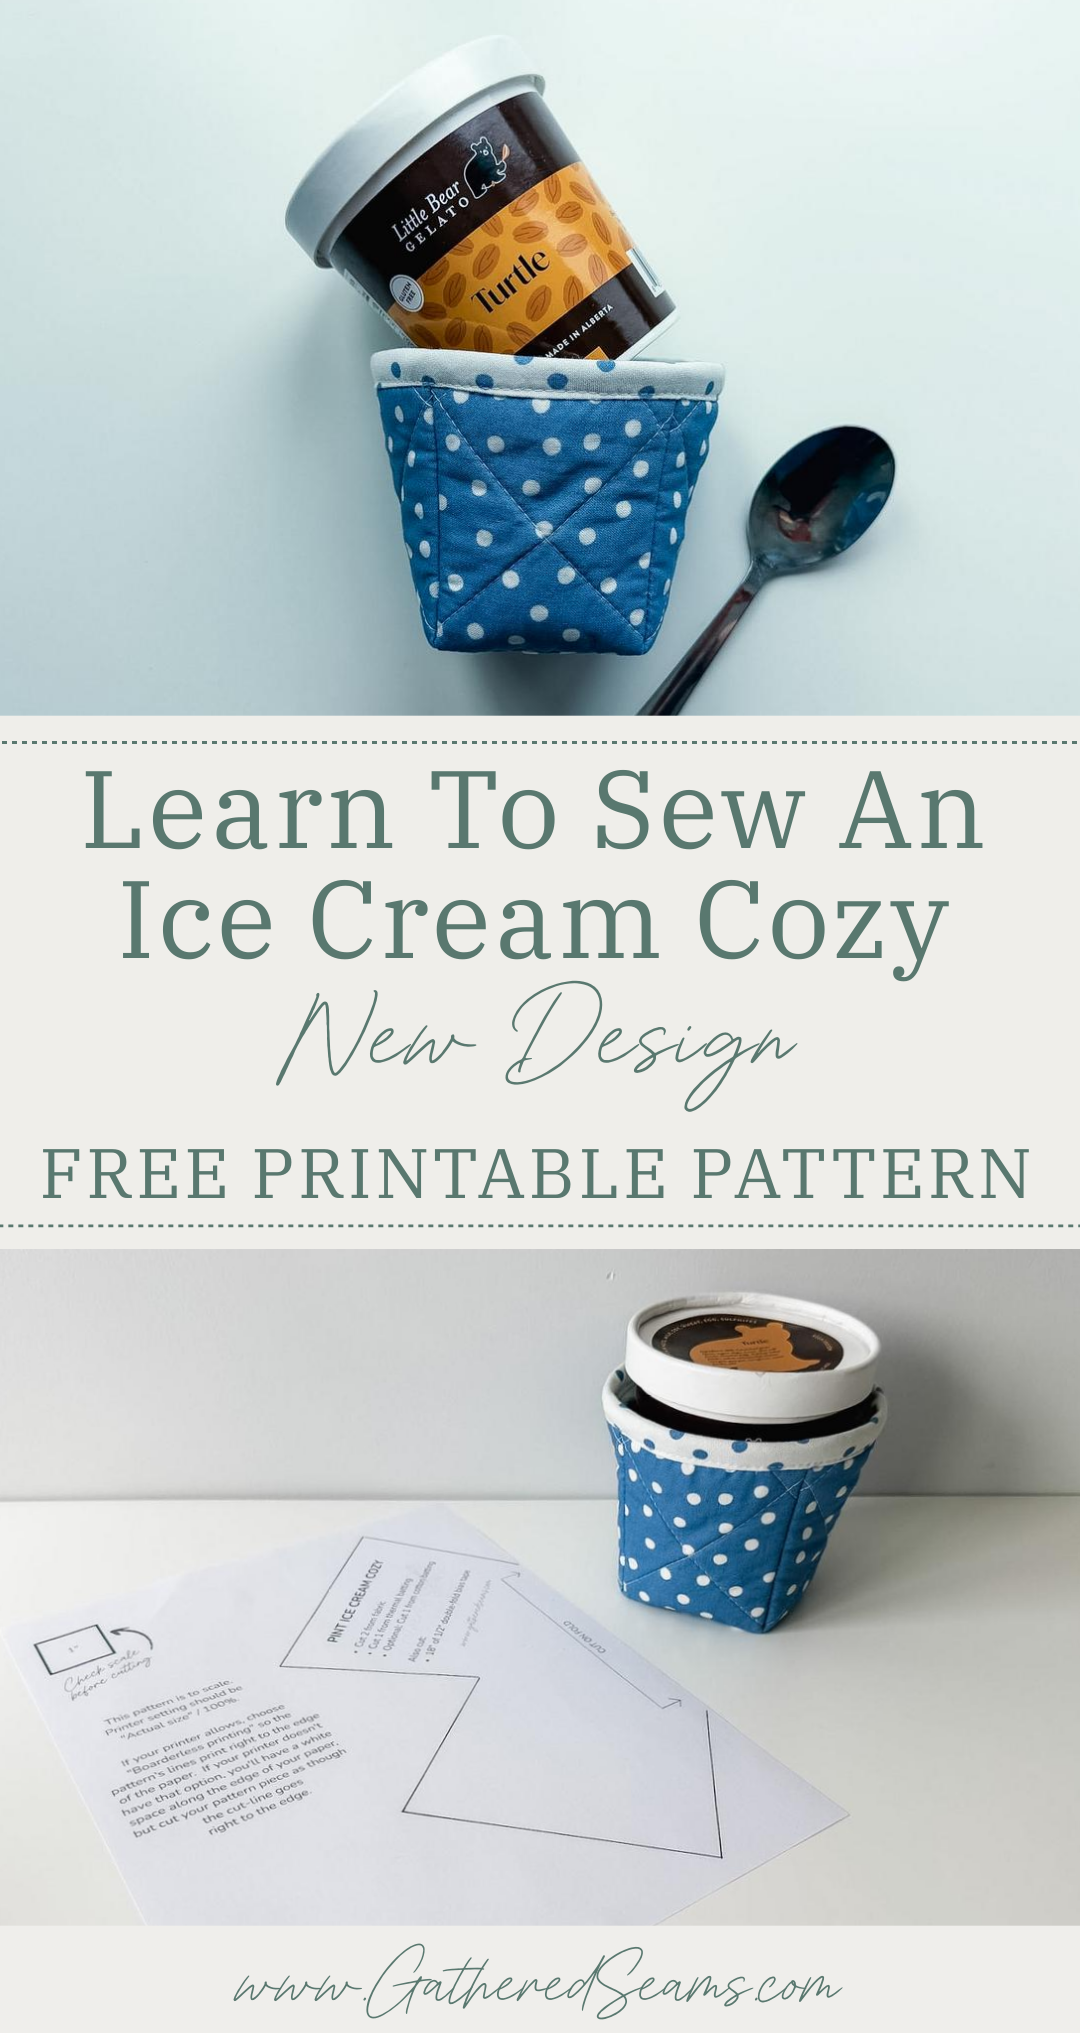
An ice cream cozy is a handy item to have if you love digging into a pint of ice cream now and then. It also makes a great gift for an ice-cream lover or to go with a pint of ice cream for a thoughtful feel-better or cheer-you-up gift.
This pattern is different than the other ice cream cozies out there.
It is more of an intermediate/advanced sewing pattern due to the bias tape, but I wanted to design a cozy that was different than all the other free patterns out there.
So if you’re a beginner sewist, you may find this sewing project a little challenging.
To make this pattern easier to sew, here are a few tips:
- Skip the cotton batting – I use a layer of thermal batting, as well as cotton batting; the cotton to help absorb condensation from the ice cream packaging and the thermal batting to prevent your hand from heating up the container. Together, they also keep your hands nice and warm. The cotton batting is optional. Omitting it will make this pattern easier to sew.
- Don’t sew all layers together around the bottom – I sew the outer and lining together around the bottom of the cozy, which I’ve found gives the inside of the cozy a cleaner look, so the lining sits flat. But again, you can skip this step to make this project easier.
- Skip the bias tape – the bias tape can be tricky to sew around this smaller opening. If you prefer not to work with bias tape, you can use the more traditional “birthing” method, placing outer layer and lining right sides together, sewing together around the top edge and leaving an opening to turn the cozy right side out. Then topstitch around the top edge to close the opening. If you’re using this method, don’t sew the layers together around the bottom.
Materials
As an Amazon Associate, I earn from qualifying purchases (see full disclosure here).
- Fabric for outer layer and lining
- Thermal batting (Insul-Bright or something similar)
- Cotton batting (optional)
- 1/2″ double fold bias tape (2″ wide when unfolded)
- Thread
Tools
- Sewing machine
- Walking foot (this makes sewing with thicker materials, like batting, easier. This is the universal one I purchased for my Baby Lock, which is a different machine than what’s shown in the photos)
- Temporary fabric pen or chalk
- Temporary fabric adhesive
- Ruler
- Iron
- Scissors
- Pins or clips
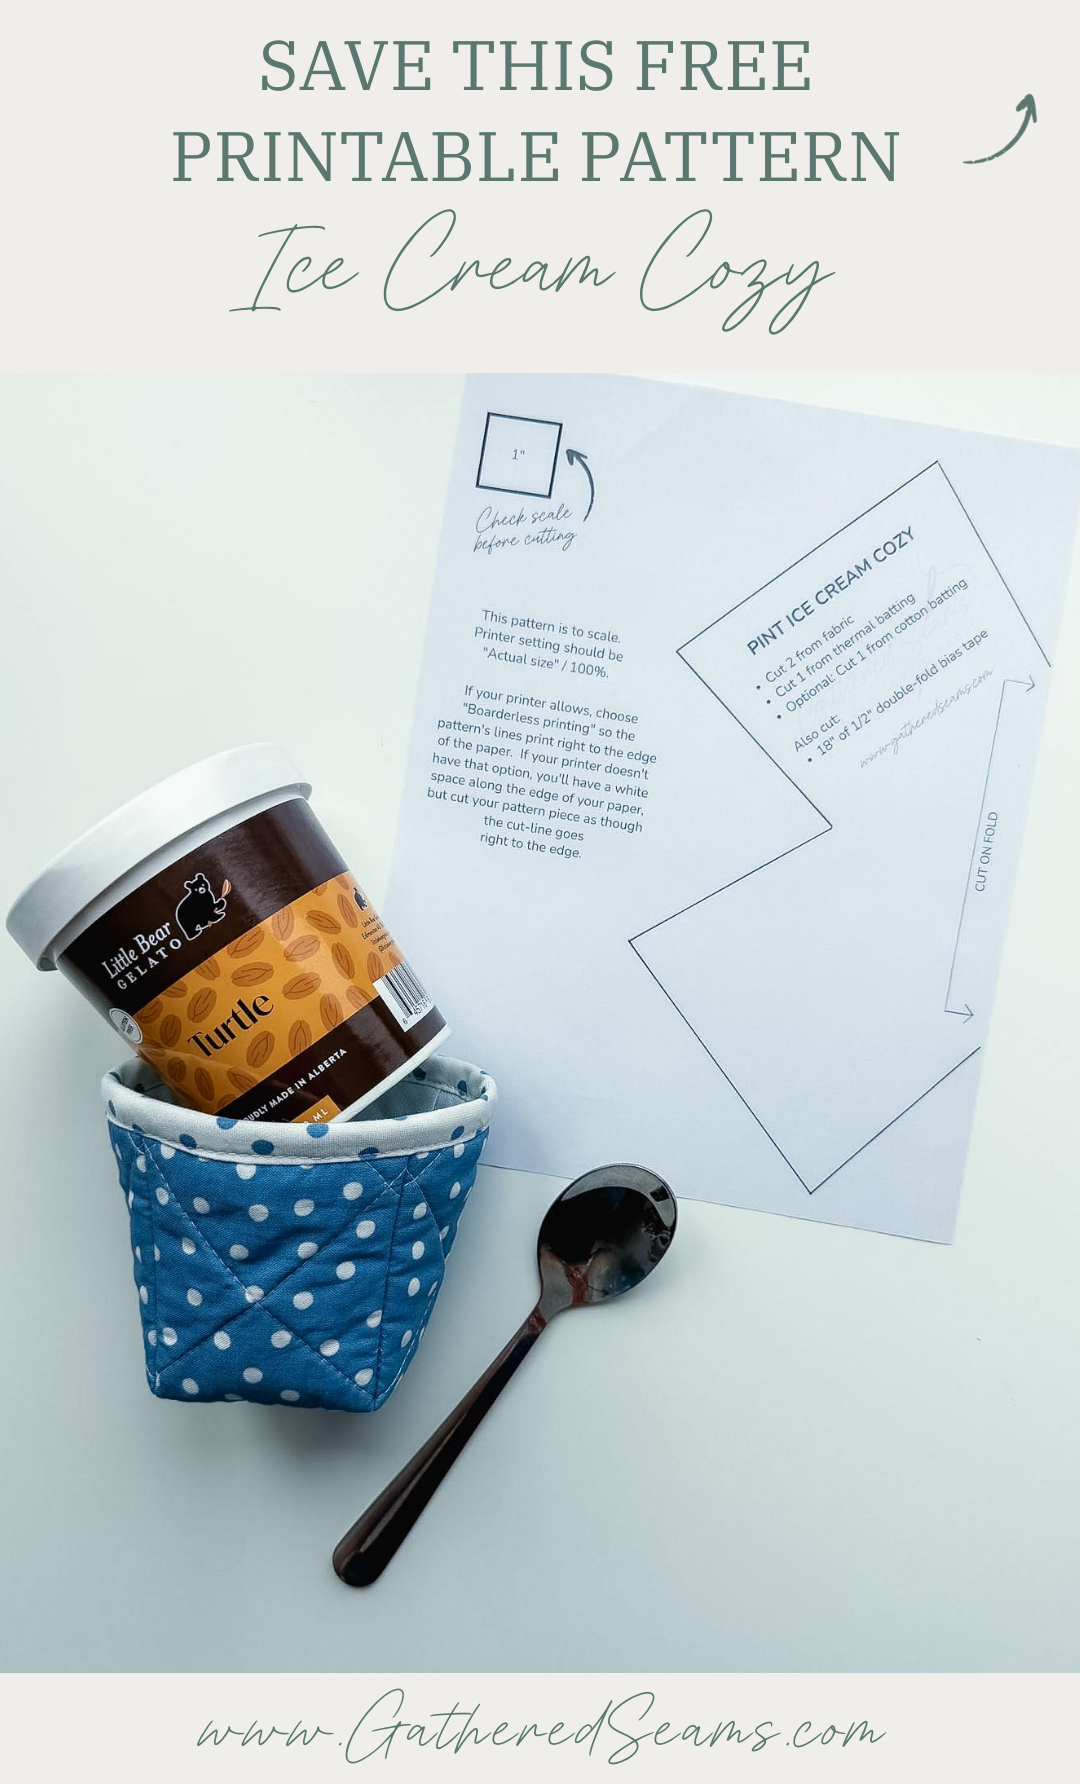
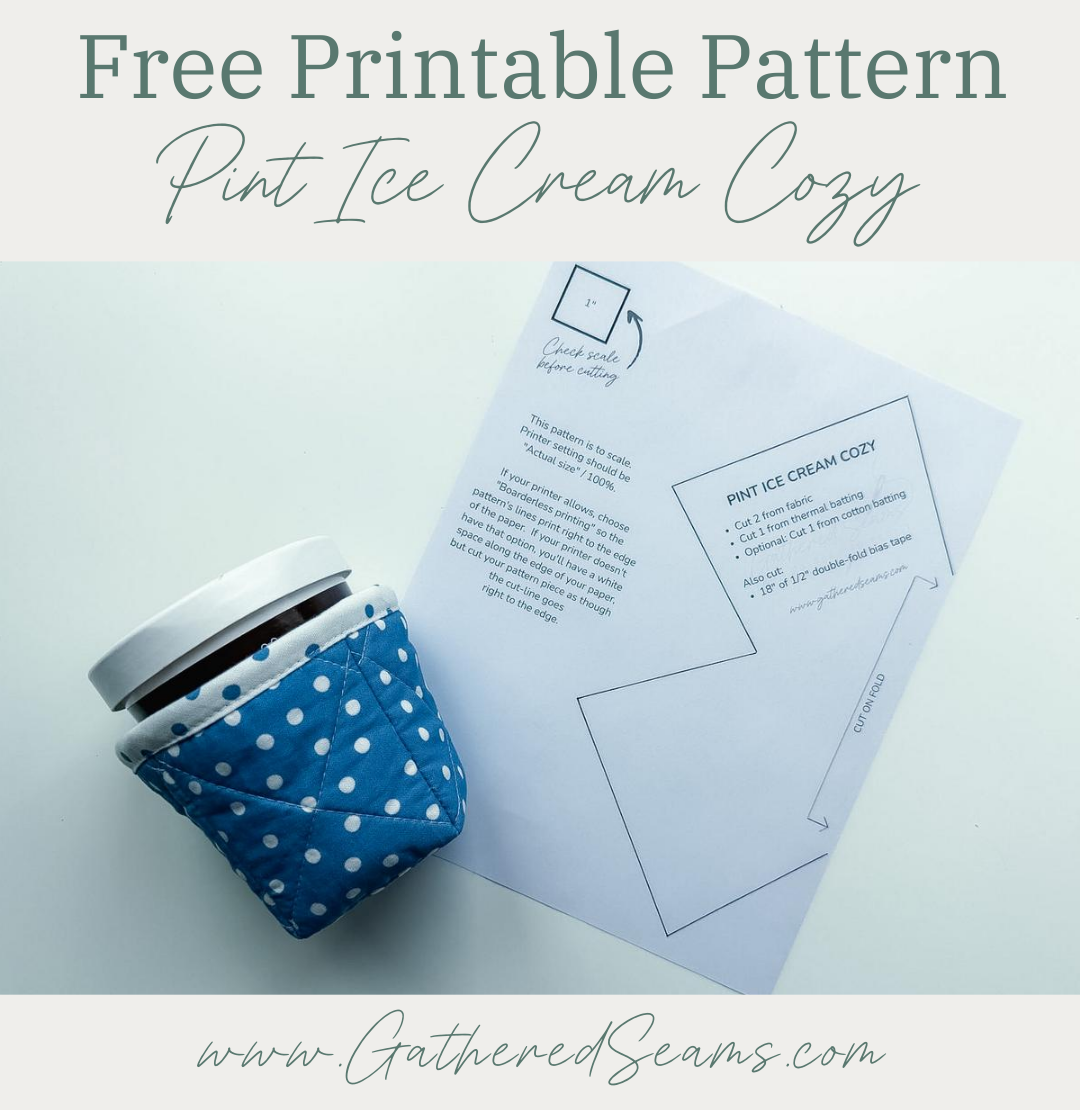
Free sewing pattern for a pint ice cream cozy

Steps to sew an ice cream cozy
Step 1
Download the free printable pattern and cut out the pattern piece.
If you want to add several quilting stitches, cut your outer fabric, thermal batting, and cotton batting pieces slightly larger, add your quilting stitches, then cut to the size of the pattern piece.
Another tip to note: we’ll need to separate the batting from the fabric along the seam allowance to trim the batting back. So I don’t backstitch at the start and end of my quilting stitches. This makes it easier to separate the layers later.
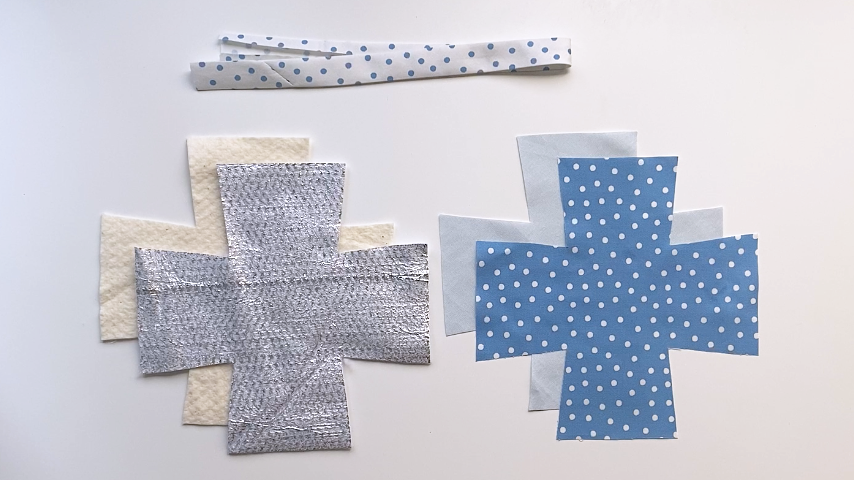
You will need to cut your pattern piece in:
- Outer fabric
- Lining fabric
- Thermal batting
- Cotton batting (optional)
You will also need to cut:
- 18″ of 1/2″ double-fold bias tape (2″ wide when unfolded)
Step 2
Layer your outer fabric, thermal batting and cotton batting, with the thermal batting betwen the two.
Add quilting stitches to secure the layers together, or use a temporary glue.
You can keep the quilting stitches simple, and sew along the middle from top to bottom and left to right, or add more pattern like I did.
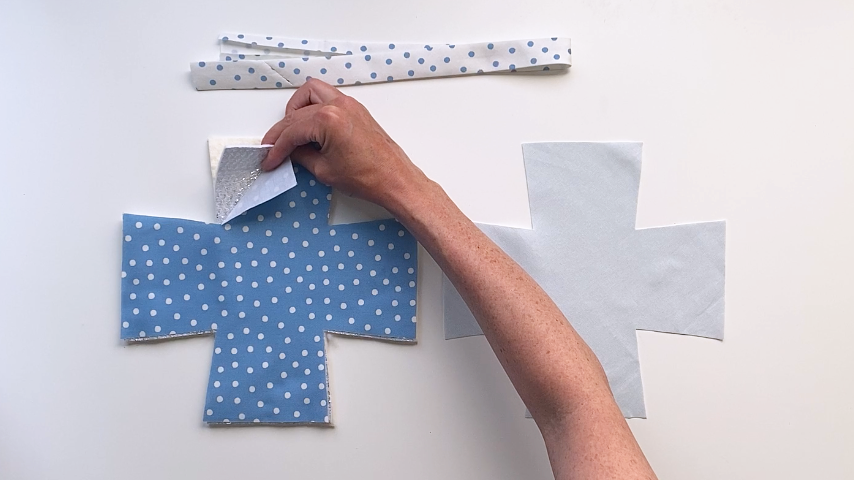
*Skip this step if you’re following the “beginner-friendly” tips shared at the start of this article.
Place your outer piece (outer fabric, thermal batting, and cotton batting) wrong sides together with your lining.
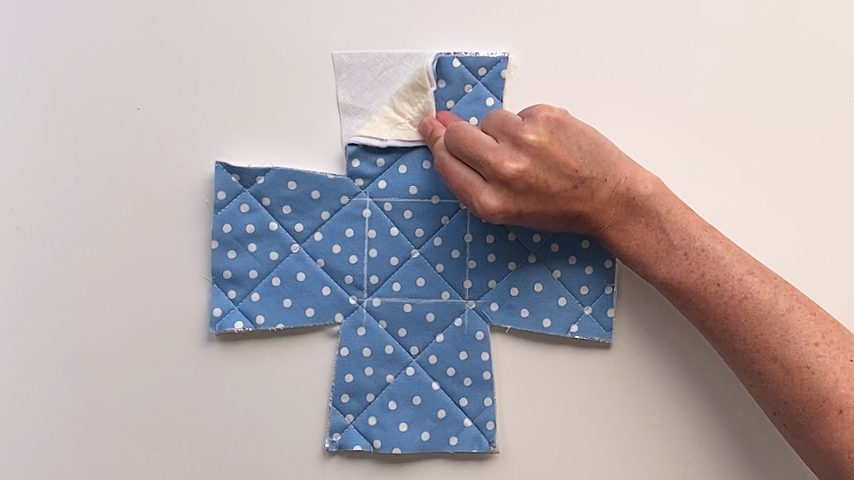
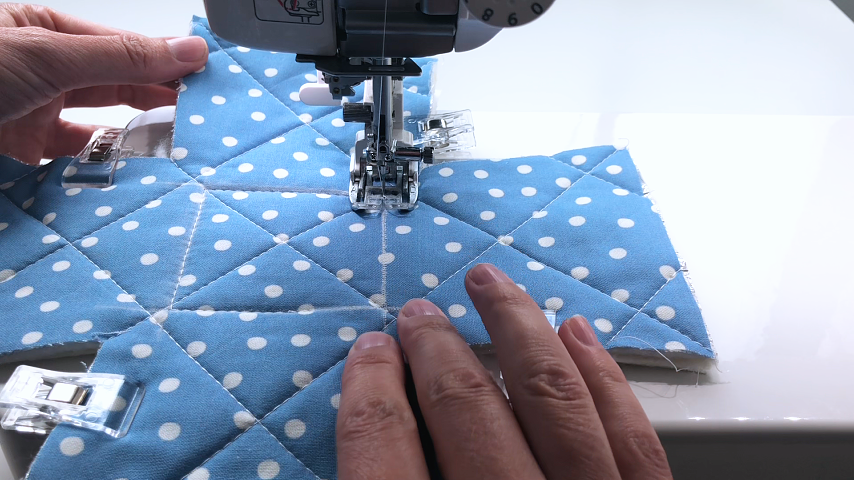
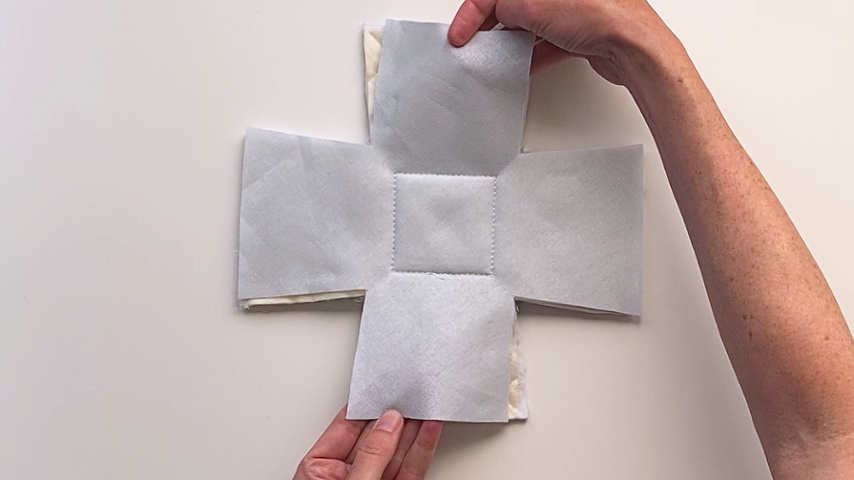
Use a temporary fabric pen or chalk to mark a square that is 1/2″ above each point:
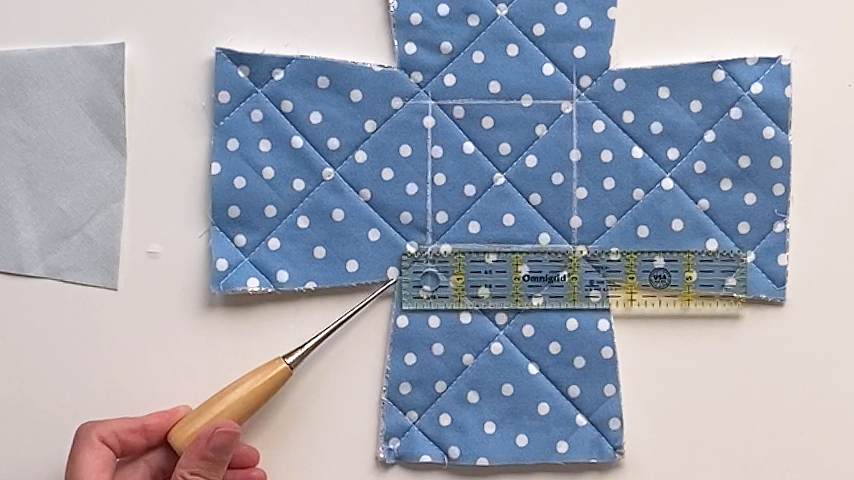
Sew around the square to secure the bottoms of the layers together.
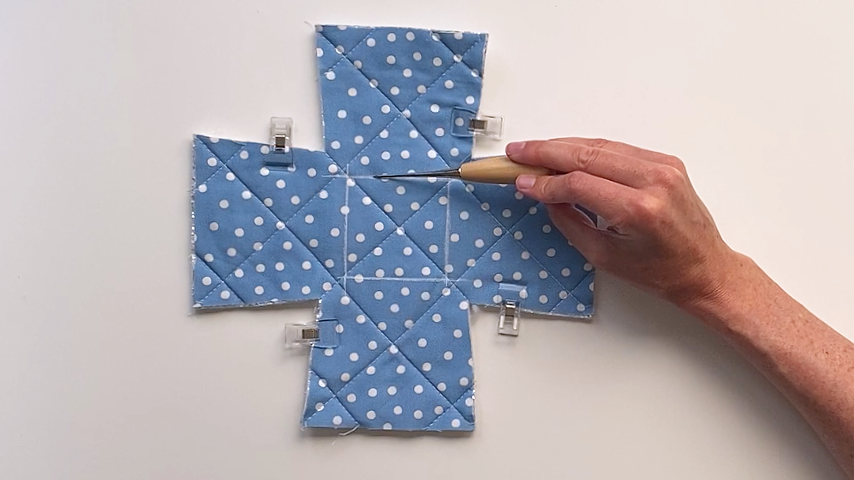
Step 3
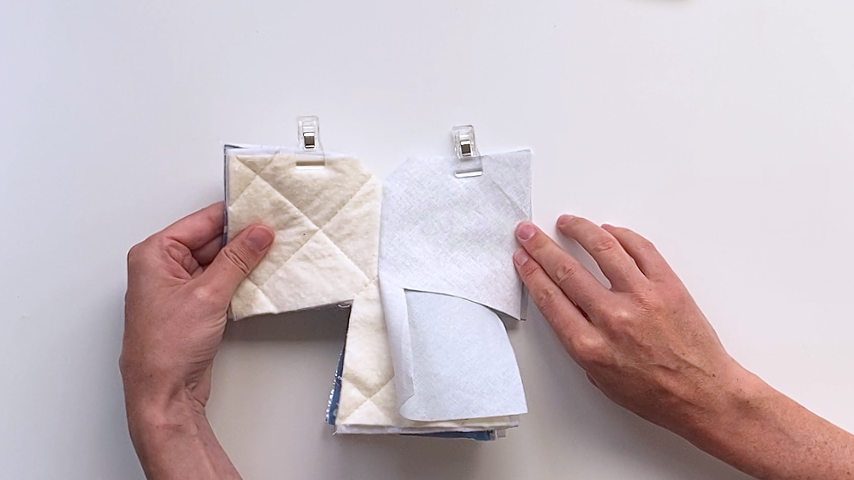
Fold your outer layers with right sides together and then your lining with right sides together, so top edges align:
Sew along the side of the outer layer using a 1/2″ seam allowance.
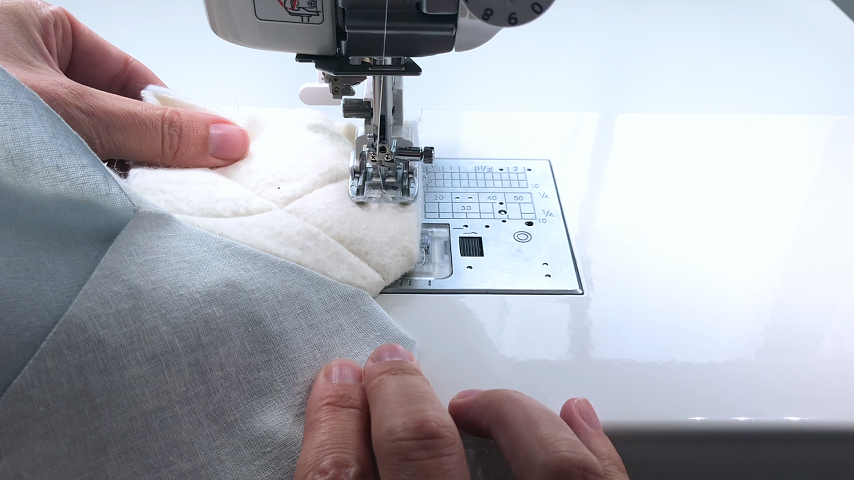
Sew along the side of the lining using a 5/8″ seam allowance. Increasing the seam allowance for the lining will account for the bulk of the batting and ensure the lining fits snugly inside the outer piece.
You may want to move your needle position to the left, so it’s easier to sew the lining as you get close to the batting.
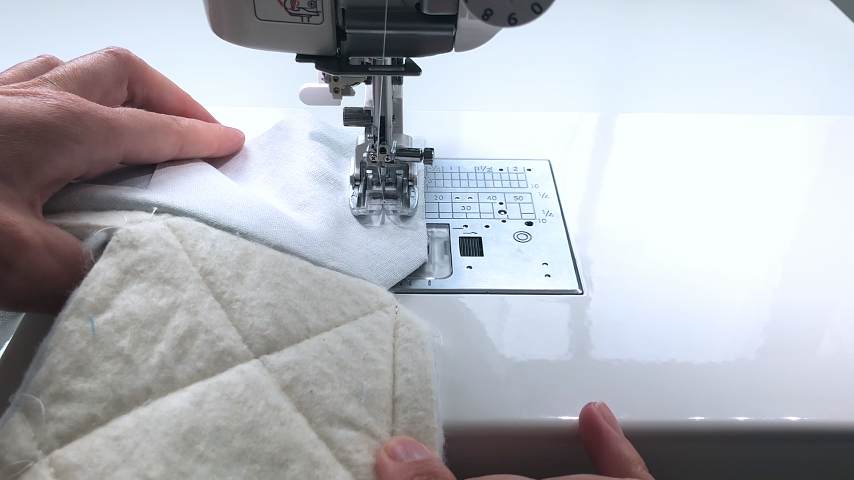
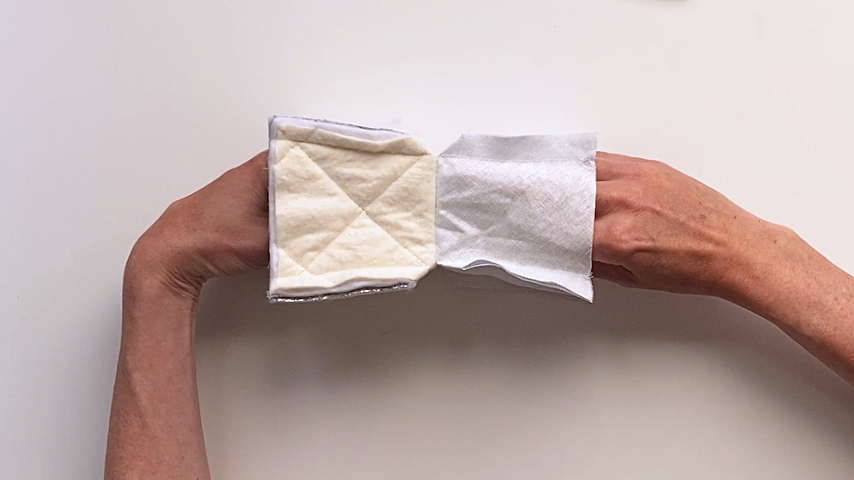
Repeat this step so all four sides of the outer layers and lining are sewn together. Below is what it will look like:
Step 4
To reduce the bulk in the seams, we’ll trim the batting’s seam allowance. You may need to use a seam ripper to remove quilting stitches in the seam allowance.
Cut the layers of batting only.
Snip to the point of the seam:
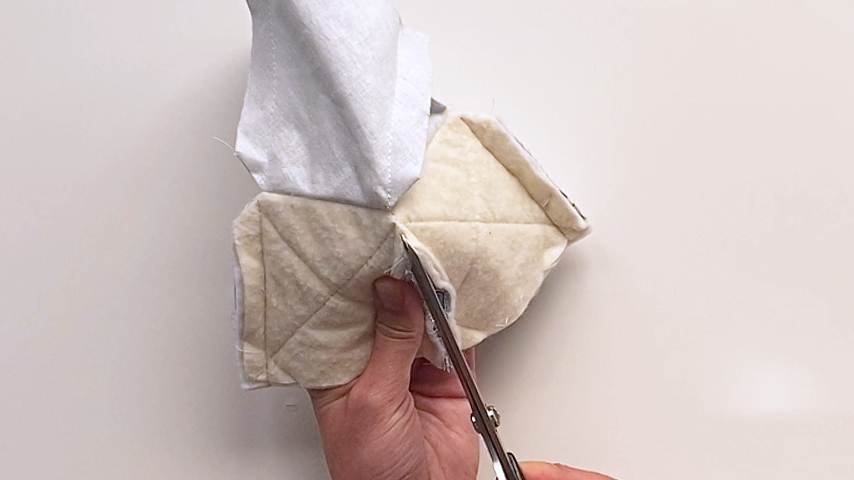
Then cut the batting close to the stitching (don’t cut the fabric).
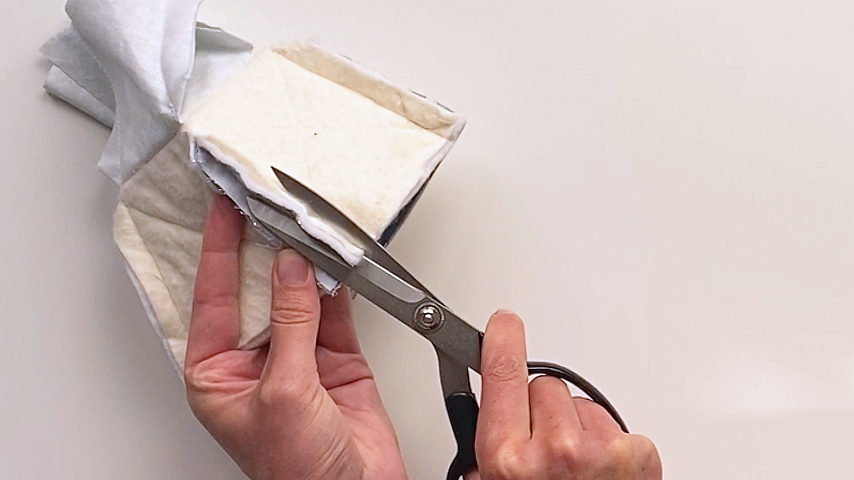
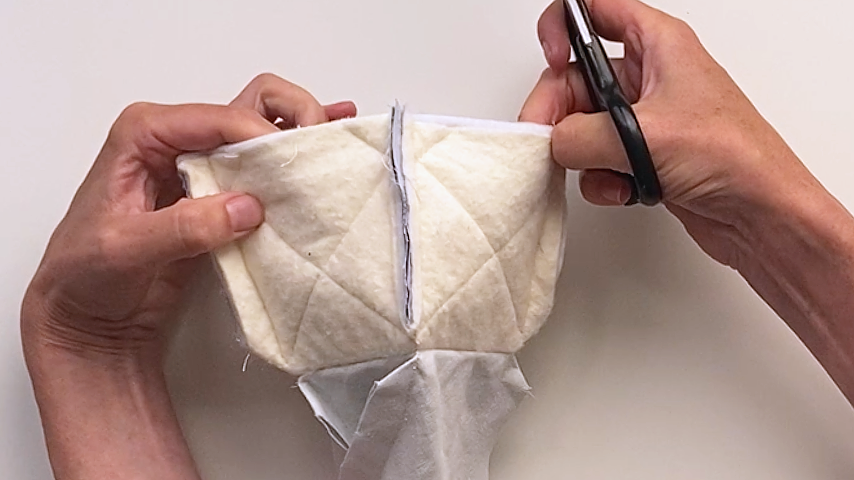
Repeat this on the outer layer only, for all 4 seams.
Press the side seams and ensure you’re folding your lining’s seam allowance the opposite way of the outer layer’s seam allowance, so when you line up the seams, the seam allowances are going in opposite directions to reduce bulk.
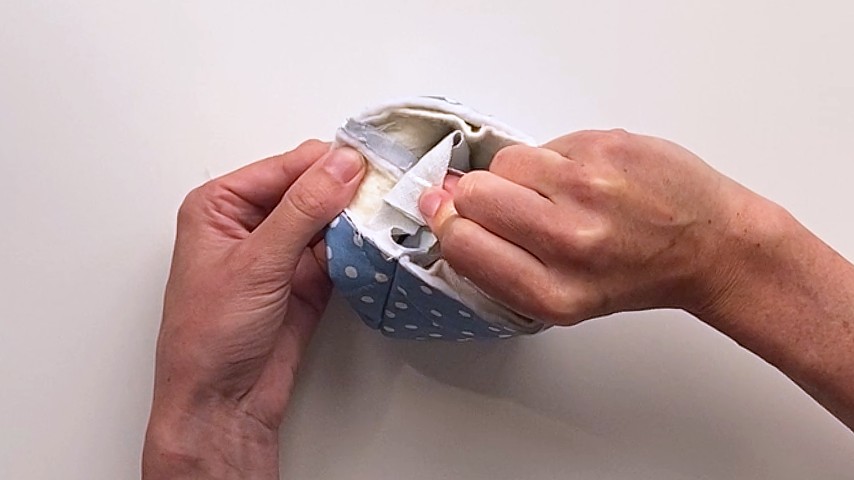
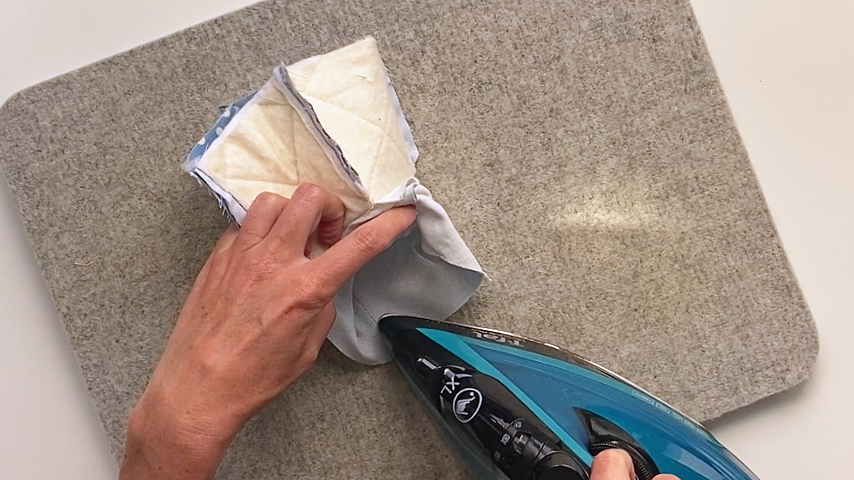
Line up the side seams and top edges of the outer layer and lining. Then baste the top edges together.
>> If you skipped sewing the bottom of all layers together, simply nest the lining inside the outer layer, with wrong sides together, line up the side seams, and baste around the top.
>> If you’re skipping the bias tape, place the layers right sides together, sew around the top edge using a 1/2″ seam allowance, leaving an opening 2″ – 3″ wide. Then turn the cozy right side out, press your top edge, and topstitch around the top edge to close the opening. Then your cozy is complete.
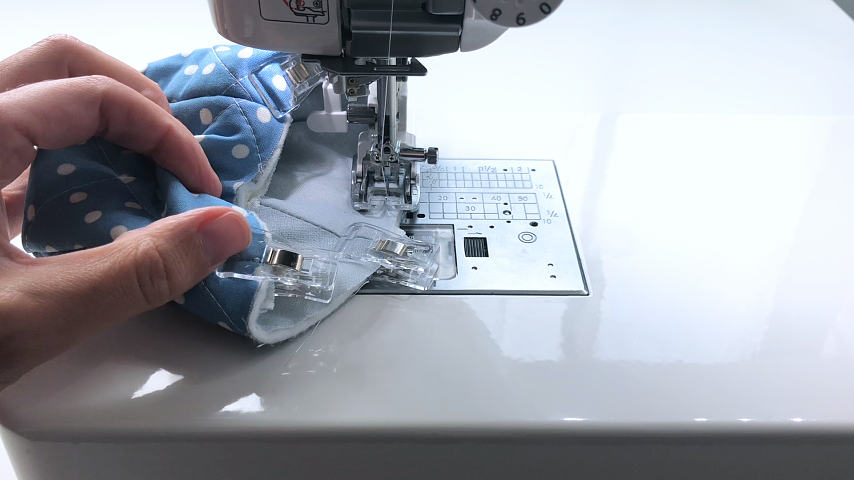
Step 5
Mark a line 2″ away from the end of your bias tape. This is where you’ll start sewing it to your cozy, stitching in the first crease:
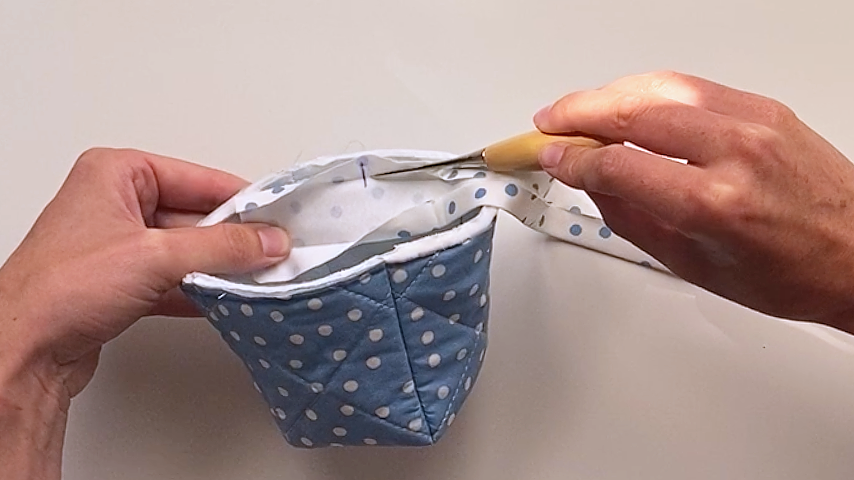
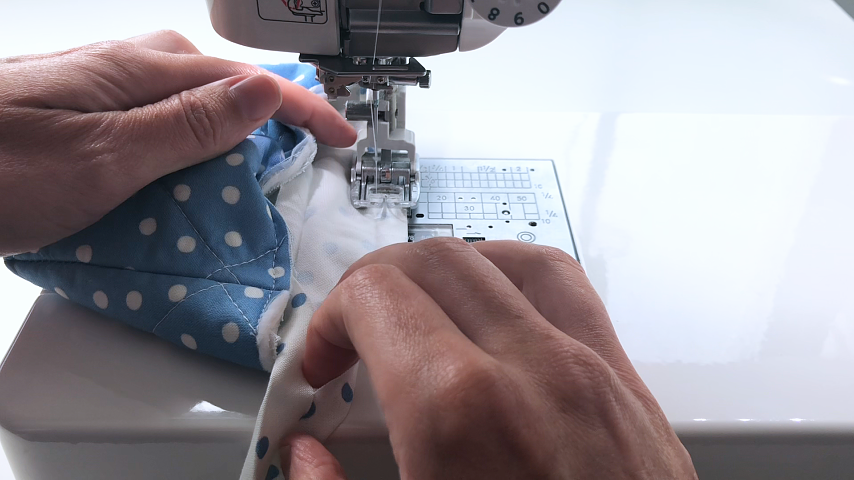
When you come back around to the start of the bias tape, fold the loose 2″ end straight back.
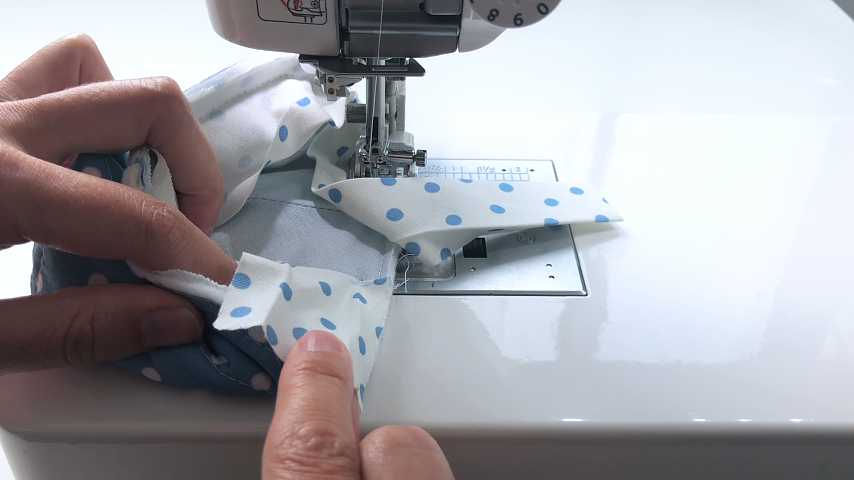
Then set the end of the bias tape on top and you’ll sew right up to the start of your stitching, being careful not to go past it.
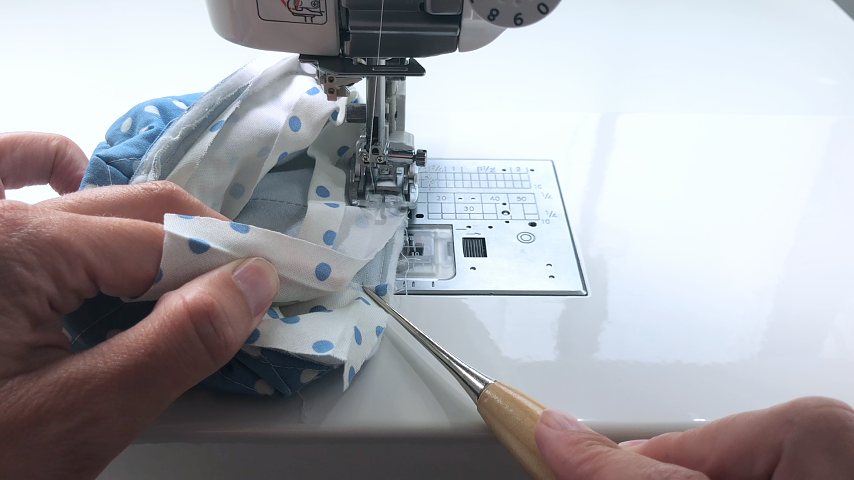
Open the end of your bias tape:
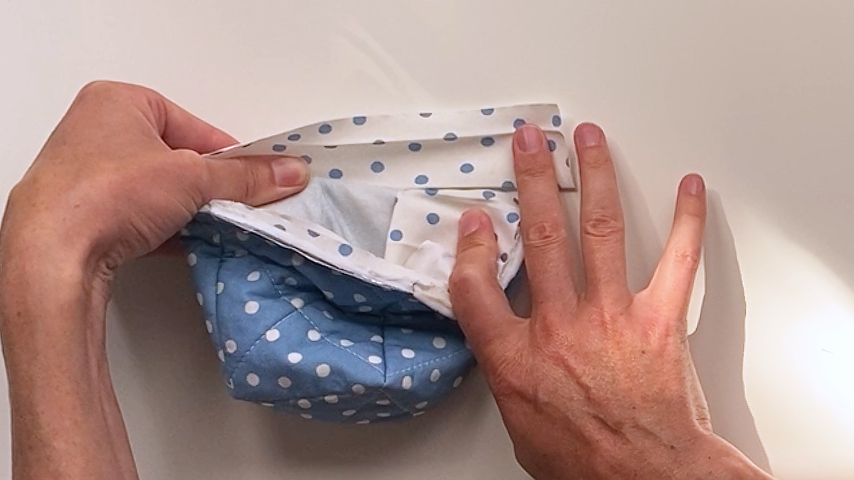
Then fold the cozy so you can place the start of the bias tape at a 90-degree angle, on top of the end piece. You’ll sew across these two pieces at a 45-degree angle to join the two ends:
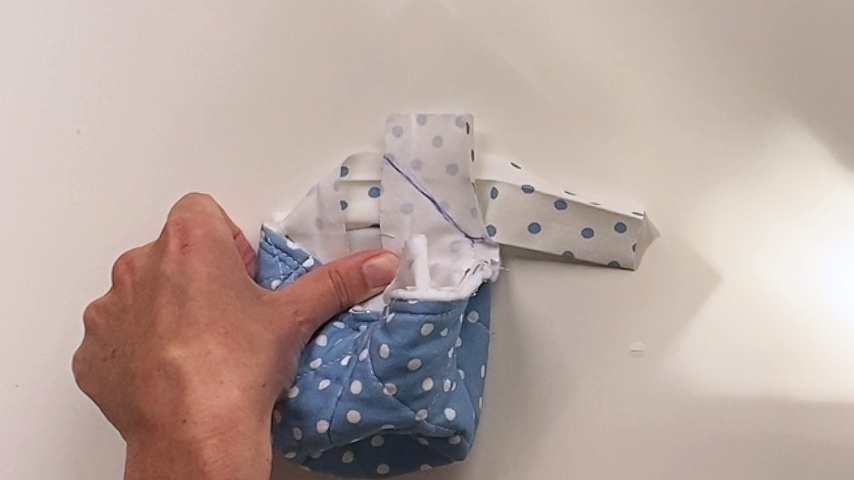
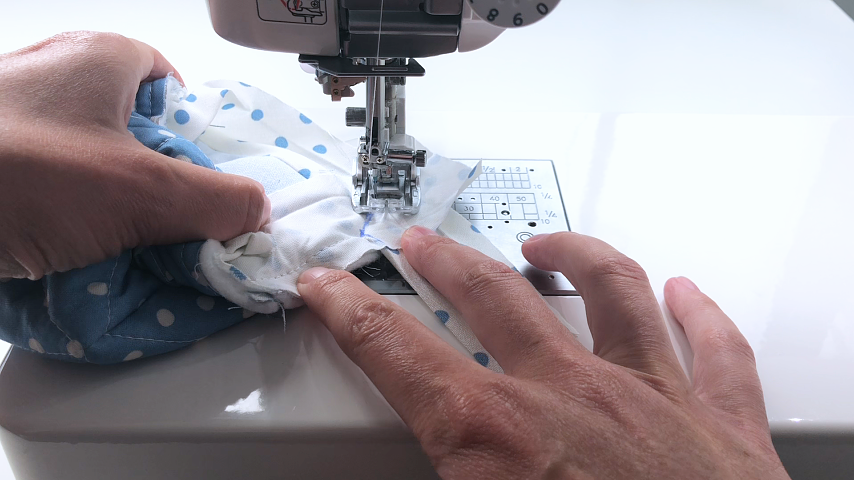
Check to make sure the seam looks good, then trim the excess bias tape and finger press the seam open.
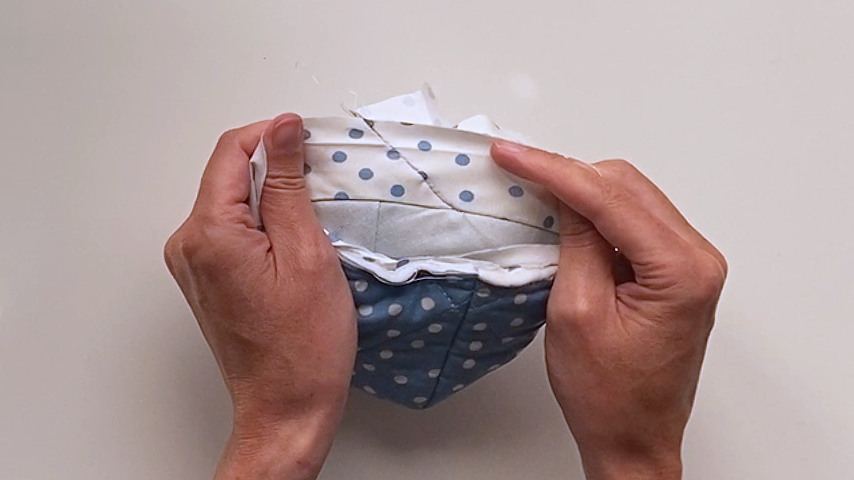
Fold the bias tape to the other side and press into place so the folded edge is sitting right on top of the stitching, covering it just slightly.
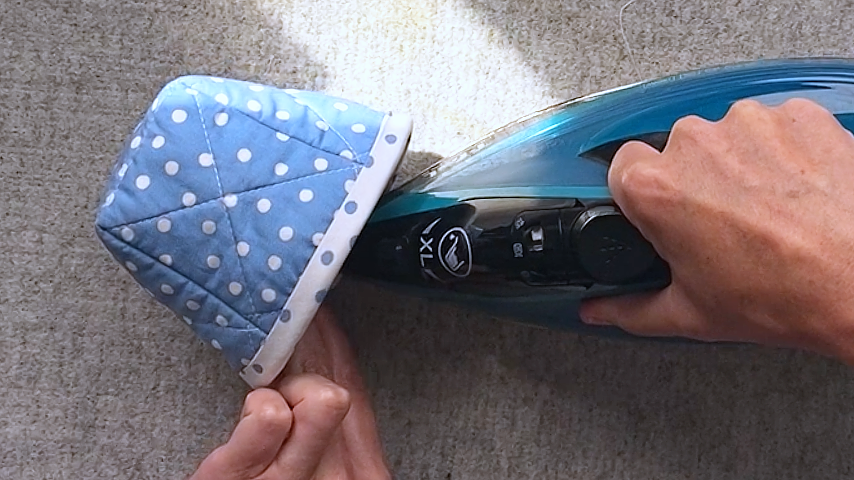
Sew 1/8″ in from the inside edge of the binding, backstitching at the start and end.
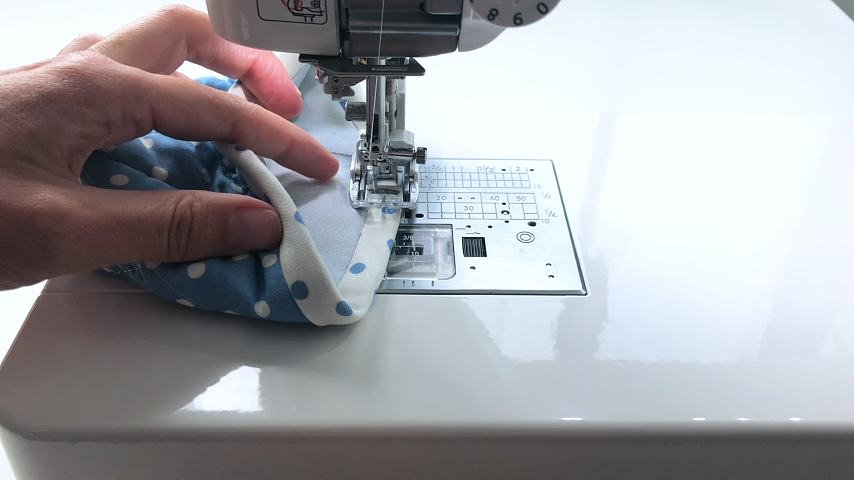
Check as you sew to ensure the bottom side of the bias tape is just slightly covering the line of stitching.
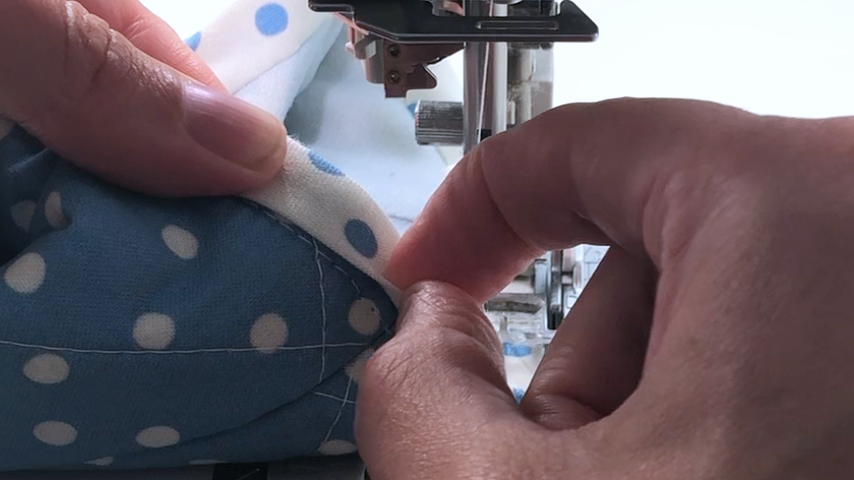
Your ice cream cozy is complete!