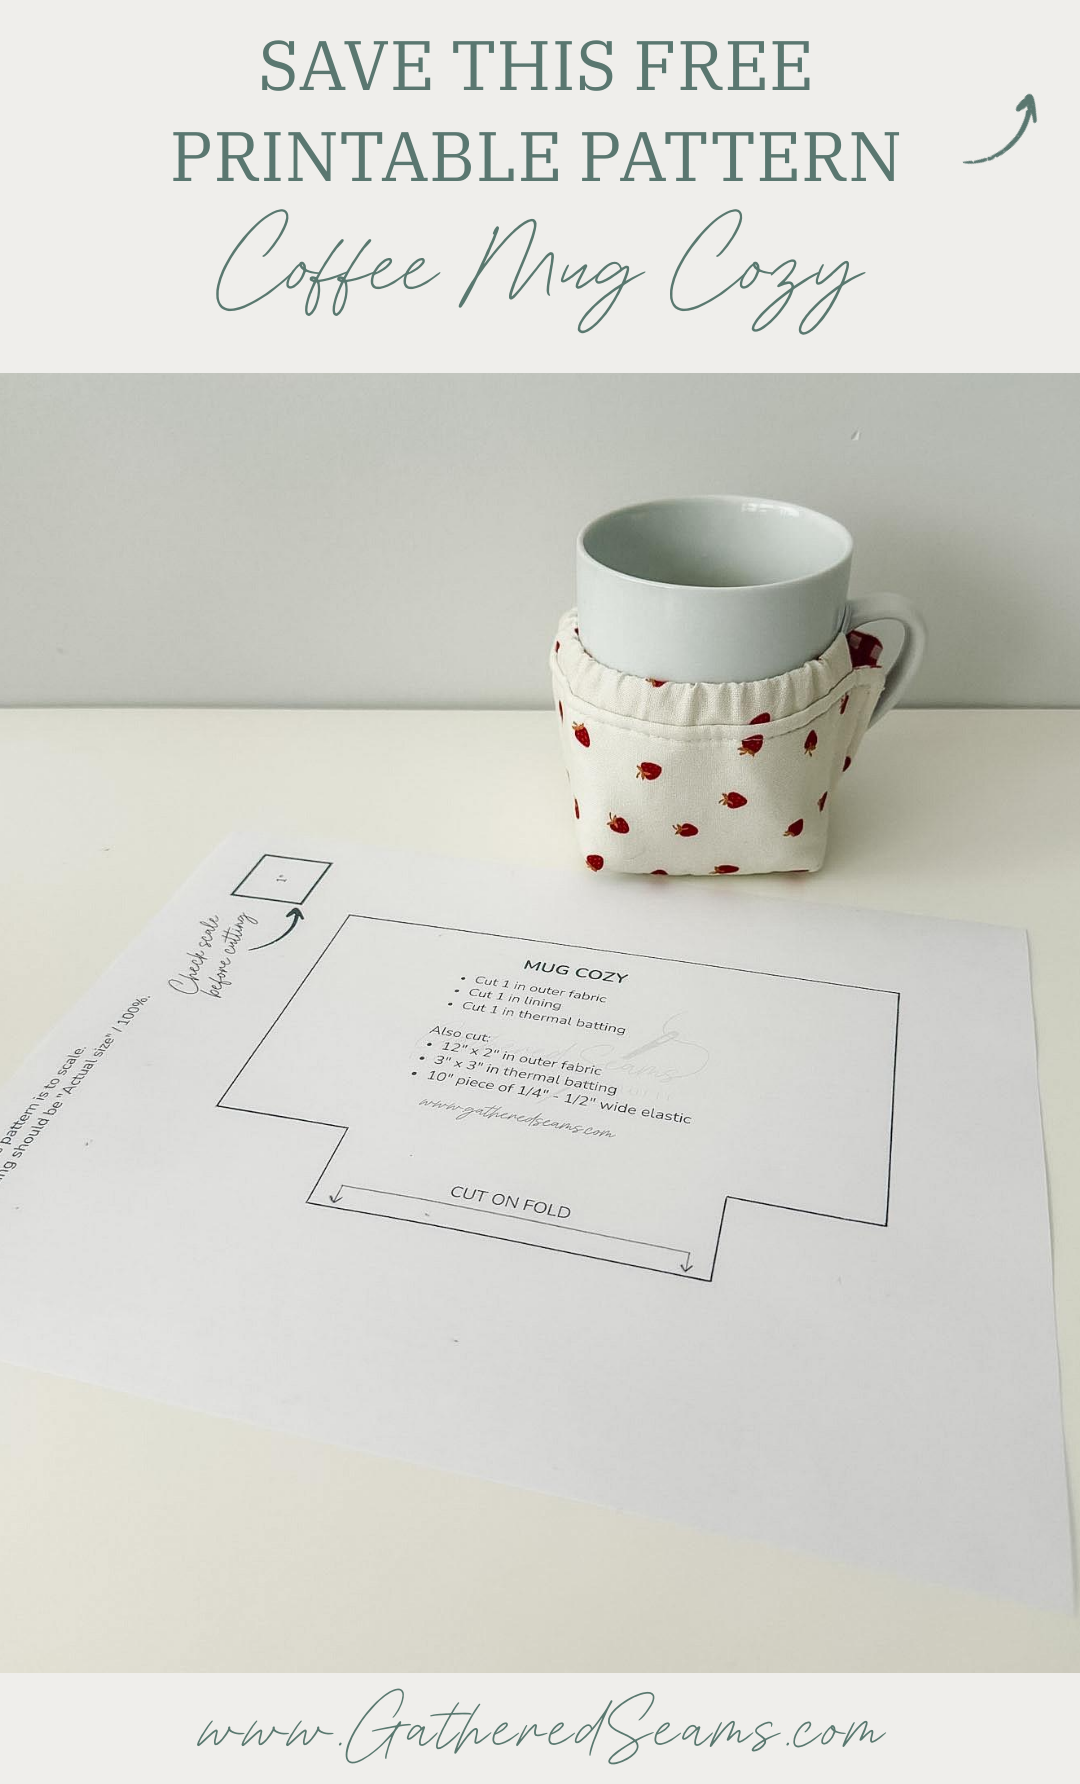
How To Sew A Mug Cozy | Free Printable Pattern
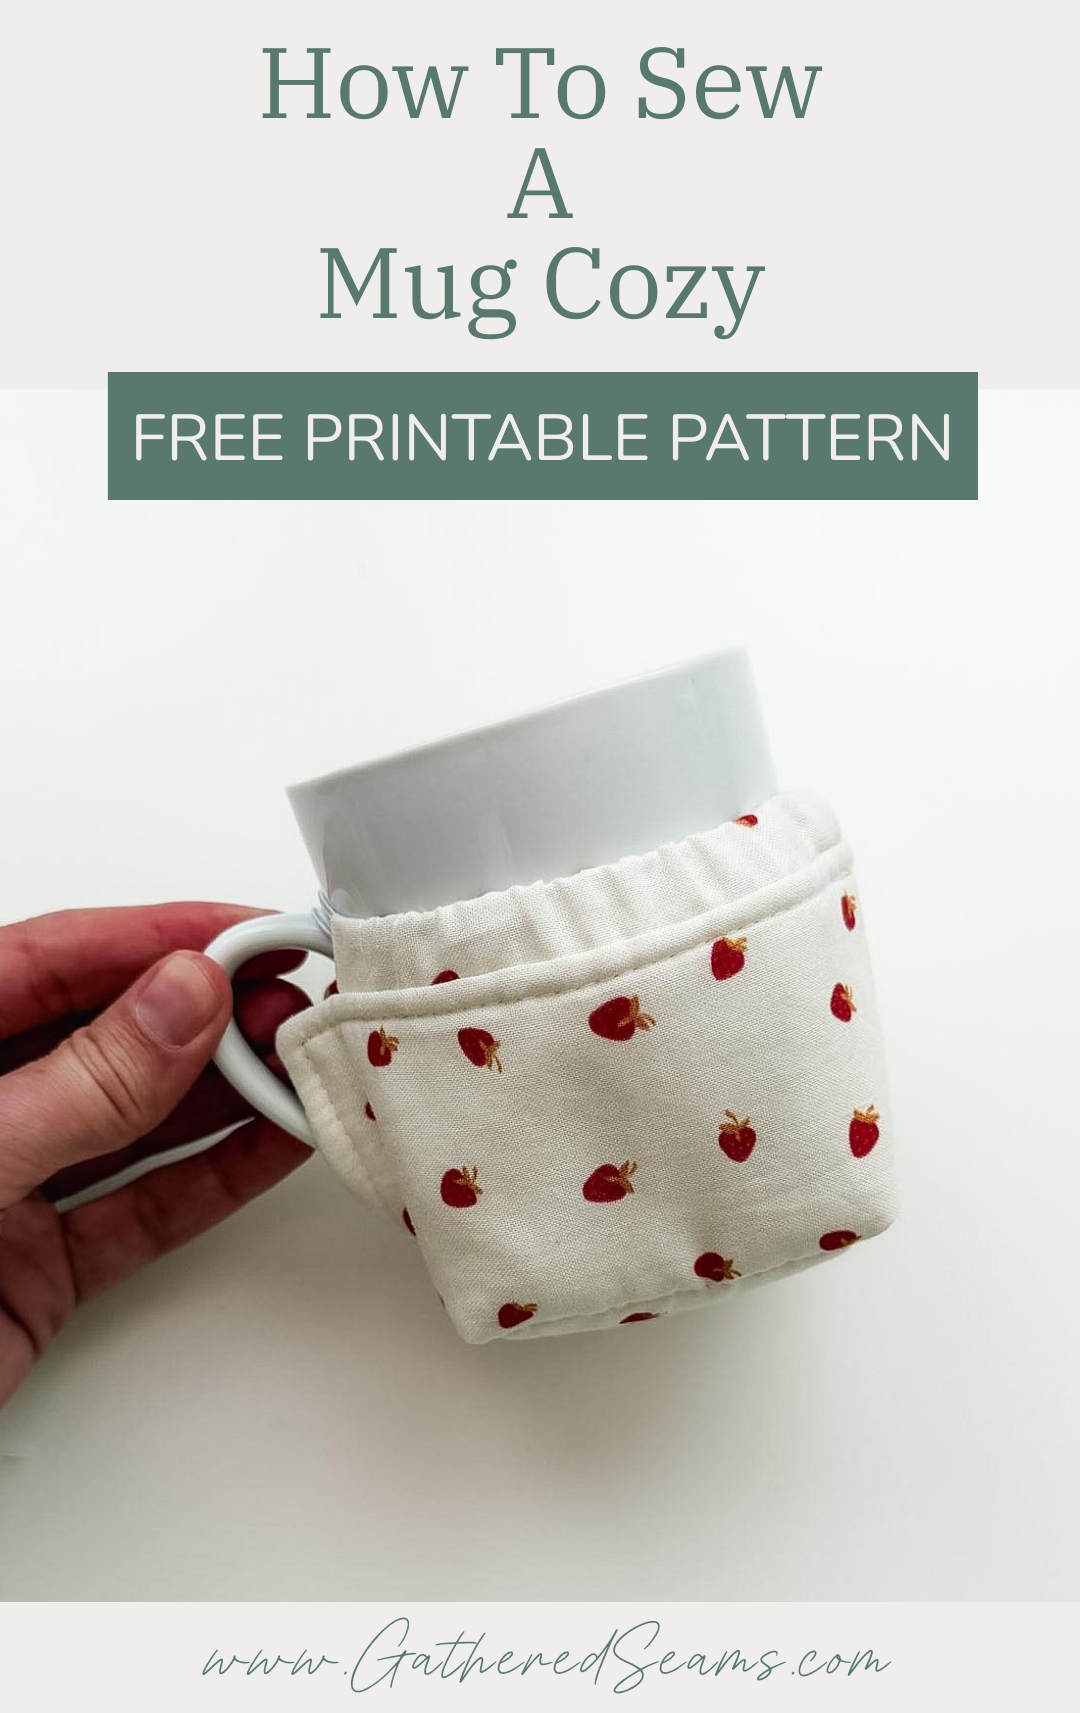
There are many sewing patterns and tutorials out there for a mug cozy, but they’re all the same; an elastic loop and a big button.
Although this one requires a few more steps to make, I wanted to make sure I was offering a new pattern design for a mug cozy.
This one is unique in that it:
- covers more of the mug to insulate it better
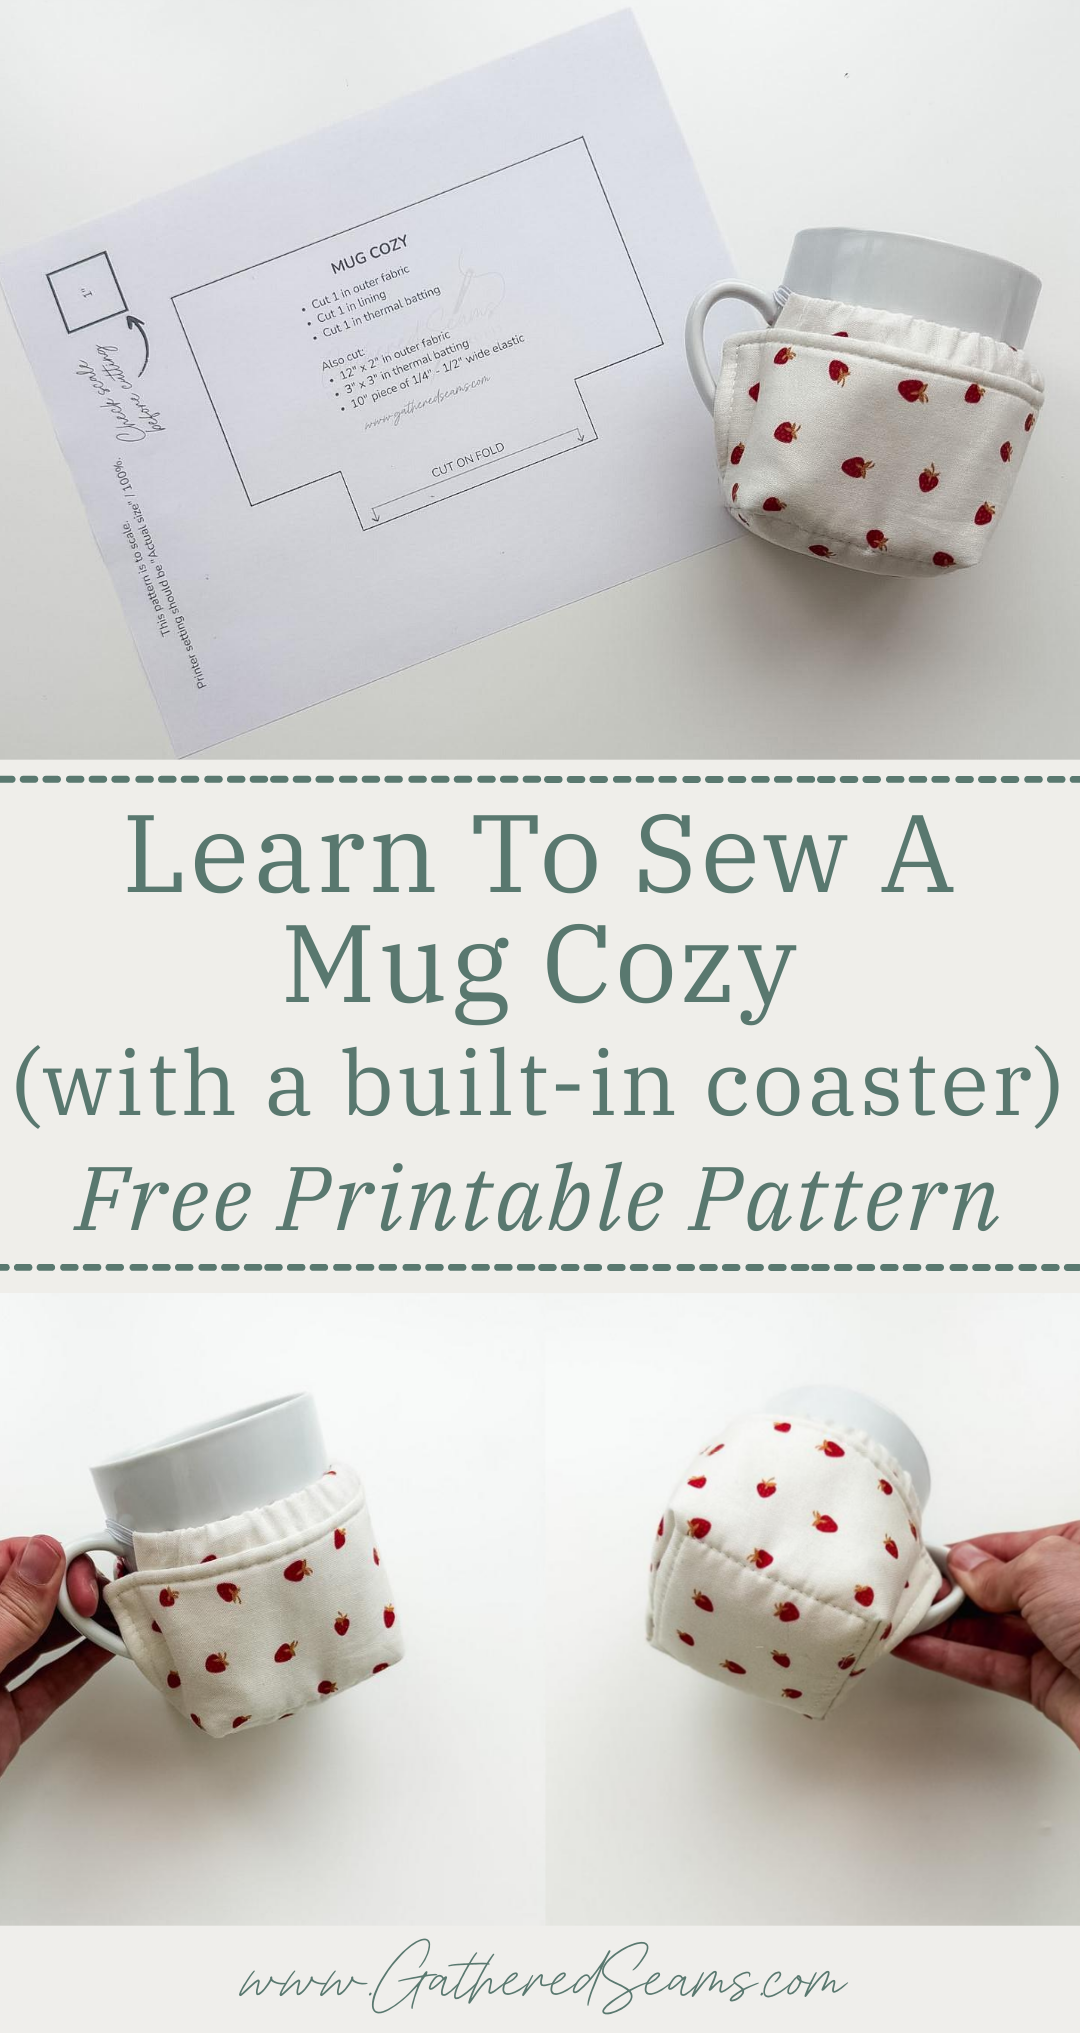
- has a built in coaster
- extends above and below the handle
Finished size
This mug cozy has a 3″ x 3″ base and is 3″ tall (the insulated portion is 2-1/2″ tall).
I tested it on a variety of mug shapes and sizes I have, and it works best for: 8-ounce to 12-ounce mugs.
However, it does fit around my 14-ounce mugs…it’s just a little snug.
The circumference range of the mugs I tested on is 10-3/8″ – 12-7/8″.
The handles are all slightly different, with some being more narrow, having less of a lip, or being closer to the top of the mug, and the cozy worked well with each variety (photos of the cozy on each type of mug are at the end of this post).
If you’re making these as a gift, here are few other items you may want to add:
To sew
- teapot cozy
- tea wallet (and put an assortment of tea packets in it)
- reusable tea bags
- tea towel (ruffled tea towel, double-sided tea towel, or fringed tea towel)
To buy
As an Amazon Associate, I earn from qualifying purchases (see full disclosure here).
- teacup or mug set
- a teapot (2-cup or 4-cup)
- a bagged tea set or a loose tea set
- a coffee press
- coffee beans
A few important notes:
- Be sure to place the cozy on the mug before filling it with hot liquid to avoid tipping the mug and burning yourself.
- I found it best to pull the elastic over the handle first, then work the cozy around the mug.
- Choose a fabric that is non-directional, otherwise the pattern will be upside down on one side of the mug.
- If you’re making these for a taller mug, you can simply adjust the pattern to add extra height to the top.
- I used a 1/4″ wide elastic but 1/2″ wide elastic would fit more snug in the channel so it doesn’t twist.
- You can use a colored elastic for a more elevated look
- If you don’t like the look of the elastic, you could use ribbon instead (which then could be tied under the top of the handle). However, you’d want to make sure it’s not too long so the ends of the tie don’t get in the way when tipping the mug and drinking. With the ribbon, it would be similar to my teapot cozy pattern.
Materials
As an Amazon Associate, I earn from qualifying purchases (see full disclosure here).
- Cotton or linen fabric (avoid synthetic materials)
- Thermal/heat-resistant batting (Insul-Bright or something similar) (this has “heat-reflective” properties) – it’s best to avoid synthetic batting to ensure the batting doesn’t warp or melt next to a hot mug. If you want more insulation, you may add a layer of cotton batting as well (i.e. thermal batting and cotton batting). If you don’t have thermal batting, a couple layers of cotton batting will also work. Be aware, the thicker the batting, the more snug the cozy will fit.
- Cotton thread
- 1/4″ – 1/2″ wide elastic
Tools
- Sewing machine
- Walking foot (this makes sewing with thicker materials, like batting, easier. This is the universal one I purchased for my Baby Lock, which is a different machine than what’s shown in the photos)
- Point turner
- Temporary fabric pen or chalk
- Temporary fabric adhesive
- Ruler (if buying a new ruler, be sure it’s in the measurement system you prefer; imperial or metric)
- Iron
- Scissors
- Pins or clips
- Safety pin
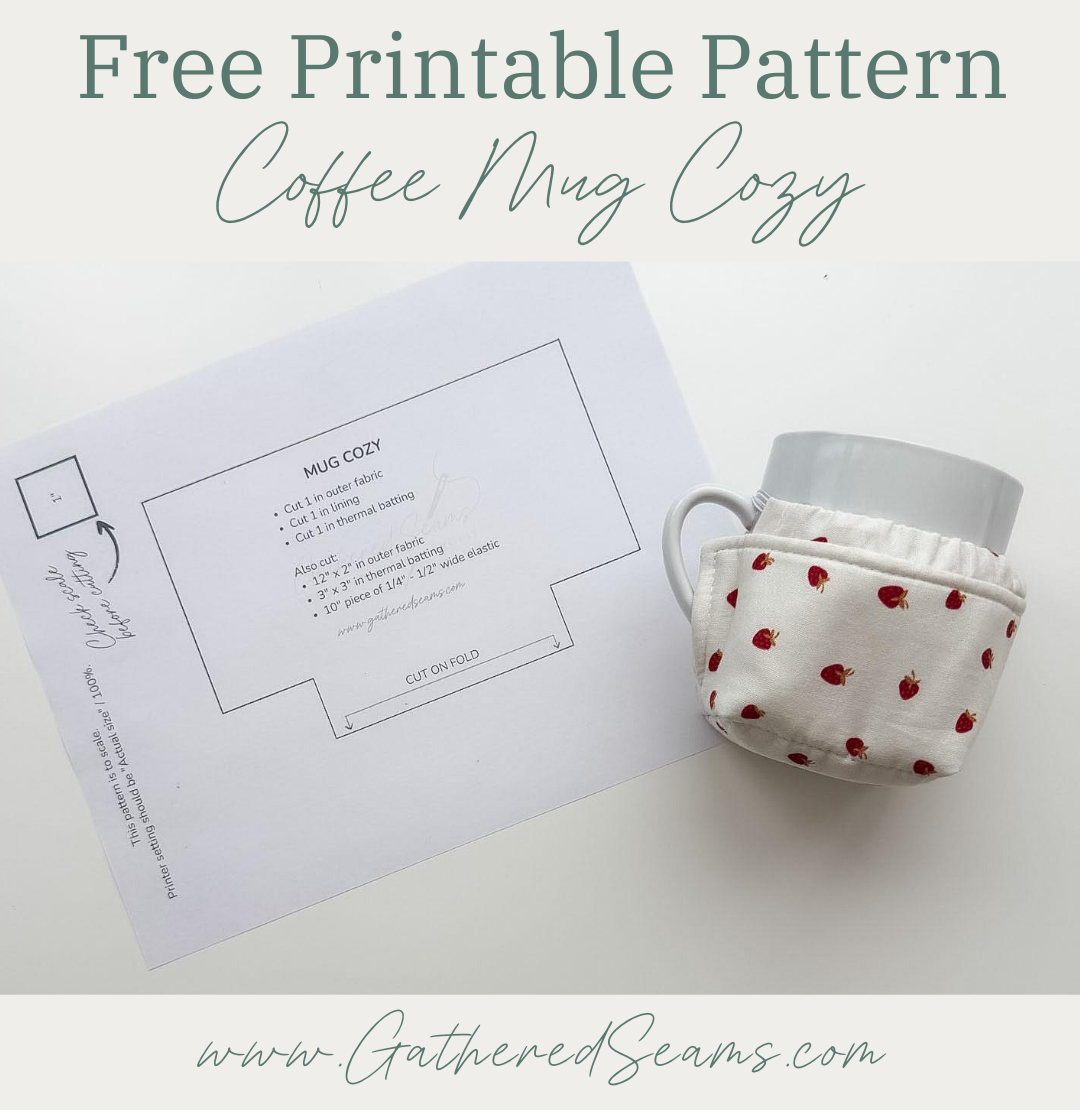
Free printable sewing pattern for a mug cozy

Steps to sew a mug cozy
Step 1
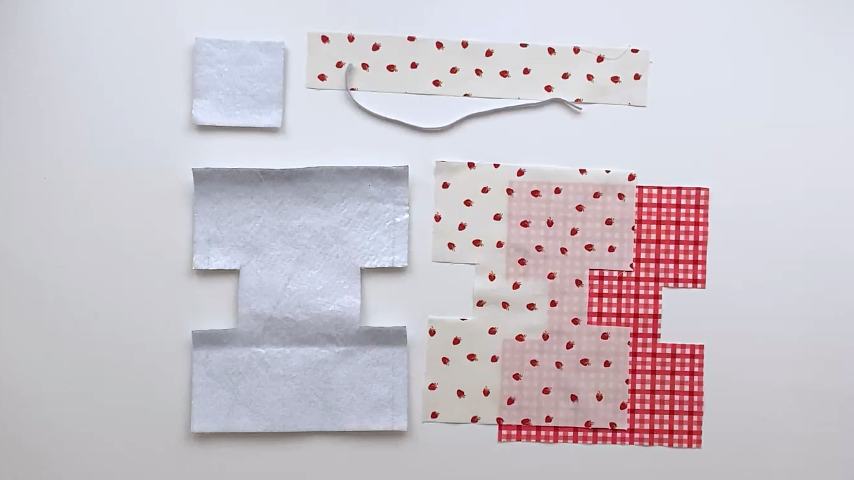
Download the free printable sewing pattern, cut it out and cut your pattern piece on the fabric fold in:
- Outer fabric
- Lining fabric
- Thermal batting
You will also need to cut:
- 12″ x 2″ piece in outer fabric (for elastic channel)
- 10″ piece of elastic
- 3″ x 3″ piece in thermal batting (this is optional, but creates a more solid base for the mug to sit on and act as a coaster)
Step 2
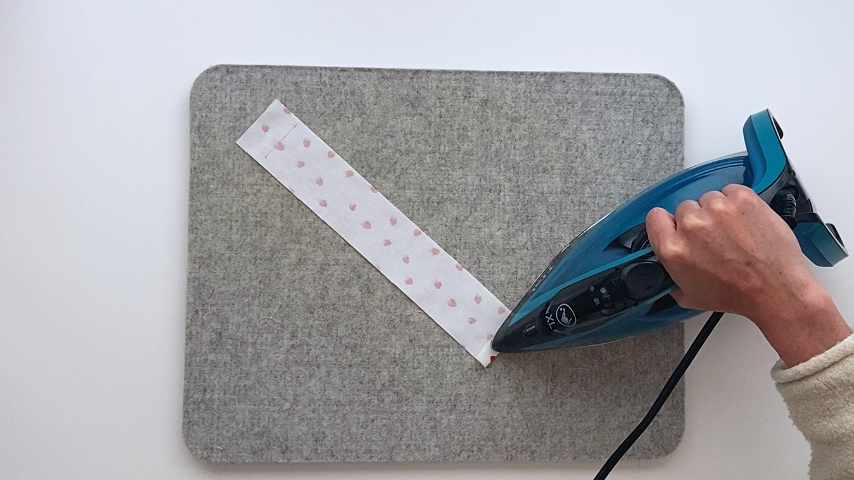
Fold the ends of the 12″ x 2″ up by 1/2″ to the wrong side of the fabric and press into place.
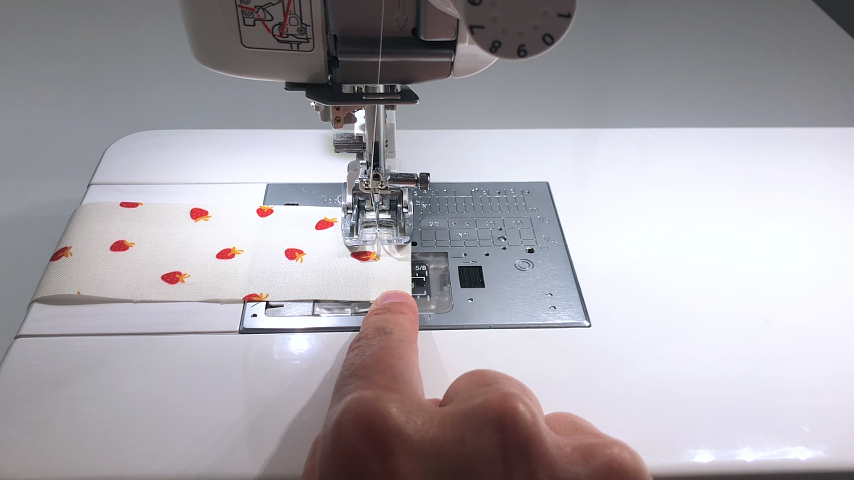
Sew along each end to secure the hem in place.
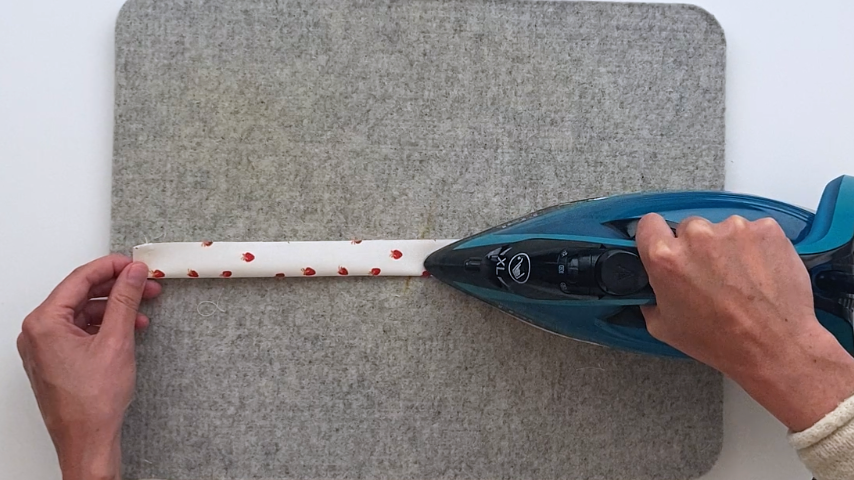
Fold the fabric lengthwise, wrong sides together and press.
Optional Step
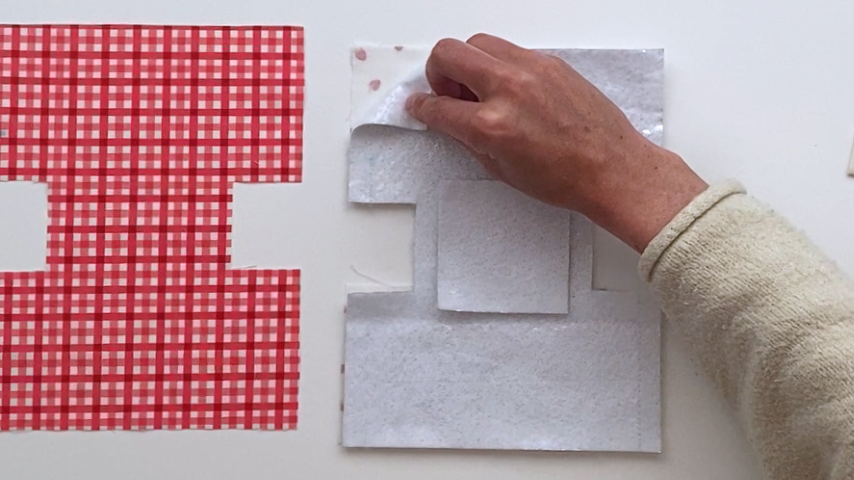
Use a temporary fabric pen to draw a 3″ by 3″ square that is centered both top to bottom and side to side on your thermal batting.
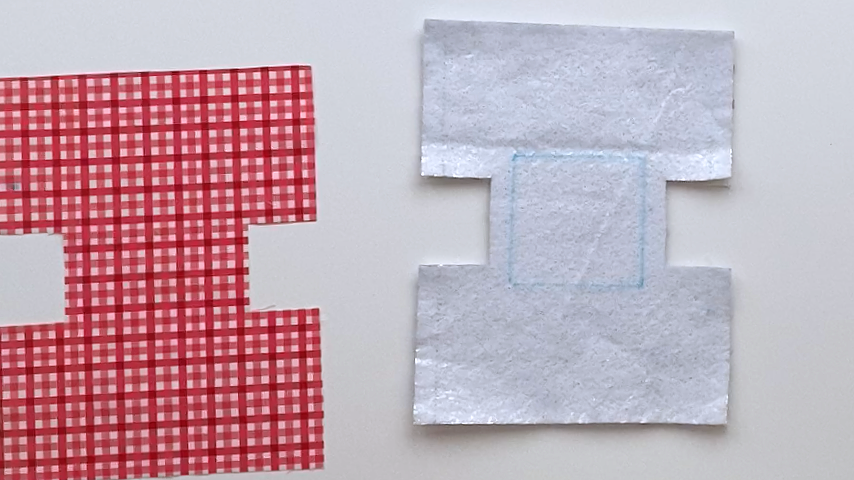
Place your thermal batting and outer fabric pieces wrong sides together.
You can add quilting stitches if you like or a temporary spray adhesive to keep the layers from shifting as you sew.
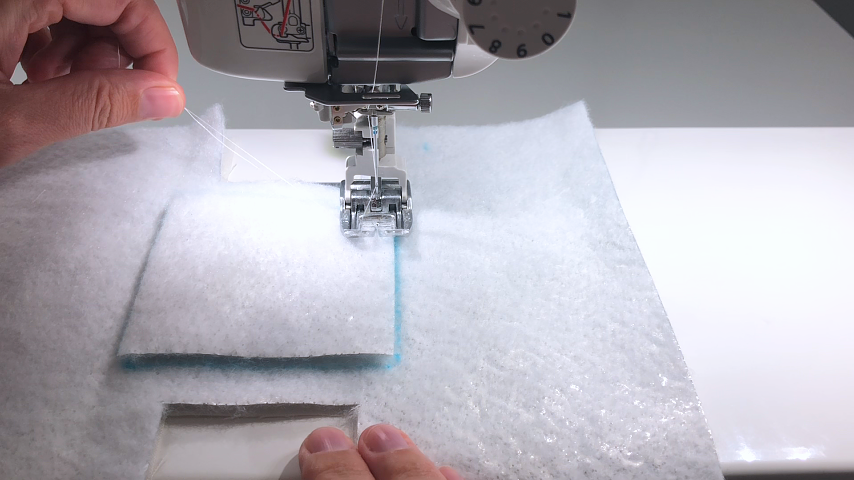
Sew around the 3″ x 3″ square. I leave the thread tails long so I can pull the bobbin thread to the wrong side of the cozy and tie in a double knot (to get a cleaner look from the outside).
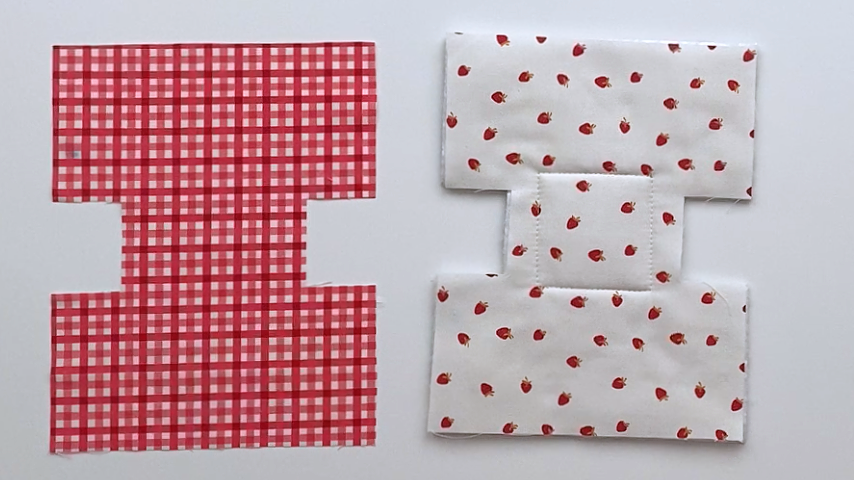
Step 3
Fold your outer piece in half so the top edges align.
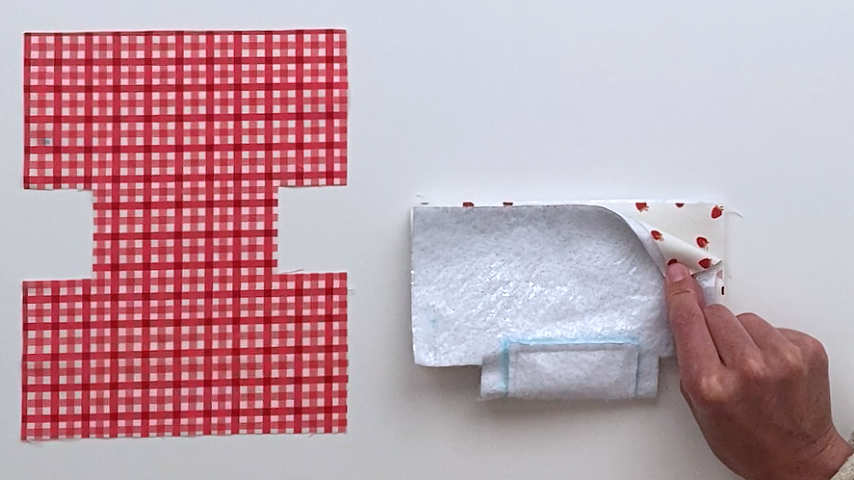
Sew down one side only of the cozy, using a 1/2″ seam allowance.
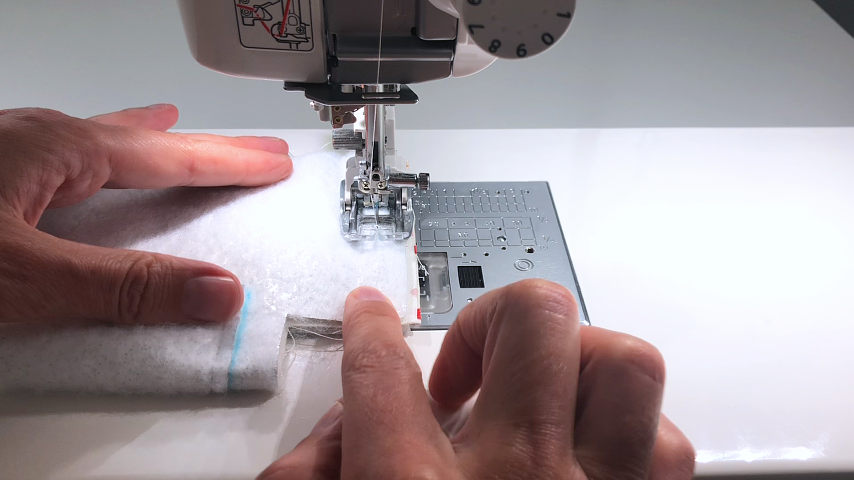
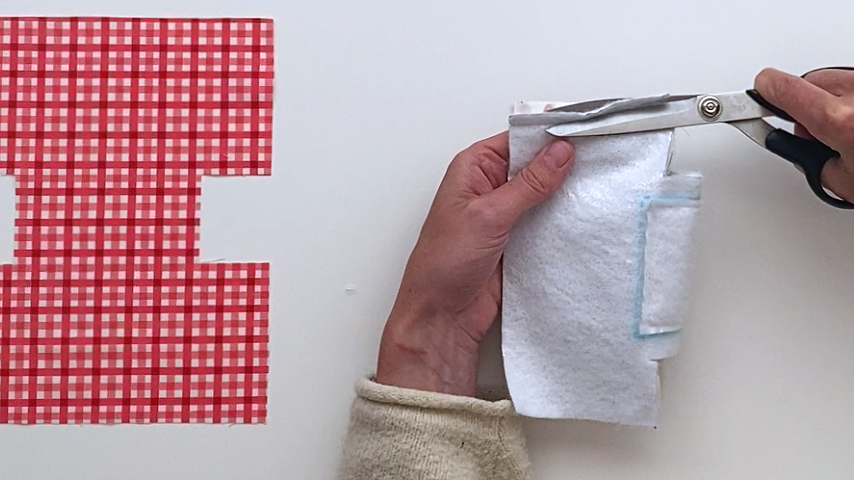
Trim the thermal batting’s seam allowance on either side of the seam, cutting close to the stitching.
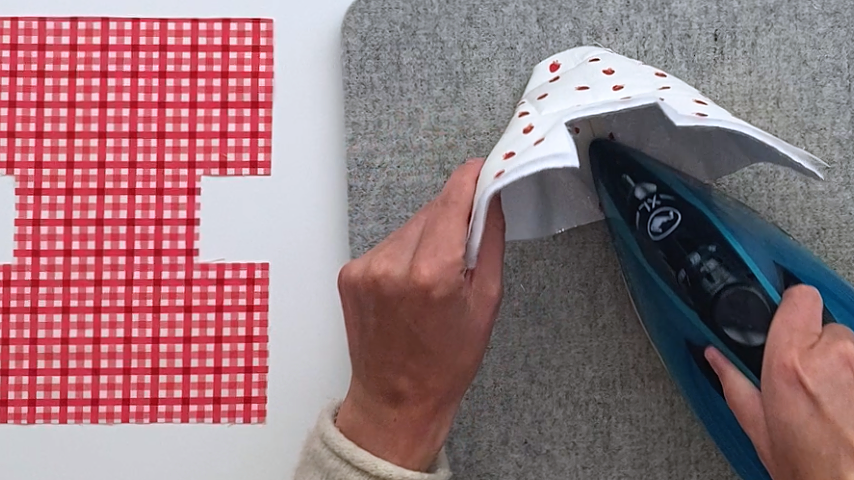
Press the seam open.
Find the center of your elastic channel and line it up with the cozy’s center seam. Clip the channel to the top of the cozy so cut edges align.
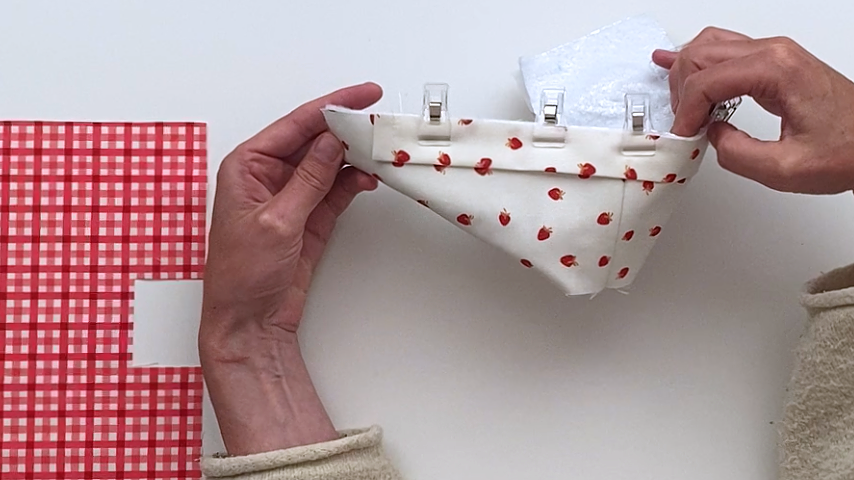
Baste the channel into place.
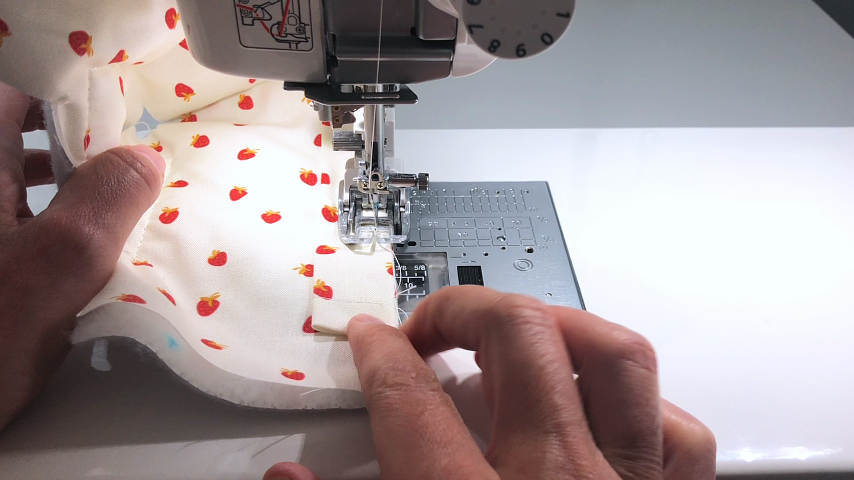
Step 4
Mark a line 1″ from the bottom of the cozy, on the wrong side (thermal batting side).
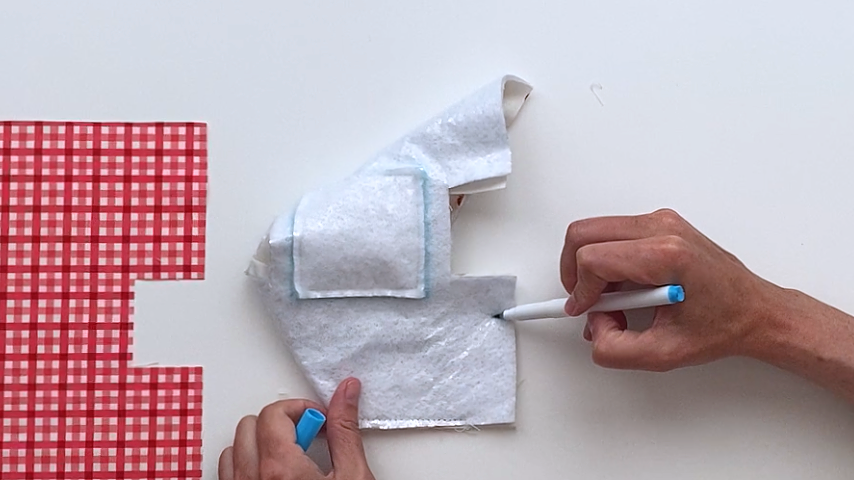
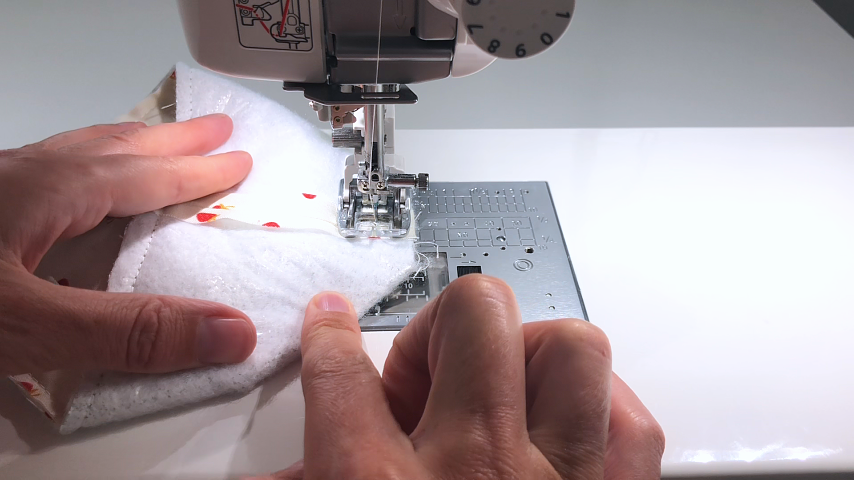
Align the top edges of the cozy and sew from the bottom up to the line, backstitching at the start and end.
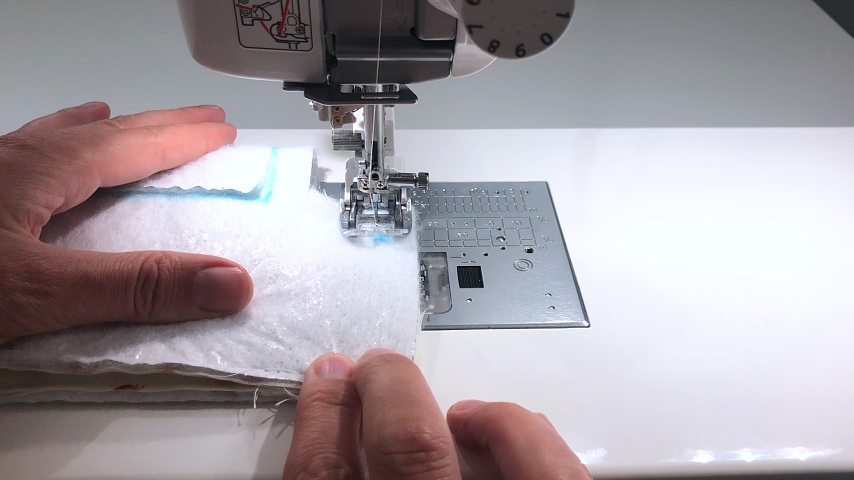
Open the corners so the cut edges align.
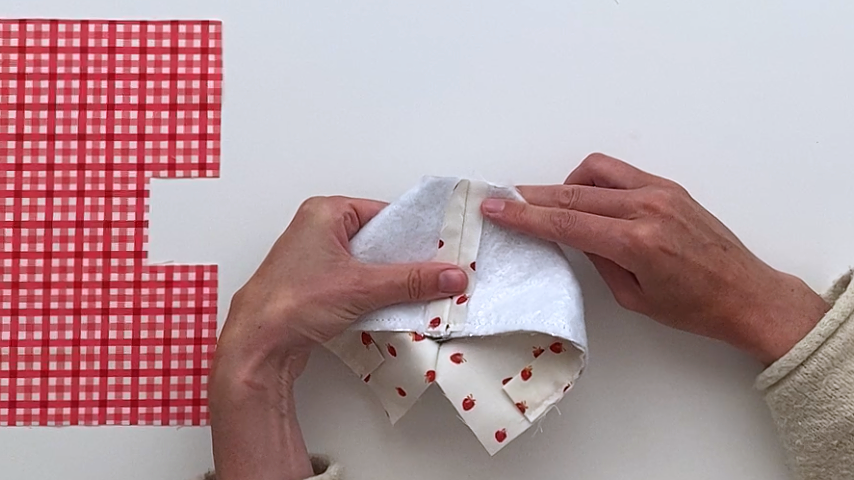
Sew along the corner using a 1/2″ seam allowance. Repeat for the other corner.
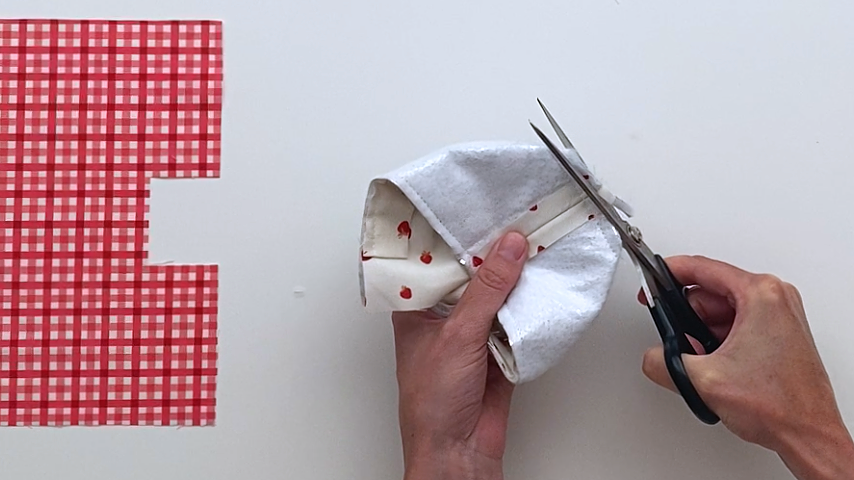
Trim the corners’ seam allowance in half.
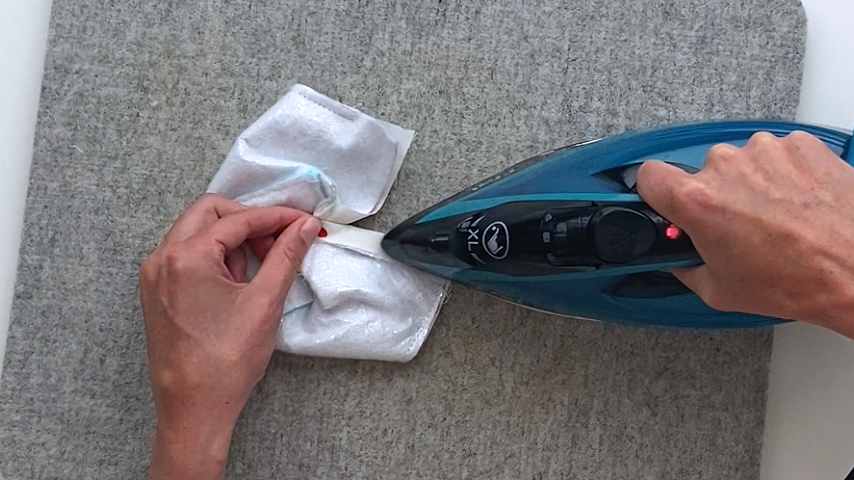
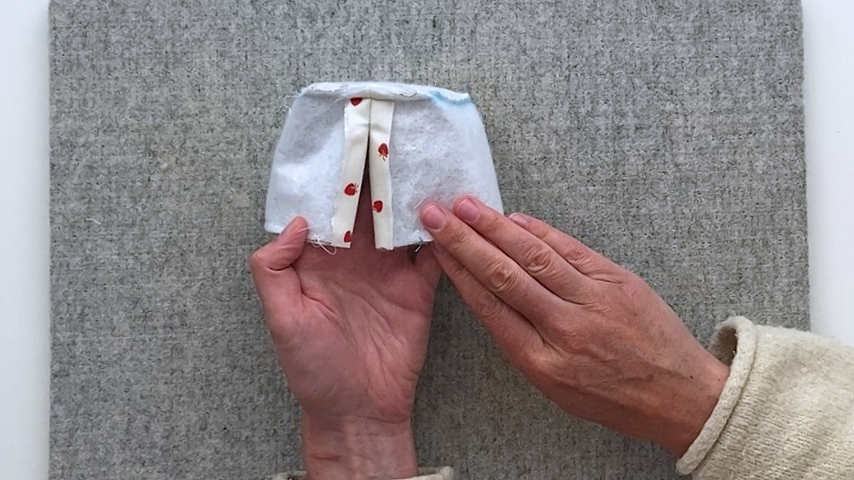
Fold the seam allowance back (by 1/2″) and press into place.
Step 5
Mark a line 1″ from the bottom on one side of the cozy. Fold your lining piece so top edges align and right sides are together.
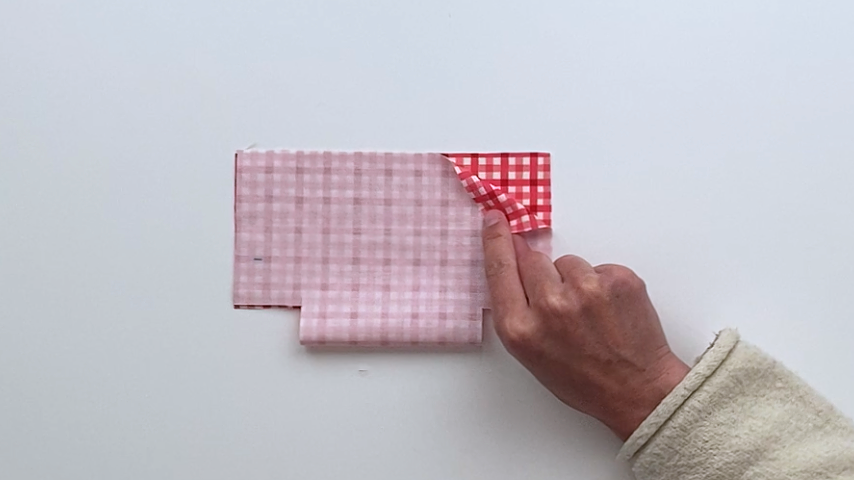
Sew the side seam from top to bottom on one side.
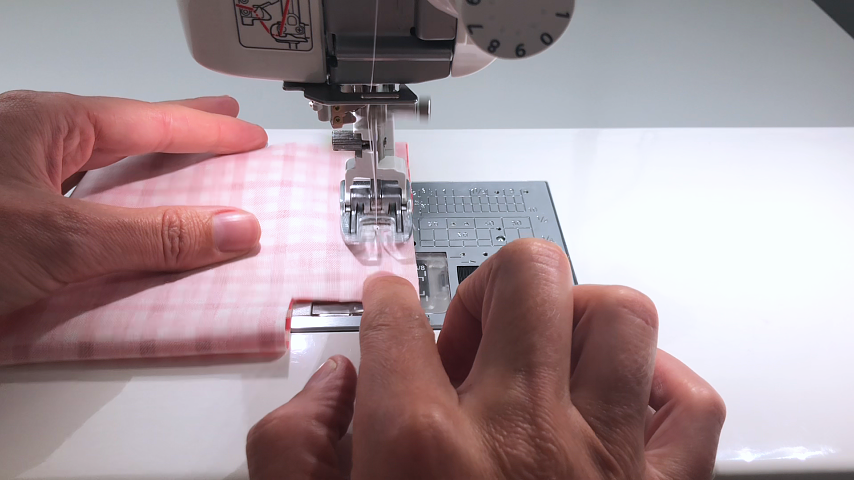
And sew from the bottom up to the 1″ mark on the other side.
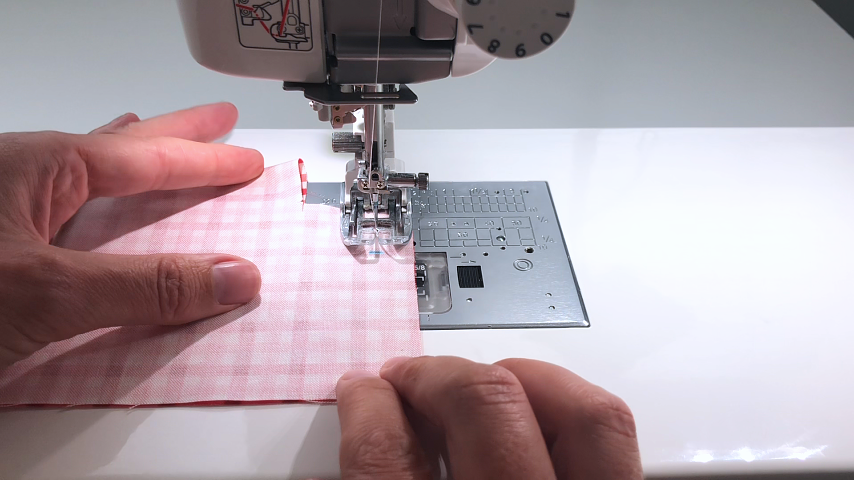
Press the seams open and the seam allowance back on the open side seam.
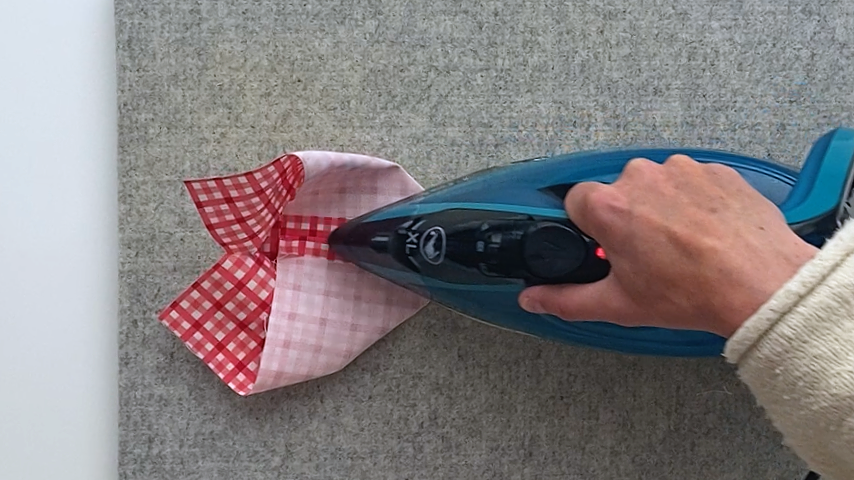
Open the corners and align cut edges.
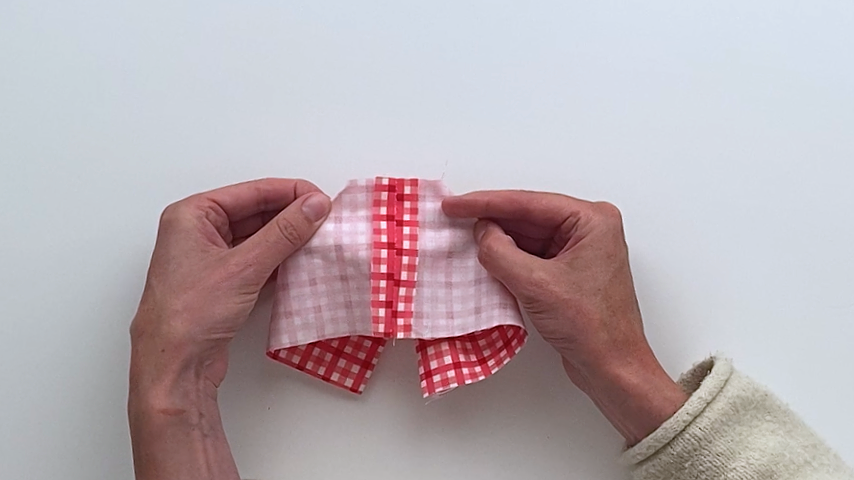
Sew along the corners using a 1/2″ seam allowance.
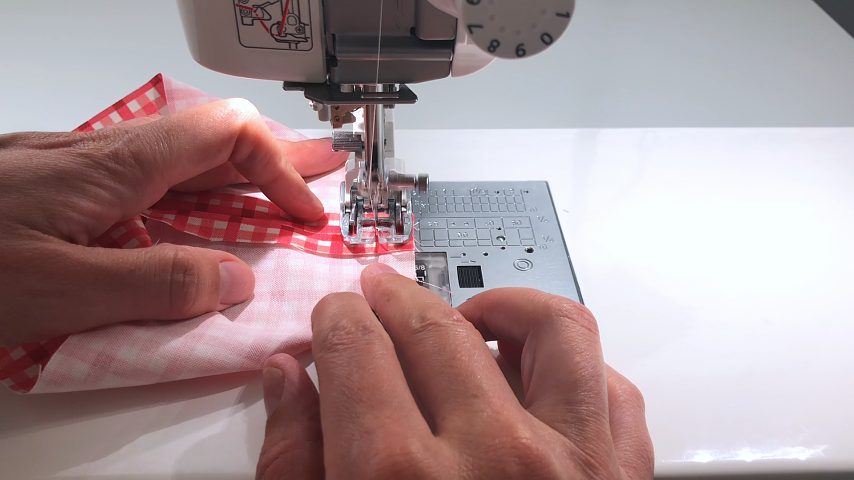
Trim the corners’ seam allowances in half.
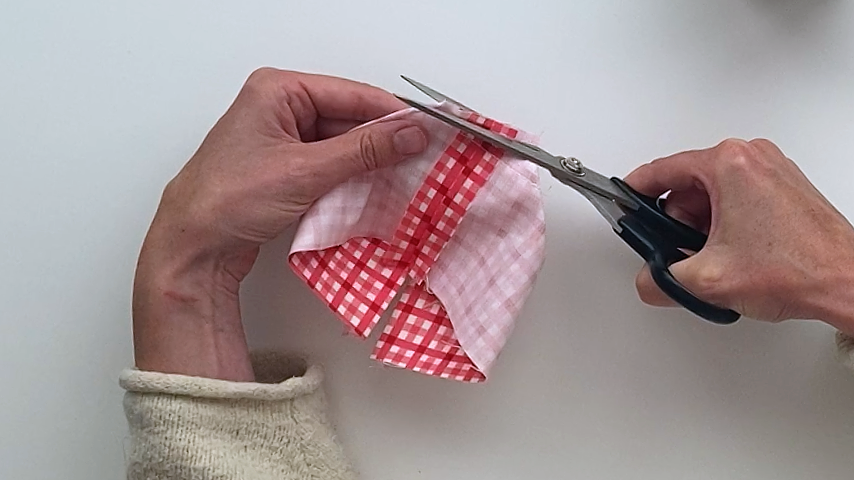
Step 6
Place the lining and outer piece right sides together and clip around the top edge, making sure the side seam and cut edges align.
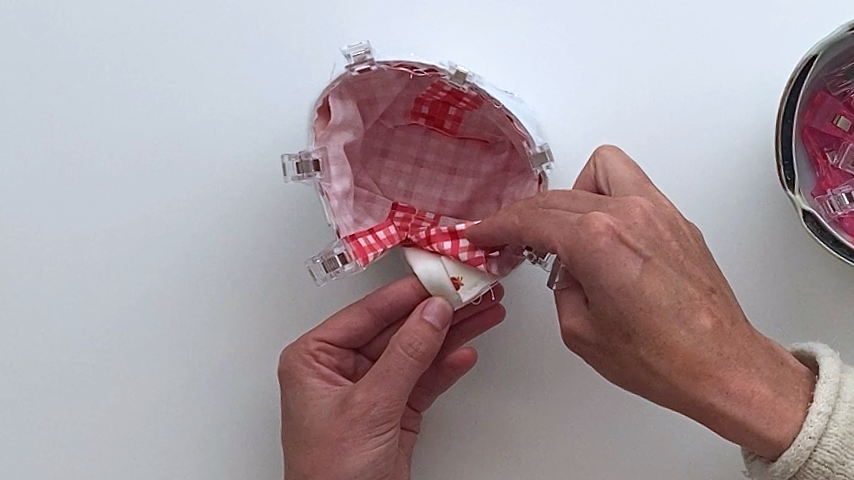
On the side seam that is open, unfold the seam allowance and start sewing along the side seam about 1″ from the top edge, using a 1/2″ seam allowance. Backstitch to start.
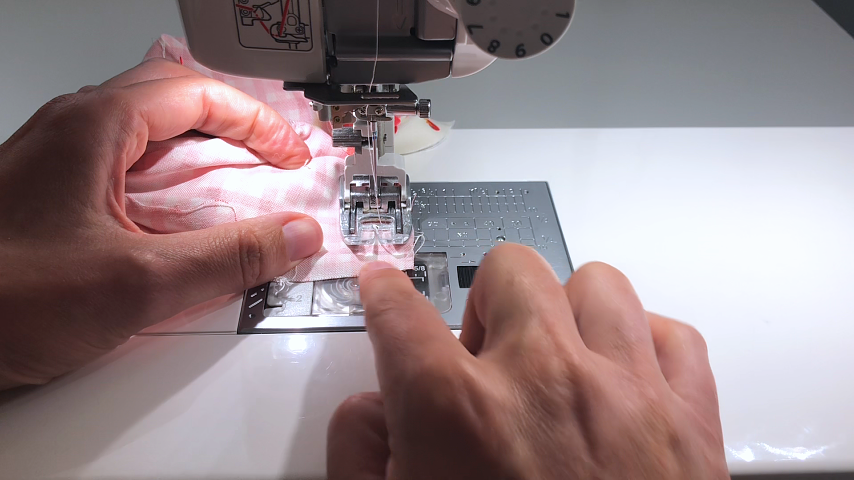
When you get to the top edge, leave your needle down, lift the presser foot and pivot the fabric to sew along the top edge using a 1/2″ seam allowance.
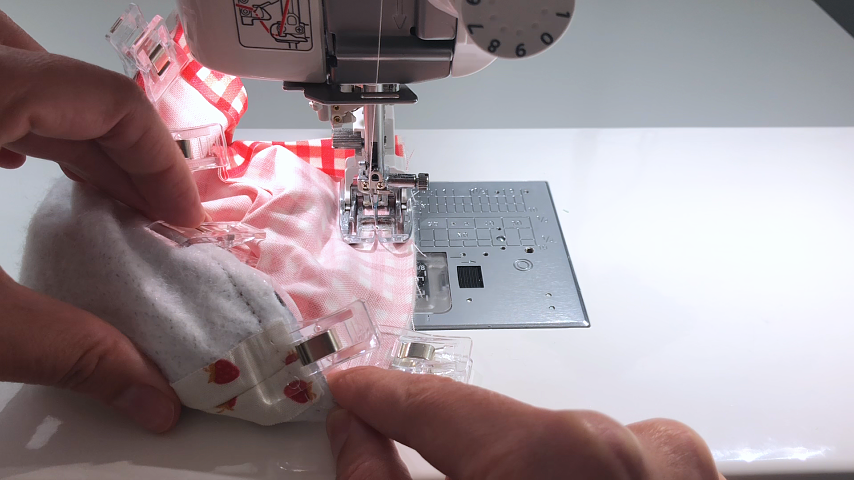
When you come to the other corner, pivot your fabric again and sew down about 1″, backstitching at the end.
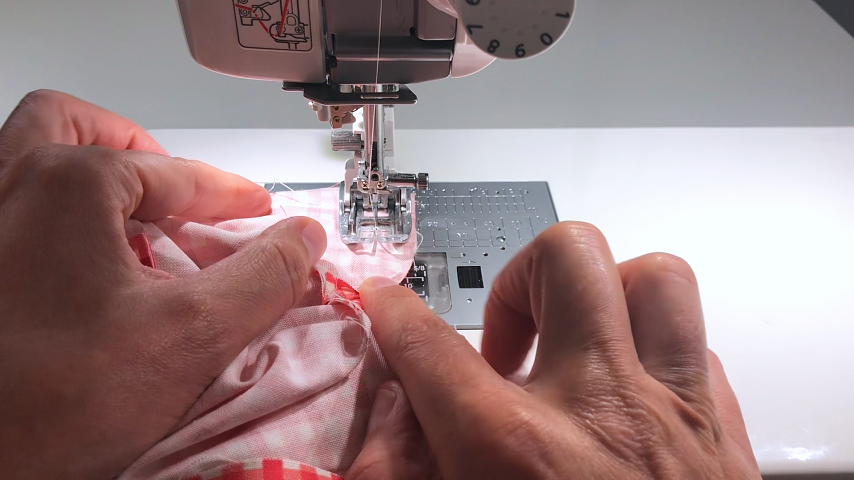
Hopefully you can see in the photo below where the stitching starts and ends, We’re leaving most of the seam on either side of the slit open, as well as along the bottom of the slit.
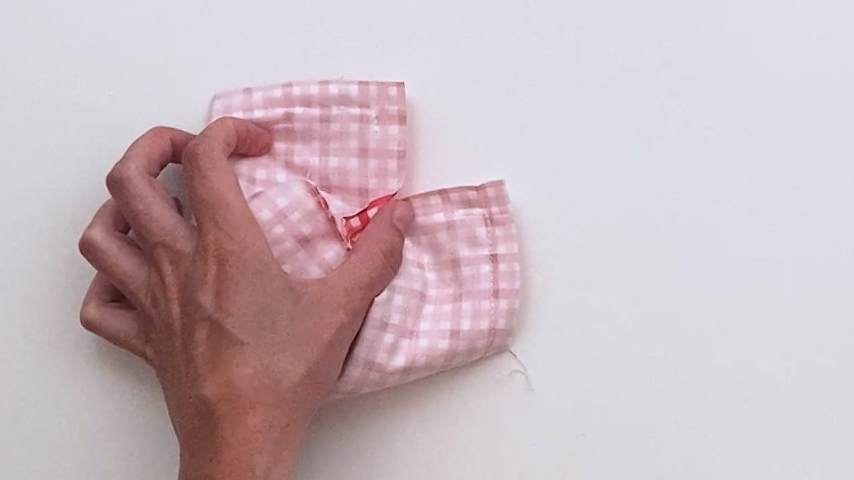
Cut the corners at a 45-degree angle to reduce the bulk.
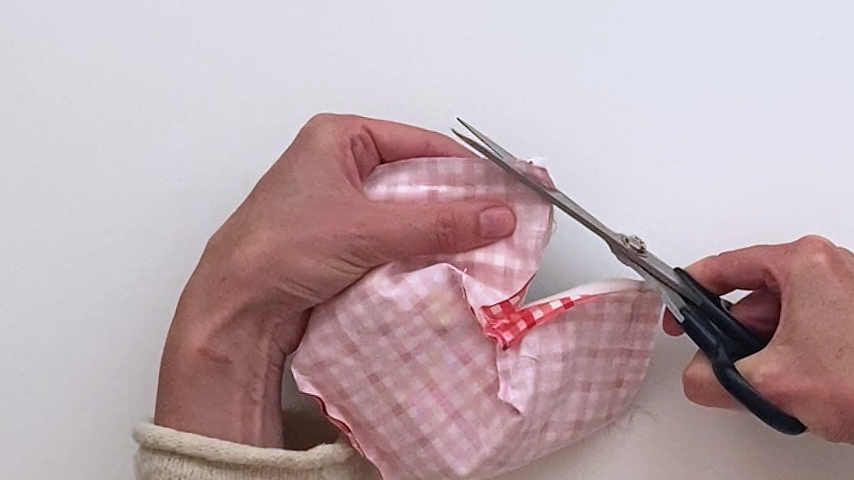
Use the opening in the side seam to turn your cozy right side out. Use a point turner to push the top corners fully out.
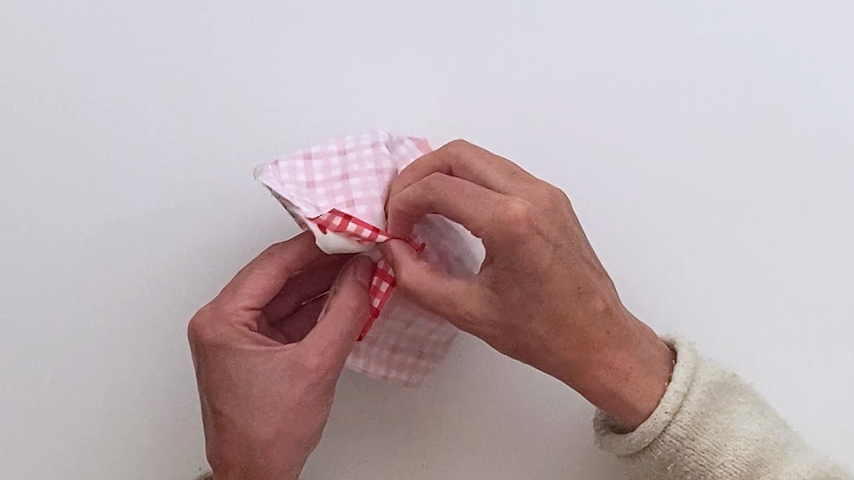
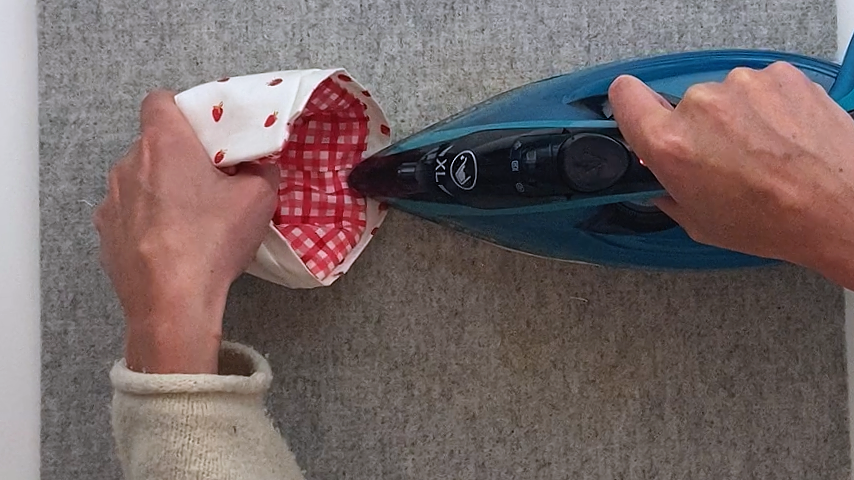
Press along the top edge and open side seam.
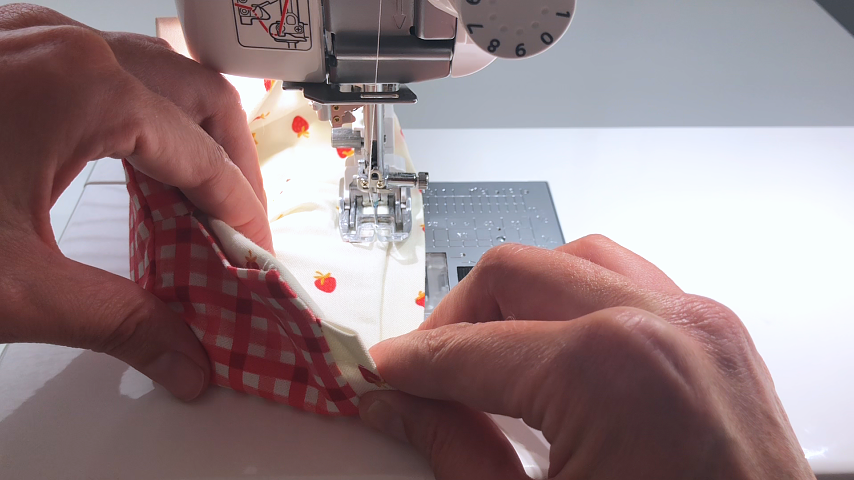
Topstitch around the top of the cozy (below the elastic channel) and down and around the open side seam.
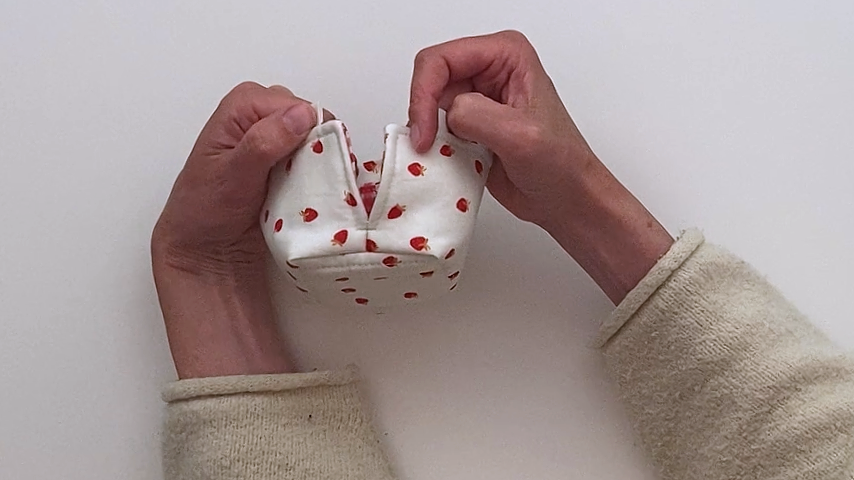
Step 7
Use a safety pin to thread the elastic through the channel.
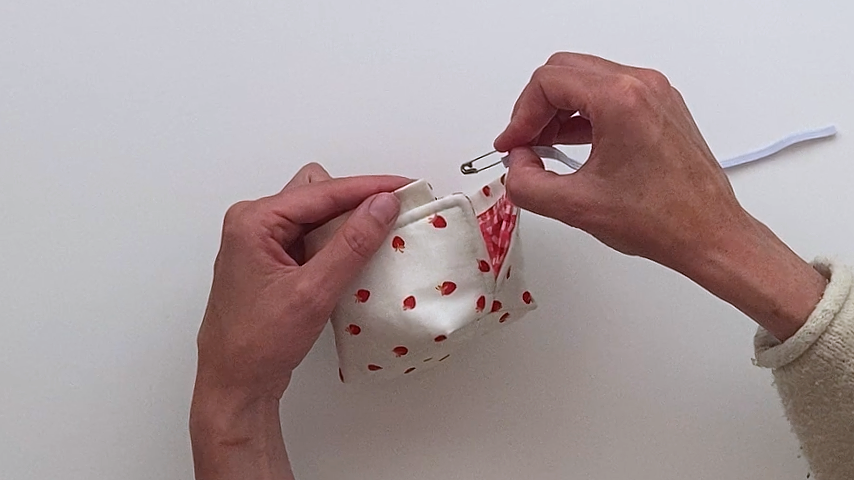
Overlap the elastic by about 1″ and stitch the ends together.
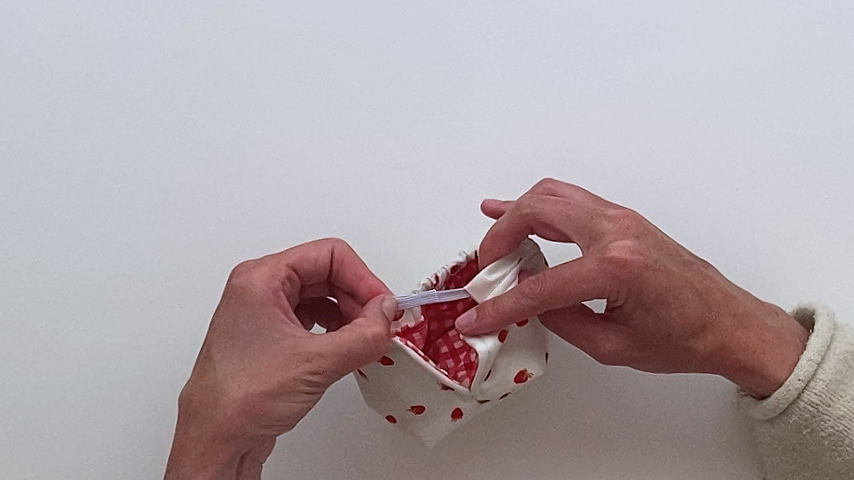
Pull the elastic so the seam is hidden near the back of the channel.
I also like to make a small stitch at the back to secure the elastic and ensure the elastic seam doesn’t shift toward the opening with use.
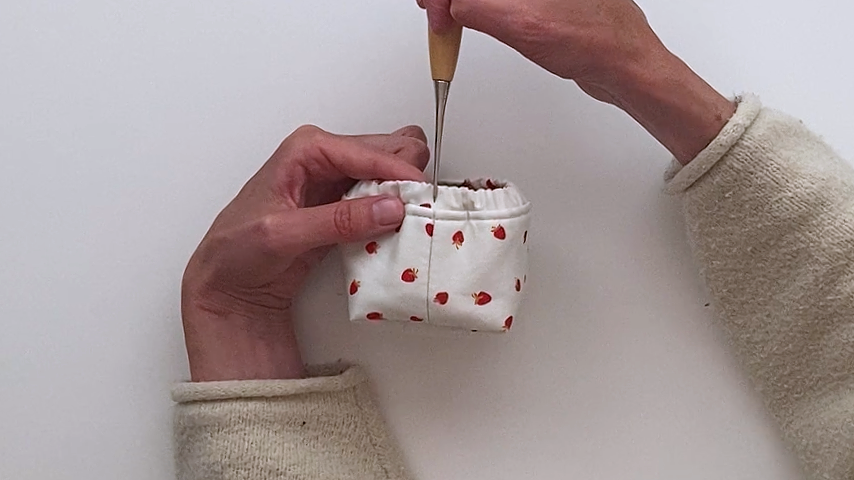
The mug cozy is complete!
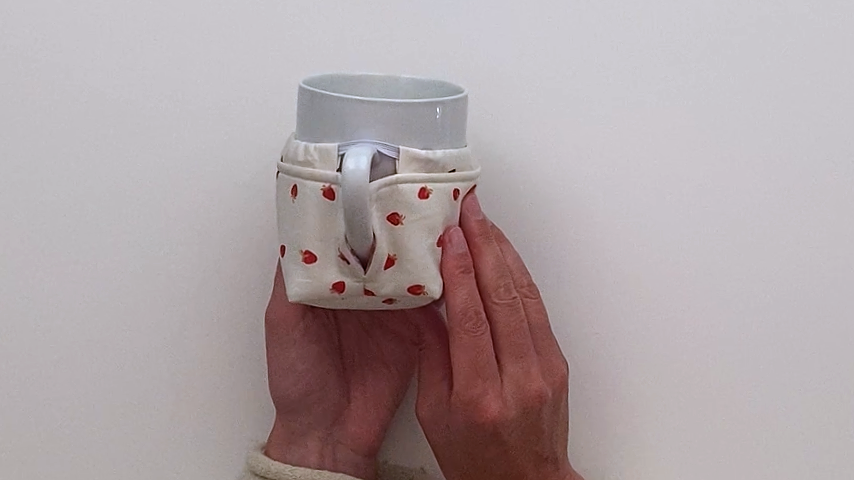
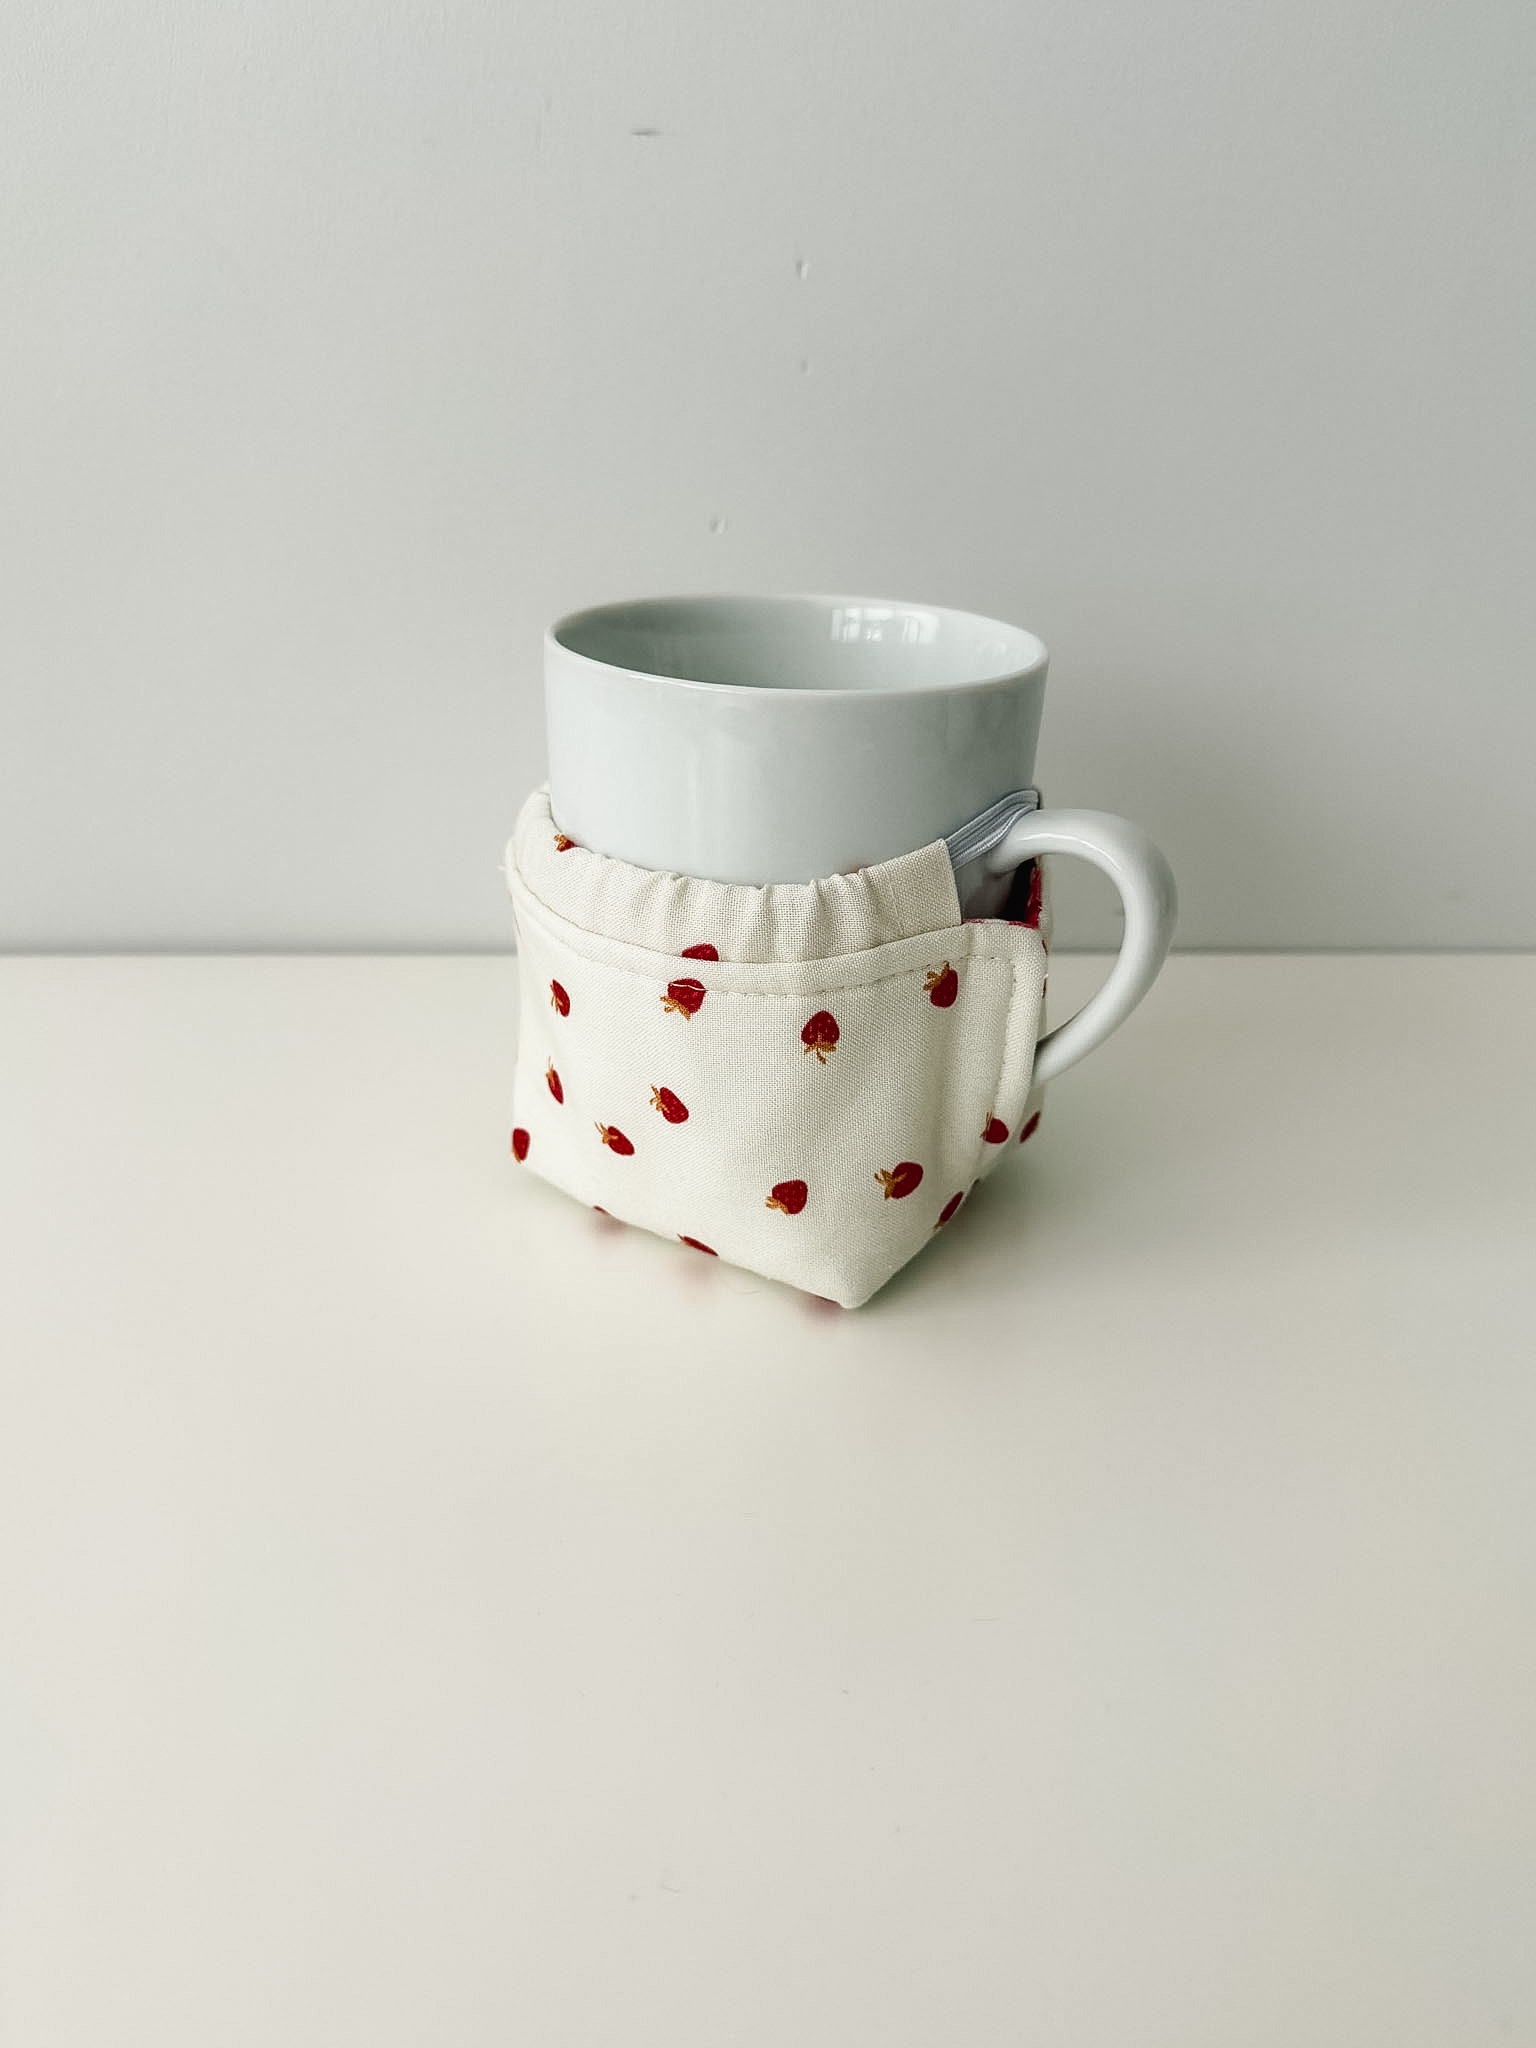
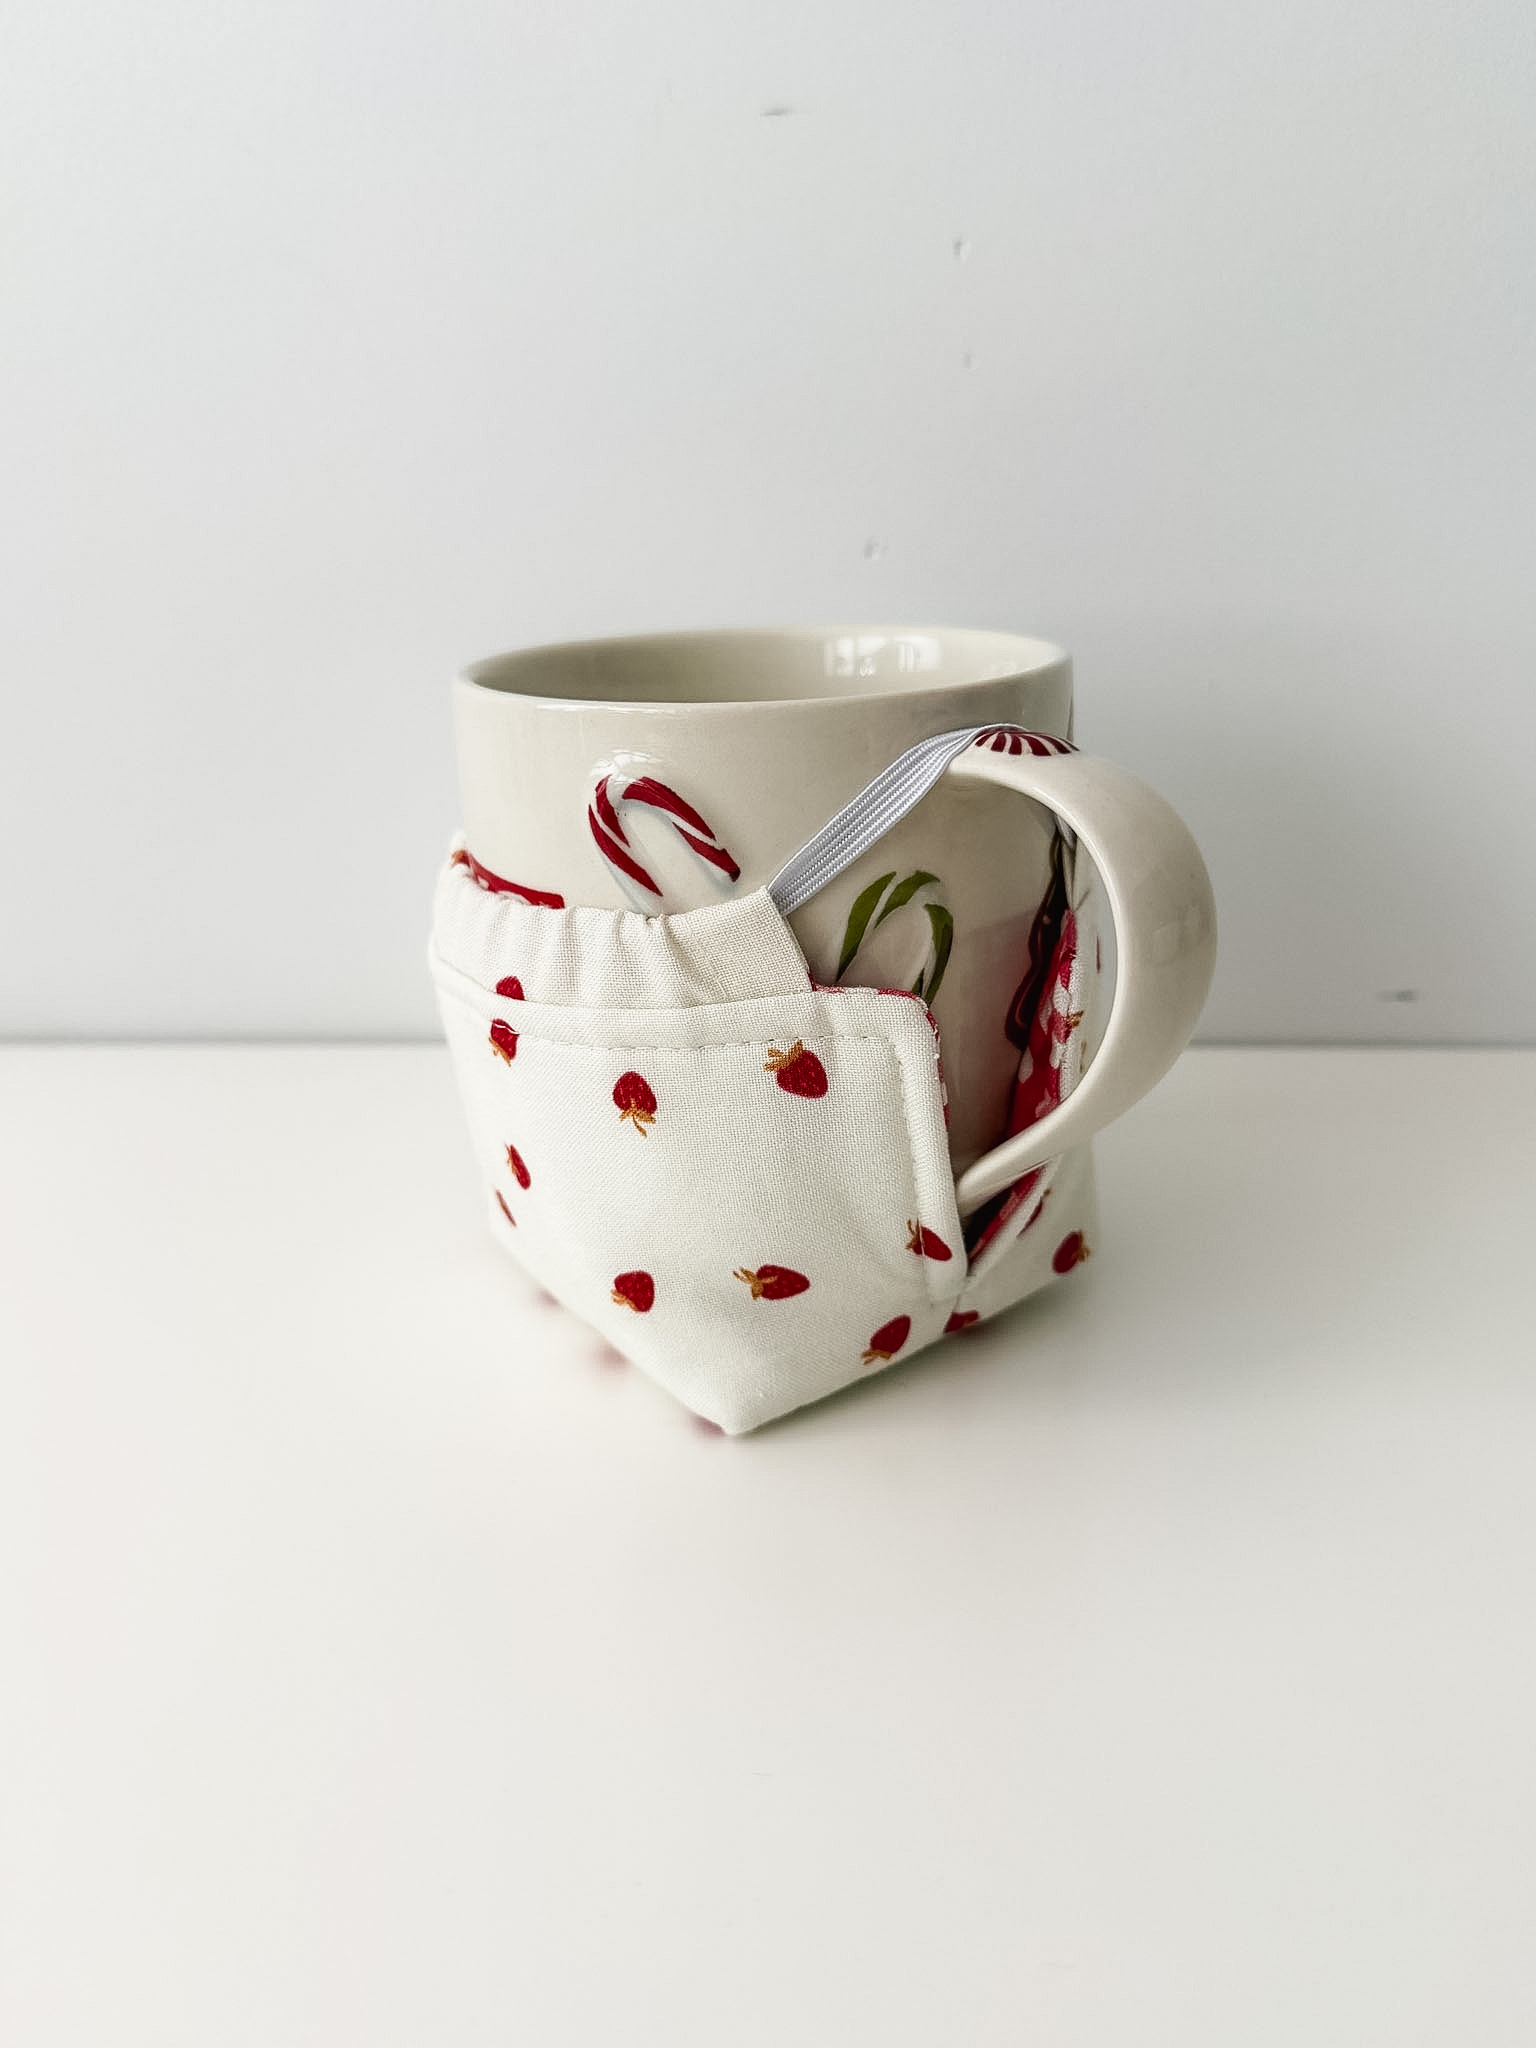
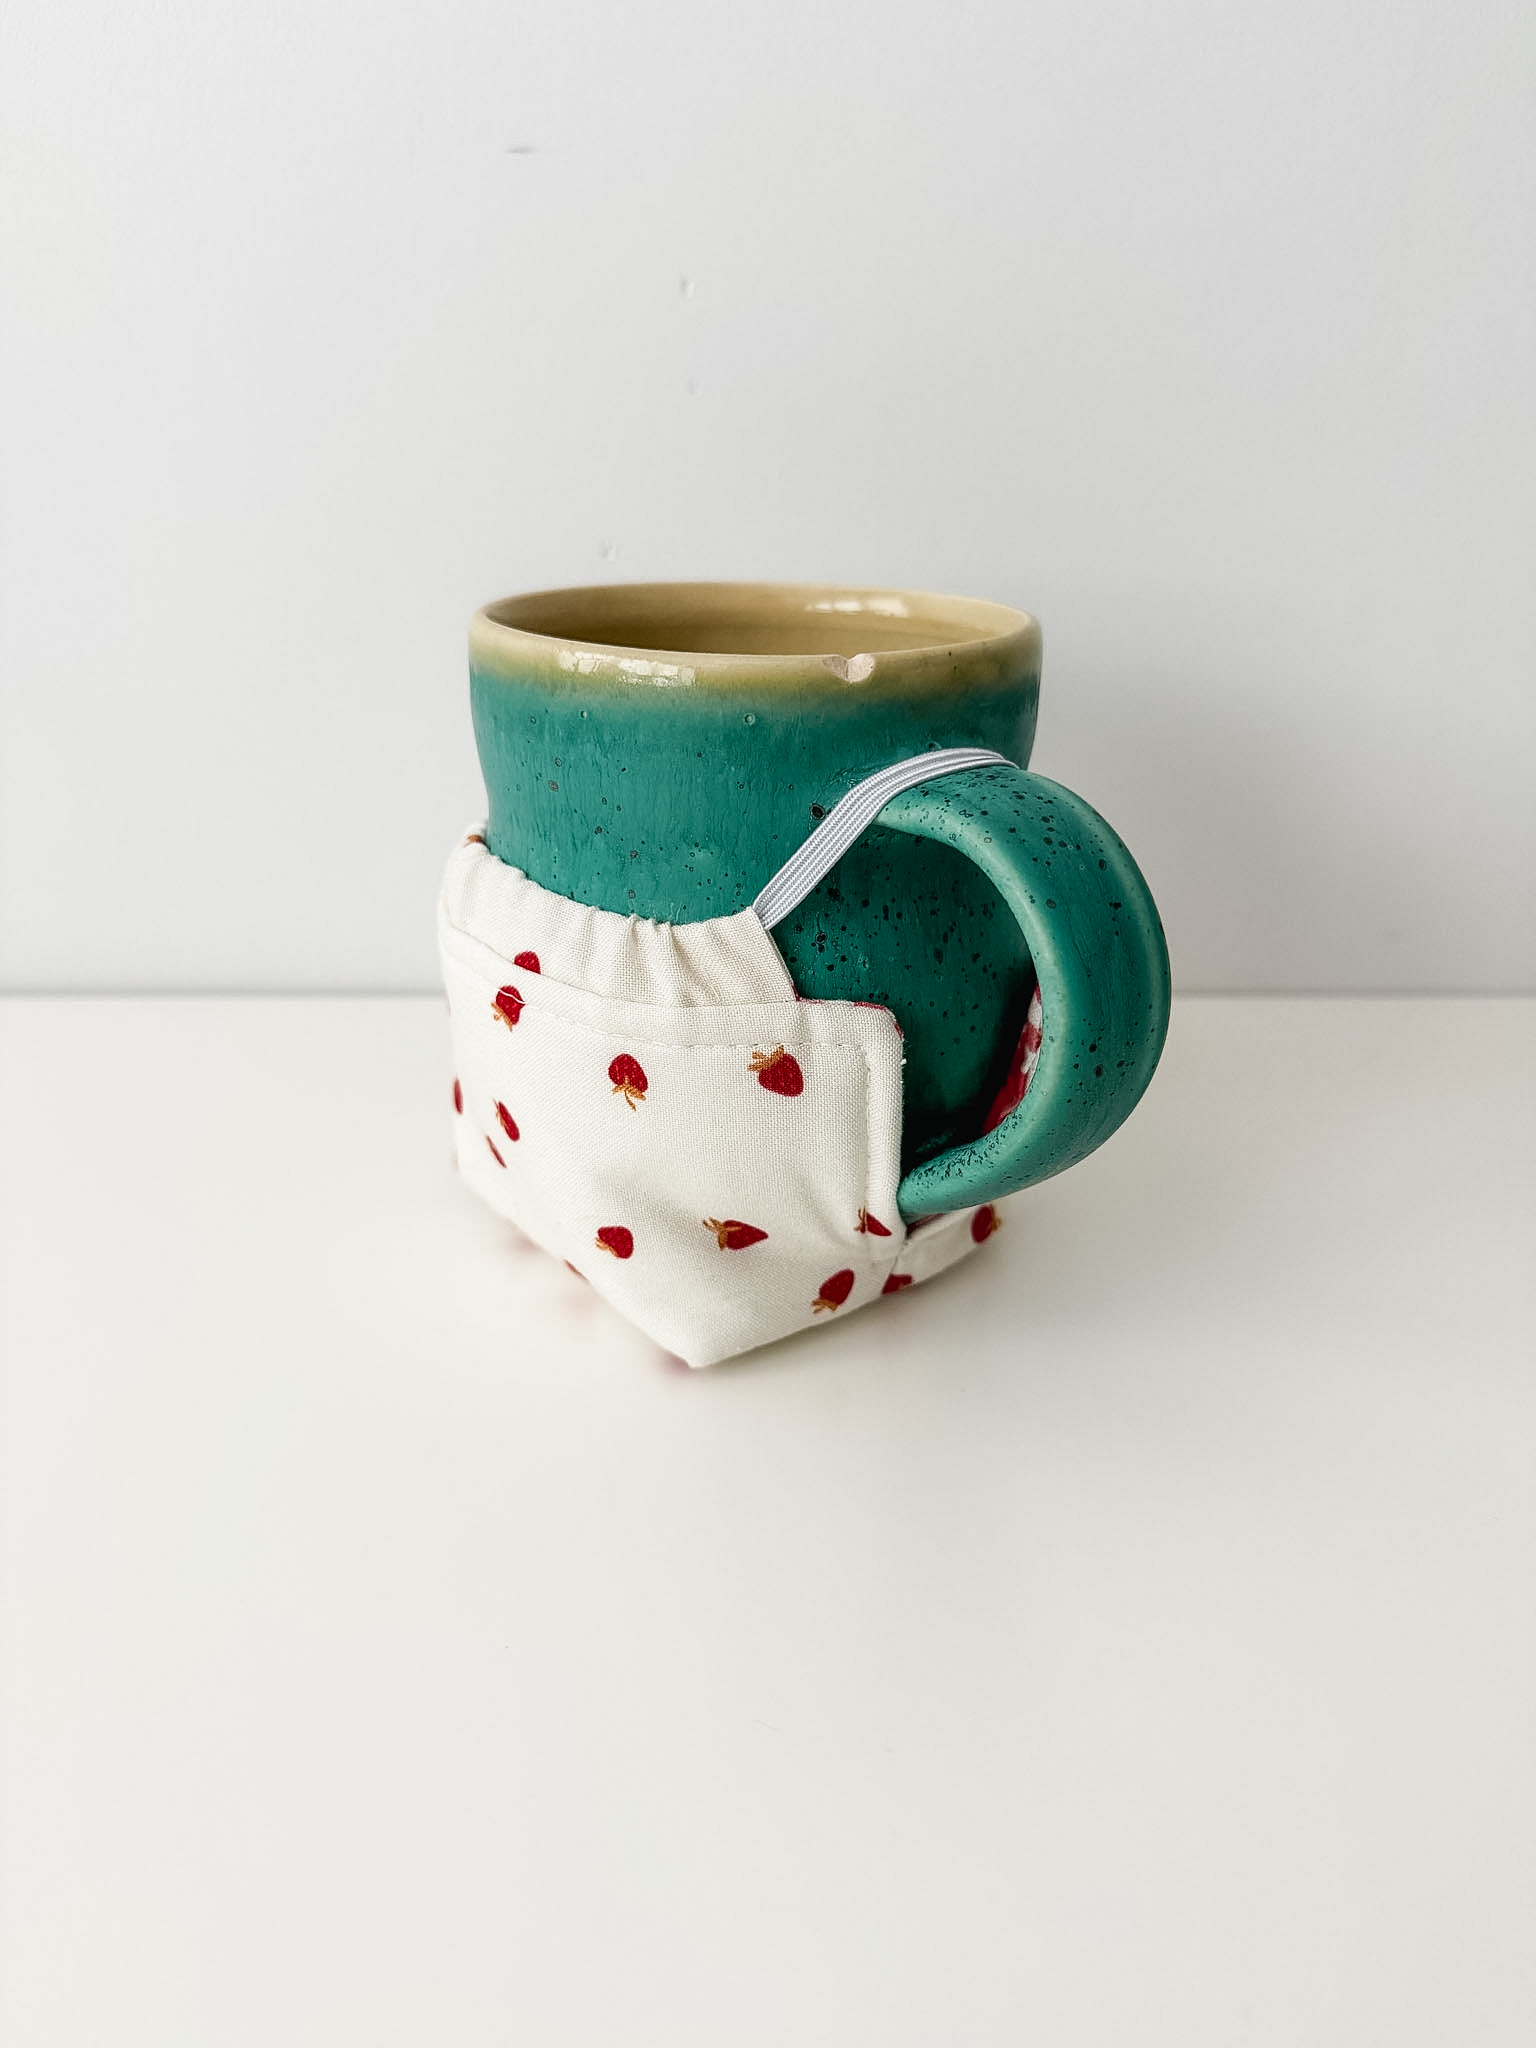
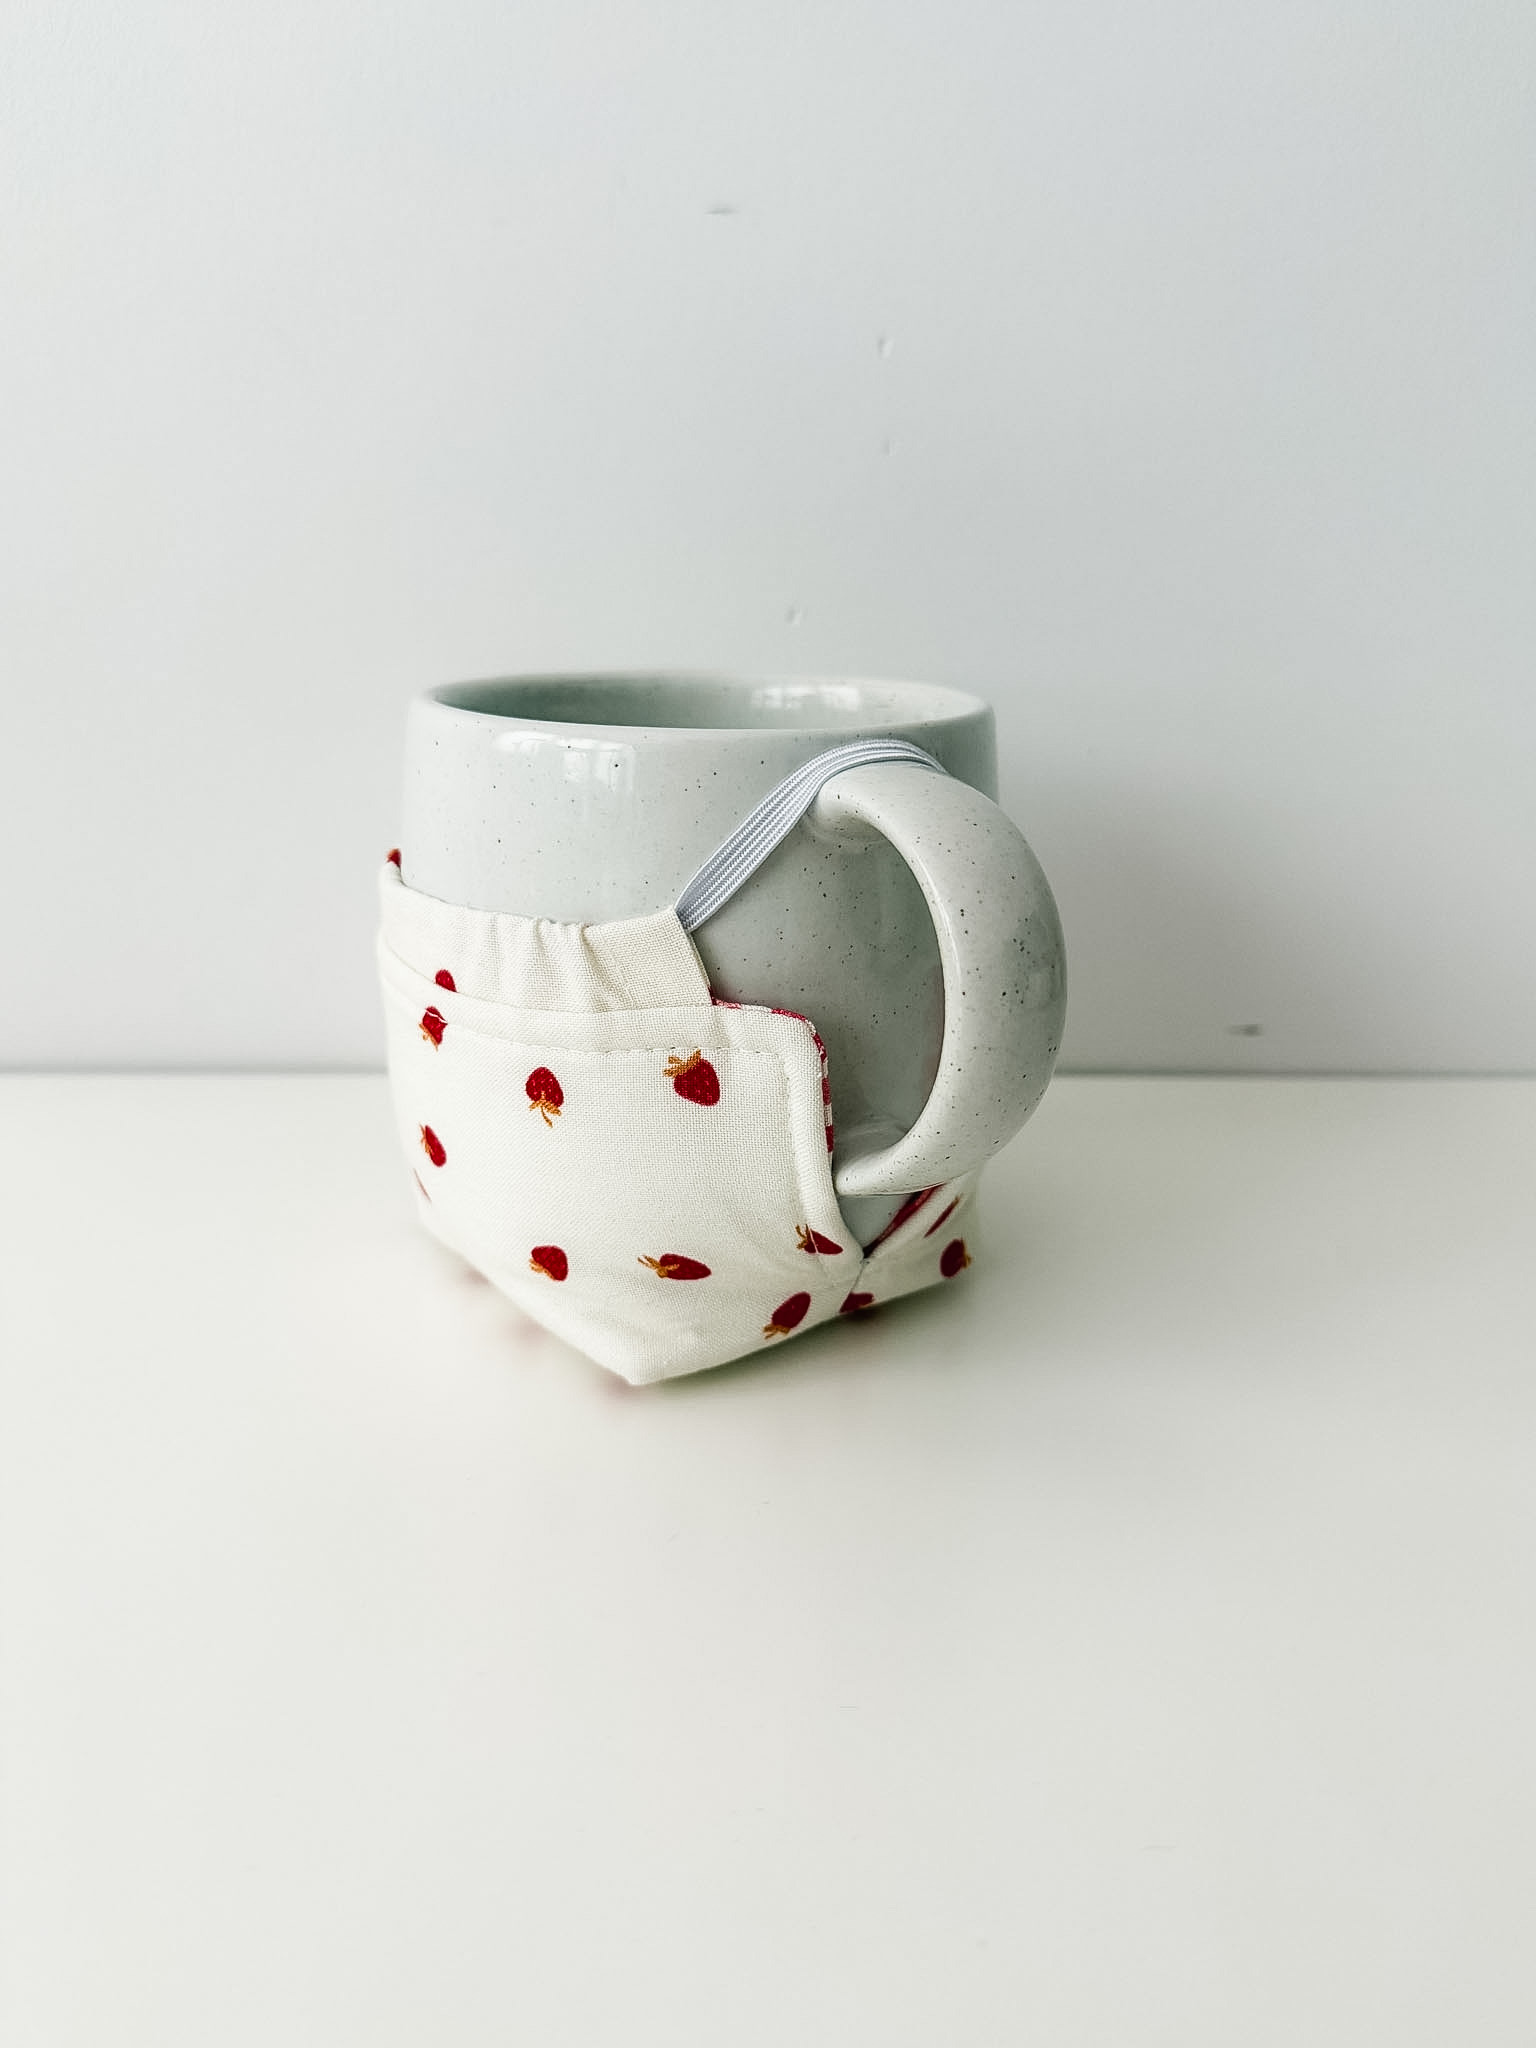
For reference, here is the mug cozy around a variety of mug sizes and shapes.
The mug sizes are as follows:
- white mug on the left is 8 ounces and 10-3/8″ circumference
- Christmas “E” mug is 12 ounces and 11-3/8″ circumference
- teal mug is 14 ounces and 12-5/8″ circumference (at its widest point)
- white mug on the right is 14 ounces and 12-7/8″ circumference (at its widest point)
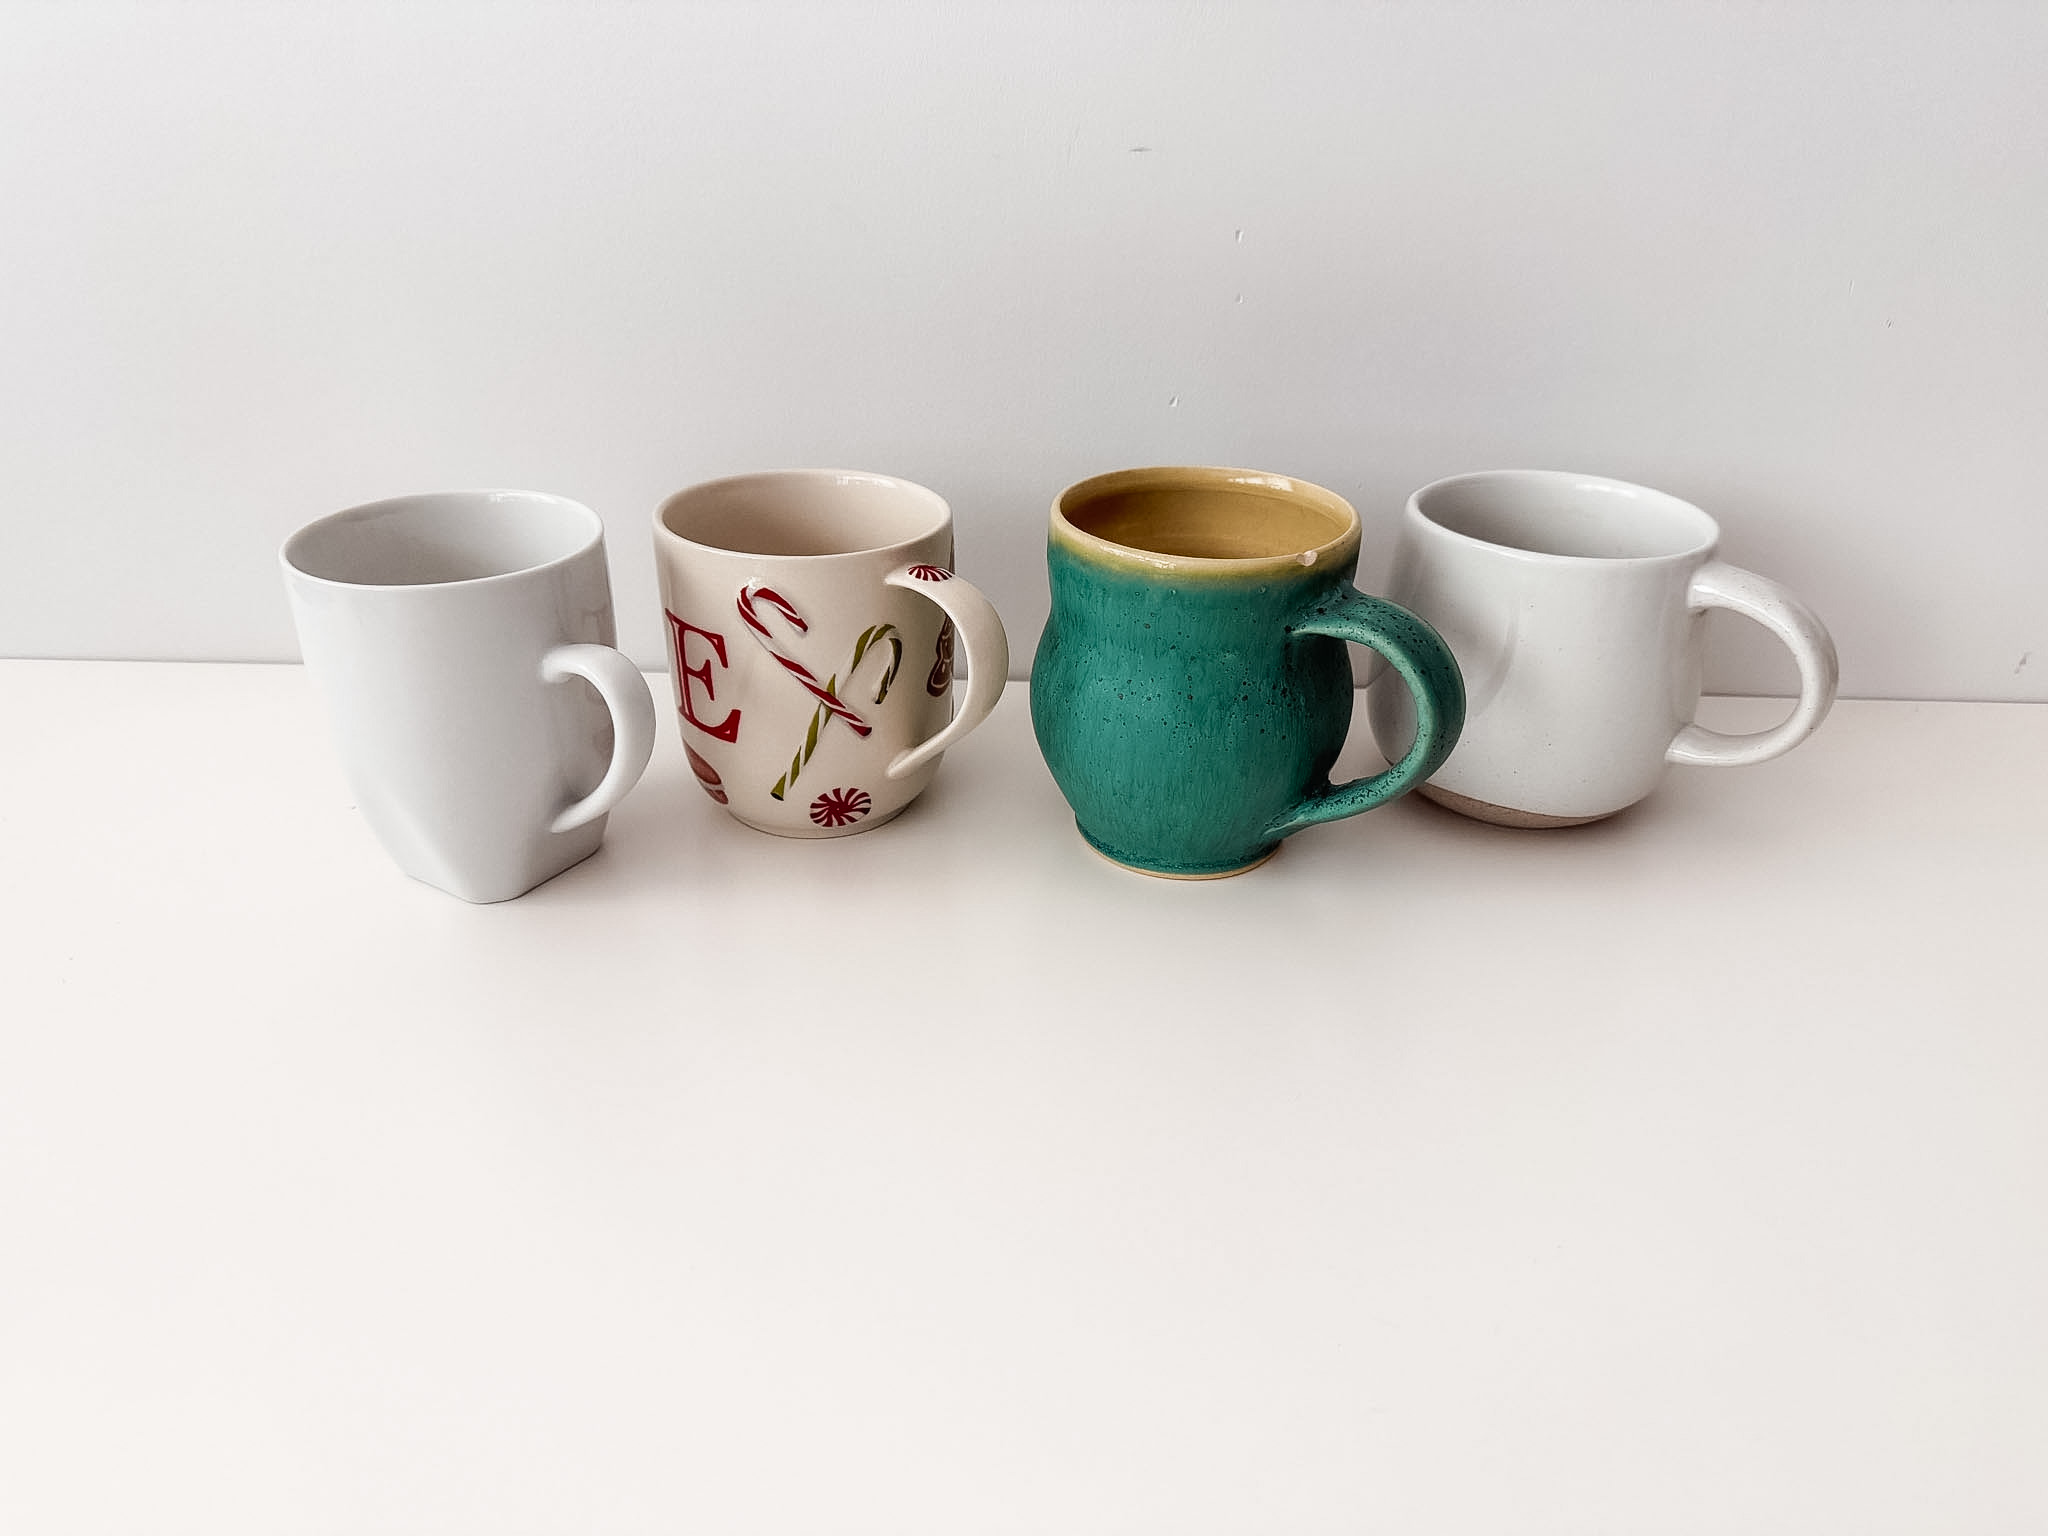
And here’s how the cozy fits on each: