How To Sew A Plate Cozy | Free Printable Pattern
If you often reheat leftovers in the microwave and/or sit at the couch to eat, a plate cozy is a must.
As long as you use 100% cotton materials, you can place your plate cozy in the microwave so that it acts as a potholder when taking the hot plate out.
If you eat at the dinner table, the plate cozy allows you to carry the hot dish to the table without burning your hands, and it also acts as an insulated placemat to protect your table’s surface.
But if you’re like me, and you eat most of your meals on the couch, the plate cozy will make it more comfortable to hold the hot plate as you eat.
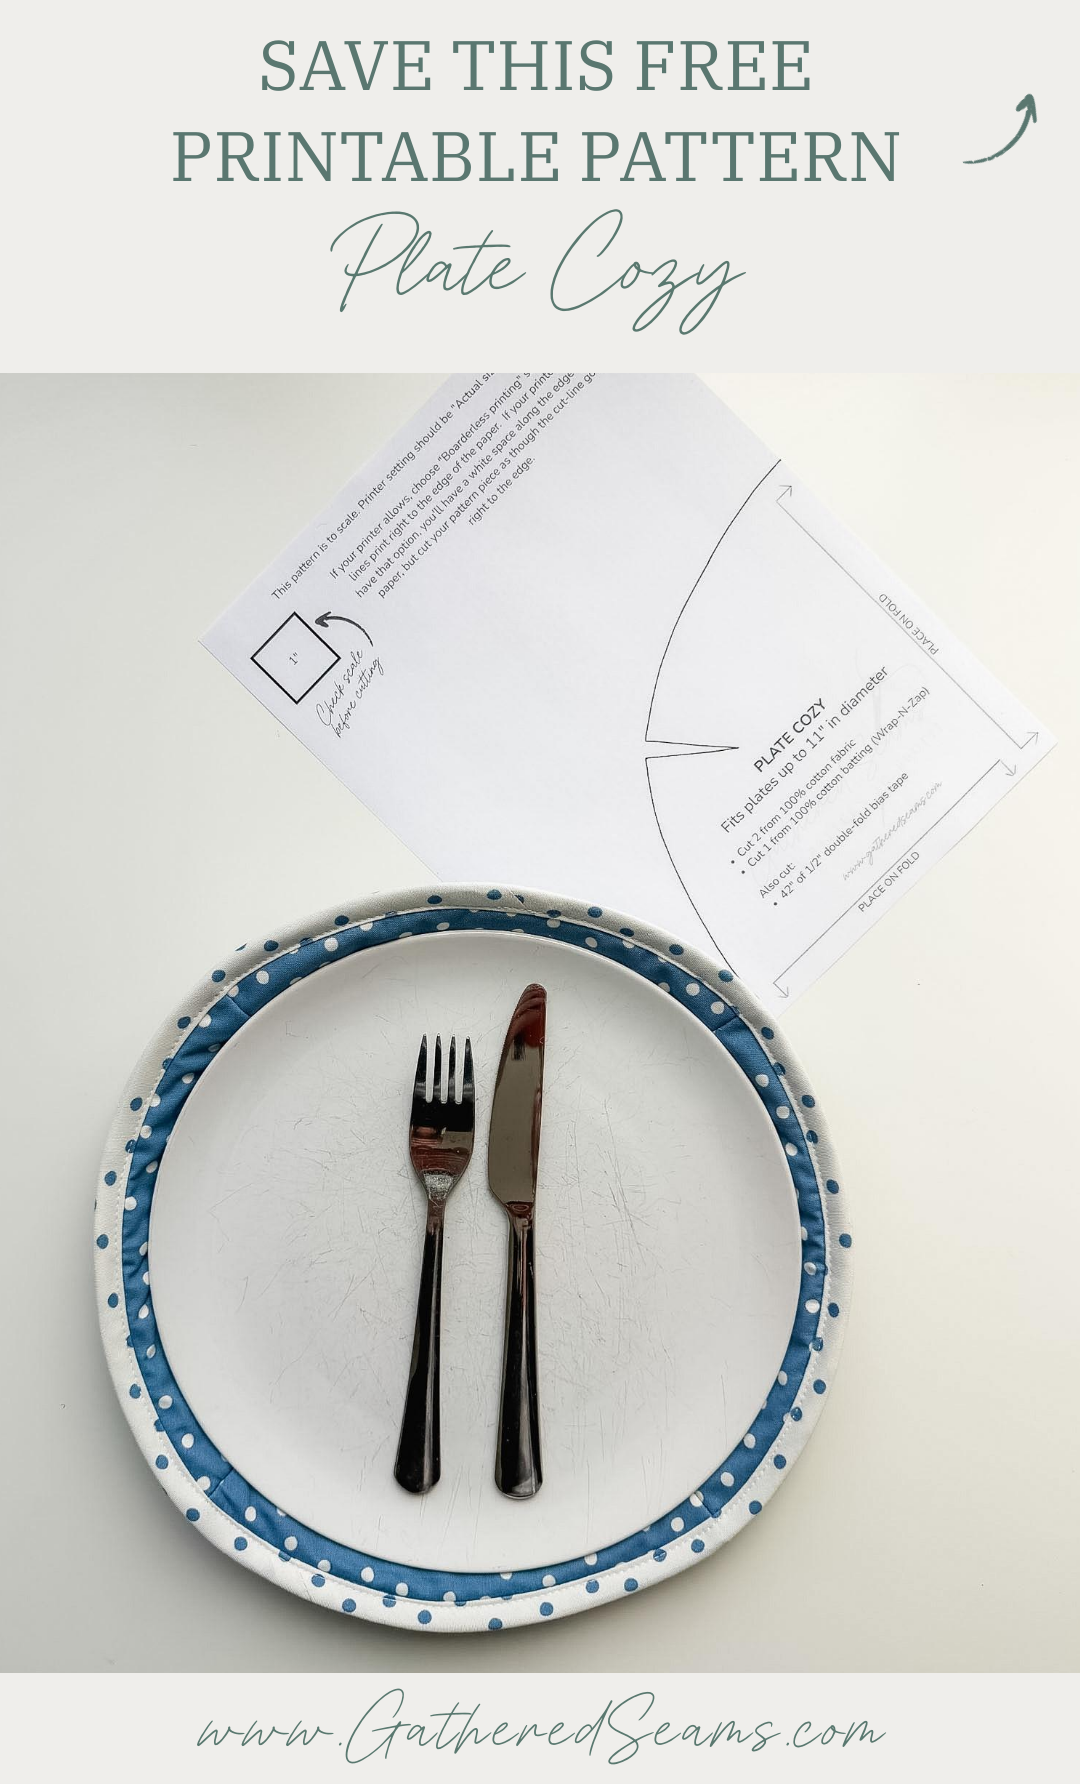
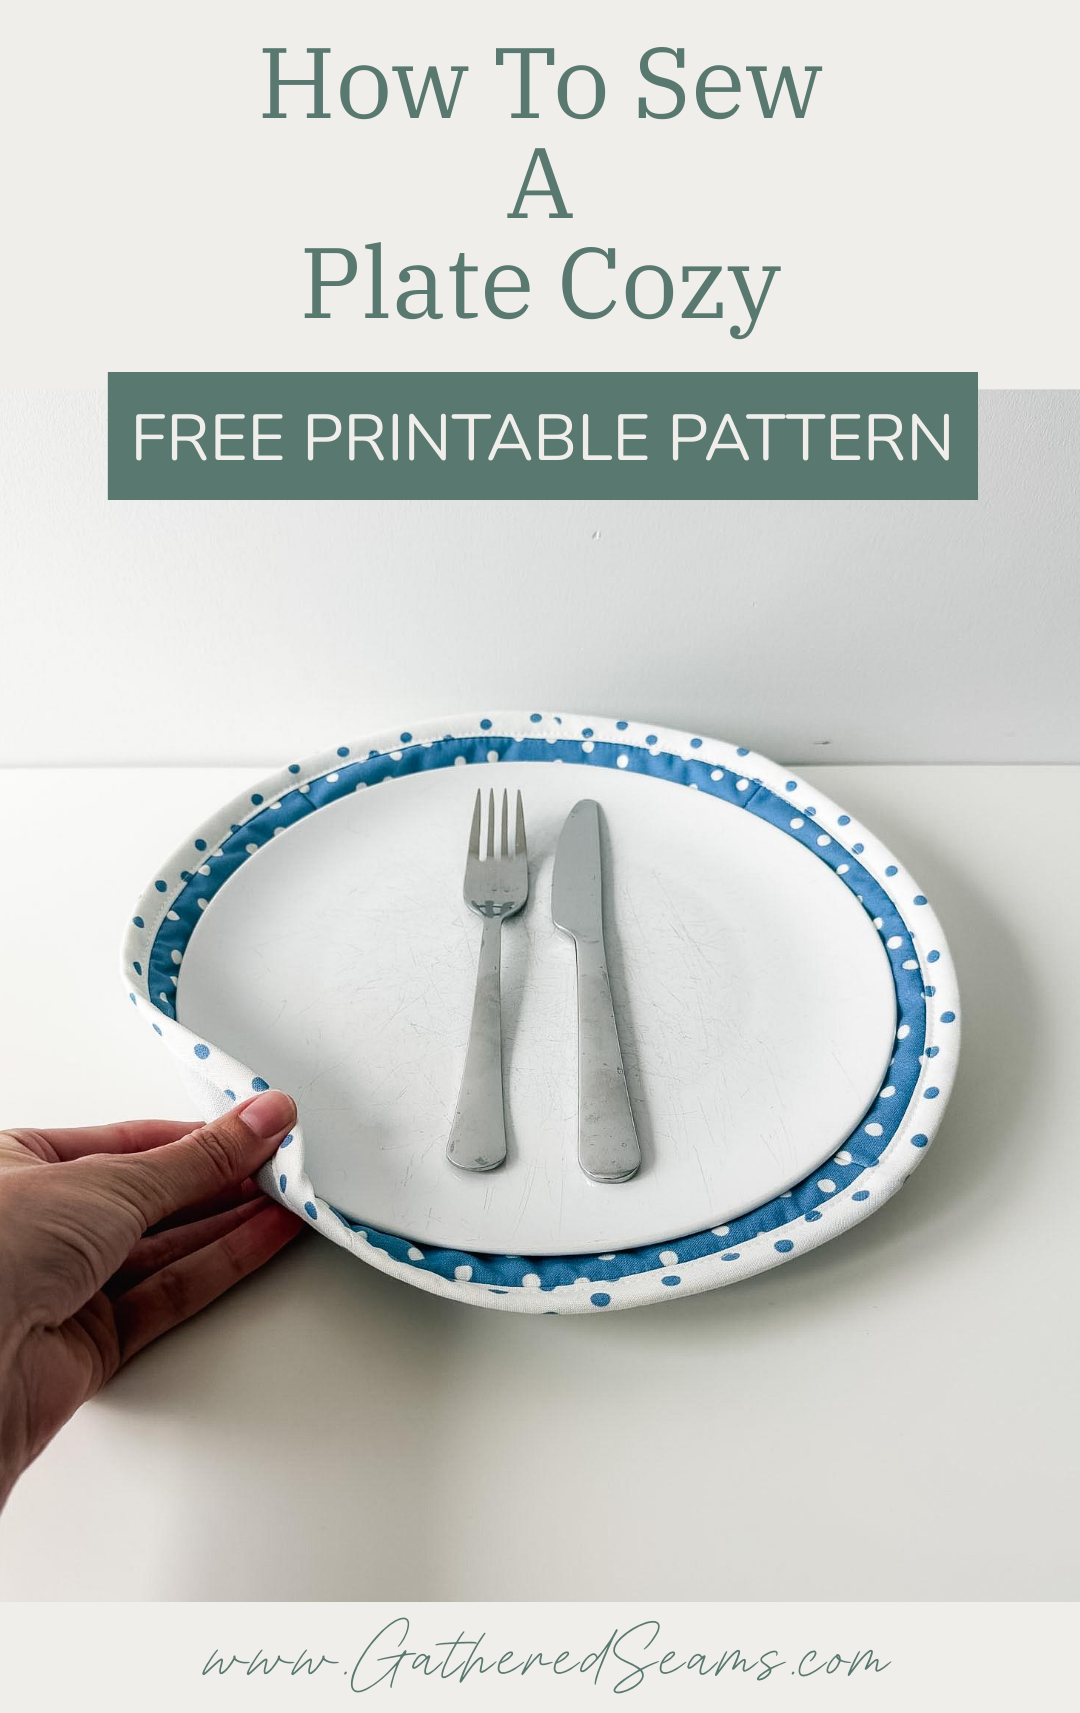
This plate cozy is 12-1/2″ in diameter and will fit plates up to 11″ in diameter.
Depending on how popular this pattern is, I may add a smaller size (pinning/repinning a pattern, liking, and/or commenting on Pinterest lets me know how popular a pattern is and if I should add more variations).
You may also be interested in:
- How To Sew a Bowl Cozy | Free Printable Pattern
- How To Sew a 9 x 13 Casserole Cozy | Free Printable Pattern
- How To Sew a Pie Plate Cozy | Free Printable Pattern
Materials
As an Amazon Associate, I earn from qualifying purchases (see full disclosure here).
It’s important to use 100% cotton materials. Polyester and other synthetic materials are flammable when exposed to microwave heat.
- 100% cotton fabric or 100% linen
- 100% cotton batting (I used Wrap-N-Zap)
- 100% cotton thread
- 100% cotton bias tape (1/2″ double-fold; it’s 1/2″ wide when double-folded, 2″ wide when unfolded)
Printed cotton fabric
Typically, dyes used to create prints and patterns on fabric are synthetic, but they bond with the natural cotton fibres, making the fabric itself 100% cotton. Therefore, the dyeing process does not introduce synthetic materials into the fabric.
To keep these cozies microwave-safe, avoid cotton fabric with metallic or foil prints, glitter, or shiny additives, and/or blended fabrics (e.g. poly-cotton blend), as these are unlikely to be microwave-safe.
Tools
- Sewing Machine
- Walking foot (highly recommended when working with batting)
- Fabric clips or pins
- Scissors
- Ruler
- Temporary fabric pens
- Iron
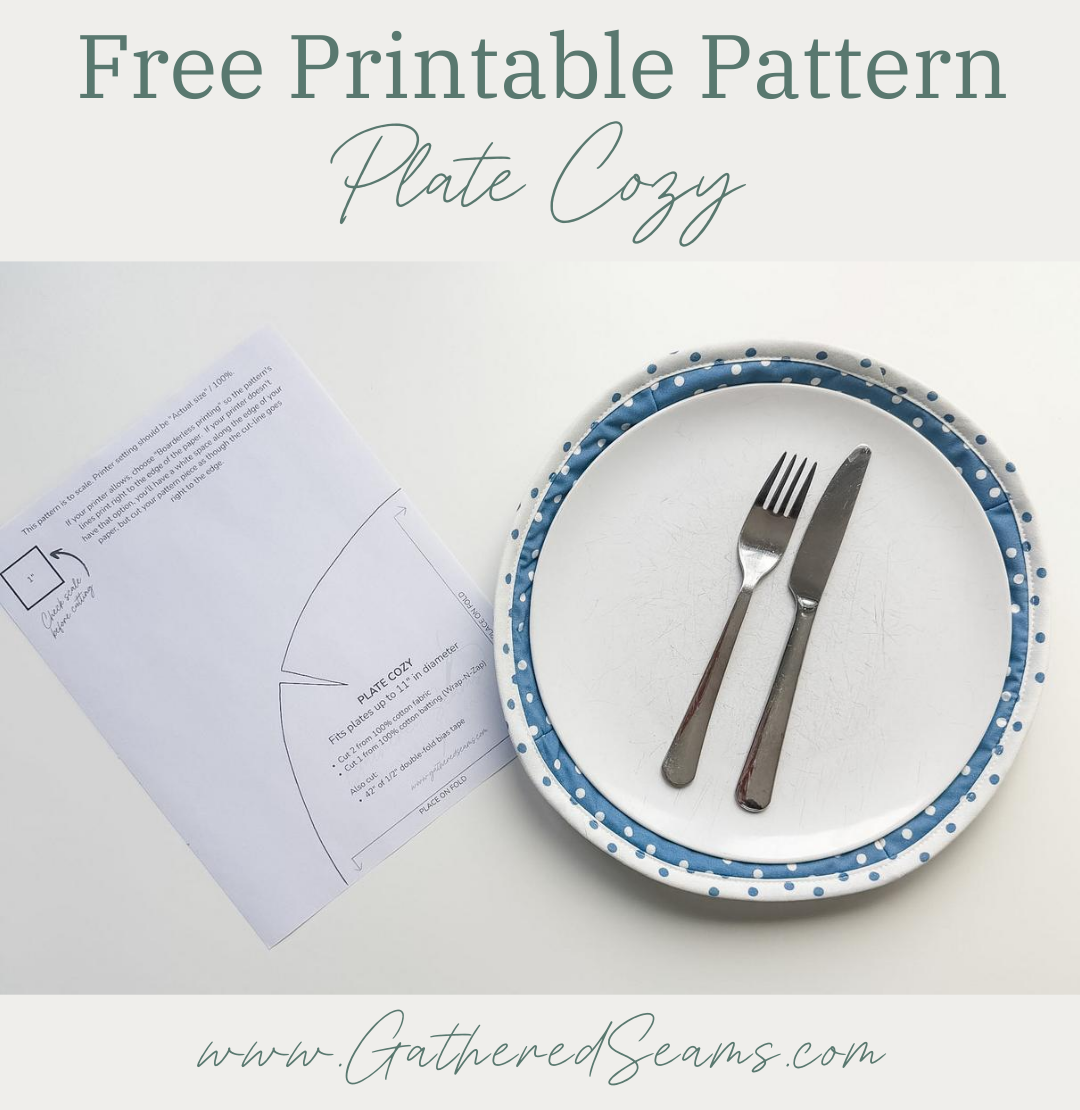
Free printable pattern for a plate cozy

Steps to sew a plate cozy
Step 1
Download the free printable sewing pattern and cut out your pattern pieces.
Make sure your fabric is folded twice and the two straight edges of the pattern are aligned with a folded edge.
After making a few of these, I’ve found it easiest to take one pattern piece that I’ve cut in my fabric, unfold it and place it on my batting. If you have temporary fabric glue, use a little to smooth the fabric pattern piece on top of the batting. Then cut around the fabric piece to cut your batting in the same shape.
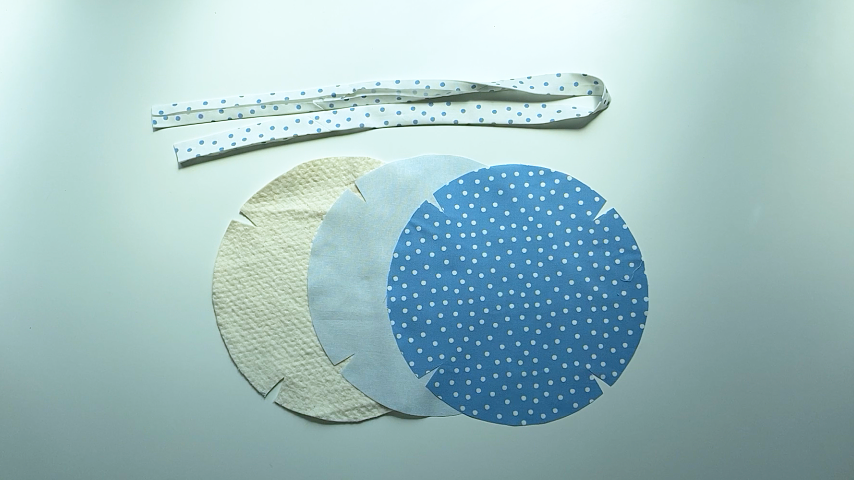
You will need to cut the pattern piece in:
- Top fabric
- Bottom fabric
- Wrap-N-Zap
You will also need to cut:
- 42″ of 1/2″ double-fold bias tape
Step 2
This plate cozy is reversible, so place your batting wrong sides together with one of your fabric pieces. If you have temporary fabric glue (and haven’t already used it to adhere the batting to a fabric piece), use some of that to keep the two layers together.
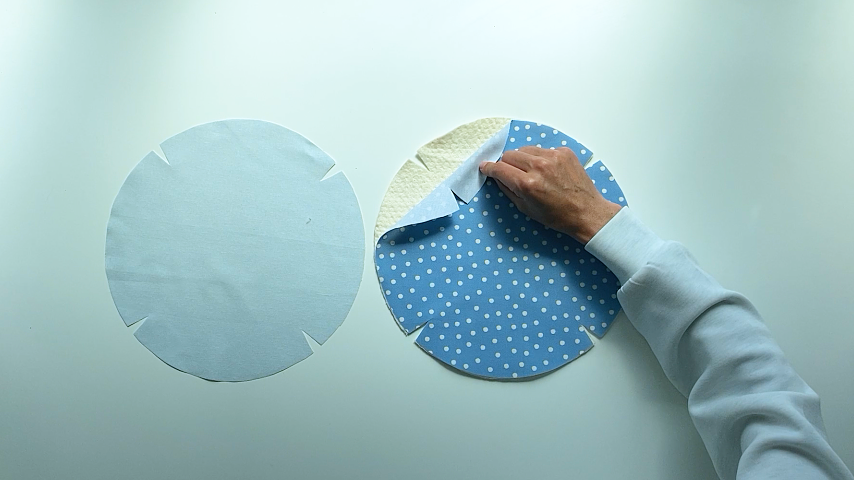
On the back side of your batting and the other fabric piece, use a temporary fabric pen to mark lines on either side of the darts that are 1/4″ away from the cut edge.
This step is optional, but I find it helps me keep my dart line straight and even on each dart.
After making a few plate cozies, I’ve found it’s faster to fold the piece in half and draw one line 1/4″ away from the cut edge, on whichever side you’ll be sewing on.
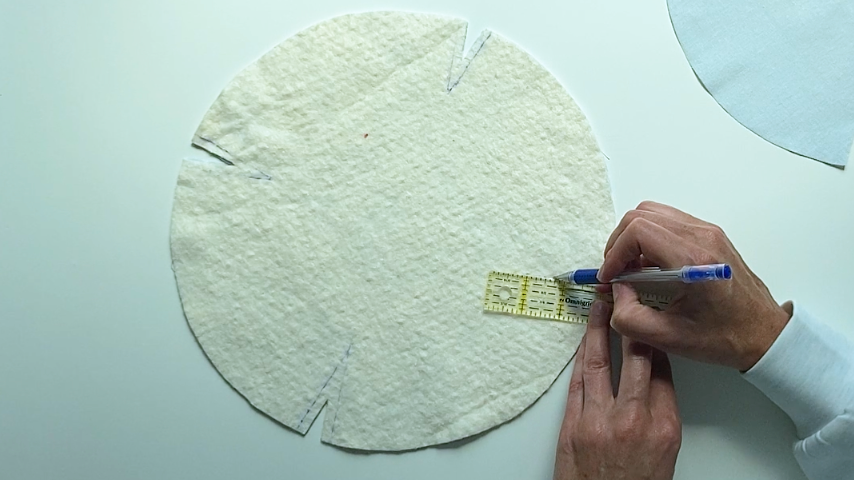
Fold your circle in half, right sides together, so the cut edges of the dart line up. You’ll sew along the drawn-on line.
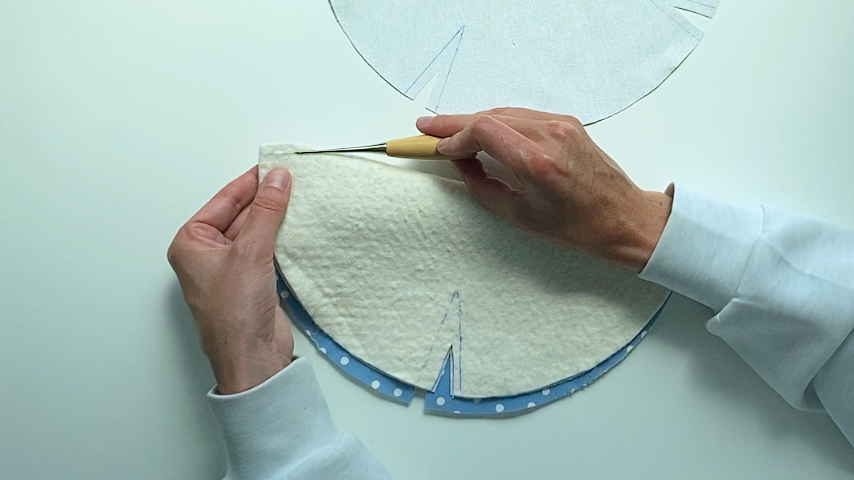
When sewing darts, start at the top of the dart and sew off the point of the dart. You typically don’t want to backstitch at the point because it can cause puckering and a stiff point.
Instead of backstitching, I shorten my stitch length on my sewing machine (to about 1.5 mm – 2mm) as I sew off the point of the dart. This gives a tighter stitch that won’t come undone.
Alternatively, you can leave the thread tails long and then tie a double knot at the point of the dart.
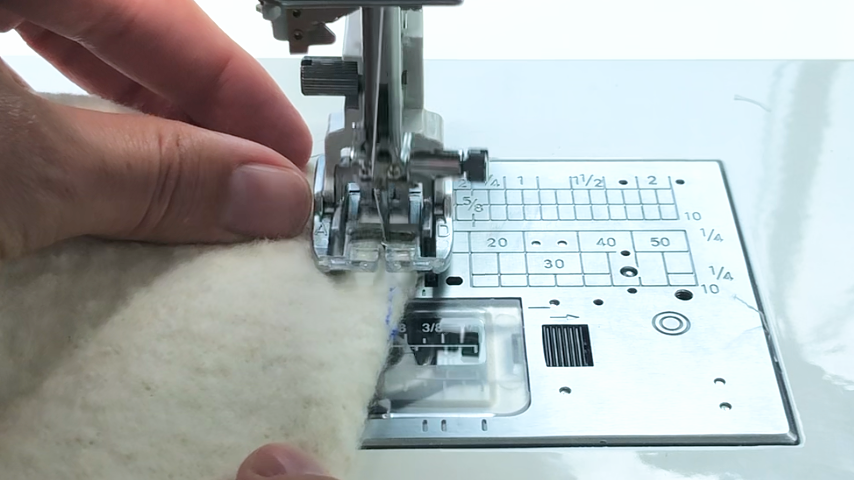
Repeat these steps to sew the darts in the other piece of fabric.
Trim the batting only on each dart. To do this, I cut the batting down the center, getting close to the point.
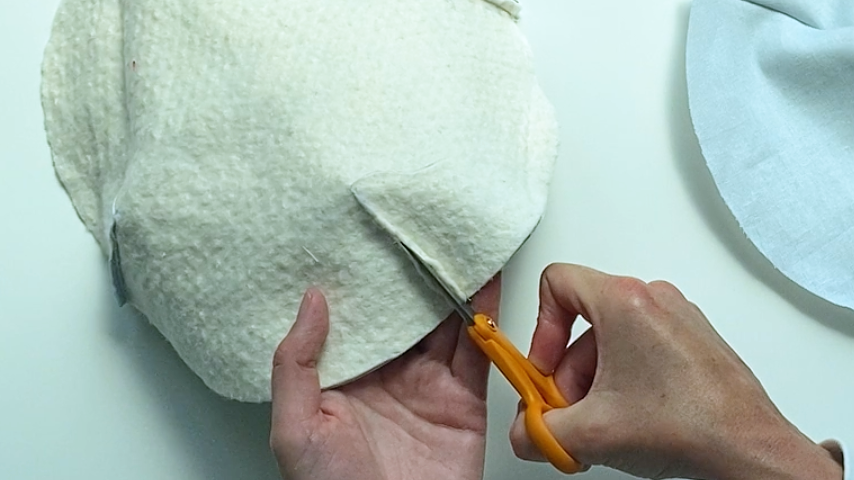
Then I trim the batting close to the stitching, on either side of the dart.
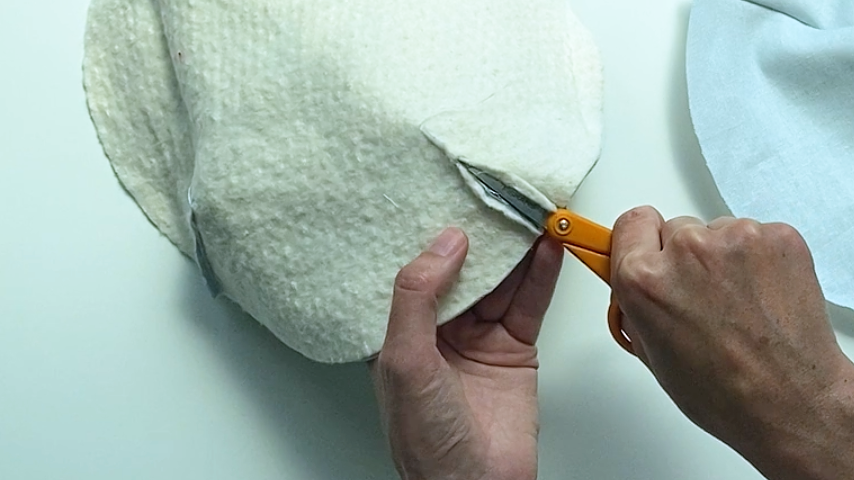
Step 3
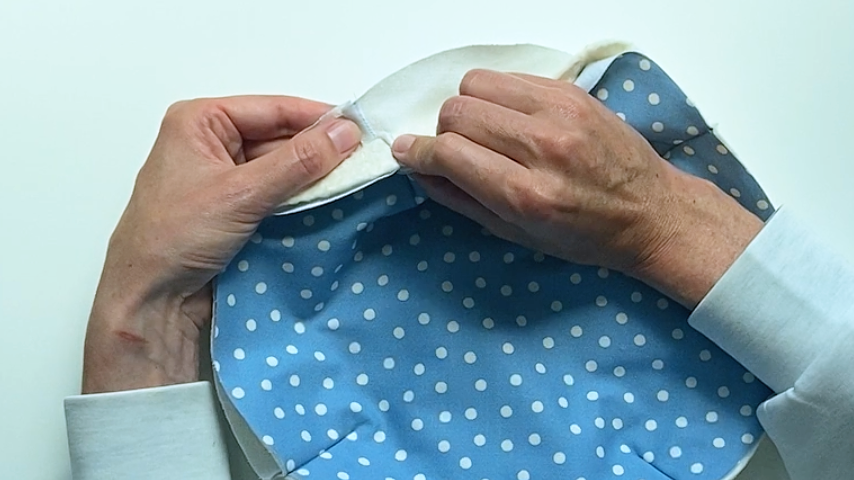
Place your top piece and bottom piece wrong sides together, lining up the darts.
Instead of opening the seams on your dart, simply fold them to one side or the other, alternating directions to reduce bulk. So if the bottom dart is folded to the left, the top dart will be folded to the right.
Clip the darts together.
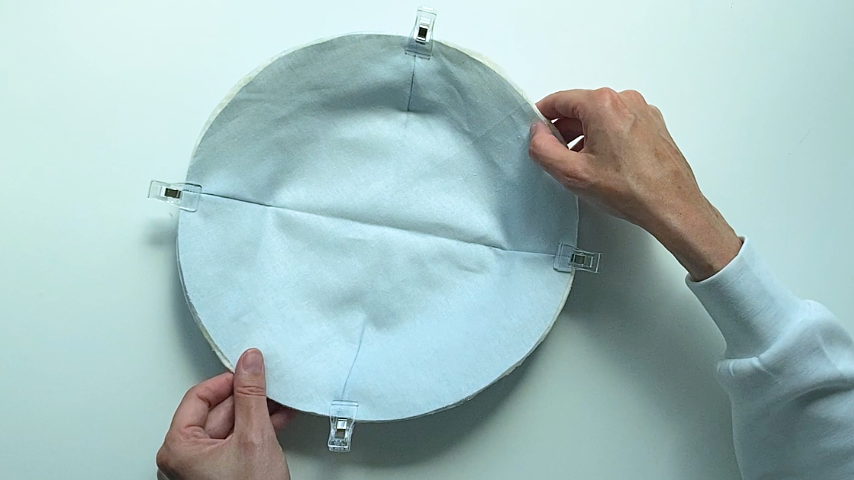
Sew the layers together using a quilting stitch. You can use any pattern you like for the quilting stitch; I did a simple X from one dart to the other, backstitching at the start and end.
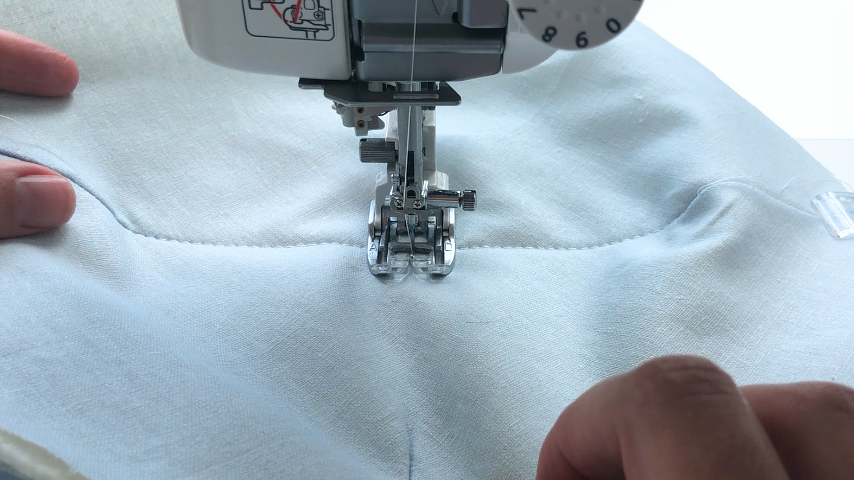
Step 4
Using a temporary fabric pen, mark a line 2″ away from one end of your bias tape. This is where you’ll start stitching your bias tape on, sewing in the first fold.
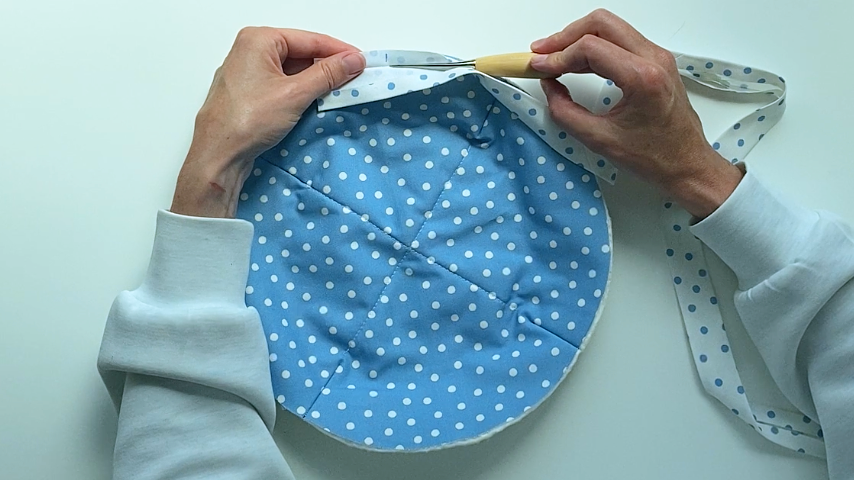
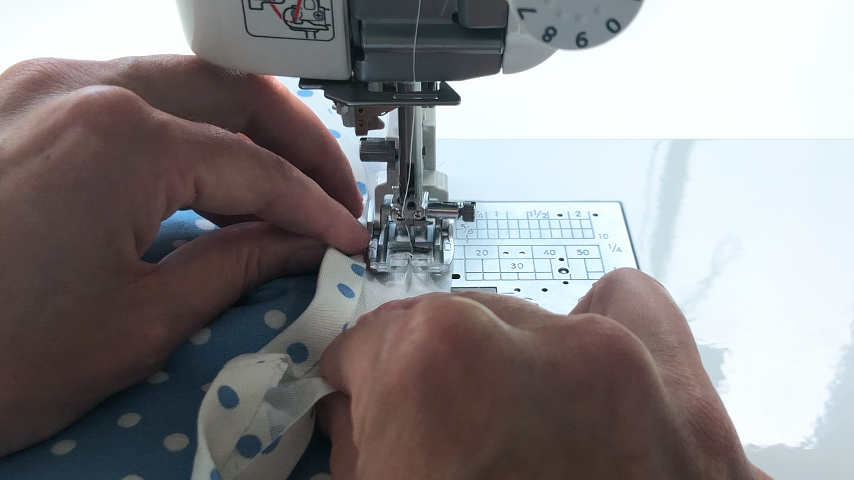
When you come back around to the start of your bias tape, fold the starting end straight back:
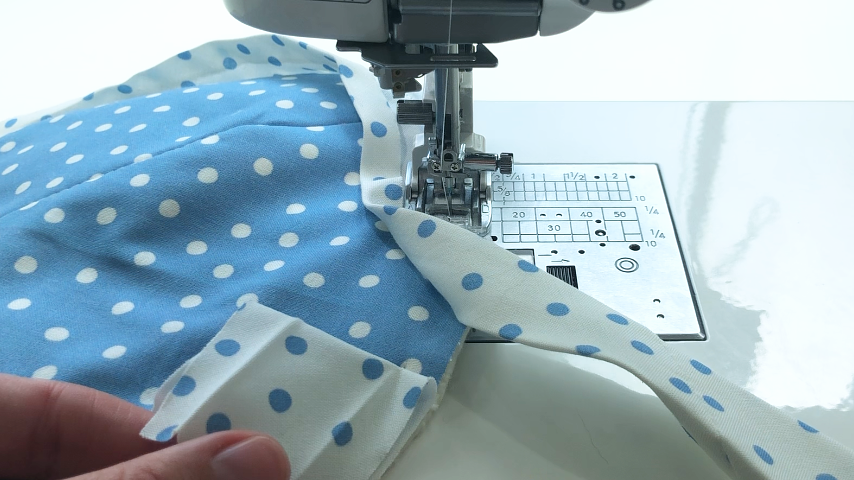
Then place the end of the bias tape on top of the starting piece and sew right up to the starting stitch, being careful not to go past it. I like to shorten my stitch length here to be more accurate with my end point.
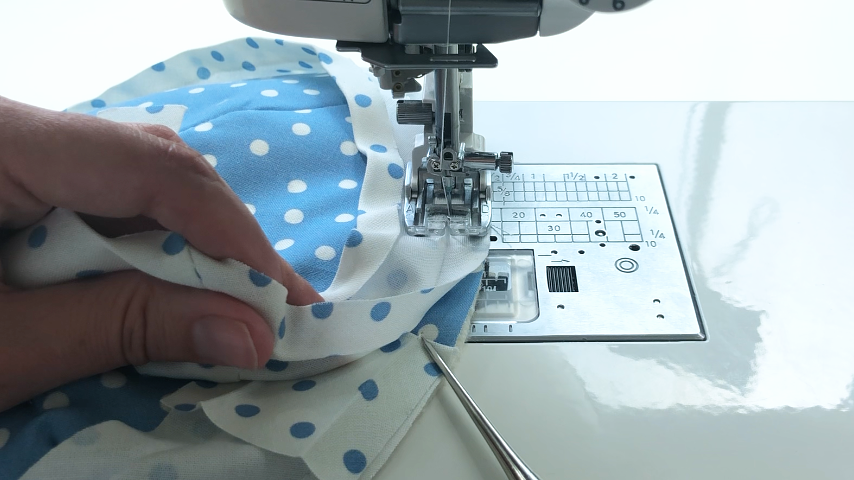
This is how the start and end of your bias tape should look:
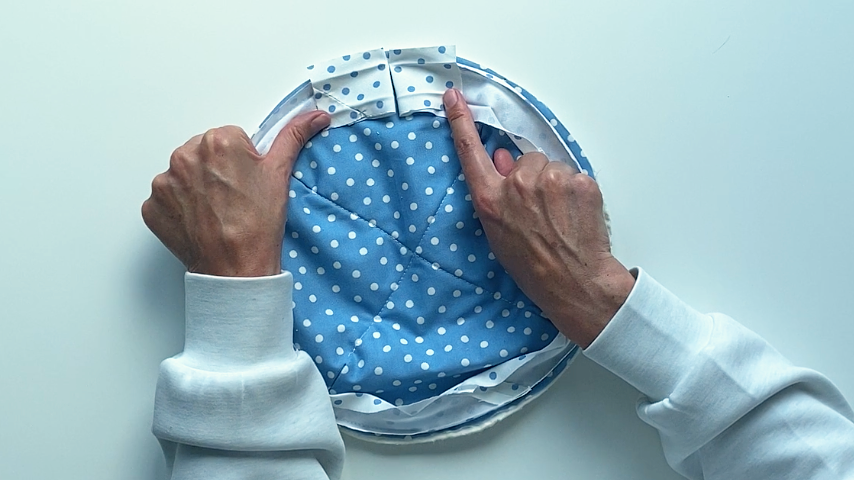
Unfold the end piece of the bias tape:
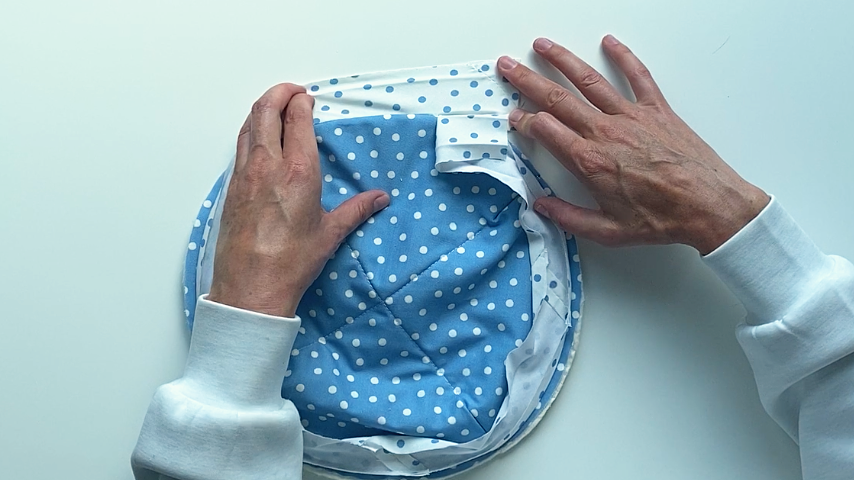
Then fold the plate cozy so you can set the starting piece of the bias tape on top of the end piece at a 90-degree angle.
You’ll sew at a 45-degree angle from where the start and end pieces intersect, up to the stitch line on your bias tape.
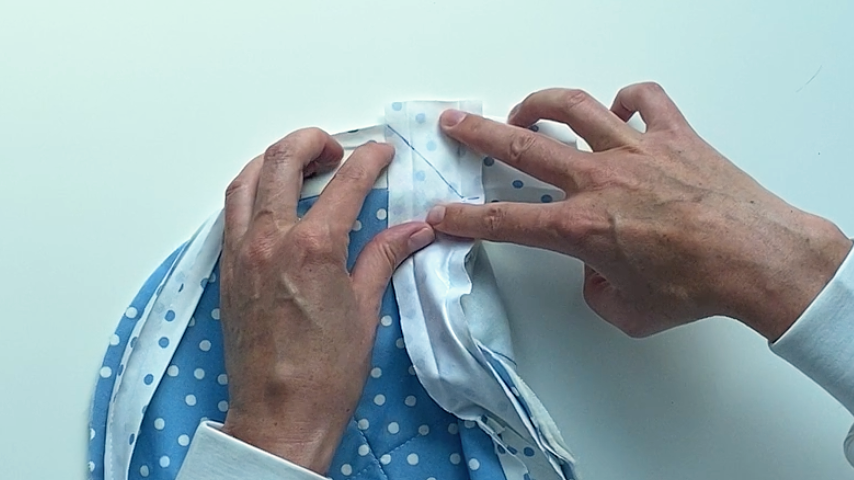
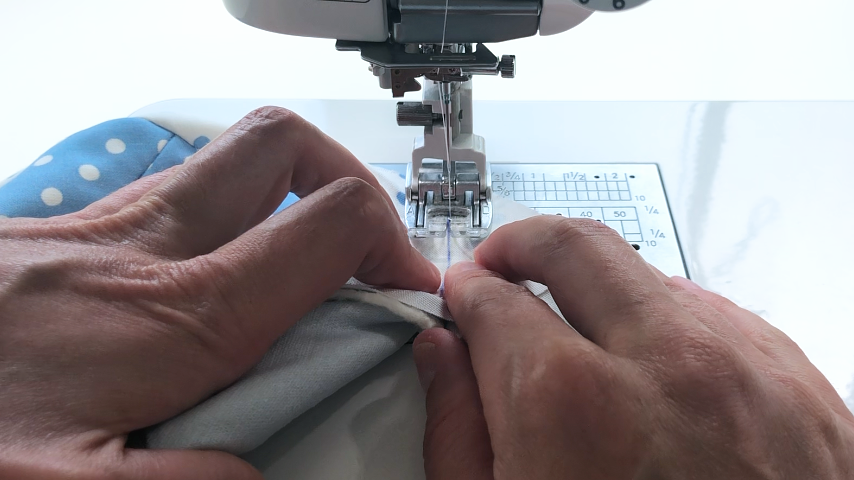
Check to make sure the seam looks good:
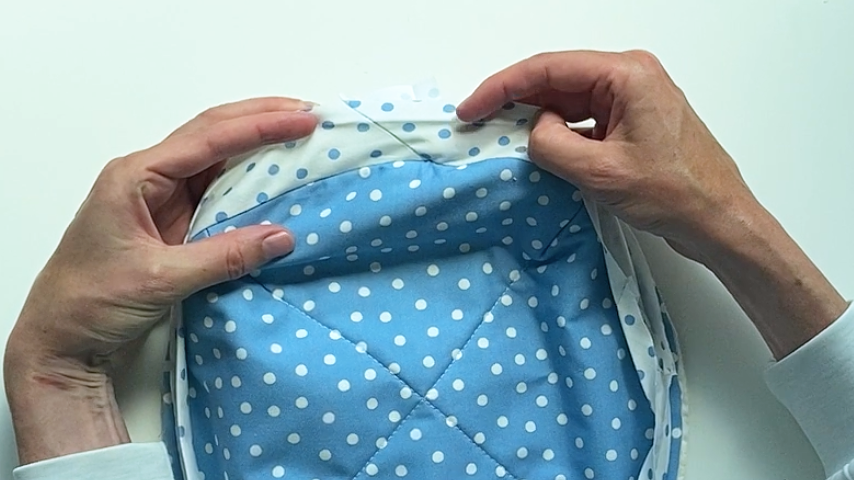
Then trim the seam allowance of the bias tape and finger press the seam open.
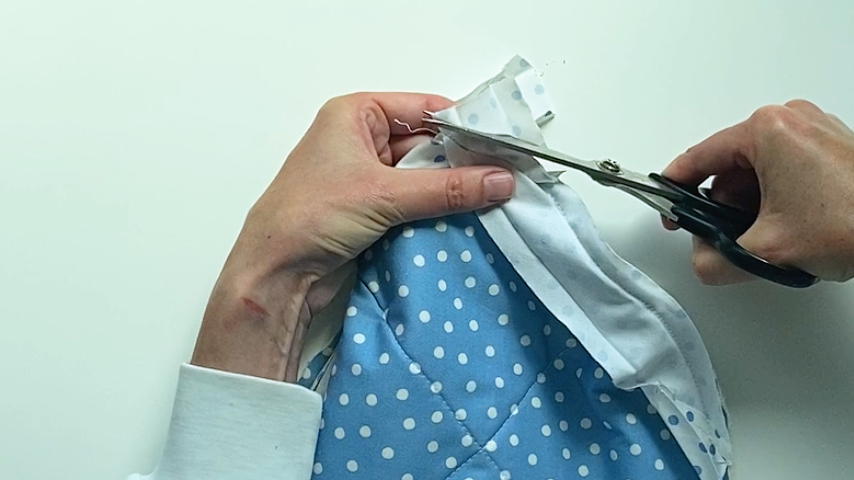
Step 5
Fold the bias tape over to the other side. You want the inside folded edge of the bias tape to sit right on top of the line of stitching.
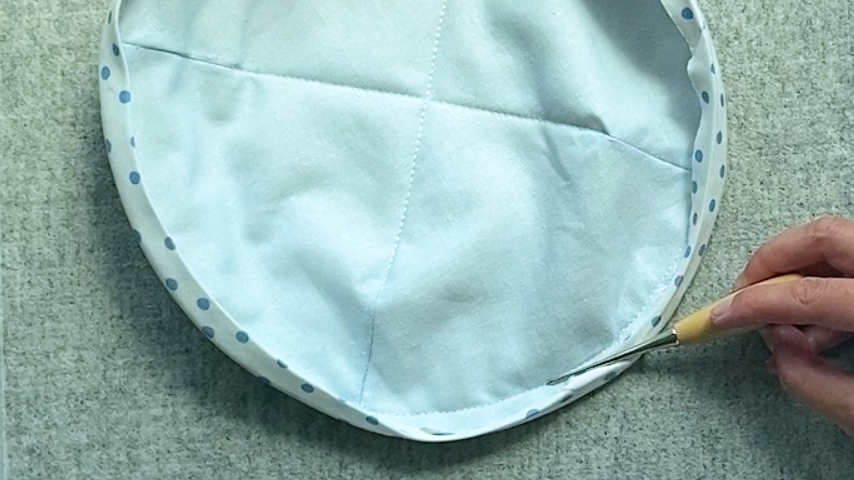
I find it helpful to use the tip of my iron to press the bias tape into place, which gives me a nice crisp edge and it relaxes the fabric fibers to help them curve around the circle.
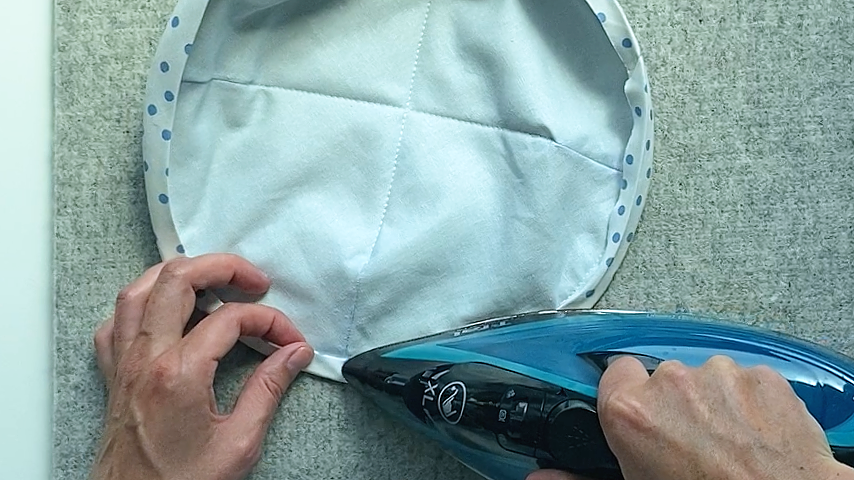
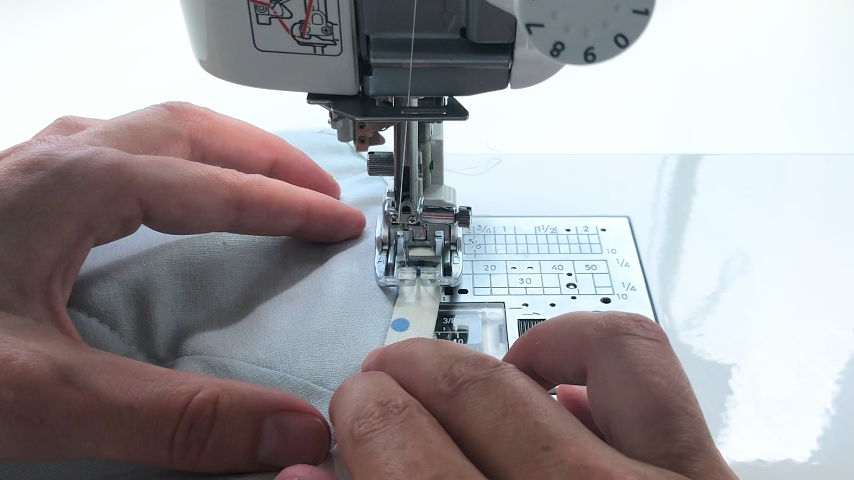
Sew 1/8″ in from the inside edge of the bias tape.
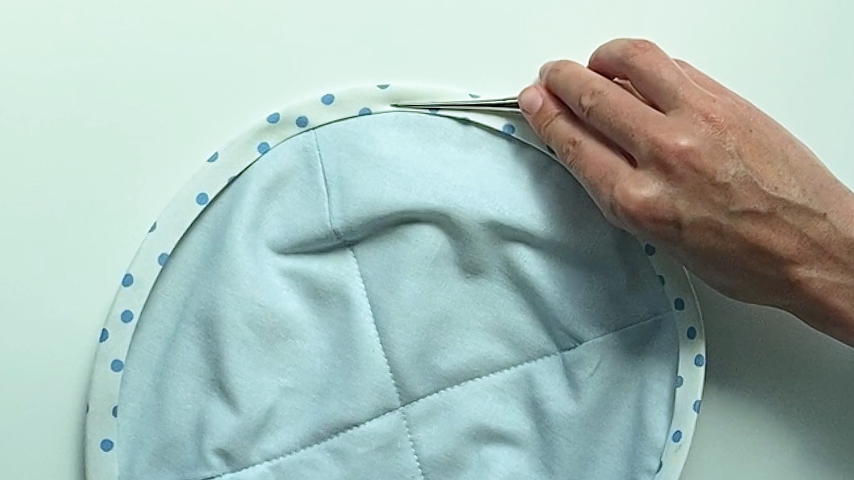
As you sew, check to make sure the edge of the bias tape is aligned right over the stitching. This will ensure your stitching looks good on both sides.
Your plate cozy is complete!