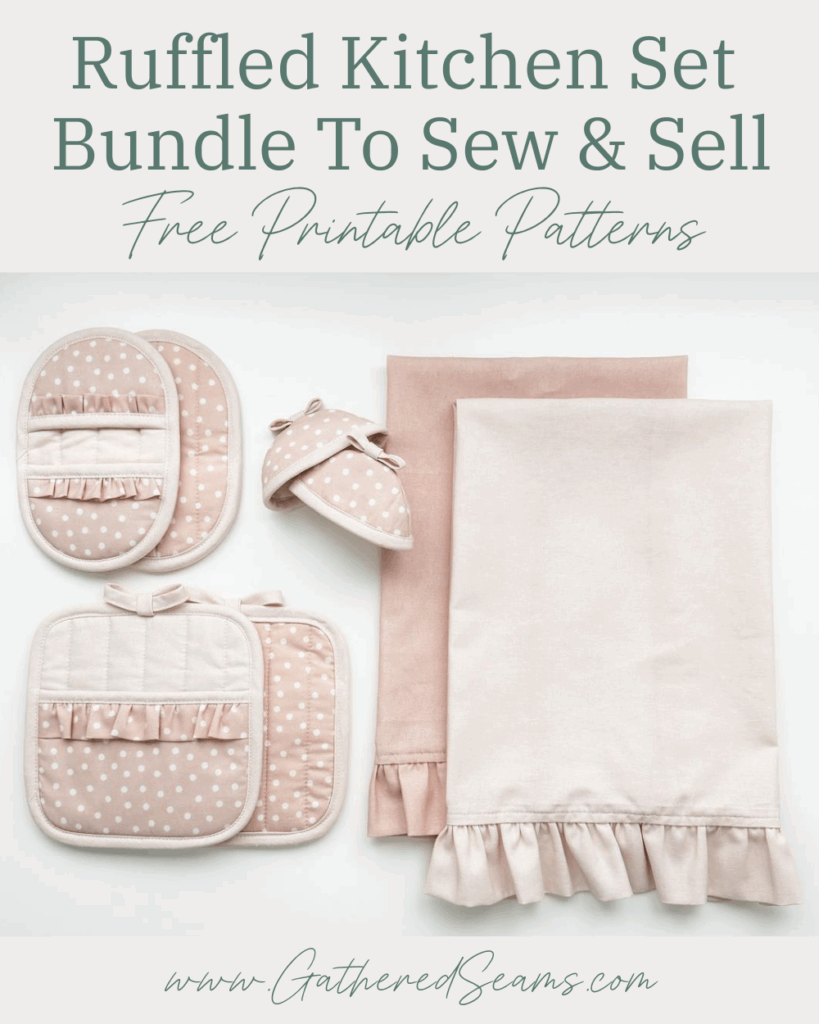
How To Sew a Golf Head Cover | Free Printable Pattern
This is a simple golf head cover that is quick and easy to make. It’s a good sewing project for a beginner.
Golf head covers make a great gift for any golfer and are a fun gift for dad on Father’s Day, Christmas, or a birthday.
You can customize these covers or make them more seasonal. For the golfer who golfs year-round, they may like a winter set that is insulated to protect the club heads from extreme temperature fluctuations. Or a padded set for travel. Or even a waterproof set for the rainy season.
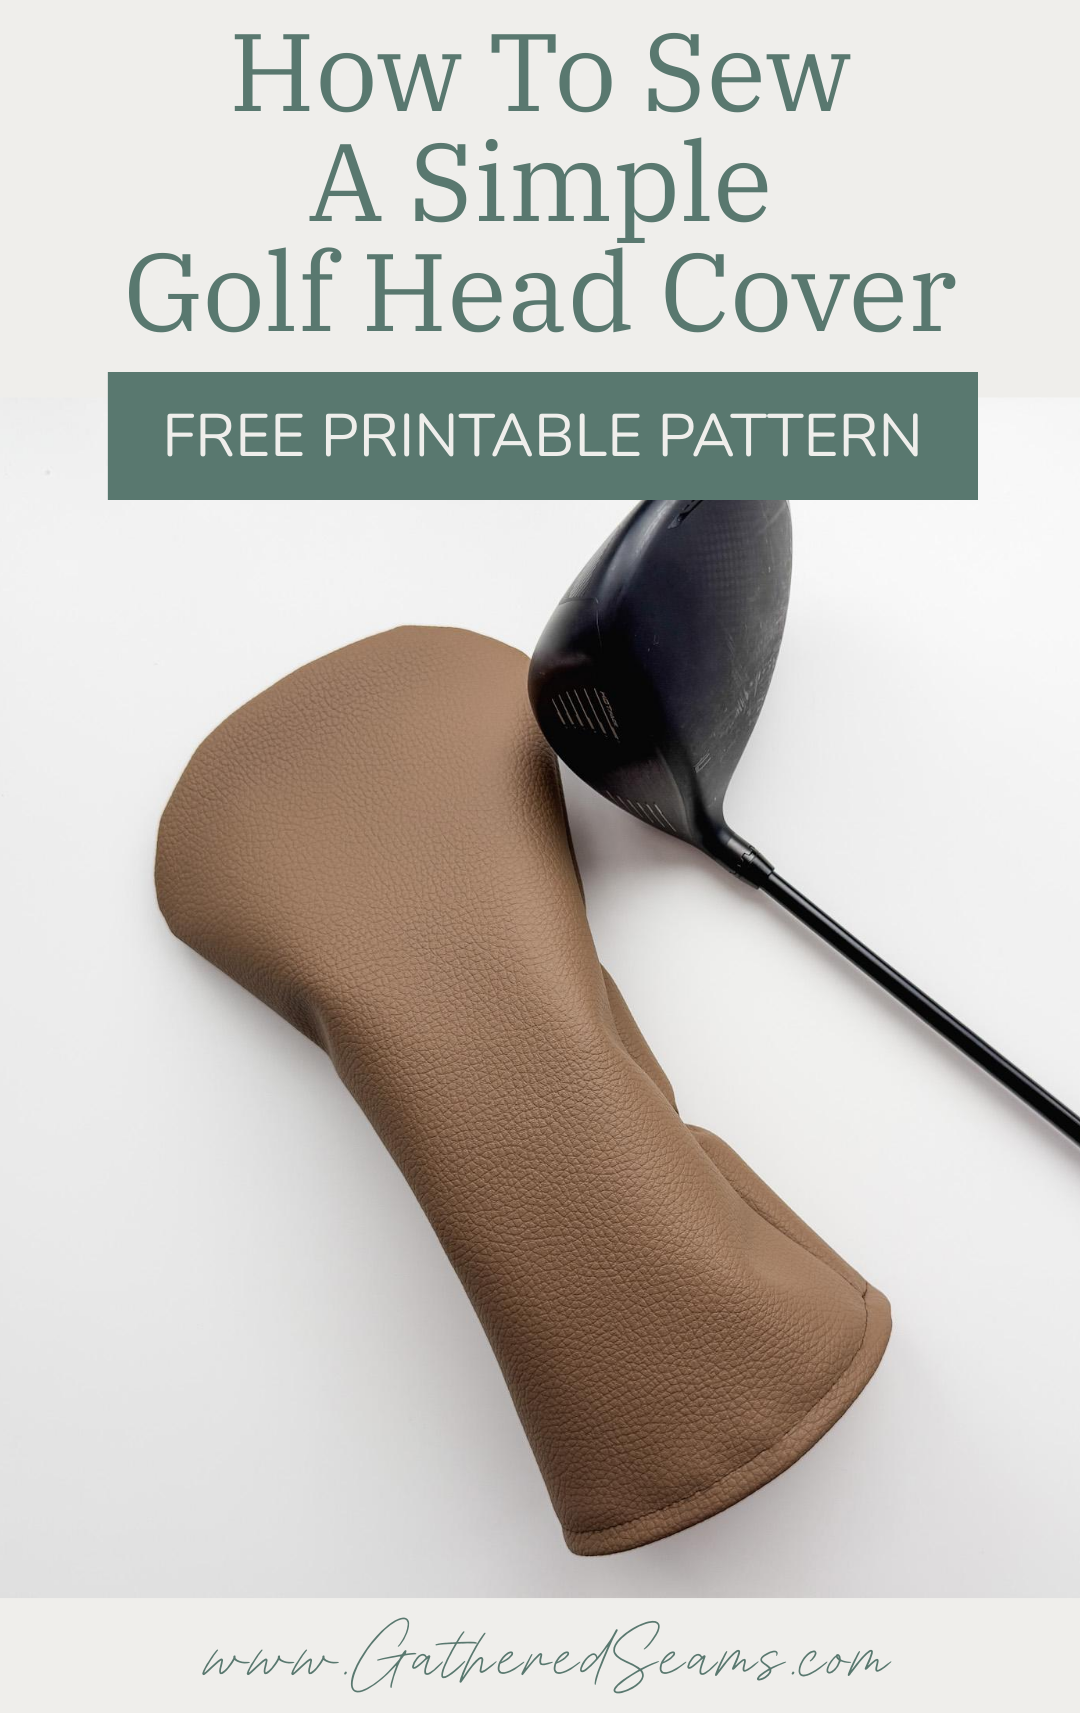
Materials
As an Amazon Associate, I earn from qualifying purchases (see full disclosure here).
- Outer fabric – I chose vinyl because I want my covers to be water-resistant. Stick to fabrics that are durable and won’t be damaged easily by the elements. A few options are:
- Vinyl/PU Leather
- Genuine leather
- Neoprene
- Canvas or waxed canvas
- Heavier-weight nylon
- Lining fabric – choose a soft fabric that won’t scratch clubs. It’s also ideal to choose a fabric that doesn’t fray. A couple of good options are:
- Fleece
- Sherpa
- Velour
- Minky fabric
- Optional: stabilizer foam – if the outer fabric you’re using doesn’t have much structure, you may want to fuse a layer of stabilizer foam, fleece batting, or other interfacing to give your club head more structure.
- Optional: thermal batting – if you want to protect the golf clubs from temperature fluctuations, you may add thermal batting. Ideal for someone who golfs in extreme heat or in colder temperatures during the winter.
- Elastic (I used 1/2″ wide elastic)
- Thread
- Optional: golf head cover number tags – if you have a machine that embroiders, you may choose to embroider letters or numbers to identify which club is under the cover. Alternatively, you can add a loop to the top of your head cover and add these tags that allow you to change the number on each cover.
Tools
- Sewing machine
- Optional: embroidery machine (to add letters or numbers to the club heads)
- Walking foot (highly recommended if you’re sewing quilting stitches. This is the universal one I purchased for my Baby Lock, which is a different machine than what’s shown in the photos)
- Temporary fabric marker (these are the ones I use)
- Ruler
- Scissors
- Clips/pins
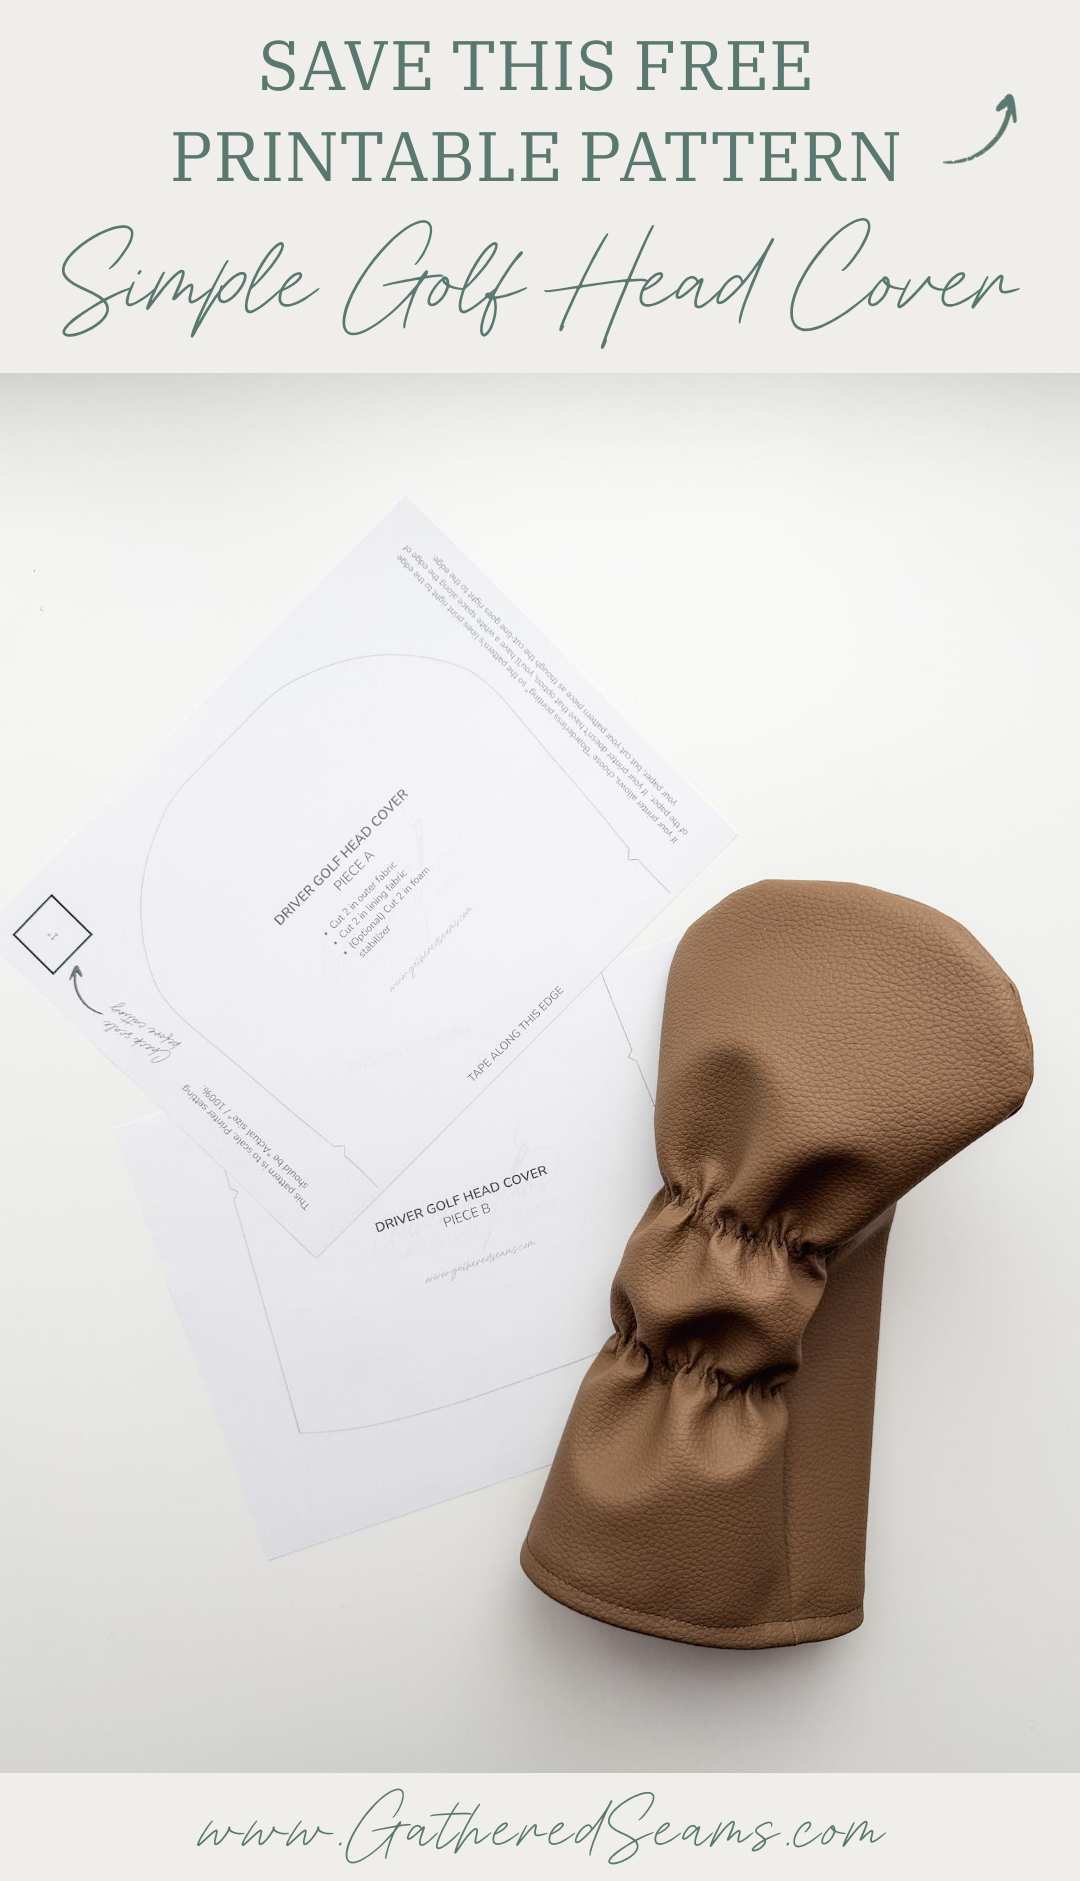
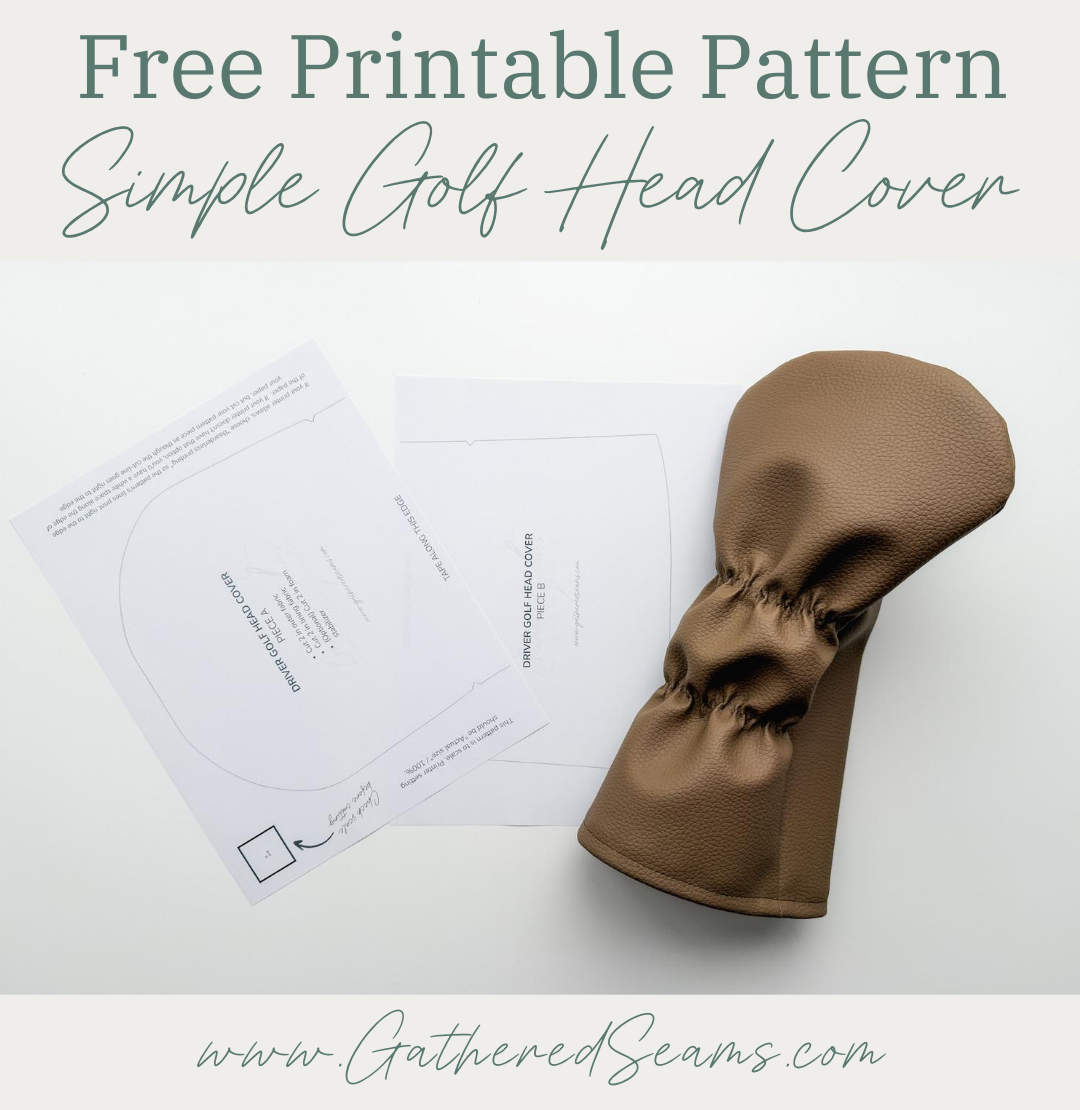
Free printable patterns for a golf club head covers
This pattern has sizes for a driver, wood, and hybrid.

Steps to sew a golf head cover
Step 1
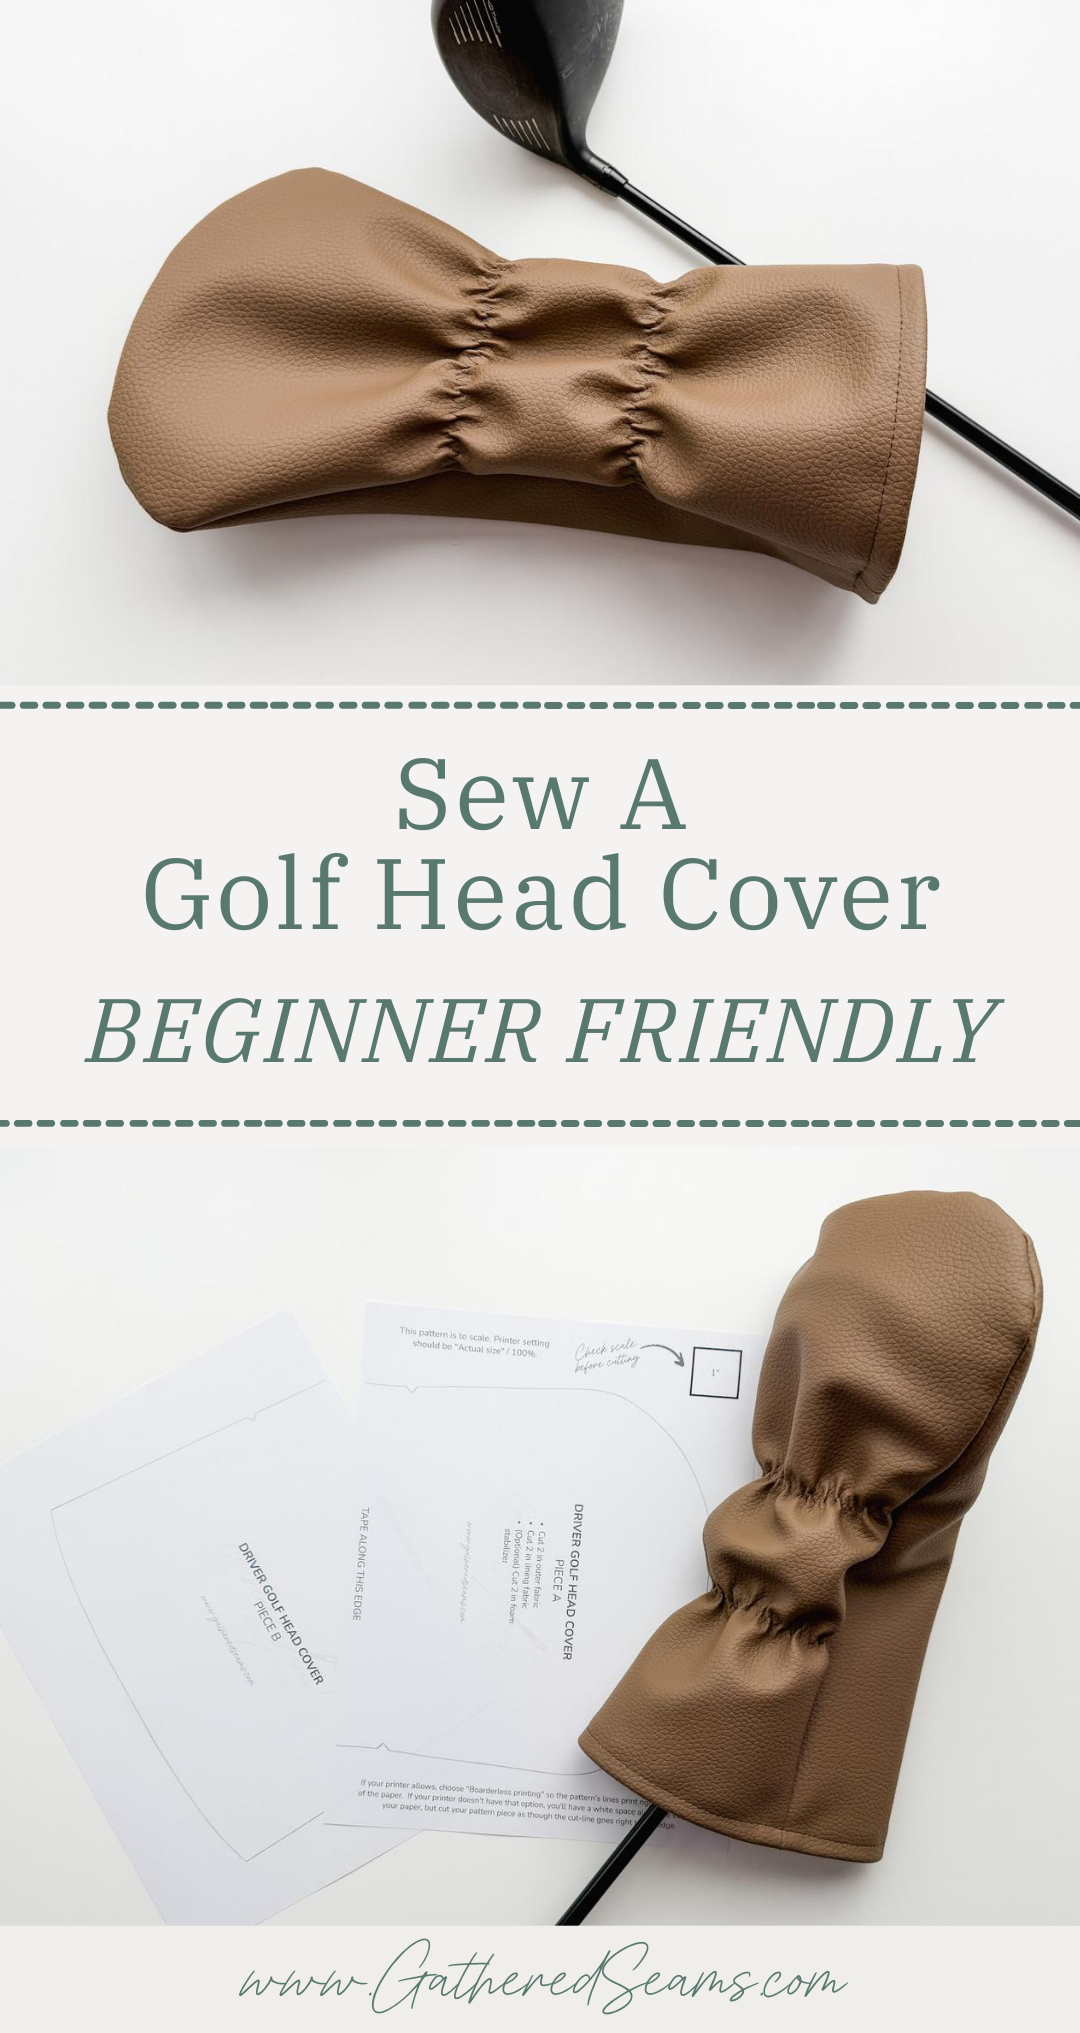
Download the free pattern, print it, tape the edges together (they should not overlap), and cut out the pattern piece.
Before cutting your fabric, compare your driver/wood/hybrid club head to the printed pattern to ensure the cover is wide enough for your clubs.
I’ve tried these on both my clubs and my husband’s, and they fit, but best to double-check your set before cutting materials.
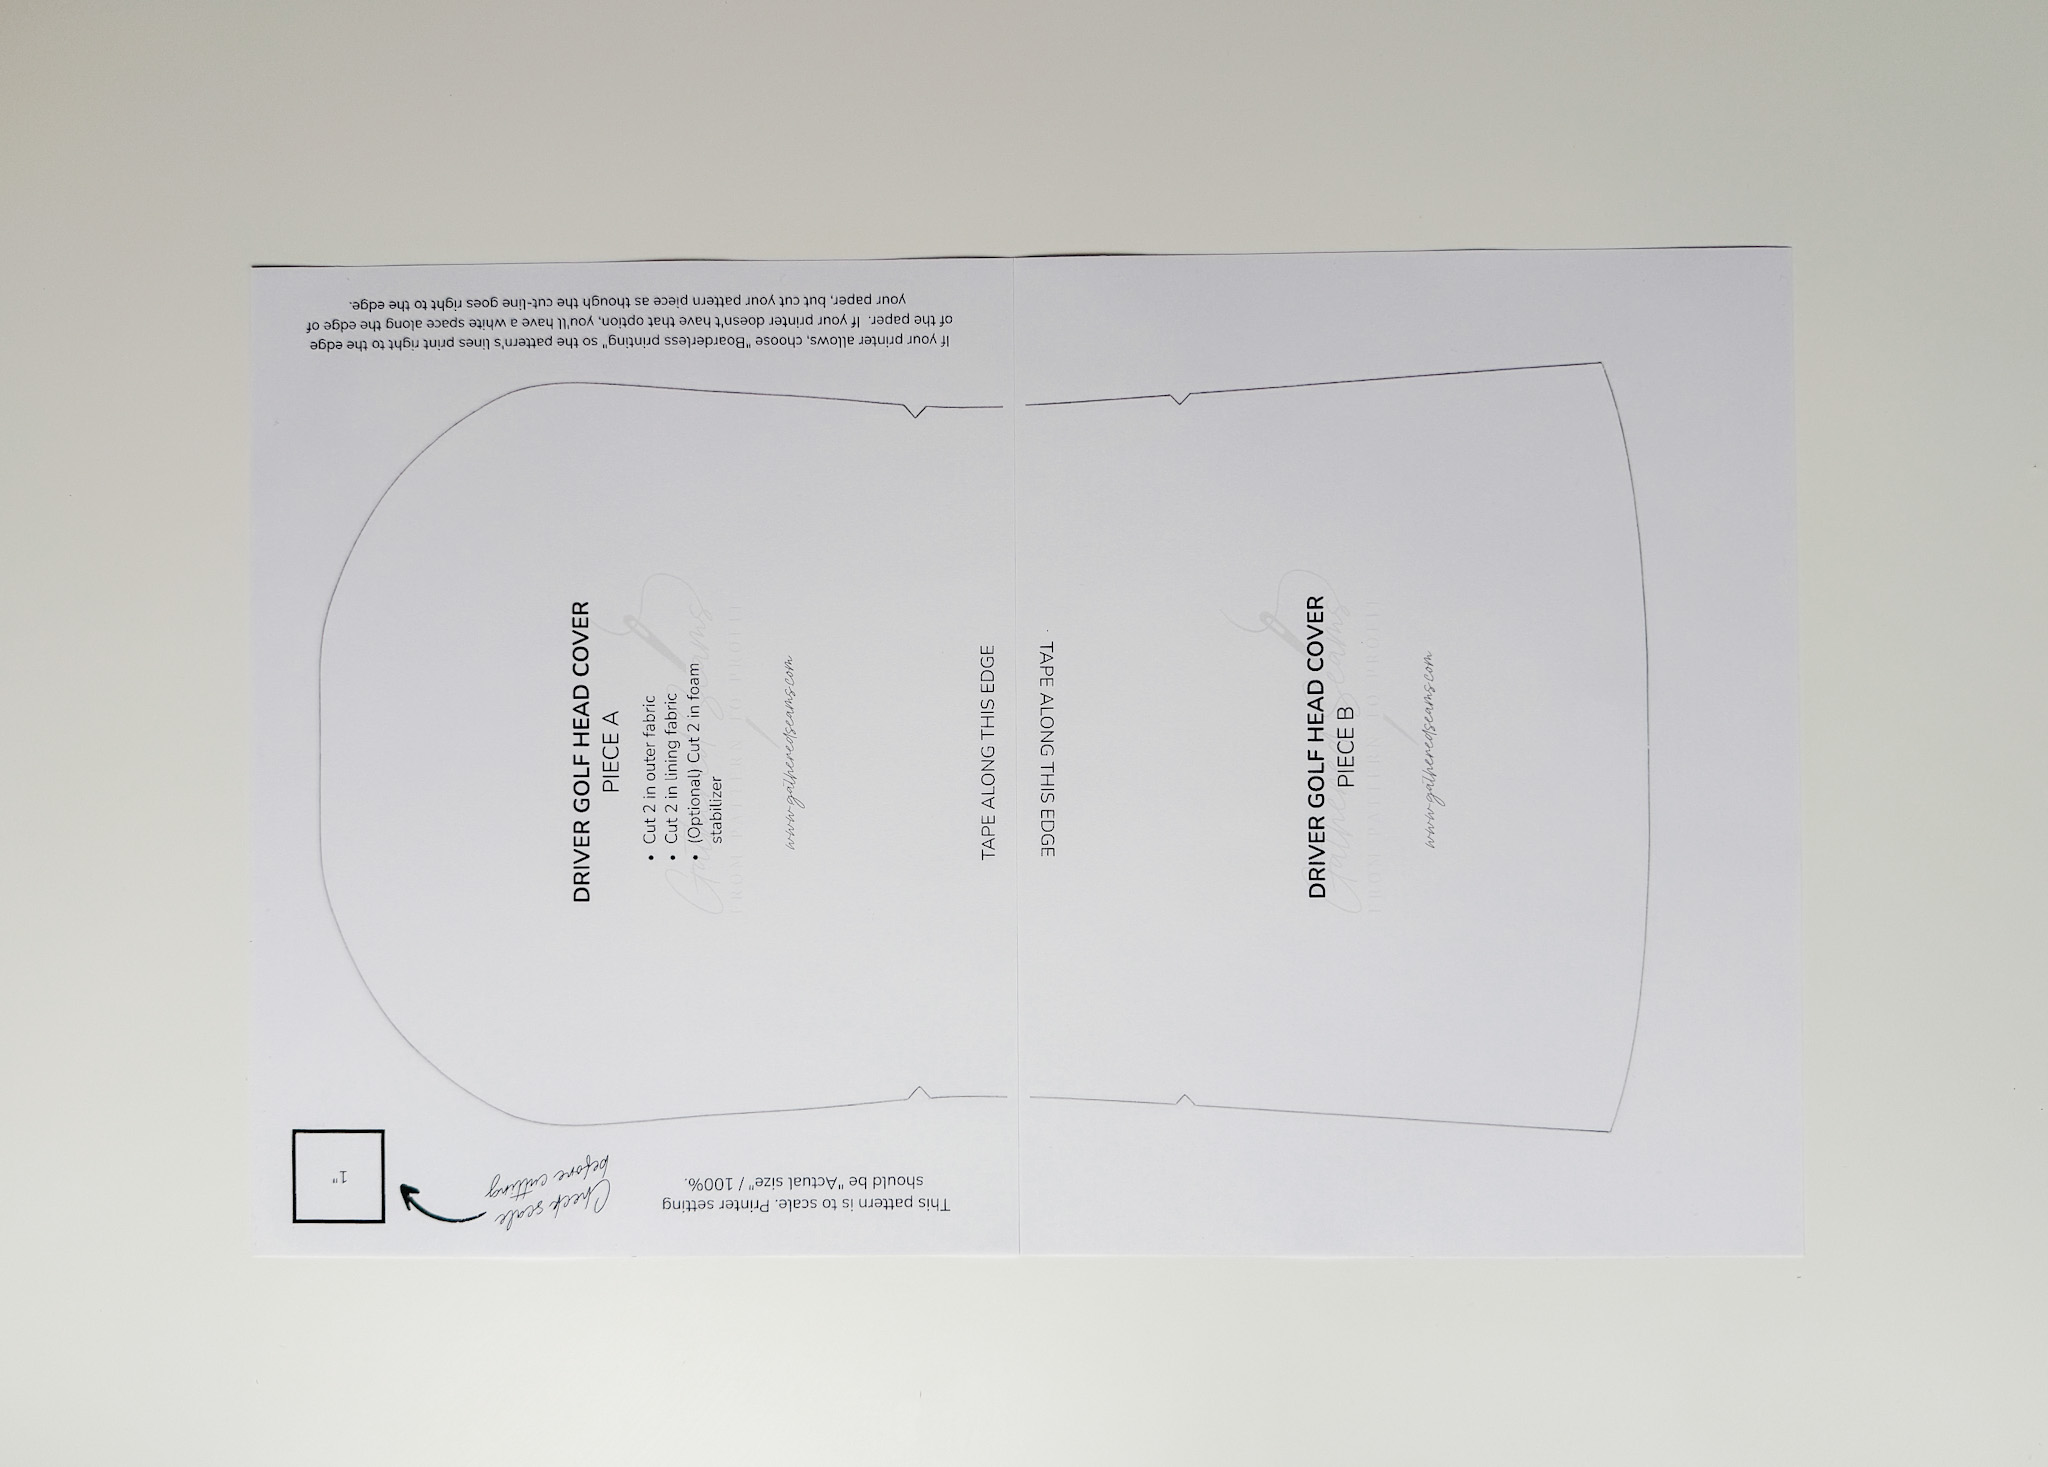
The 4 notches on either side of the pattern indicate where your elastics will start and end. You only need to cut these notches on one of your outer pieces.
In your pattern piece, you will:
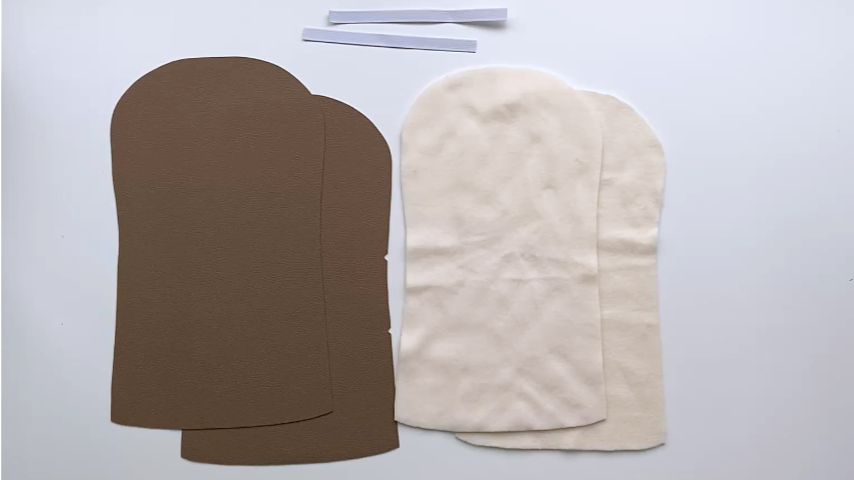
- Cut 2 in outer fabric
- Cut 2 in lining fabric
- (Optional) Cut 2 in foam stabilizer
You will also need:
- 2 pieces of elastic that are 7″ long
Optional
If you want to add any customization, letters, or numbers, do so now to the top outer piece. If you want to use golf club head cover number tags to label the cover, you can make a loop to thread through the tag, then sew the loop to the top of the outer pieces.
Step 2
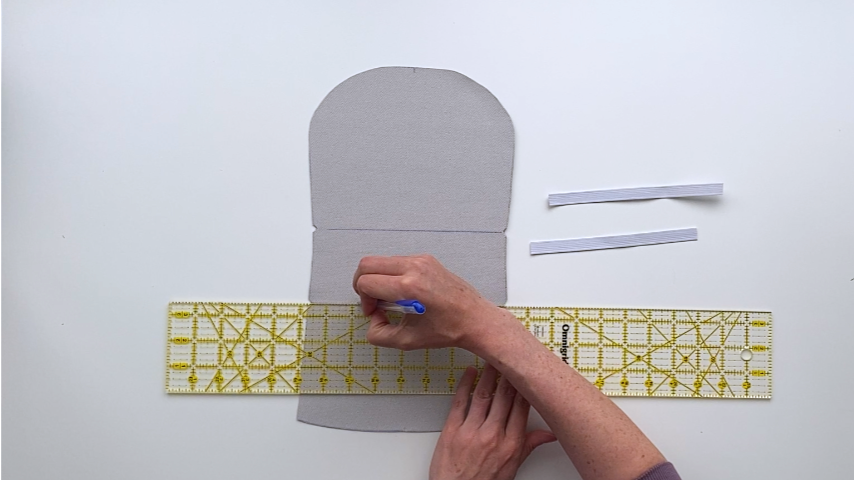
For the outer bottom piece only: use a temporary fabric marker and ruler to draw two lines going from the notches on one side of the cover to the other. Mark these on the wrong side of the fabric.
The elastics will be centred on these lines.
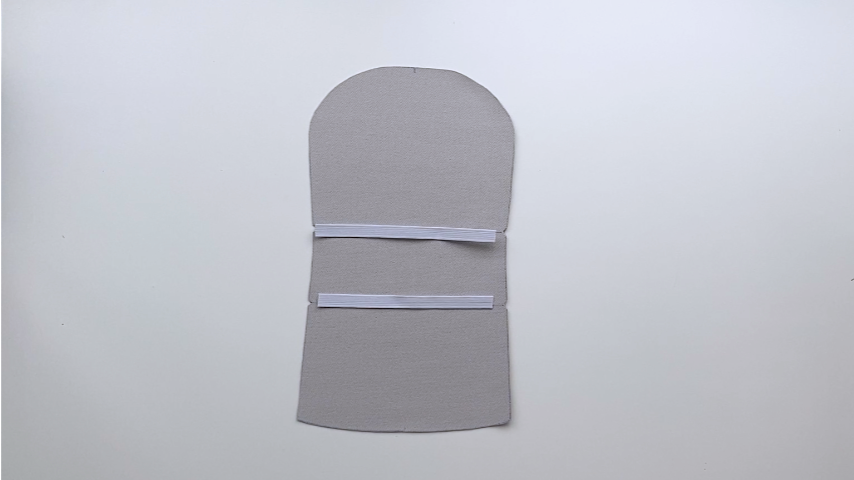
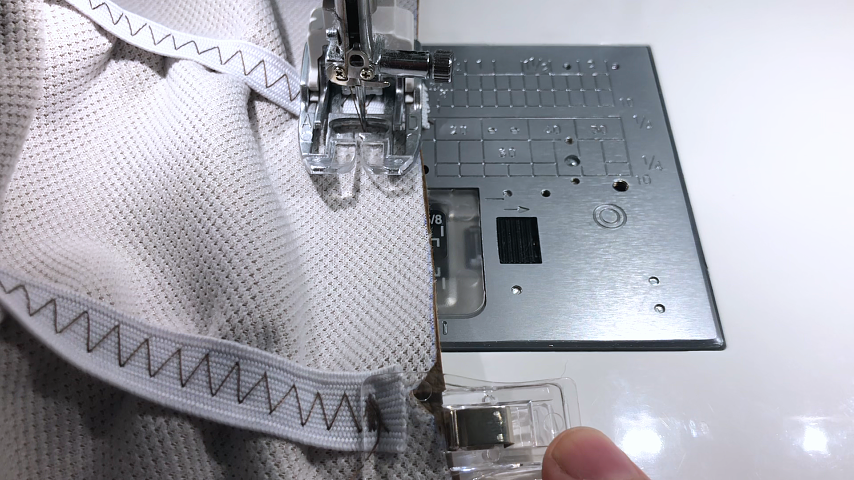
To sew the elastics on, use a zig-zag stitch and pull on the elastic as you sew.
You should not pull the fabric; simply pull the elastic. You can pull it almost as long as it will go.
A couple of tips:
- Test your zig-zag stitch on a scrap piece of fabric to ensure it is the right width for your elastic and the length you desire. Each sewing machine’s settings are different, but I am using a 1/2″ wide elastic and set my stitches to 6mm wide and 4mm long.
- Shorten your zig-zag stitch at the beginning and end to secure the start and end of your stitching in the seam allowance.
Check as you go that your elastic is centered on the line.
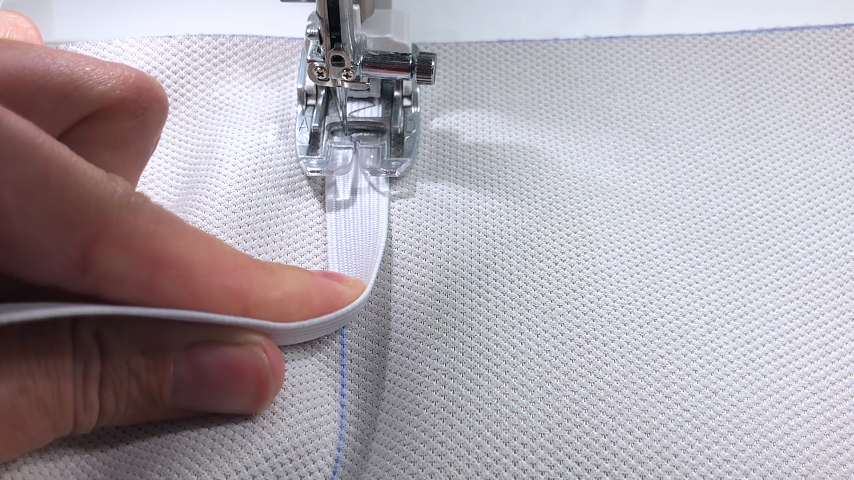
As you can see, I’m pulling the elastic as I sew, so it extends past the edge of the fabric.
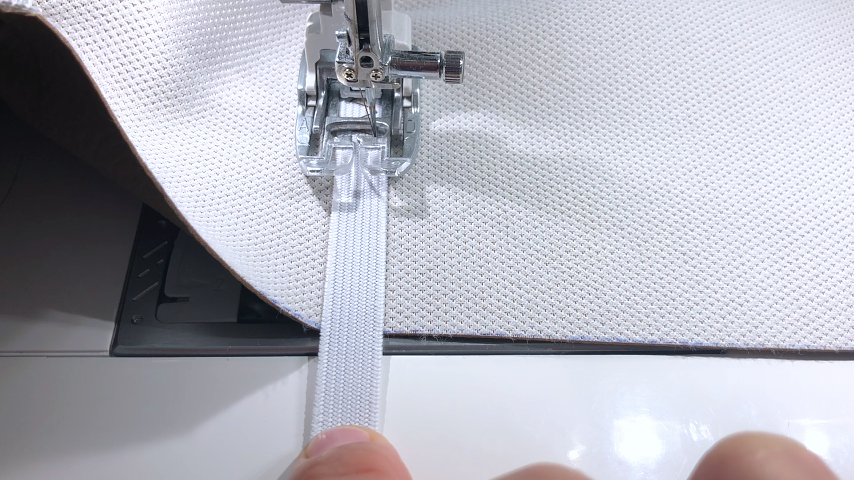
Once you’re done sewing an elastic on, you should have about 2″ of the elastic extending past the cover.
Cut the excess elastic off.
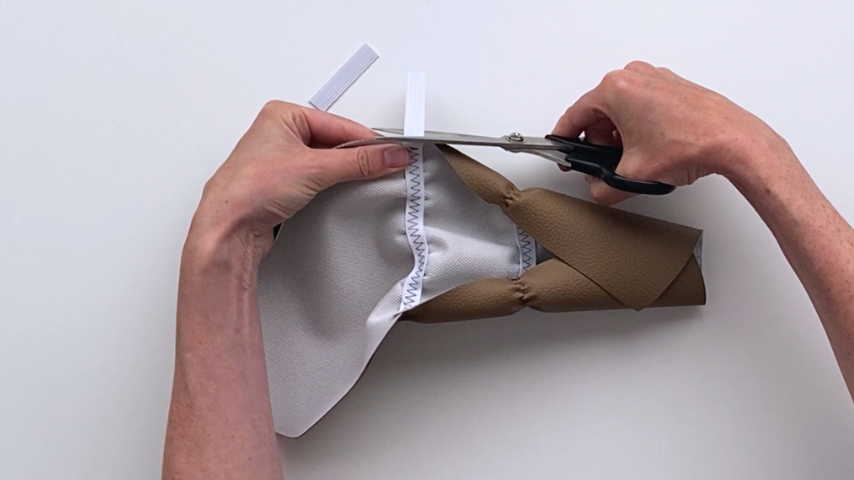
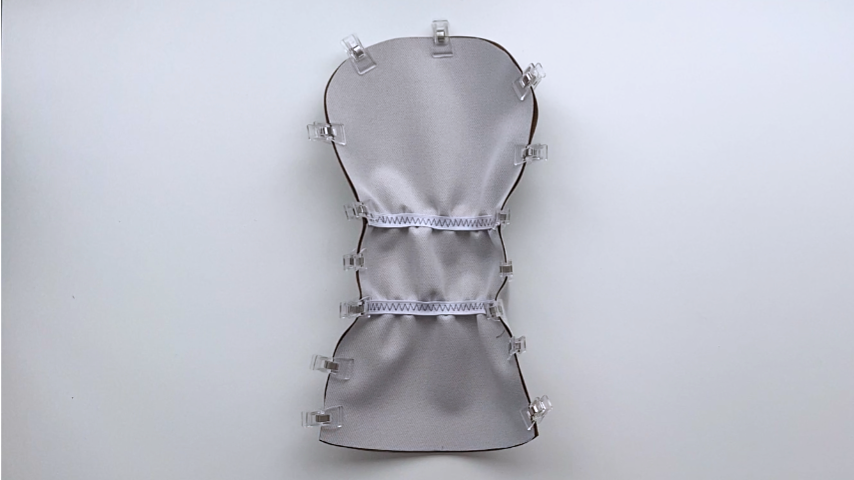
This is what your outer bottom piece will look like now:
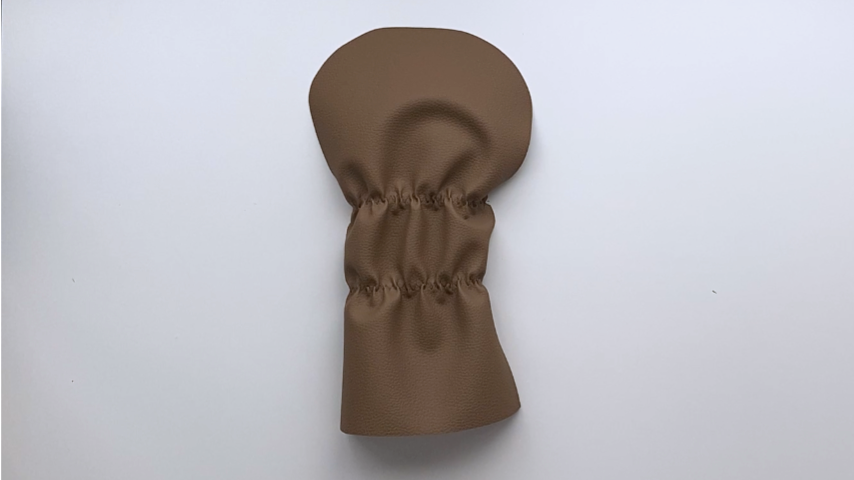
Step 3
Place your outer bottom piece and outer top piece right sides together and clip around the edges.
Using a 1/2″ seam allowance, sew around the sides and top of the cover,
If you’re using a fabric that can be ironed, you can press the seam open before trimming the seam allowance.
If you’re using vinyl, you can use a low setting on your iron and a press cloth and/or a seam roller to work your seams and create smooth curves. Always test using a scrap piece of vinyl when using heat.
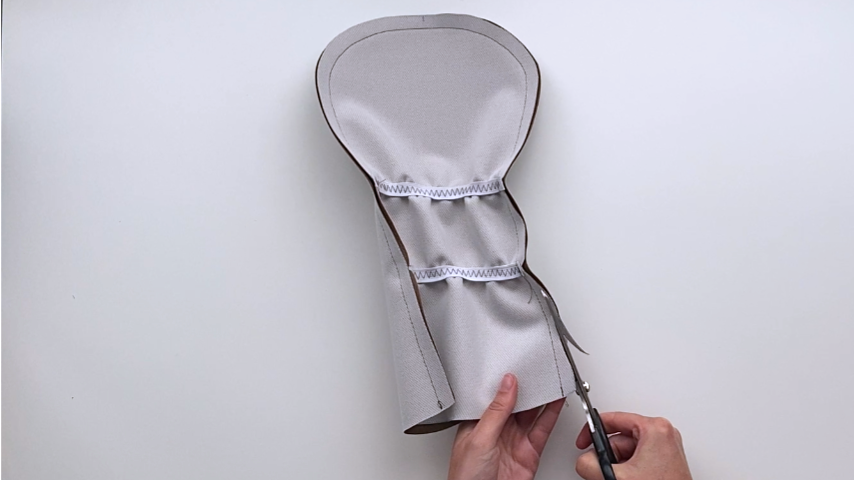
Start cutting about 1″ up from the bottom and trim your seam allowance in half. Leaving the bottom inch in tact will make it easier to open this seam when sewing the lining in.
Step 4
Place your lining right sides together and mark an opening along the top. You won’t sew between these lines.
Sew the sides together using a 5/8″ seam allowance. Using a bigger seam allowance will help ensure the lining fits inside the cover, without extra bulk.
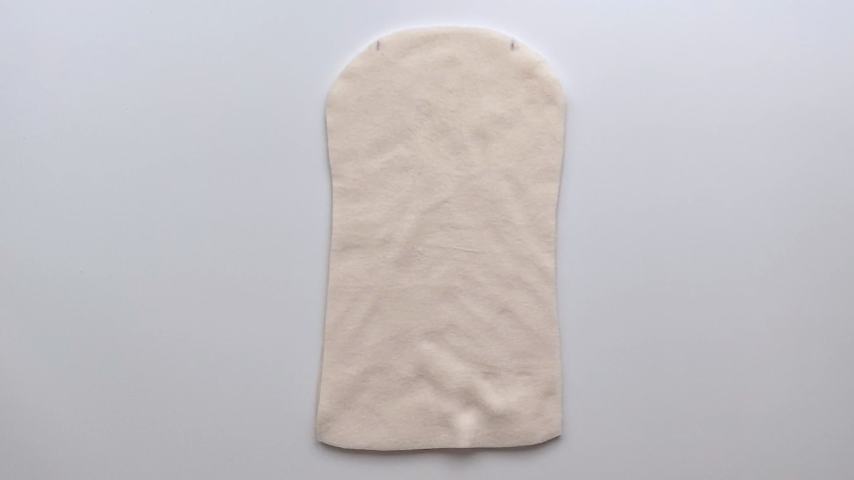
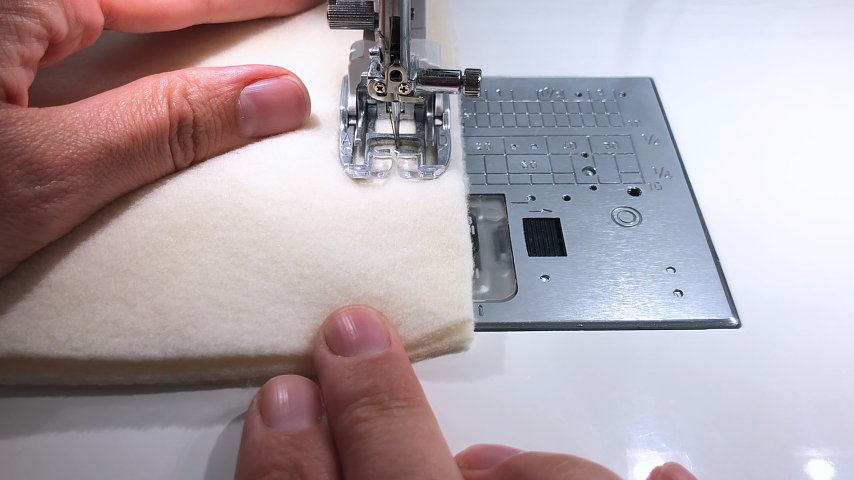
Starting about 1″ from the bottom, trim your seam allowance in half.
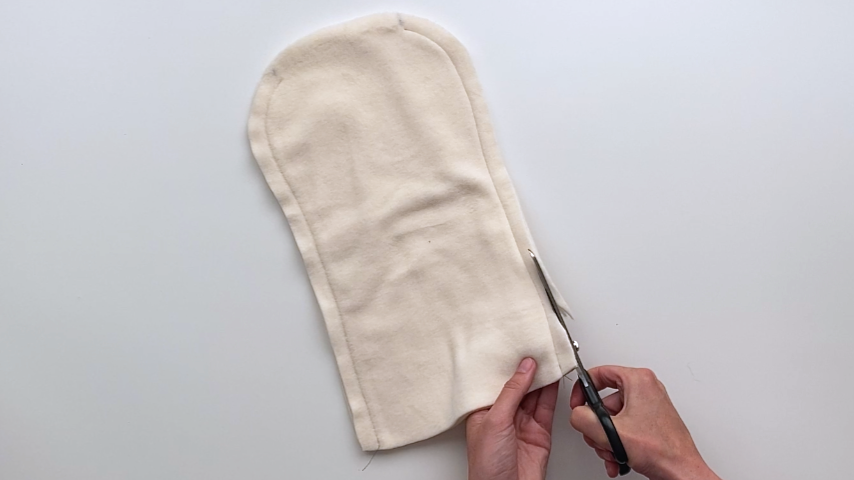
Step 5
Turn your outer cover right side out, then slide it inside the lining, so right sides are together.
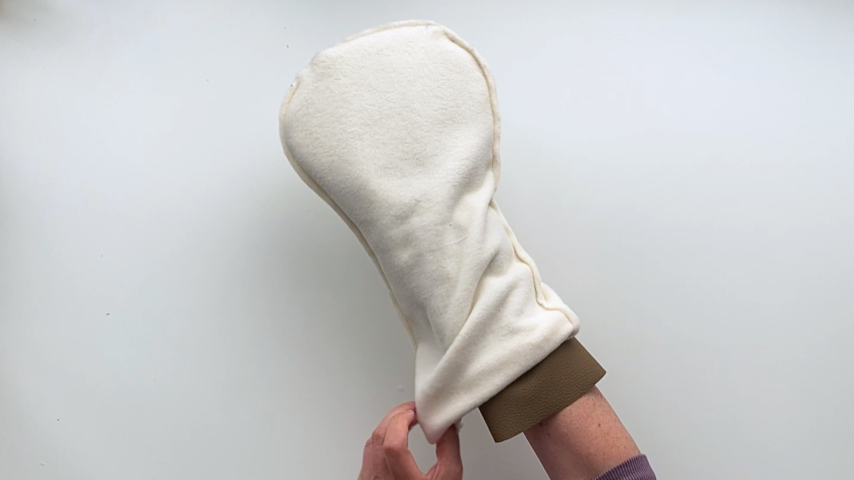
Open the side seams on both the lining and outer cover, line them up and clip into place. Clip around the bottom edge.
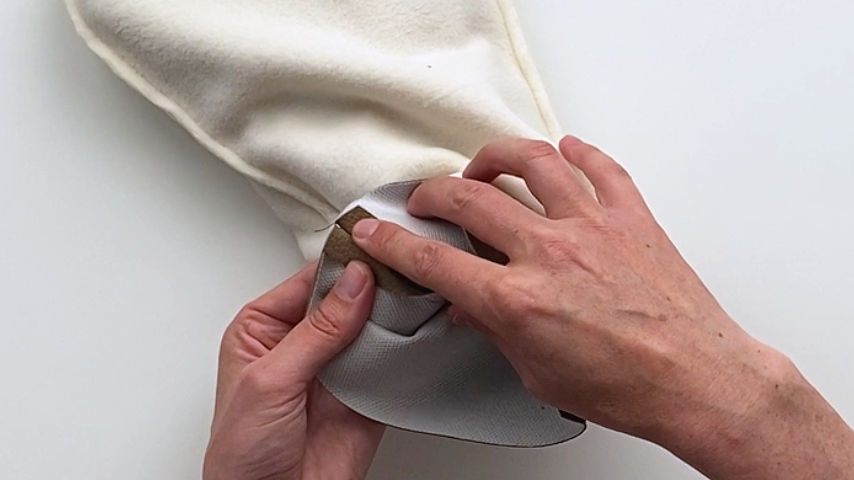
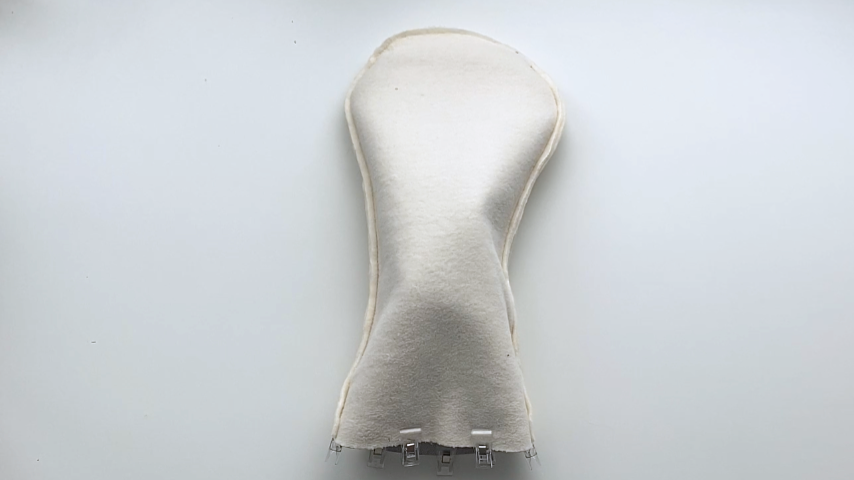
Using a 1/2″ seam allowance, sew around the bottom edge to secure the lining to the outer cover.
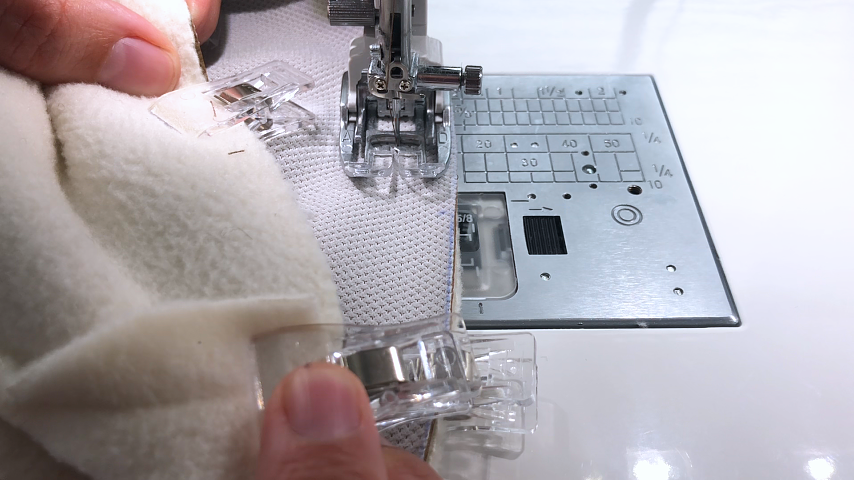
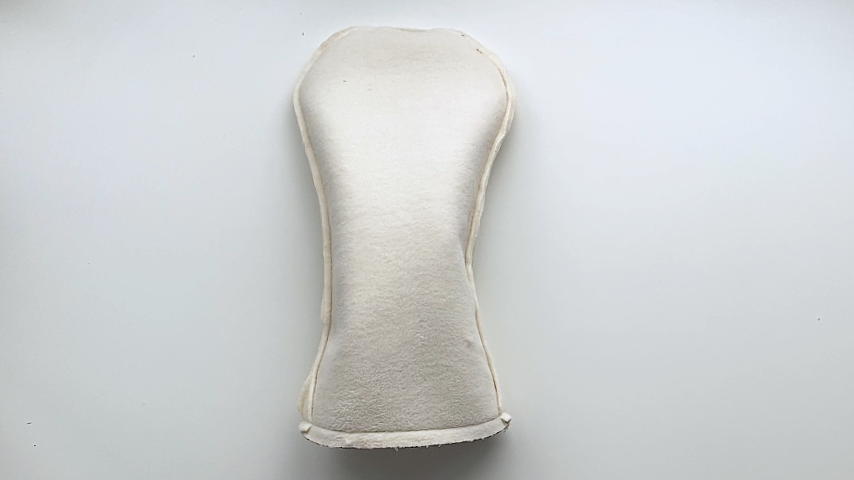
Step 6
Use the opening in the top to turn the lining right side out, fit it inside the outer cover, then turn the entire cover so it is lining side out.
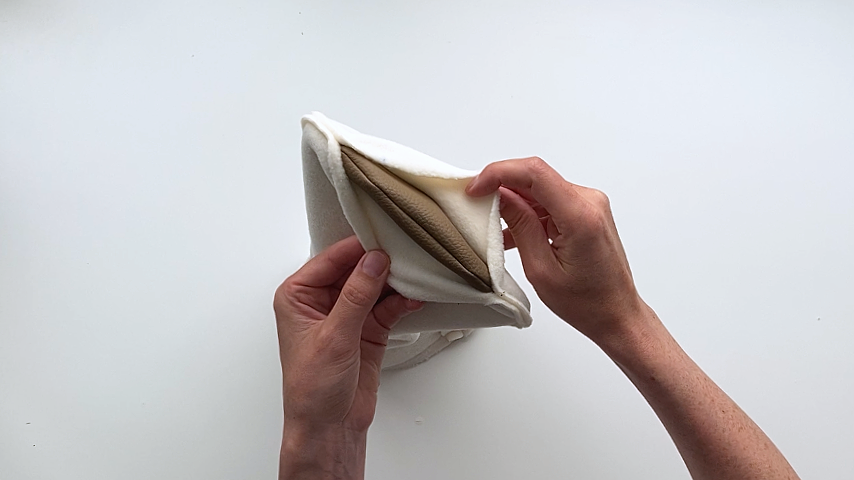
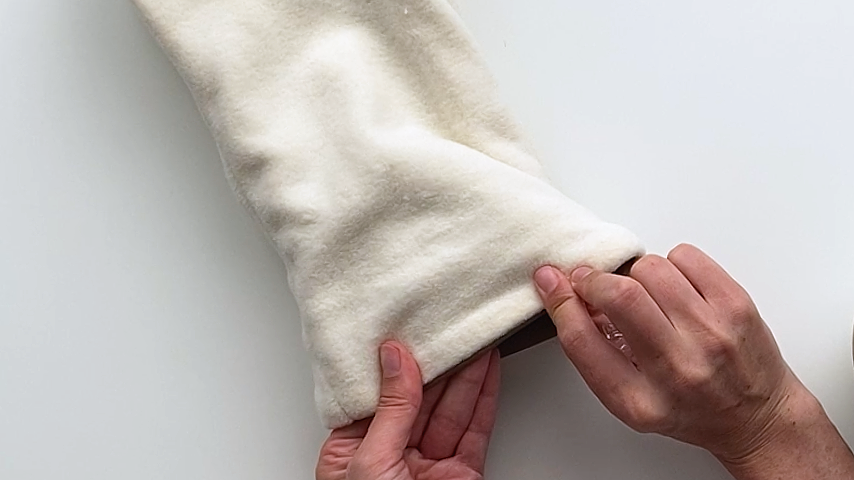
Fold your bottom hem so the lining is about 1/8″ inside the outer cover. This will ensure the lining doesn’t show when the cover is turned right side out. Clip into place.
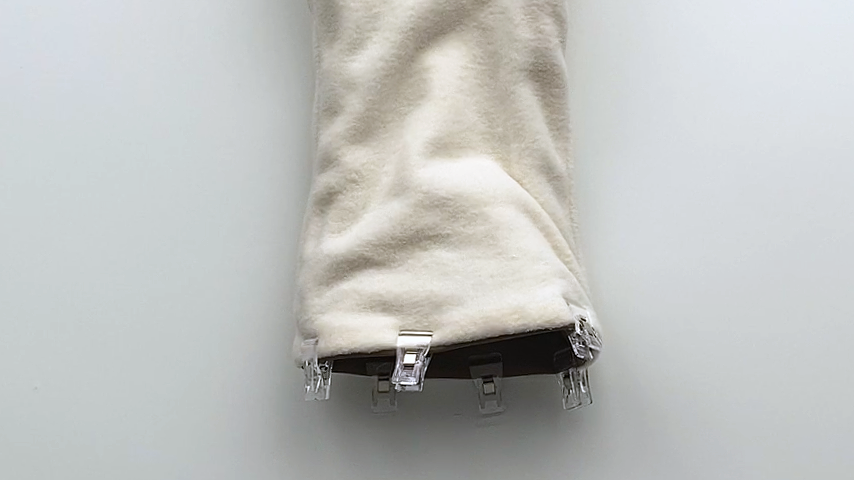
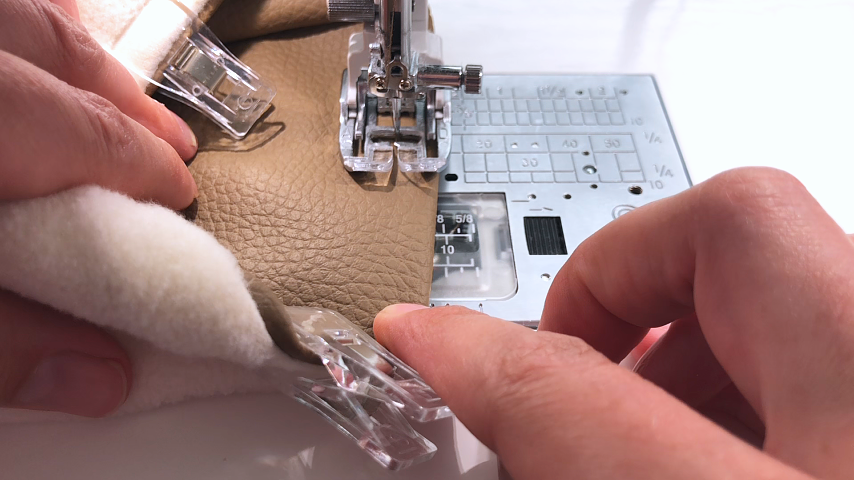
Topstitch around the bottom of the cover.
Step 7
You’ll simply topstitch the opening in the lining closed.
You’ll want to taper your stitching onto the seam allowance of the outer cover to tack the lining to the outer cover and ensure it doesn’t come out each time the club is pulled out.
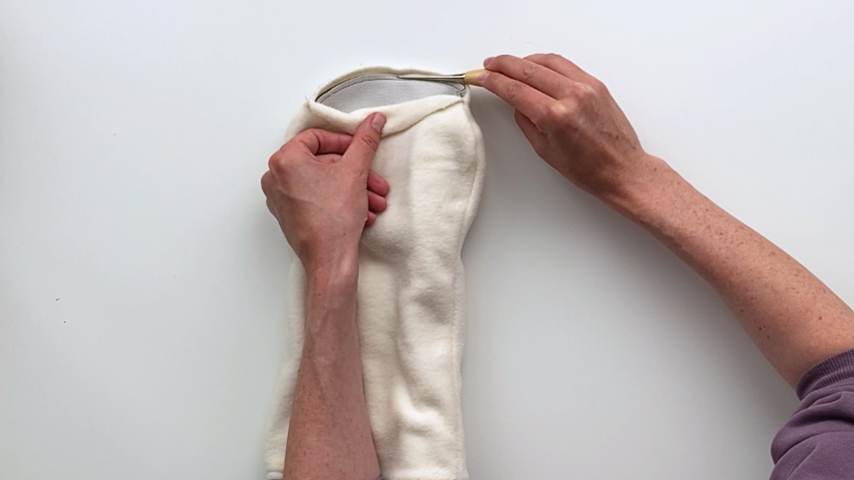
Make sure you’re sewing in the middle of the seam allowance:
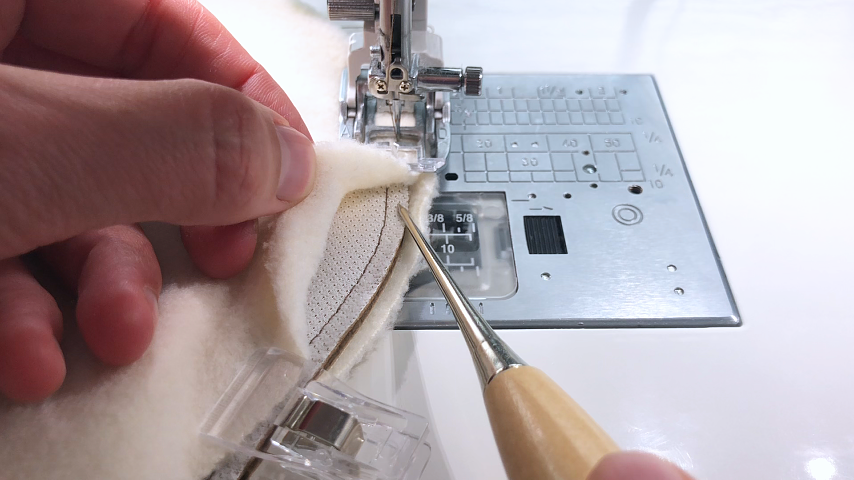
If you’re using a lining that frays, serge or zig-zag stitch over the opening of the lining as well.
If you used a fleece lining like mine, there’s no need to serge the edges.
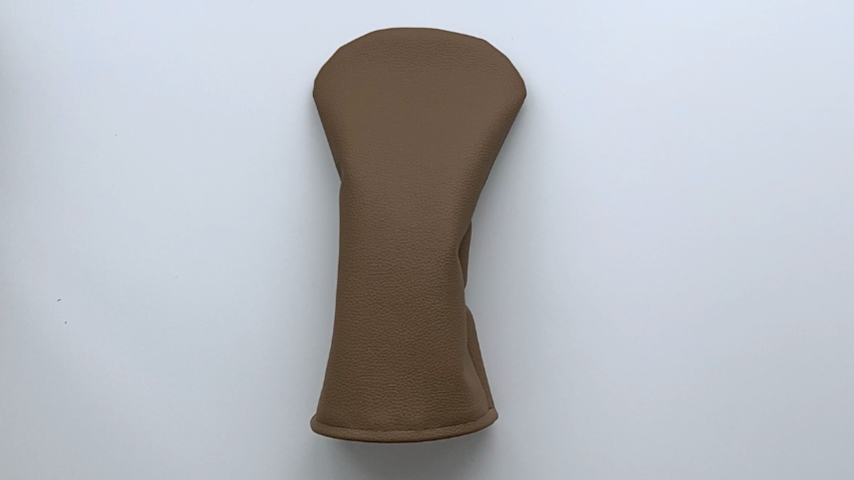
Your golf head cover is complete!