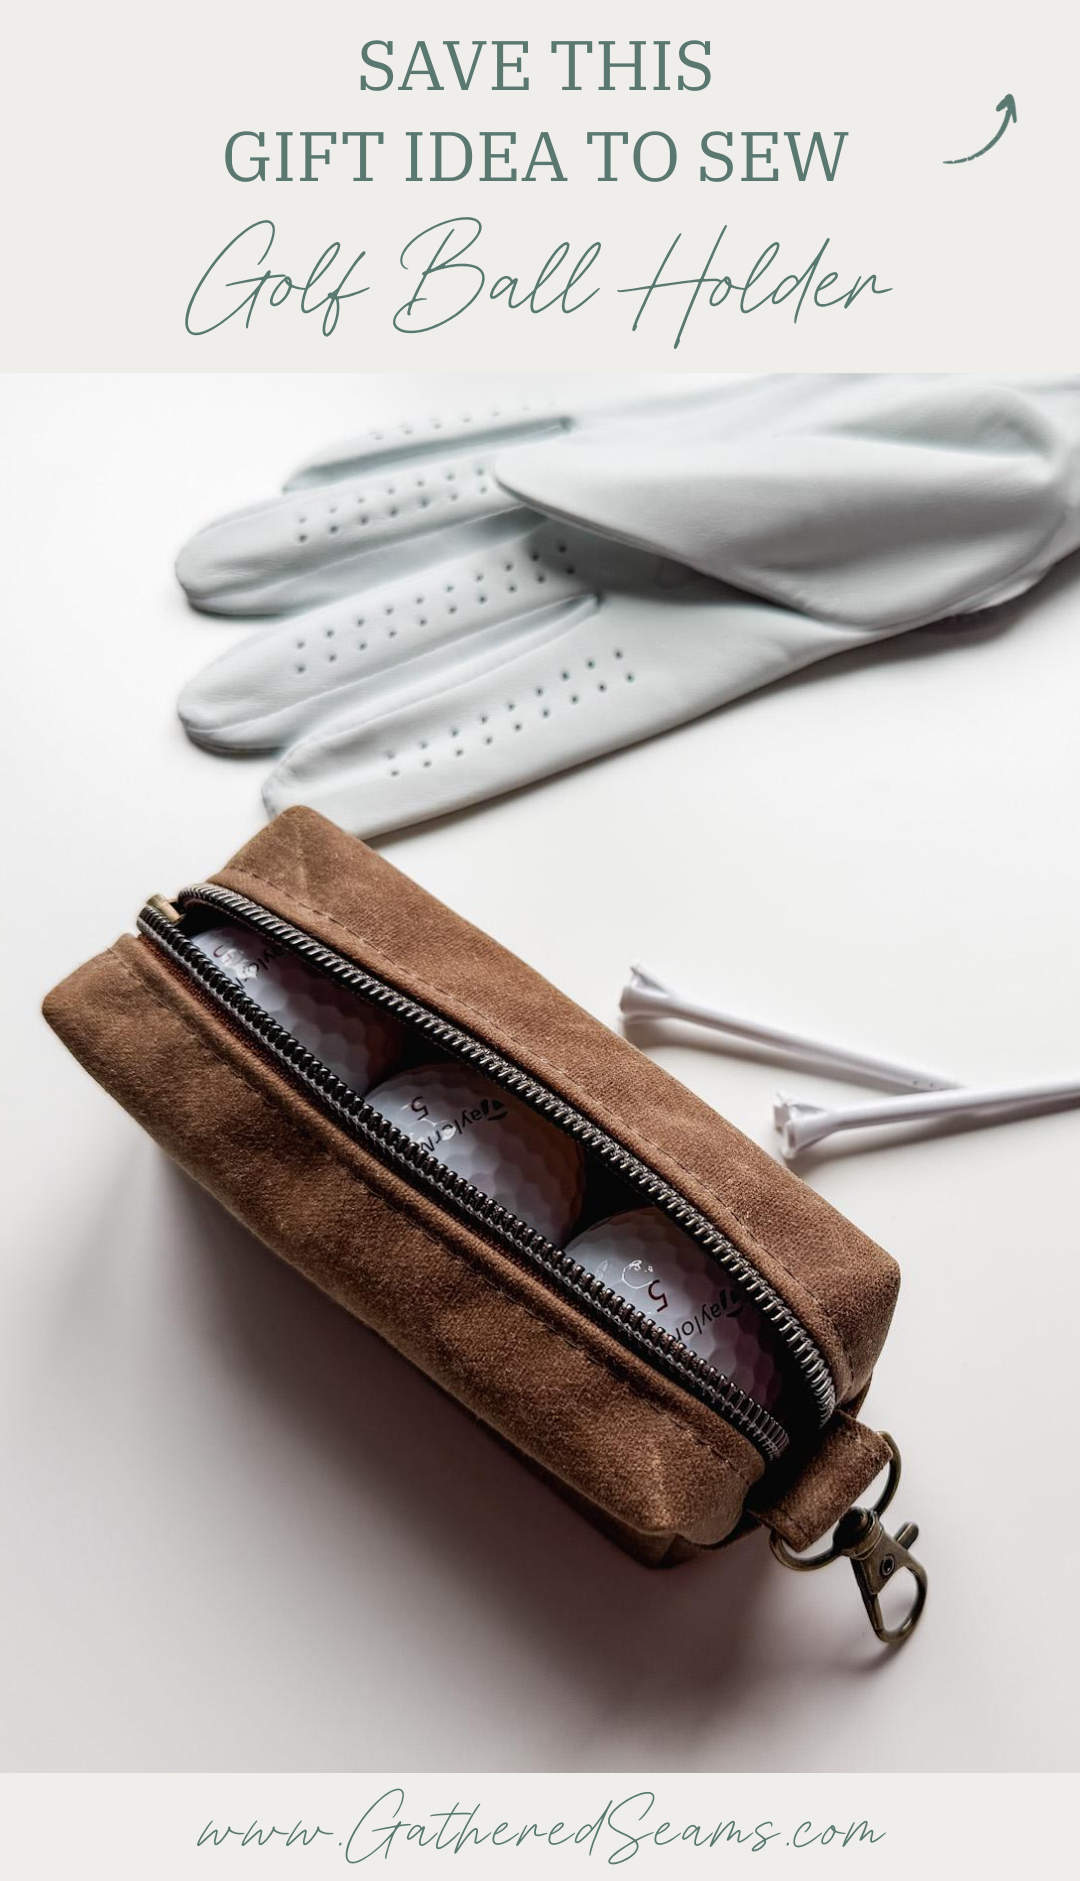
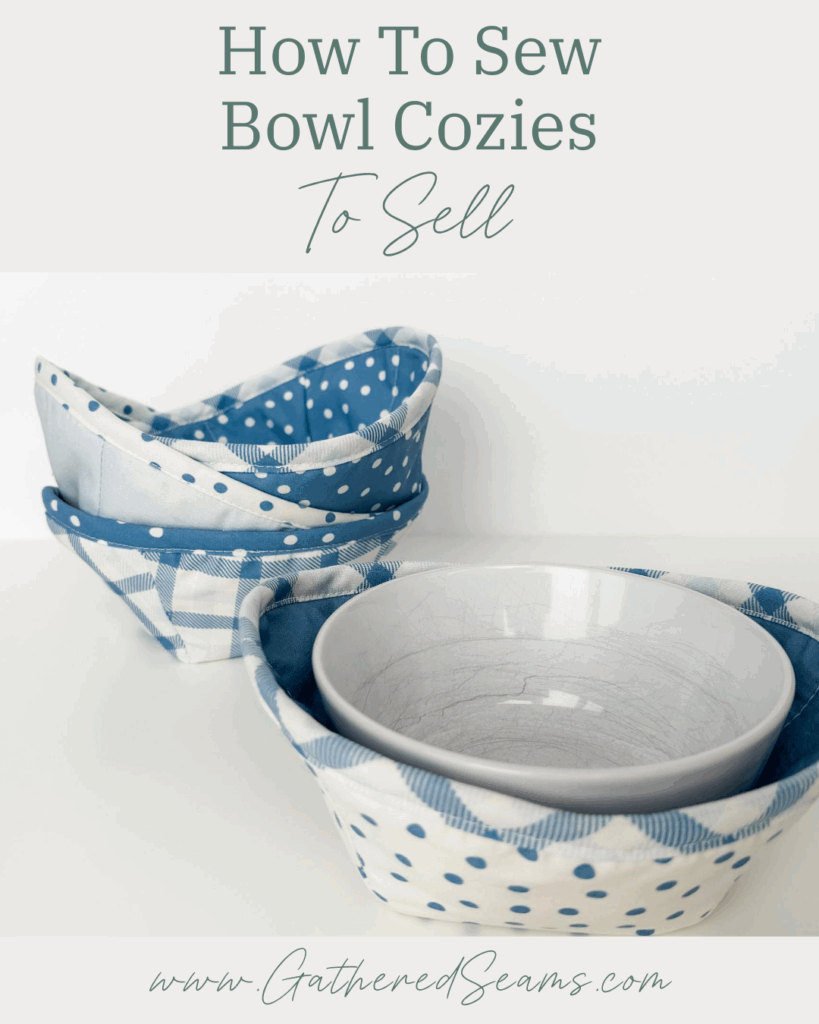
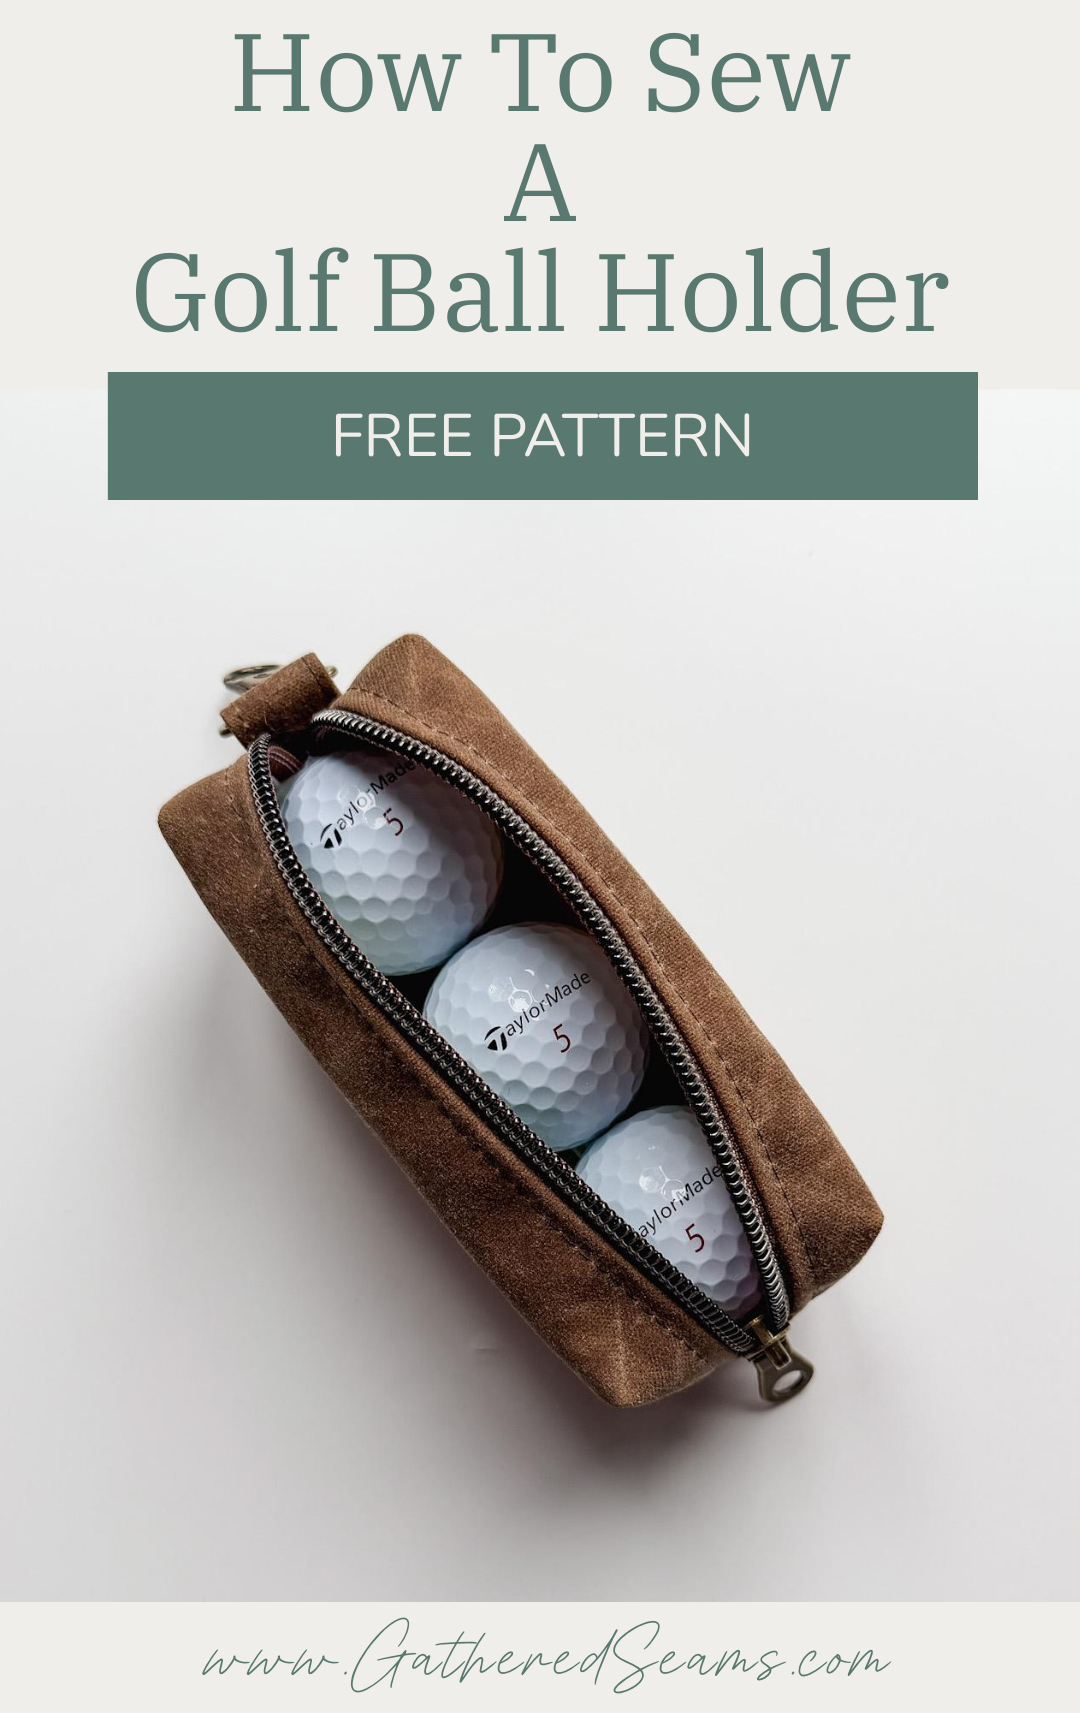
How To Sew a Golf Ball Holder | Free Pattern
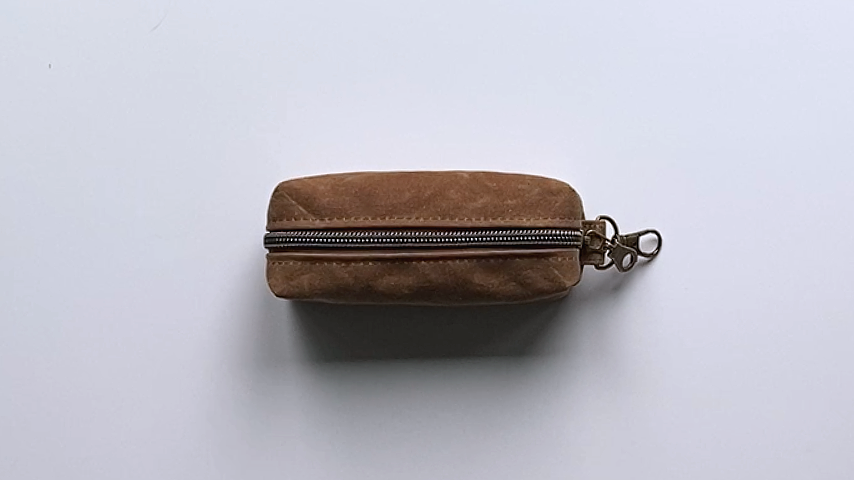
A golf ball holder is the perfect gift to sew for a golfer. It can be hung off a golf bag for quick access to favorite golf balls (or golf balls for water holes) during a round.
These pouches are especially handy for golfers who walk the course and use a push cart (golf carts typically have ball holders in them, but the pouch may still be handy if the golfer you know tends to go through more than 3 balls in a round;).
This pattern is a boxy bag, but I use a different technique to create my corners, which helps ensure I’m getting a perfect box and straight corners.
Gift Giving Ideas
If you plan to sew this as a gift, you may want to add other items. Here are a few ideas:
To sew
- Golf head covers
- Golf towel
- Golf shoe bag
- Tee holder
To Buy
- Golf balls (fill the golf ball holder with 3 golf balls)
- Golf tees
- Golf glove
- Ball market
- Divot tool
Materials
As an Amazon Associate, I earn from qualifying purchases (see full disclosure here).
- Outer fabric – something water-resistant is ideal. I used waxed canvas in this tutorial and have also made this pouch using vinyl.
- Lining fabric (if you’re using vinyl, your pouch doesn’t need lining, but you can add it.)
- Continuous plastic zipper by the yard (it’s important to be able to completely separate the zipper)
- Zipper head
- Carabiner clip (to be able to clip the pouch onto bigger parts of the golf bag) or Keychain hooks
- Thread
- 1/4″ or 3/8″ double-fold bias tape (optional – can be used to finish the seams on the inside, or simply use a zig-zag stitch or serger)
Tools
- Sewing machine
- Serger (optional – can use a zig-zag stitch or bias tape instead)
- Temporary fabric markers
- Ruler
- Iron
- Scissors
- Clips
Steps to sew a golf ball holder

Step 1
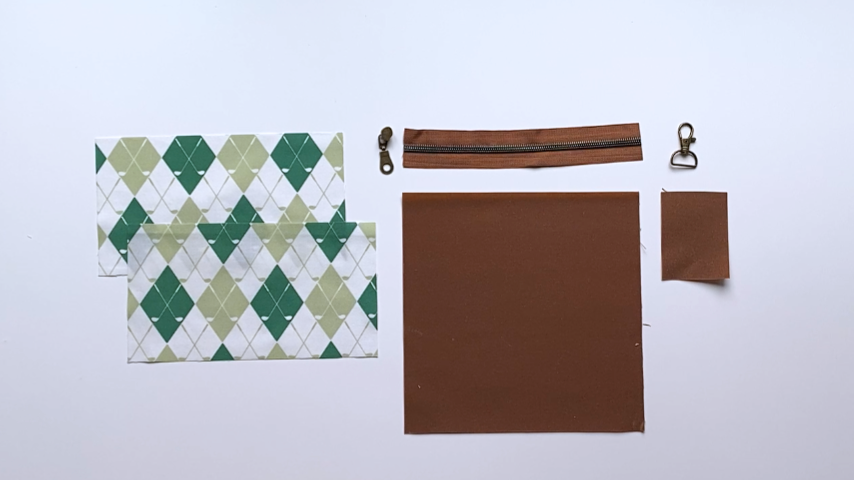
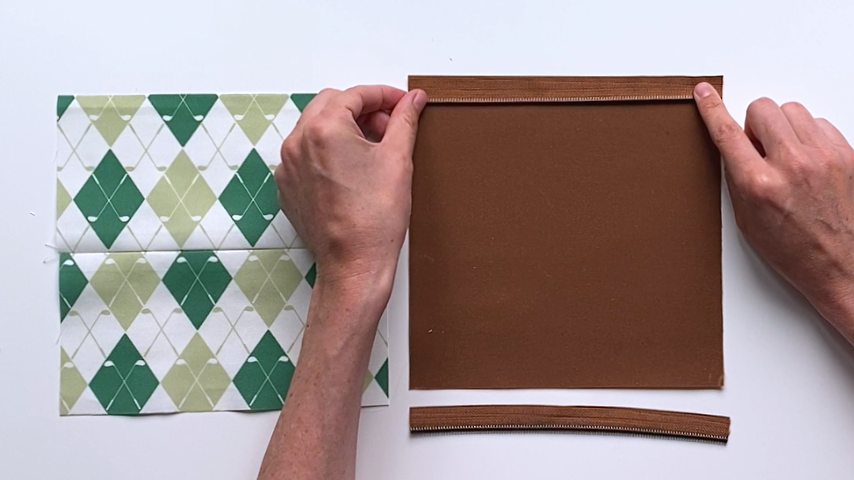
Cut out your pattern pieces.
You will need:
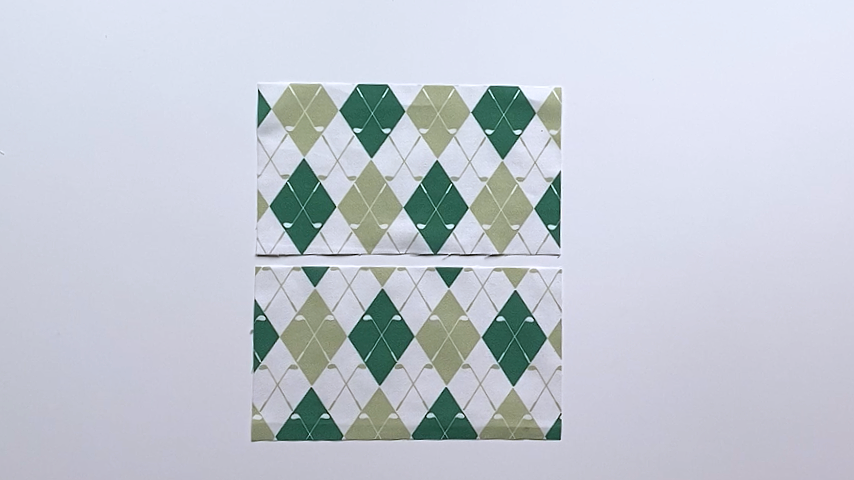
- Outer fabric
- 8″ x 8″ piece
- 3″ x 2-1/4″ piece (for keychain loop – you may need to adjust this size depending on the size of your keychain’s d-ring or carabiner)
- Lining fabric
- 4-1/2″ x 8″ piece x 2
- 8″ long zipper
Step 2
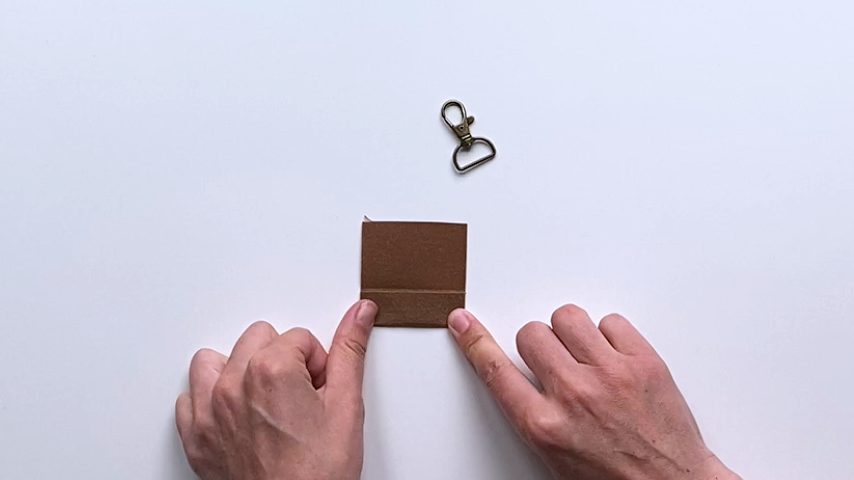
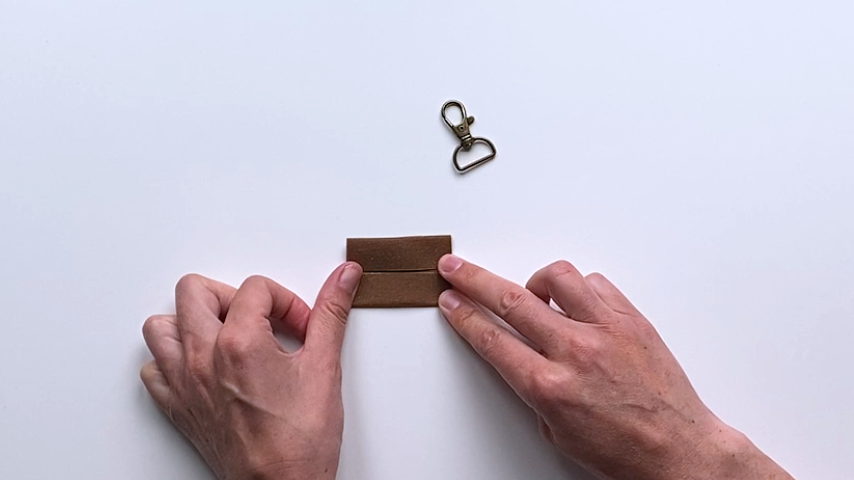
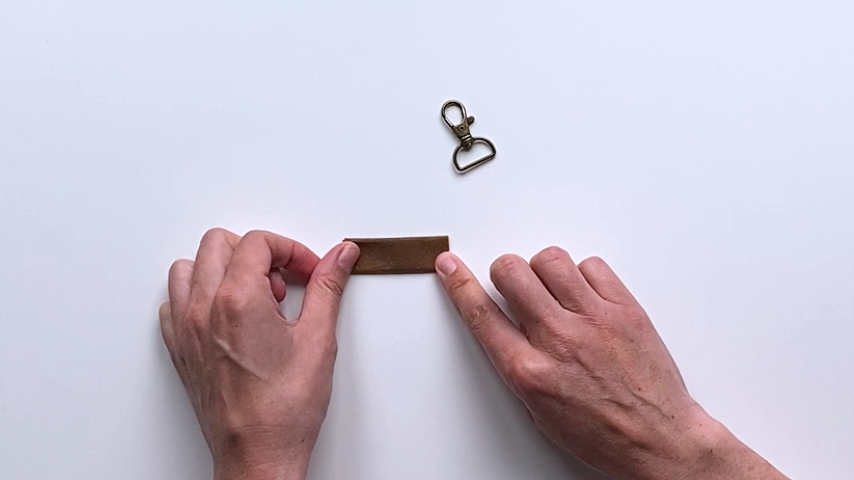
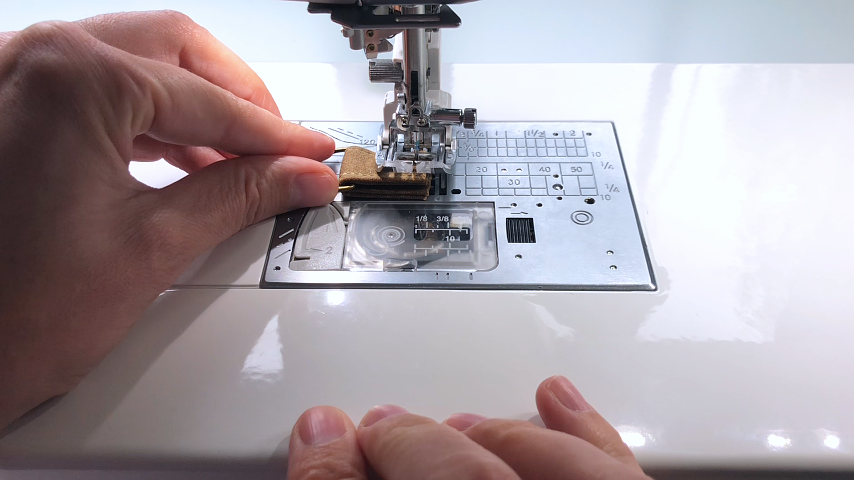
Sew the loop for your keychain/carabiner by folding the piece in half to make a center crease. Open the piece back up, then fold the two ends in to the center. Fold it in half again and sew along both edges.

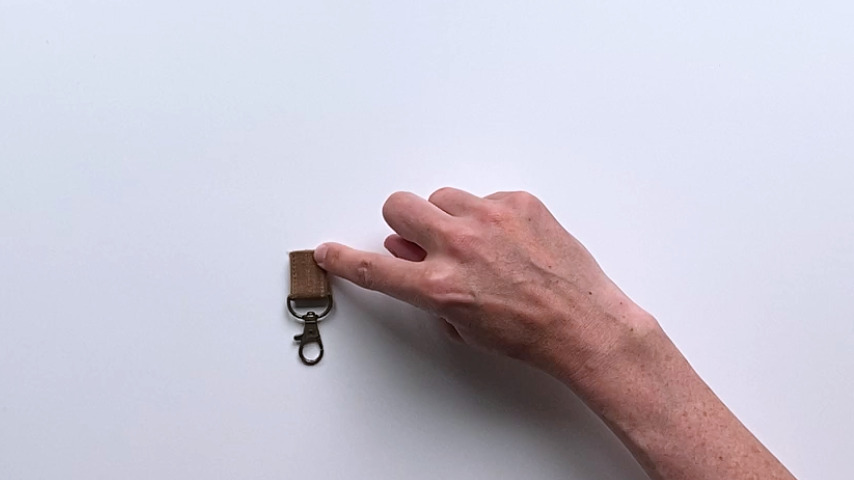
Thread the loop through the keychain and baste the ends together.
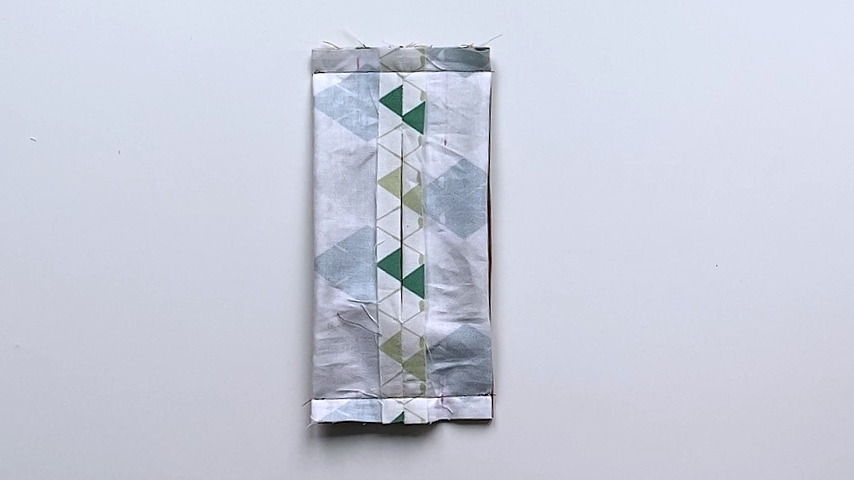
Step 3
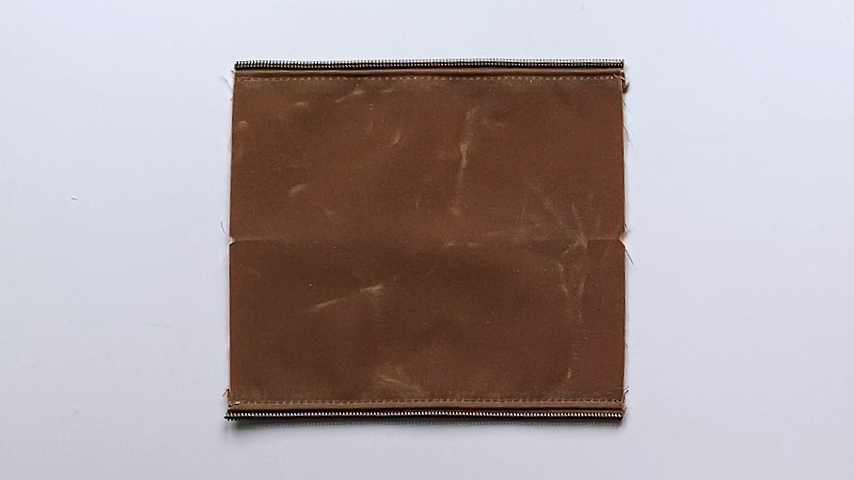
Sew your two pieces of lining together, along the 8″ ends, using a 1/2″ seam allowance. Leave an opening to turn the pouch right side out.
Press the seam open.
Step 4
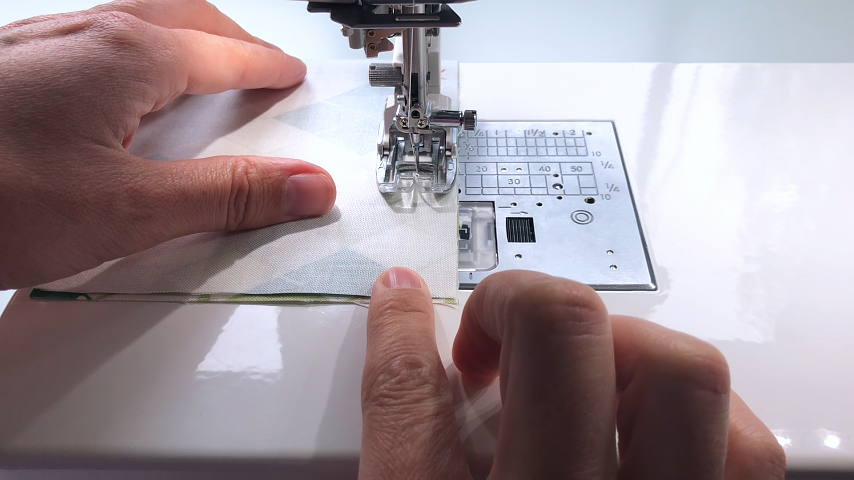
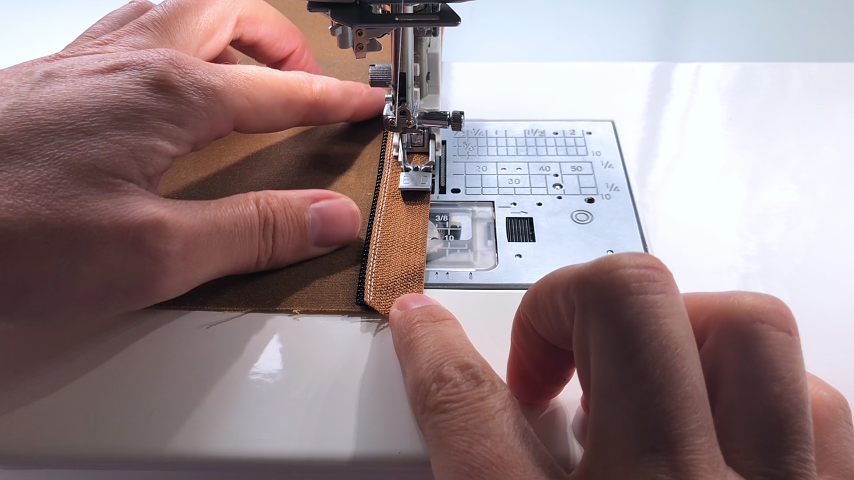
Pull your zipper apart and sew each side of it to each end of the pouch. I like to sew the zipper to the outer material first, then sew the lining on. However, you can clip all the layers together and sew them at once.
The zipper should be placed right sides together with the outer material, and so the edge of the zipper tape lines up with the edge of the fabric. Then your lining should be placed right side together with the right side of the outer fabric, and sandwich the zipper between the two layers.


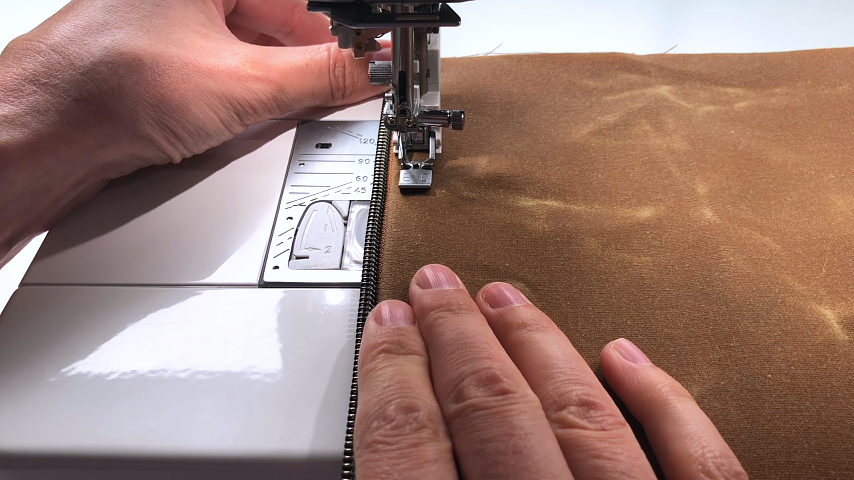
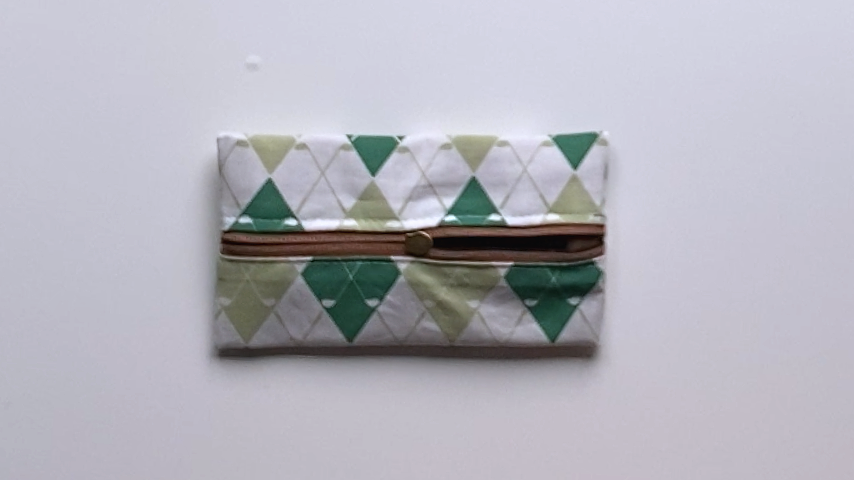
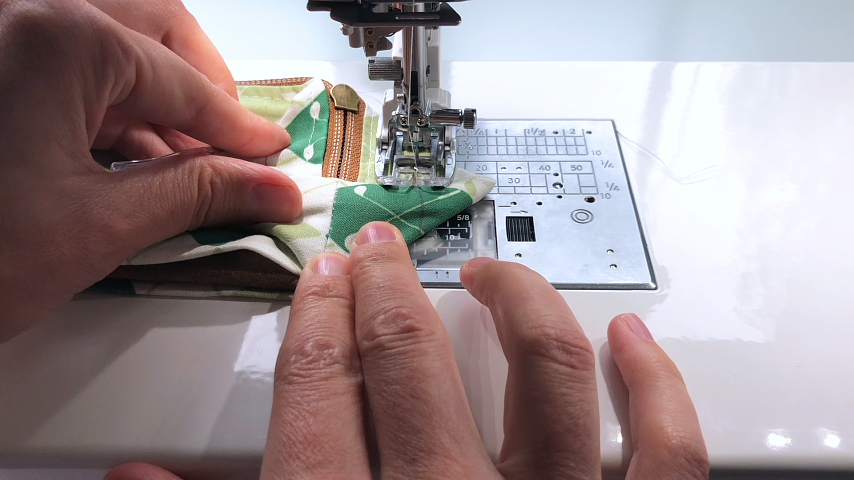
Once both sides of the zipper are sewn on, flip your fabric so it is right side out, then topstitch along the zipper.
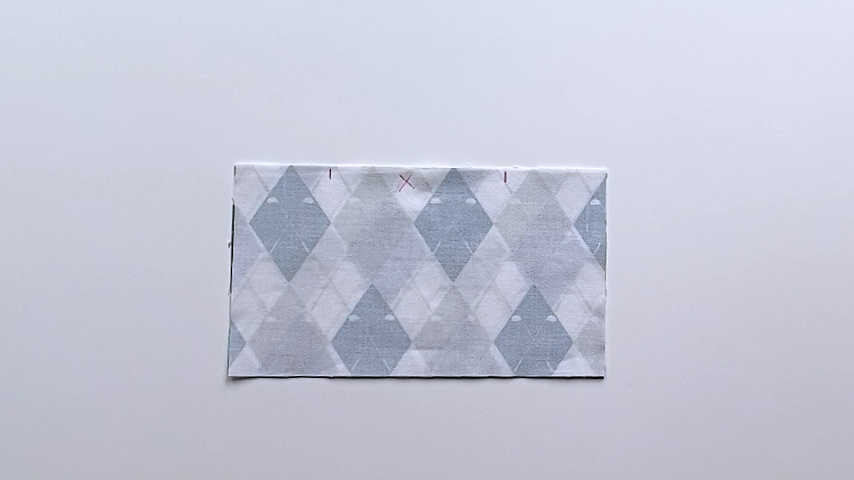
Fold the pouch in half and mark the center points on either side.
Step 5
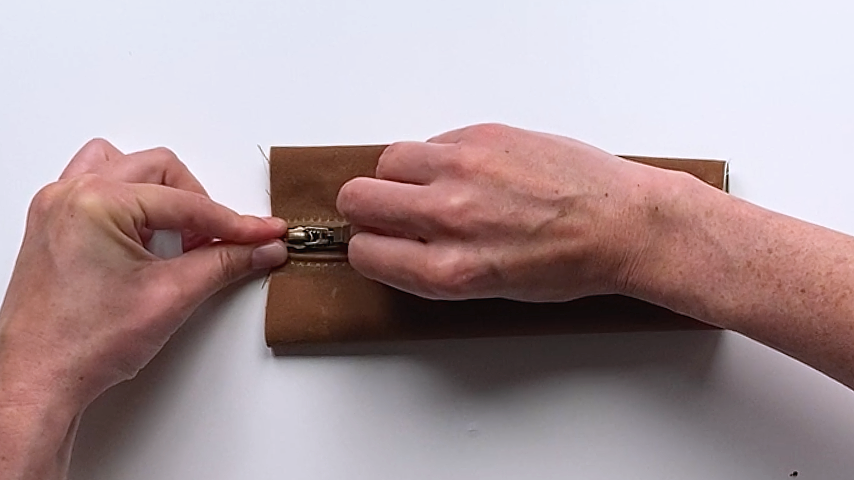
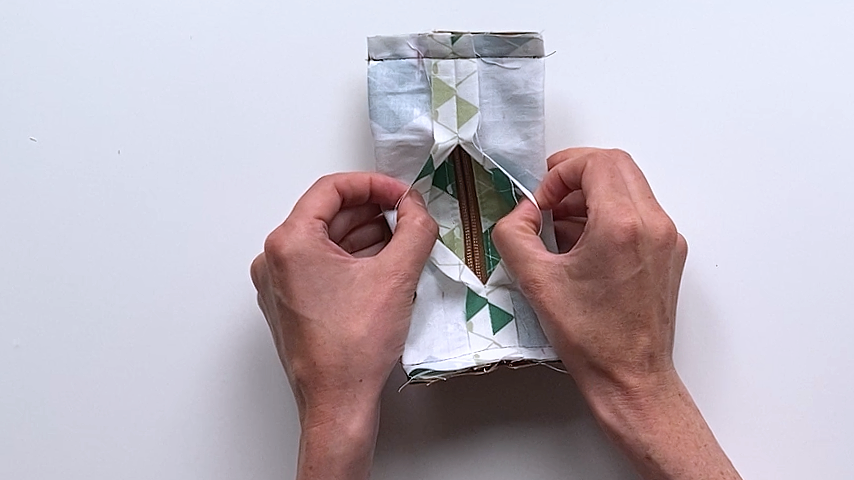
Put your zipper head on. To do this, I get both sides of the pouch lined up exactly, in the first part of the zipper head (don’t push the zipper head down yet).
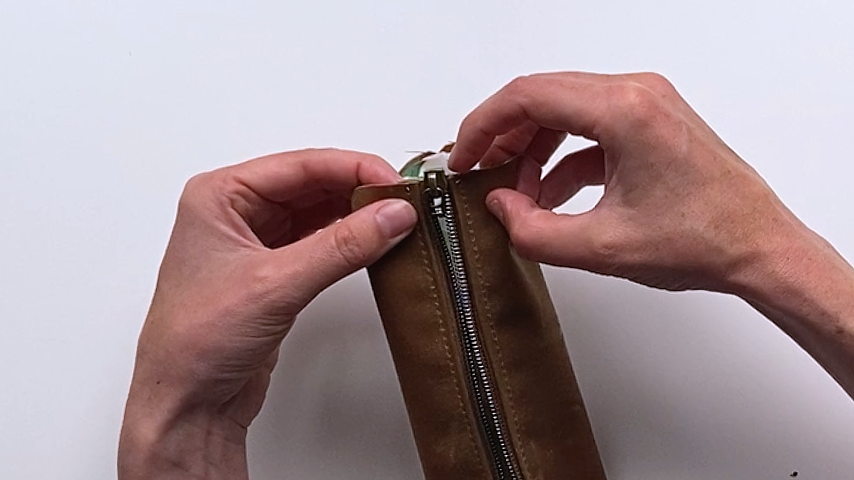
Once they’re lining up perfectly, I push the zipper head down until I hear a click.
Then you can press down on the fabric, on either side of the zipper, and pull the zipper head on.
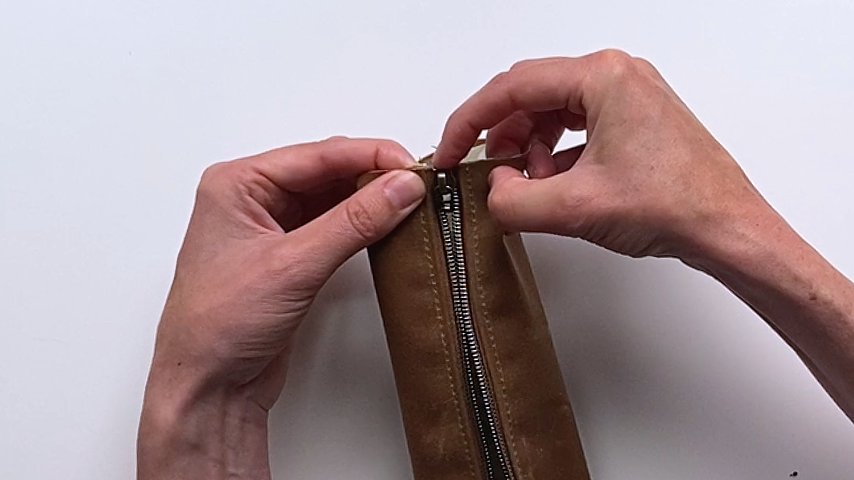
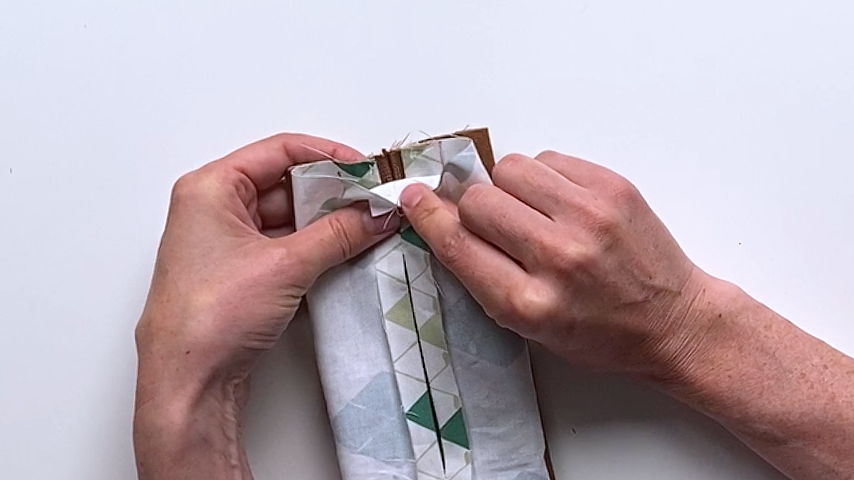
Turn the pouch inside out and baste the keychain to the center of the outer material only. I place the keychain at the end that the zipper closes toward. This way, when the pouch is hanging on the golf bag, the zipper opening is at the top.
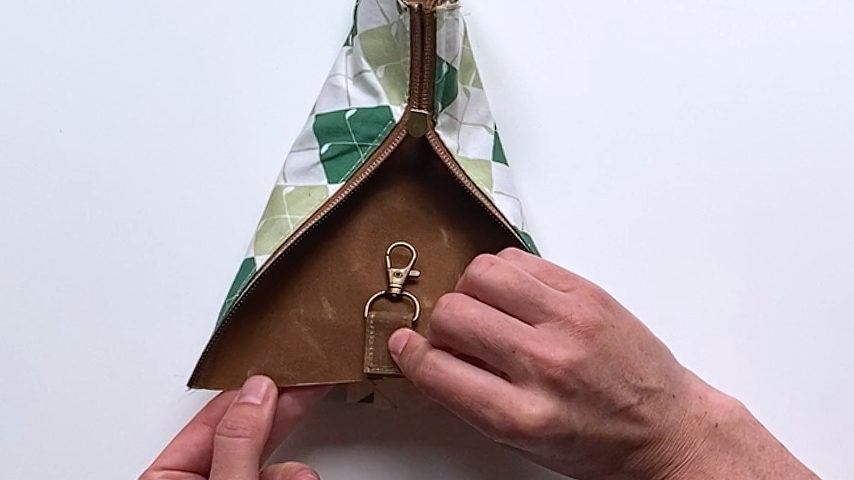
Again, be sure not to catch the lining when basting this in place. As you can see, the lining and outer material are still separate.
Step 6
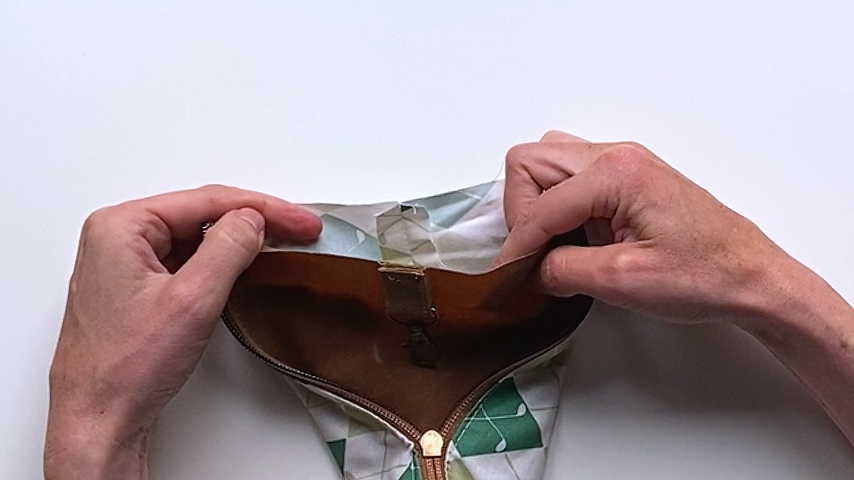
Use the opening in the lining to push the outer fabric through, so the lining is no longer wrapped around the outer fabric, but is instead a separate pouch.
With the lining sitting on top of the outer portion of the pouch, line up the center seam of the lining with the center of the zipper. And the center of the zipper should be lined up with the center mark on the outer fabric. Clip into place.
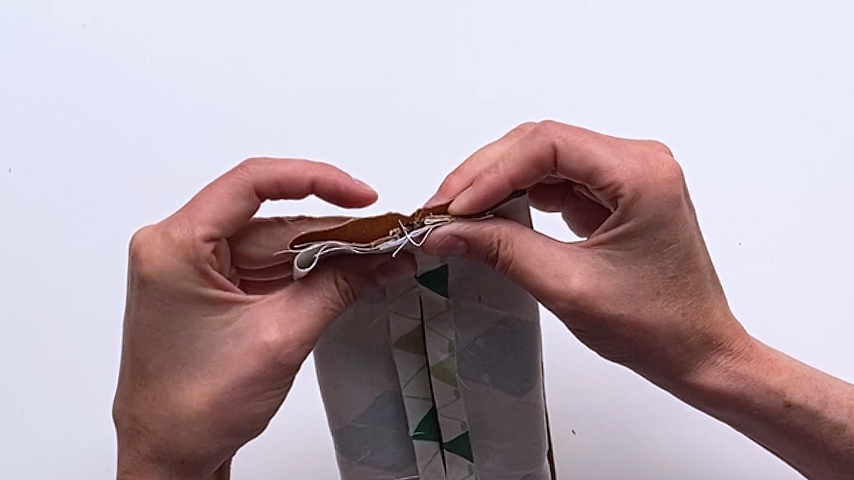
Sew along both ends, using a 1/2″ seam allowance.
Step 7
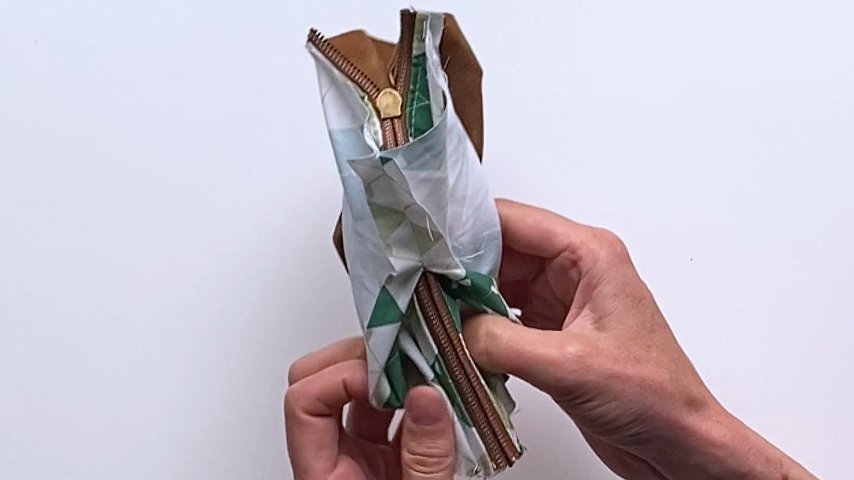
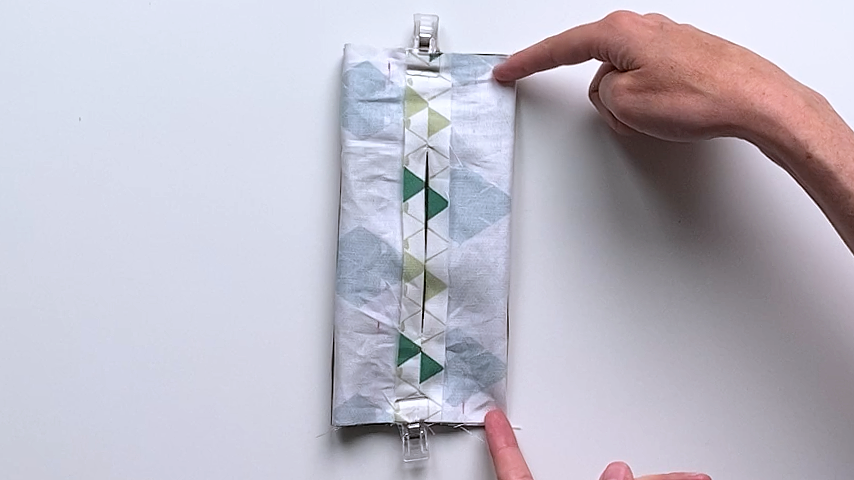
Use the opening in the lining to turn the lining right side out, so it again wraps around the outer fabric. Make sure the corners are fully pushed out.
You should now have a rectangular pouch that is lining side out.
Step 8
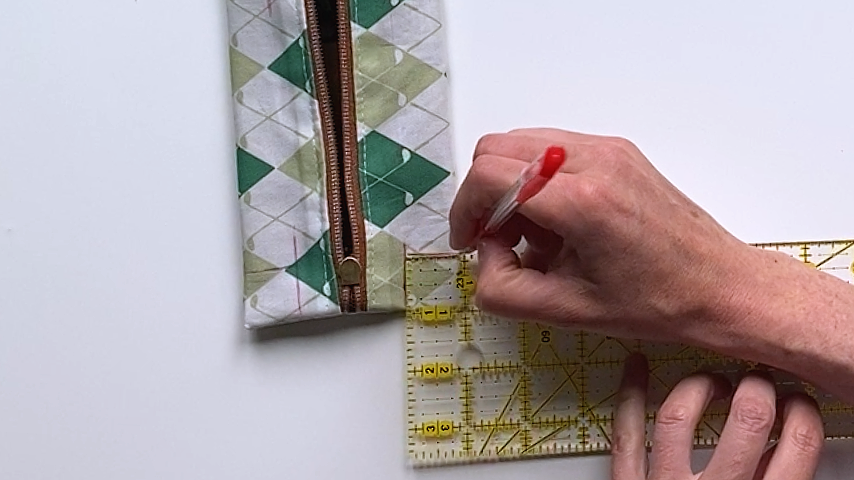
The next step is to mark your sew lines for your boxed corners. This is a different method than most instructions out there, but I find it gives me the most accurate box shape and straight corners.
Find the center mark between the middle of the zipper and the bottom of the pouch and mark it with a temporary fabric pen.
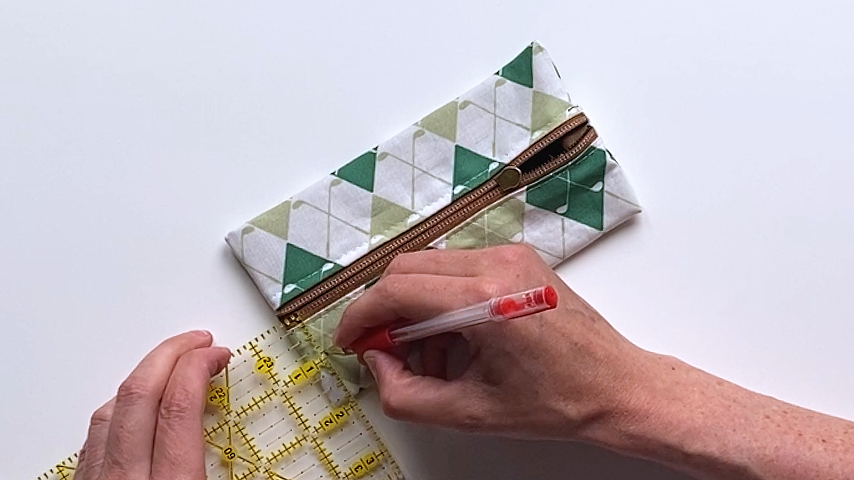
Measure the distance from the bottom of your pouch to that center line. This will be the width and height of your boxes (mine are just shy of 1″ x 1″).
Draw those boxes on each corner, top and bottom of the pouch, using a temporary fabric marker.
These will be the lines you sew along (rather than cut, like most patterns).
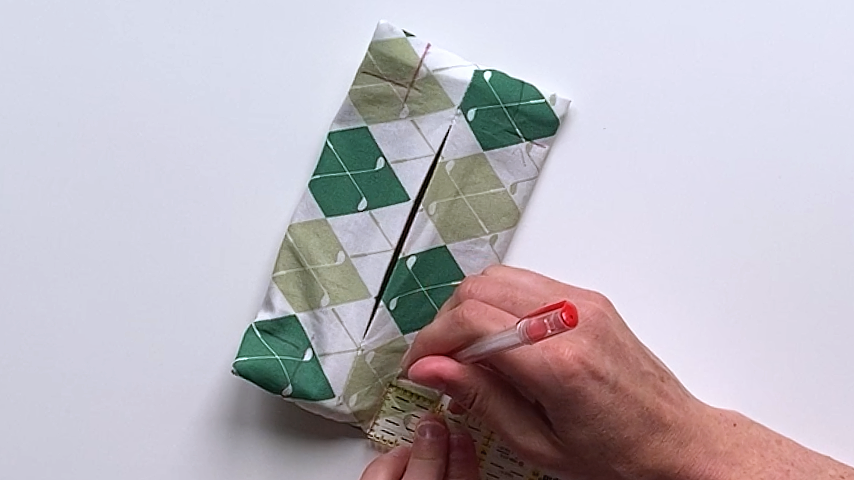
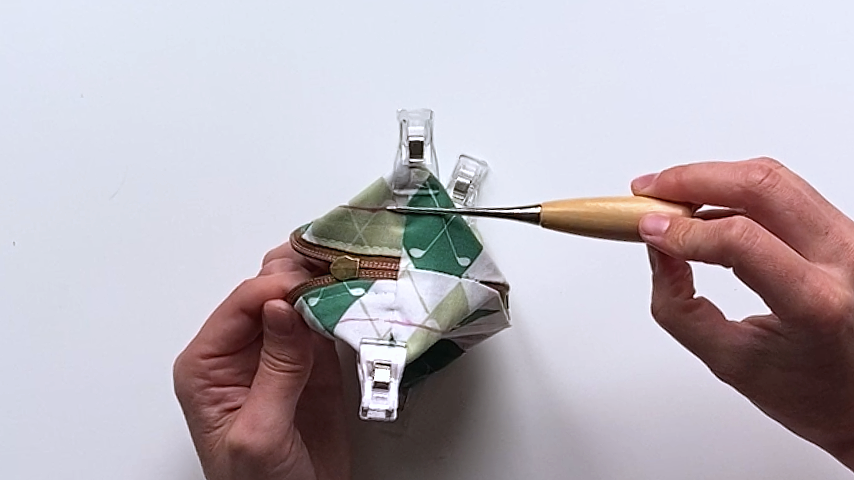
Fold your pouch so you can flatten your corners.
The top corner of your drawn-on boxes should be where your fold runs through.
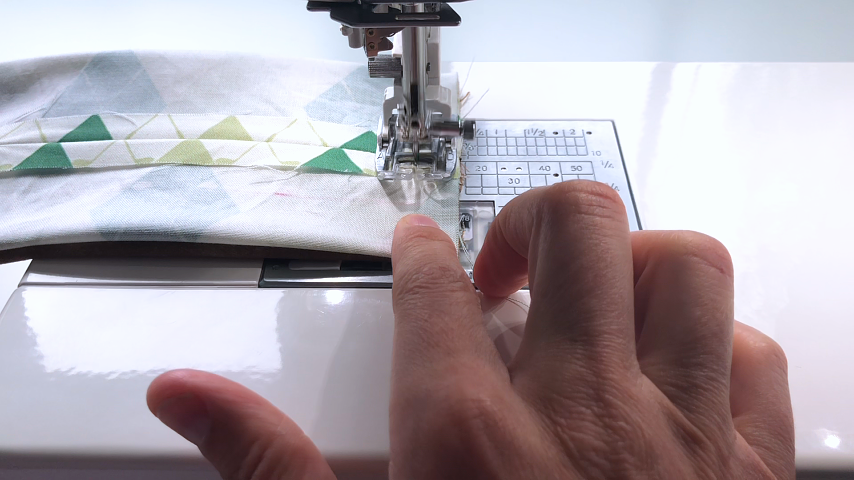
Clip your corners into place, then sew along the drawn lines.
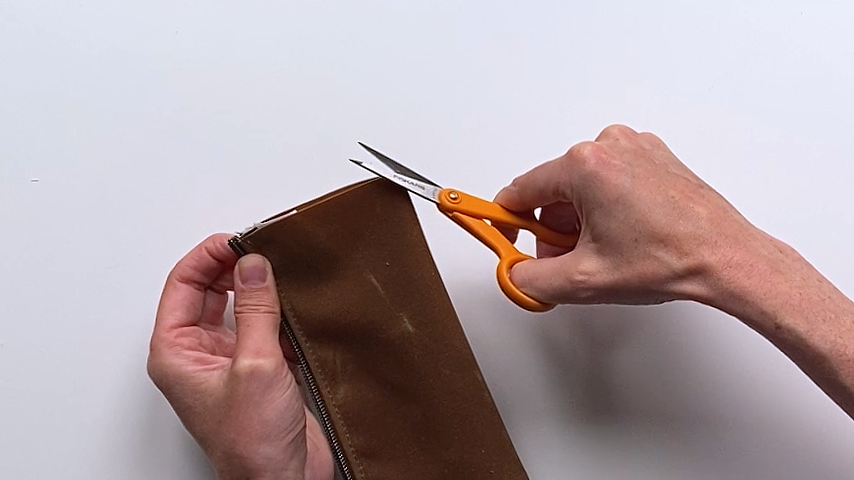
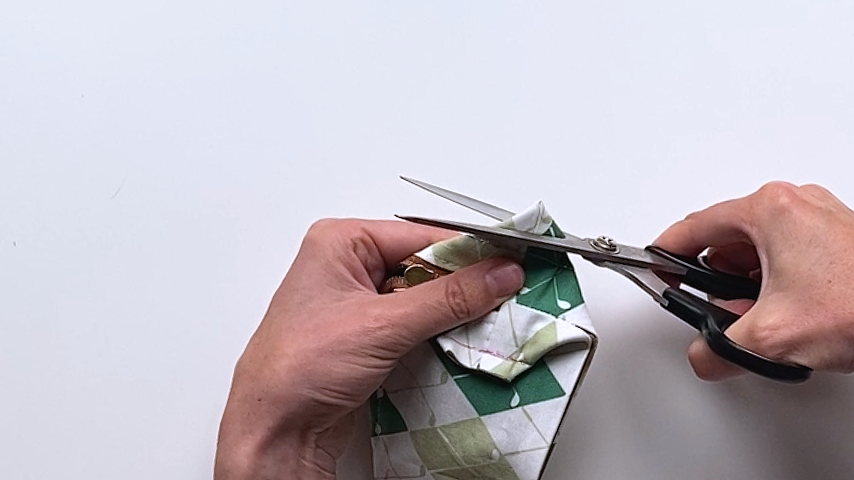
Now you can trim the corners, about 1/2″ away from the stitching.
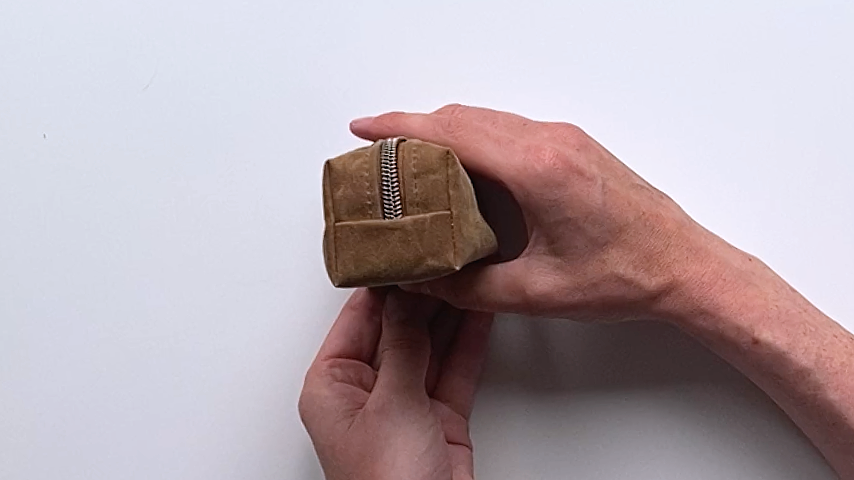
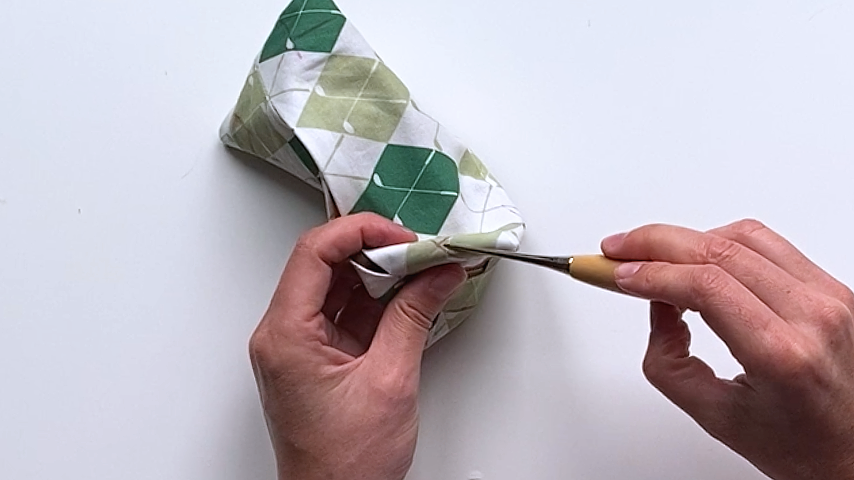
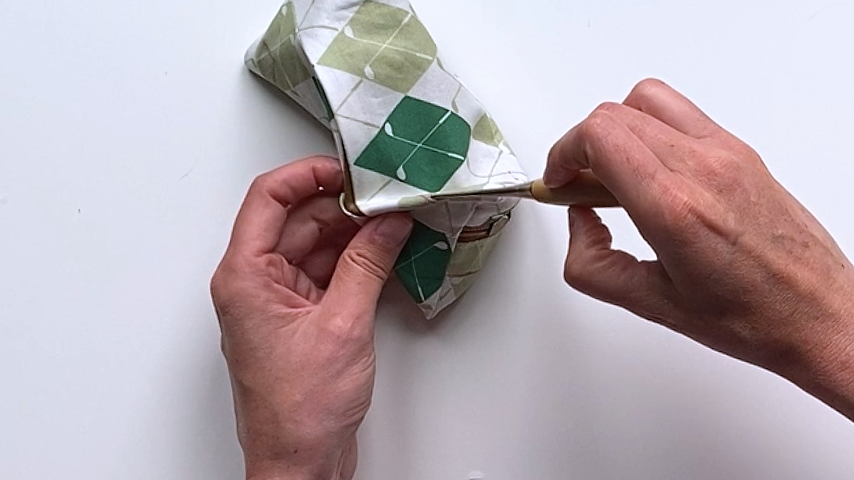
Step 9
To finish the raw edges, you can use bias tape, serge the edges, or use a zig-zag stitch.
I used a zig-zag stitch.

Sew the opening of the lining closed.
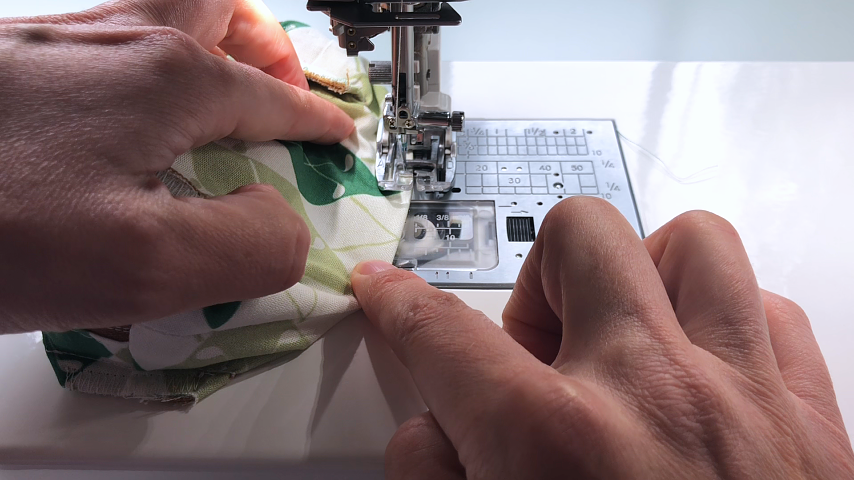
Turn the bag right side out, using a point turner if needed to get the corners of the seams fully pushed out.