How To Sew Reusable Cotton Rounds | Free Printable Pattern
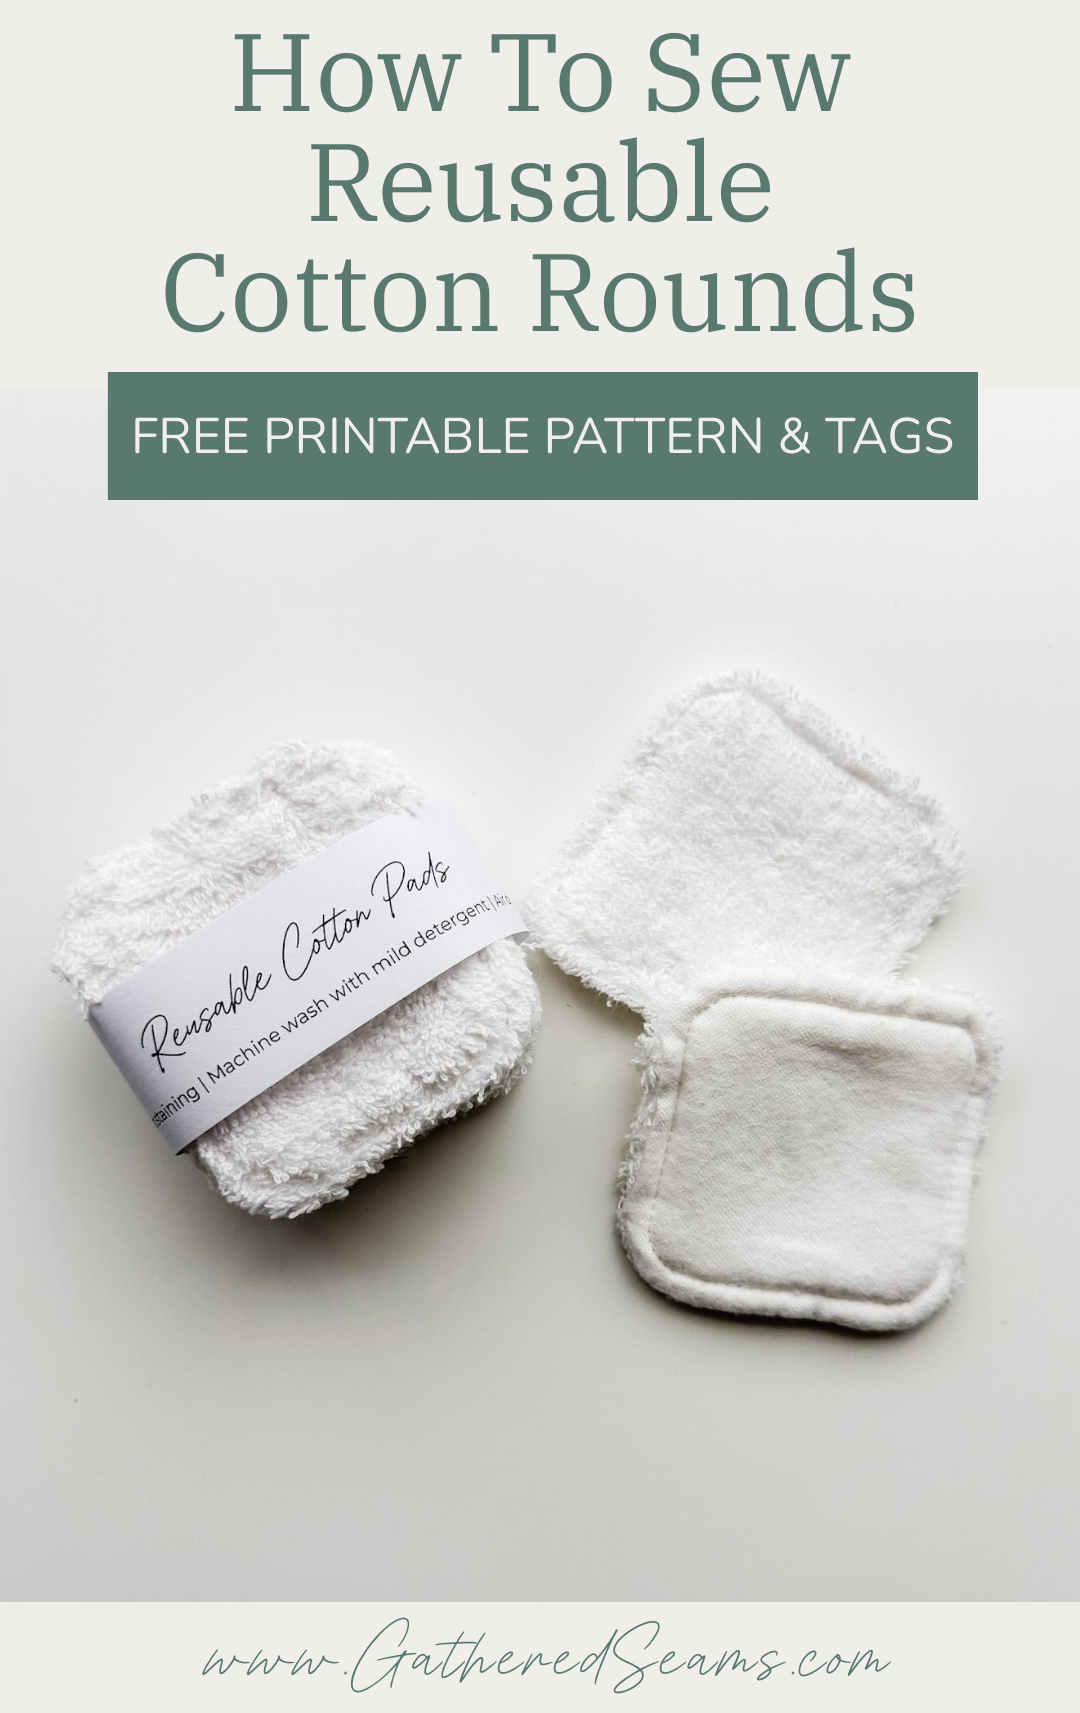
Reusable cotton rounds are so handy. They can be used for makeup removal, cleansing the face, applying toner, or even with some nail polish remover to remove nail polish.
They reduce a lot of waste since they can be used in place of disposable cotton pads and cotton balls.
These cotton pads are simple to sew and make a great gift for anyone who loves their makeup and skincare routines, or for people who are environmentally conscious and want to reduce their waste.
This is also a great sewing project to reduce waste in your sewing room, since they can be made from scraps of fabric.
To make these even more gift-worthy, you can sew a little mesh drawstring bag for them. The mesh bag can be used for storing the reusable cotton pads and for washing them; so they don’t get lost in the washing machine.
You may also want to sew a matching face-washing headband and wristbands (which stop water from dripping down your arms), as well as a scrunchie for a gift set.
>> Spa Face Washing Set To Sew | Free Pattern & Tags
>> How To Sew A Scrunchie (free printable tags)
Materials
There are a variety of materials you can use for these cotton rounds.
I used a soft fleece for one side and a terry cloth for the other, which creates an exfoliating side.
Here are a few options:
- cotton fleece
- cotton terry cloth
- bamboo cotton
- cotton jersey
You will also need:
- cotton thread
Tools
- Sewing machine
- Temporary fabric marker
- Scissors
- Clips/pins
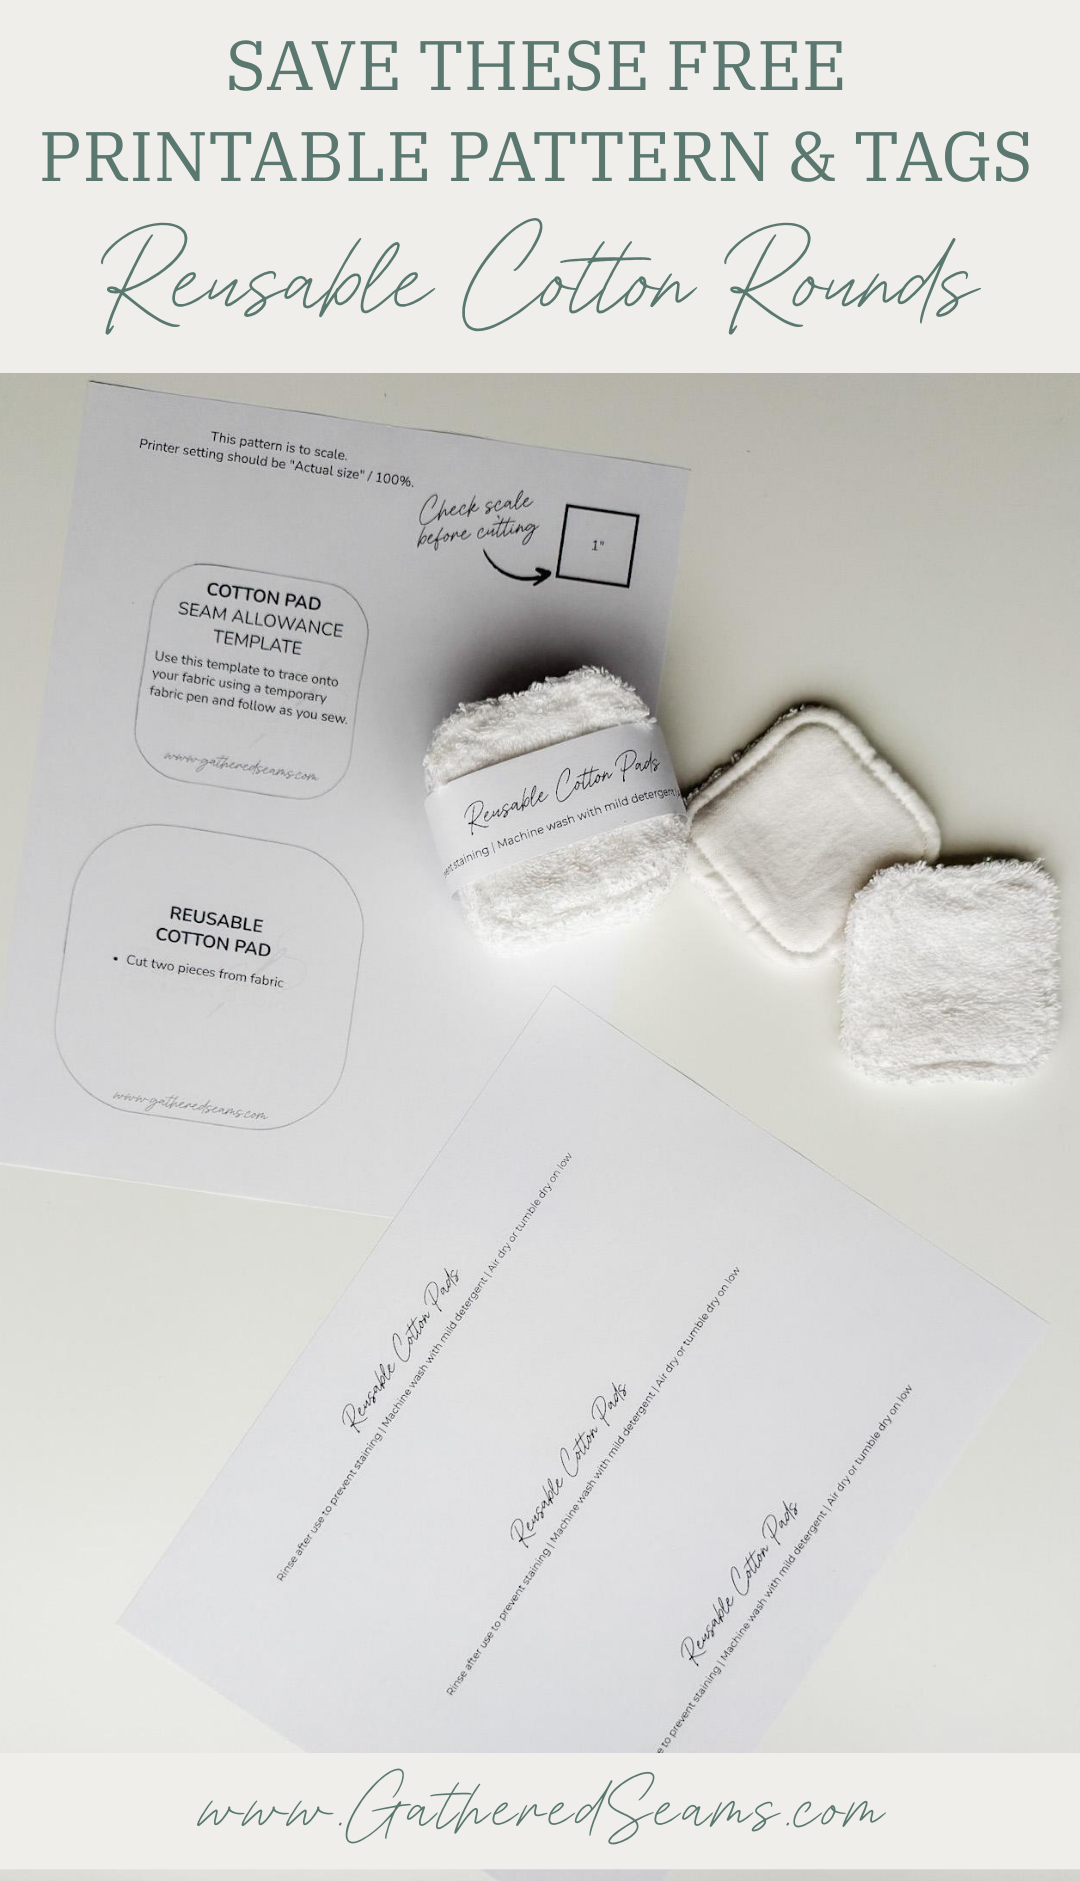
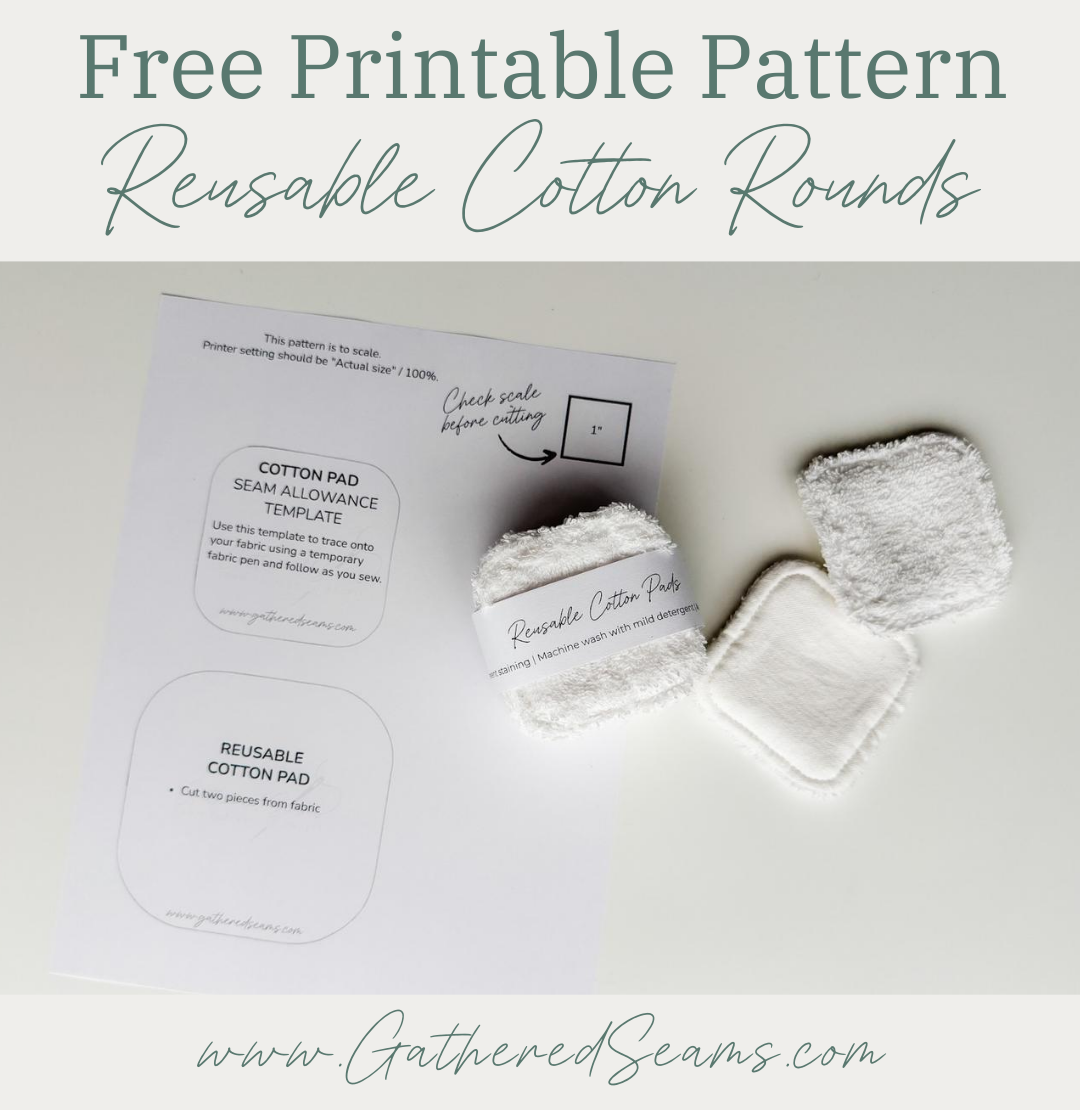
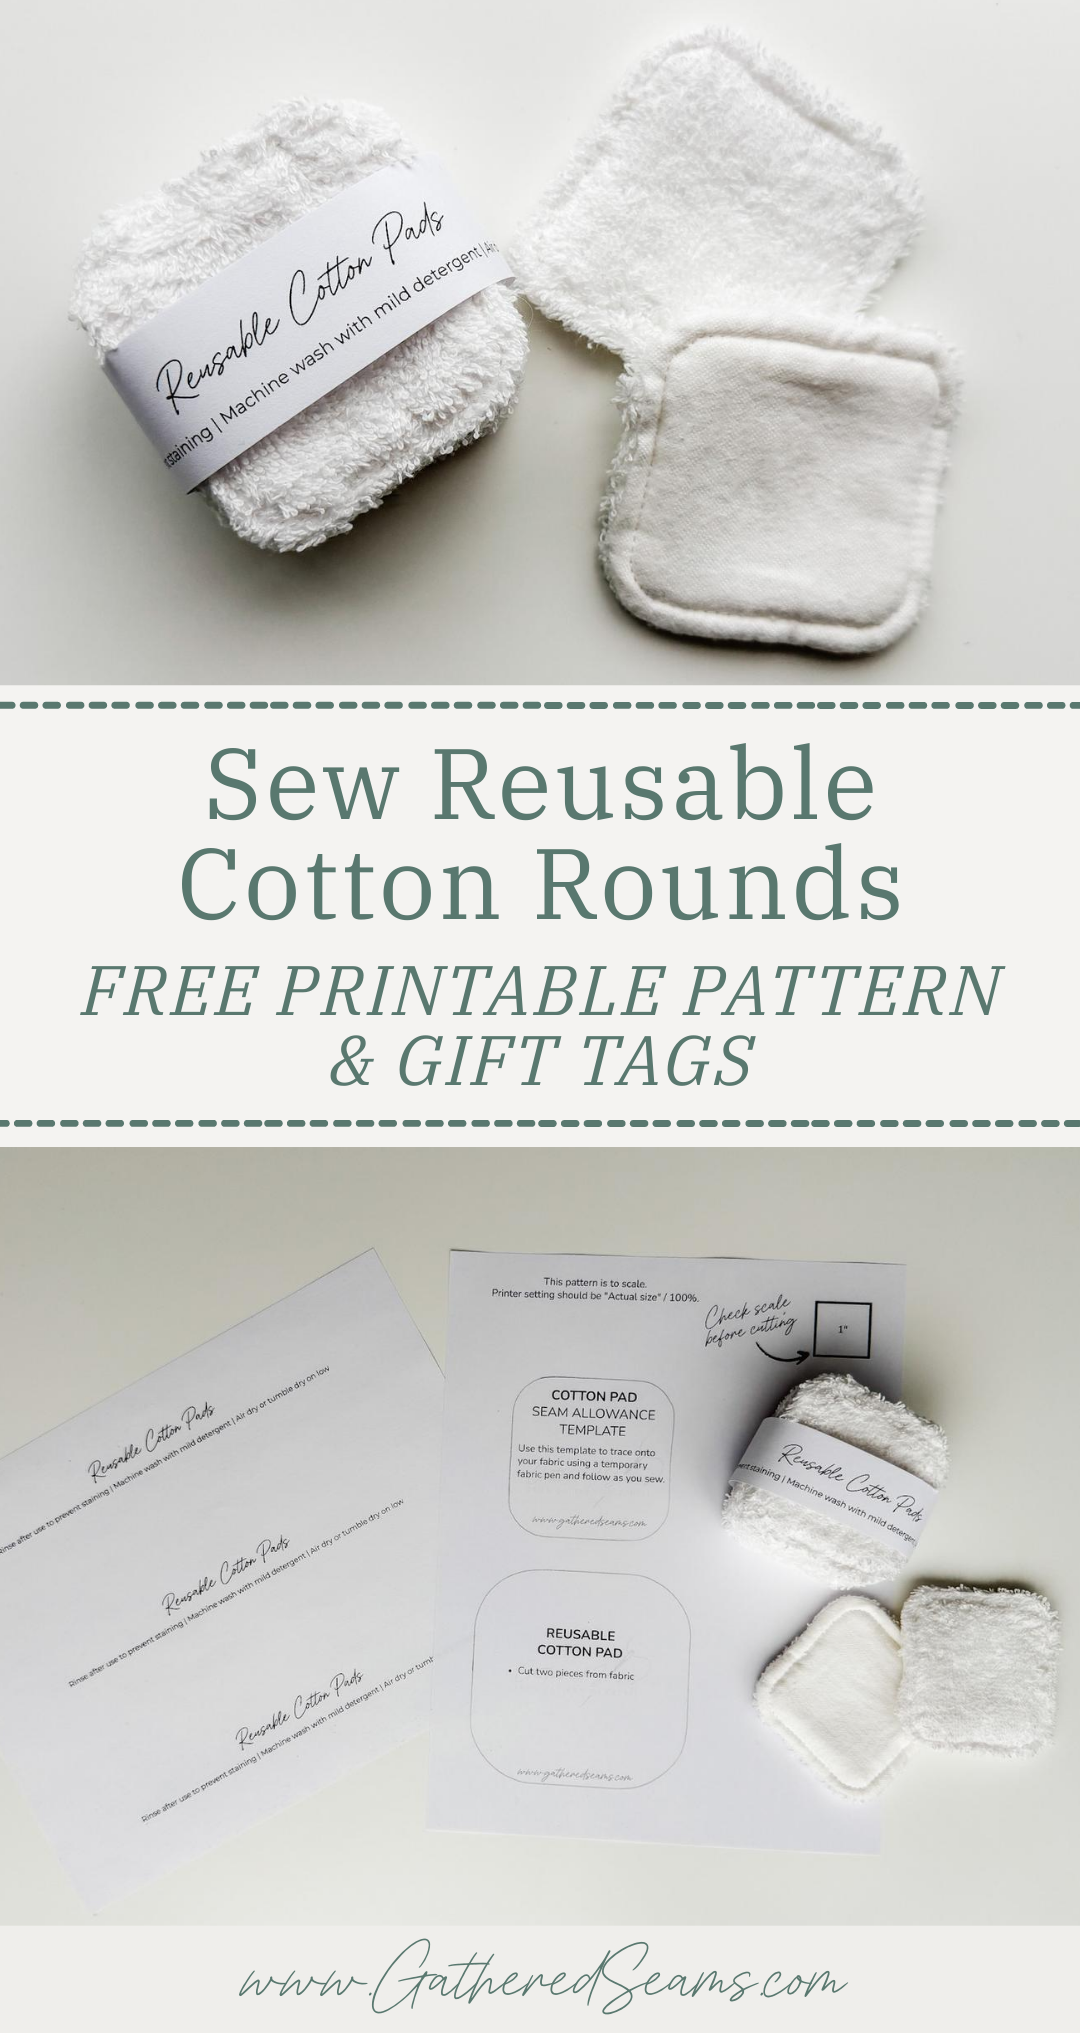
Free printable pattern for reusable cotton rounds

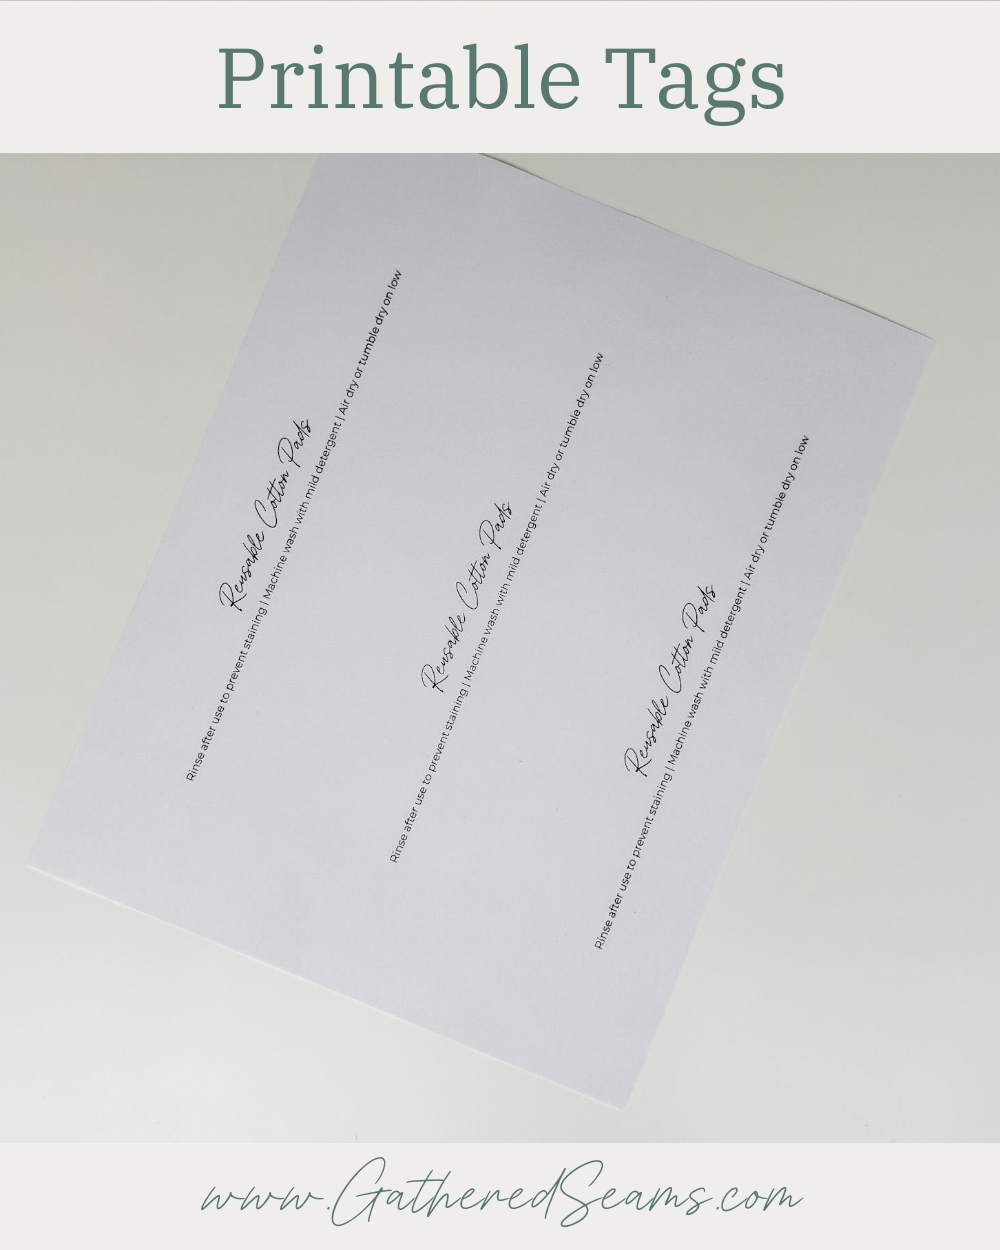
Free printable gift tags for reusable cotton rounds
To use these printable tags, download the free PDF and print it on heavier stock paper (such as cardstock).
Cut the paper into 3 equally sized strips.
Wrap a strip around a stack of cotton rounds and use double-sided tape to secure the two ends together.
Steps to sew reusable cotton pads
Step 1
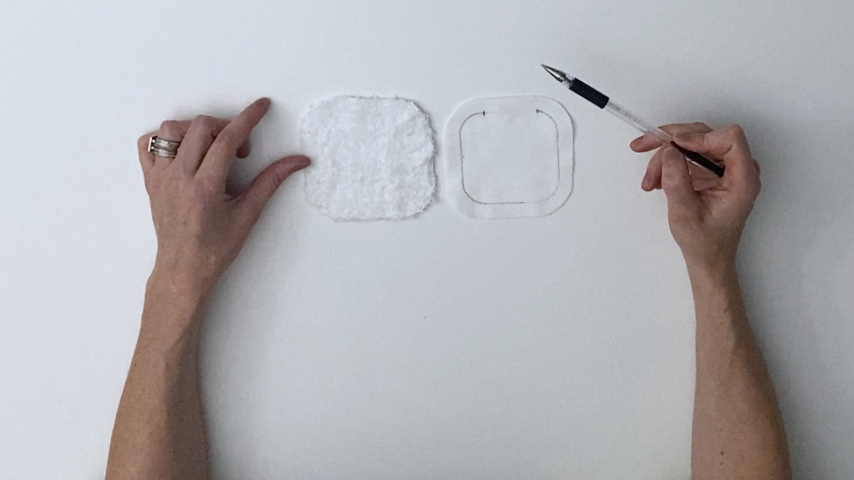
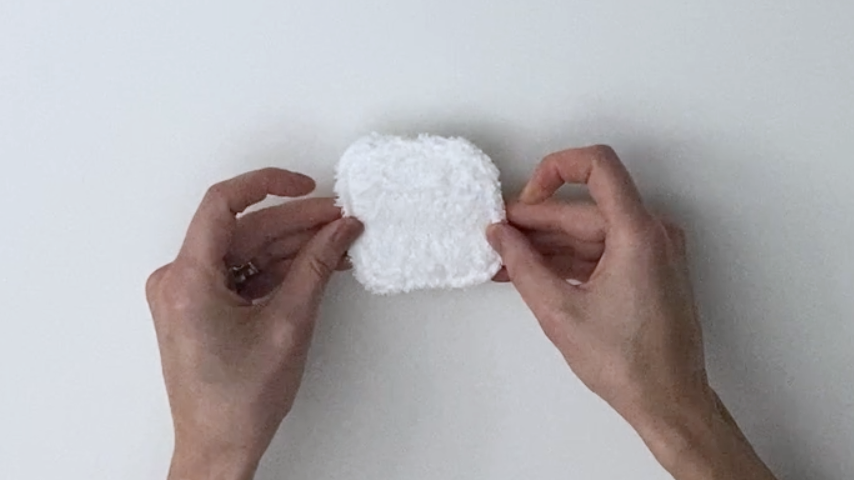
Cut out your pattern pieces. You can use the free printable pattern or cut out a circle that is about 4” in diameter or a square that is 4” x 4”.
Use a temporary fabric marker to trace around the seam allowance template, marking a 1.5” – 2” opening along a straight edge.
Following the seam allowance line makes it easier to keep your seam allowance and curved corners consistent.
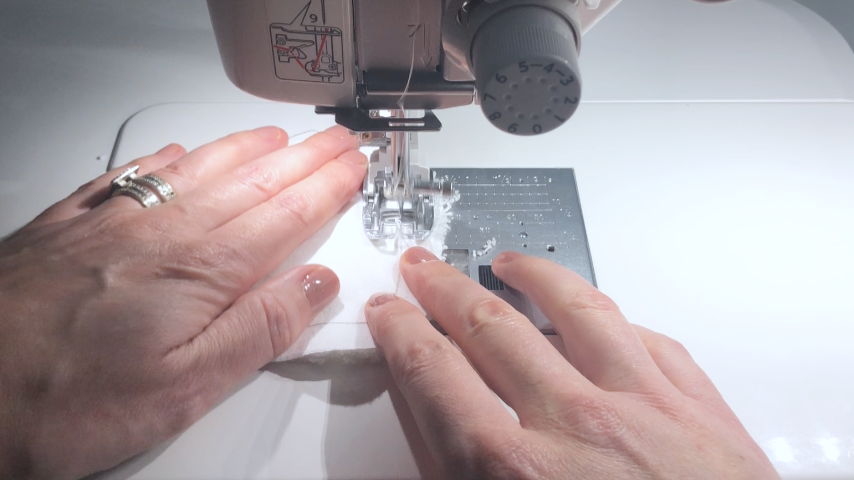
Step 2
Backstitch at the start and end and follow the line to sew around the edges (leaving the opening).
Step 3
I don’t trim the seam allowance back with these, as I find it adds some plushness to the cotton rounds. However, you can trim the seam allowance down if there are any spots that shifted or if you’re using two layers of thick fabric or don’t want that thickness in the seams.
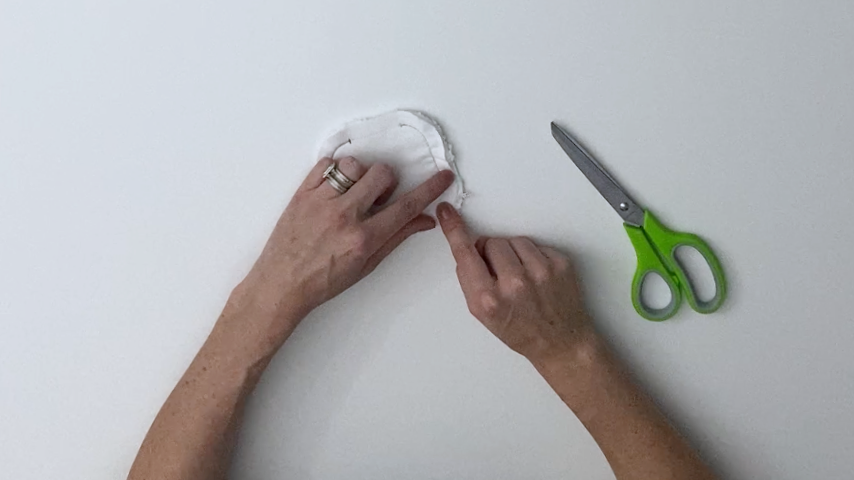
Press the hem of the opening back then turn the cotton pad right side out.
Press the edges and hem into place.
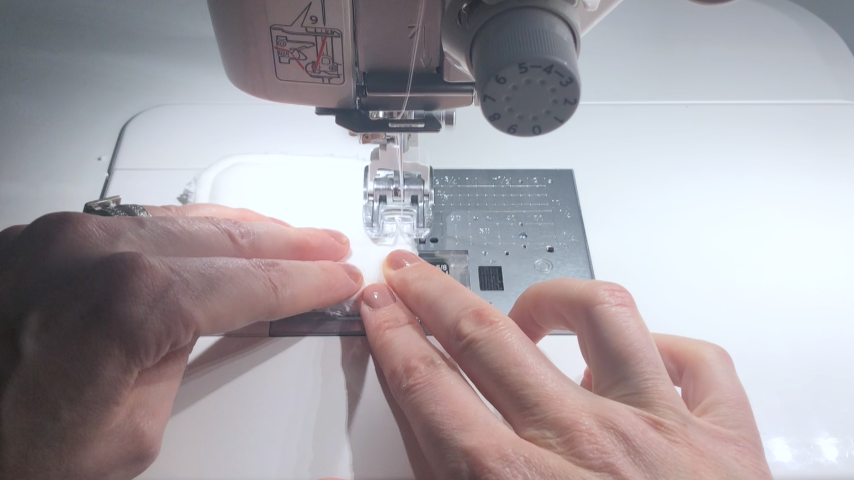
Step 4
Top stitch around the cotton pad.
Alternative method
If you have a serger, you can simply place the two pieces of fabric wrong sides together and serge around the edges. Just be sure to secure the ends of your serged threads so they don’t unravel in the wash.
Here is a good video explaining different techniques for finishing serging threads.
This technique will be faster and ideal if you’re making cotton rounds to sell.