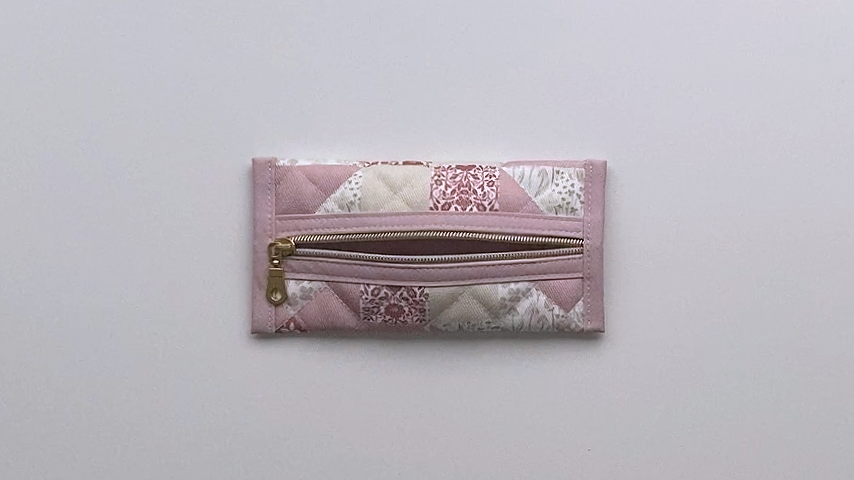
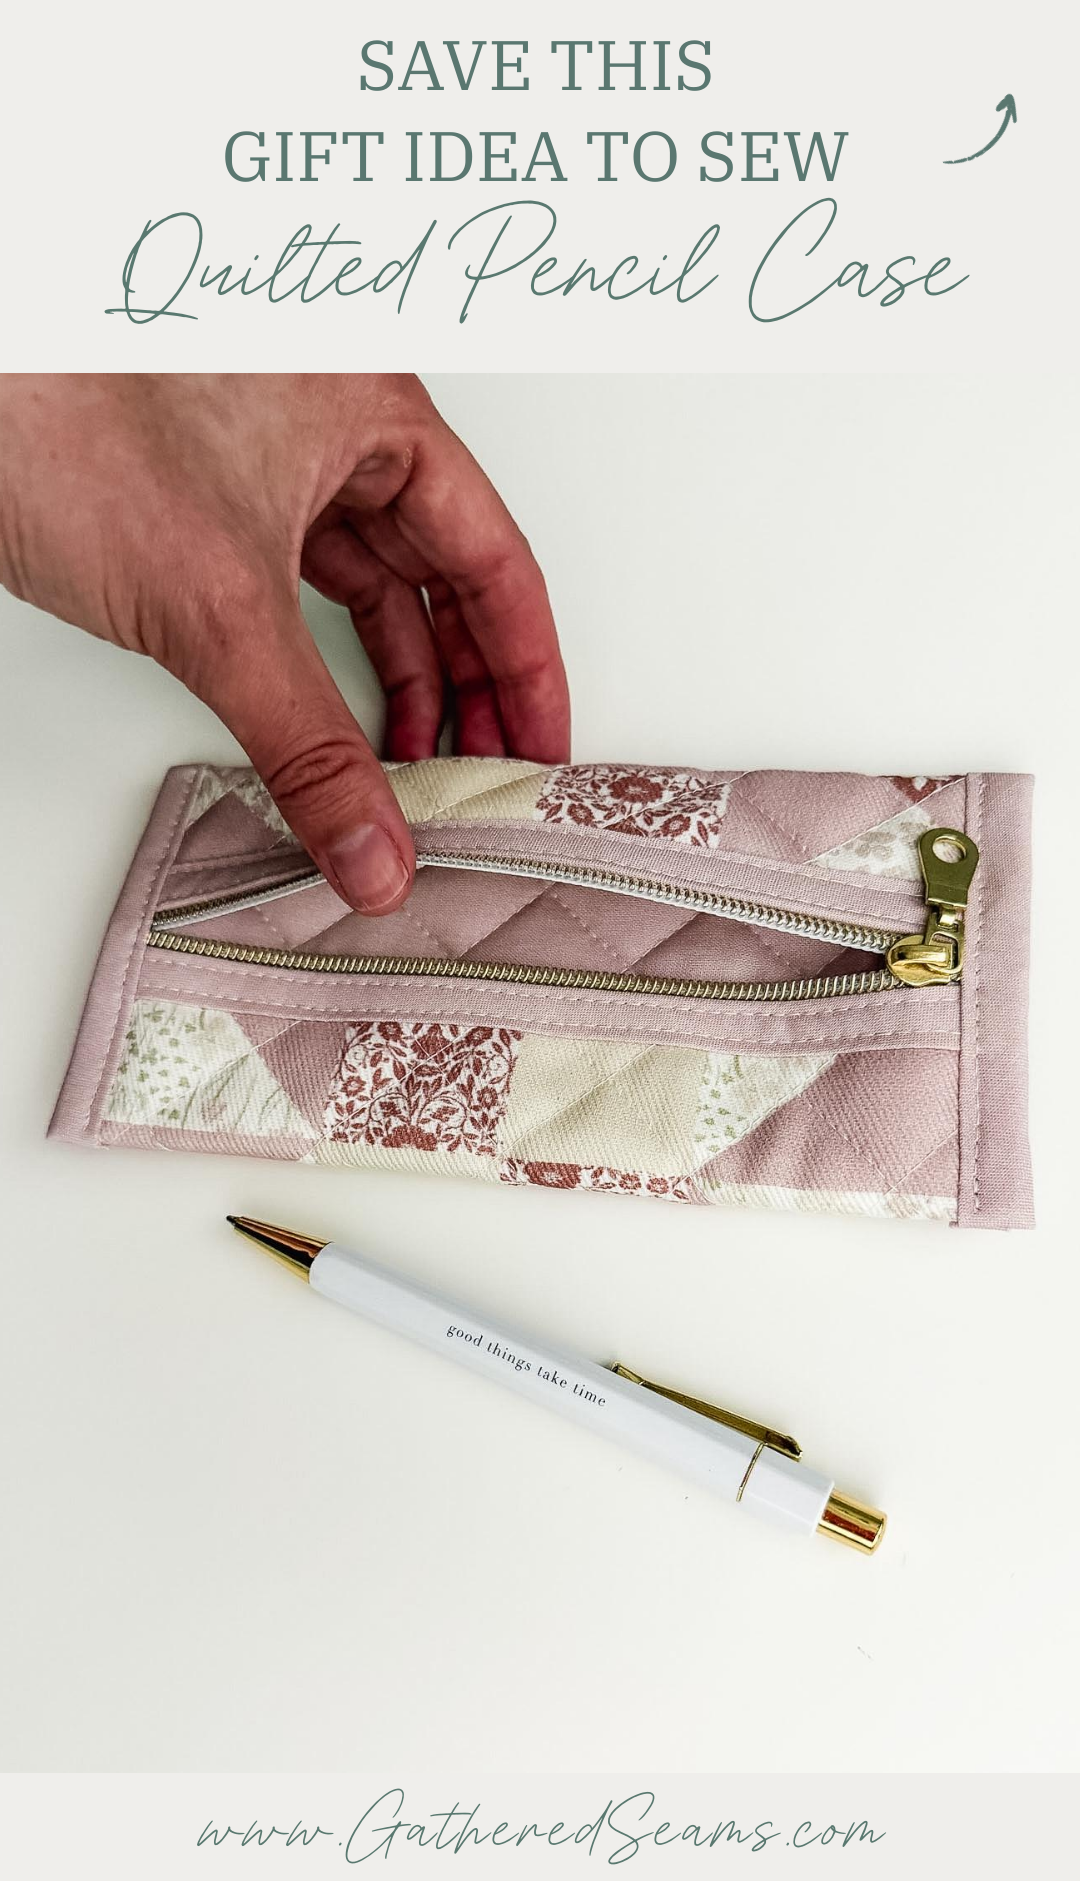
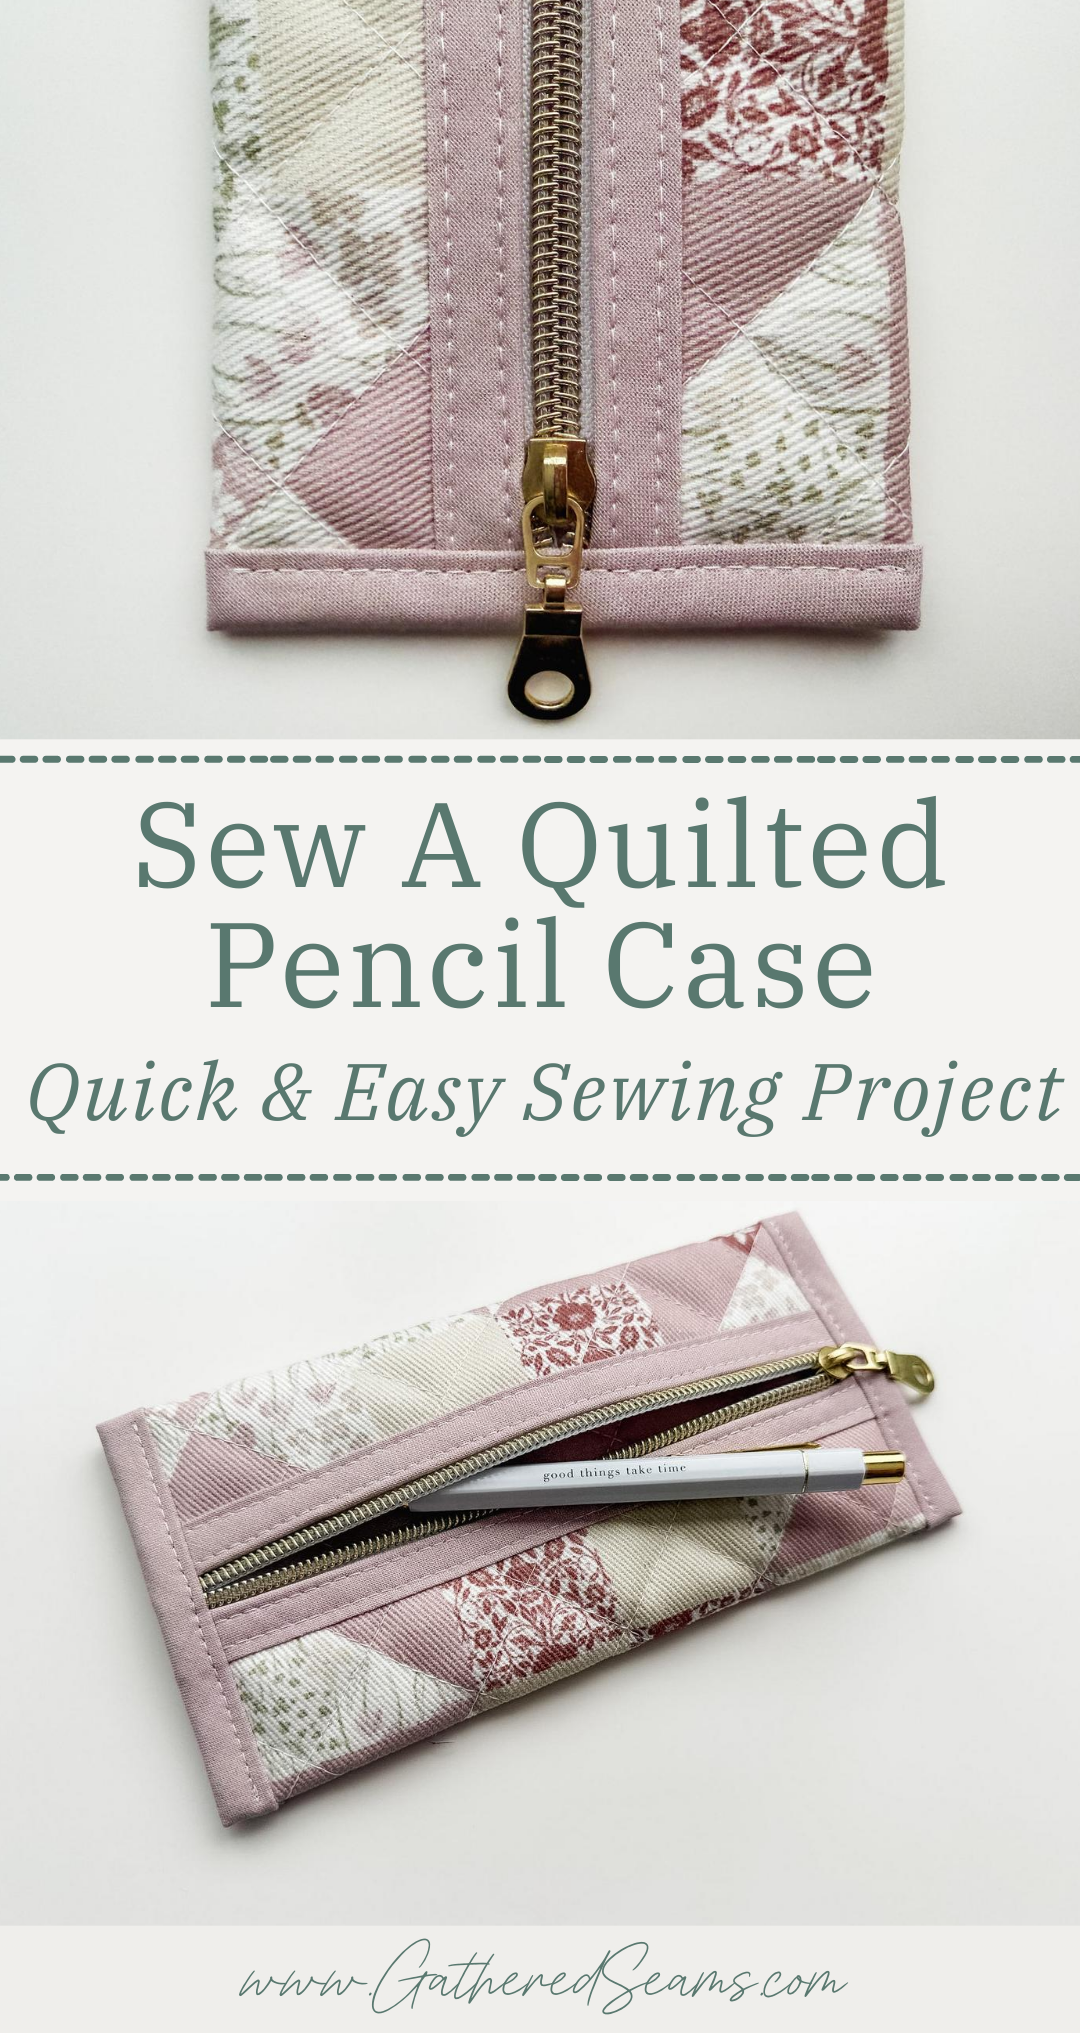
How To Sew A Quilted Pencil Case w/ Binding
This pencil case is a quick and easy project that’s perfect for using up scraps of fabric and batting.
It uses binding to finish the edges, which takes a bit of practice to get used to, but speeds things up since you sew the outer fabric and lining at once.
I also love the look of the binding-finished edges. It makes the pencil case feel a little more elevated and gift-worthy.

Other items to add to the gift
If you’re sewing this quilted pencil case as a gift, here are a few other items you could add to bulk up the gift.
To sew:
- Laptop sleeve
- Tote bag
- Notebook cover
- Home office items
- mouse pad
- wrist rest
- fabric baskets
To buy:
- A nice pen or pen set
- Notebook
- Sticky notes
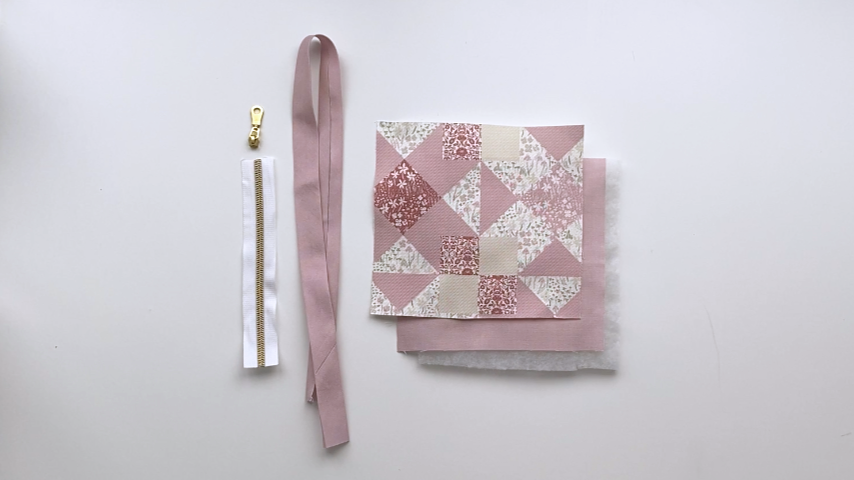
Materials
As an Amazon Associate, I earn from qualifying purchases (see full disclosure here).
- Outer material (I used a dogwood denim in a “cheater quilt” pattern, found here)
- Lining material (I used a quilting cotton, found here)
- Batting (I used one layer of this one)
- 1/2” double-fold binding or bias tape (2” wide when unfolded) – here’s how to make your own: How To Make Bias Tape
- #5 plastic zipper & zipper pull
- Thread
Tools
- Sewing machine
- Walking foot (highly recommended if you’re sewing quilting stitches. This is the universal one I purchased for my Baby Lock, which is a different machine than what’s shown in the photos)
- Zipper foot
- Hera marker (for marking quilting lines)(this is the one I use)
- Ruler (for marking quilting lines)
- Clips
- Temporary fabric marker (these are the ones I use)
- Scissors
- Iron
Steps to sew a quilted pencil case with binding
Step 1
Cut out your:
- Outer fabric
- Lining fabric
- Batting
If you plan to add quilting stitches, cut each piece to: 8″ x 7-1/2″, then cut it to 7-1/2″ x 7″ once you complete the quilting stitches.
If you’re not adding quilting stitches, cut your outer fabric, lining, and batting to 7-1/2″ x 7″.
You will also need to cut:
- 1/2″ double-fold binding or bias tape:
- 2 pieces that are 7-1/2″ long
- 2 pieces that are 5″ long
- 8″ long piece of zipper
Step 2
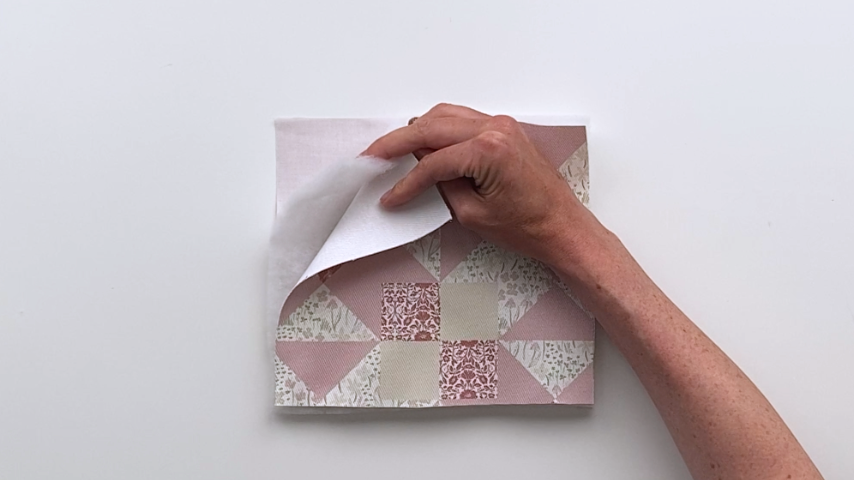
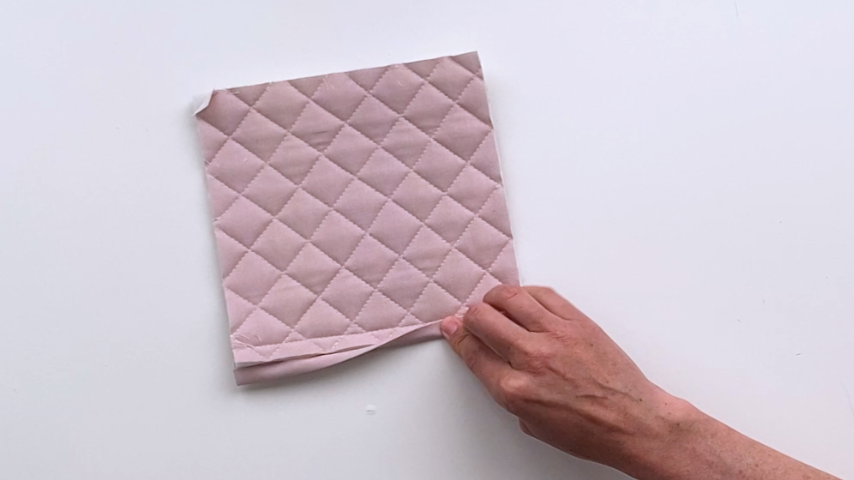
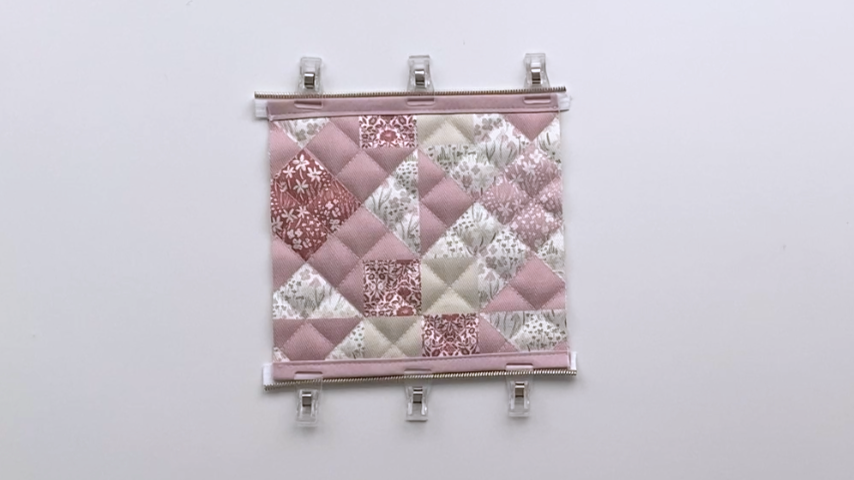
Place your outer fabric and lining wrong sides together, then sandwich the batting in between.
If you’re adding quilting stitches, mark the lines you’d like to follow (I created diagonal lines following the pattern on my fabric), then sew along them. Once all your quilting is complete, cut the fabric to the size of the pattern piece.
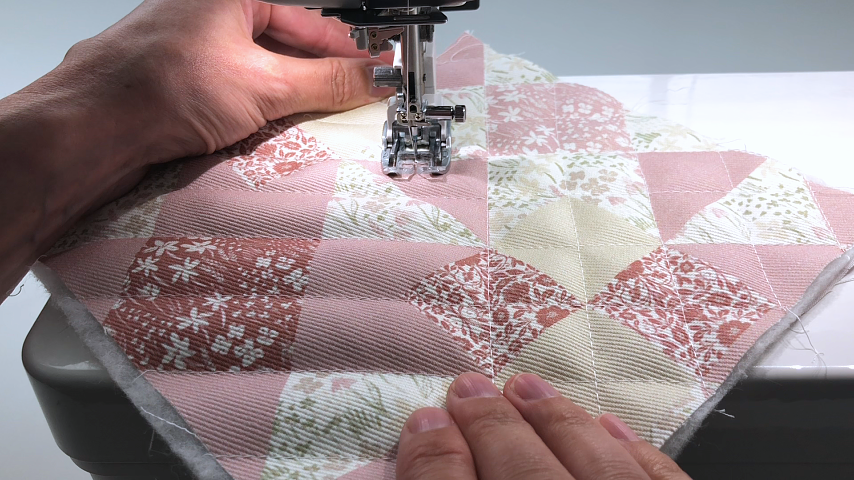
Then cut your quilted piece to 7-1/2″ x 7″.
Step 3
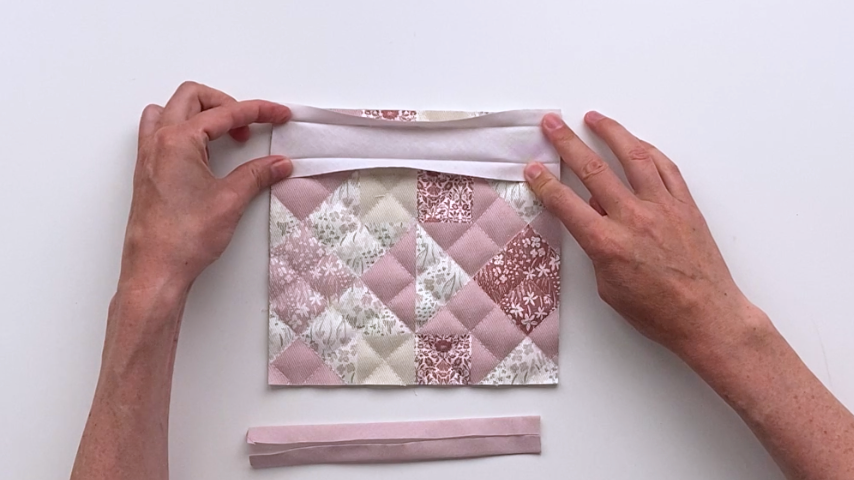
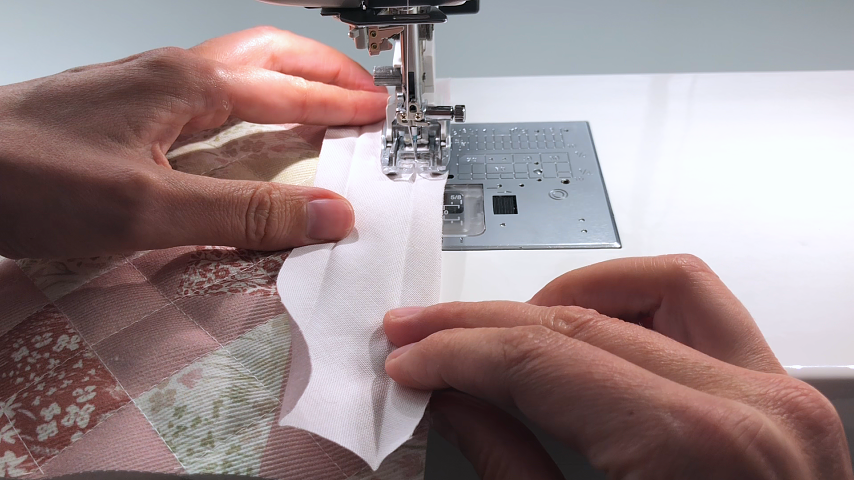
Next step is to sew the 7-1/2″ long pieces of binding to the 7-1/2″ long side of the fabric.

Unfold the binding, line up the edge of it so it is just past the edge of the fabric, then sew in the first fold.
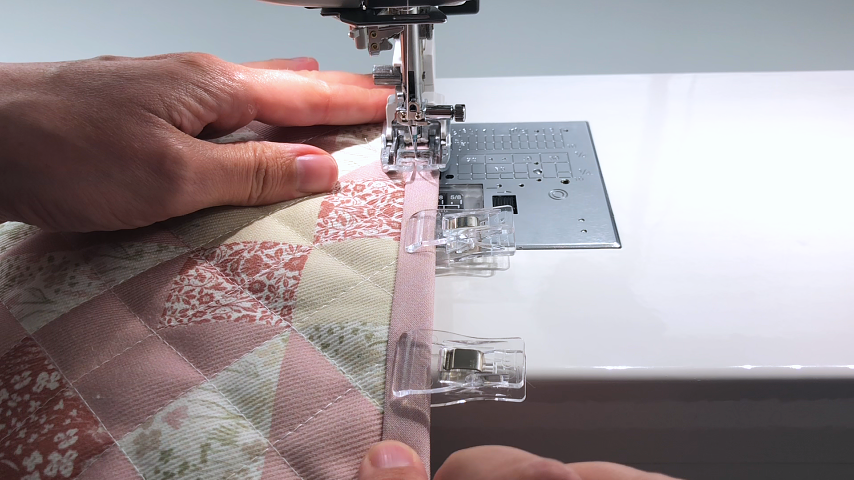
Flip the binding to the other side and clip into place so the inside edge of the binding is in line with the line of stitching.
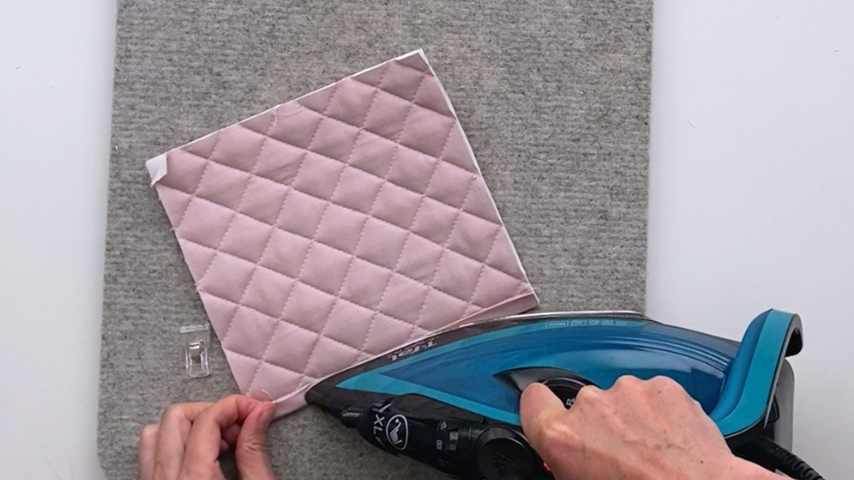
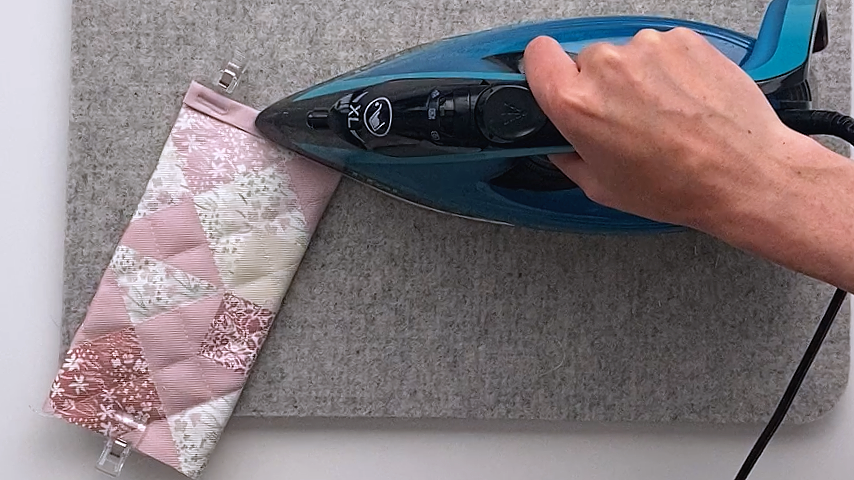
I like to iron the binding into place, then clip, for crisp edges and even topstitching.
Sew from the top side, about 1/8″ in from the inside edge of the binding.
Repeat to sew the binding to the bottom edge of the pencil case.
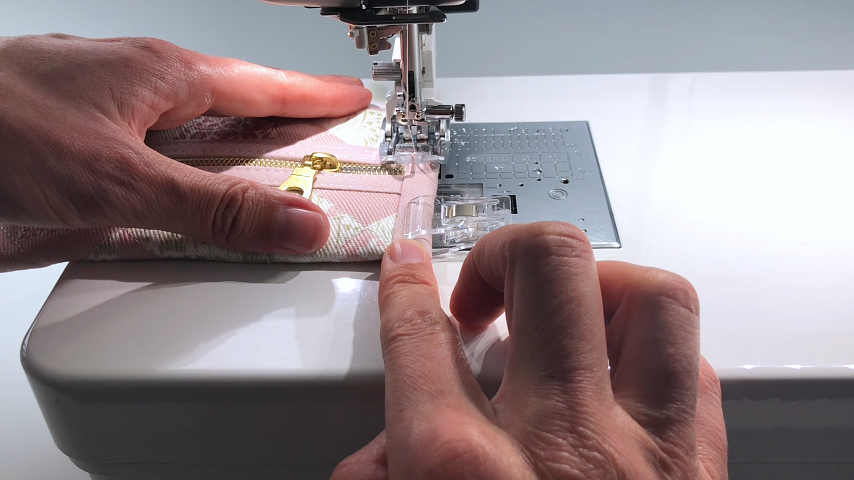
Step 4
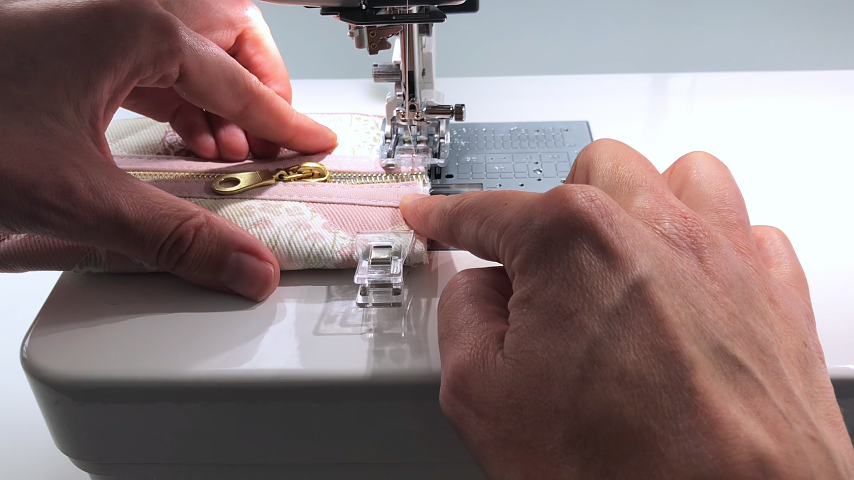
Separate your zipper and clip it along the binding. Make sure the zipper extends past the edges of the case on both ends (this will make it easier to put the zipper pull on).
Then use a zipper foot to sew it into place.
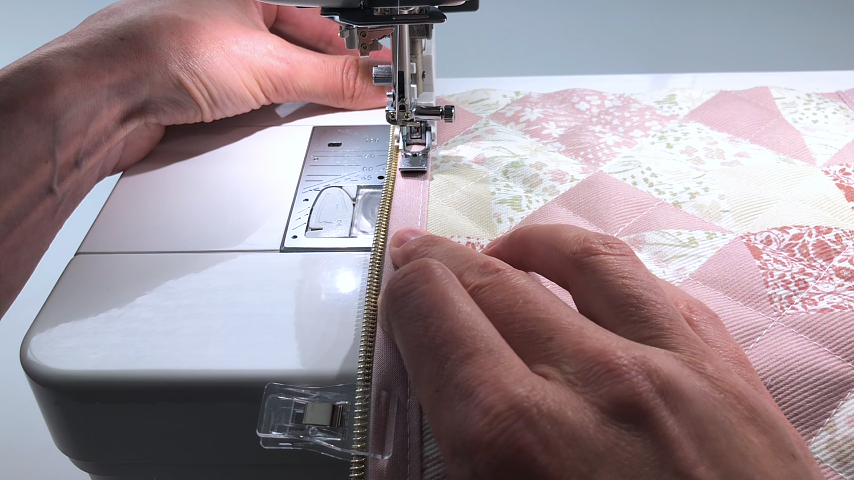
Add the zipper pull.
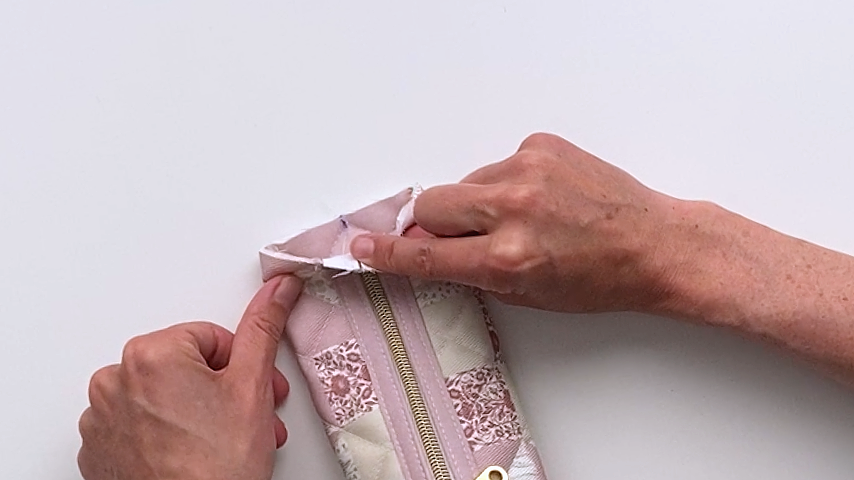
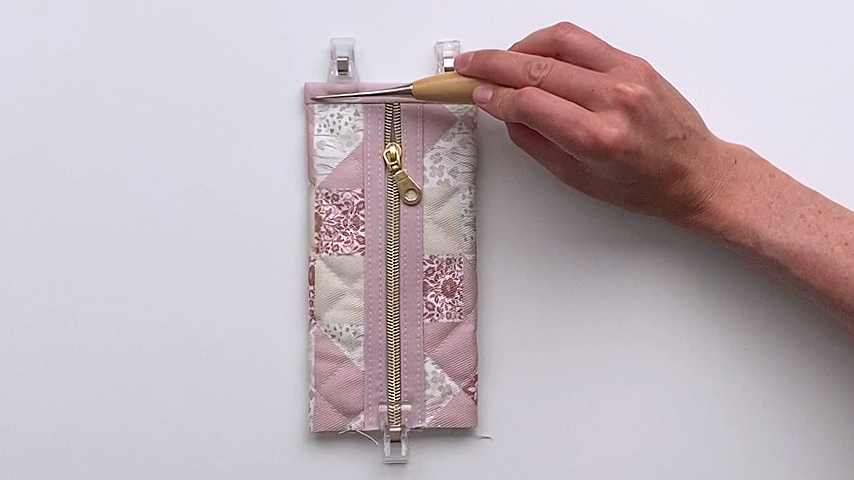
I start by clipping the case to ensure the top edge of the fabric is lined up on either side of the zipper.
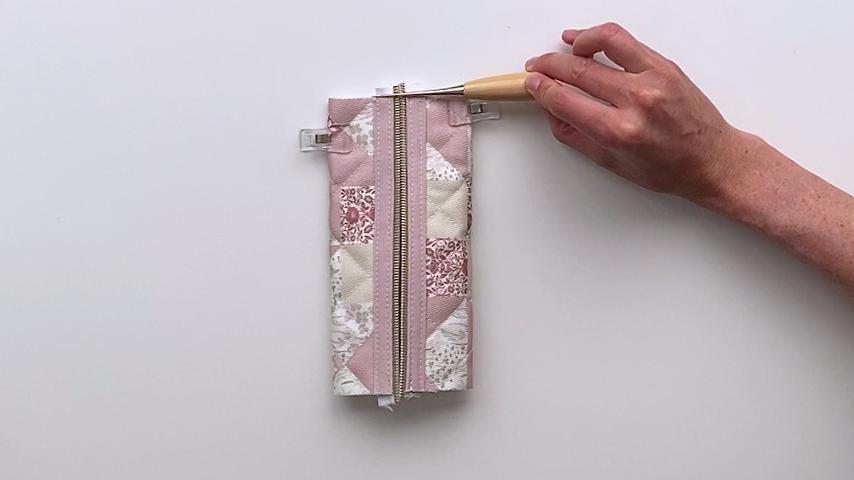
I also find it easiest to add the zipper pull if the top of the zipper is even. Leave it longer than the pencil case, but trim the zipper so that both sides are cut to the same length.
Place both sides of the zipper into the zipper pull, but only place them partway in so that you can adjust them until they align.
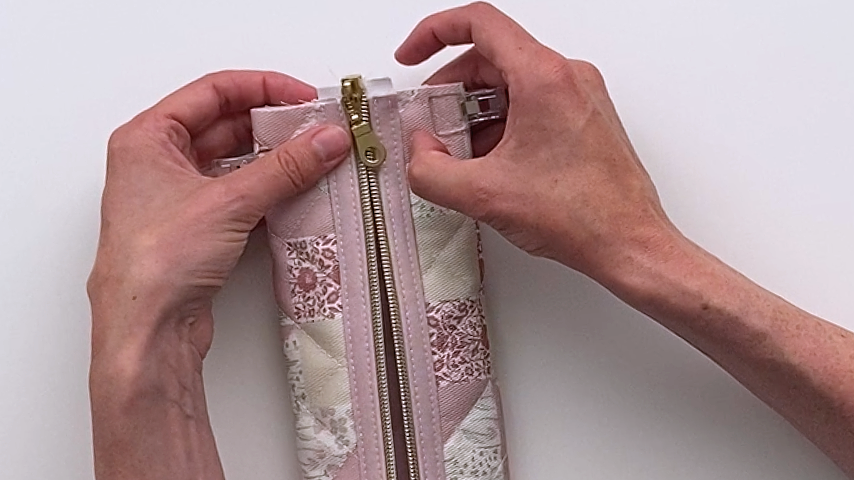
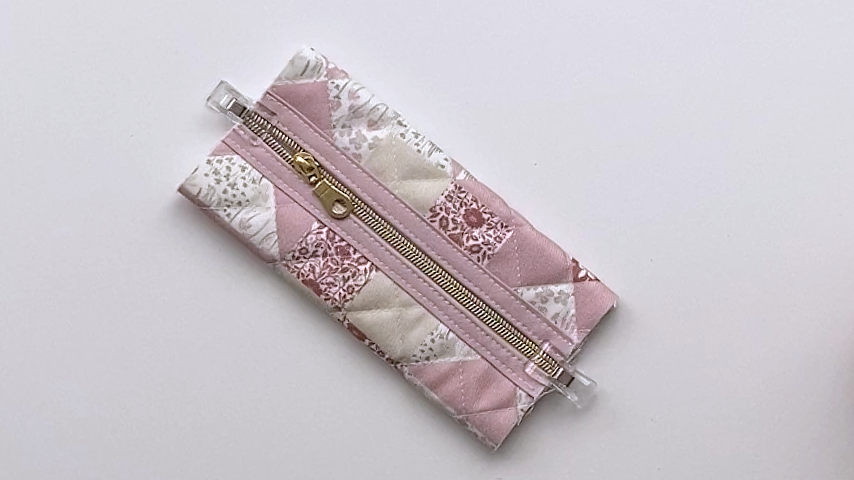
Once you have the zipper tape lining up on either side of the pull, and the ends of the pencil case lined up on either side of the zipper, push down on the zipper pull until you hear a click.
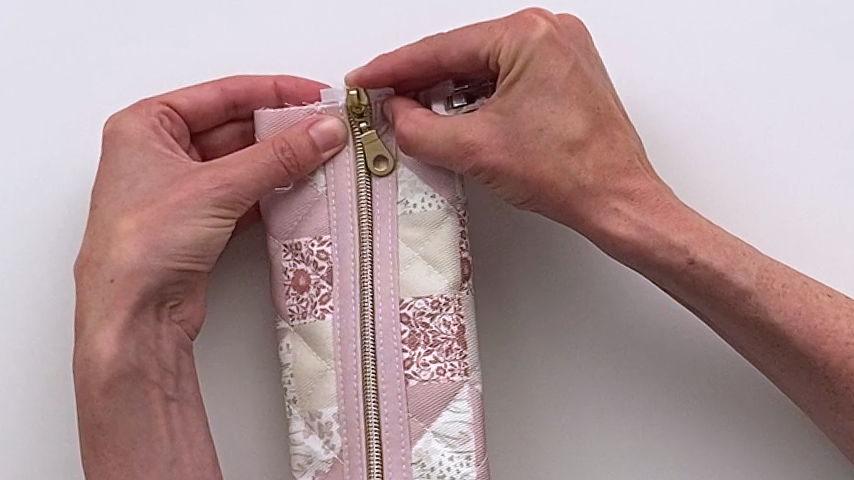
Then press down on either side of the zipper and pull the zipper pull all the way onto the zipper.
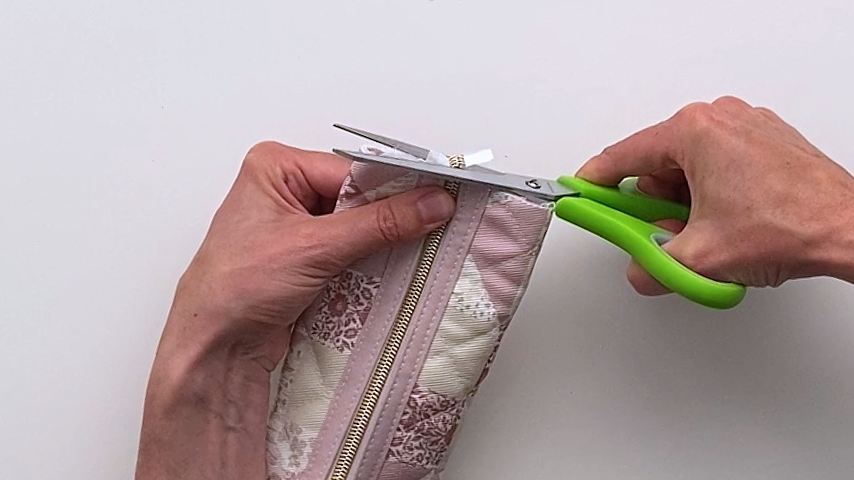
Trim the ends of the zipper so they are even with the ends of the pencil case.
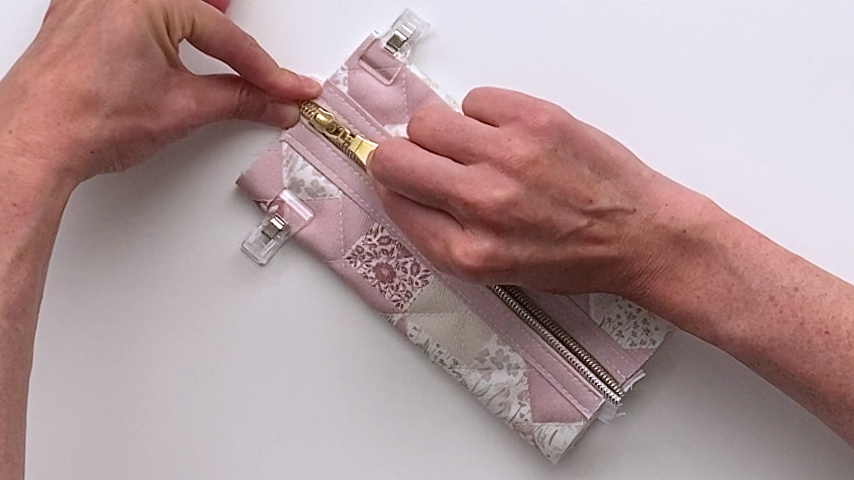
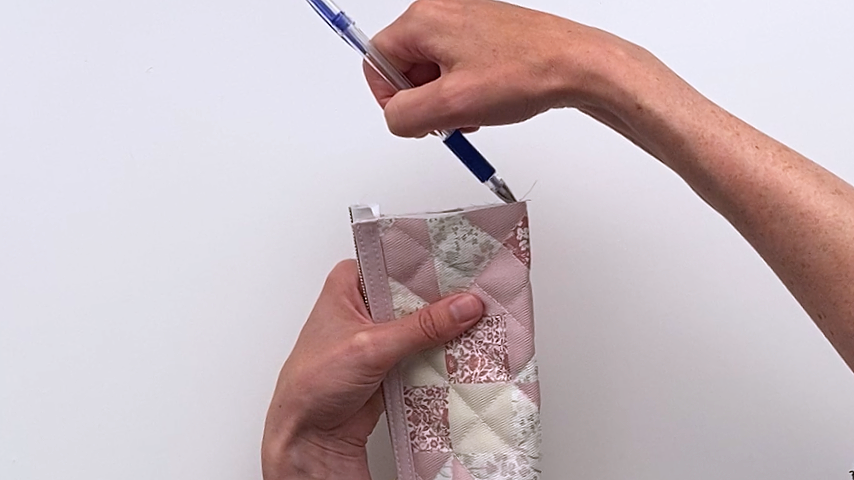
Step 5
Fold your pencil case with the zipper along the top and mark the center of the case at the bottom, on both ends.
Flatten the pencil case so the center of the zipper lines up with the marked lines. Clip into place, then baste along the ends of the pencil case.
Step 6
Sew the 5″ long pieces of binding to each end of the pencil case.
Follow the same steps as you did to sew the binding to the zipper edges. However, this time, make sure the binding extends about 1/2″ past the top and bottom of the pencil case.

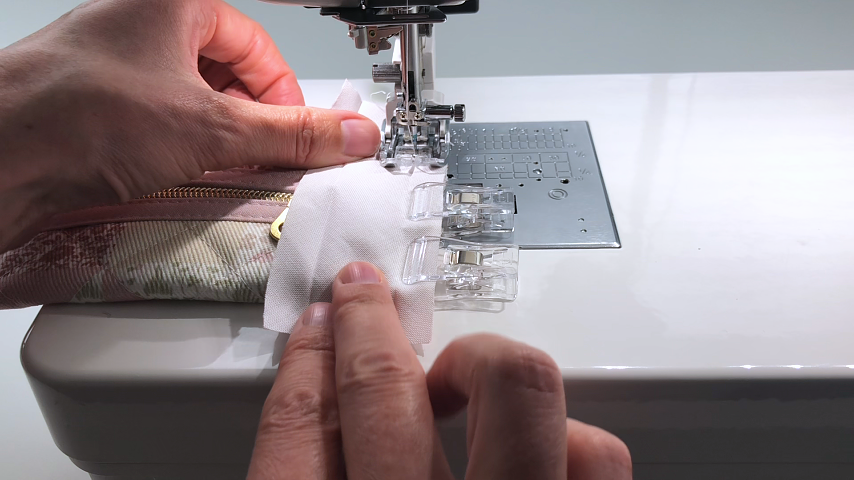
Before folding the second side of the binding into place, fold the ends in first:
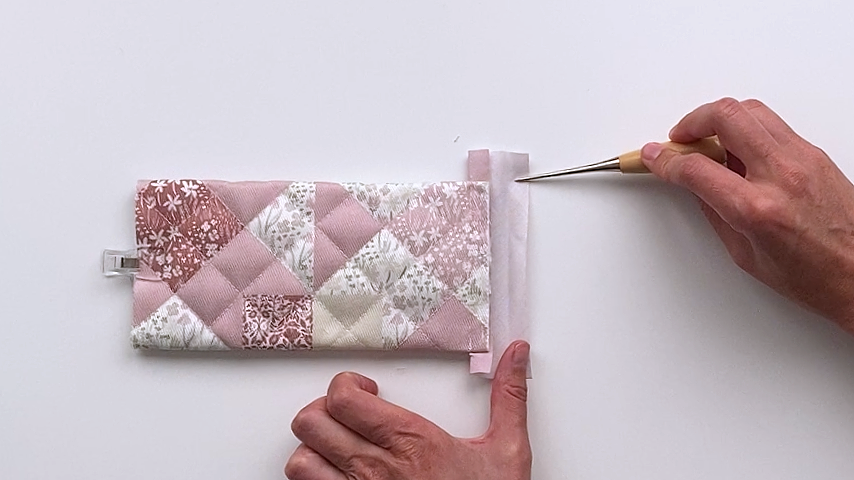
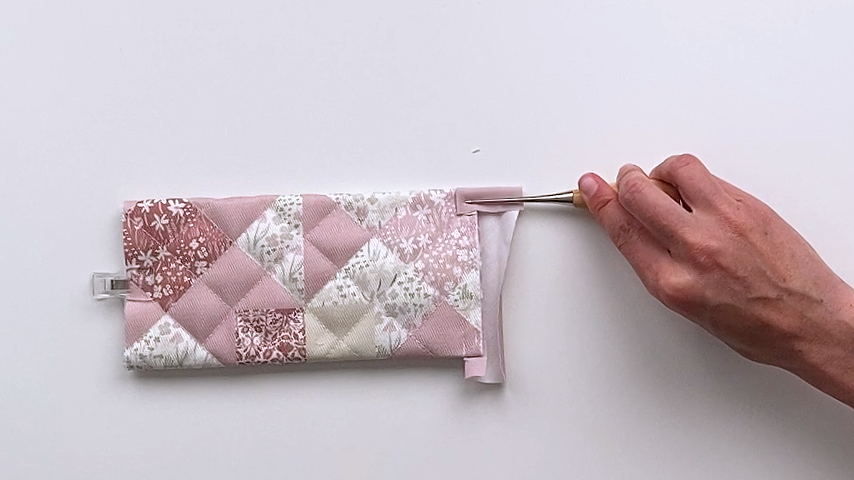
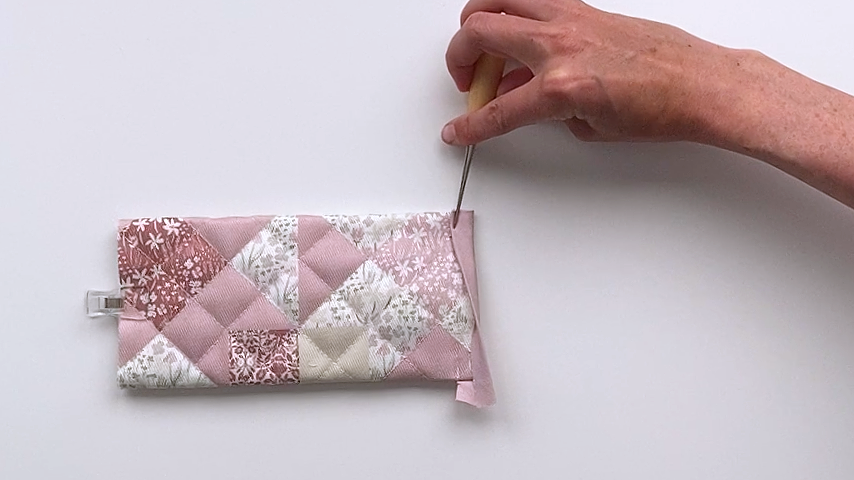
Press the binding into place so its edge sits right over the line of stitching. Again, I like to press the binding into place. Clip to hold the binding, then sew about 1/8″ in from the inside edge.
Repeat on the other end and your pencil case is complete!