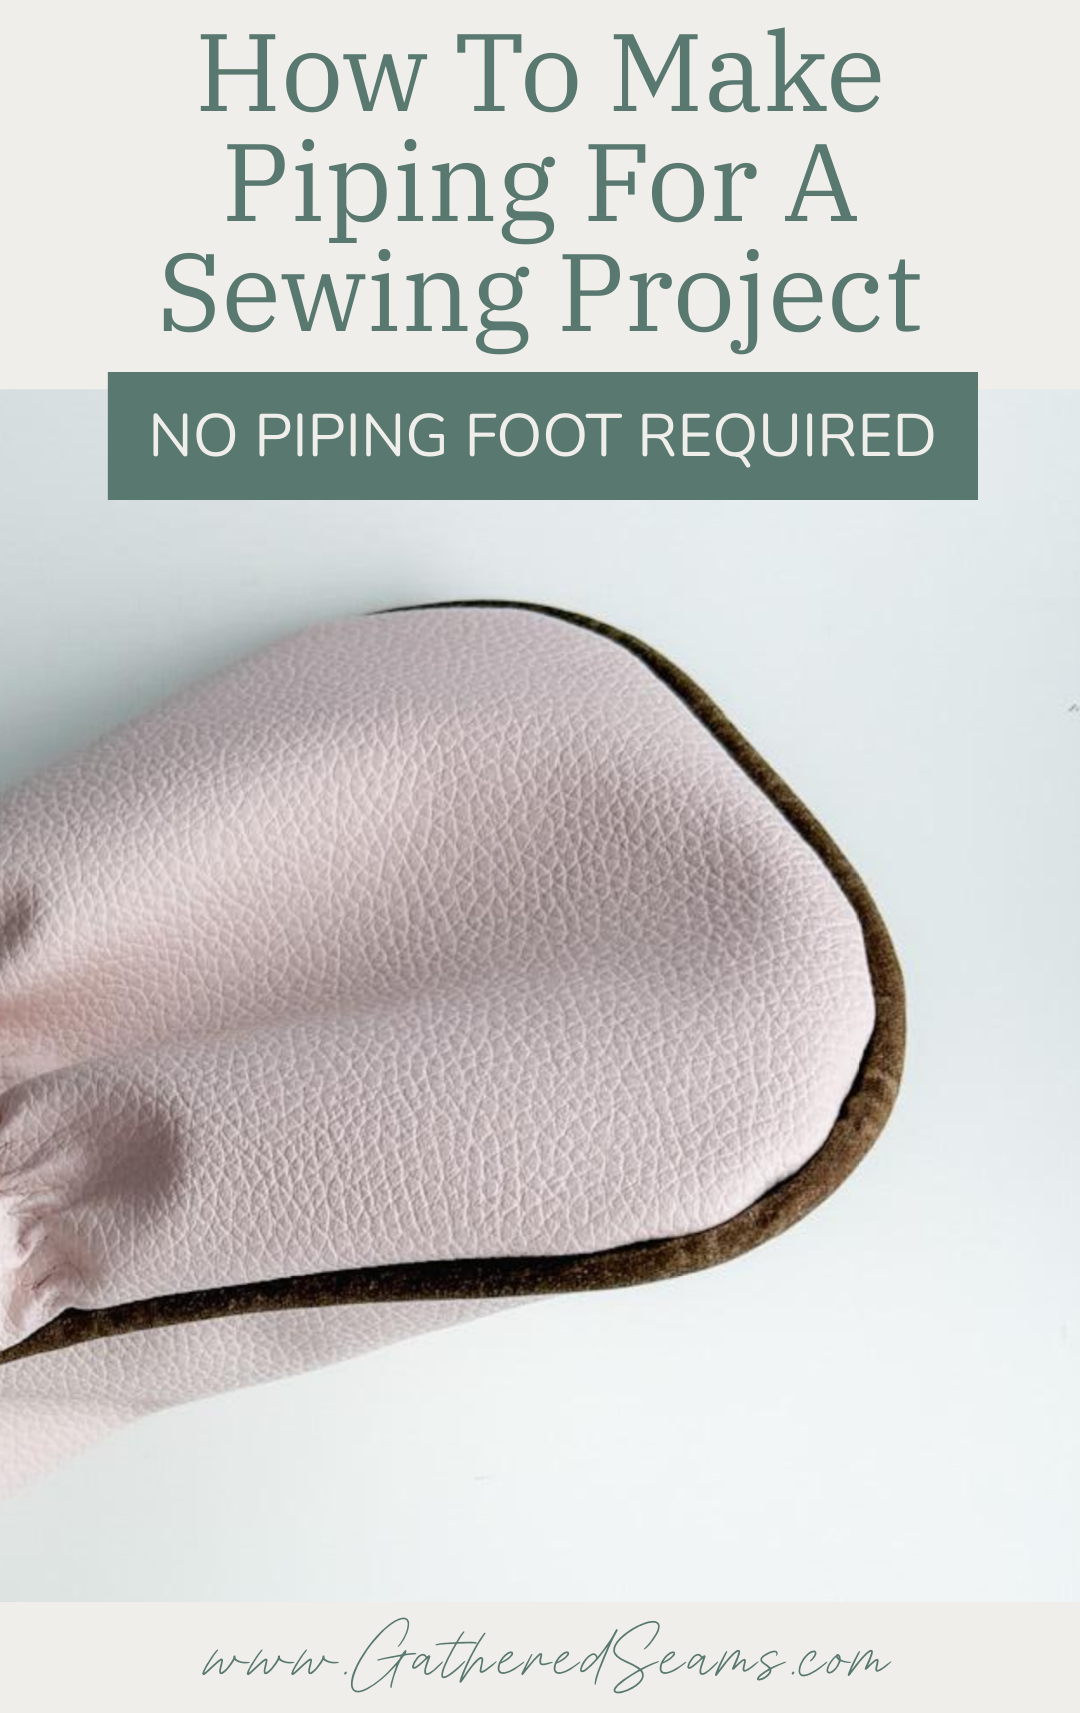
How To Make Piping For Sewing Projects (No Piping Foot Required)
I’ll be honest. I’ve been intimidated by piping for several years and was hesitant to work with it. But it’s easier than I was imagining.
And the piping adds such a nice detail to a sewing project.
I initially used piping for my golf club head covers but it can be added to a variety of projects, such as:
- potholders
- pillow covers
- bags and purses
- clothing
- etc.
Materials
- cord/rope/foam piping – there are a variety of materials you can use from twine and yarn to welting cord or piping cord purchased from fabric stores and designed for making piping. I’m using macrame cord.
- fabric
- thread
Tools
- piping foot or zipper foot
- rotary cutter
- ruler
Purpose of adding piping
- Polished look – piping gives a sewing project a professional-looking finish
- Shape – when working with curved edges, piping smooths out the edges, especially when working with heavier fabric that can’t be pressed (e.g. vinyl)
- Strength and structure – the cording helps protect the seam of the object and helps hold the shape by adding structure and preventing stretching.
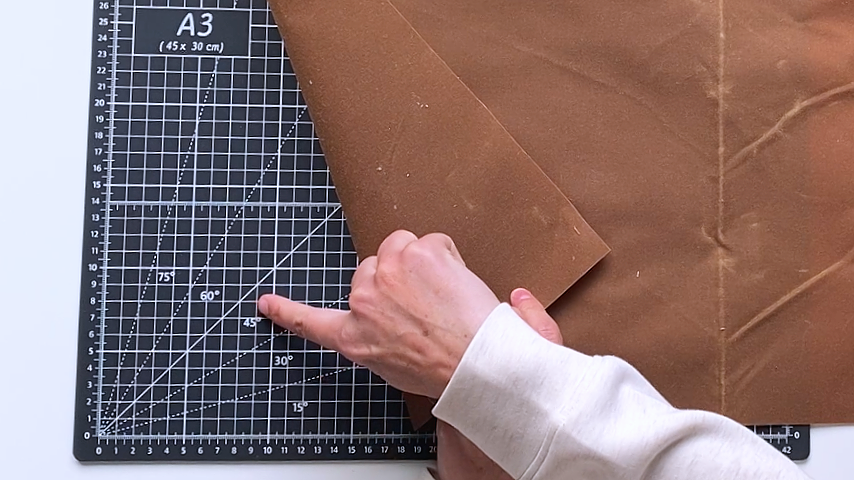
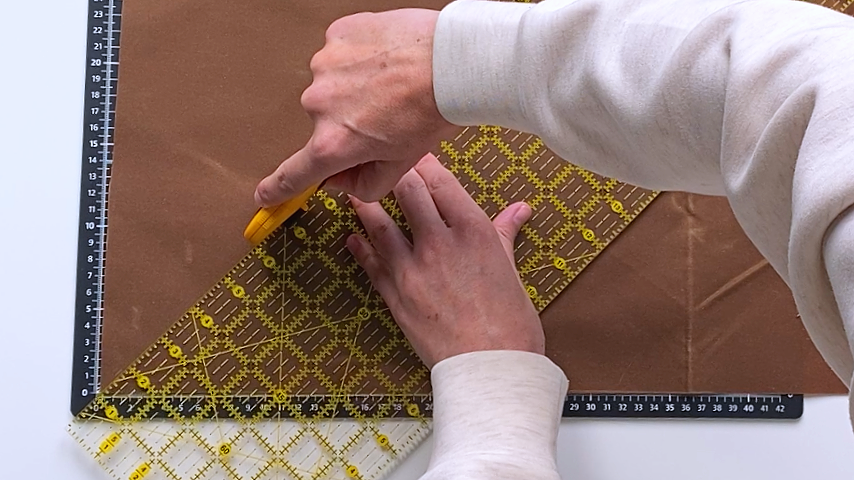
Straight cut or bias cut
In most cases, piping is sewn around curved edges. In which case, it needs to be made from strips of fabric that are cut on the bias, so it has some stretch.
However, piping may be sewn along straight edges, such as the top edge of a pocket or pillowcase. When the piping isn’t being curved around edges, it doesn’t require stretch, and the strips of fabric can be cut straight.
- Straight cuts – strips that are cut parallel with the salvaged edge of the fabric, or 90 degrees to it.
- Bias cuts – strips that are cut at a 45-degree angle to the straight salvaged edge.
Step 1
How wide you cut your strips of fabric will depend on the thickness of the rope, cord, or tubing you’re using, and the seam allowance your project requires.
Your fabric will wrap around the cord, so it must be 2 times the width of the cord, and 2 times the width of your seam allowance.
If you’re not sure how wide your cord is, simply take a scrap piece of your fabric, fold it in half around the cord, then measure from the inside edge of the cord to the width of your seam allowance and make a clip in both layers of the fabric.
Unfold the fabric and measure the width.
Cut your strips of fabric to that width.
You can also cut your piping’s seam allowance after sewing to adjust the width of the seam allowance.
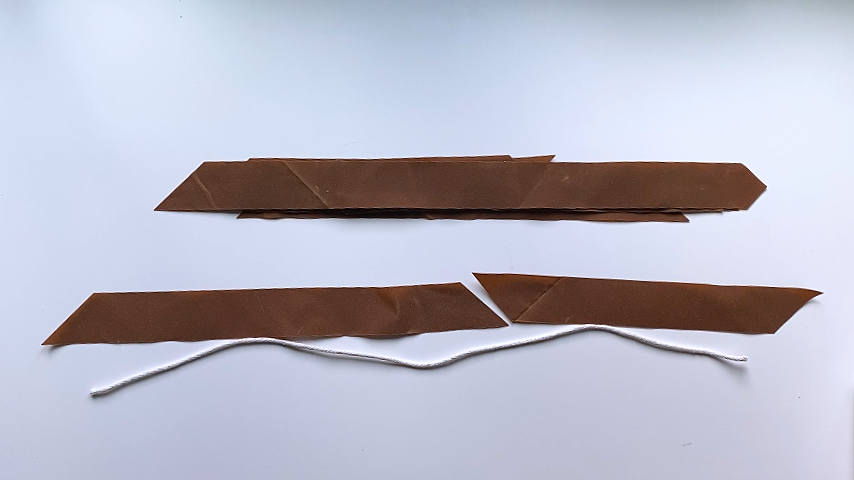
You’ll also need to determine the length of piping you need.
Once you cut your cord/rope to size for the project, you may want to tape the ends to prevent it from unravelling. Then cut enough strips of fabric to be able to cover the full length of your cord.
Step 2
If you need a longer piece of piping, then you will have to join the ends of your fabric strips.
To reduce the bulk, you’ll sew your seams at a 45-degree angle.
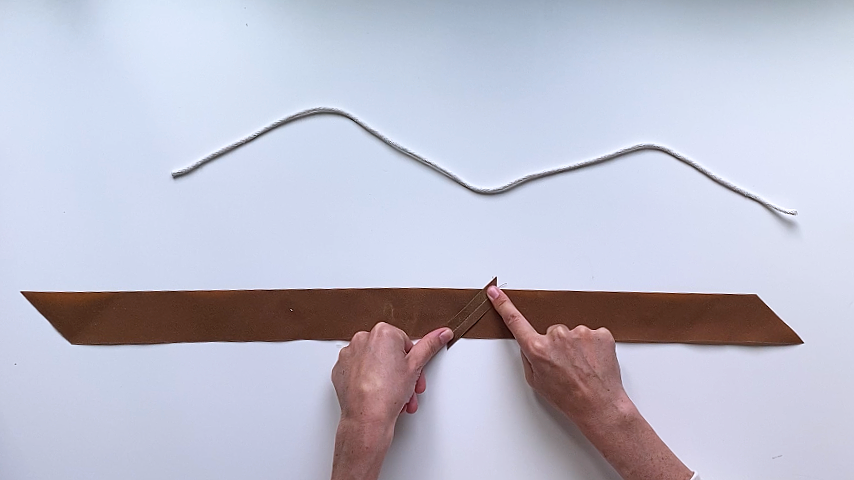
To do this, I start with the ends of my strips of fabric cut at 45-degree angles.
With right sides up, I place two strips together, matching up the ends (so the angle is cut the same way).
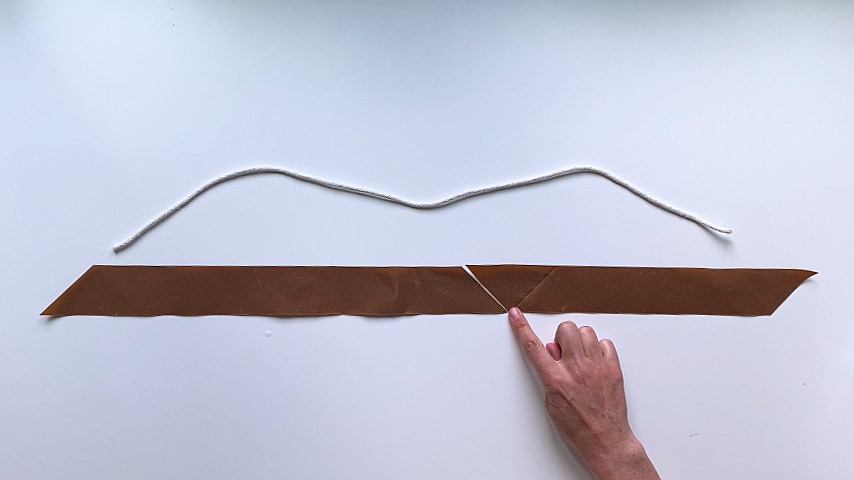
Then I flip the right piece over the left piece, so they’re right sides together and sitting at a 90-degree angle with the cut ends lining up.
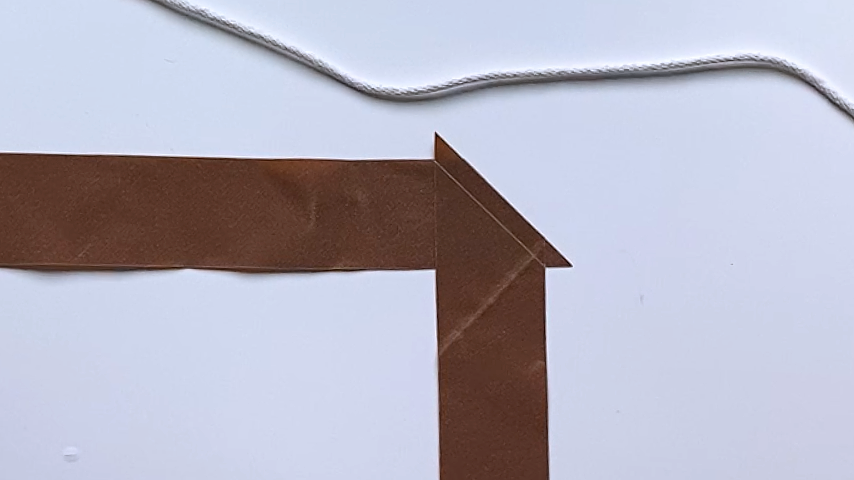
Then shift your top piece up or down so you have a small triangle showing from the bottom piece.
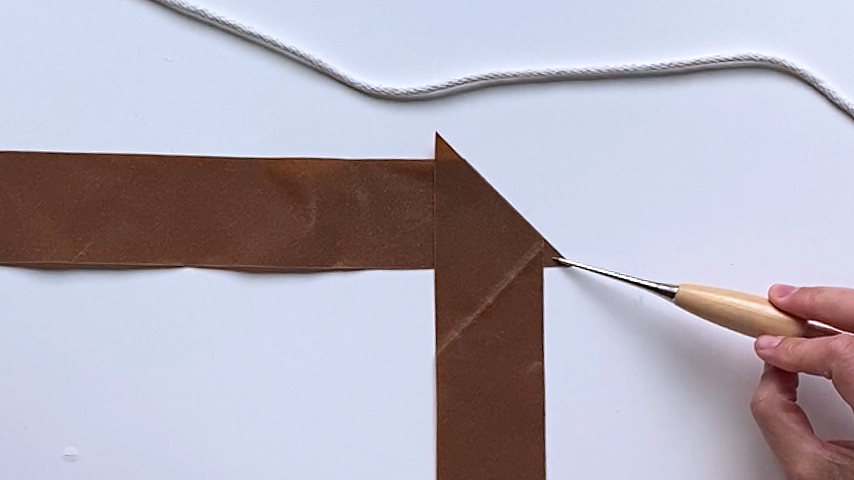
You’ll sew at a 45-degree angle, starting where the two pieces of fabric intersect and ending where they intersect.
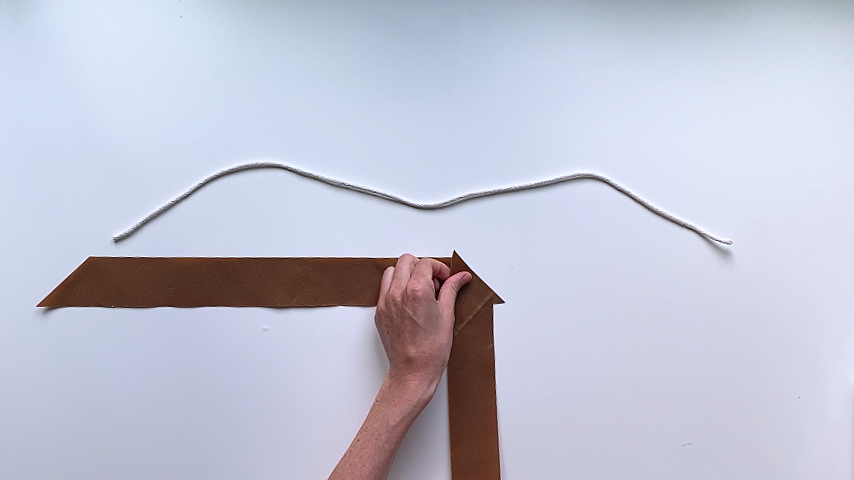
I use a short stitch length (e.g. 2.5mm) so the seam is tight and then I don’t worry about backstitching at the start and end.
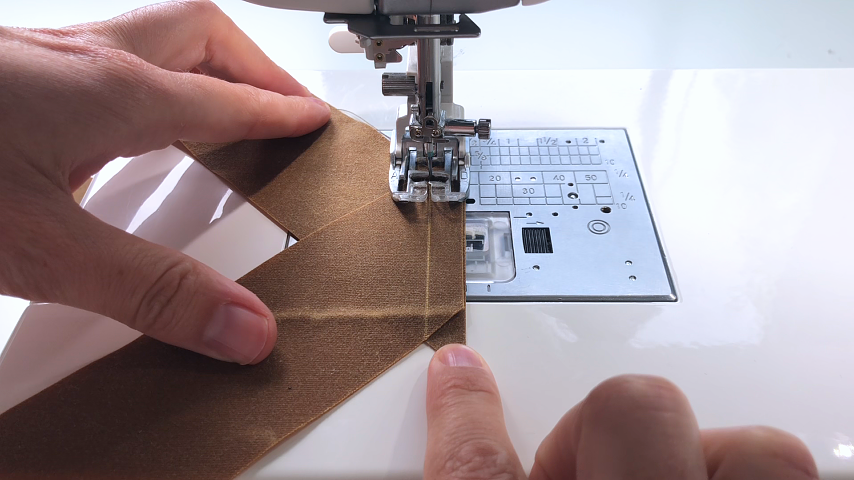
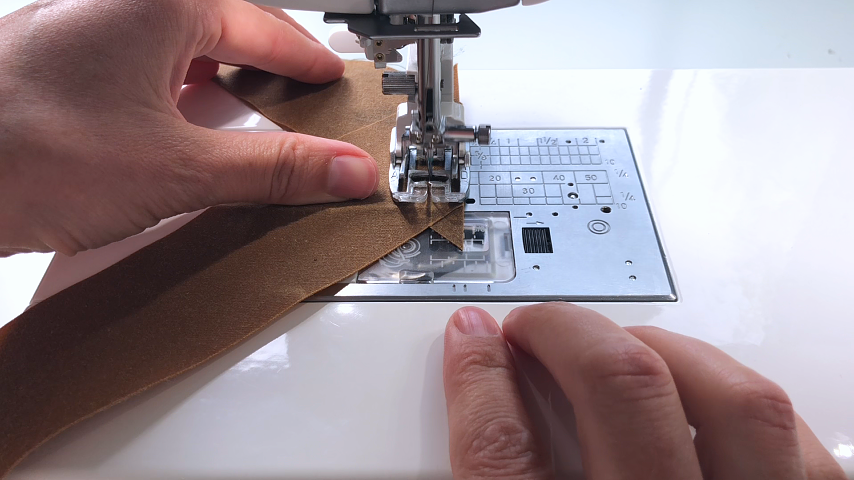
Press the seam open and cut off the two triangles of fabric that extend past the strip.

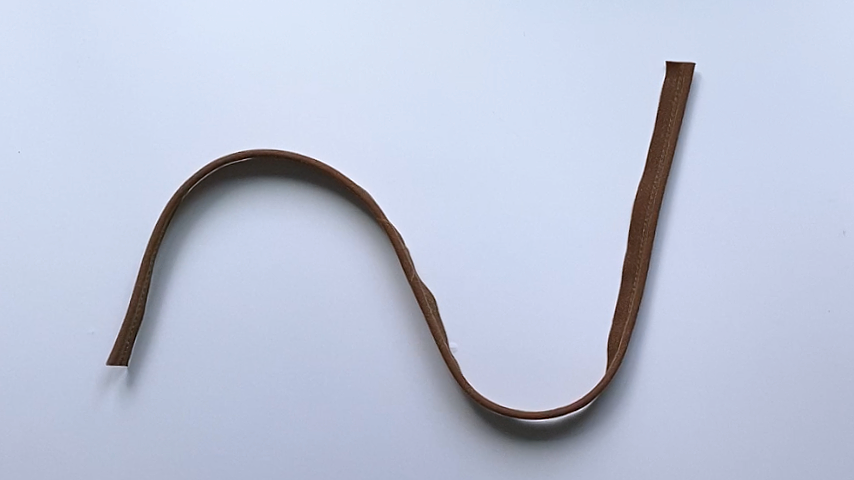
Step 3
Fold the strip over your cord, making sure the cut edges of the strip line up.
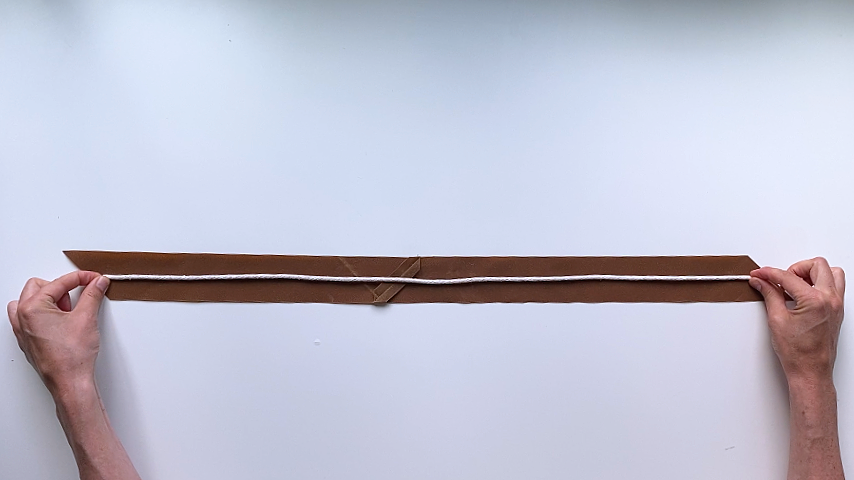
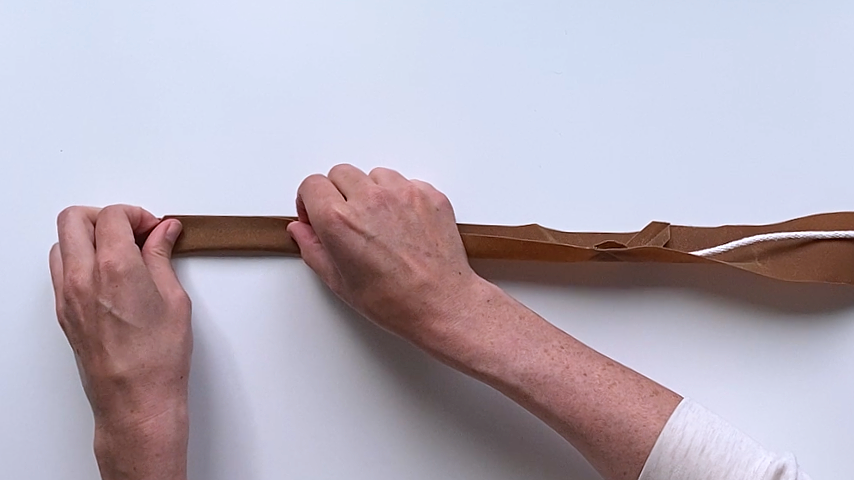
You can clip the edges of the fabric together if you like; I find it faster to just line it up as I sew.
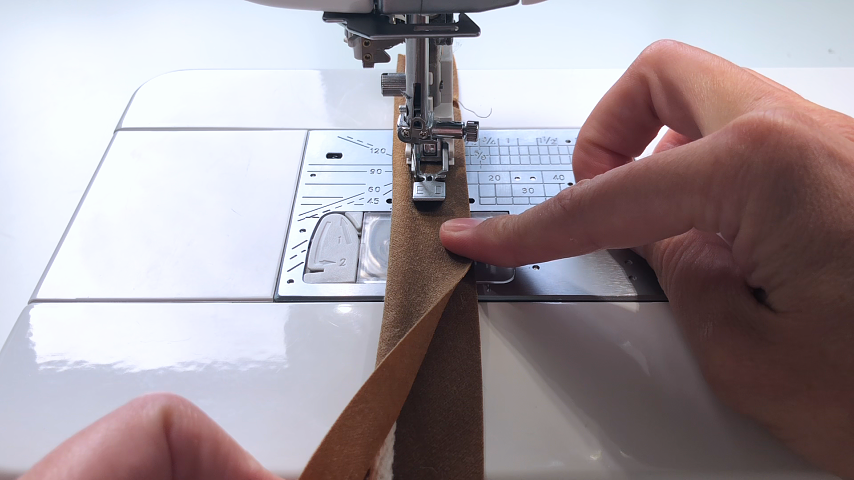
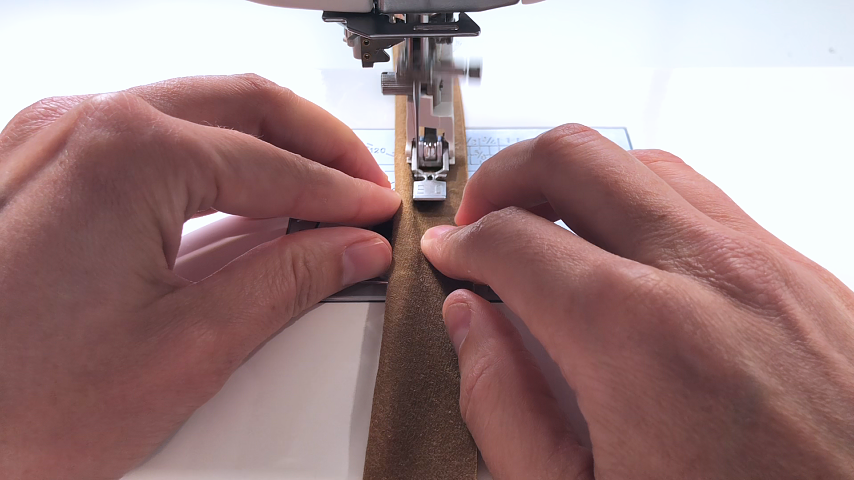
Use your zipper foot and position the needle to the left, so you can sew close to the cord. Alternatively, you can use a piping foot.
Make sure you’re using a thread that matches the fabric so that these basting stitches won’t stand out if they’re visible on your finished project.
Set your stitch length a little longer (3.5mm – 4mm) and sew next to the cording.
Step 4
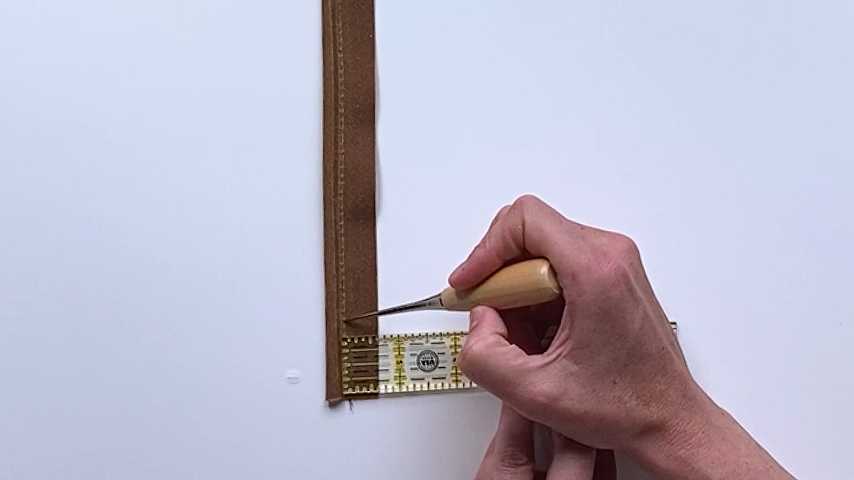
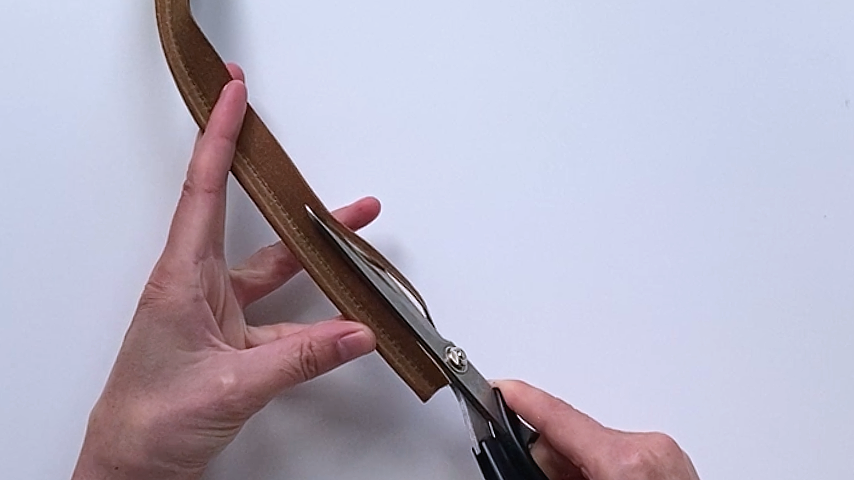
Check your seam allowance to ensure it’s the same width as your project.
As long as you stitched as close to the cord as possible, you can measure from your line of stitching to the cut edge of the fabric. That should be the width of your seam allowance.
The seam allowance for my project is 1/2″, so I need to cut off 1/8″.
Sewing piping into a project
Once your piping is done, you can add it to your sewing project.
You’ll again use a zipper foot with the needle position as far left as it will go, so you can sew as close to the cord as possible.
I like to baste the piping into place first, to ensure it looks even. However, you can skip this step and simply pin the piping into place and sew all 3 layers at once (top of project, piping, bottom/lining of project).
Take one of your fabric pieces (e.g. the top fabric), place it right side up, then place your piping on top with the cut/raw edges of the project and the piping lining up.
Check your seam allowance to be sure when you’re sewing at that width, your stitches will end up as close to the rope as possible. Cut down the seam allowance of the piping if needed.
This will be a basting stitch to hold the piping in place, so you can use a longer stitch (e.g. 4mm) and run the stitches within the seam allowance (e.g. if the seam allowance is 1/2”, you may use a 1/4” seam allowance when basting the piping on).
Once your piping is basted into place, you can add the second layer of the project, right sides together with the piping sandwiched between and raw edges lined up.
Clip the project’s edges together.
Sew all your layers together, sewing as close to the cording as possible.
When using a zipper foot (rather than a piping foot), I like to press the cord into my presser foot, to ensure I’m getting my stitching close to it.