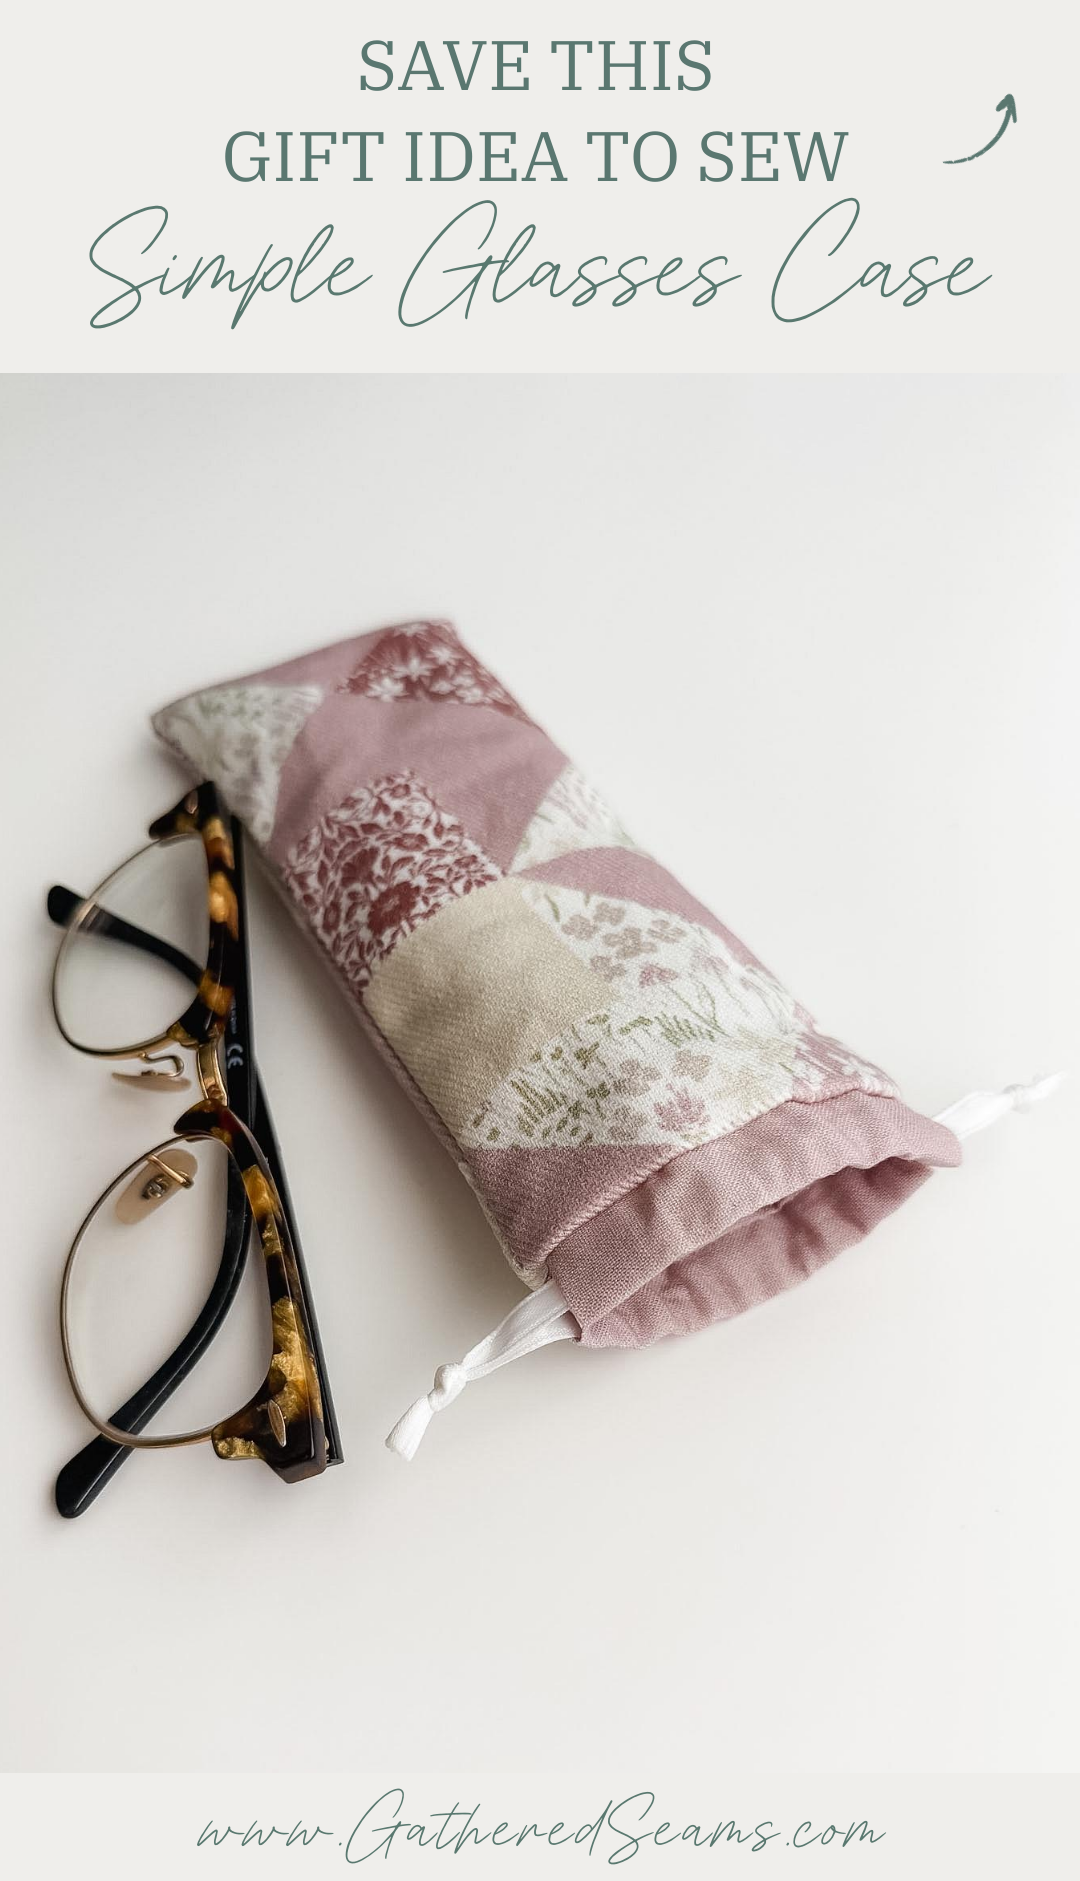
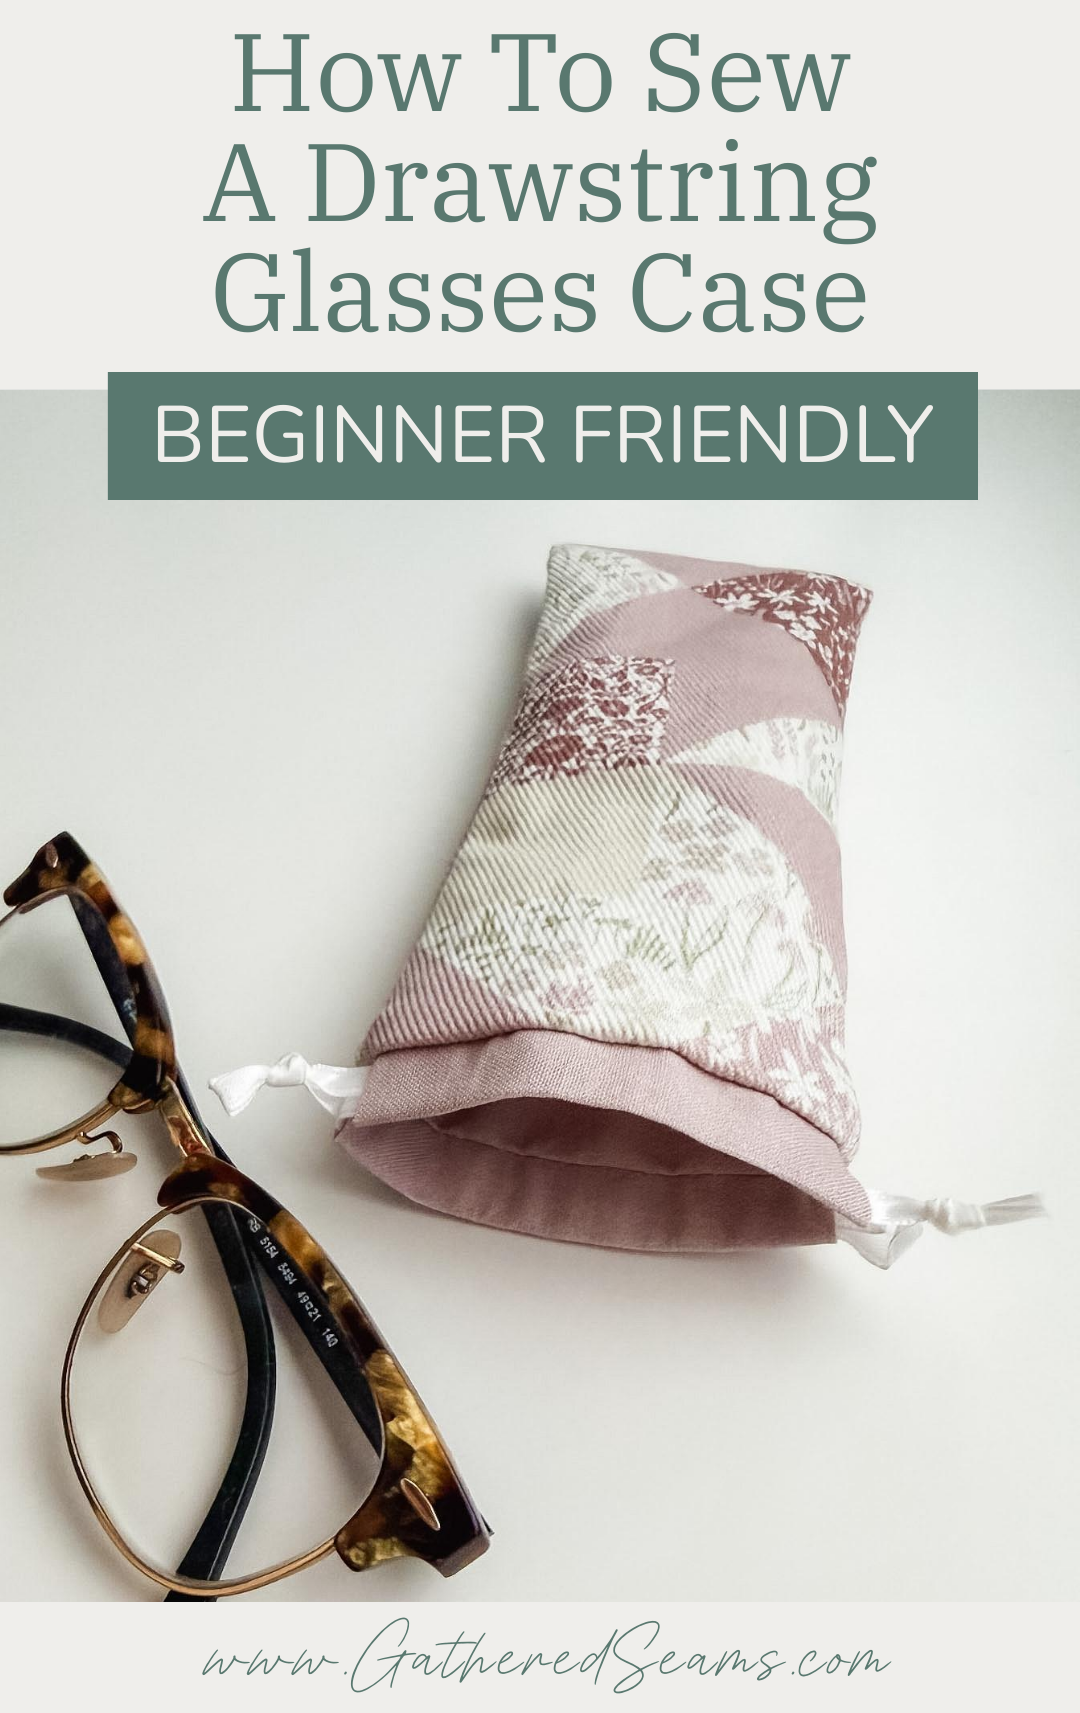
How To Sew A Drawstring Glasses Case (w/ lining)
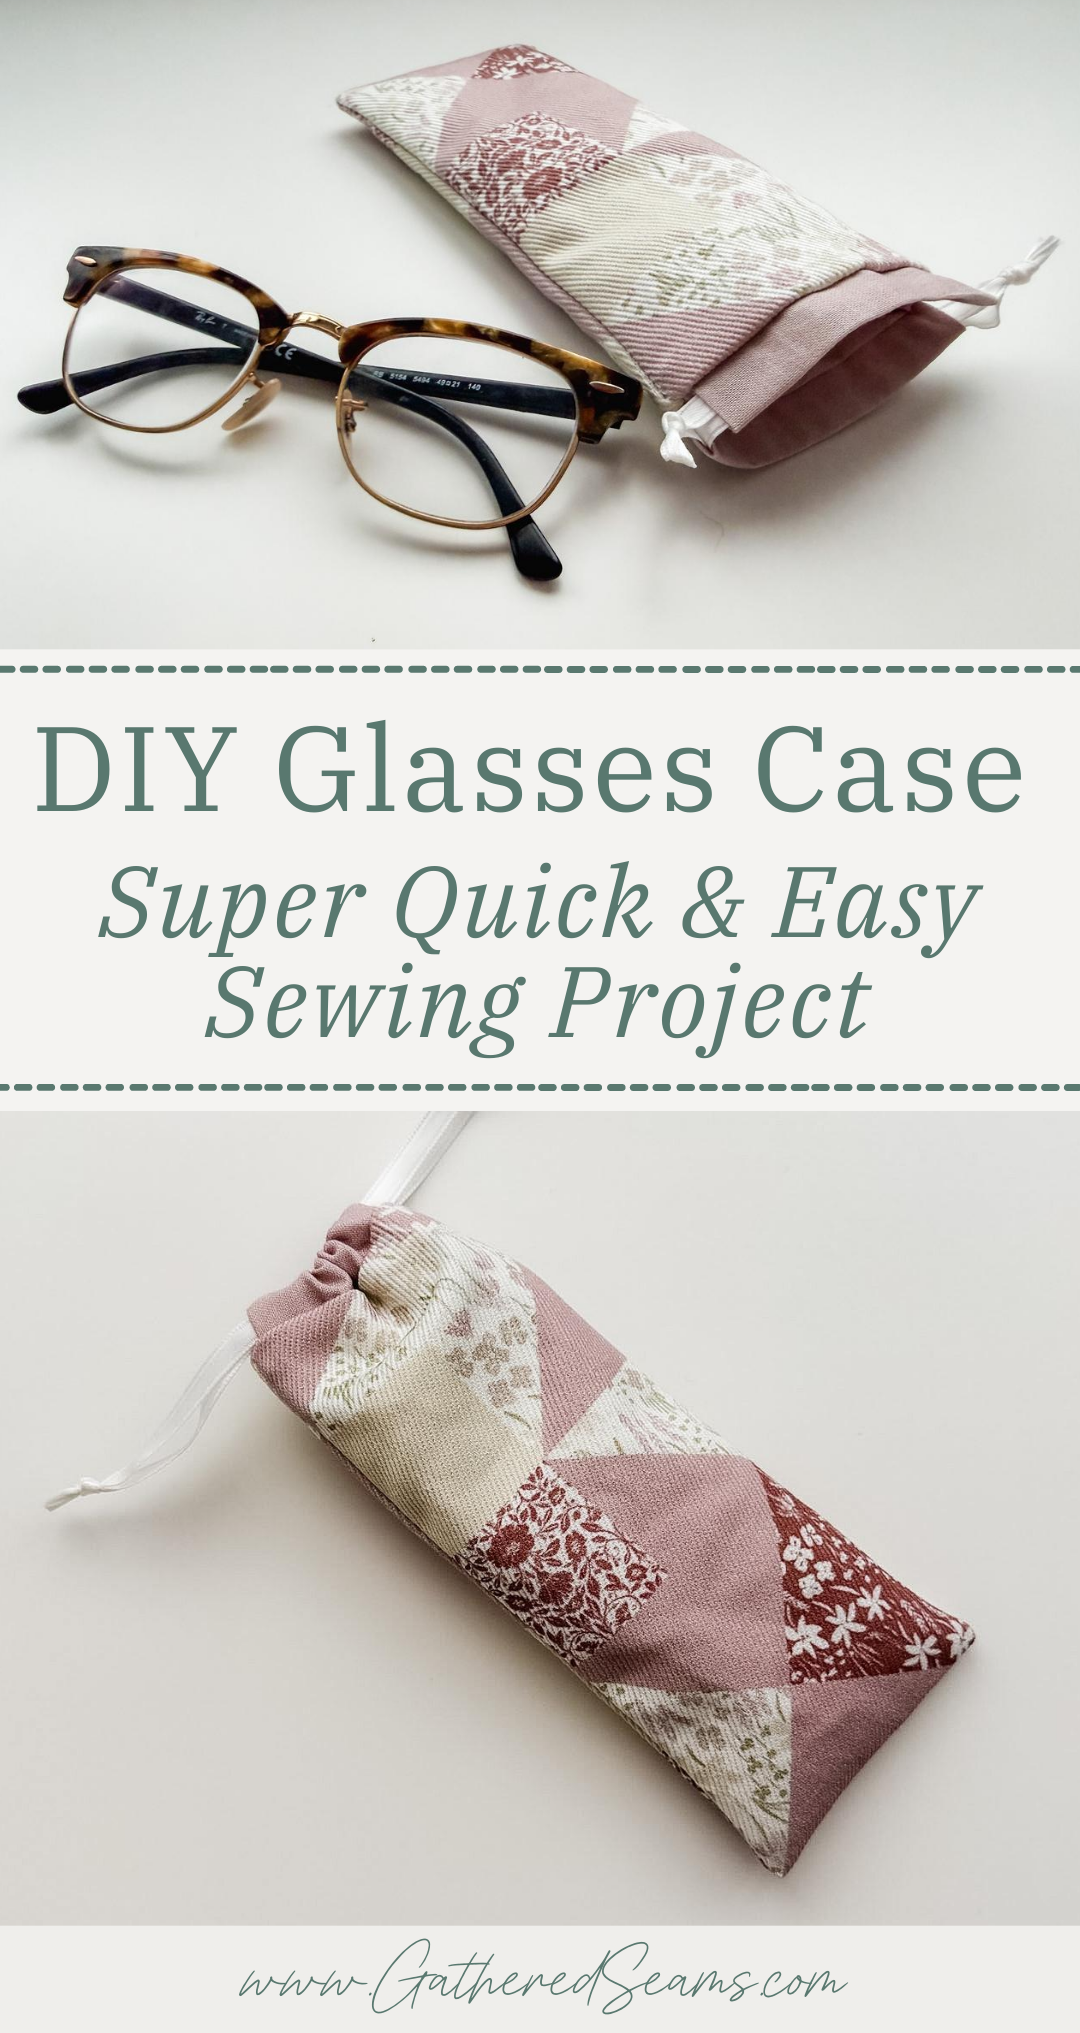
This is a really quick and easy sewing project that requires minimal materials.
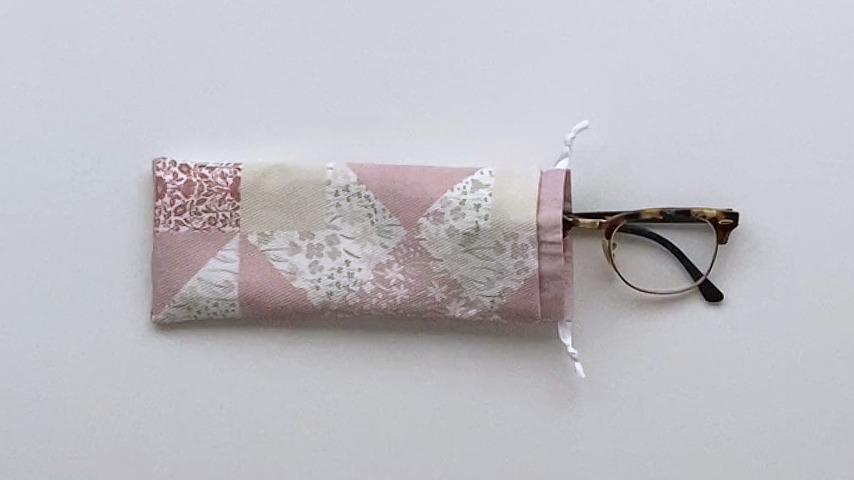
The drawstring case can be used to protect sunglasses or glasses from scratches when in a purse or bag. Add a layer of batting for even more protection.
The finished size is approximately 7-1/2″ x 4″.
However, you can make these cases bigger or smaller, depending on the size of sunglasses/glasses you need to fit in them.
It’s a practical item, so it makes a great gift. If you want a few other items to add to the gift, you could also make a:
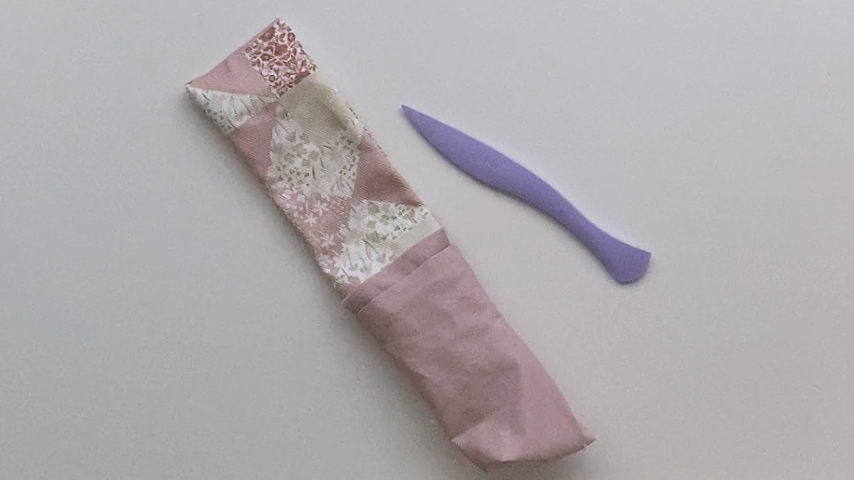
Materials
As an Amazon Associate, I earn from qualifying purchases (see full disclosure here).
- Outer material (I used a dogwood denim in a “cheater quilt” pattern, found here)
- Lining material (I used a quilting cotton, found here)
- 1/4″ wide ribbon (or cord)
- Thread
Tools
- Sewing machine
- Point turner (this is the one I use)
- Ruler
- Clips
- Temporary fabric marker (these are the ones I use)
- Scissors
- Iron
- Safety pin
Steps to sew a drawstring glasses case
Step 1
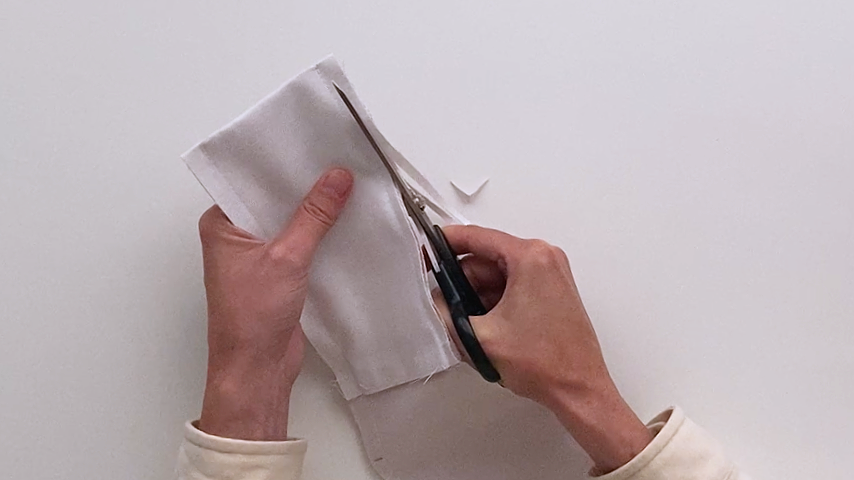
Cut out your fabric:
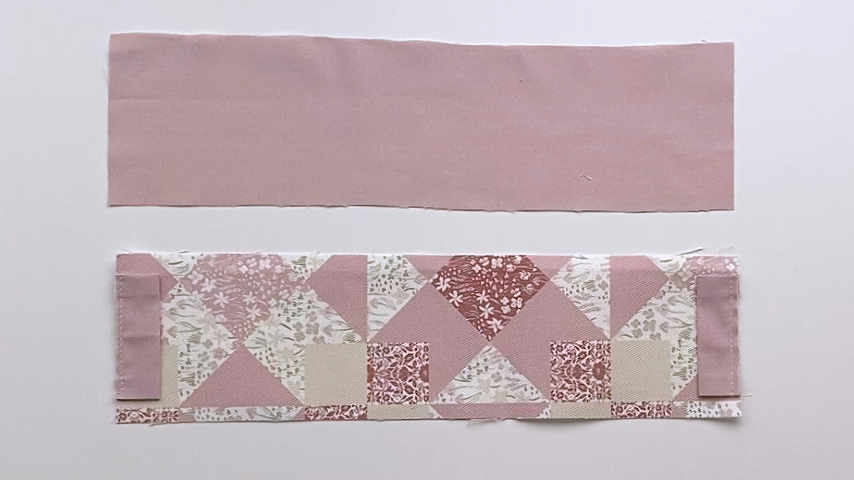
- 5″ x 15″ in outer fabric
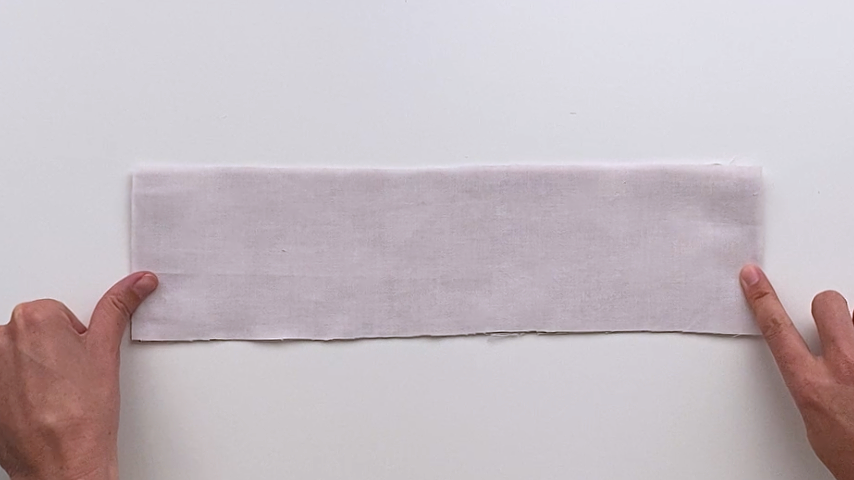
- 5″ x 15″ in lining fabric
- 4-1/2″ x 2″ (in either fabric) tabs for drawstring loop
You will also need:
- 2 pieces of 1/4″ wide ribbon cut to 14″ long
Step 2
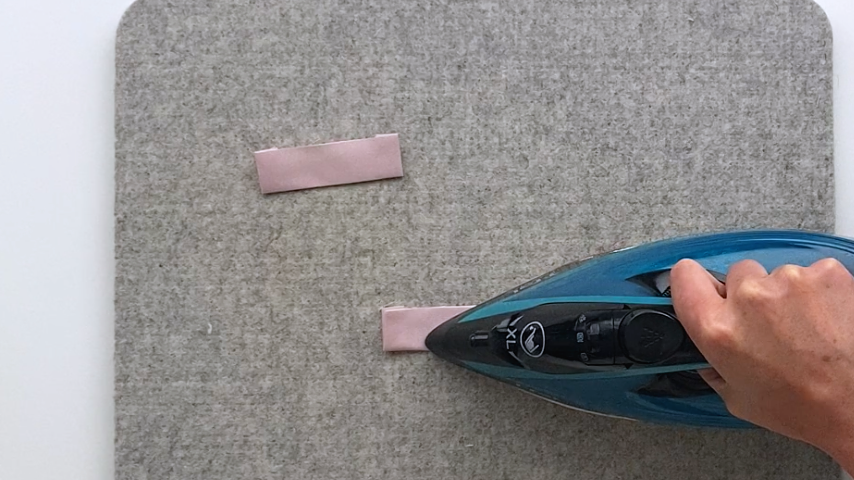
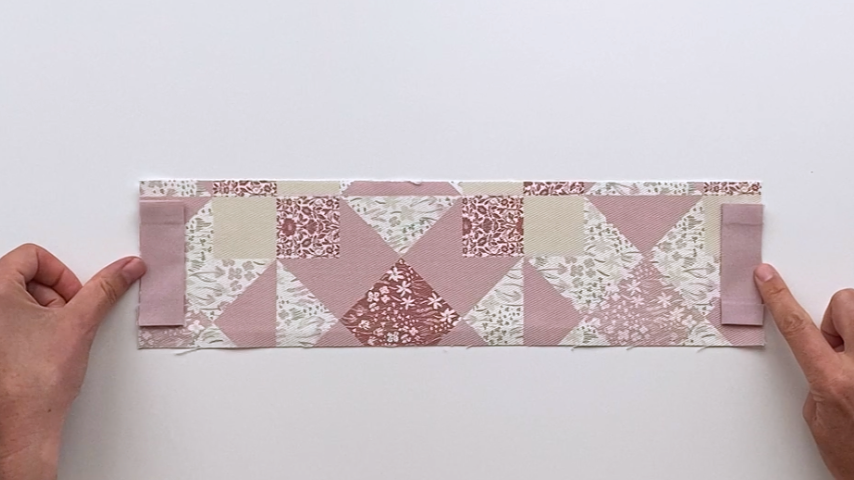
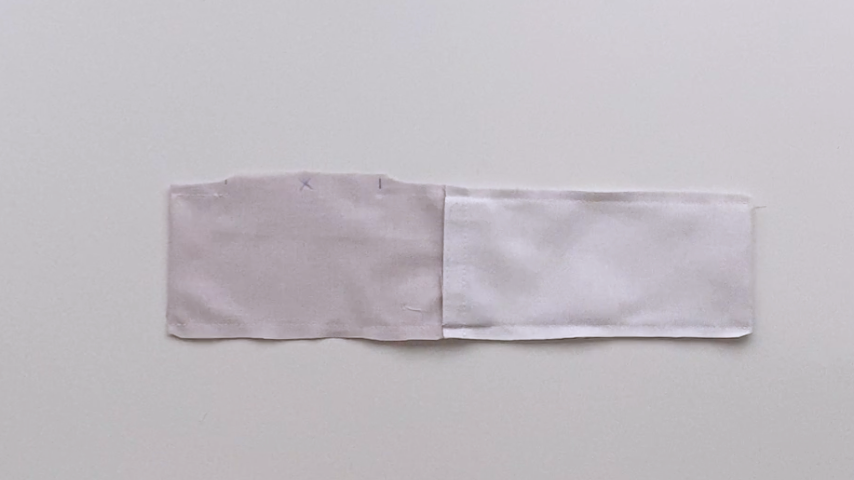
Fold the ends of your tabs in by about 1/2″ and press into place.
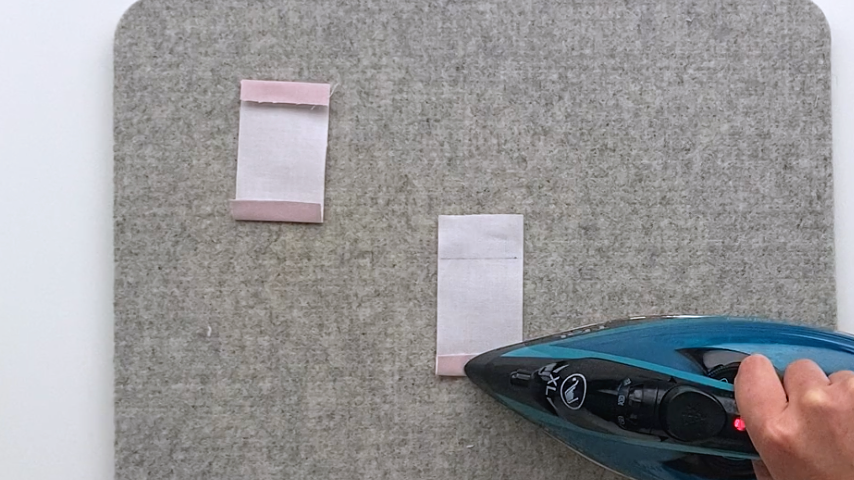
Then fold the tabs in half lengthwise (so the longer edges are together) and press.
Center the tabs on the two ends of the outer piece of fabric (right side), lining up the cut edges.
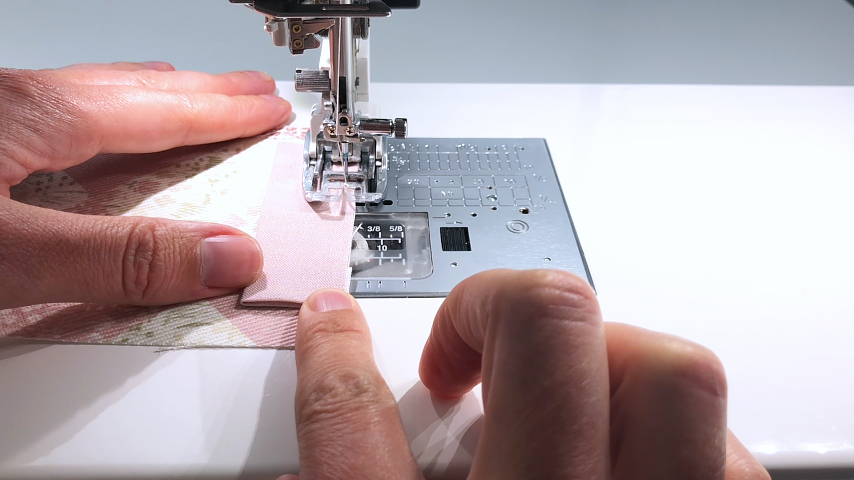
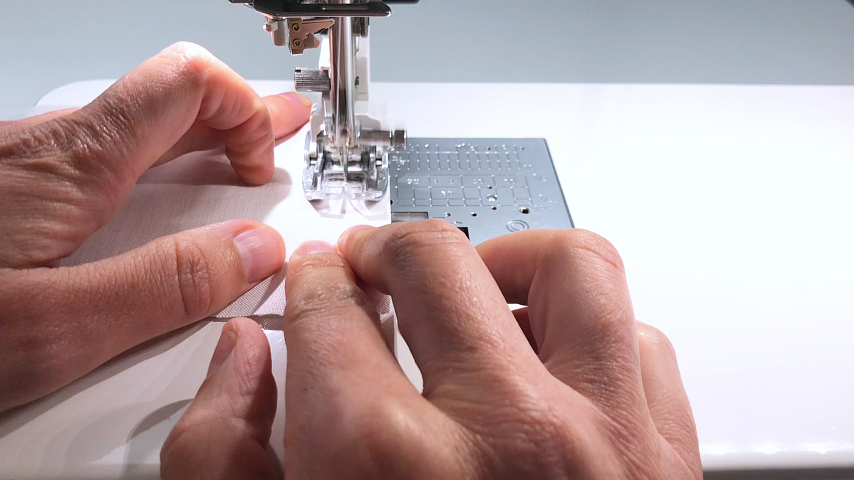
Baste the tabs into place.
Step 3
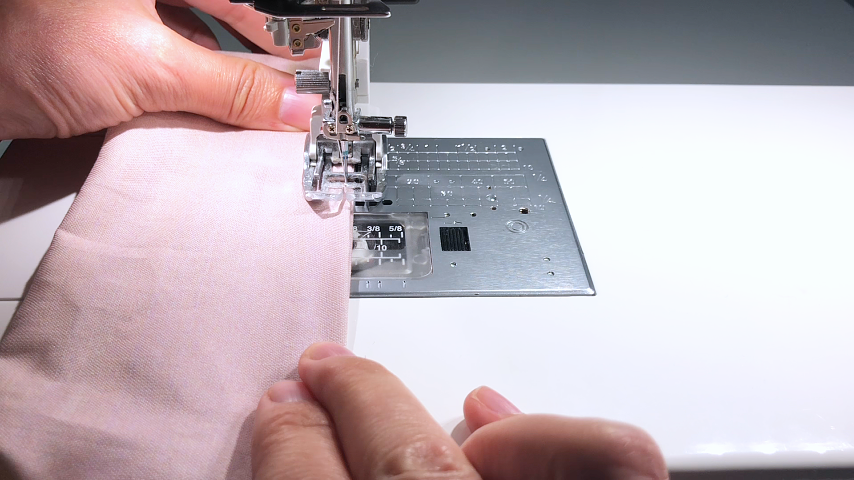
Place the lining right side together with the outer fabric and using a 1/2″ seam allowance, sew along the two ends.
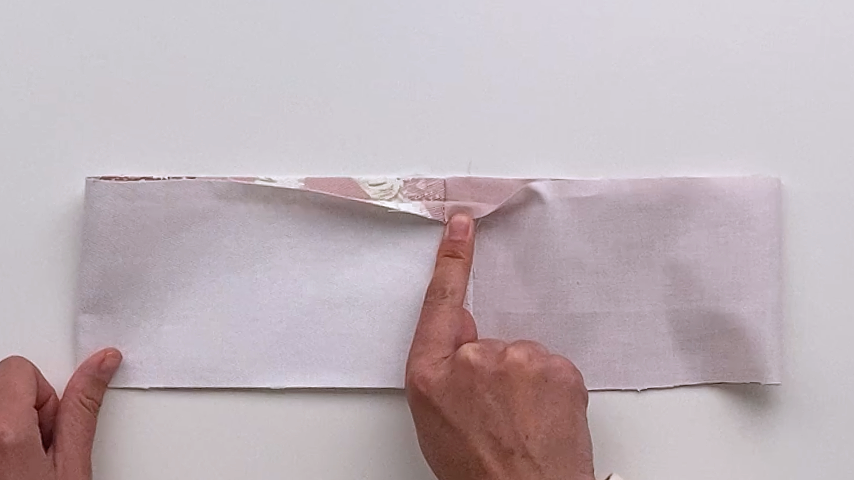
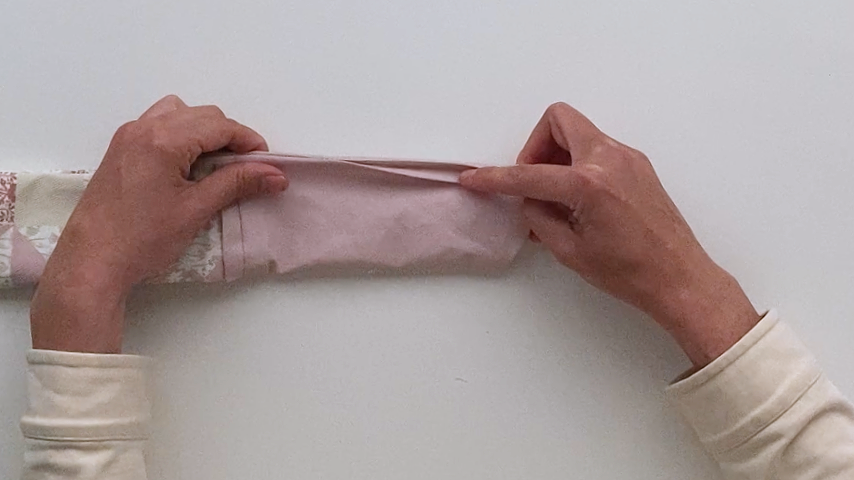
Fold the big loop of fabric so that the top seams line up at the edges. Clip into place.
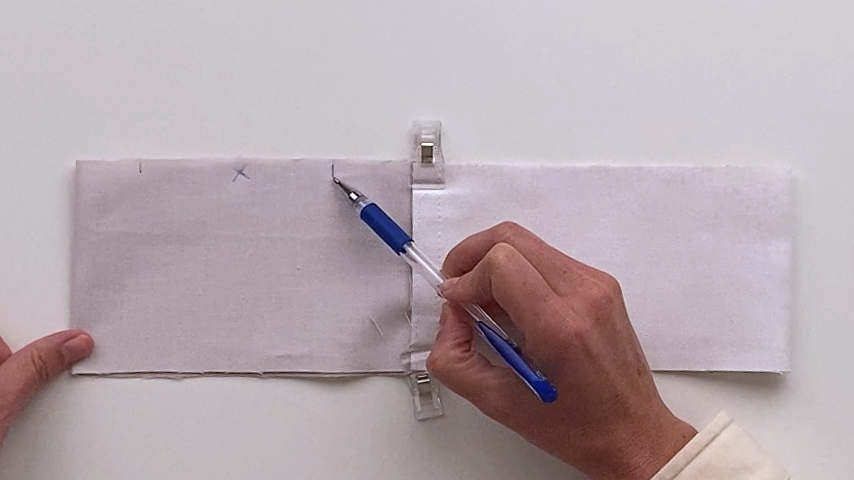
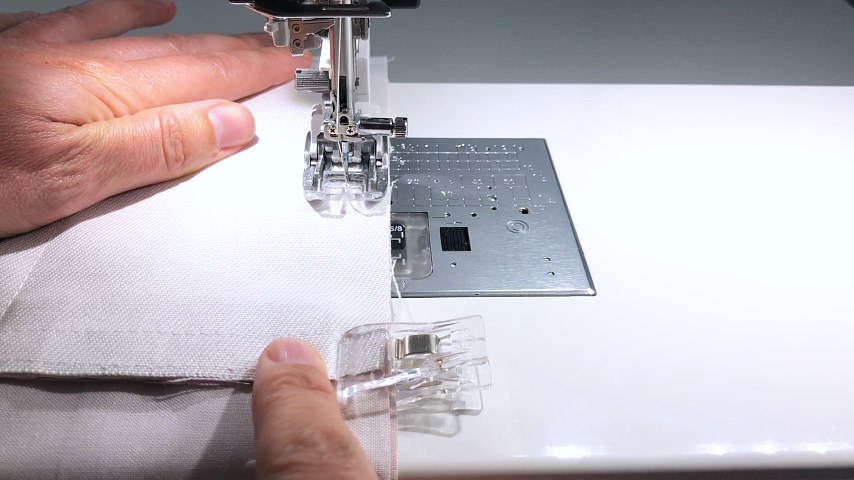
Use a temporary fabric pen to mark 2 lines about 4″ apart along one side of the lining. You won’t sew between these lines, which will leave an opening you can turn the pouch right side out.
Using a 1/2″ seam allowance, sew the side seams closed.
Step 4
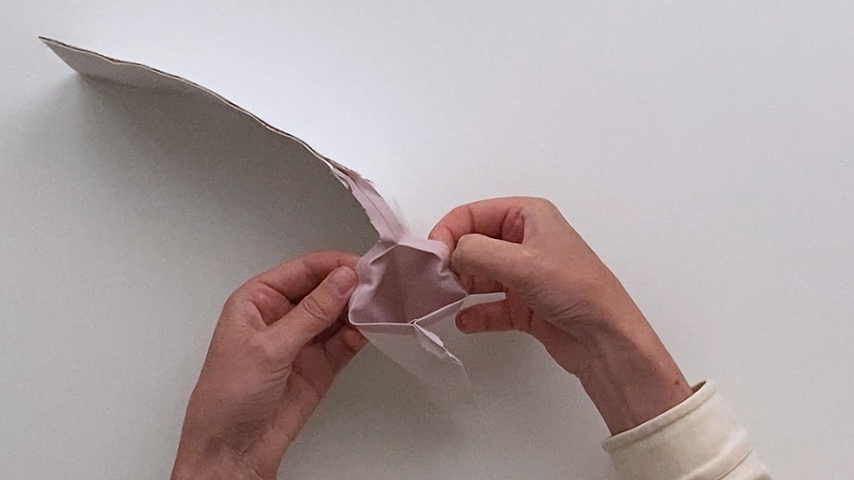
Trim the seam allowance in half, leaving the full seam allowance in place where the opening is. Clip the corners at an angle, being careful not to cut too close to the stitching.
Press the seam allowance back where the opening is.
Use the opening to turn the pouch right side out. Then use a point turner to push out the corners of the outer part of the case.
Sew the opening closed by stitching close to the edge of the fabric.
Step 5
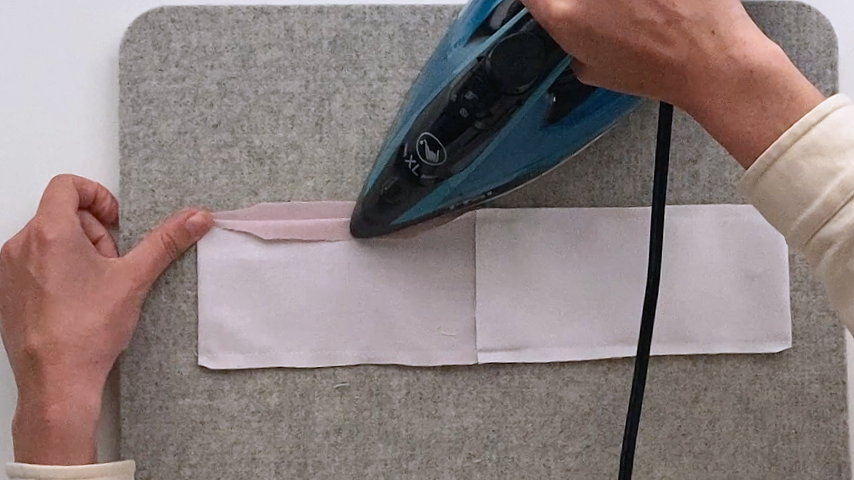
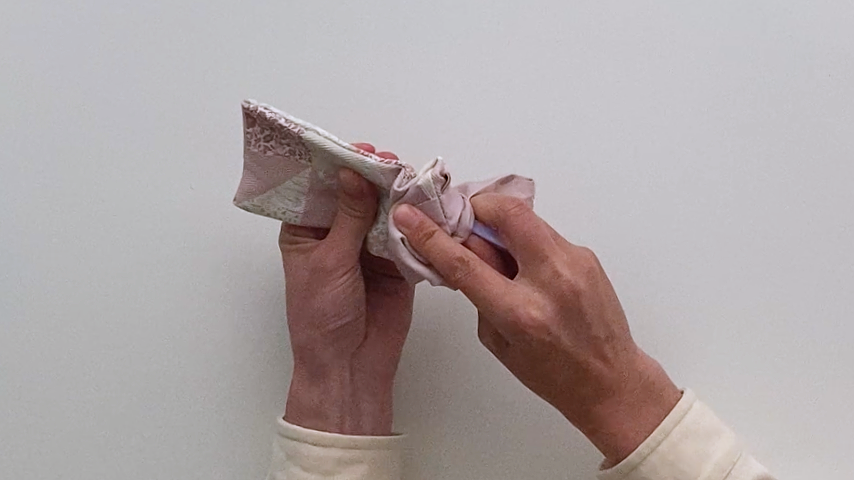
Push the lining into the outer part of the glasses case. Use a point turner to make sure the corners of the lining get pushed all the way into the corners of the outer bag.
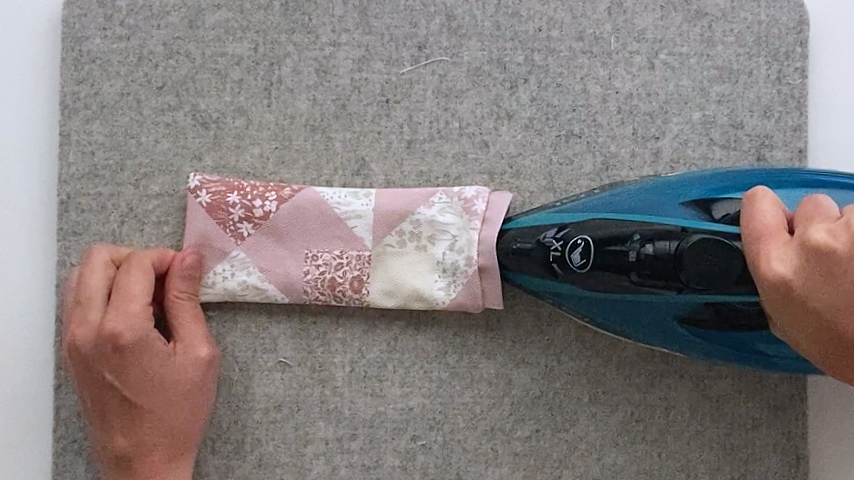
Use the tip of the iron to press the top seam around the glasses case.
Use a safety pin to thread the ribbon through the top tubes of fabric.
It can be finicky to get the safety pin out the other side, and not stuck behind the fold. Try to separate the two sides of the tube by pressing down on the top fold of it, so you can see the safety pin and thread it back out.
You thread the ribbon in the top left side of the tube, out the other side, then back through the bottom tube on the right side.
Tie the ends in a knot, then thread the other piece of ribbon going in the opposite direction. Tie those ends in a knot.
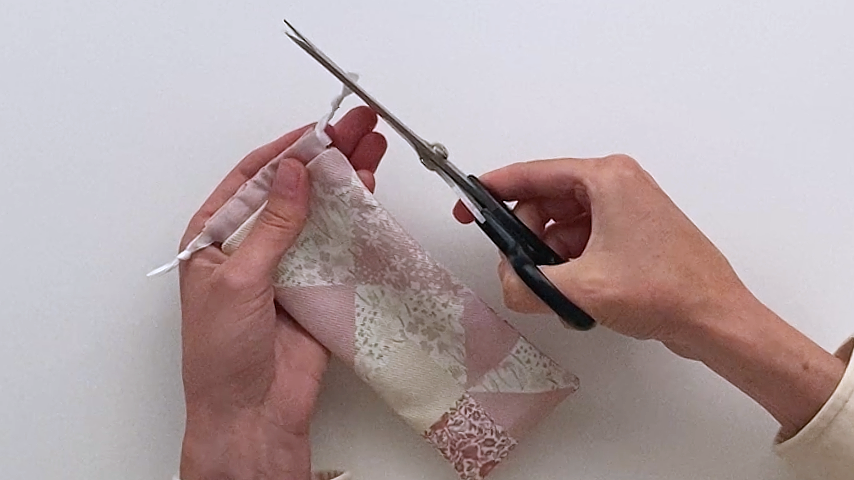
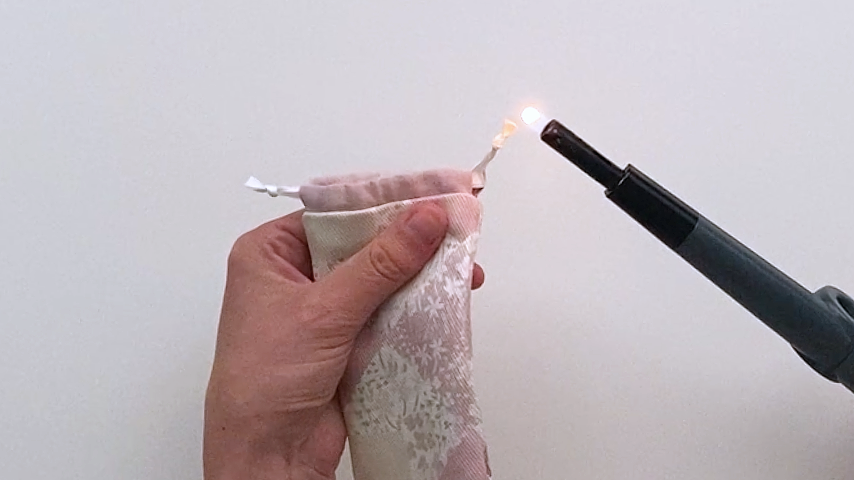
Cut the excess ribbon off the ends. If your ribbon will fray, you can use fray-stop on the cut ends. Or if the ribbon is polyester, you can carefully use a lighter to melt the cut ends, which will prevent them from fraying.
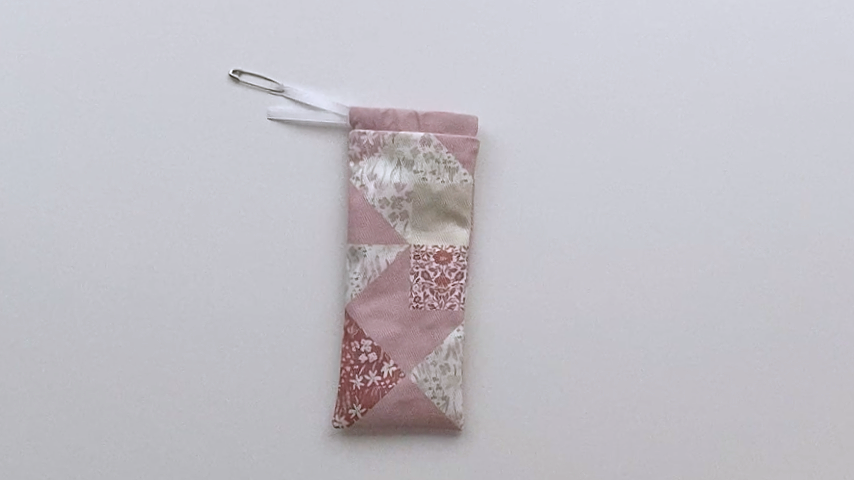
Your glasses case is complete!