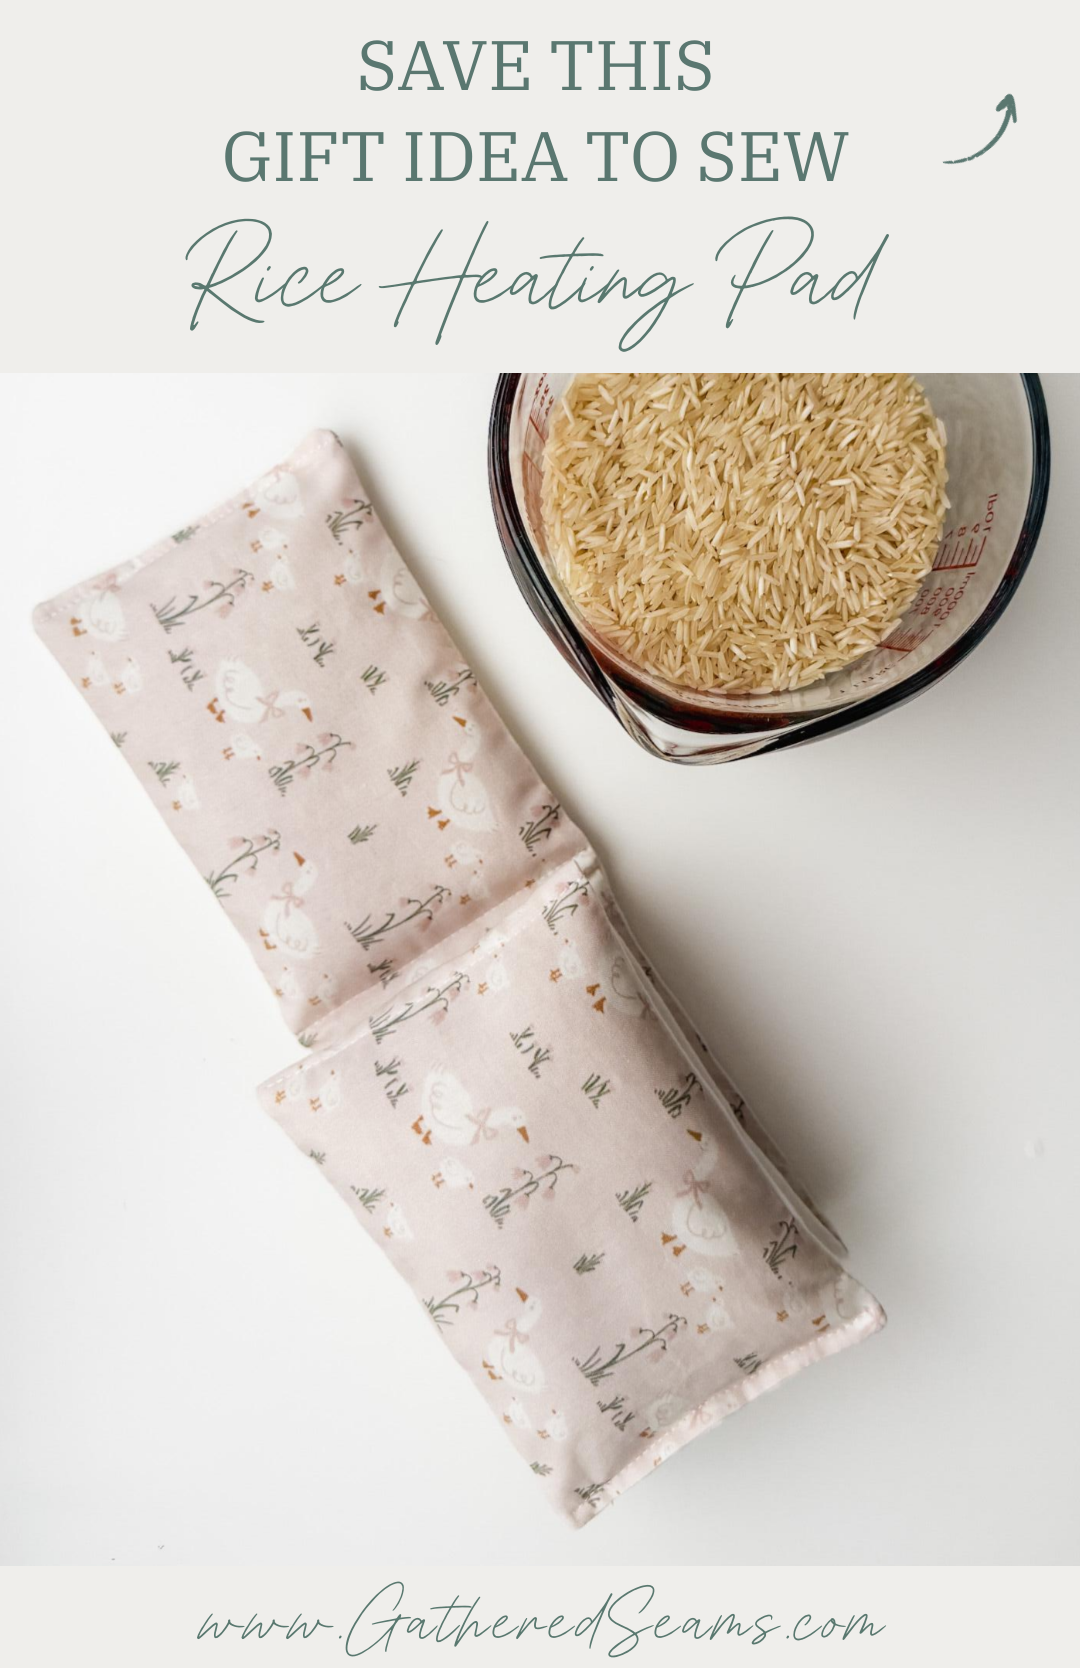
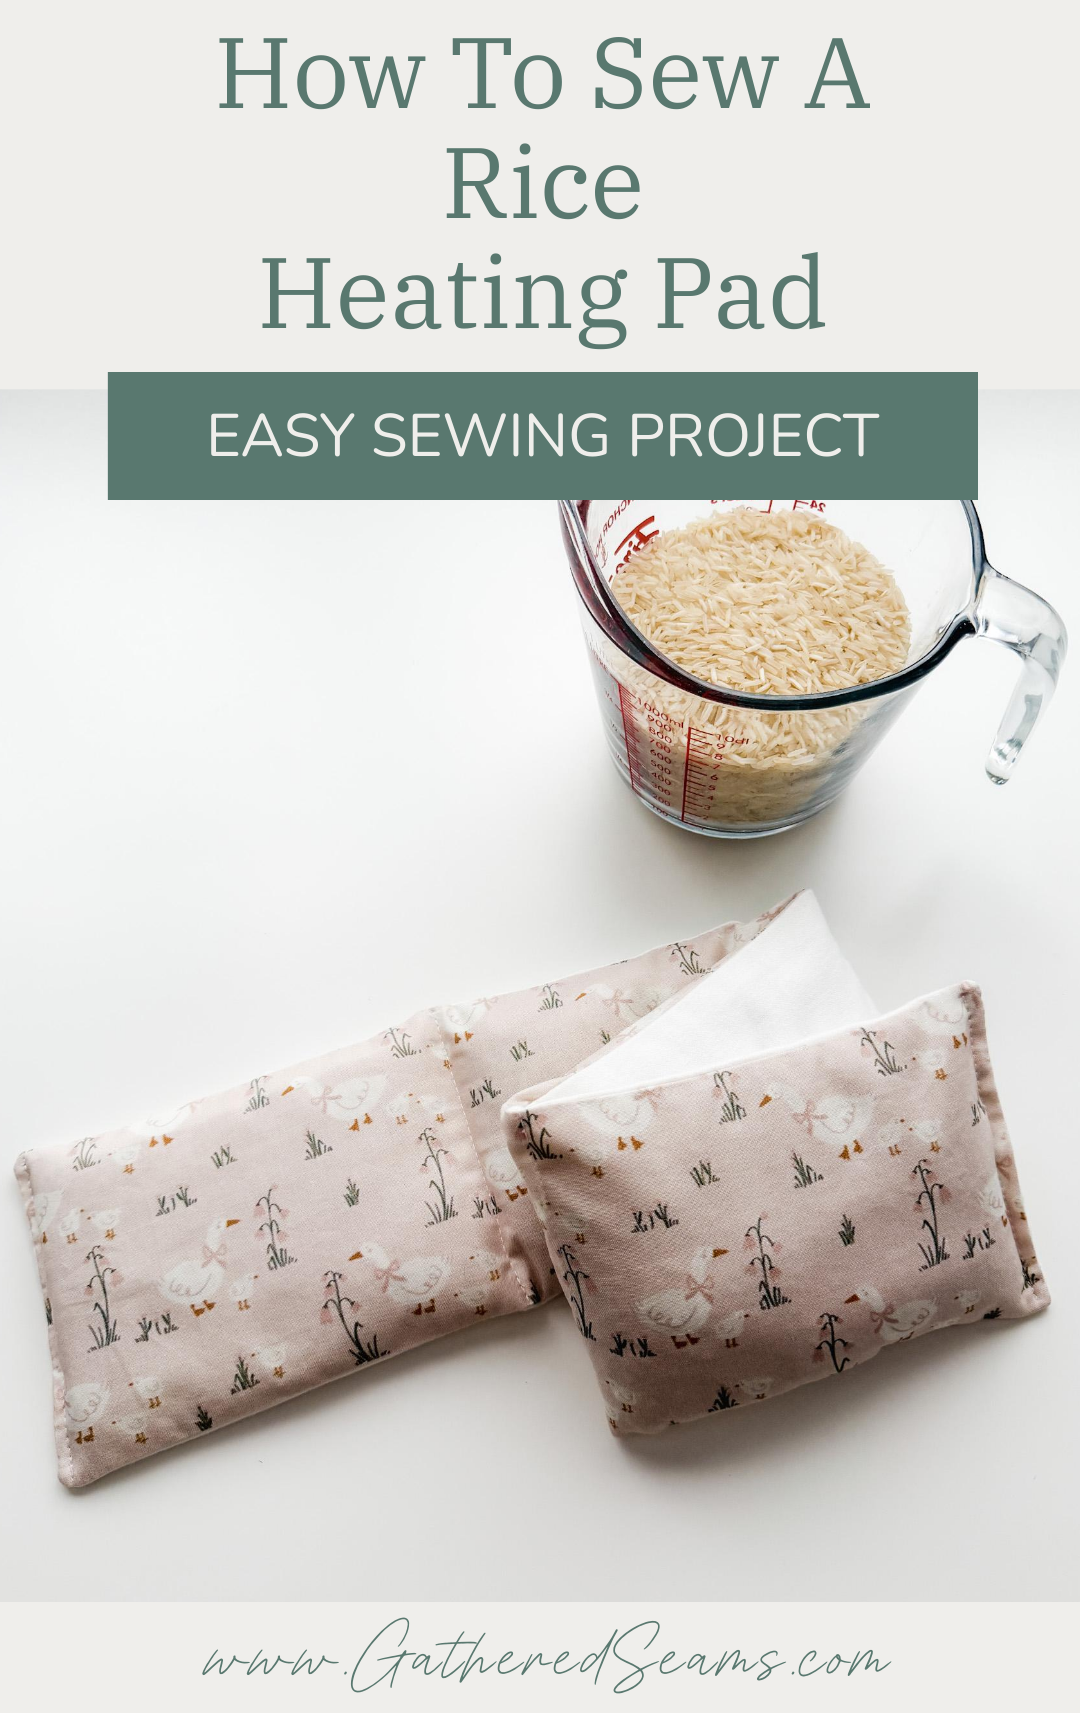
How To Sew a Rice Heating Bag | No Pattern Needed
Rice heating bags make a great gift or item to sell at craft fairs. They’re also quick and easy to sew, so they’re a good project for beginners, when you need a last-minute gift, or for a profitable item to sell.
I actually started my handmade business after sewing a pair of flannel pyjama bottoms and a matching rice heating bag to give as a gift to my friend. I also made a matching drawstring bag for both items to fit in.
My friend loved the gift, and everyone who saw it told me I should sell them. Shortly after, I signed up for my first craft show.
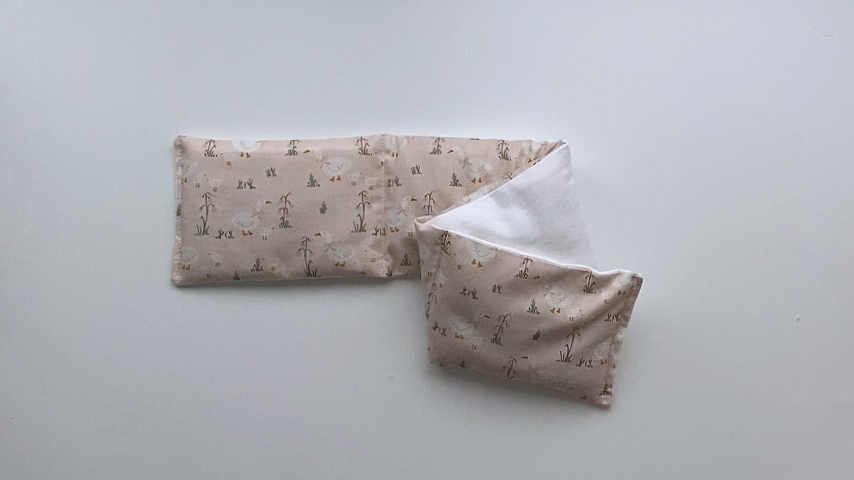
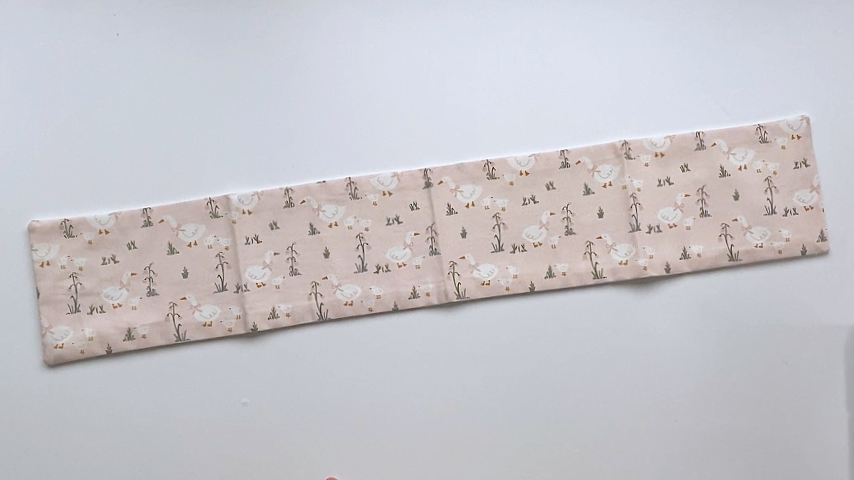
This rice heating pad is designed to wrap around the neck/shoulders and finished is 28” x 5”.
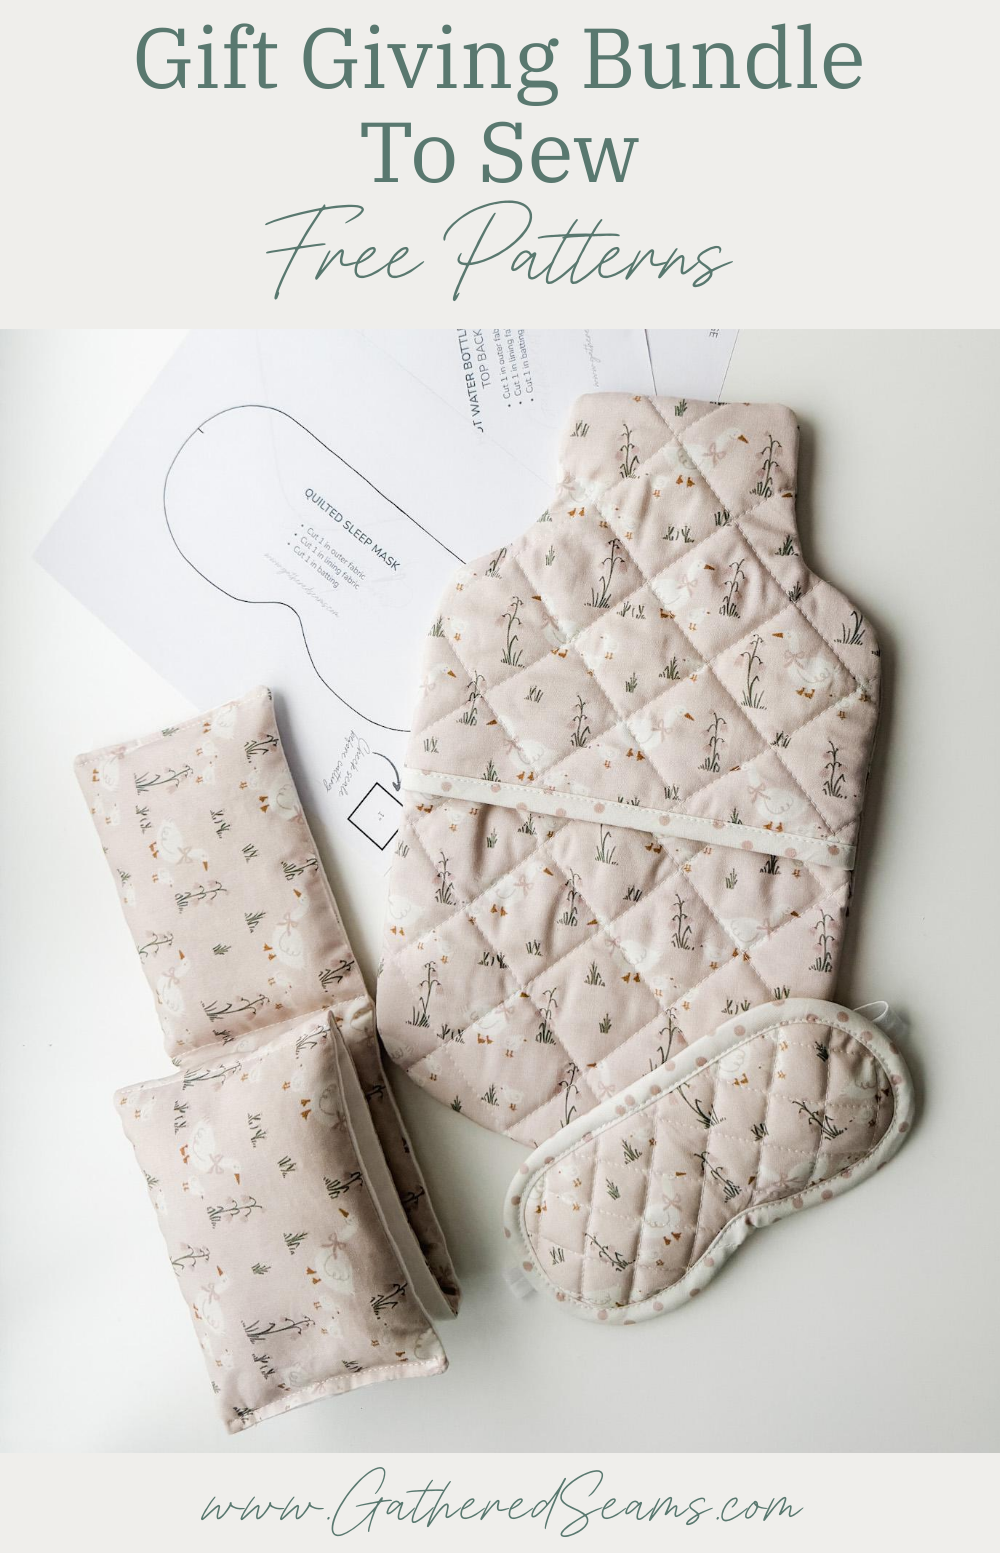
Gift Giving Ideas
You may want to bundle a couple of items together to create a gift set. Here are a few other items you can sew and bundle with a rice heating pad:
- Microwavable foot warmers
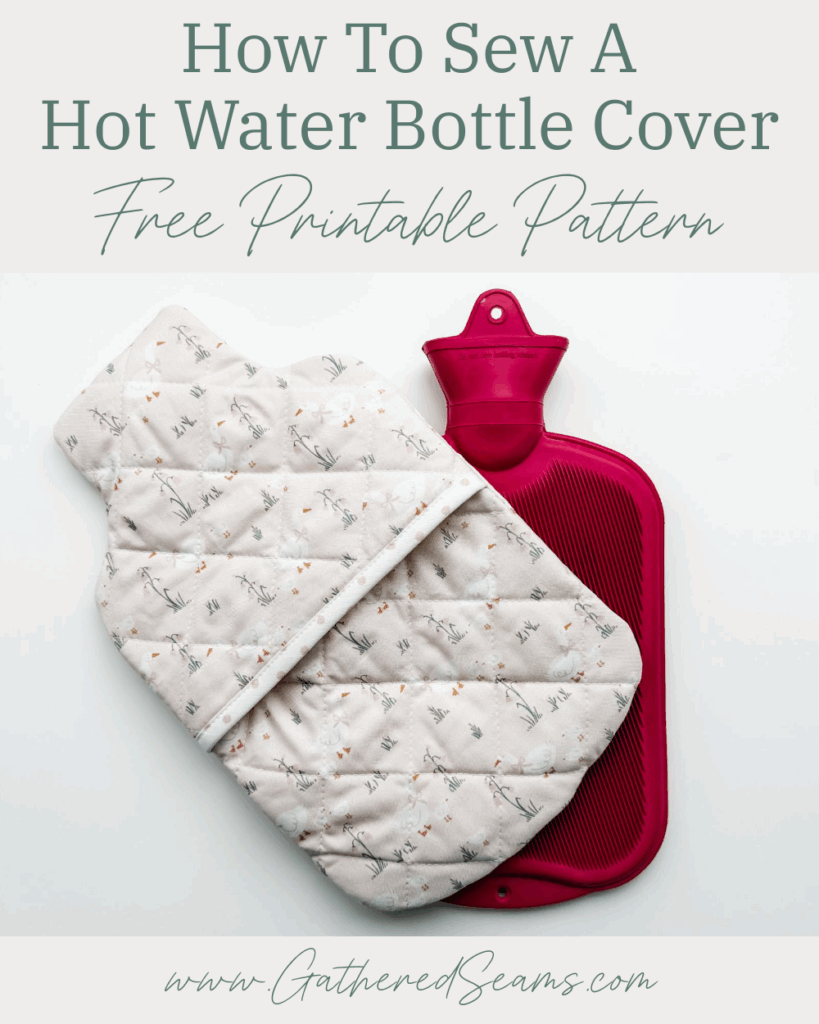
- Hot water bottle cover
- Lavender eye mask
- Sleep mask
- Neck pillow
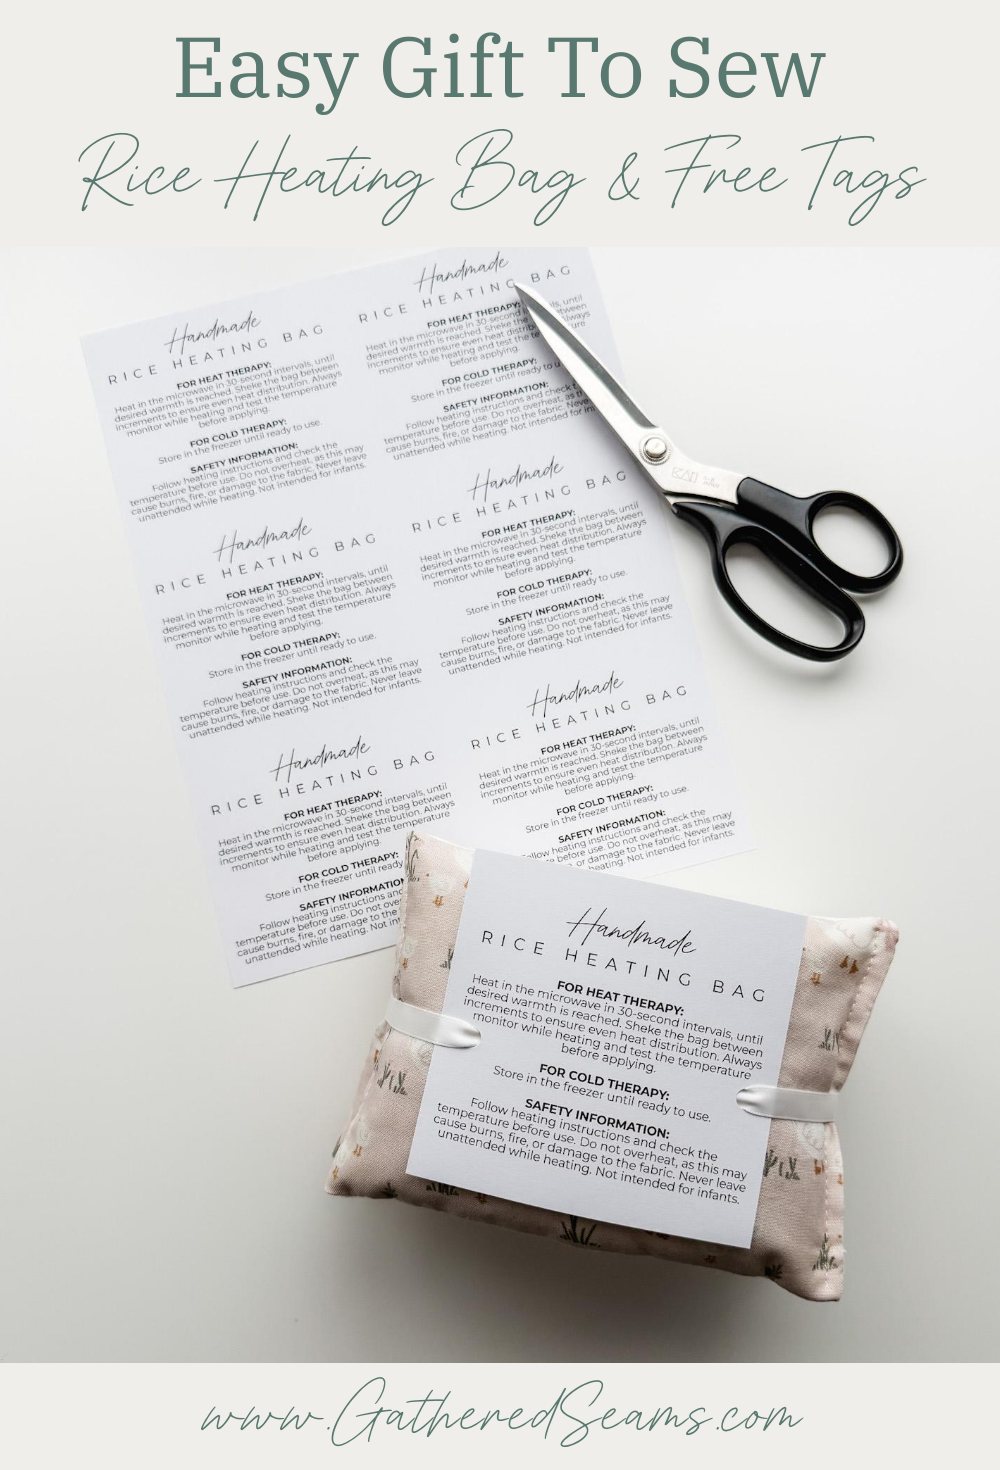
Printable Tag
You can also print the free tags to go with rice heating bag, which has instructions to heat the bag, and to use it for cold therapy.

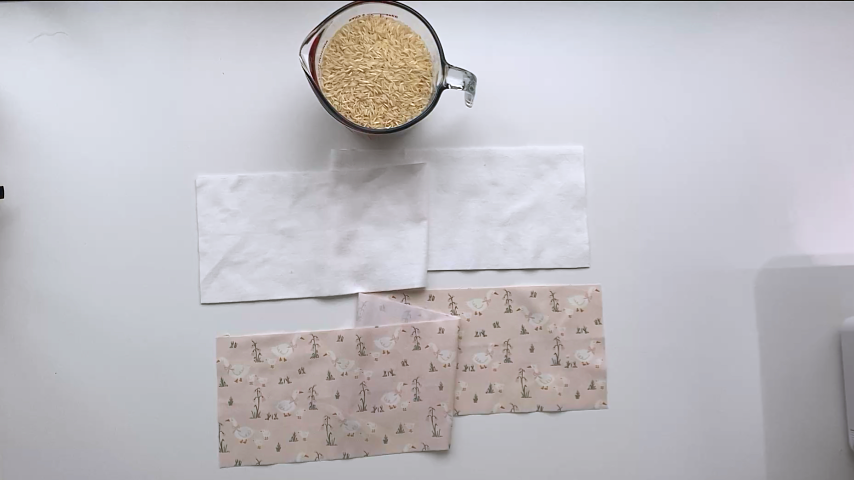
Materials
As an Amazon Associate, I earn from qualifying purchases (see full disclosure here).
- 100% cotton fabric
- 100% cotton thread
- Filler
- Essential oils (optional)
*For this heating pad to be microwave safe, all materials must be 100% cotton.
Filler options
I’ve always used rice for the filling of my heating bags, but here are some other options, depending on availability, cost, and purpose.
Rice
Rice holds heat well, is easy to find, and creates a soft, flexible heating bag that molds comfortably to the body.
Flaxseed
Flaxseed produces moist heat and retains warmth longer than many other fillers. It’s also ideal for creating a cold pack because it retains cold well. Make sure you buy the whole seed (like this product), not ground flaxseed/flaxseed meal.
Whole dry feed corn (not popping corn)
Corn kernels hold heat for a long time and create a slightly heavier heating bag. They’re durable and often less dusty than some grain fillers.
Cherry Pits
Cherry pits heat evenly and keep warmth for an extended period. They also create a gentle massaging texture and are naturally resistant to moisture buildup.
Wheat Berries
Wheat is another popular option because it heats evenly.
Barley
These grains create a softer, more flexible bag and provide gentle heat.
Dried Beans or Peas
Beans and peas add extra weight, which some people prefer for pressure relief on sore muscles. They also retain heat reasonably well.
Walnut Shells or Crushed Corn Cob
These fillers are lightweight and heat quickly. They’re commonly used in therapy packs because they conform closely to the body.
Tools
- Sewing machine
- Clips or pins
- Temporary fabric marker (these are the ones I use)
- Point turner
- Ruler
- Scissors
- Funnel
Steps to sew a rice heating pad
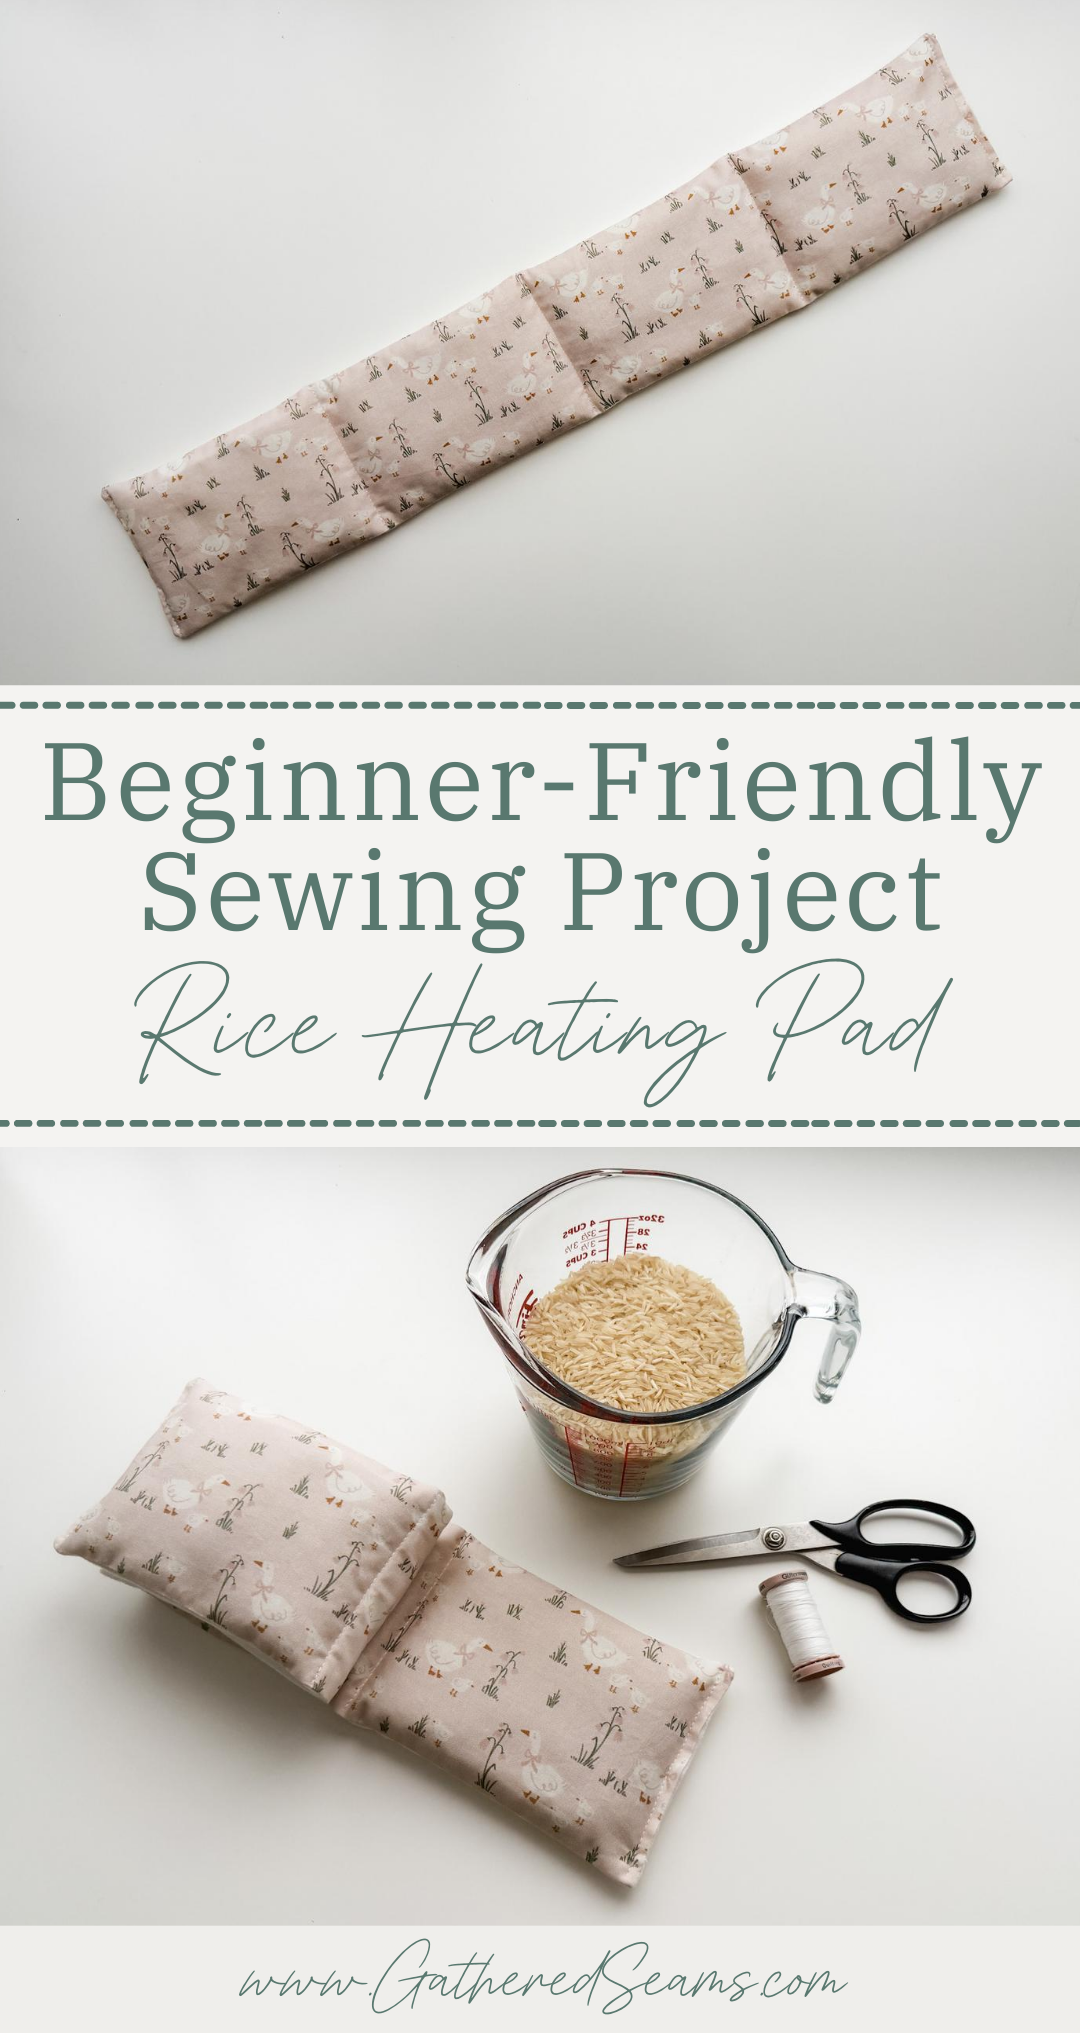
Step 1
Cut out your pattern pieces. You can make these rice heating pads any size you like; smaller for hand warmers, medium size for a pad that can sit on the lap or stomach, or larger to cover more of the back and shoulders.
To create one the same size as mine, you’ll need to cut:
- 2 pieces of 100% cotton fabric that are 6” x 29”
I used a quilting cotton for the top and a cotton flannel for the bottom, as I wanted a softer material for the side that will touch the skin.
I also decided to use two layers of cotton flannel to create a thicker barrier between the rice and the skin and to add some plushness. I treated these two layers as one when sewing the heating bag.
And for this size, you’ll need:
- 6 cups of rice (or alternative filling)
Optional
If you want to create a scented heating bag, you can add 3 – 6 drops of essential oils per cup of filler.
Add a few drops, then stir the essential oil in. You don’t want too much oil in one area or it can create a hot spot that can scorch in the microwave.
Step 2
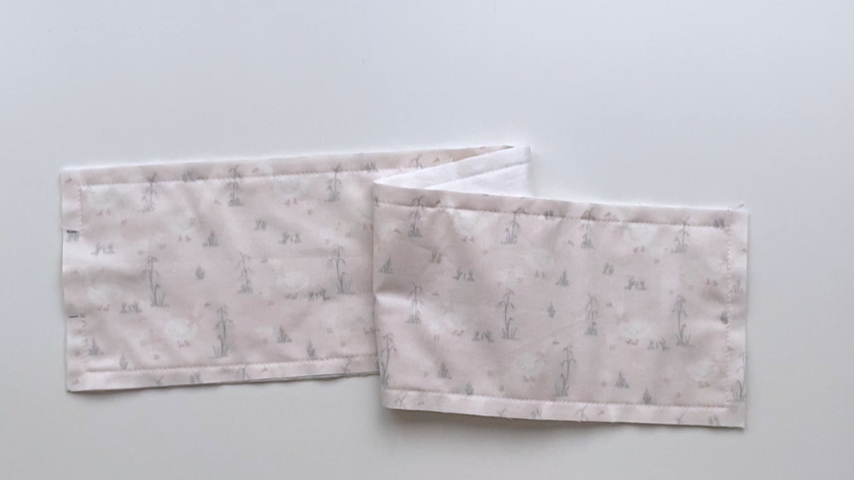
Place your two pieces of fabric right sides together, smooth out any creases, and make sure your edges are all lined up.
Pin or clip the edges into place if you like.
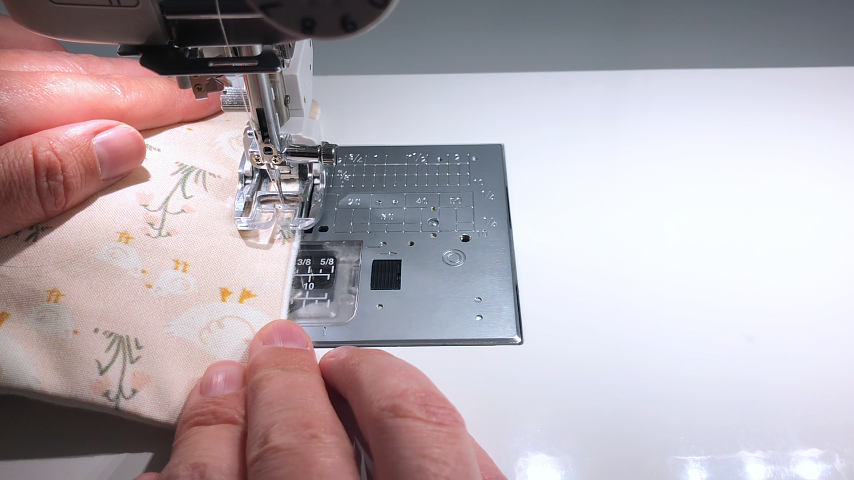
Sew around all four sides using a 1/2” seam allowance, leaving a 2” – 3” opening on one end.
Backstitch at the start and end.
Step 3
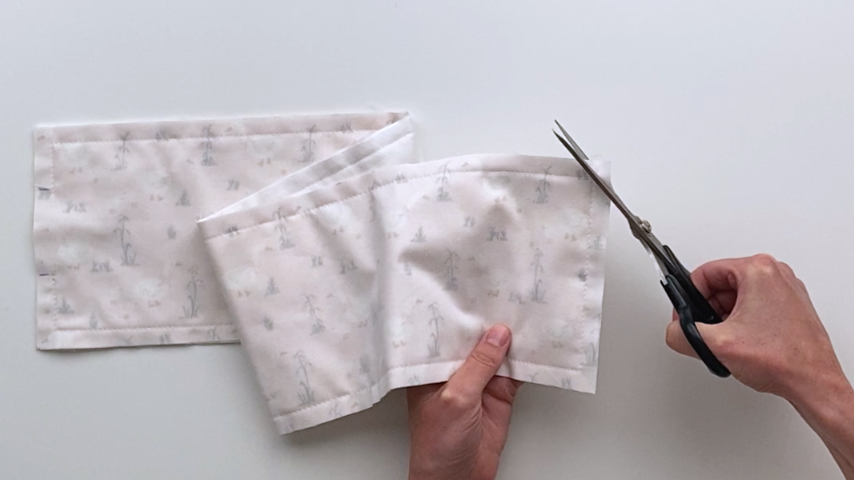
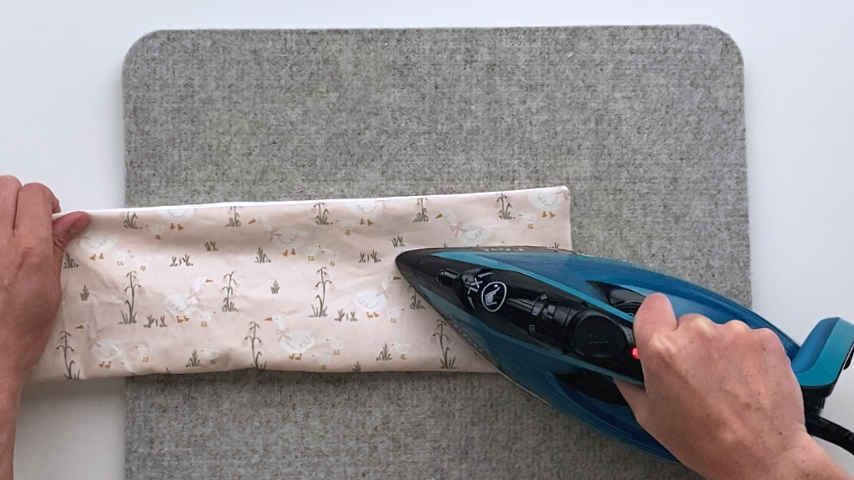
Trim the corners to remove excess bulk, then turn right side out. Use a point turner or chopstick to push the corners out.
Press the fabric to crease the seams and remove any wrinkles.

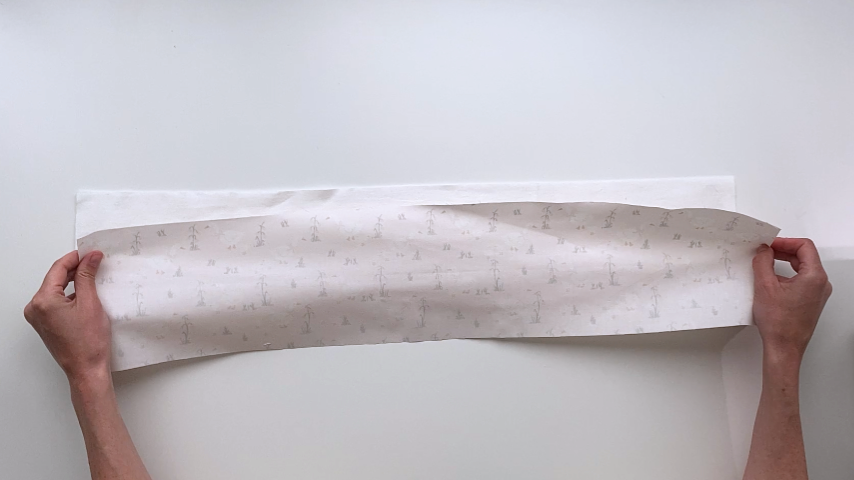
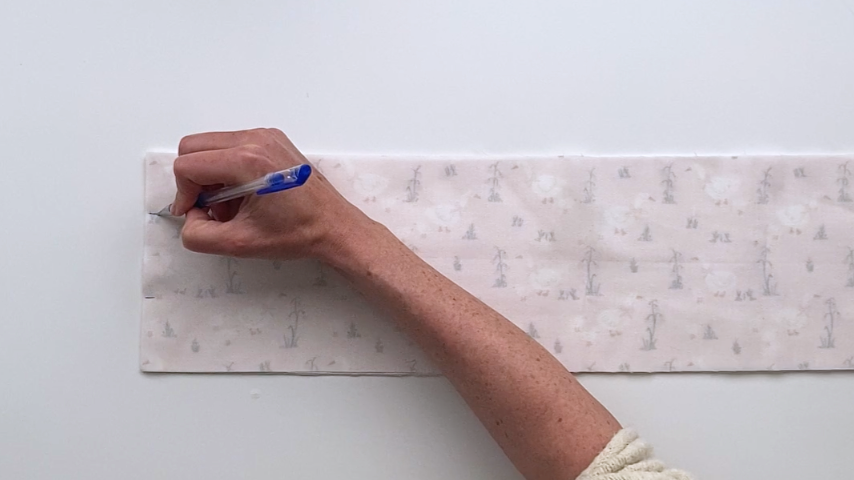
Step 4
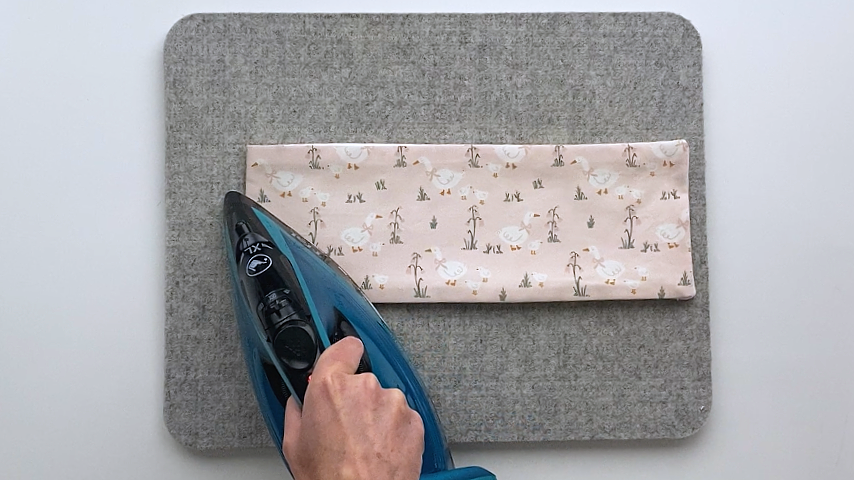
To mark where you’ll sew the dividing lines, fold your fabric in half lengthwise and use an iron to crease the fold.
Open up the fabric then fold both ends into the centre crease and press the folds.

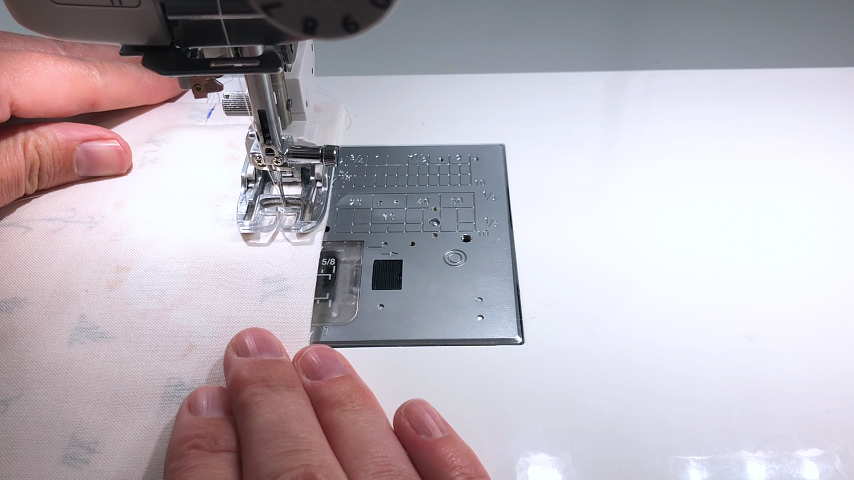
Step 5
Use a funnel to pour 1-1/2 cups of rice into the fabric tube.
Make sure the rice is sitting as close to the bottom as possible, then sew along the first crease to close the rice in and create a divider.
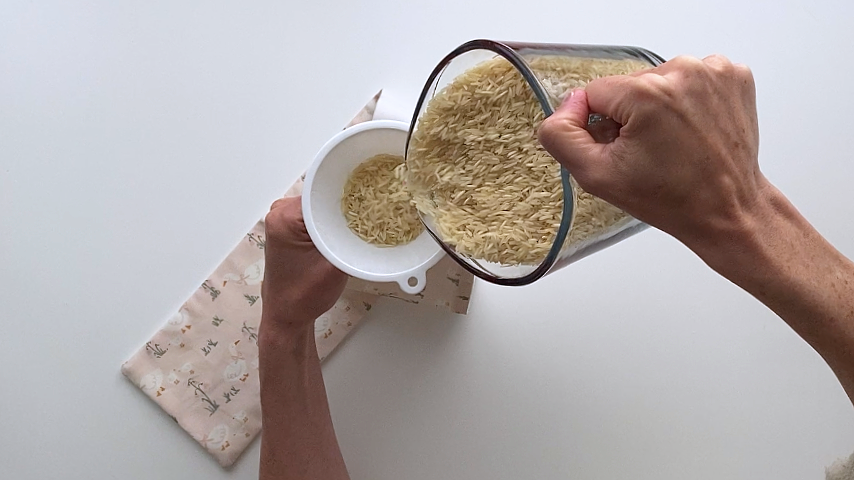
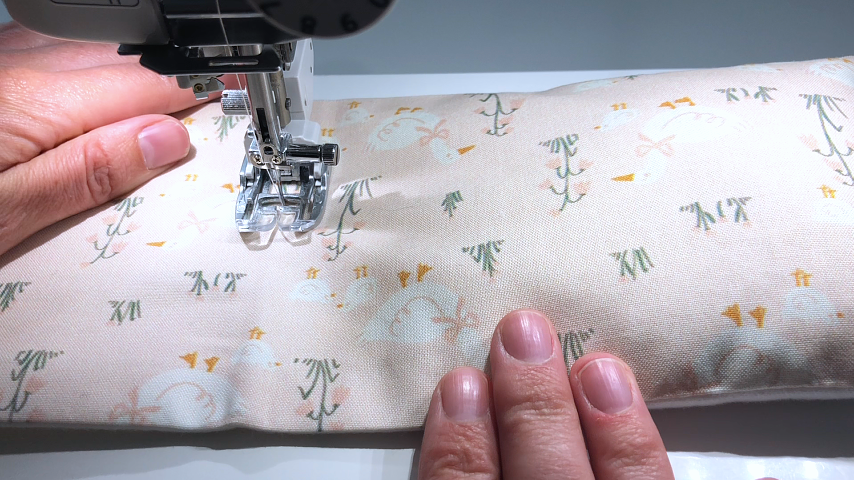
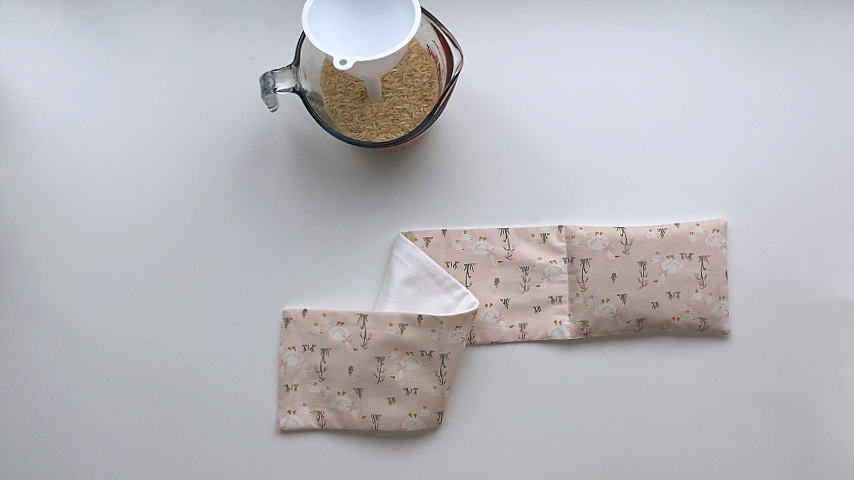
Repeat until you’ve filled all 4 sections.
Topstitch along the end to close the opening.
I also like to topstitch along the other end (even though it’s already closed), just to create a uniform finish.

Your rice heating bag is complete.