Quilted Book Sleeve Free Sewing Pattern | Intermediate
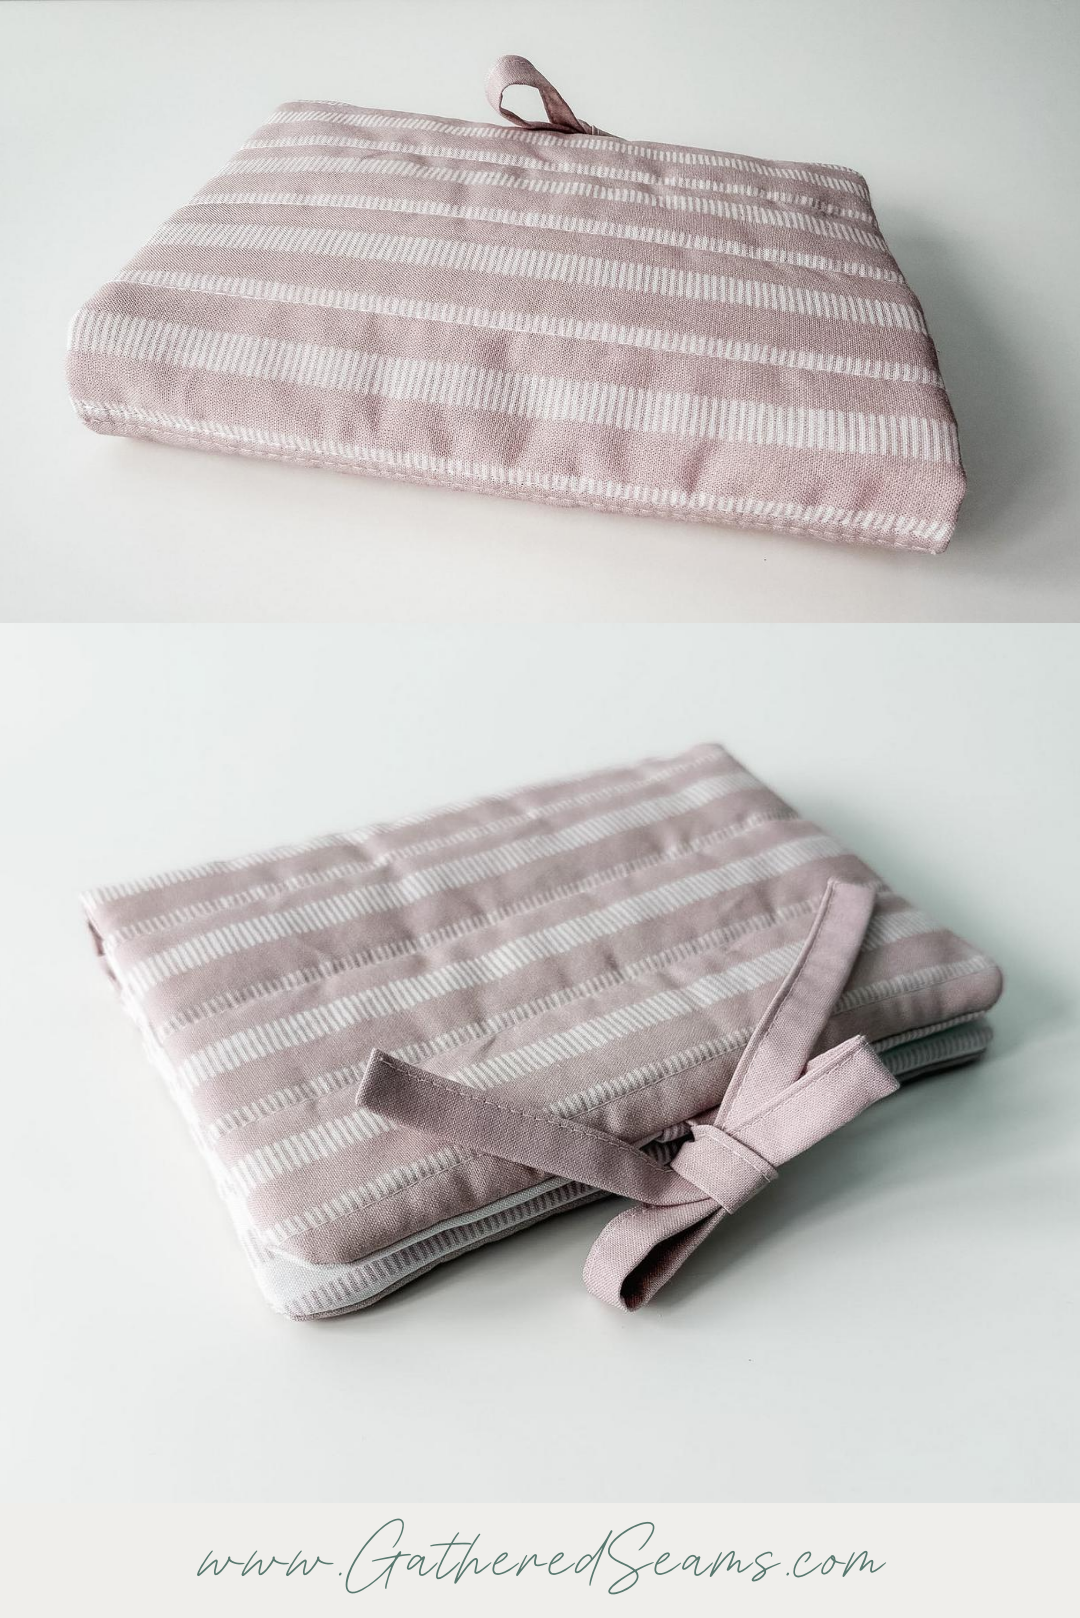
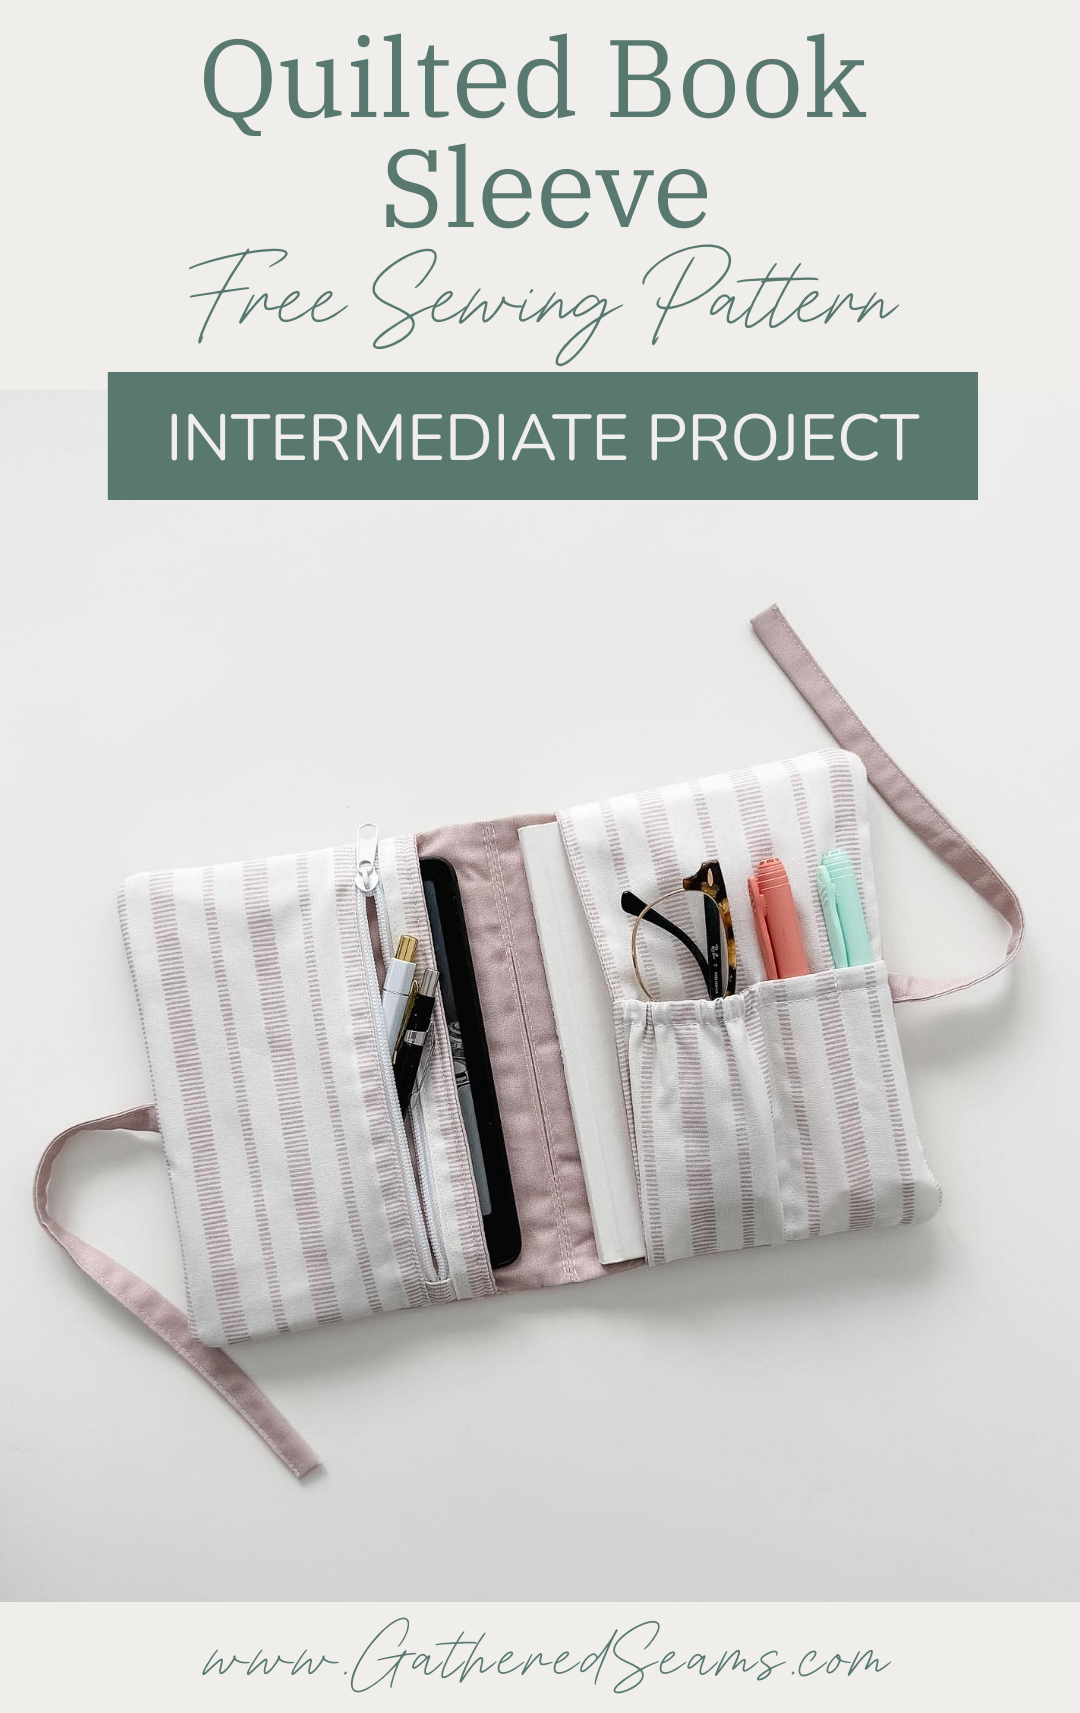
This quilted book sleeve is the perfect size for a Kindle or smaller books/notebooks. Its finished size is approximately 8″ tall x 6″ wide.
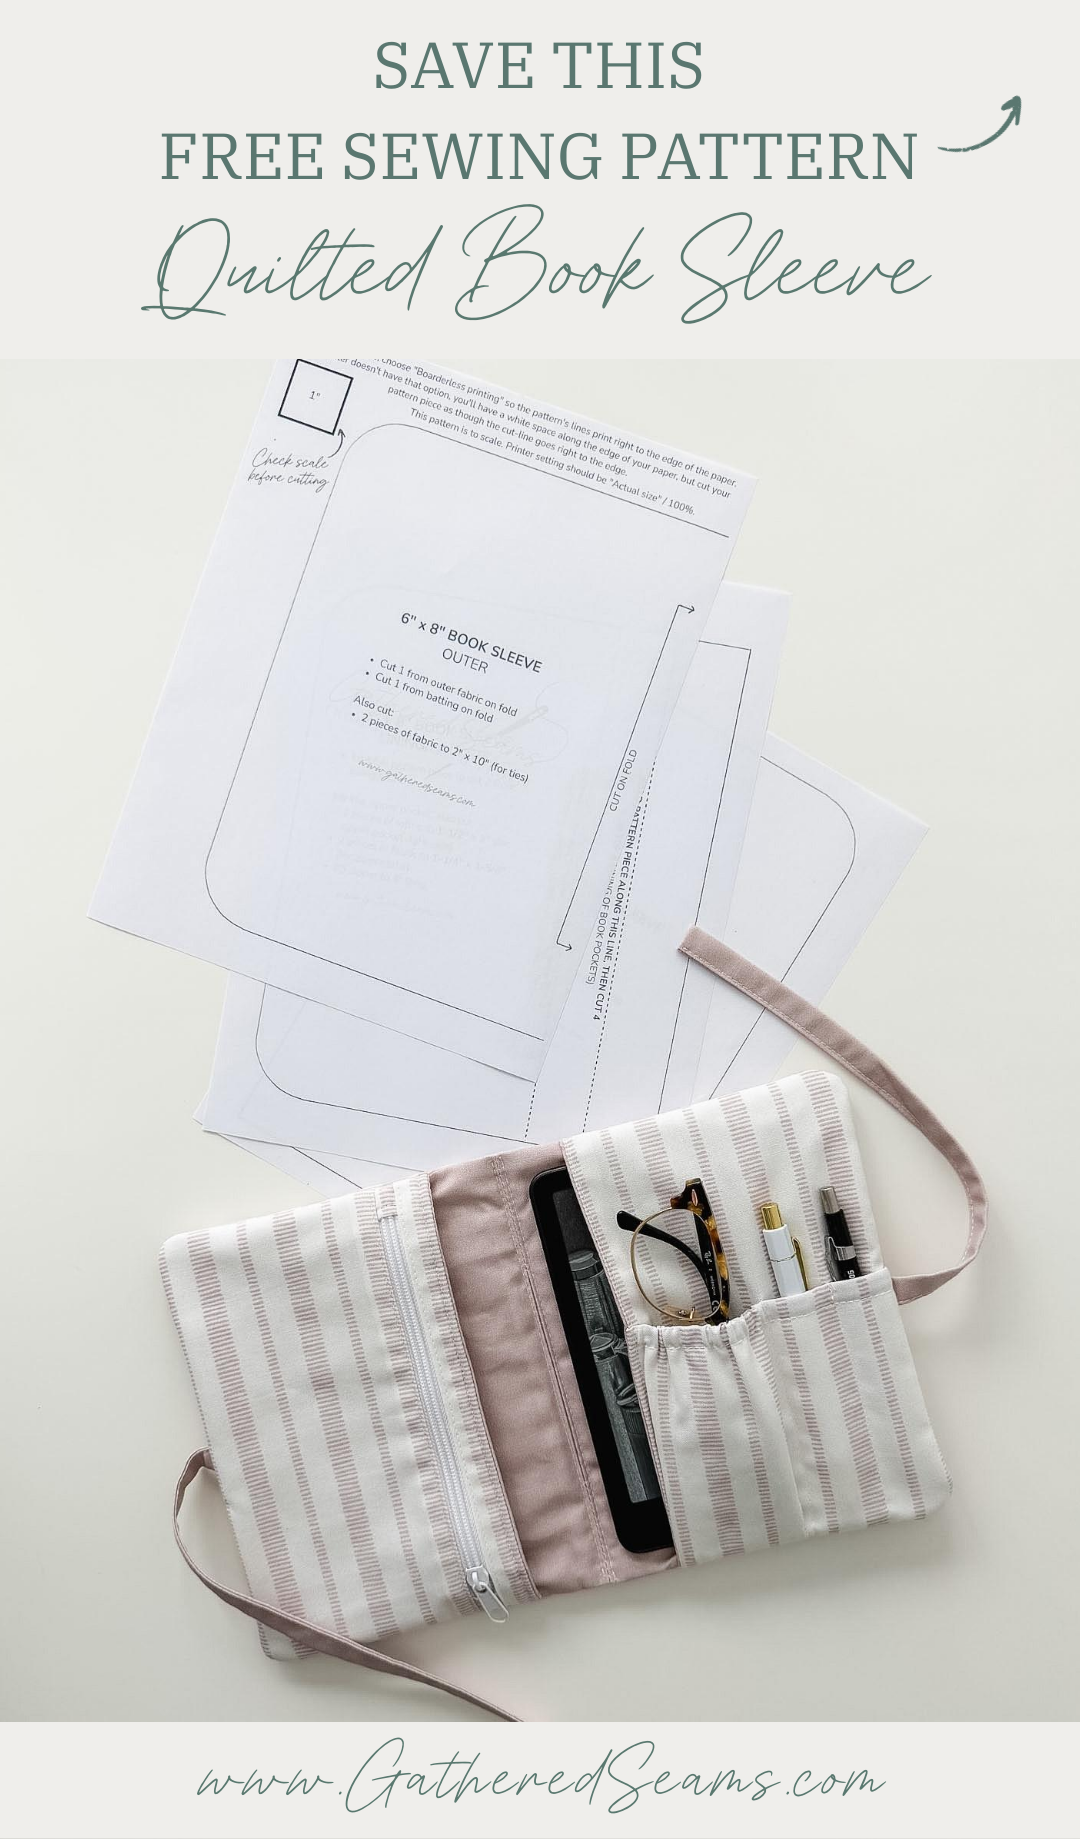
It has two interior pockets for a Kindle/book, a zippered pocket, two pen pockets, and a pocket for reading glasses (similar to my Pen Holder Bookmark). However, you can adjust the type of pocket and size of pocket dividers to suit your needs and sewing skills. If you want to make this project beginner-friendly, you can skip the zippered pocket.
This would make a great gift for a book lover. You could fill it with a book, a Kindle gift card, or a few stationery items.
This sewing project is intermediate. However, if you skip the zipper pocket, it’s a beginner-friendly project.
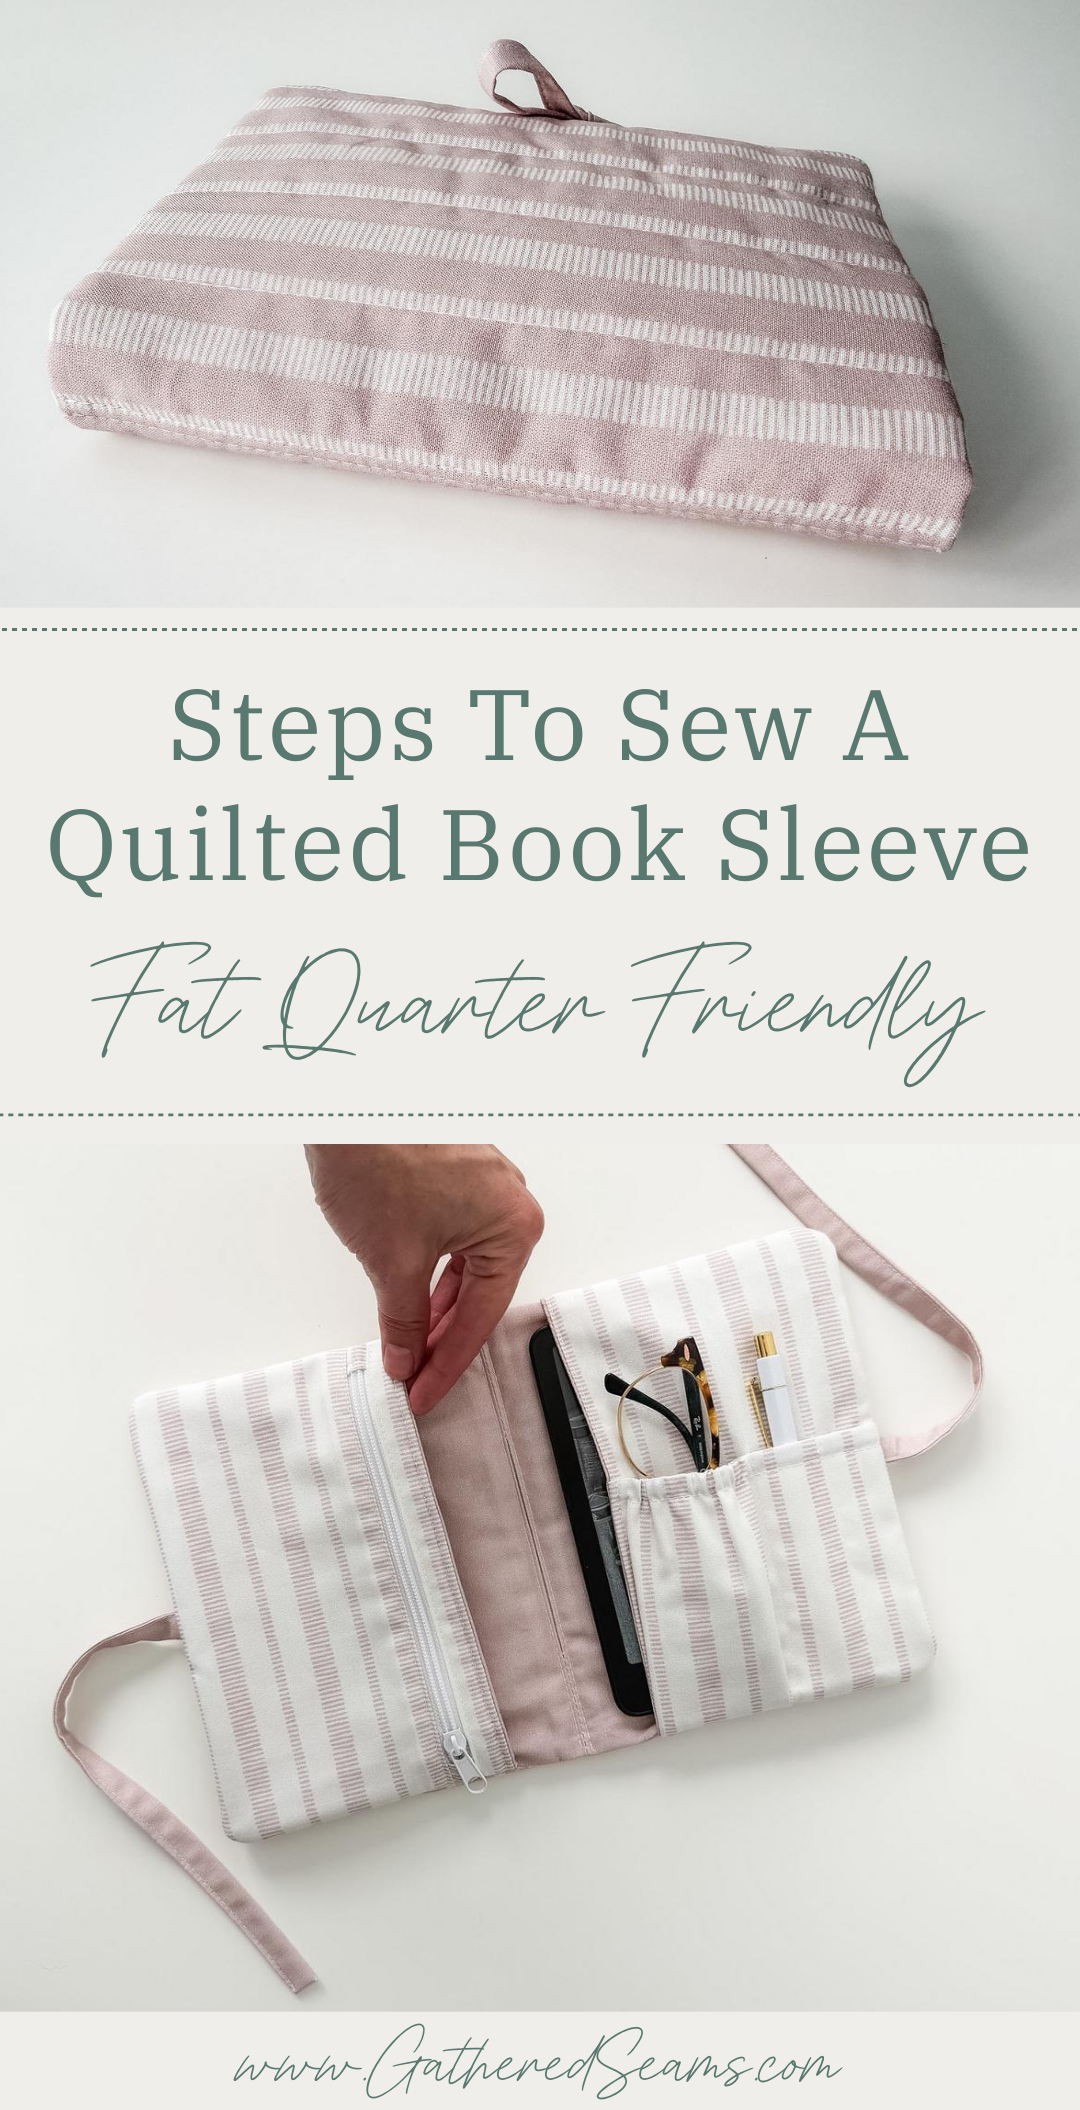
Click the “pin it” button on the image below if you’d like to see more sizes and variations of this quilted book sleeve. That helps me track what you’d like to see more of.
Materials
As an Amazon Associate, I earn from qualifying purchases (see full disclosure here).
- Fabric
- Batting or fusible fleece (I used this extra loft batting for my book sleeve)
- #5 zipper (and zipper pull)
- 1/4″ wide elastic
- Optional: ribbon (if you don’t want to make ties out of fabric, you can use ribbon instead)
- Thread
Tools
- Sewing machine
- Walking foot (recommended for quilting your fabric. This is the universal one I’ve purchased for my other sewing machine)
- Temporary fabric pen or chalk
- Ruler
- Iron
- Scissors
- Pins or clips
- Seam ripper
- Safety pin or bodkin
Free sewing pattern for a quilted book sleeve
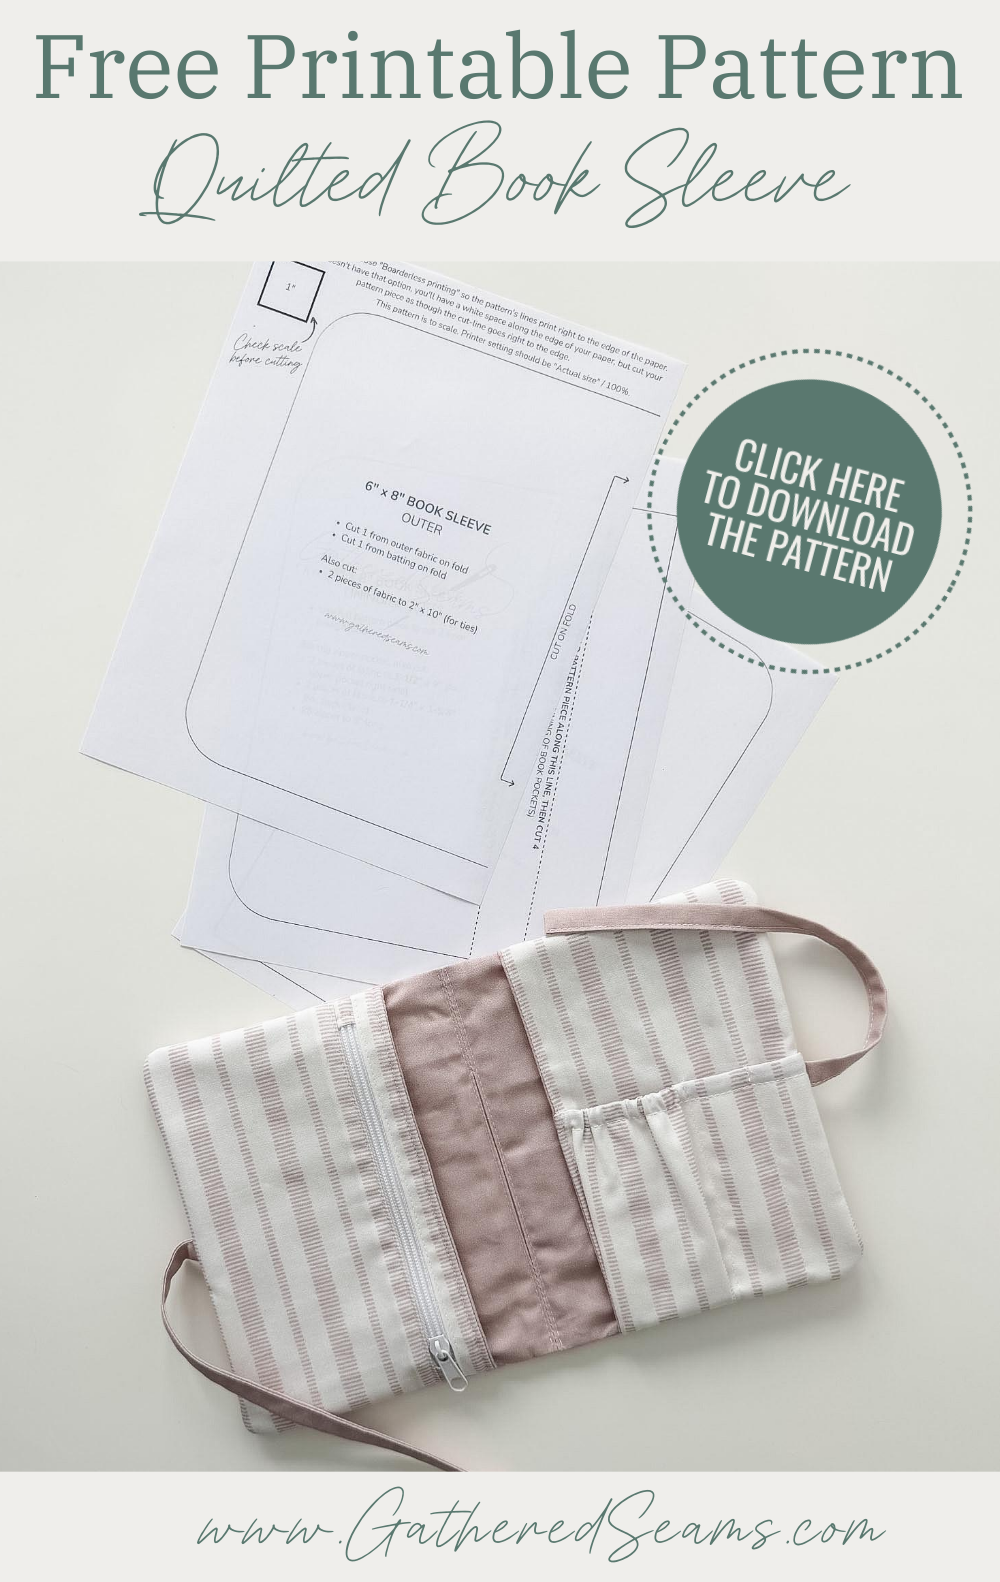

Download the quilted book sleeve PDF pattern, print, and cut out your fabric pieces.
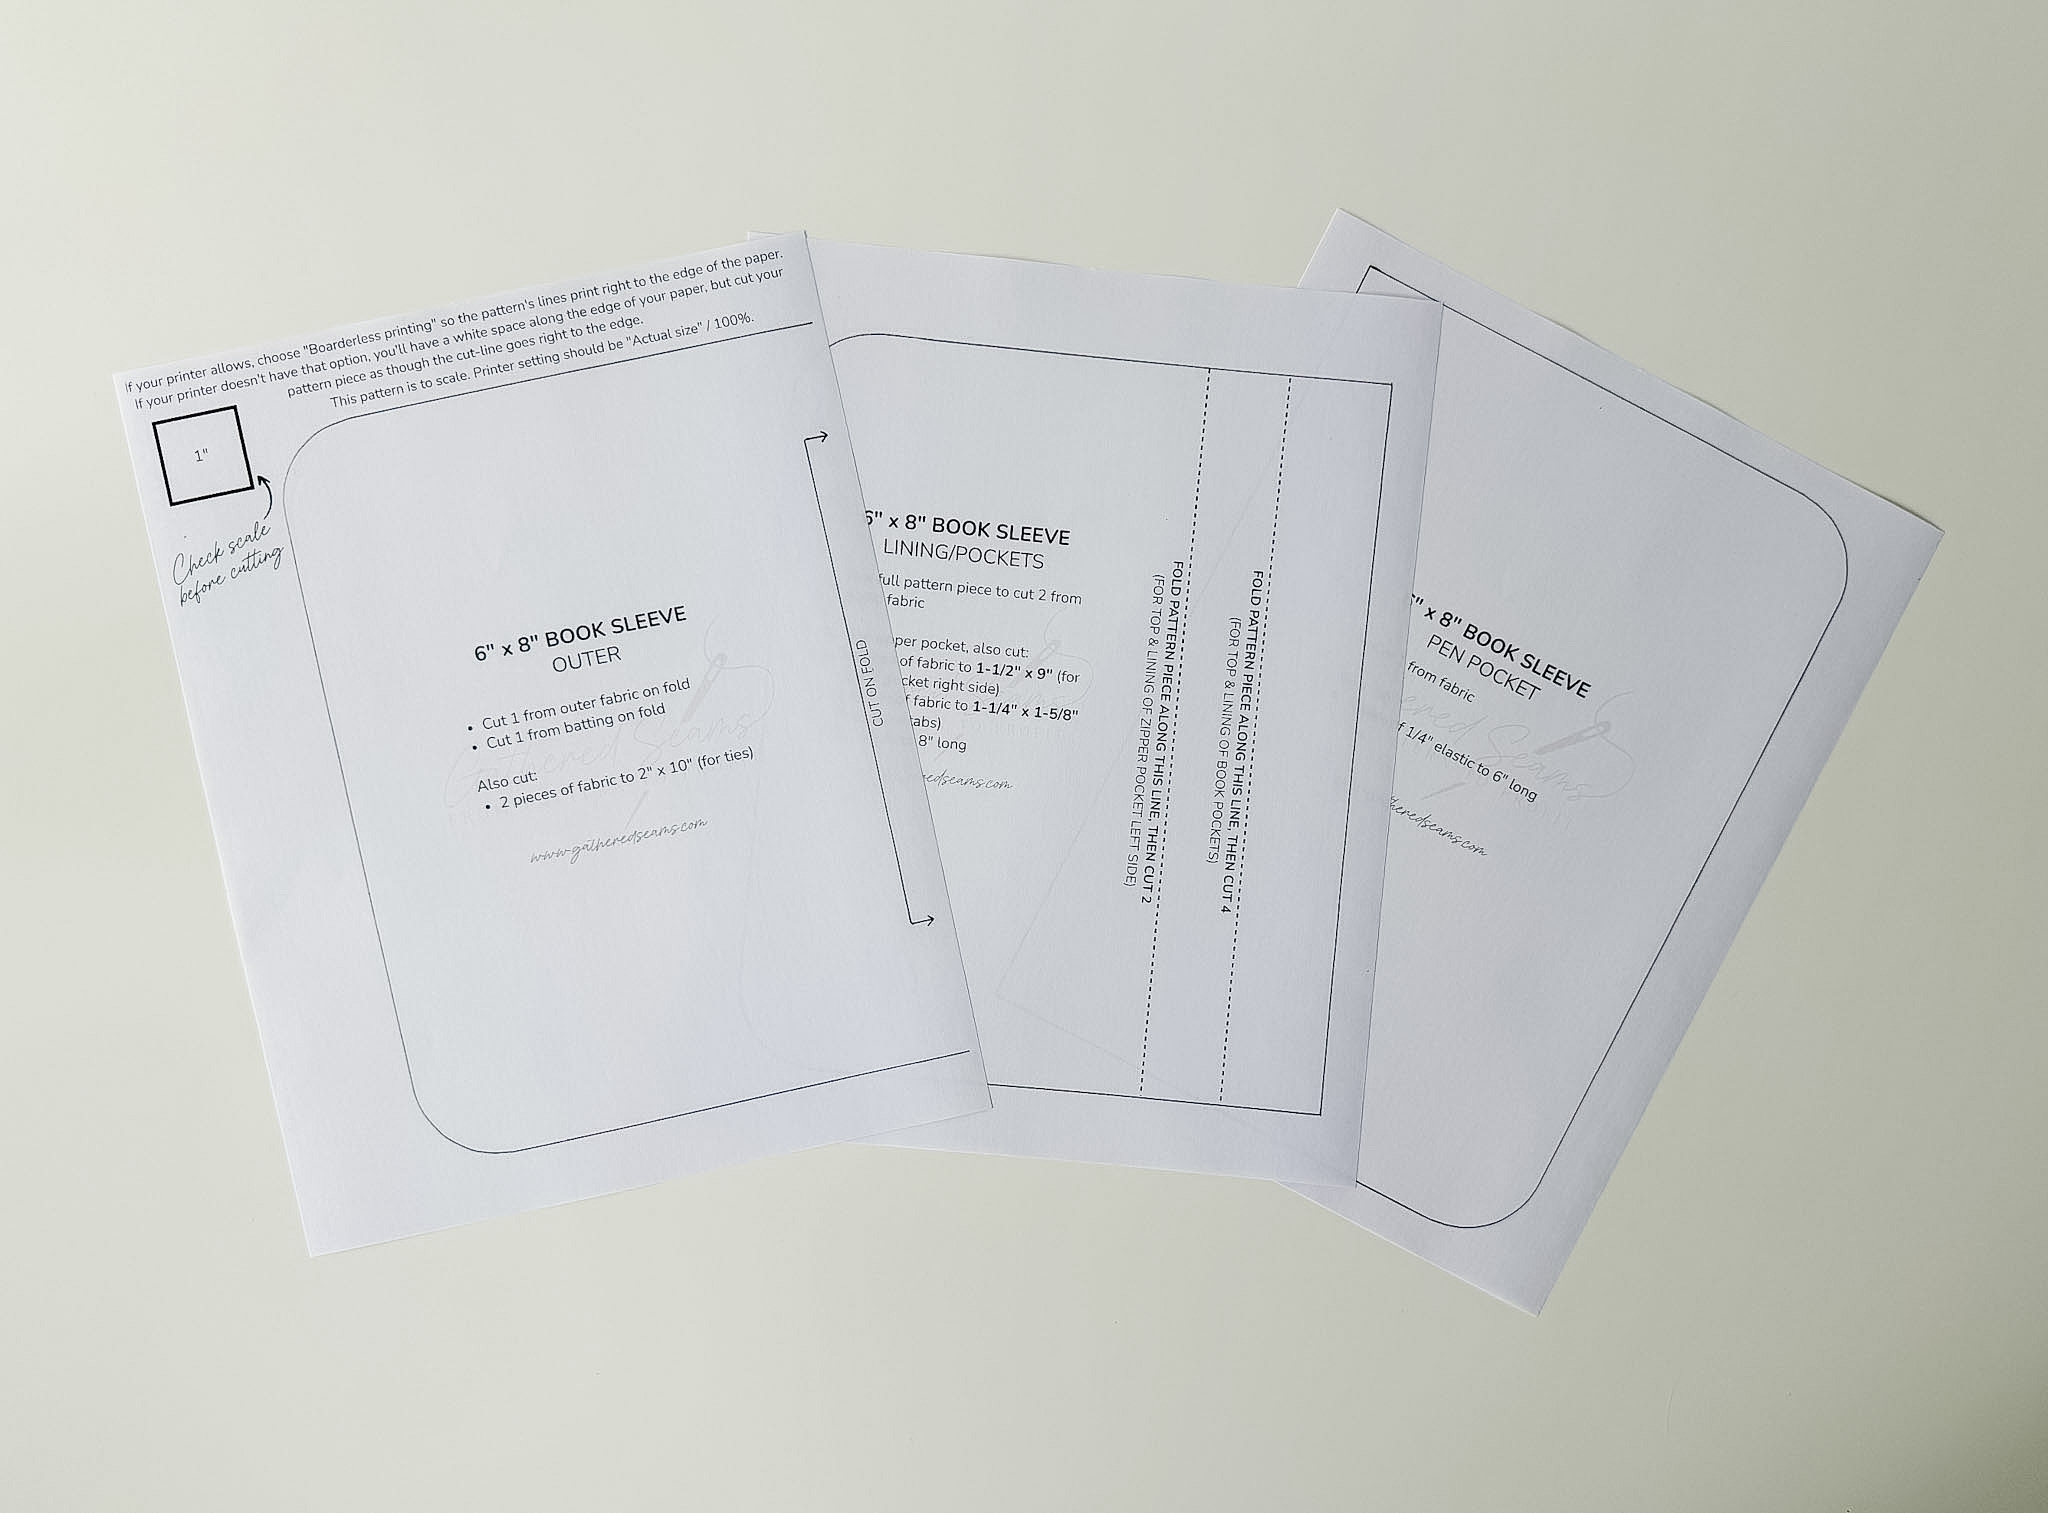
If you don’t want rounded corners, you can simply cut out rectangles of fabric in the following sizes.
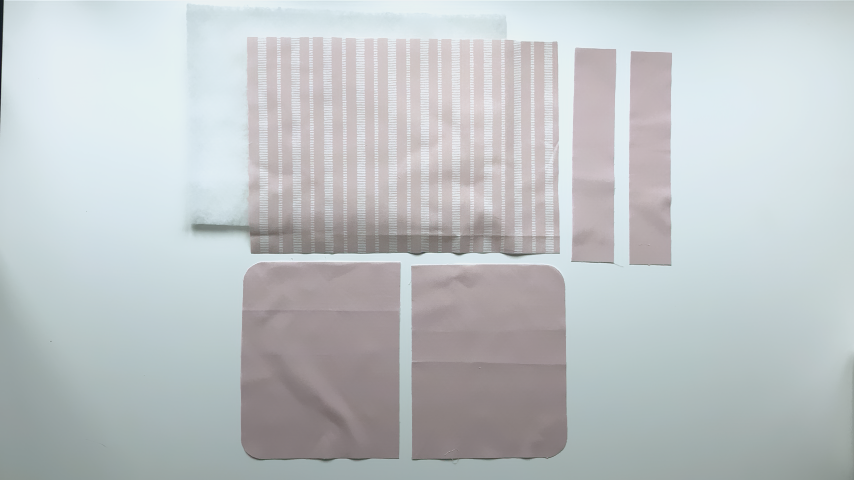
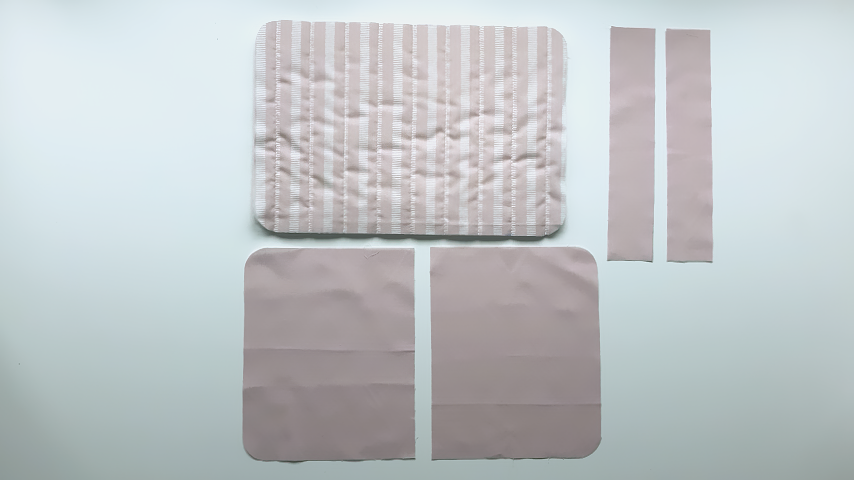
Front & back of cover:
- 13-1/2″ x 9″ – fabric & batting (cut these pieces larger (e.g. 14-1/2″ x 10″, add quilting stitches, then cut to size)
- 7-1/4″ x 9″ – cut 2 in lining fabric
- 2″ x 10″ – cut 2 for ties
Right pockets:
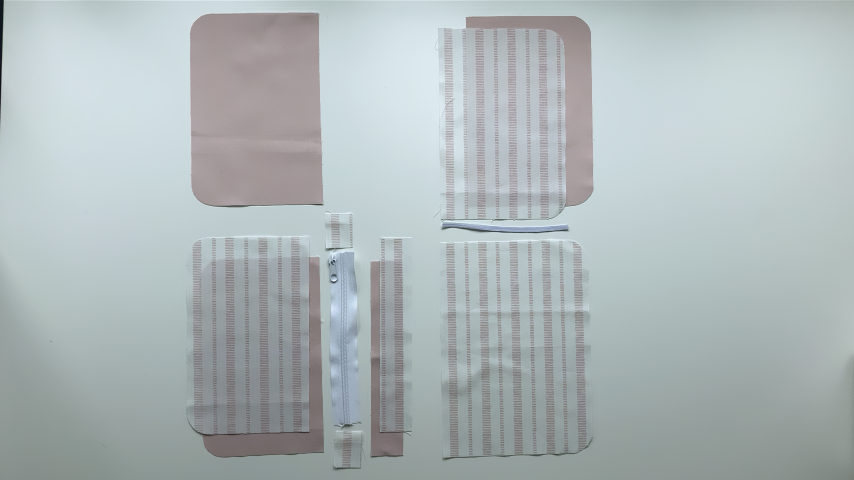
- 6″ x 9″ – cut 2 in fabric for book pocket top and bottom
- 10″ x 7″ – cut 1 in fabric for pen/glasses pocket
- 6″ long piece of 1/4″ wide elastic (for the top of the pocket)
Left pockets:
- 6″ x 9″ – cut 2 in fabric for book pocket top and bottom (there should be 2 in the photo below but there is only one shown)
- 5″ x 9″ – cut 2 in fabric for top and bottom of left side of zipper pocket
- 1-1/2″ x 9″ – cut 2 in fabric for top and bottom of right side of zipper pocket
- 1-1/4″ x 1-5/8″ – cut 2 in fabric for zipper tabs
- 8″ long piece of #5 zipper
Steps to sew a quilted book sleeve
Step 1
Place your two lining pieces (7-1/4″ x 9″) right sides together and clip the 9″ straight edges together.
Use a temporary fabric pen to mark 2 lines, about 4″ apart.
Use a 1/2″ seam allowance to sew along this edge, backstitching at the start and end of the lines, and basting between them (i.e. use the longest stitch length so it’s easy to remove the stitches later).
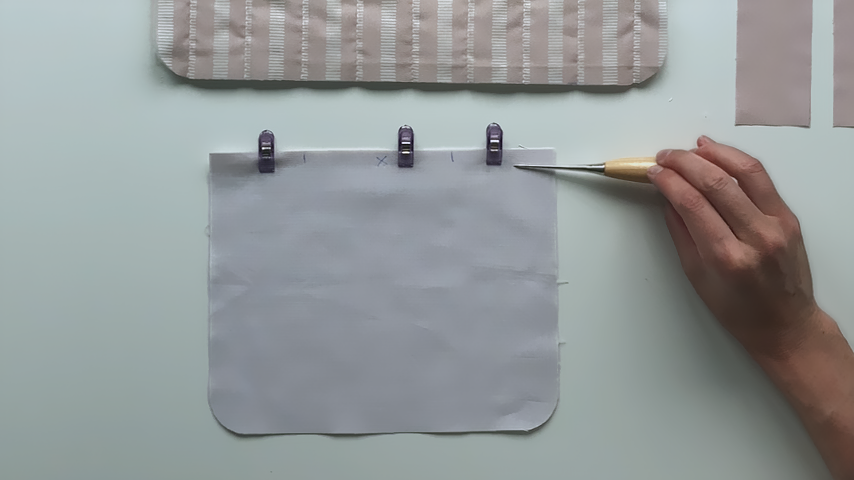
Press the seam open, then use a seam ripper to remove the basting stitches.
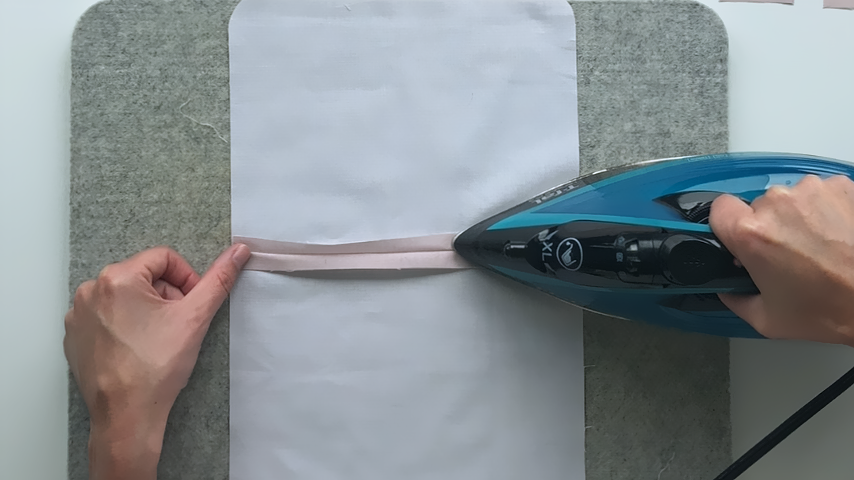
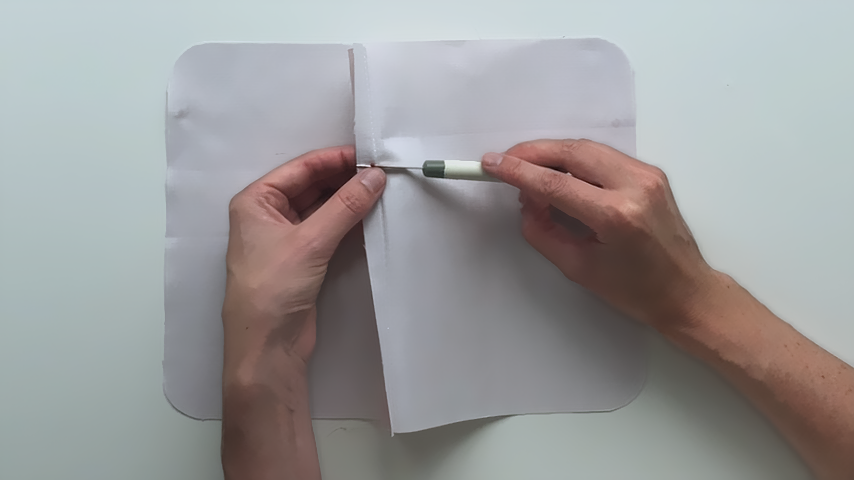
To make the ties, fold your two 2″ x 10″ pieces in half lengthwise, wrong sides together and press to create a center crease.
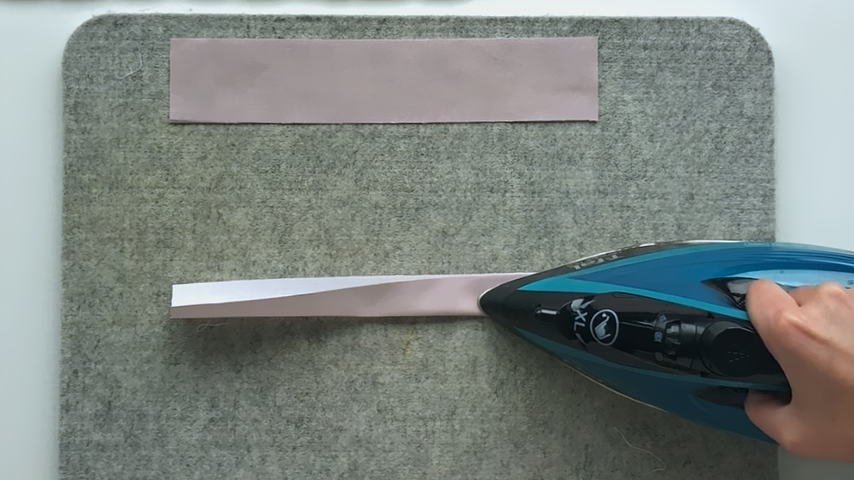
Fold the two edges in to meet the center crease and press.
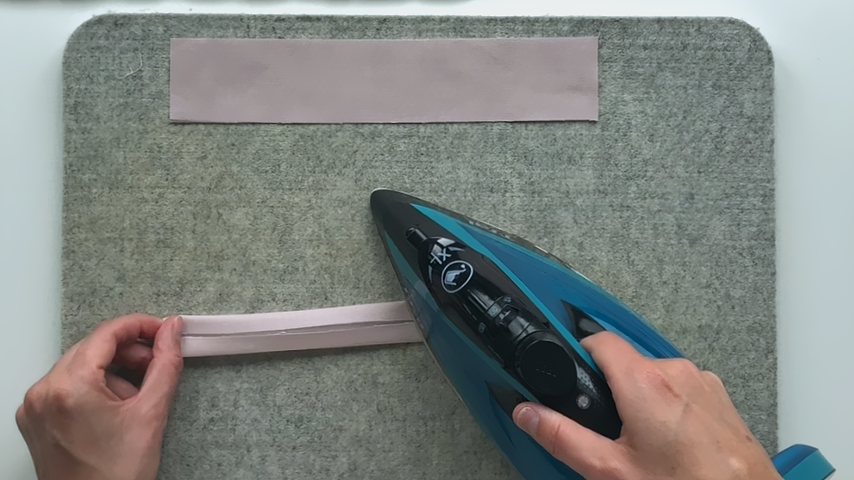
Fold in half again and press.
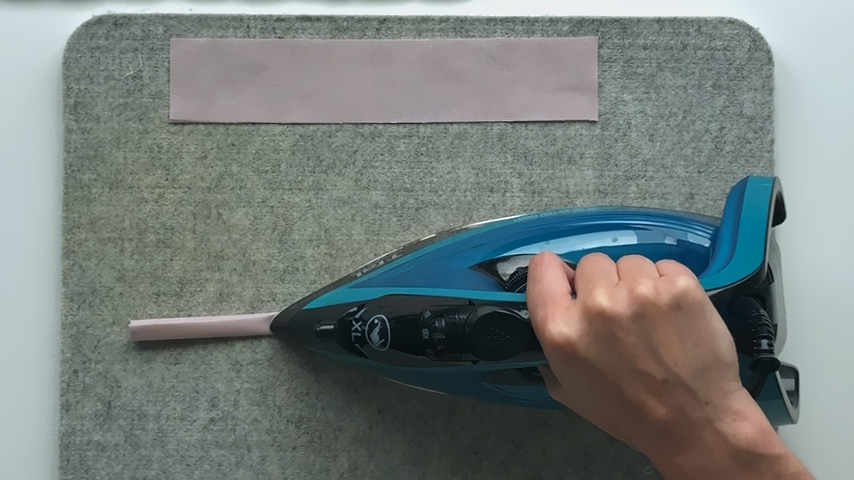
Fold the center crease the opposite way, so right sides are together, and sew across one end.
Use a shorter stitch length (e.g. 2 mm) to sew across the short piece of fabric and start with your needle on the fabric, then backstitch to the start of it. I find these two tips help prevent my fabric from bunching as I sew.
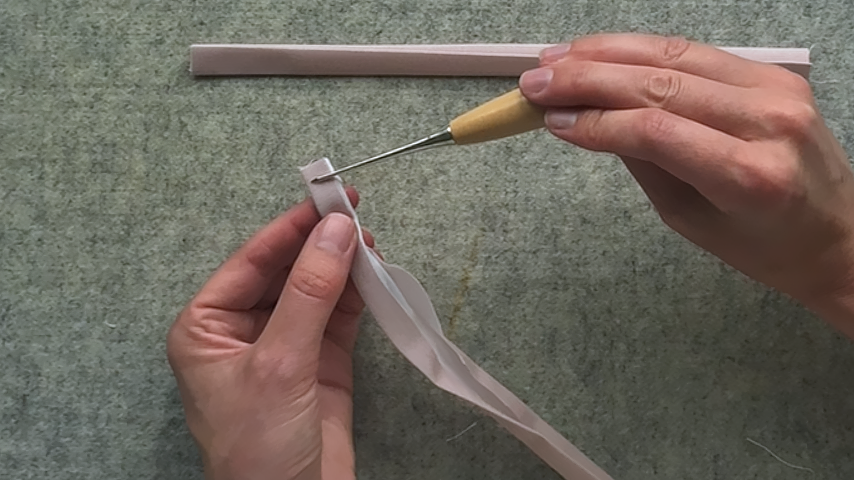
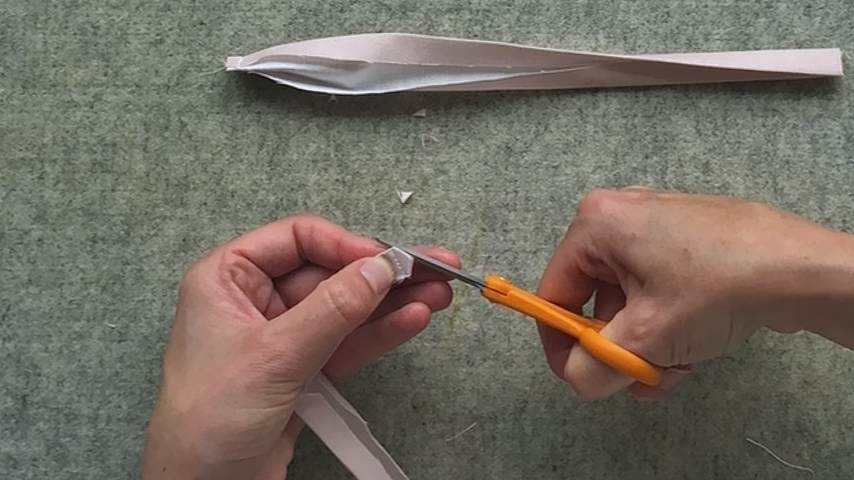
Trim the seam allowance at an angle, then fold right side out, using a point turner to push the inside corner out.
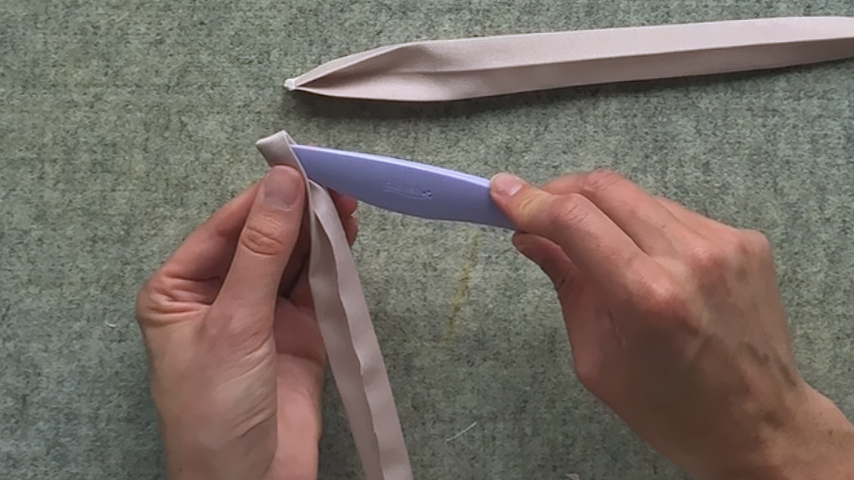
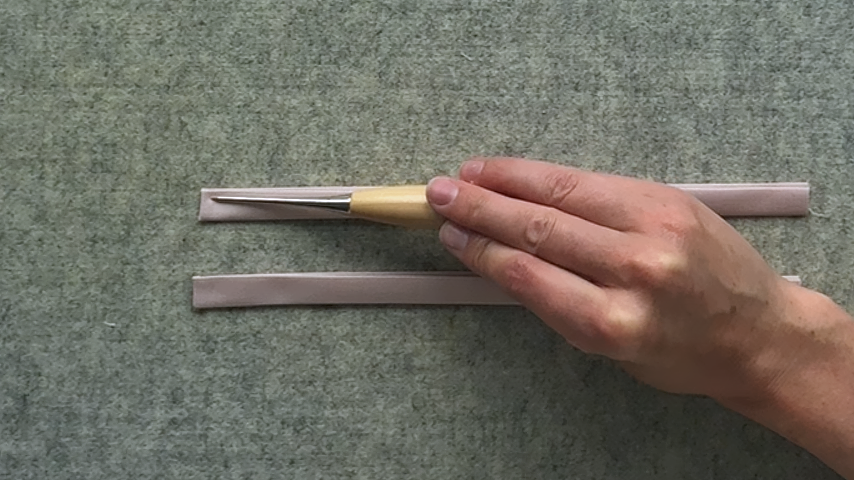
Topstitch the two folded edges together, sewing about 1/8″ away from the edge. I start at the cut end, with my needle on the fabric, backstitch, and sew toward the folded end, backstitcing at the end.
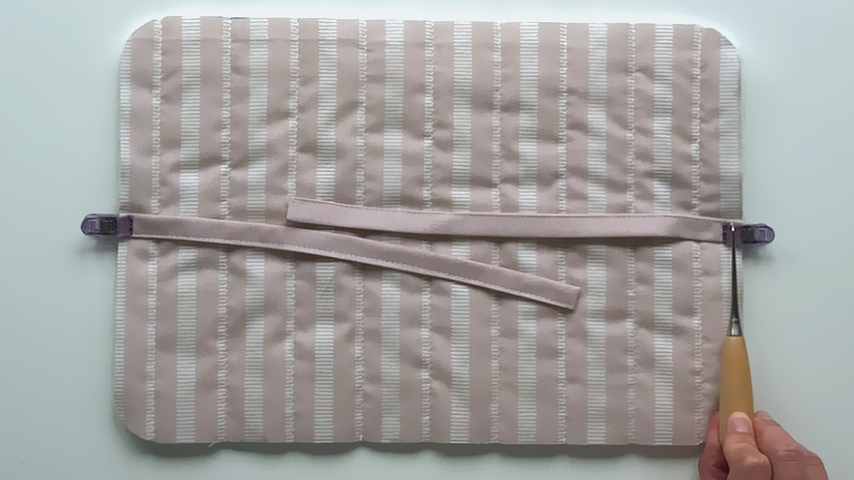
Find the center (from top to bottom) of your outer cover and clip your two ties to either side of the cover, at the center point. Line up the cut edges of the ties and the cover and baste into place.
*Basting uses a longer stitch length (e.g. 5 mm) and is sewn within the seam allowance. This pattern uses a 1/2″ seam allowance, so run your basting stitches about 1/4″ away from the edge.
Step 2
Next we’ll work on the right pocket.
Fold your 10″ x 7″ piece of fabric in half (so you have a 5″ x 7″ piece), wrong sides together and press.
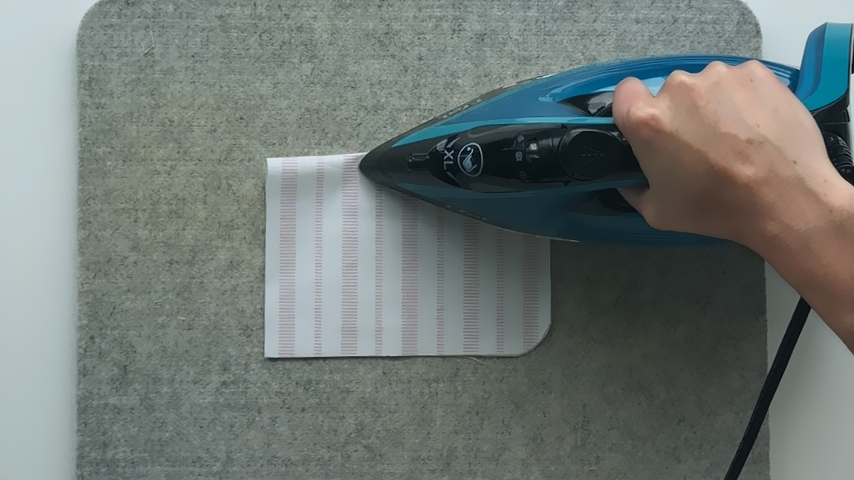
Sew 3/8″ away from the folded edge to create a channel for the 1/4″ wide elastic.
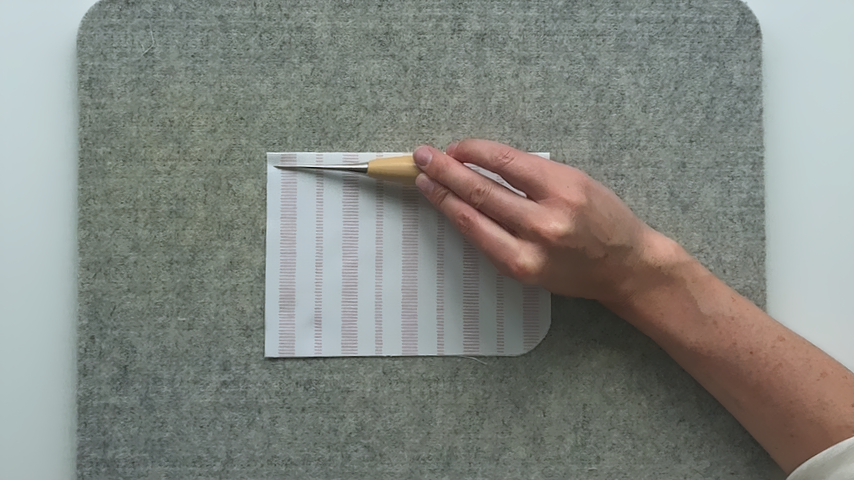
Use a safety pin or bodkin to thread your 6″ piece of elastic through the channel. Leave the safety pin in and stop when the other end of the elastic is in line with the right edge of the pocket.
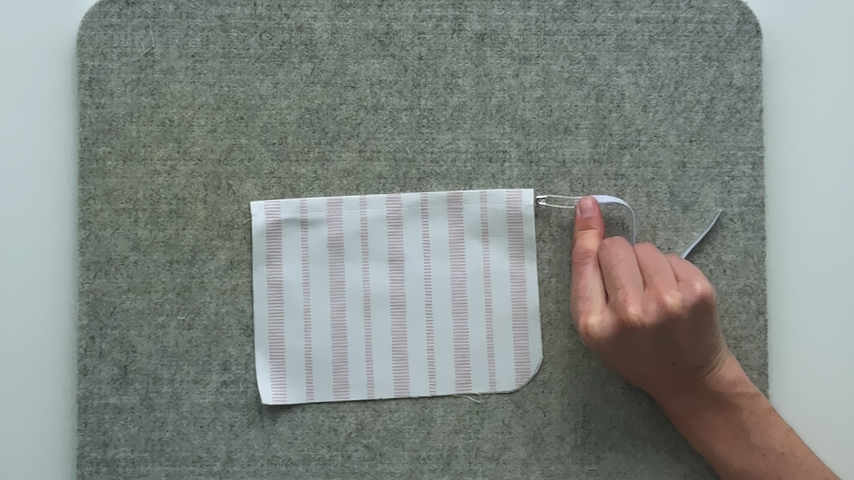
Place the pocket on the top piece of the book pocket (6″ x 9″ piece) and baste the right edges together to secure the one end of the elastic in place.
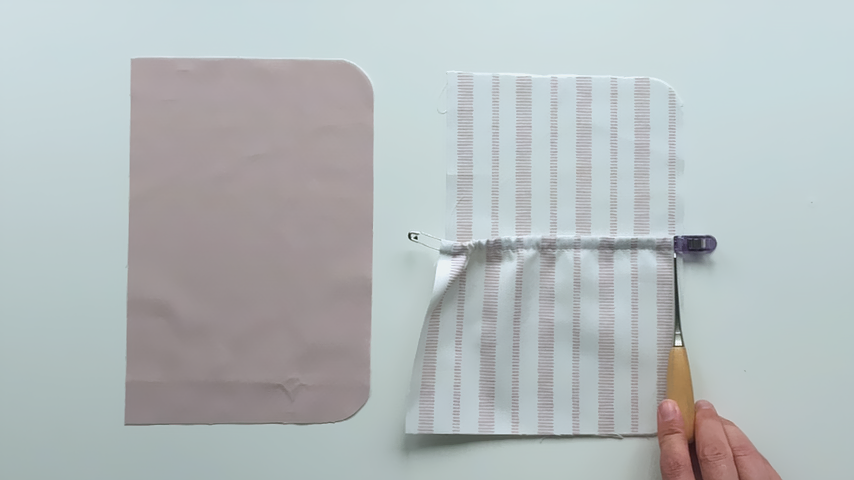
Your safety pin should still be in. Use a temporary fabric pen to mark your pocket dividers for pens (or divide your pocket into sections that fit your items).
I marked my first line 1-3/4″ away from the right edge, and the next line 1-1/4″ away from the first line.
Sew right on those lines.
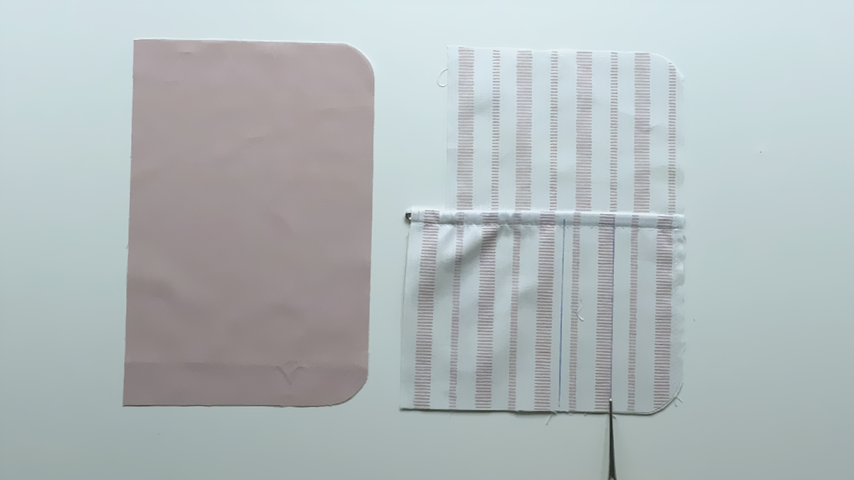
Now you can pull your elastic the rest of the way through the channel and baste the other edges together.
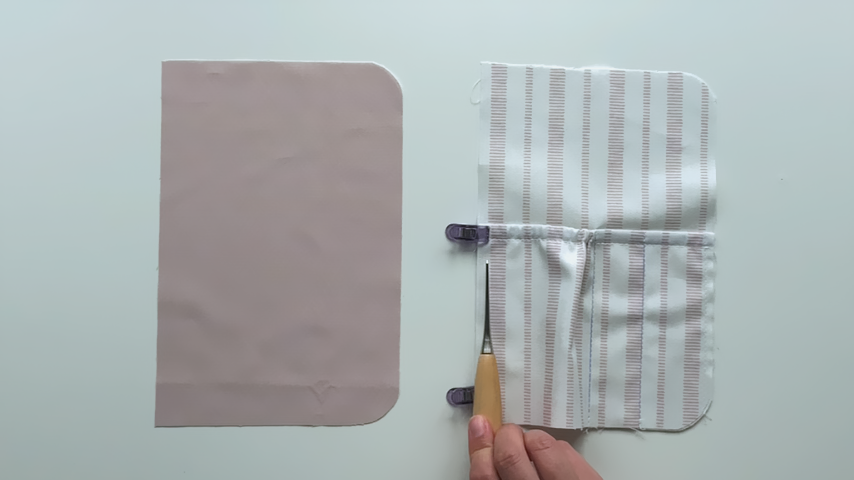
Use a temporary fabric pen to mark a line 1/2″ away from the bottom left edge of the pocket. You’ll fold the bottom fabric of the pocket within that line and the second line of stitching (for the pen pocket). Baste the bottom edges together.
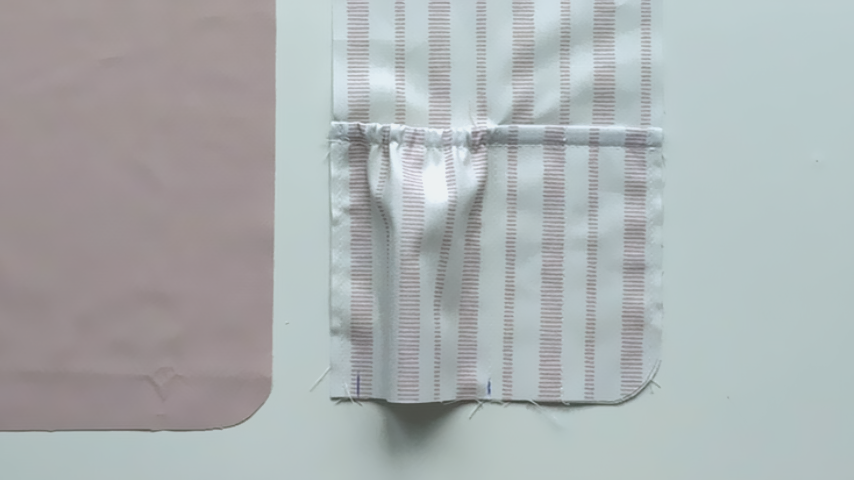
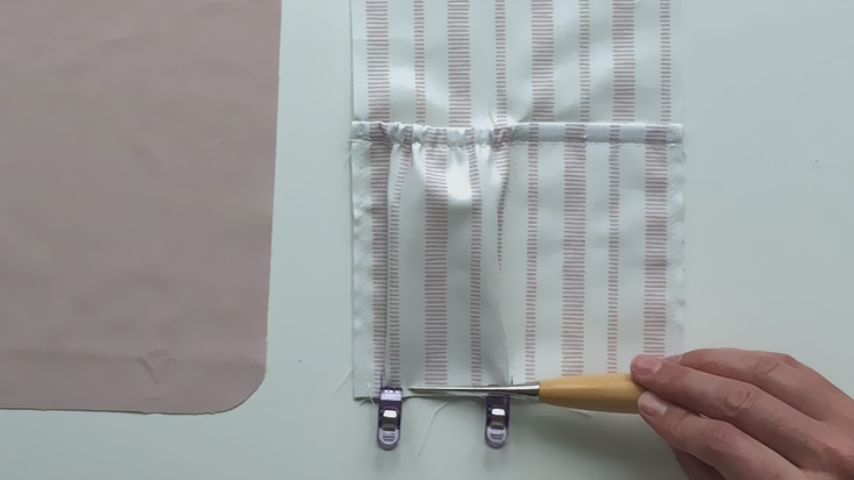
Place your right pocket piece and a 6″ x 9″ book pocket piece right sides together. Using a 1/2″ seam allowance, sew along the straight 9″ edge.
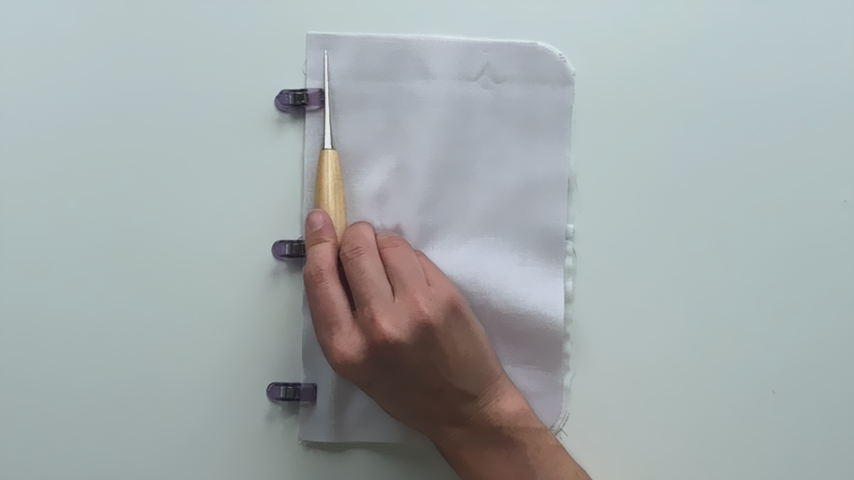
Press the seam open.
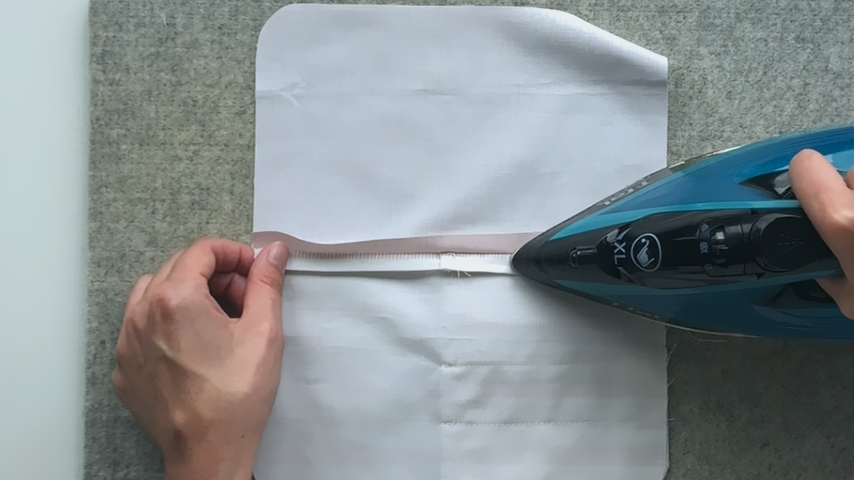
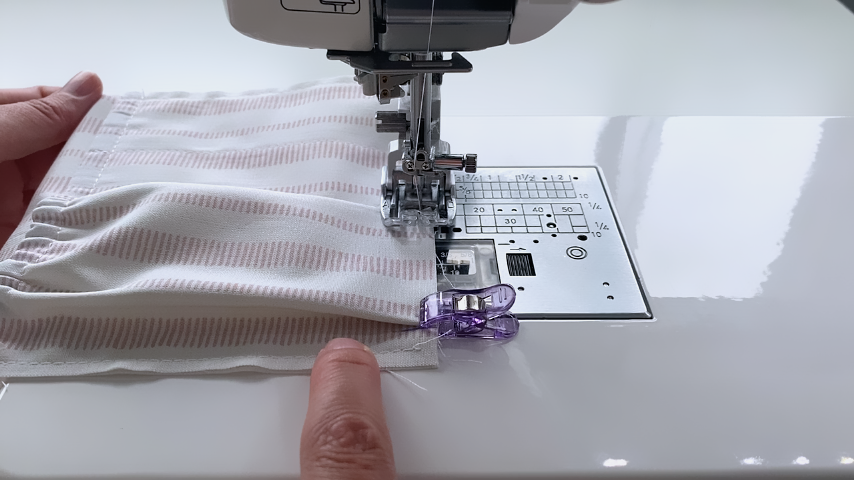
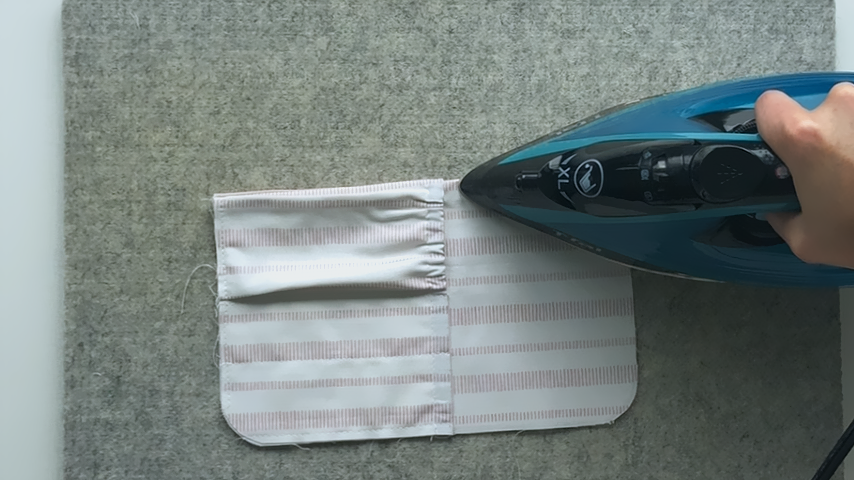
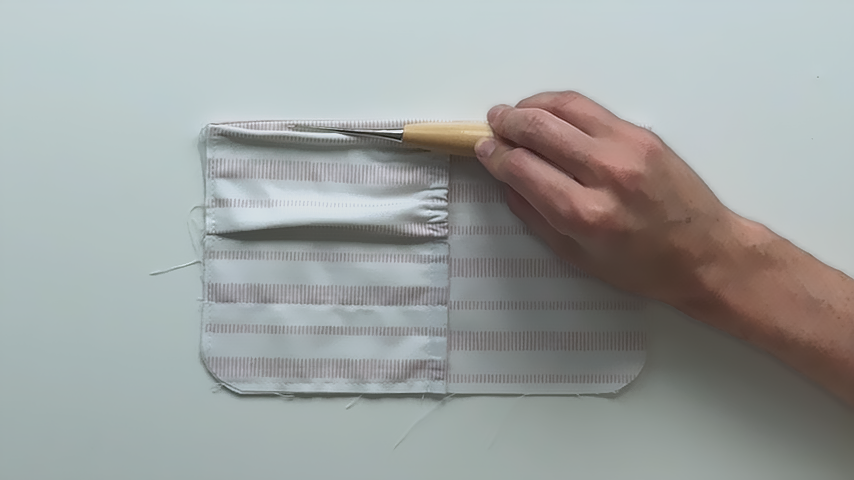
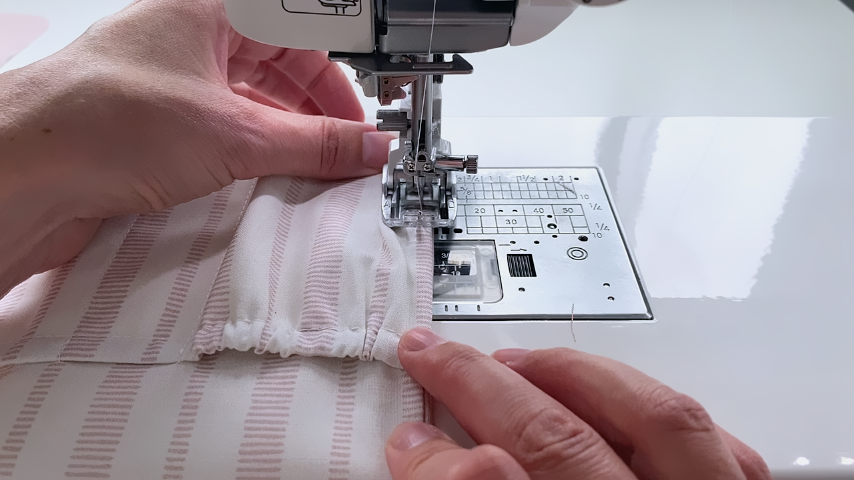
Fold the 2 pieces wrong sides together and press the edge. Topstitch along that edge, about 1/8″ away from the edge. I pull the top fold of the pocket back and start sewing just above the folded fabric.
Step 3
Next we’ll sew the left pocket with the zipper pocket.
Start by placing the two tabs on either end of the zipper, right sides together, and sewing across the ends using a 1/2″ seam allowance.
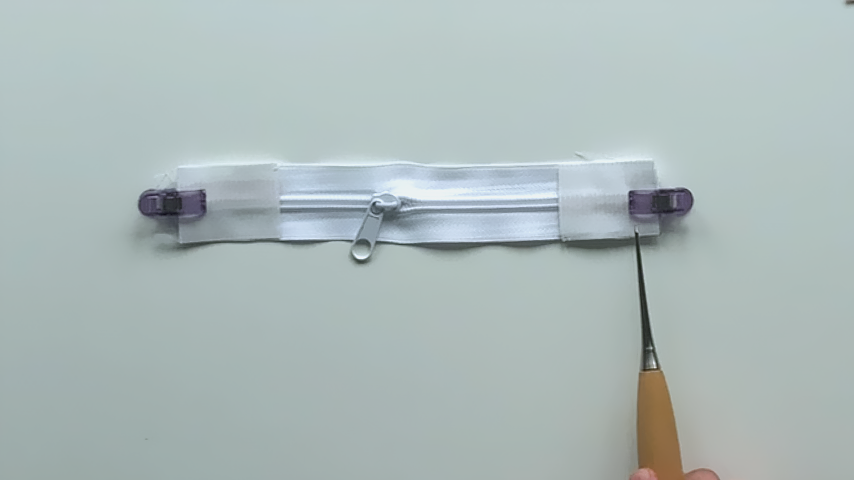
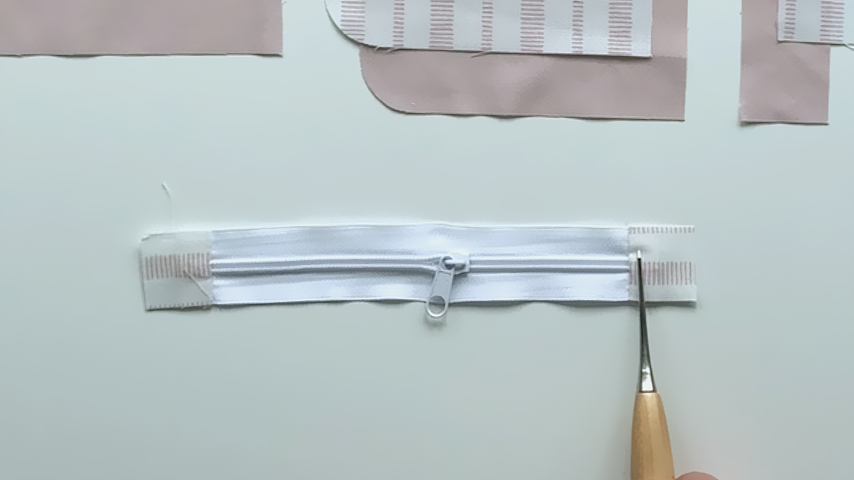
Fold the tabs back and press. Topstitch about 1/8″ away from the folded edge of the tab.
Place your top and bottom left zipper pieces (5″ x 9″) right sides together, and place the zipper between them, with the right side of the zipper facing your top fabric.
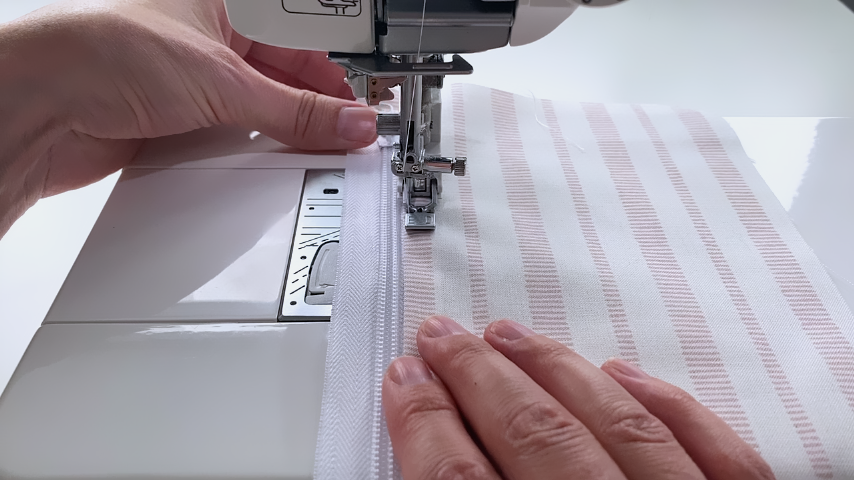
Clip all layers together and sew along the edge using a zipper foot so you can sew close to the zipper.
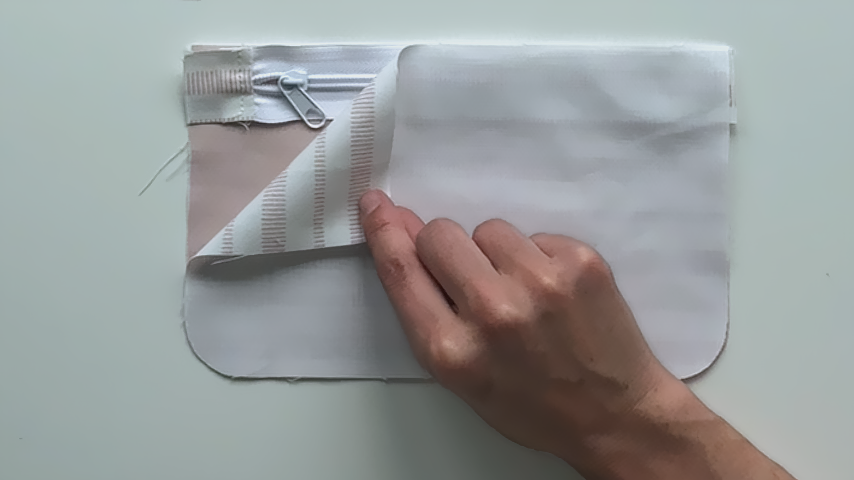
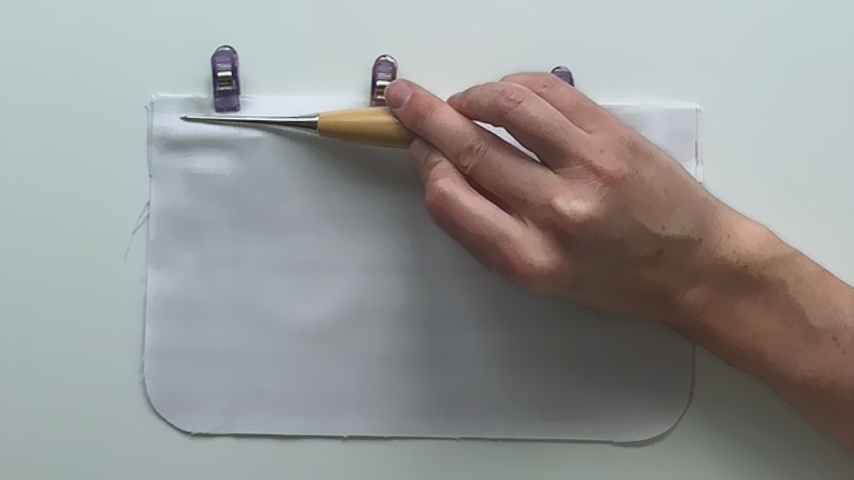
When you get close to the zipper pull, stop with your needle down, lift the presser foot, then pull the zipper pull so it is behind the needle. Put the presser foot back down and continue sewing.
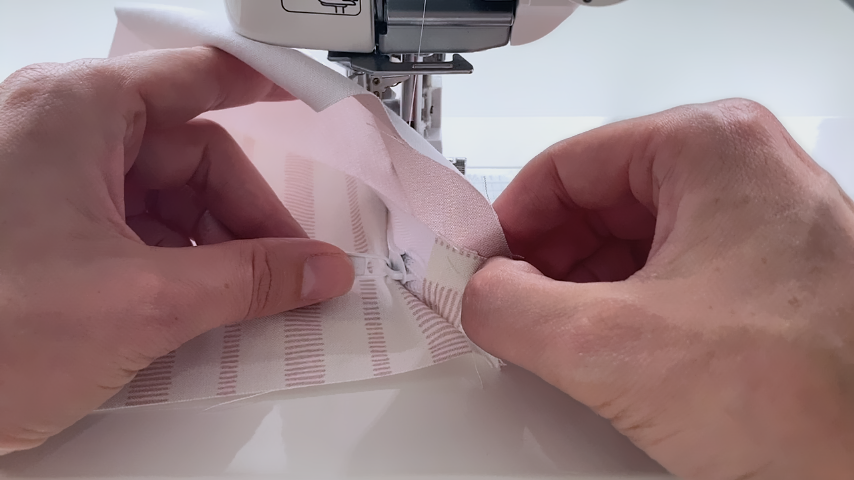
Fold the two pieces of fabric so they are wrong sides together and press the edge along the zipper (being careful not to melt your zipper teeth with your iron).
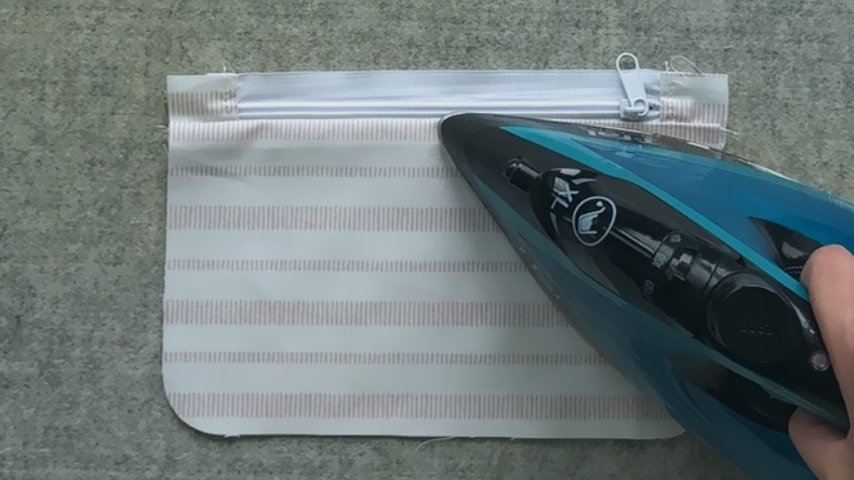
Topstitch along the folded edge.
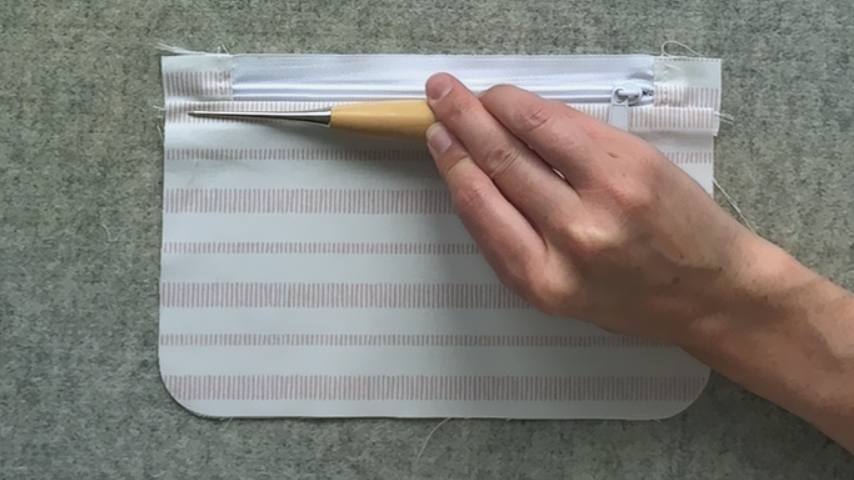
Repeat those steps to sew the right side of the zipper pocket (1-1/2″ x 9″ pieces).
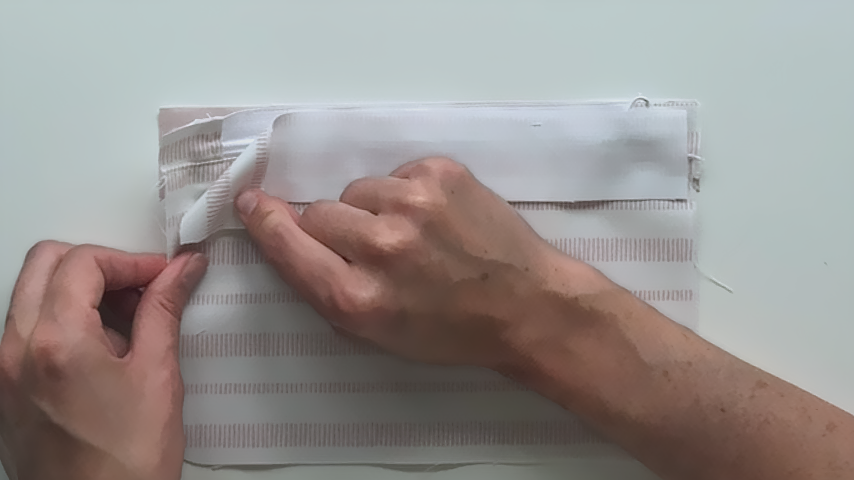
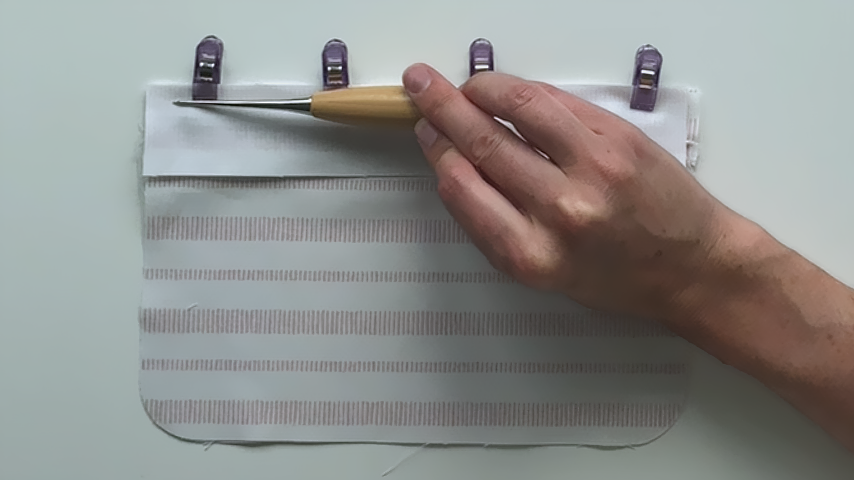
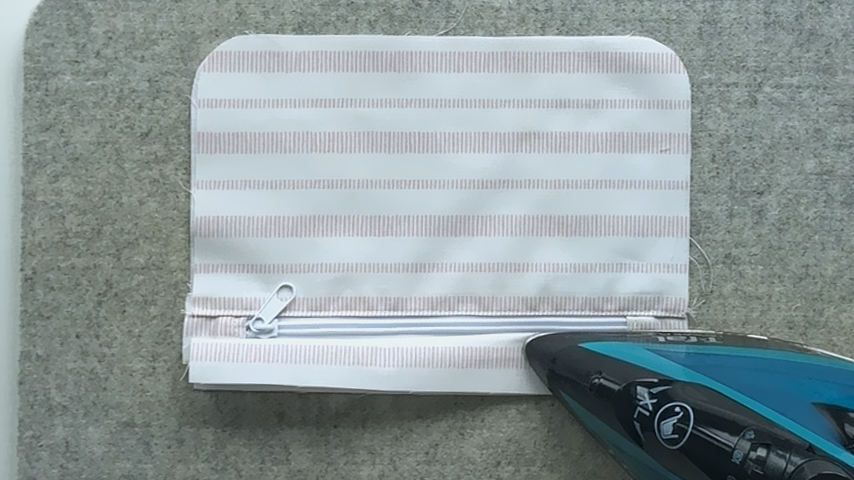
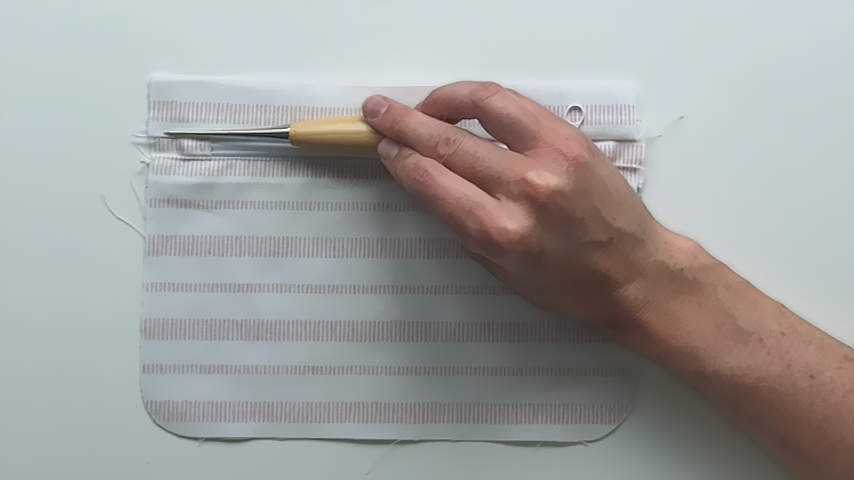
Place your zipper piece wrong side facing the right side of one of your top book pocket pieces (6″ x 9″ piece). Baste around all 4 sides.
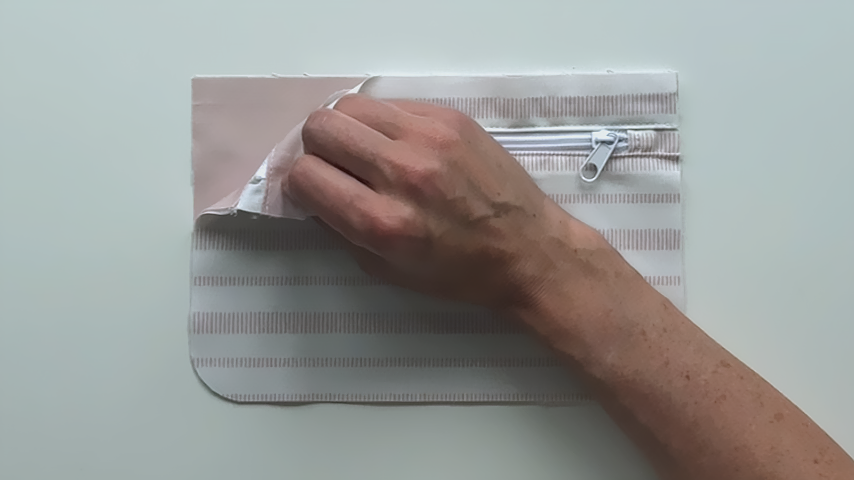
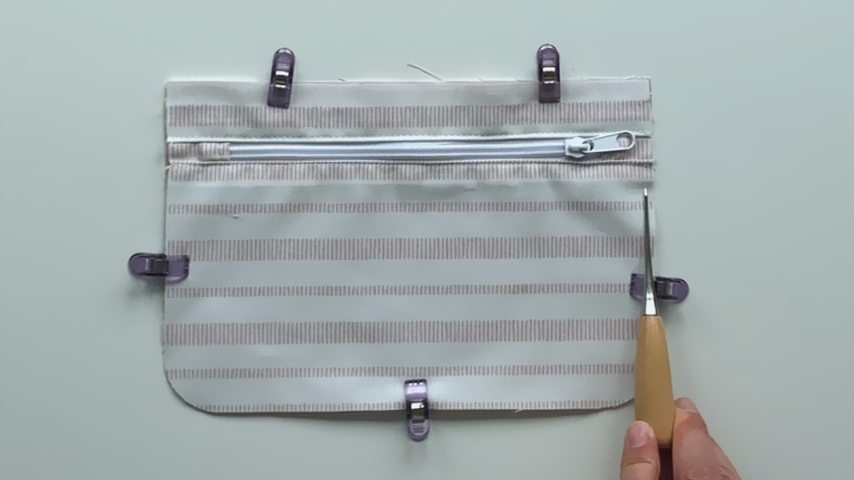
Now place your other 6″ x 9″ piece right sides together with the zipper pocket. Clip along the straight 9″ edge and sew along it using a 1/2″ seam allowance.
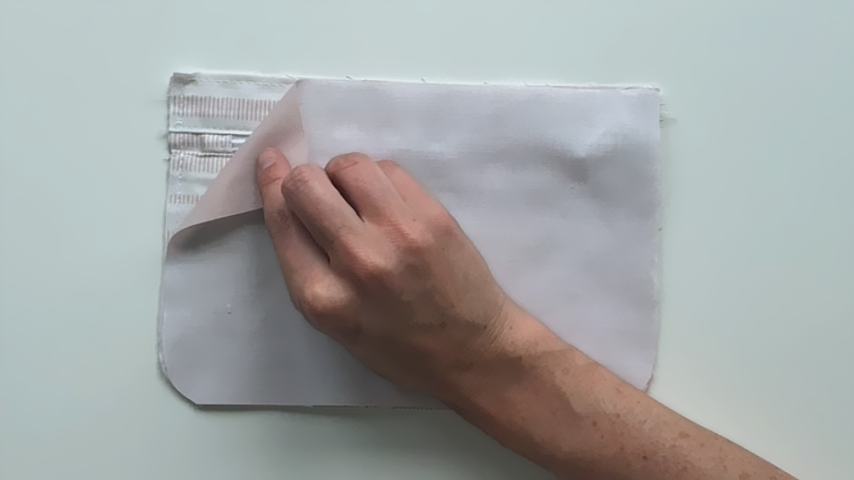
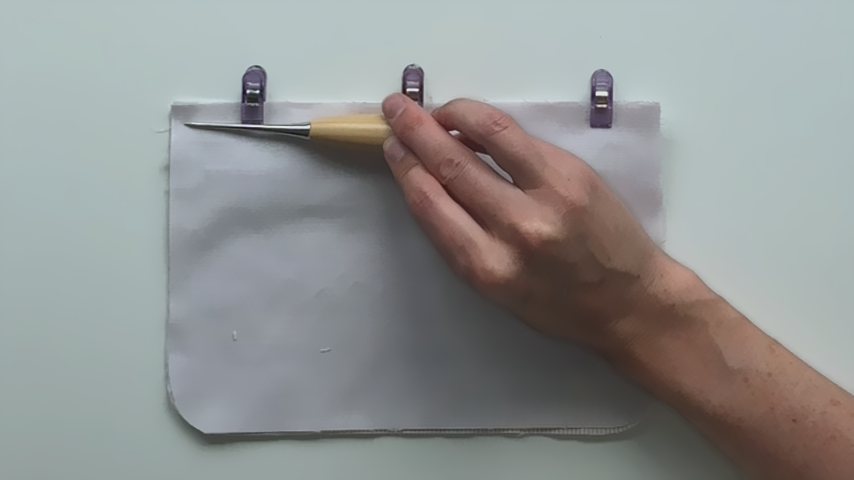
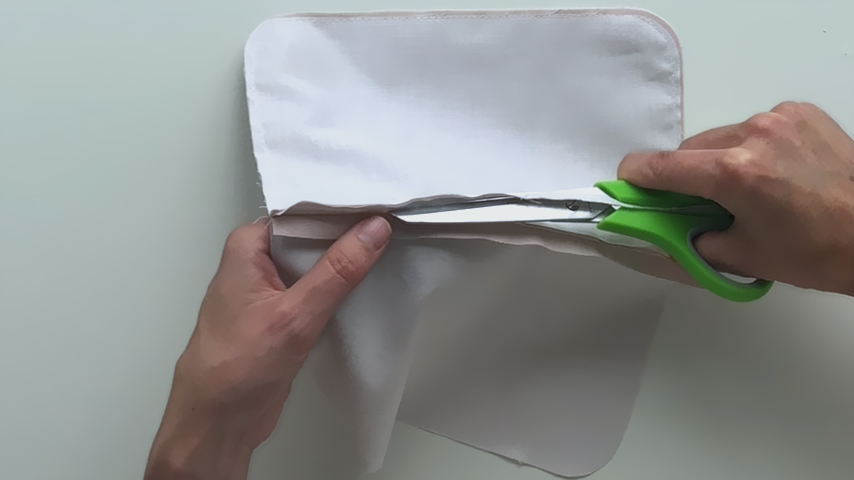
Grade the seam allowance by cutting the zipper side’s seam allowance in half.
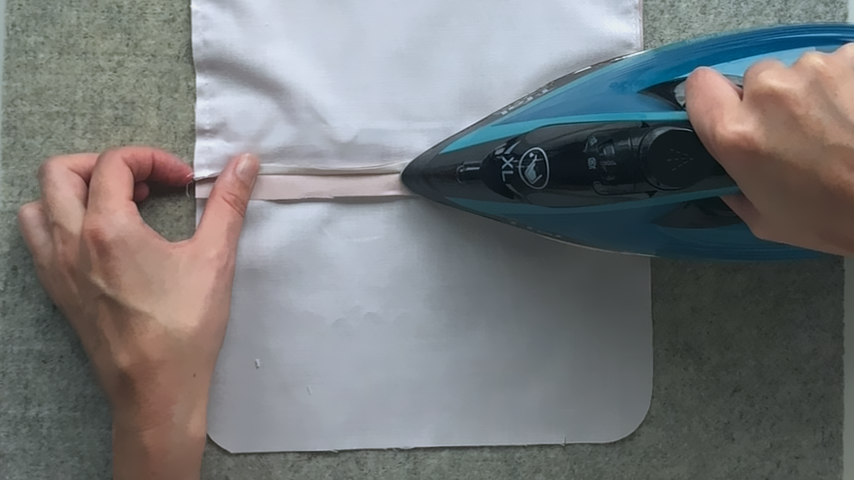
Press the seam open.
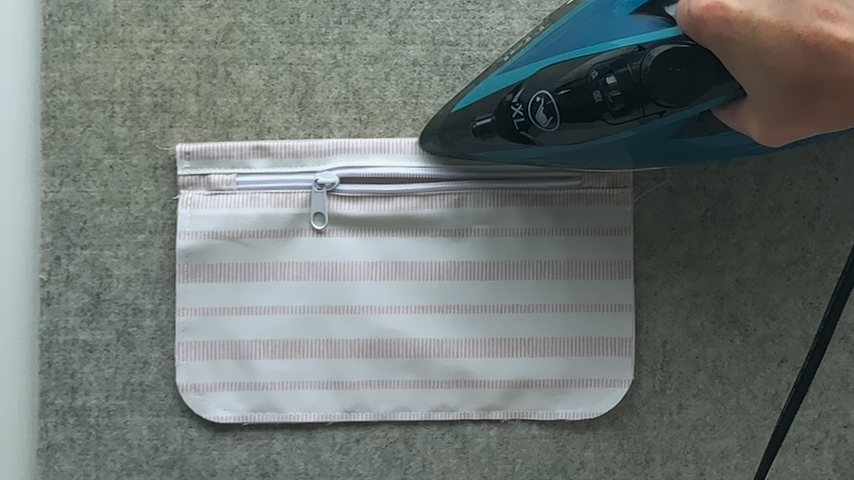
Fold the two pieces so they are wrong sides together, press the folded edge and topstitch along it about 1/8″ away from the edge.
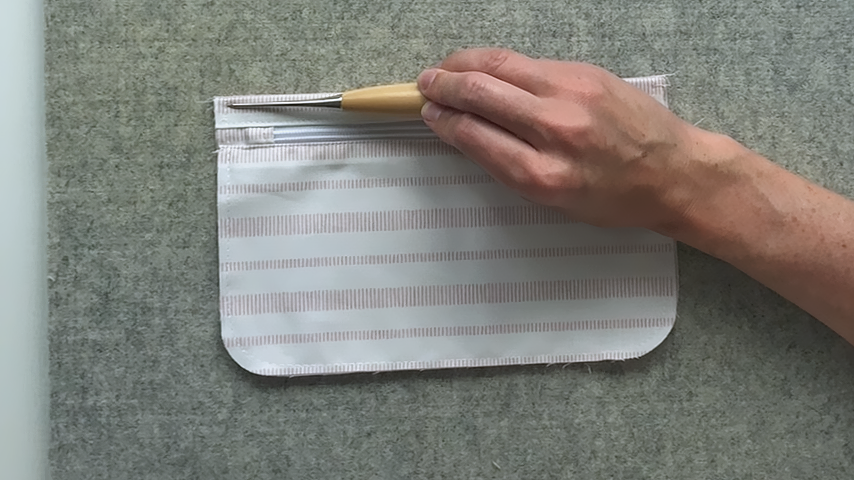
Step 4
Now we can assemble all our pieces.
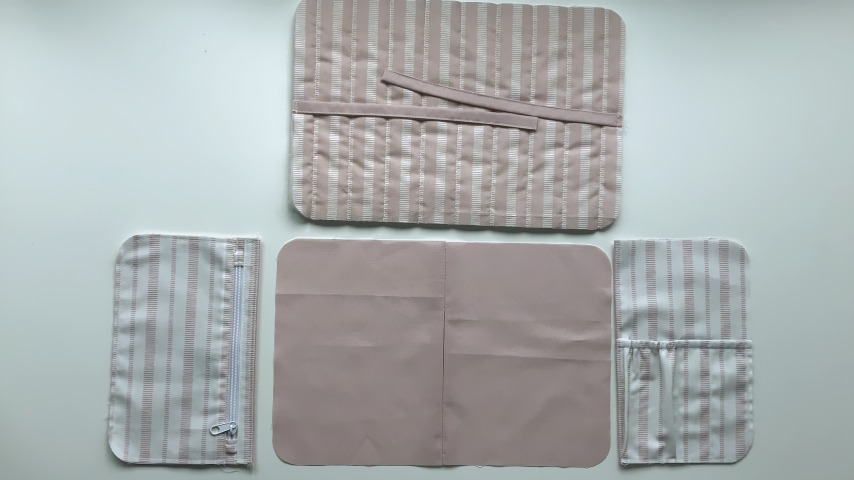
Place the two pockets on either side of your lining piece, lining up with edges. Clip into place, then baste the layers together around the outside edges.
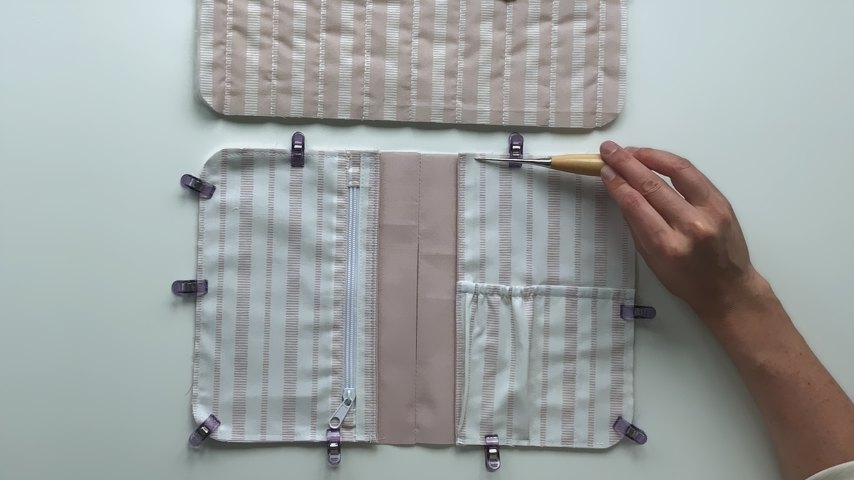
Place the lining/pocket piece right sides together with the outer cover piece. Clip the edges together, and make sure the ends of the ties are out of the way. Sew around all 4 edges using a 1/2″ seam allowance.
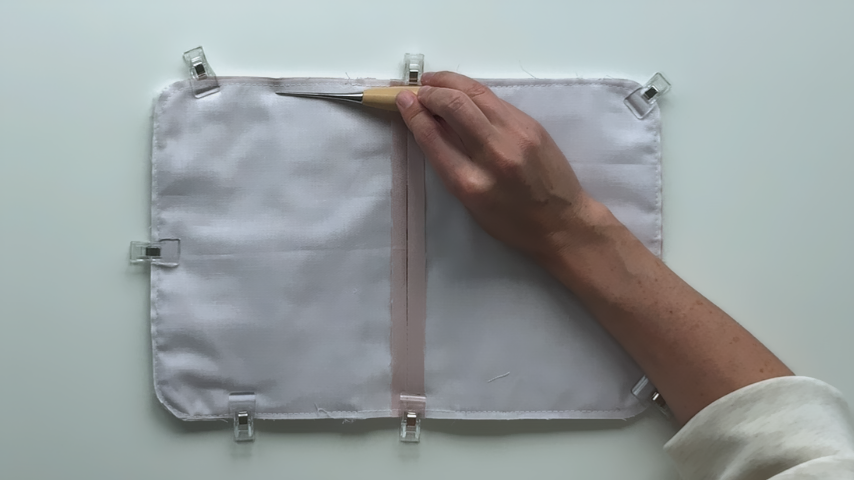
Pull the batting away from the fabric around the edges so you can trim the batting’s seam allowance. I like to hold my scissors almost parallel to the fabric so I can cut close to the stitching, without cutting into it.
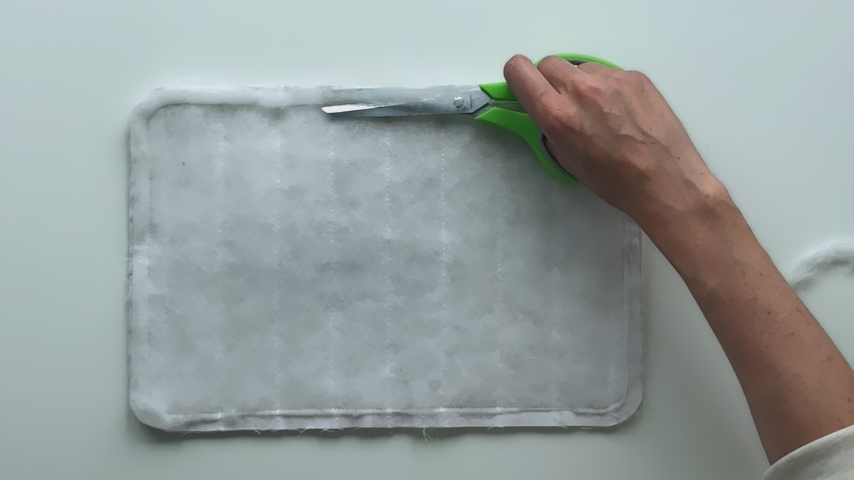
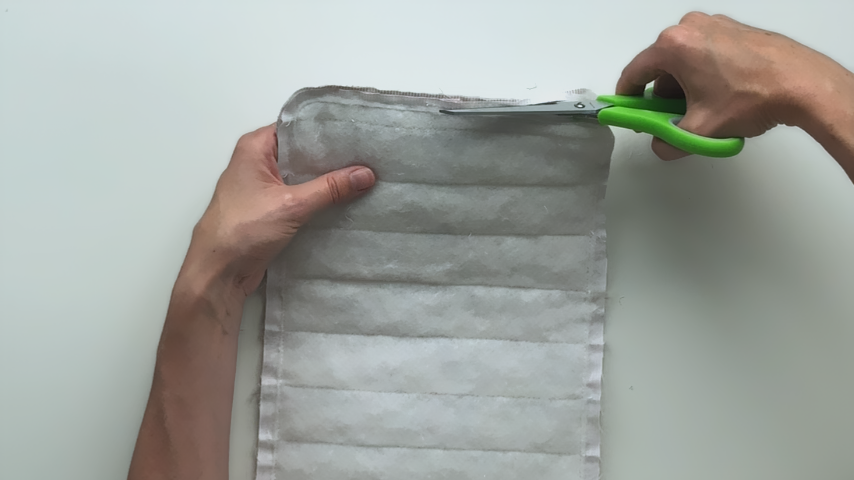
Cut the fabric’s seam allowance in half.
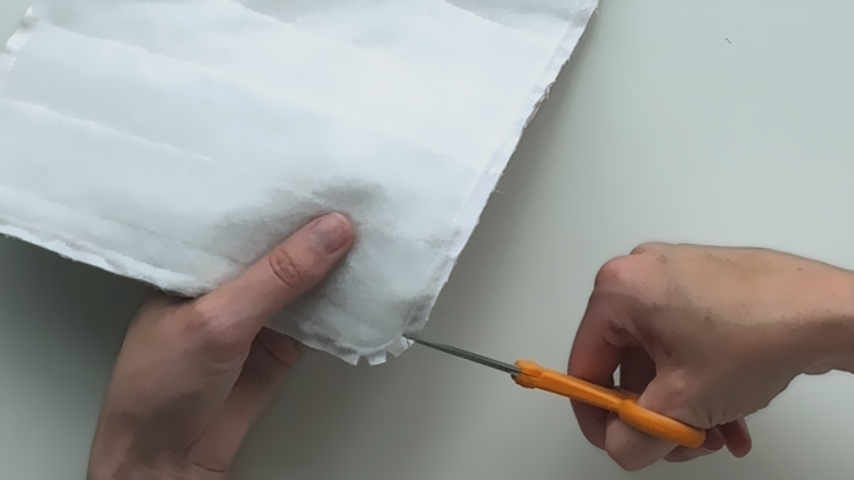
Use the tip of your scissors to cut notches into the corners, being careful not to cut into the stitching.
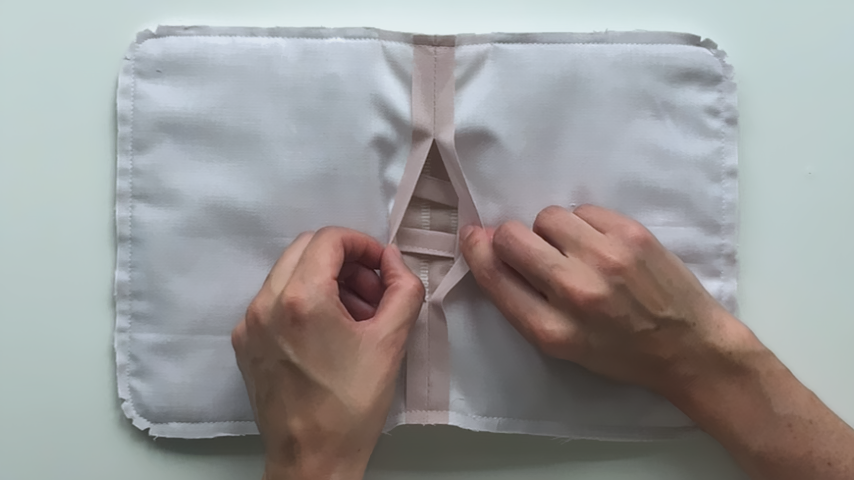
Use the opening to turn the book sleeve right side out.
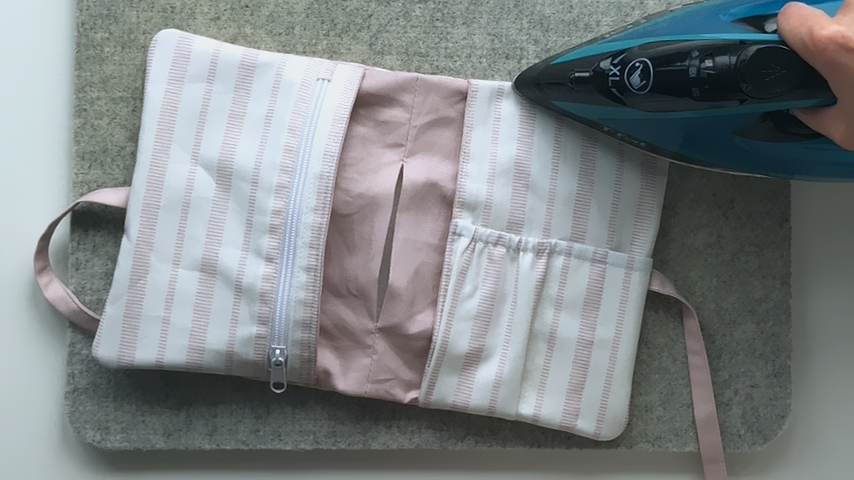
Press the edges, being careful not to hold your iron in one place for too long, or use too high of a setting if your batting is polyester.
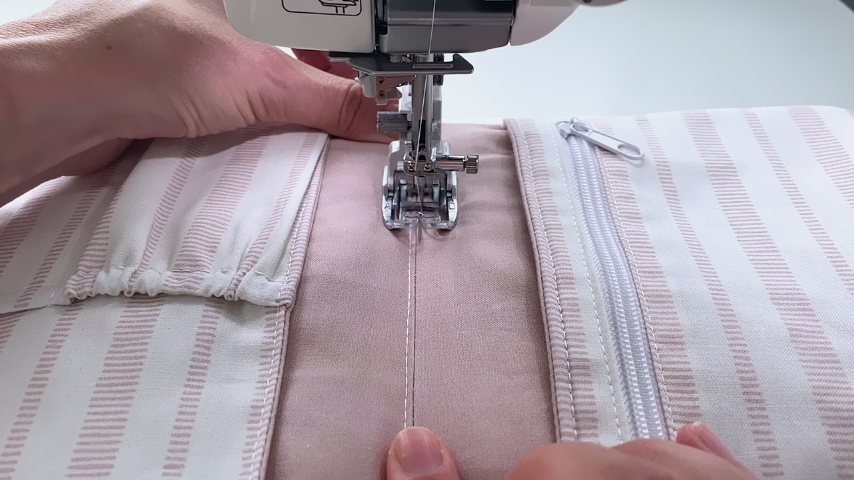
Sew on either side of the middle seam, about 1/8″ away on either side, to close the opening.
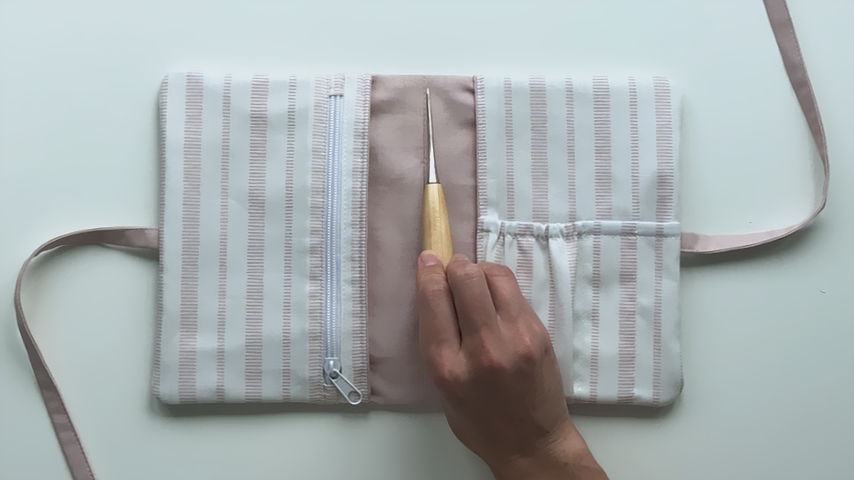
Your quilted book cover is complete!