Vanity Bucket Sewing Pattern (Free) | Beginner-Friendly
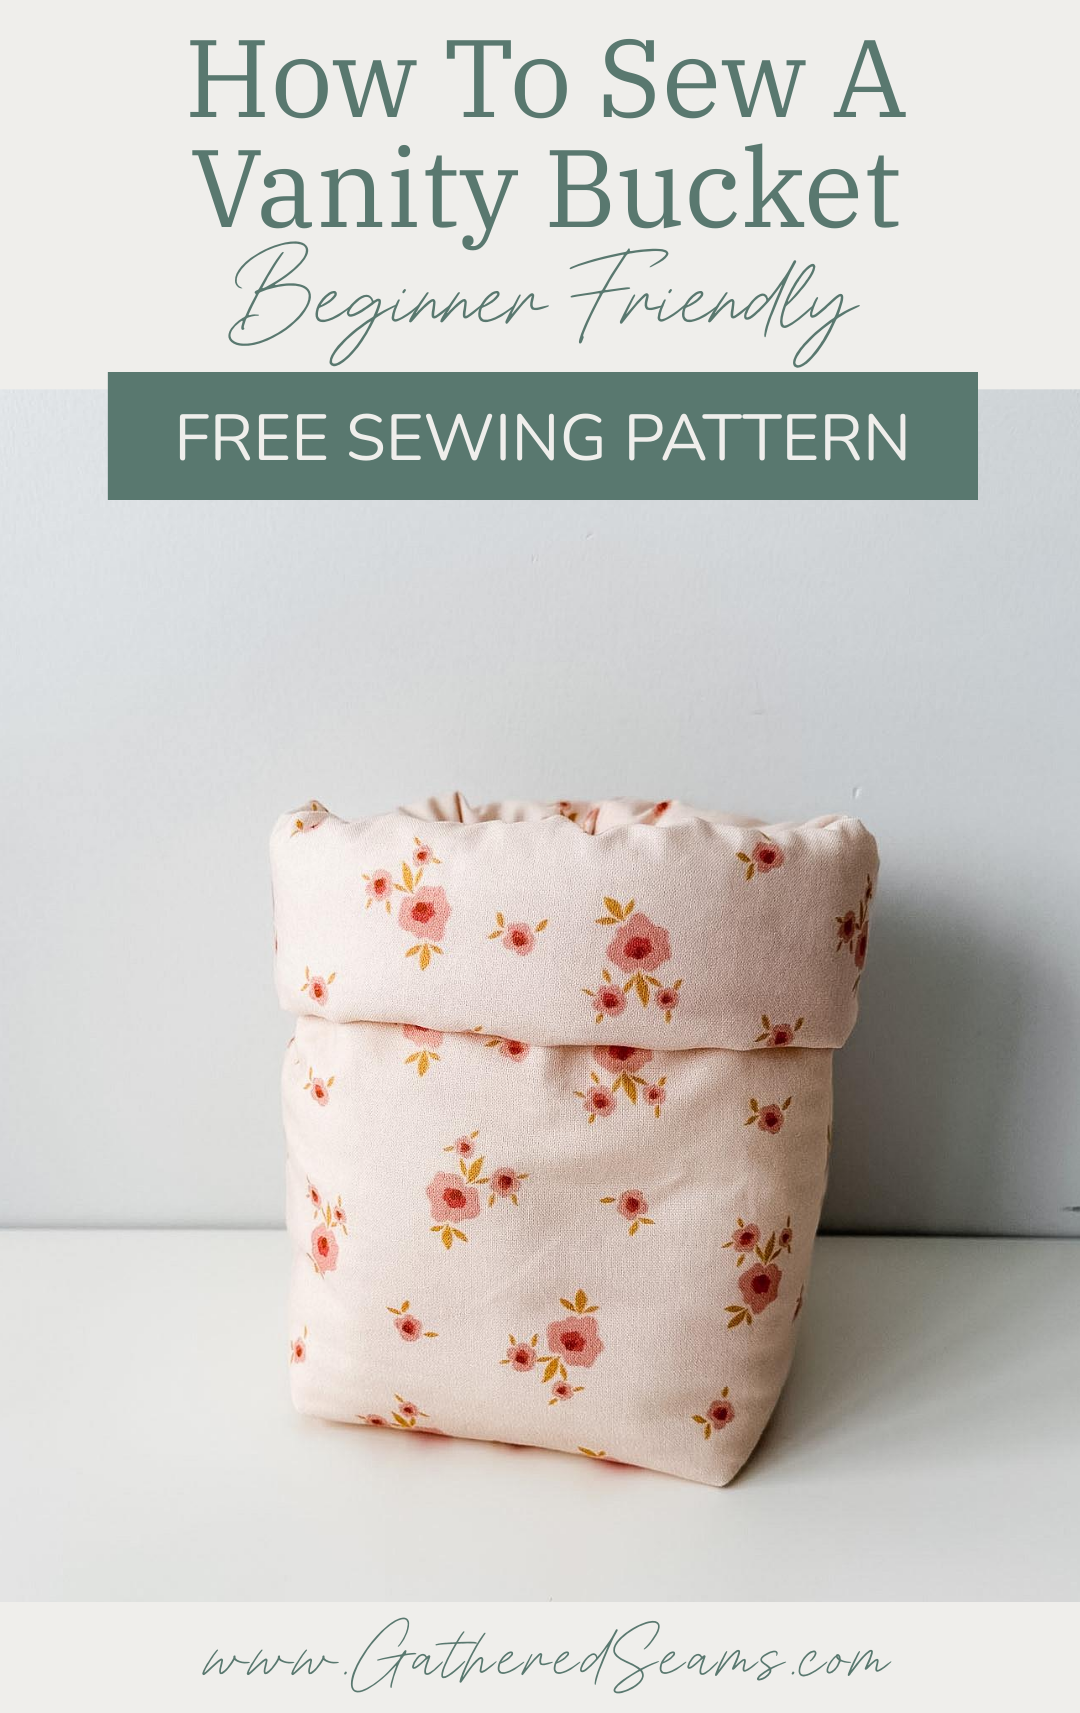
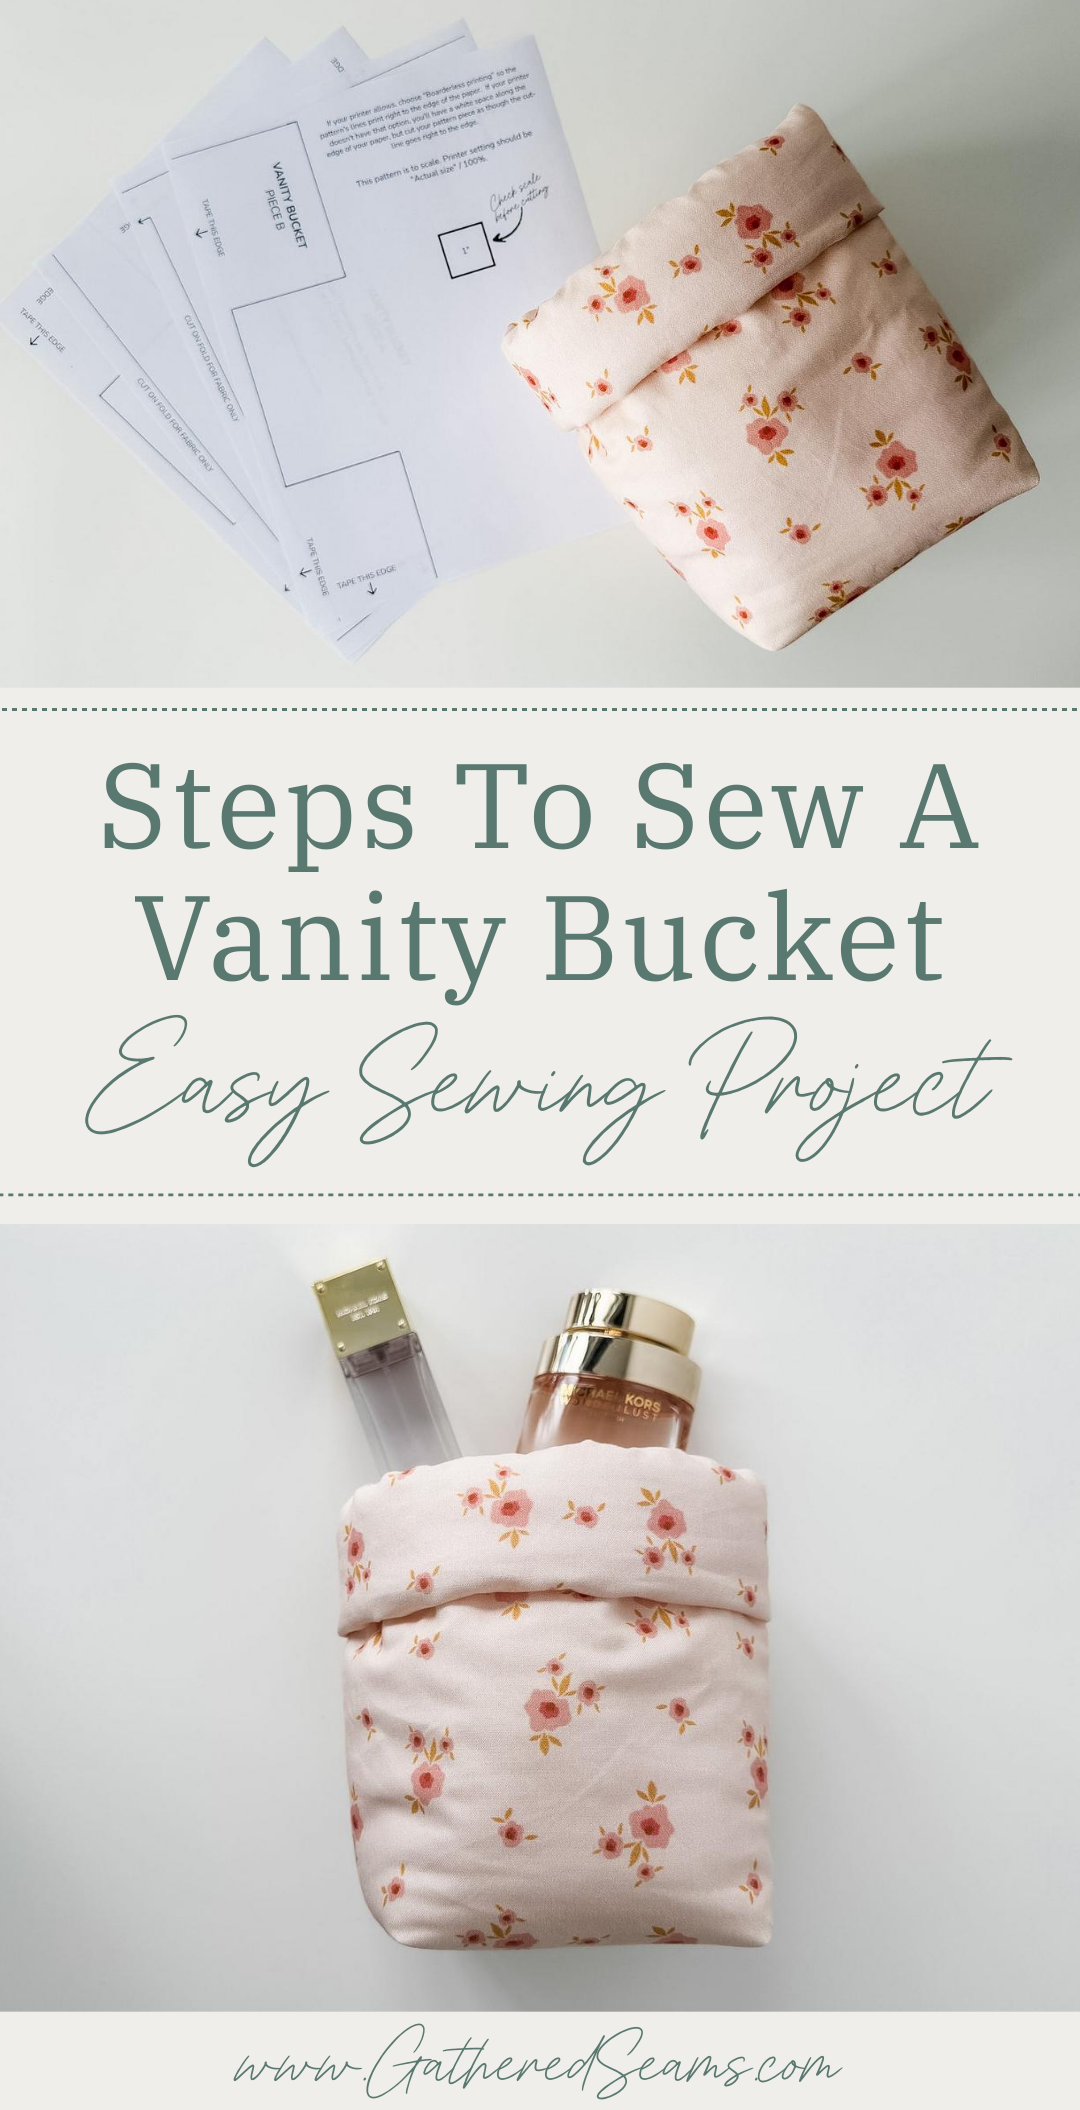
I love the look of these pillowy vanity buckets. They have a soft and cozy vibe.
Of course, you can make this without the batting if you don’t love the stuffed look. You might add fusible interfacing for structure, or use a heavier-weight fabric such as canvas or denim.
This free sewing pattern is perfect for beginners.
Most vanity buckets have a round base, which can be a little more challenging to sew.
This vanity bucket sewing pattern has a square base. But due to all the batting, the bucket has a round shape around the middle and top.
Depending on how popular this pattern is, I may offer it in other sizes and styles (so be sure to pin this project to Pinterest if you’d like to see more variation! This helps me gauge how popular a pattern is).
This vanity bucket is approximately 5-1/2″ x 5-1/2″ and 6-1/2″ tall.
I think it would be a good side for taller bottles (e.g. hair products, taller perfume bottles, lotions, etc.) or makeup brushes. I’m planning to use mine for my reusable cotton rounds.
You can fold the top edge down as much or as little as you like to make the basket taller or shorter.
If you don’t want a folded-down edge, but you want a shorter basket, you can simply fold the pattern piece back along the edge that reads “CUT ON FOLD FOR FABRIC ONLY”.
Materials
As an Amazon Associate, I earn from qualifying purchases (see full disclosure here).
- Fabric
- Extra loft batting (I used 2 layers of this extra loft batting to get a really fluffy look. If you don’t want to use batting, you could use a heavier-weight fabric such as canvas or add fusible interfacing to your lighter-weight fabric.)
- Thread
Tools
- Sewing machine
- Temporary fabric pen or chalk
- Ruler
- Iron
- Scissors
- Pins or clips
- Seam ripper
Free sewing pattern for a vanity bucket
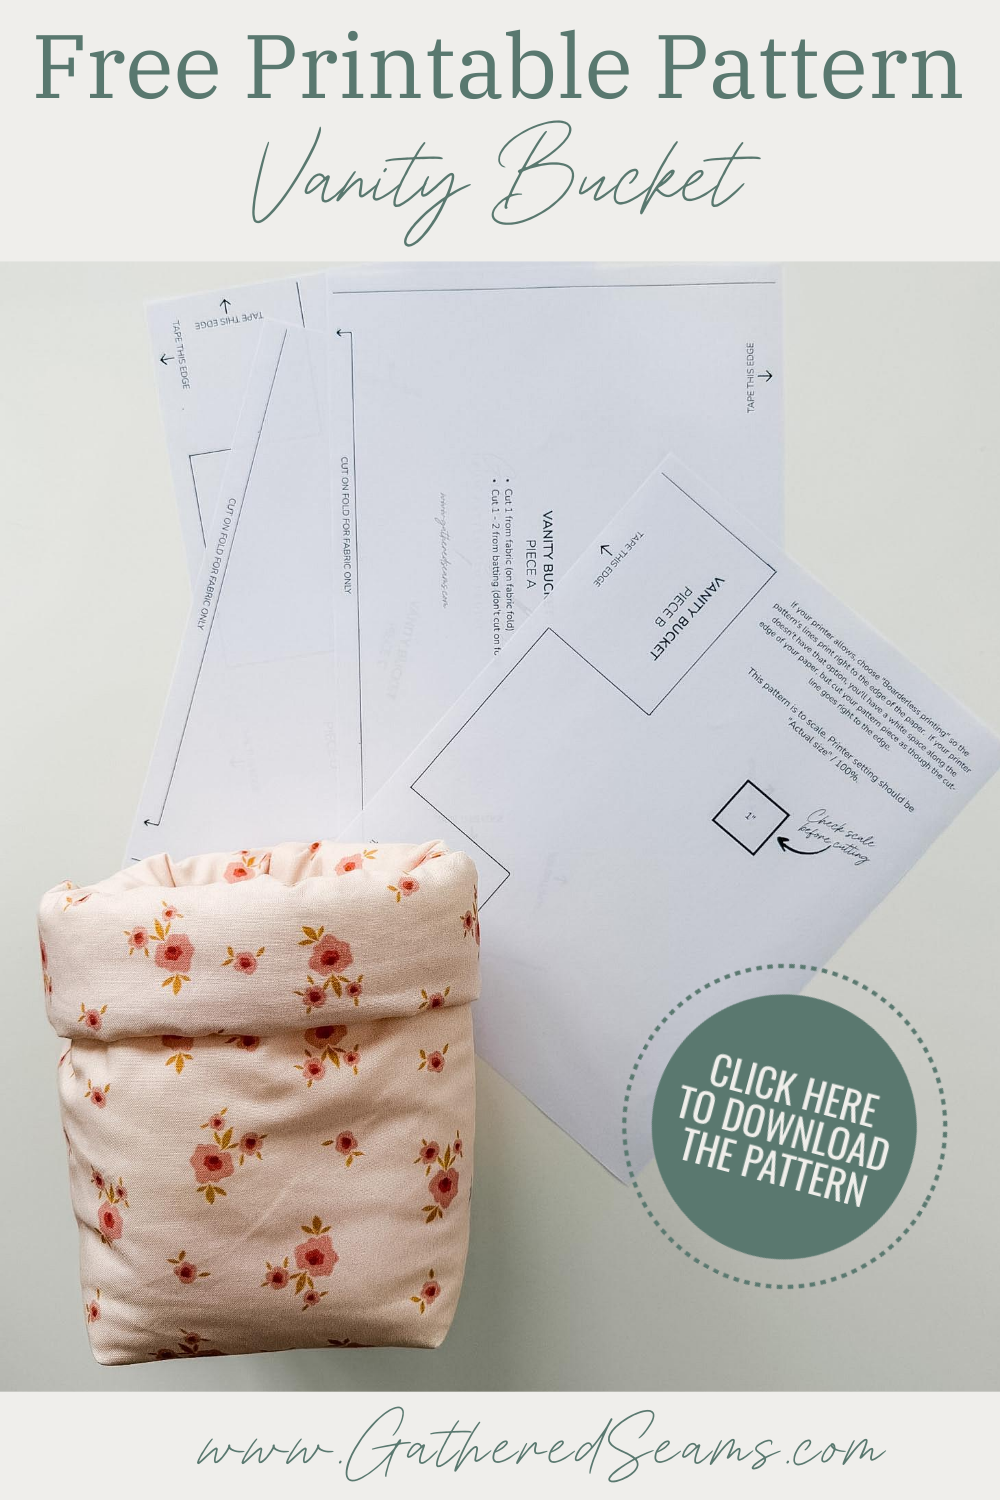

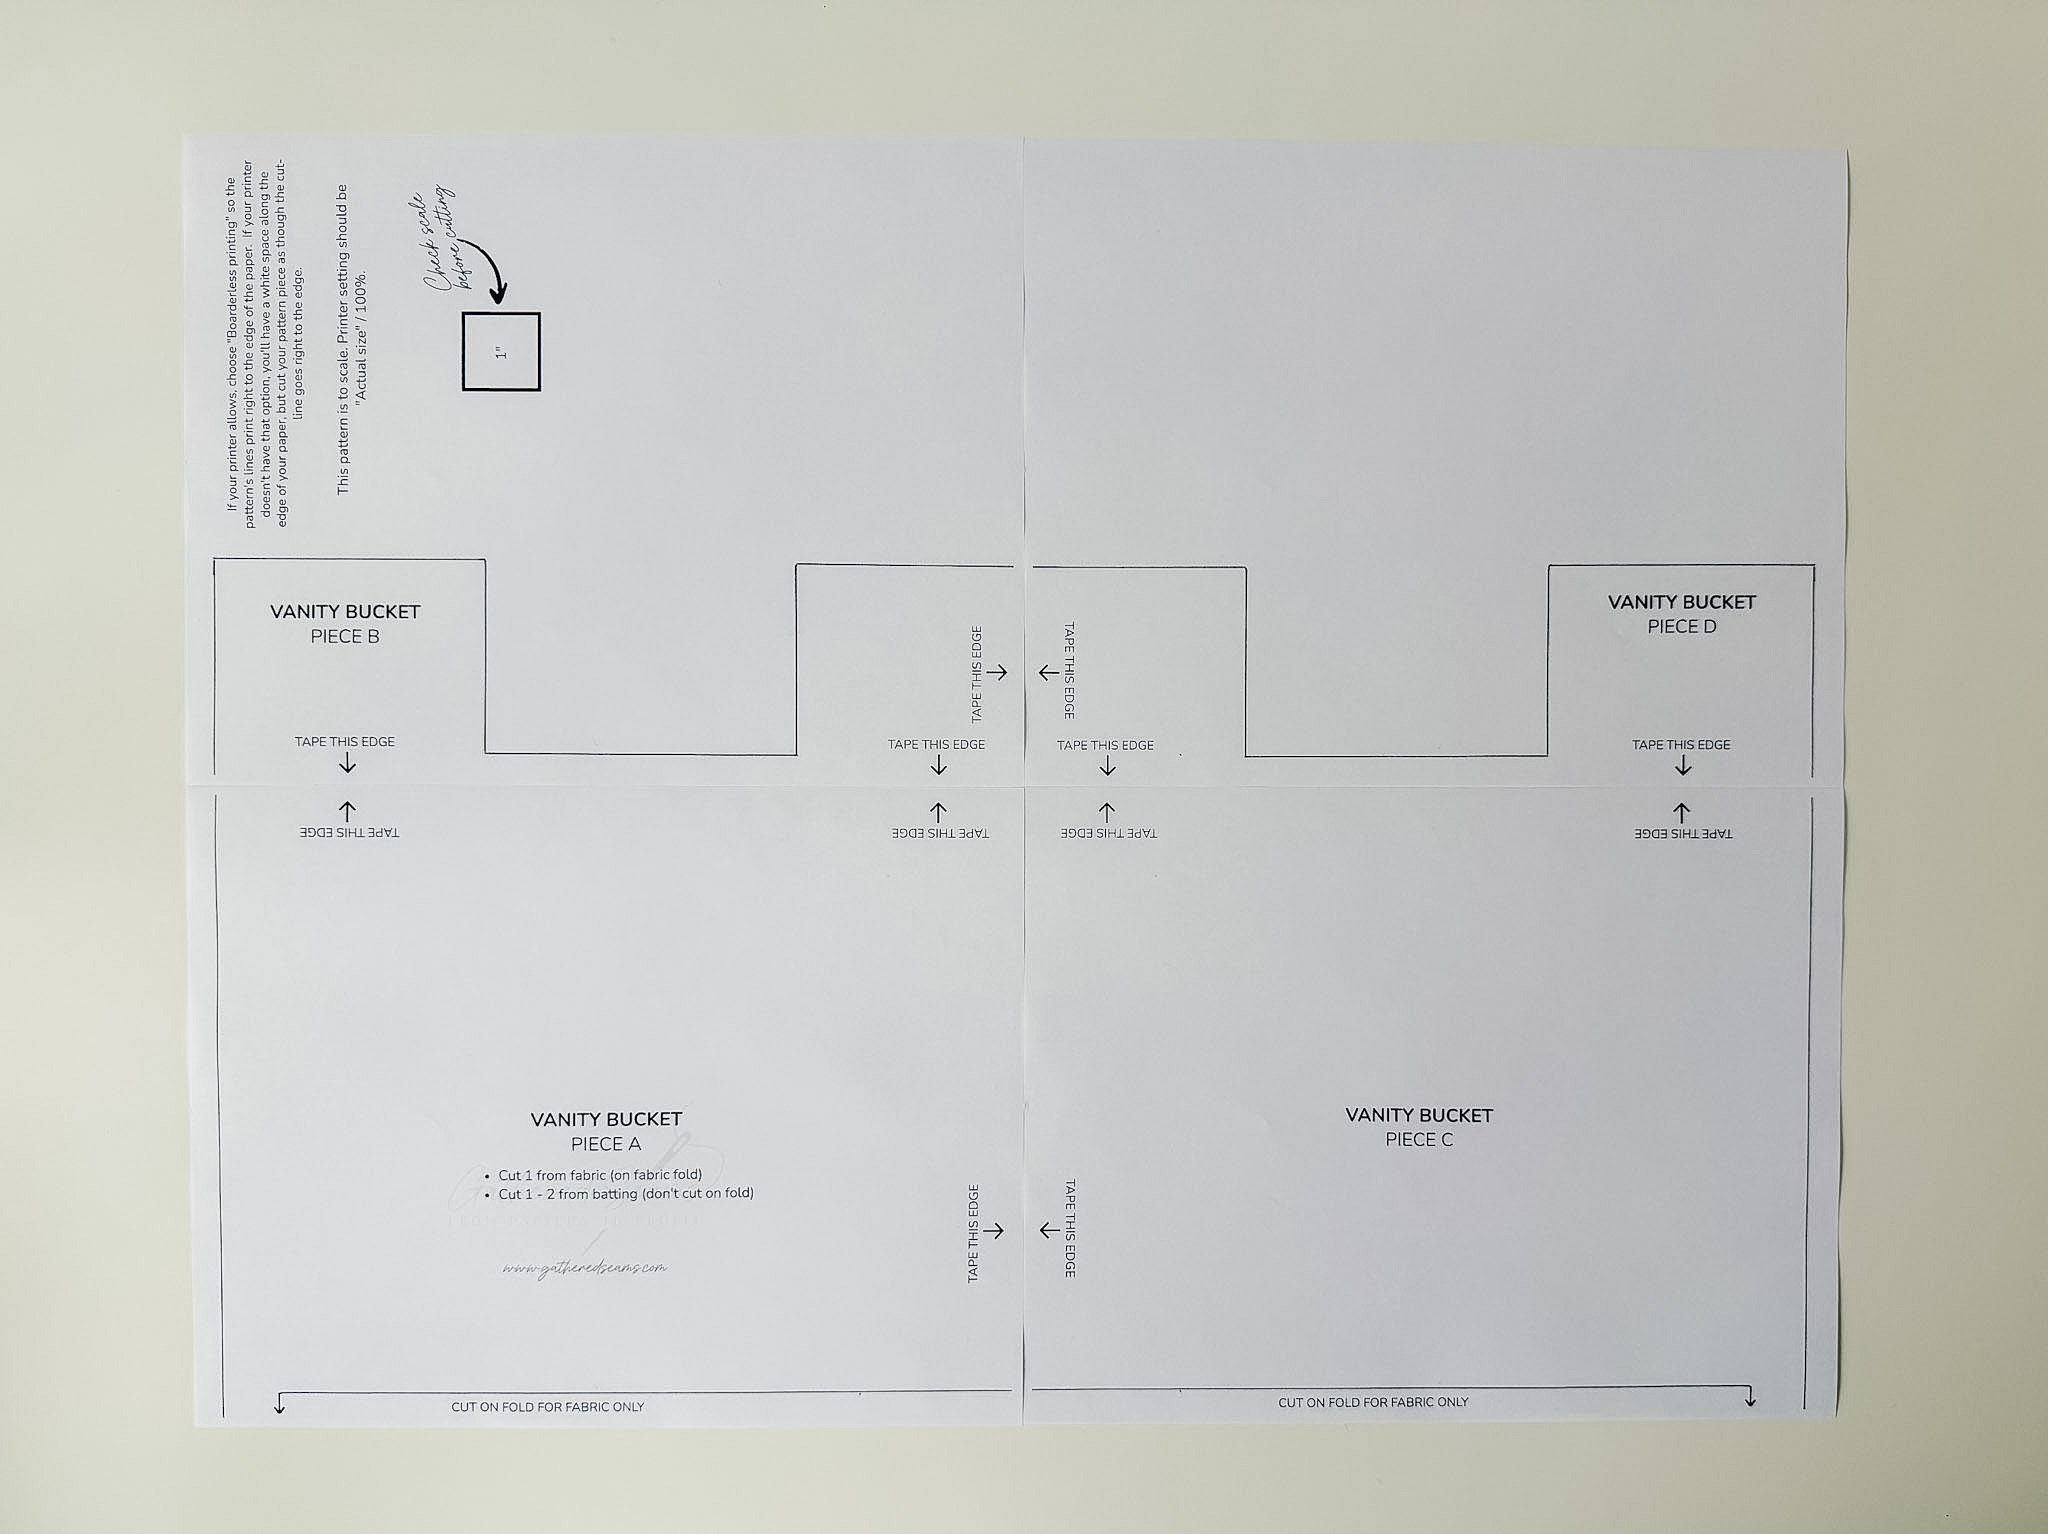
Download the vanity bucket PDF sewing pattern, print the pattern pieces, tape them together, and cut them out.
Your pattern pieces should be situated as follows (lining up the “TAPE THIS EDGE” arrows):
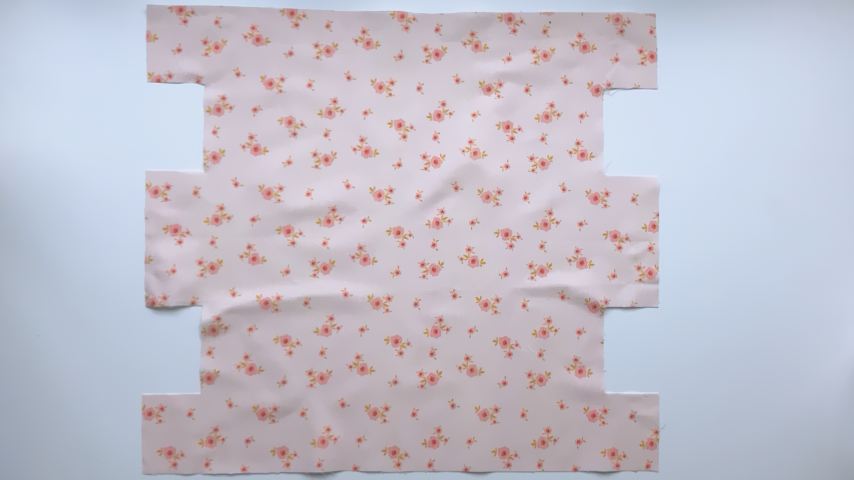
For the fabric piece, you’ll cut the fabric on a fold, so it looks like this:
For the batting, you only need half the height of the fabric piece, so you can cut the pattern pieces as is (not on a fold), so it looks like this:
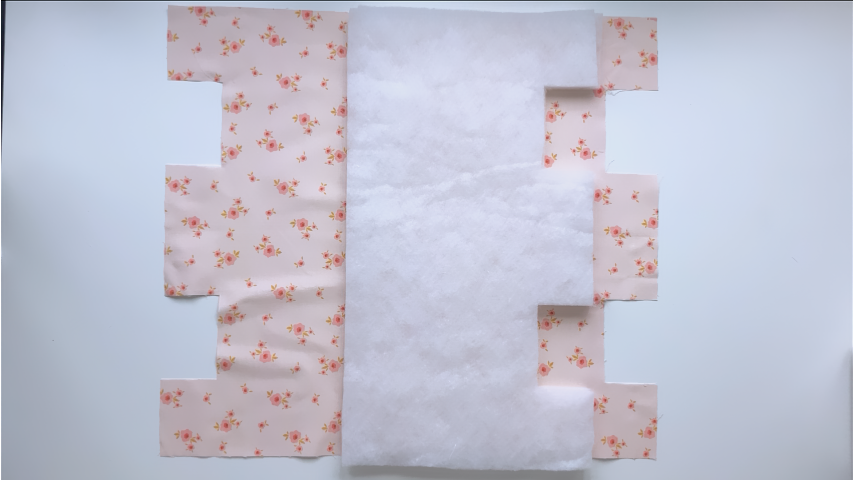
I cut 2 pieces of batting to give my vanity bucket extra thickness.
Steps to sew a vanity bucket
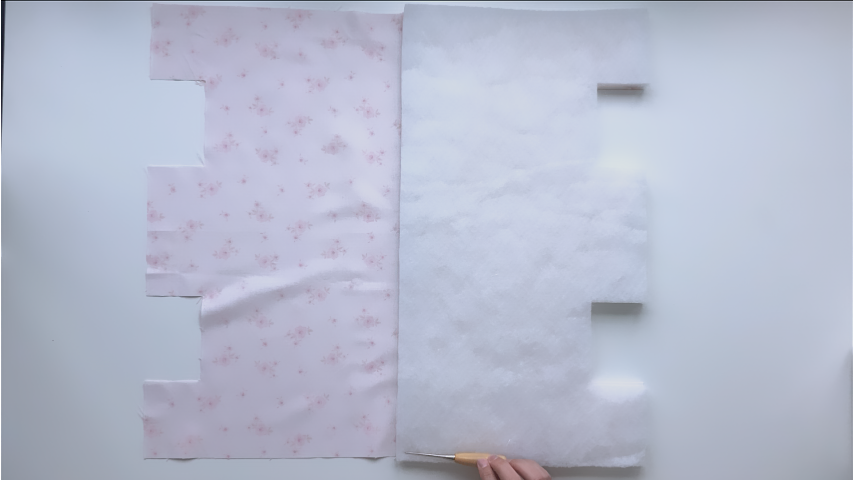
Step 1
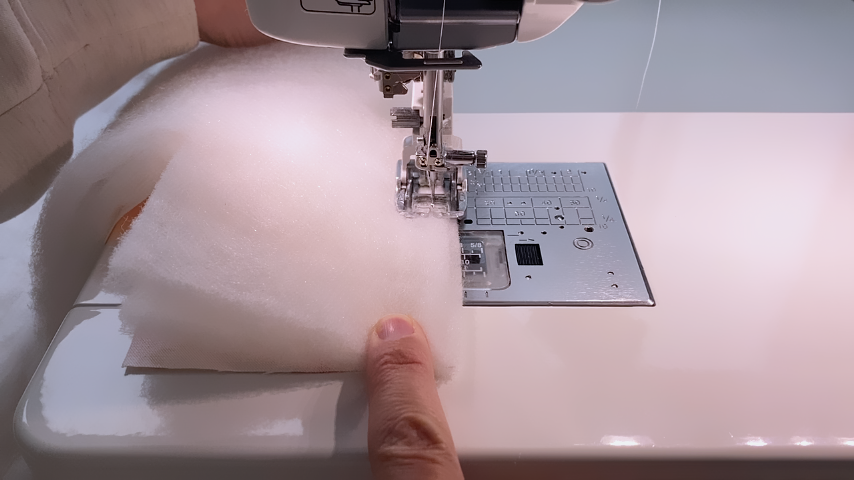
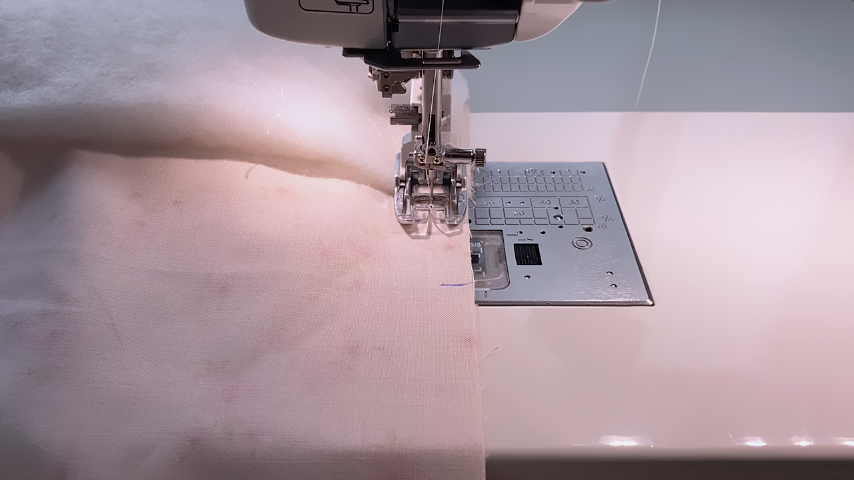
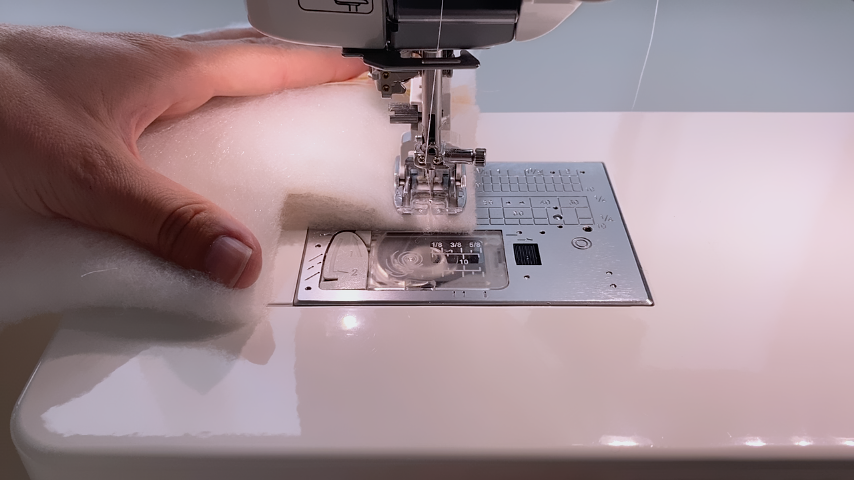
Line up your batting with the bottom half of the fabric and baste around the edges of the batting (don’t baste along the top).
*A basting stitch is the longest stitch length on your sewing machine and is sewn within the seam allowance. This pattern’s seam allowance is 1/2″, so baste about 1/4″ away from the edge of the fabric/batting.
It’s important to use a basting stitch for this step as you will be removing these stitches later.
Step 2
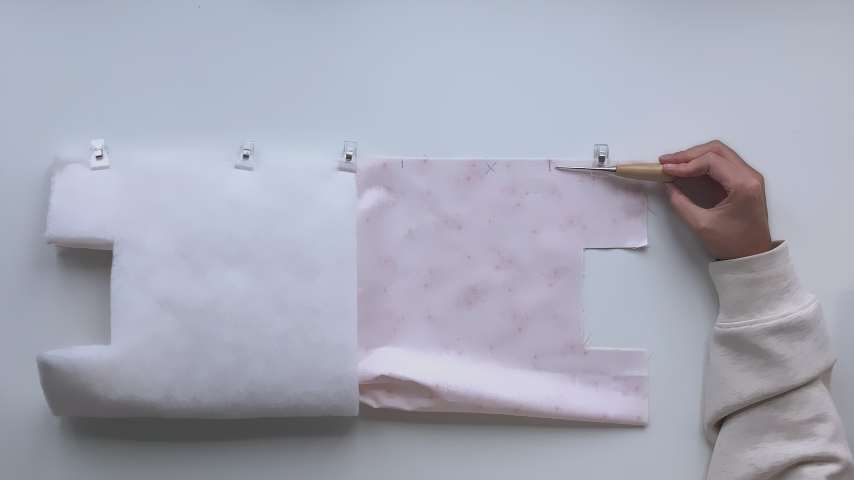
Fold your pattern piece in half width-wise to line up the side edges and clip together.
Use a temporary fabric pen to mark 2 lines that are 4″ – 5″ apart, on the lining/non-batting side.
Make sure your first line starts about 2-1/2″ away from the top of your batting (as the top edge will be folded down and you don’t want to see the topstitching from closing the opening).
Use a 1/2″ seam allowance to sew along this edge, backstitching at the start and end of the two lines and using a basting stitch between them.
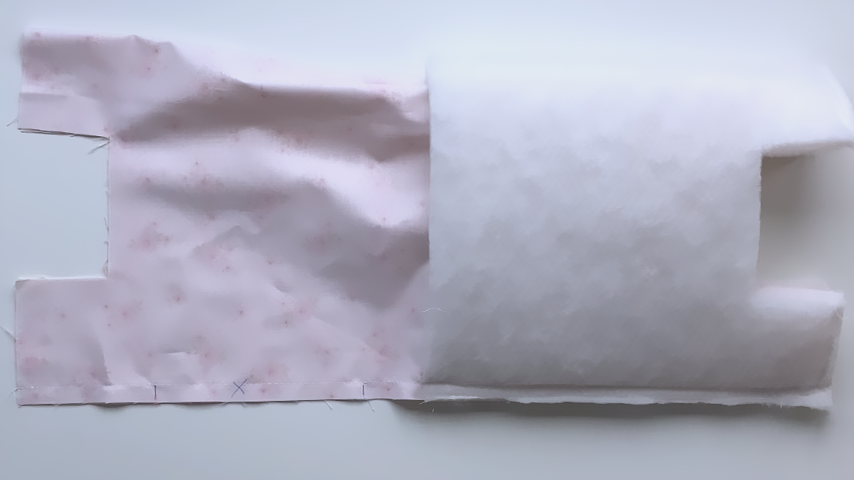
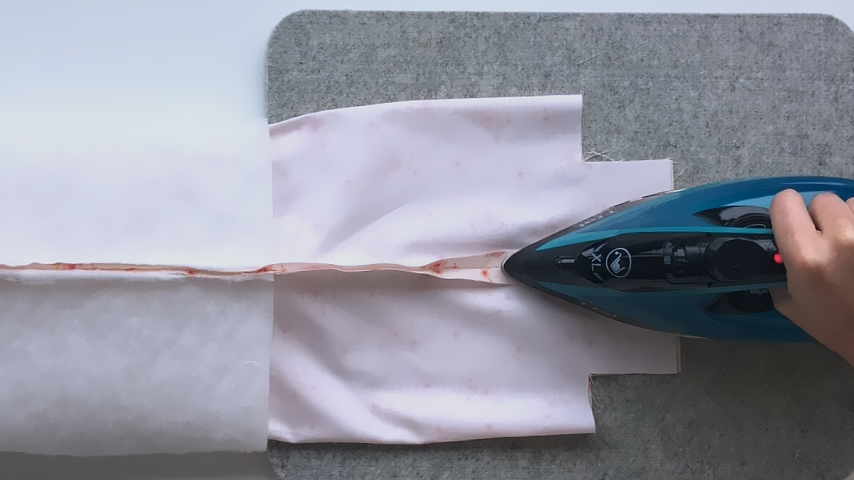
Press the seam on the fabric side open (you don’t want to use your iron on the polyester batting or it will melt).
Use a seam ripper to remove the basting stitches (that are between the two lines).
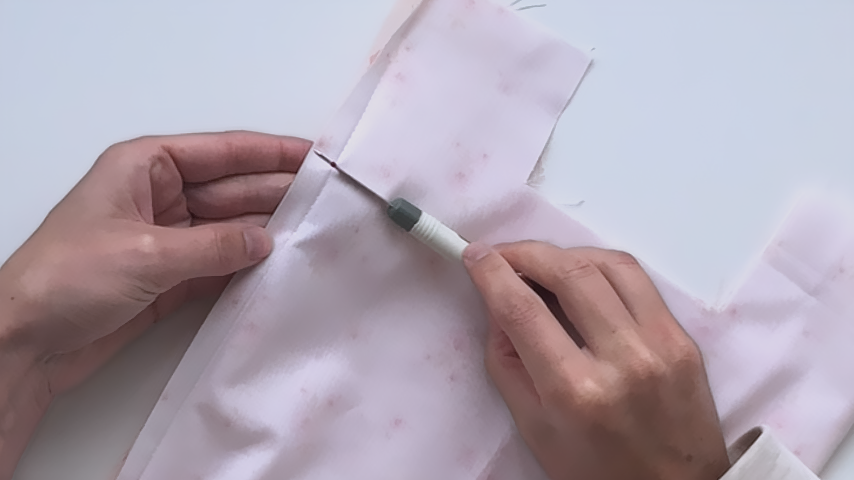
Use your seam ripper to remove the basting stitches holding the batting and fabric together along the edge you just stitched.
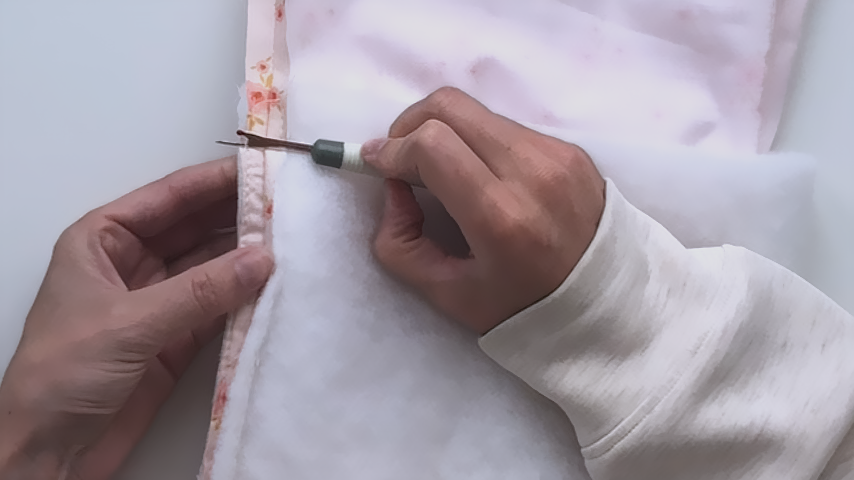
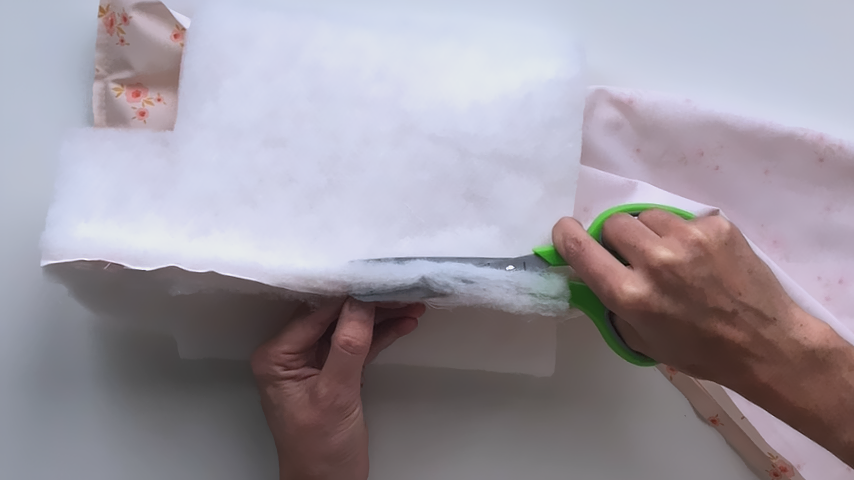
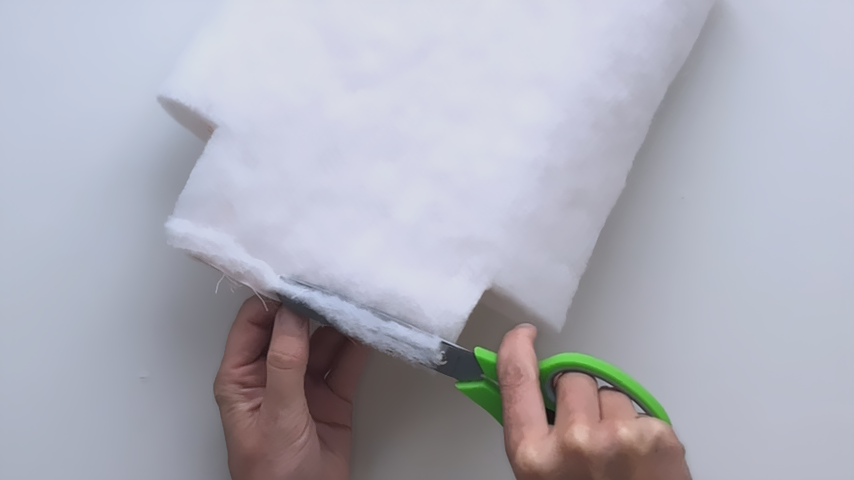
Once the basting stitches are removed, you can trim the batting back as close to the stitching as possible, without cutting the stitches.
You’re only cutting the batting.
I like to hold my scissors almost parallel to the fabric, which allows me to trim the batting close.
Trim the batting on both sides of the seam.
Step 3
Line up the bottom edges and clip together.
Using a 1/2″ seam allowance, sew the bottom edges together.
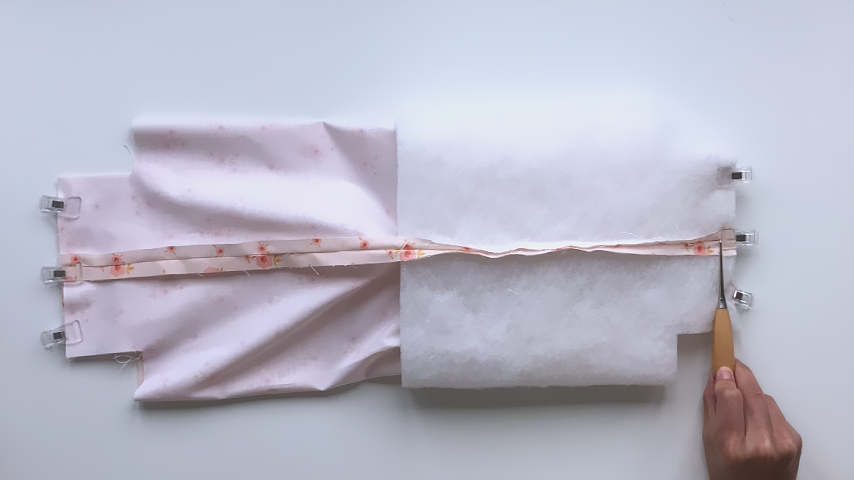
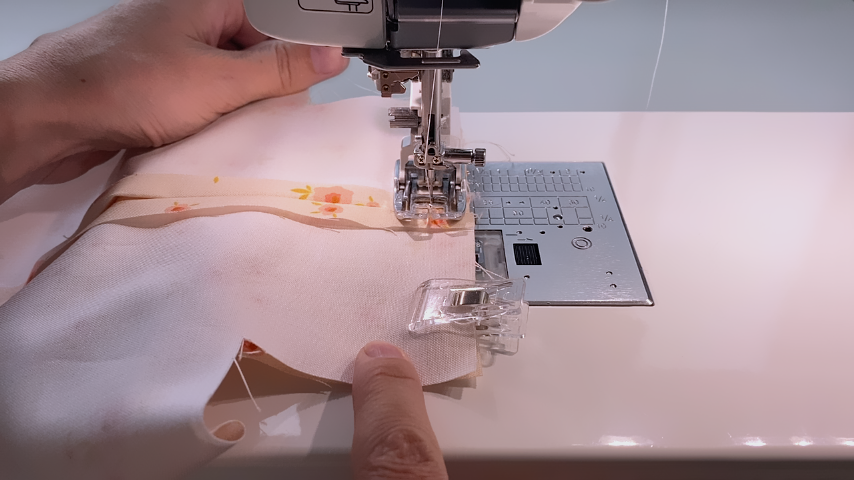
Use a seam ripper to remove the basting stitches holding the fabric and batting together, then trim the batting’s seam allowance. Again, you only need to trim the batting; not the fabric.

Step 4
Fold your corner edges together. Use your finger to smooth the fabric along the fold and ensure it’s not getting bunched together (due to the batting).
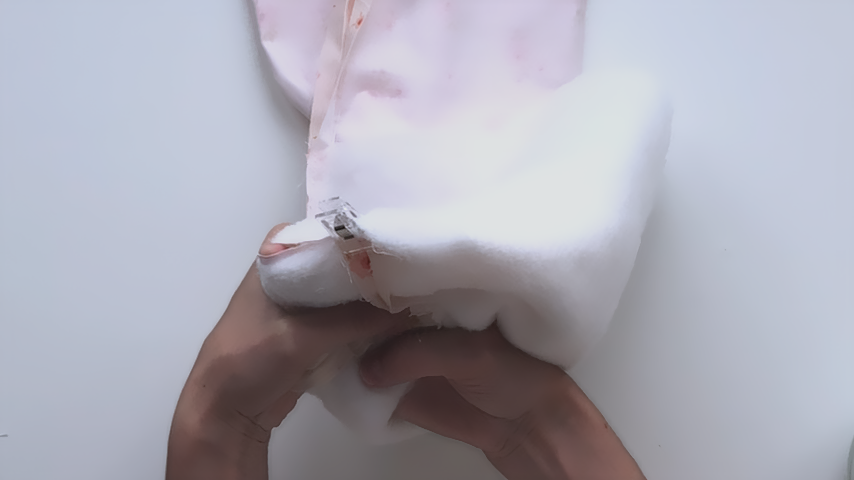
Clip the edges together and use a 1/2″ seam allowance to sew them closed.
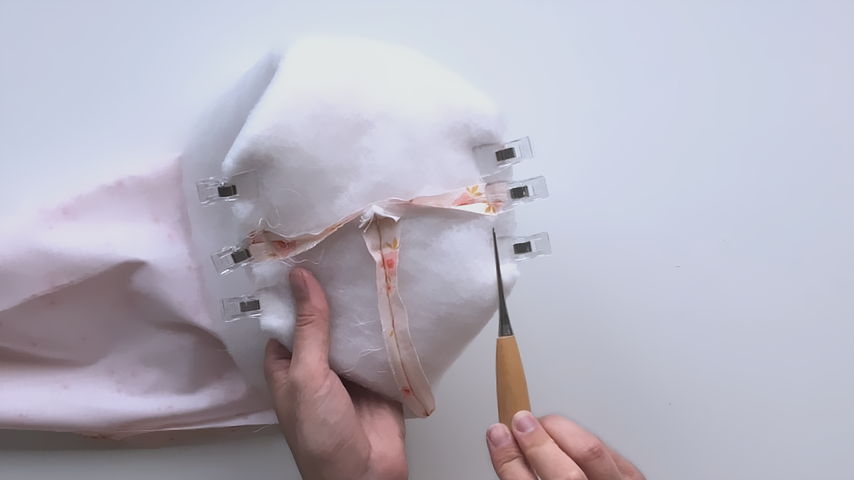
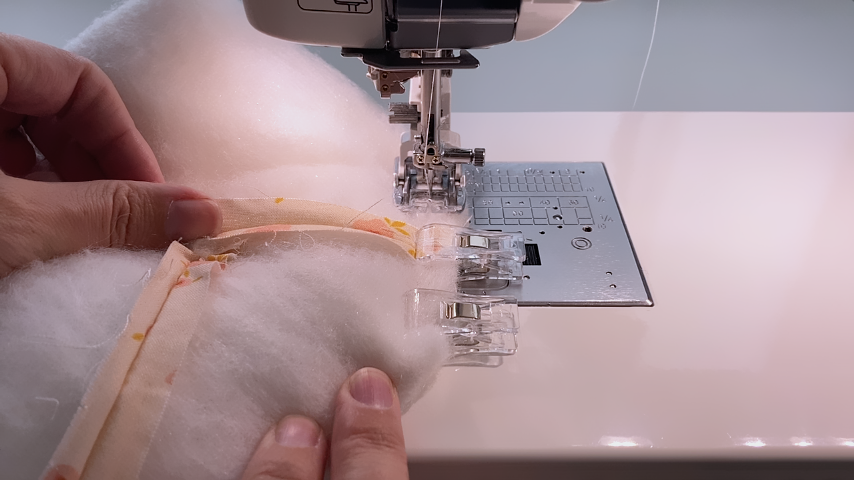
Remove the basting stitches holding your batting and fabric together, then use the tip of your scissors to clip your batting to the point of the corner. Then trim the batting’s seam allowance back on either side of the seam.
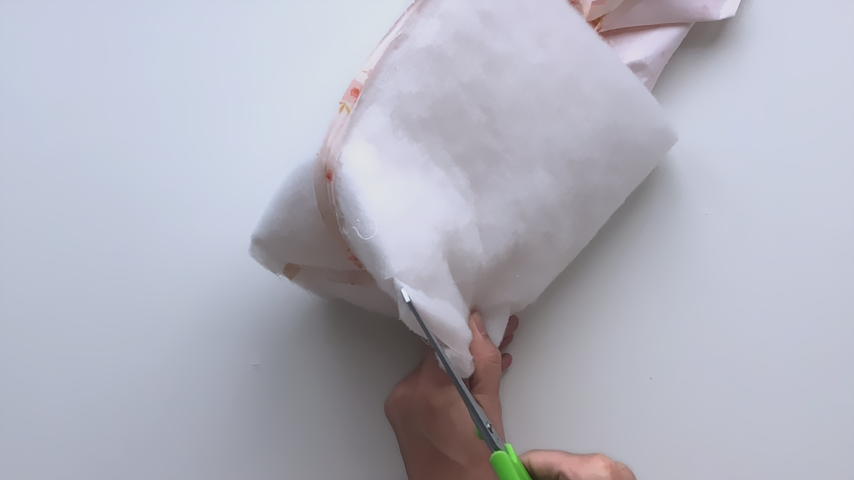
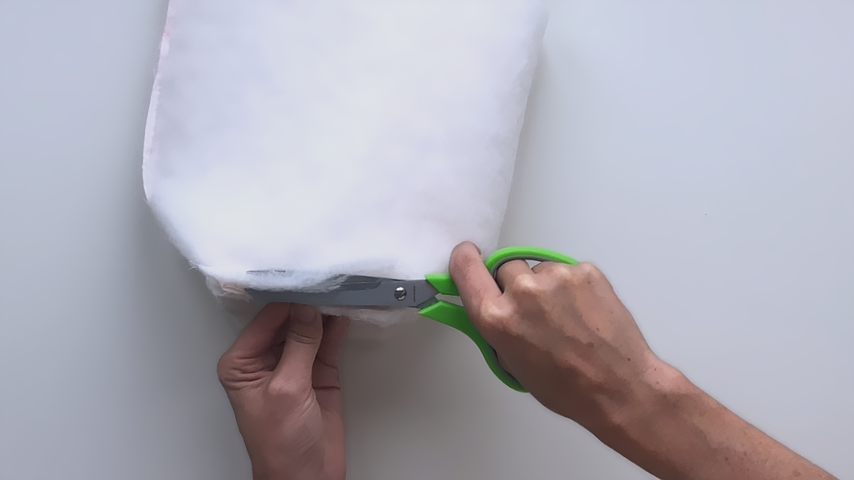
Repeat those steps to close in the lining end of the bucket.
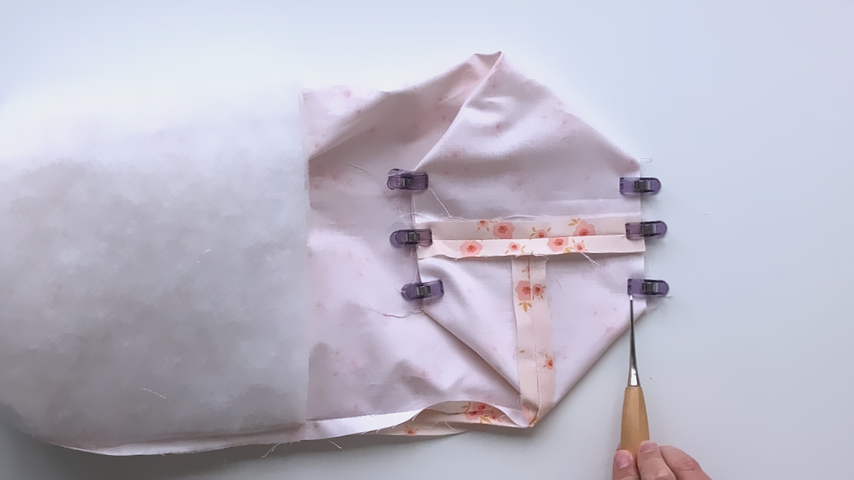
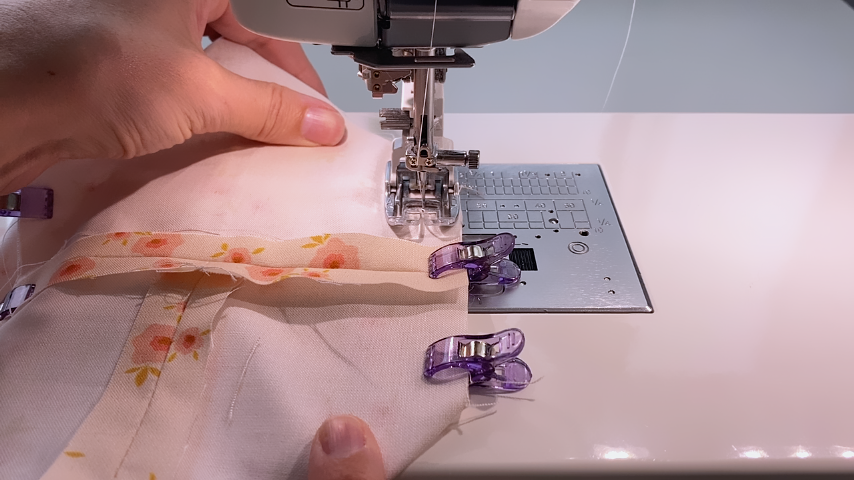
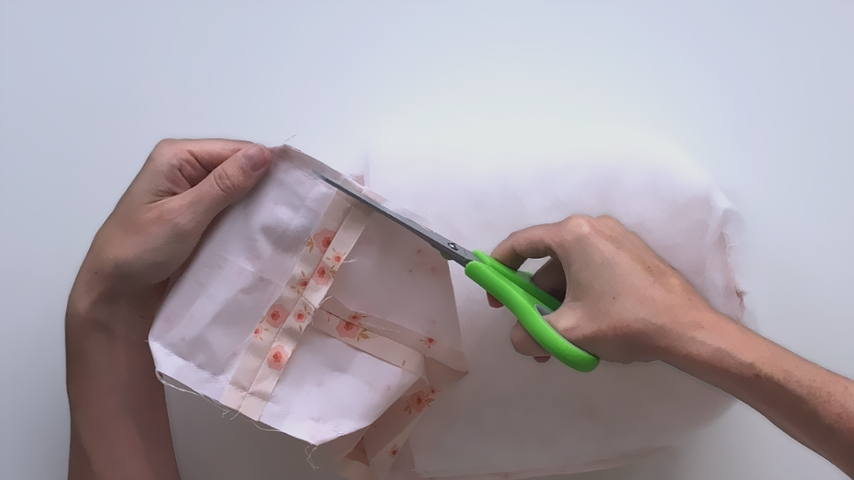
Trim the seam allowance in half.
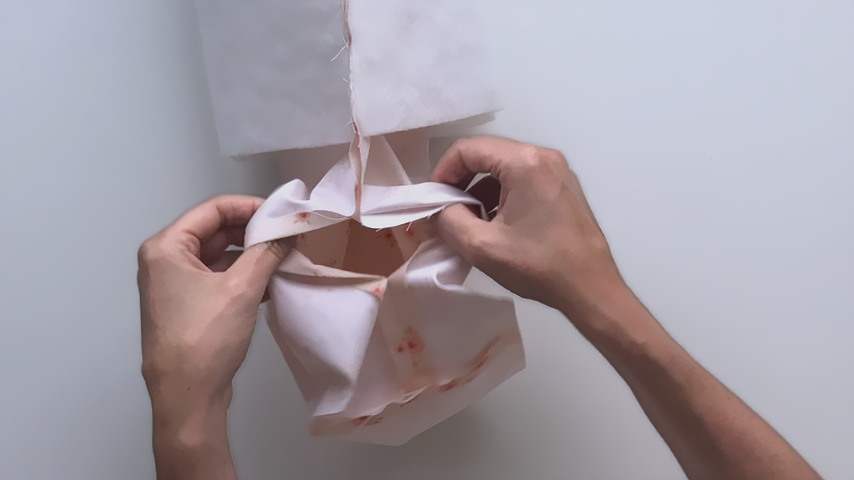
Step 5
Use the side opening to turn the bucket right side out.
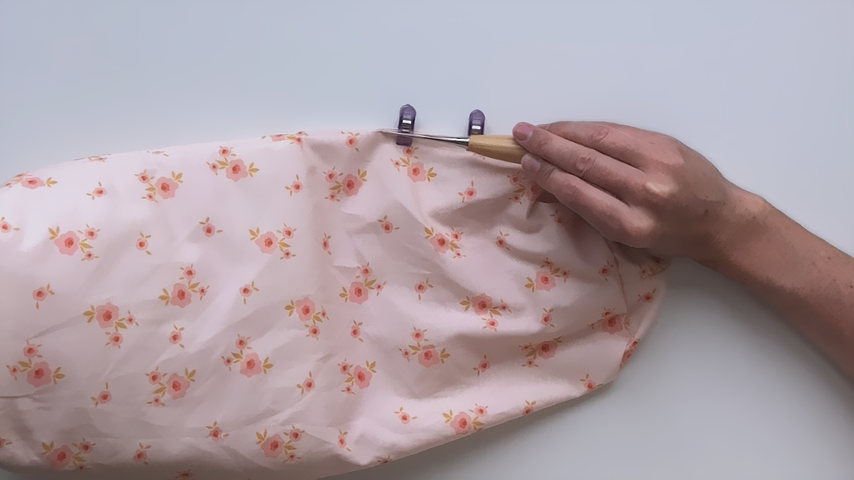
Topstitch along the opening to close it, sewing about 1/8″ away from the edge.
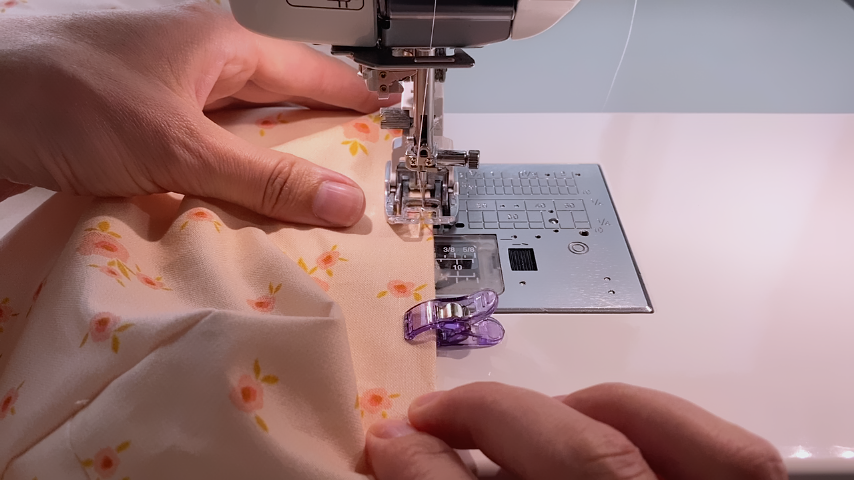
Push your lining down into the bucket.
I find it helps to turn the bucket wrong side out to get the lining fully in place, then turn it right side out again.
Your vanity bucket is complete!