Boxy Makeup Bag Free Sewing Pattern | No Zipper
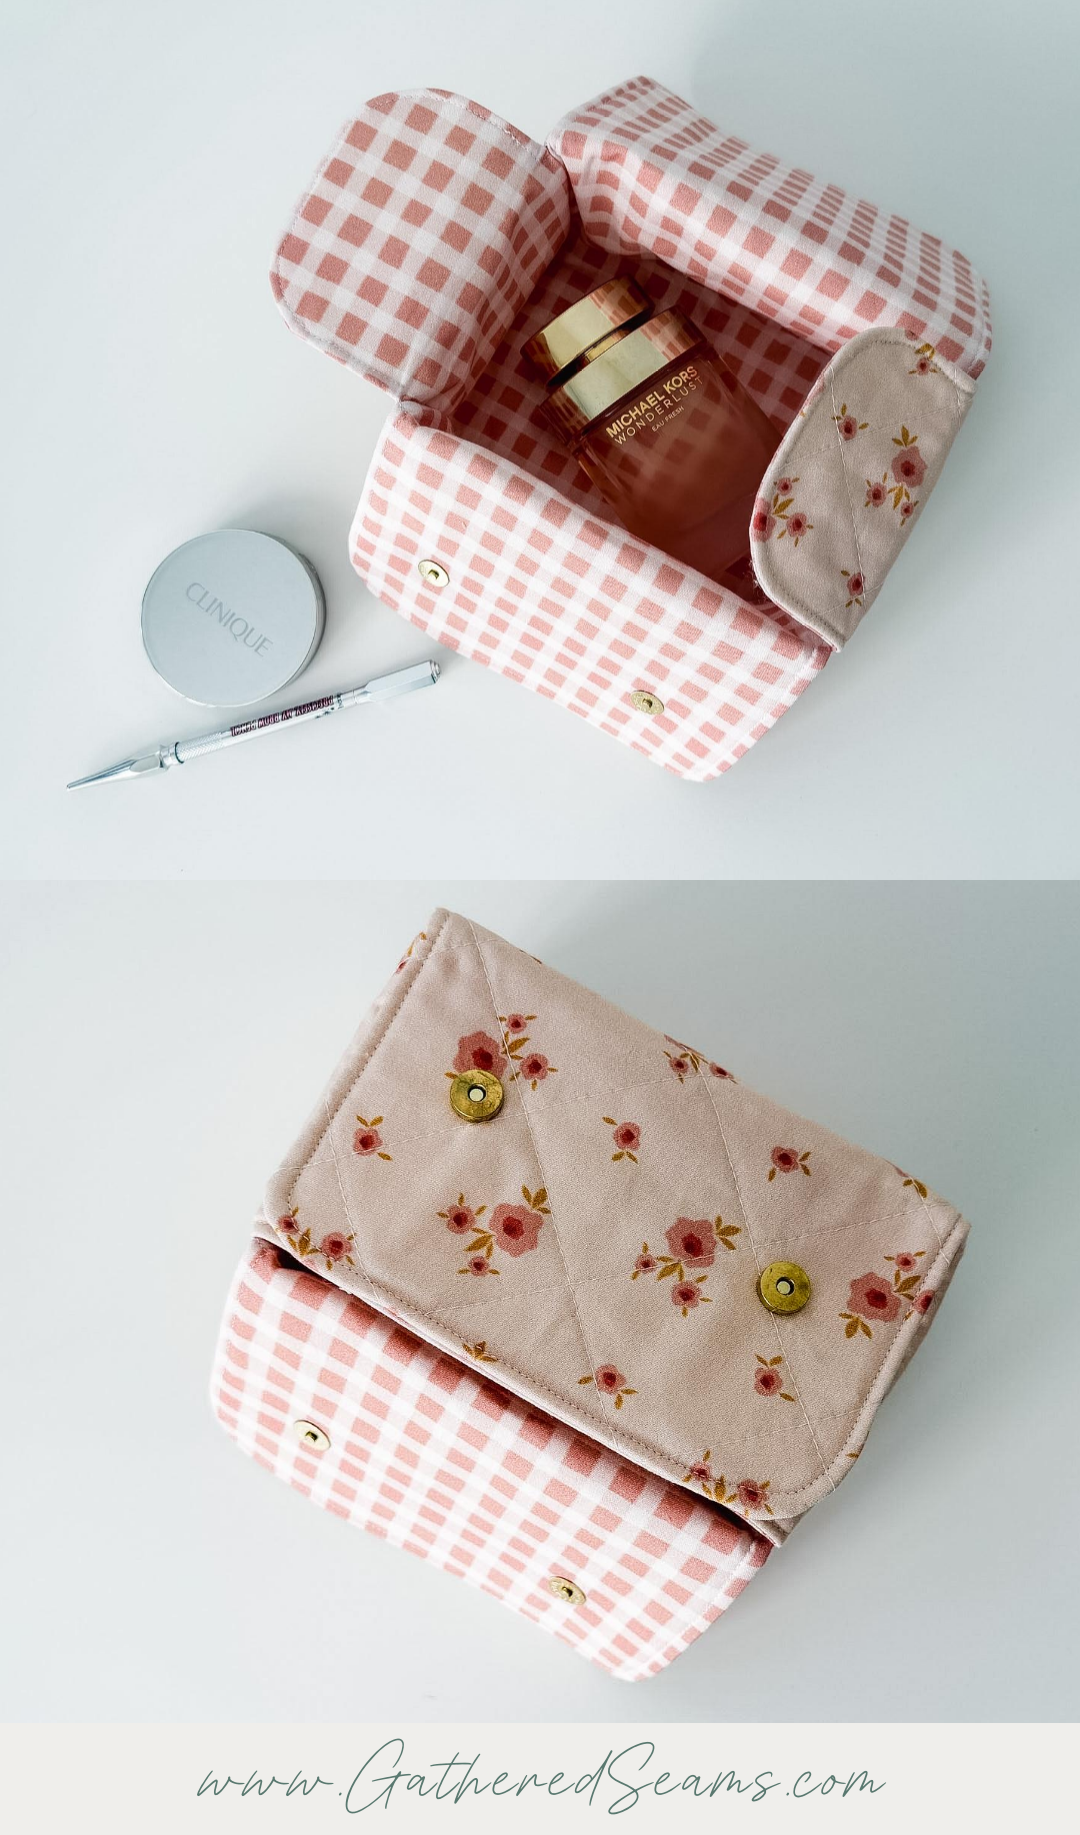
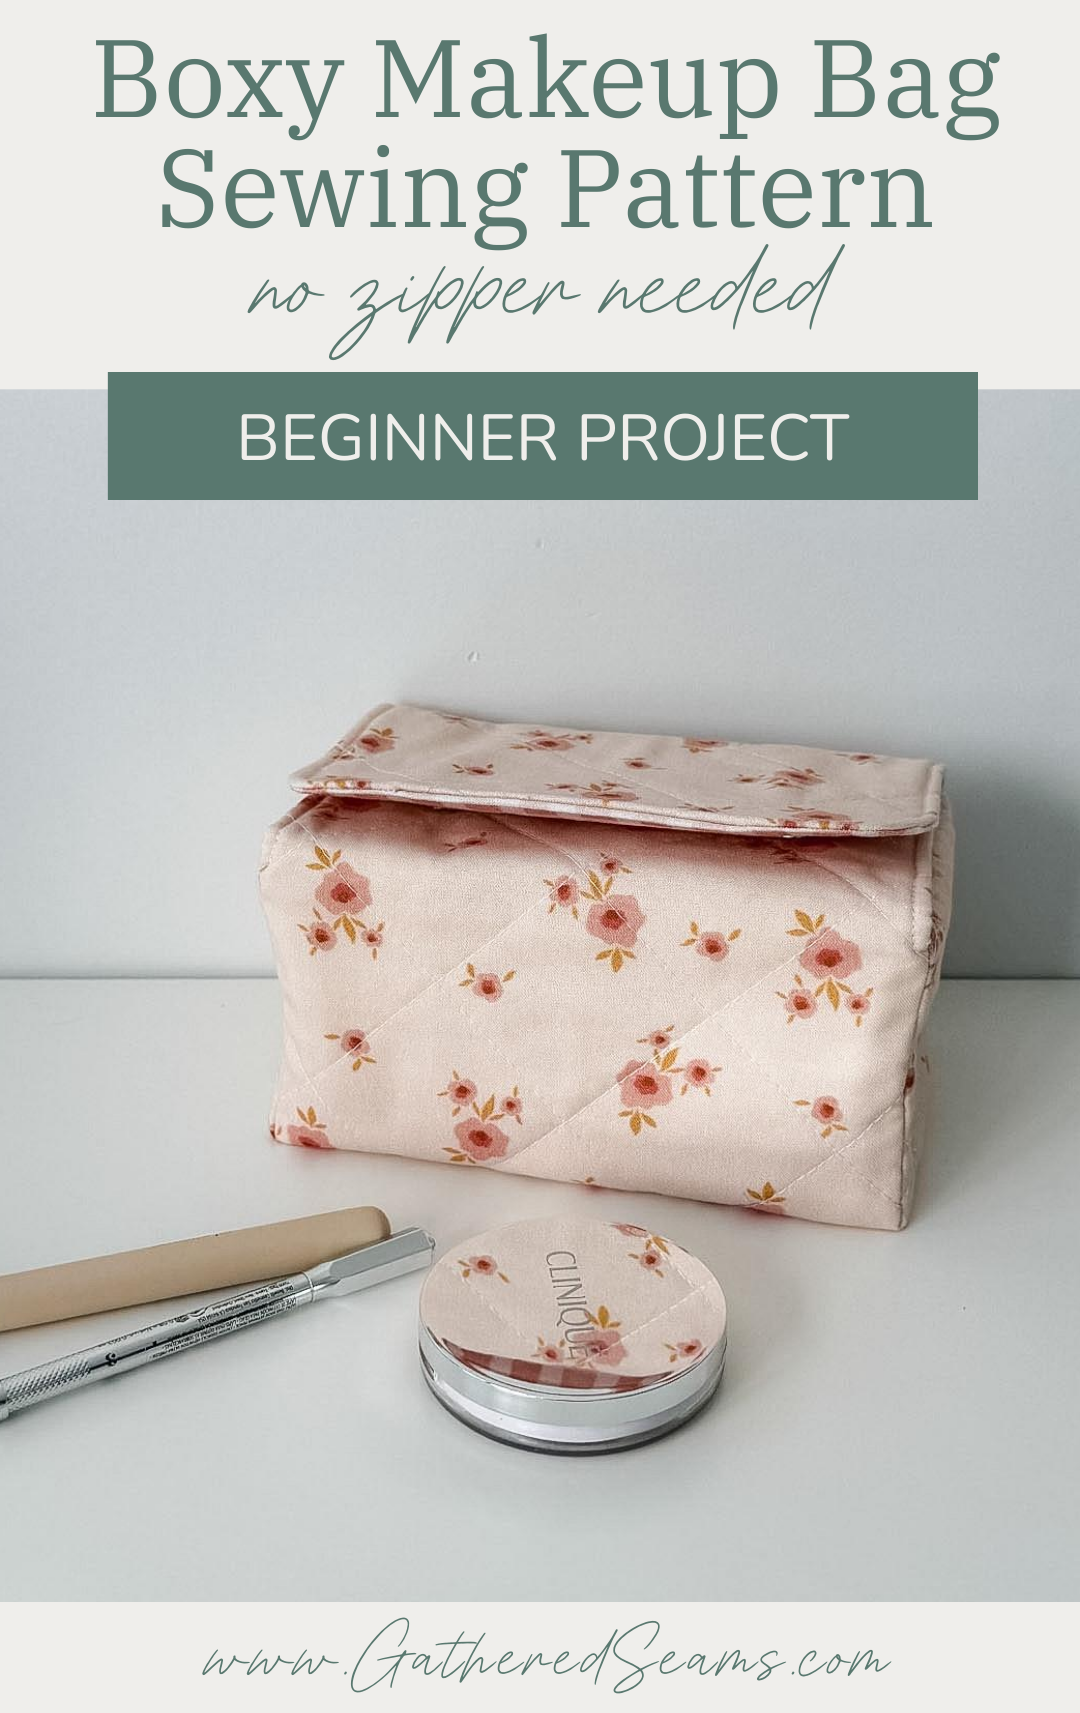
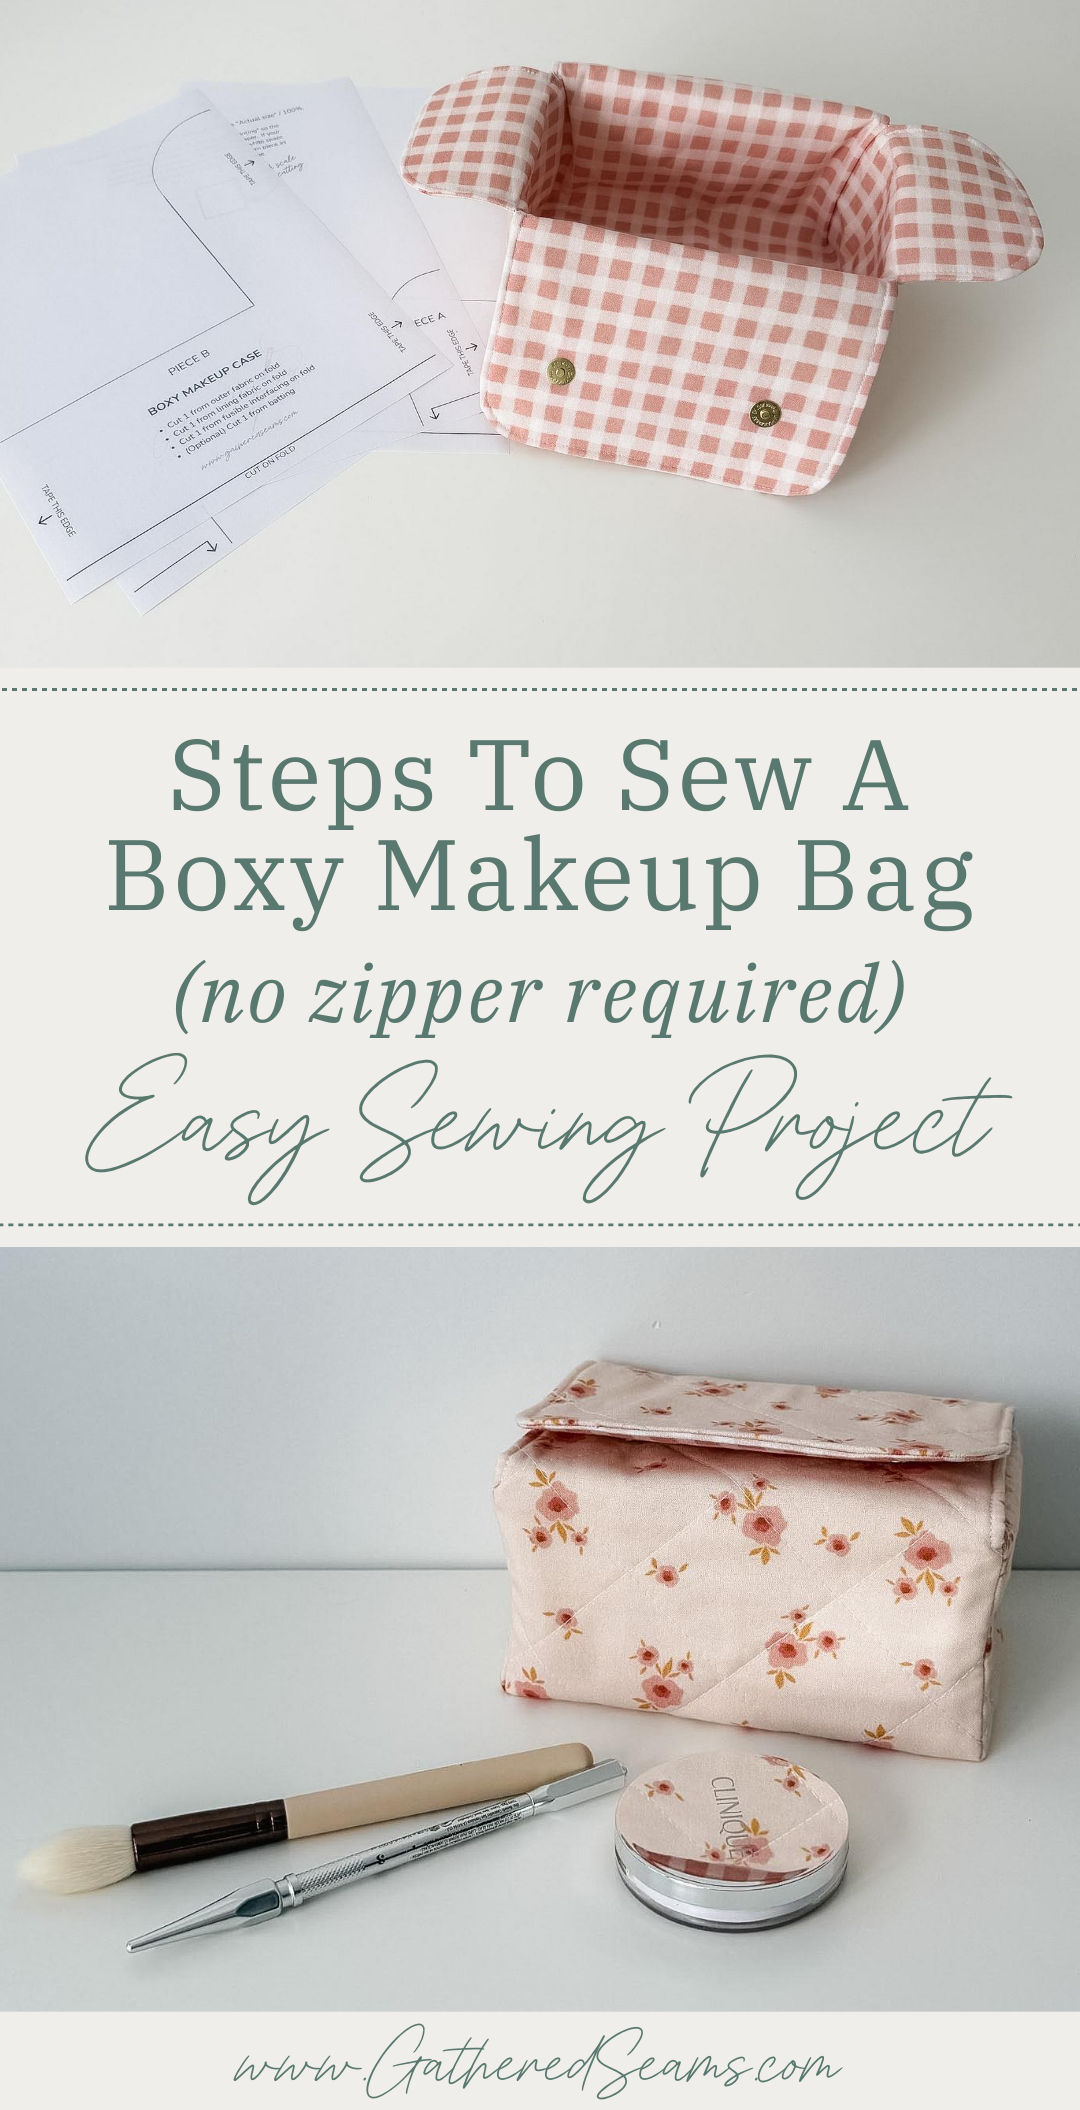
If you don’t have a zipper handy, or aren’t ready to sew with zippers, this is a great sewing pattern for a makeup bag. It has a boxy shape, four flaps that close in the top (so contents won’t fall out) and 2 magnetic closures.
The finished size is approximately 7″ wide, 4″ deep, and 3-1/2″ tall.
This sewing project is beginner to intermediate.
The trickier part is sewing around the curved corners, and you do have to be precise with where you start and stop your stitching to get clean top corners.
But if you take your time and follow my tips, it should be an easy sewing project.
Materials
As an Amazon Associate, I earn from qualifying purchases (see full disclosure here).
- Fabric for outer and lining
- Batting (This is optional but it will give your bag some structure. If you don’t want to use batting, you could use a heavier-weight fabric such as canvas or add fusible interfacing to your lighter-weight fabric.)
- Fusible interfacing (I added this to the lining, to not only give the bag some structure, but to also add a sturdy backing for the magnetic closures.
- Magnetic closures
- Thread
Tools
- Sewing machine
- Walking foot (recommended for quilting your fabric. This is the universal one I’ve purchased for my other sewing machine)
- Temporary fabric pen or chalk
- Ruler
- Iron
- Scissors
- Pins or clips
- Seam ripper
Free boxy makeup bag sewing pattern
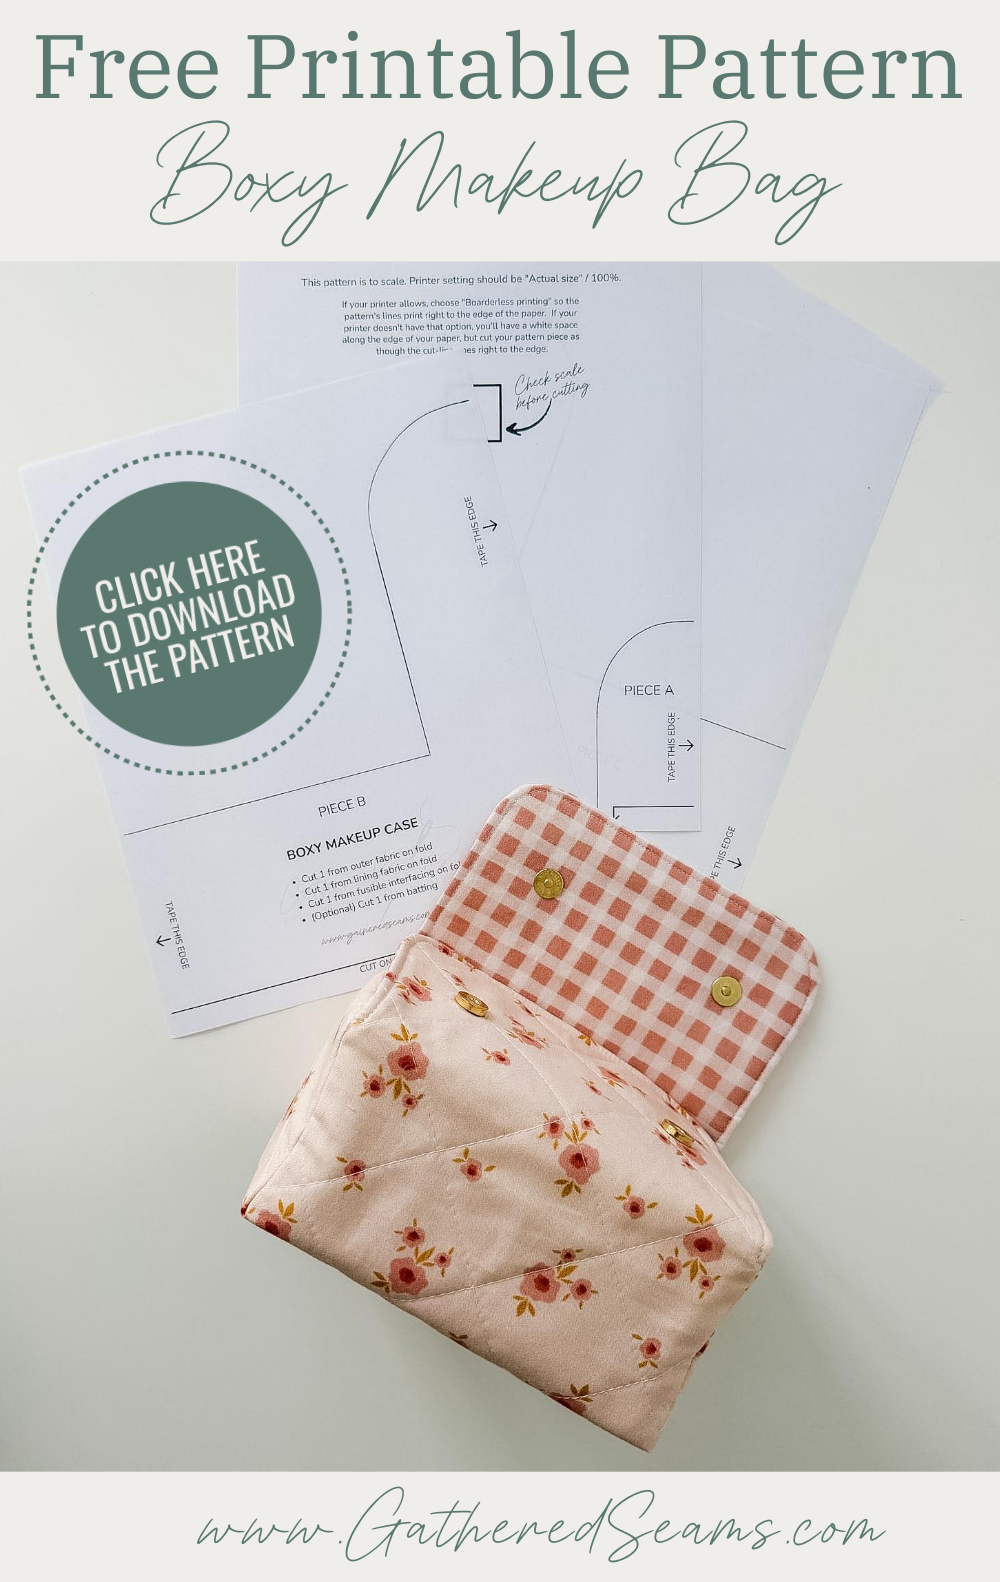

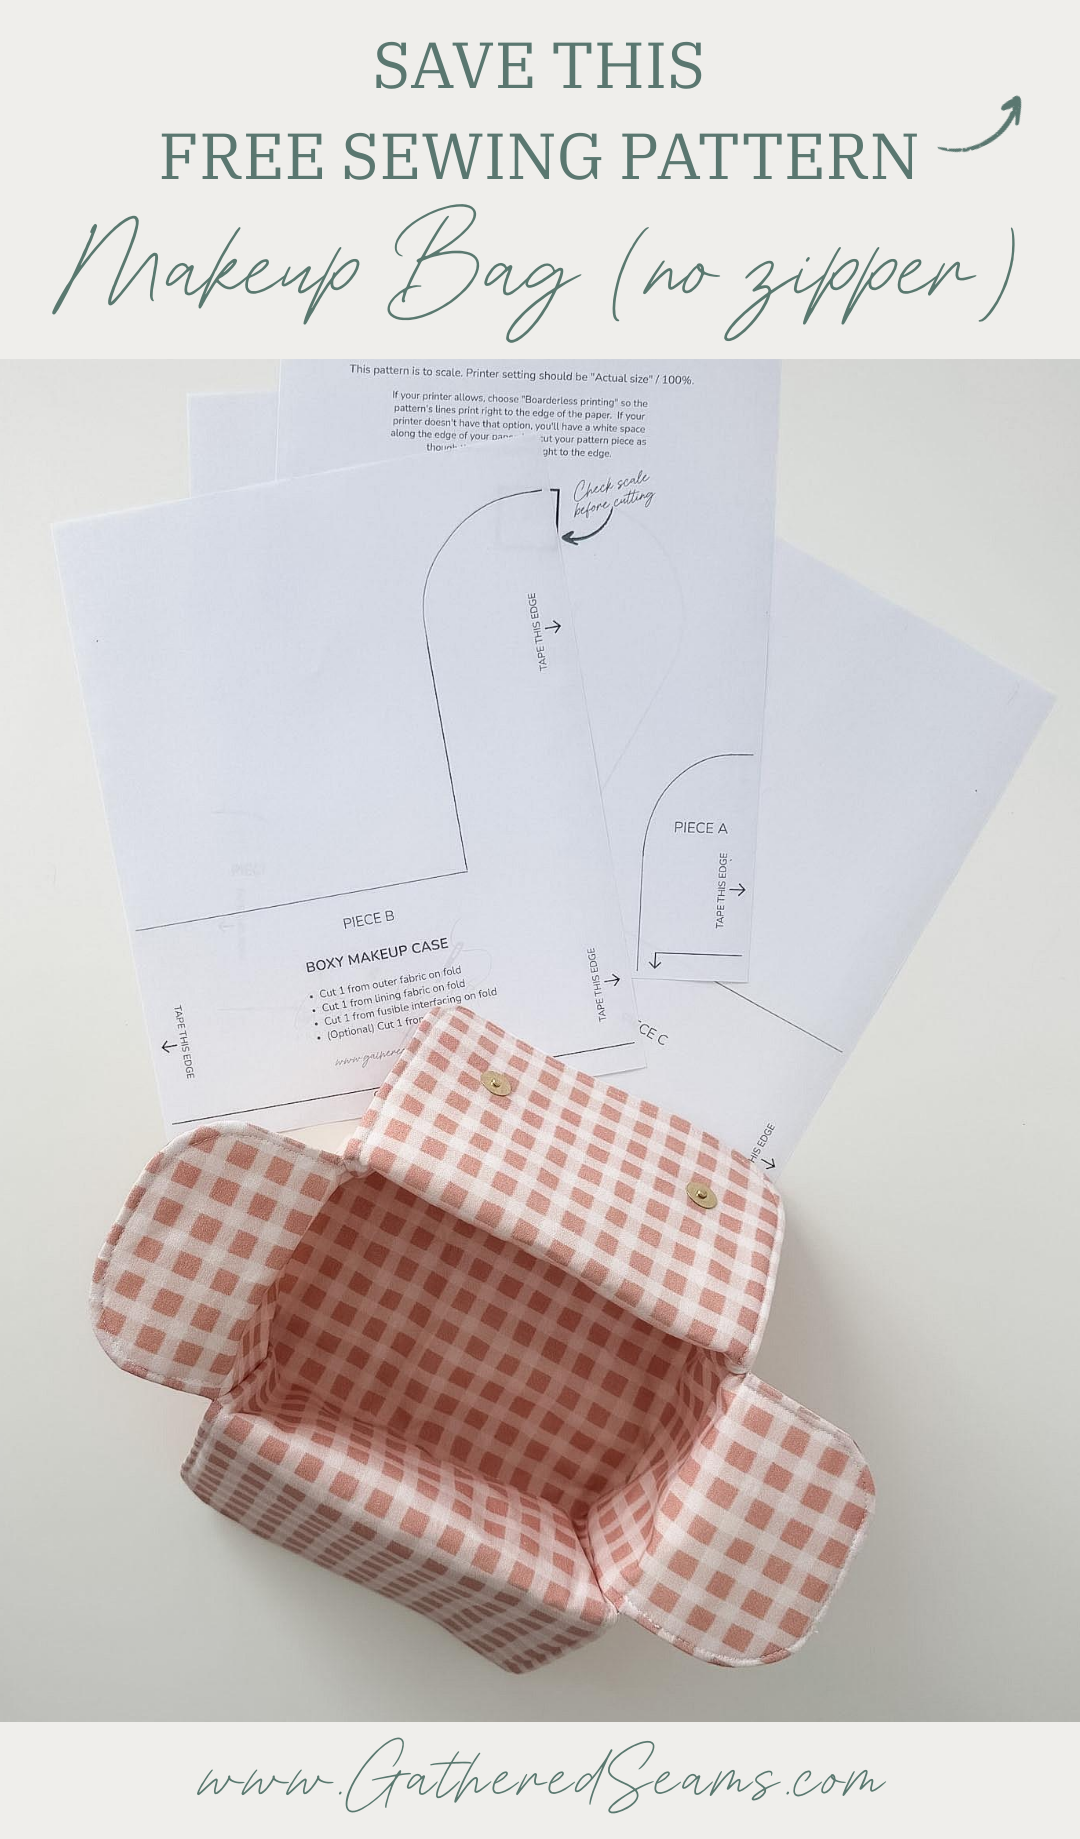
Download the boxy makeup bag PDF sewing pattern, print it, and cut it out.
It should be taped together as shown below:
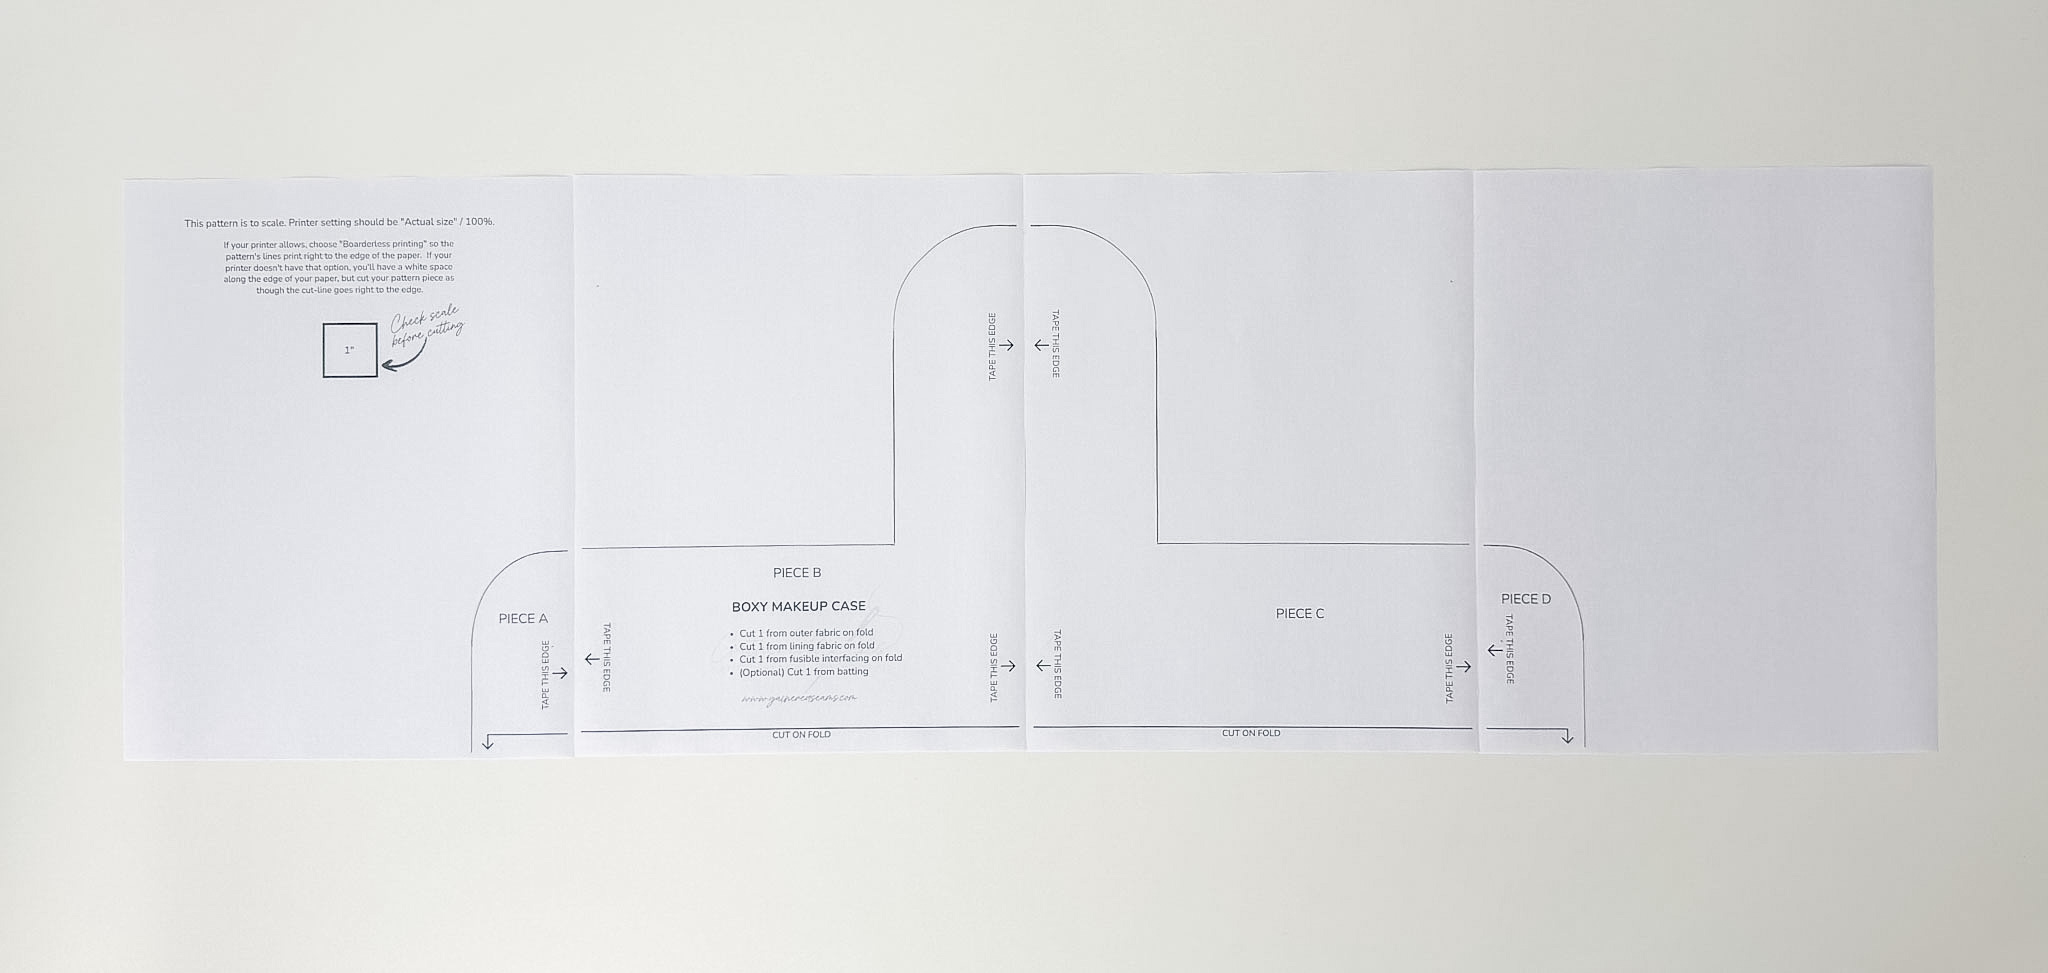
You will need to cut your pattern piece on the fold in:
- Outer material (and batting if adding)
- Lining
- Fusible interfacing
You will also need:
- 2 magnetic closures
If you’re adding batting and quilting stitches, cut your outer fabric and lining larger than the pattern piece (the more quilting stitches and the thicker the batting, the larger you should cut it), add your quilting stitches, then cut the outer fabric to size.
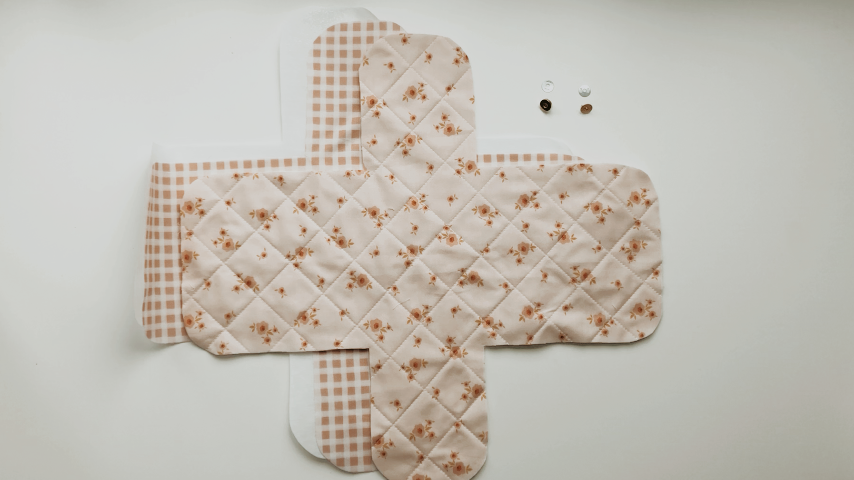
Steps to sew a boxy makeup bag (no zipper)
Step 1
Iron your fusible interfacing to the back of the lining piece.
To reduce wrinkles and bubbles, I place my lining wrong side up, interfacing on top of it, with the glue side down (bumpy, shiny side), and then place a pressing cloth over top. I simply press my iron up and down (don’t move it around in circles) and then use a wood clapper to help it cool quickly and the glue to adhere.
Place your outer piece and lining right sides together.
We’ll sew our flaps first.
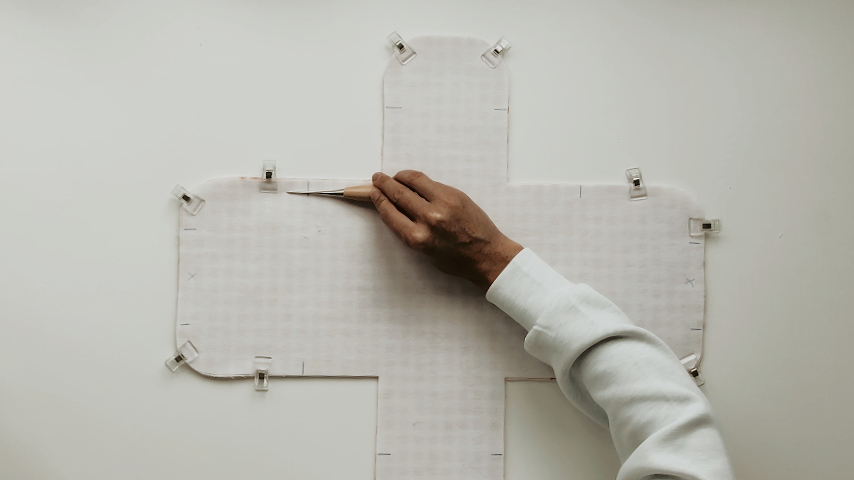
Using a temporary fabric pen, mark lines 3″ above each corner, on both sides of it. The fabric above these lines are the flaps.
You’ll also mark two lines at the top of each bigger flap, which you’ll backstitch at the start and end of and use a basting stitch (longest stitch length) between the lines. These openings are required on both ends to be able to add the magnetic snaps.
You do want at least one of these openings to be a decent size so you can turn the bag right side out. As shown in the photo below, I start one line just after the curve of the corner and have my other line just before the curve starts.
Clip around the top corners and sew above each line (from one line to the other) using a 1/2″ seam allowance.
Important tips
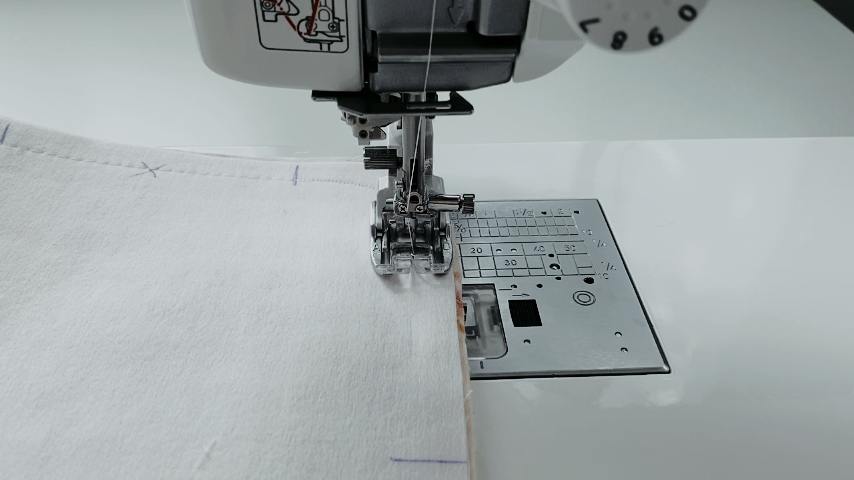
- Use a shorter stitch length around the corners, which will make it easier to sew around the curved edge.
- If it helps, you can draw your stitch line on using a temporary fabric pen and then just follow that line when you sew.
- You’ll also want to use a shorter stitch length as you approach the 3″ line, as you want to be really accurate with stopping on that line. A shorter stitch length will help you stop in the exact spot.
- Backstitch at each line.
Basting stitch between the two lines, shorter stitch around the curve, then sewing up to the line 3″ above the corner:
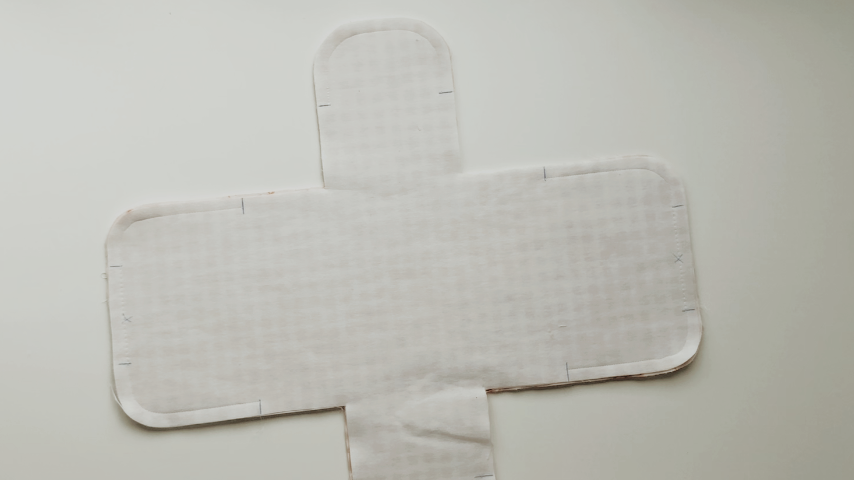
As you can see in the photo below, the 4 corners are not stitched below each line.
Step 2
Open a corner so you can place lining to lining and outer fabric to outer fabric.
Accurately line up the seams where the lining meets the outer fabric.
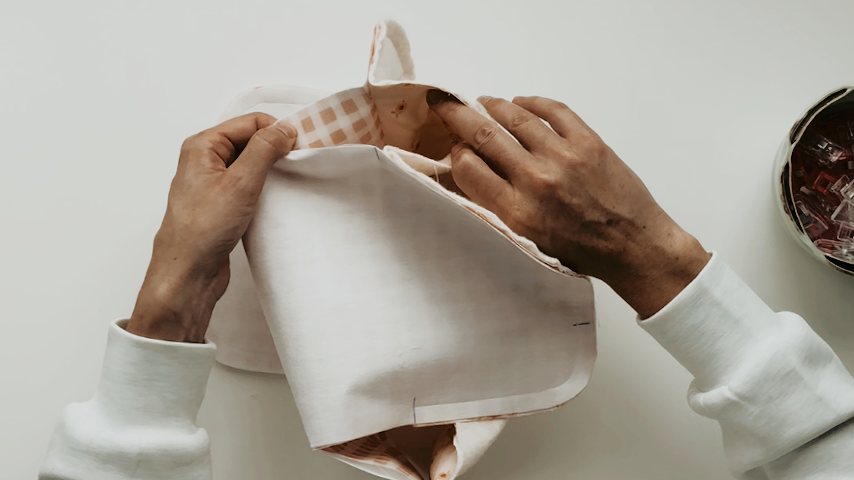
Fold the two flaps out of the way so you can sew your outer fabric corner using a 1/2″ seam allowance.
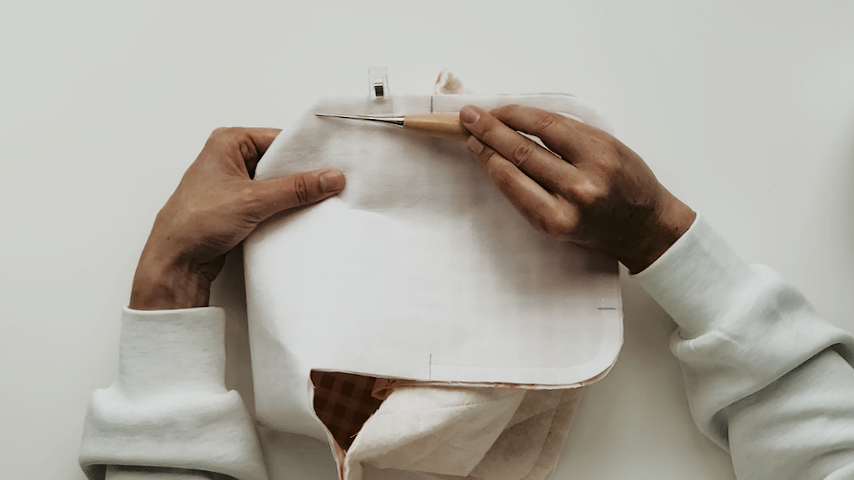
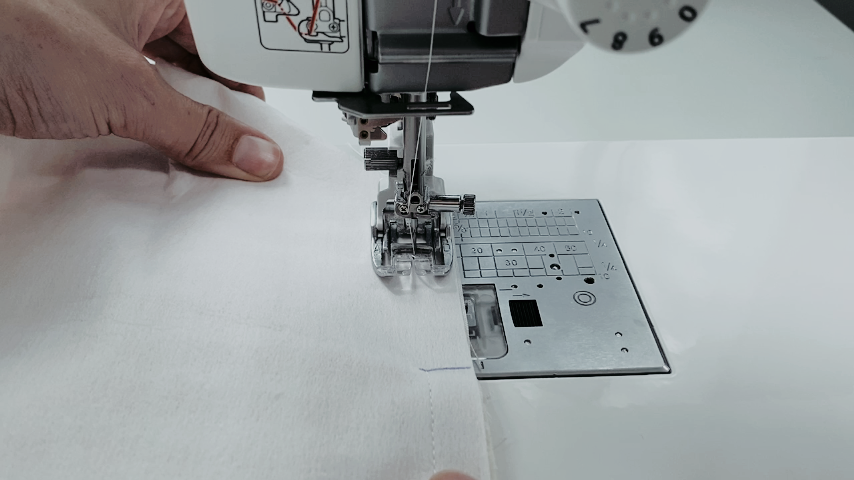
Use a temporary fabric pen to mark where your flap’s stitching starts; you’ll stop sewing right on this line, and backstitch.
Again, it’s important to be accurate with stopping right on the line. Use a shorter stitch length to be more accurate with where you stop sewing.
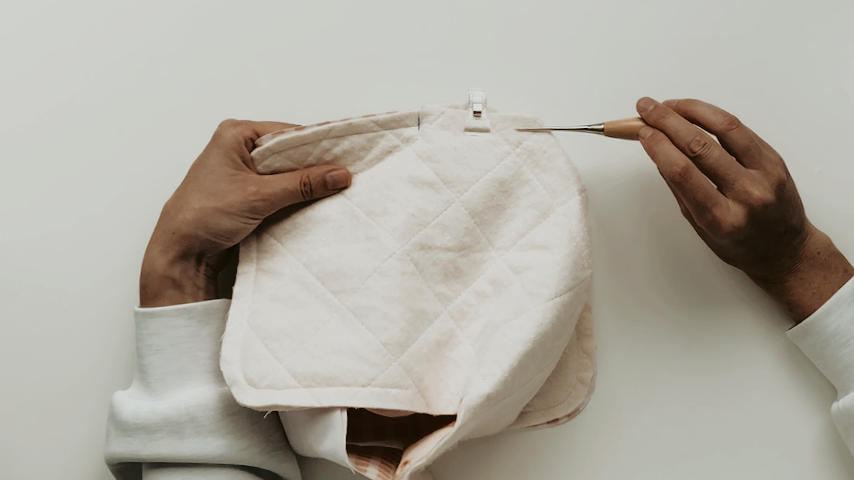
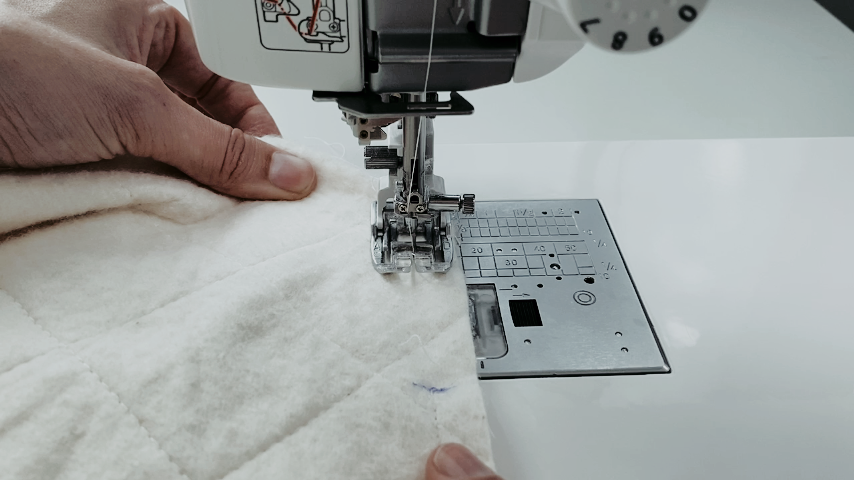
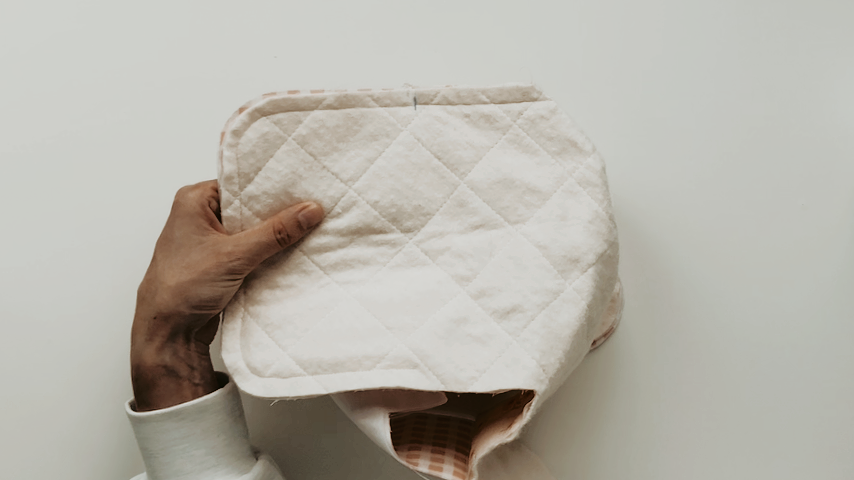
Now fold the lining’s corner. Fold the flaps out of the way, line up the corner edges and sew up to the line, stopping right on it. Use a 1/2″ seam allowance.
Repeat to sew all the corners for the outer fabric and lining.
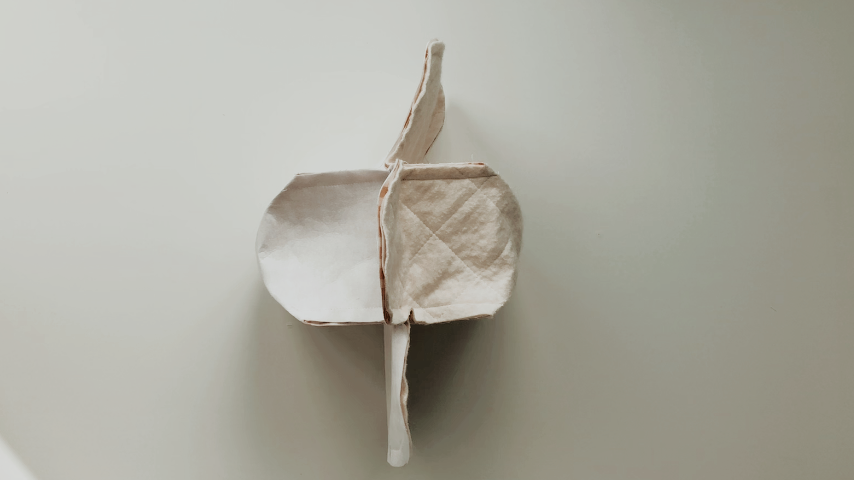
You should have 2 box shapes and the 4 flaps on each side.
Step 3
Press the hem where the openings are at the top of your two bigger flaps.
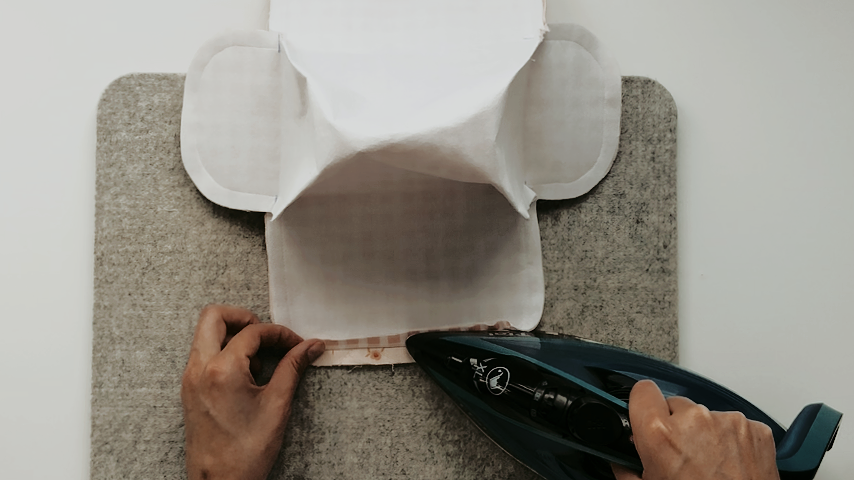
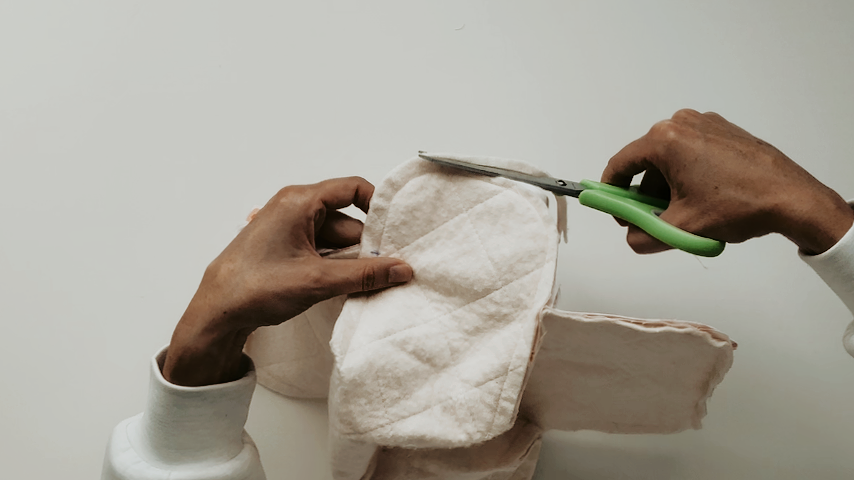
Trim your seam allowance in half everywhere, except for along the two openings at the top of the bigger flaps.
It can be a bit tricky to trim the seam allowance where the corners meet the flaps. I found it best to cut one side of the seam allowance at a time at each corner.
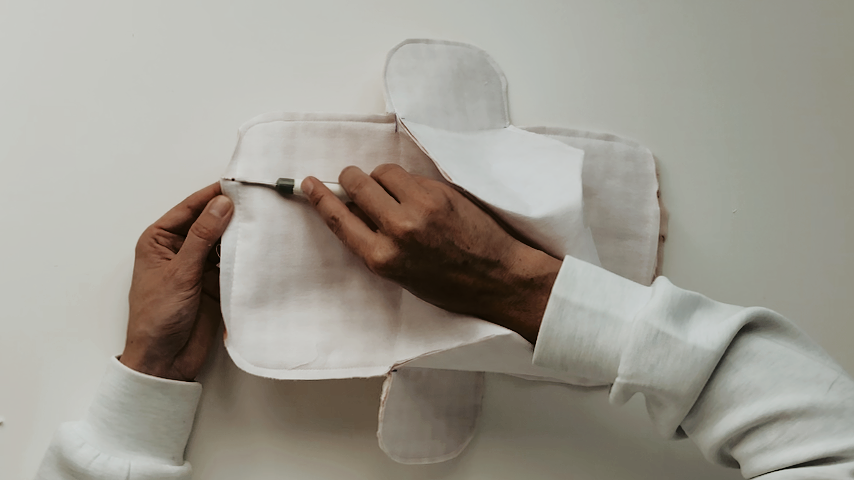
Use a seam ripper to remove the basting stitches at the top of each larger flap, to create the two openings.
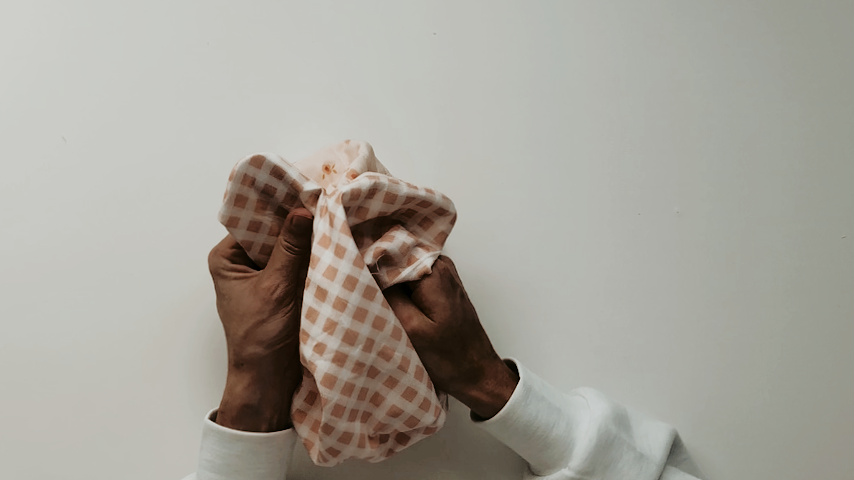
Use one of the openings to turn your case right side out. Take your time with this step and just pull a little part of the lining or outer case out at a time to ensure you don’t rip any stitches.
Use your finger or a point turner to push out the seams and corners of the flaps.
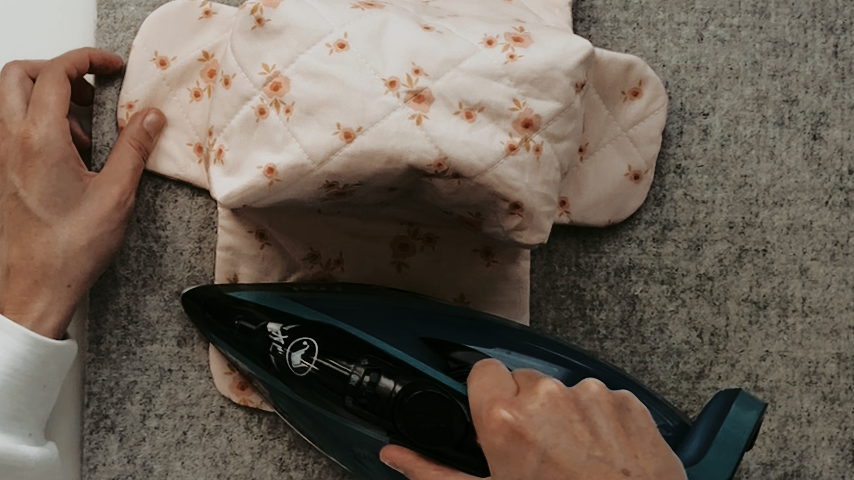
Use your fingers to roll out the seams to ensure they’re fully pushed out and straight. Then press the seams and remove wrinkles.
Step 4
Use a temporary fabric pen to mark where your magnetic snaps will go.
I suggest placing them about 1″ away from the top and side edge of the top flap.
However, if you’ve added quilting stitches, adjust that placement if needed so you won’t be cutting through your quilting stitches when you cut a slit for your magnetic snap.
Shape your boxy case and fold the side flaps in first, then the top flaps one over the other (it doesn’t matter which flap is on top, unless there’s a pattern on the fabric you want to be on top).
Make sure the flaps are lined up the way you want them to be when they’re closed.
Stick two pins straight down through the two marks, so the pins go through both flaps.
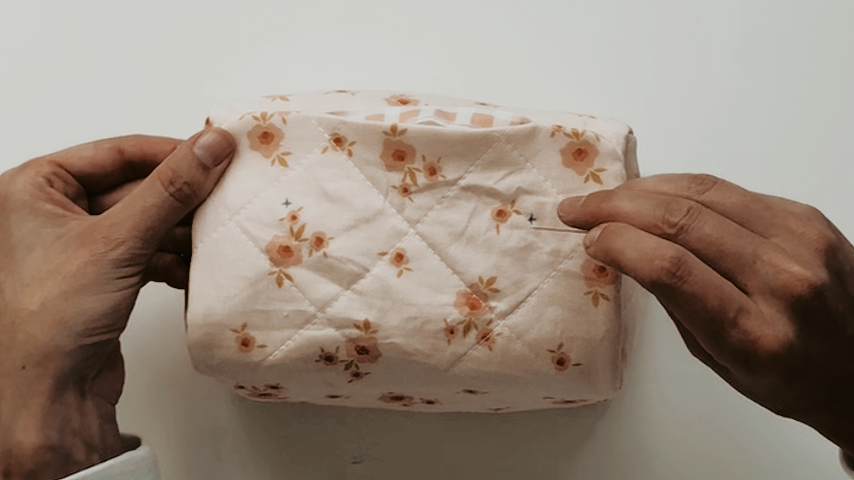
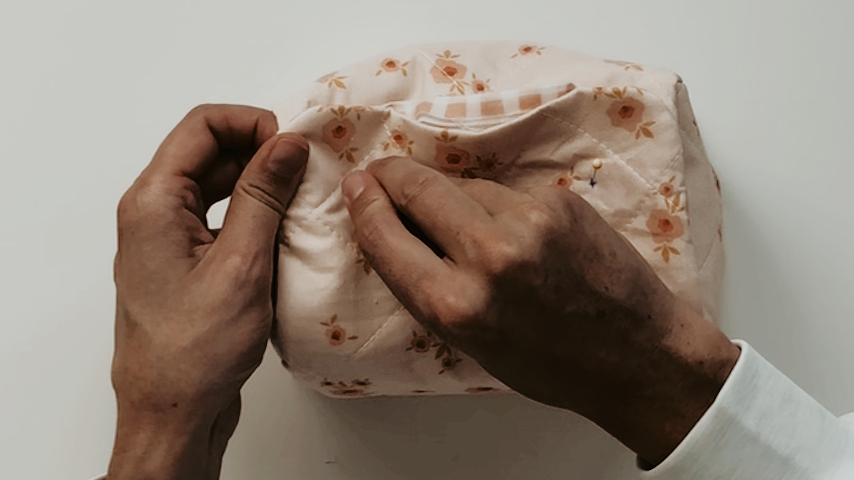
While keeping the pins in place, gently lift the top flap so you can see where the pins go into the bottom flap, and mark the pins’ placement with a temporary fabric pen.
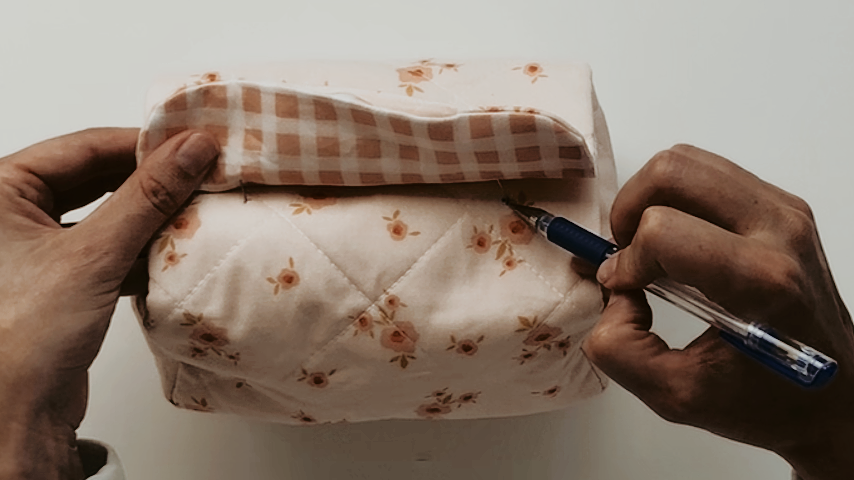
Then lift the top flap up and mark the pins’ placement on the bottom side of the top flap.
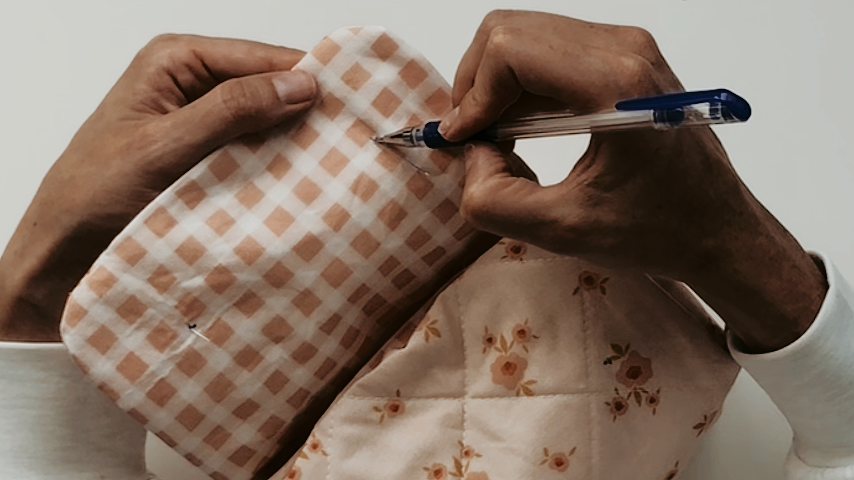
Start with the bottom flap and use the magnet’s backer plate to mark the two lines you’ll have to cut the slits along.
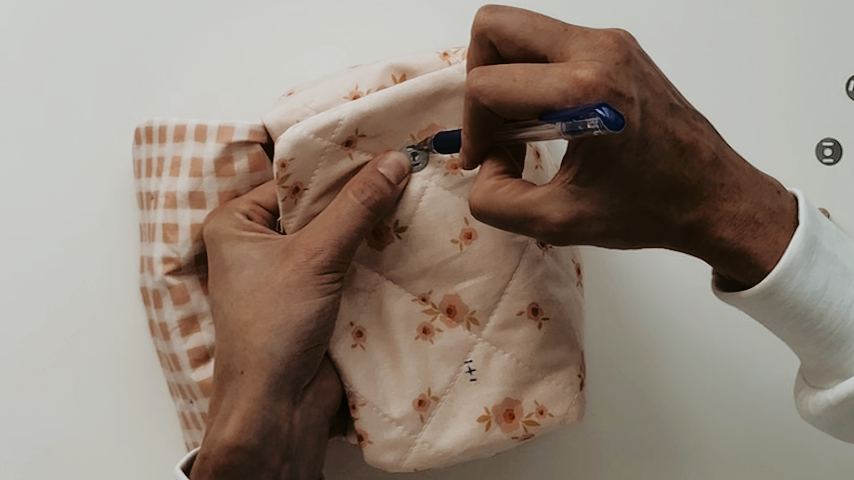
It’s very important to only cut a slit through the top layer of fabric; don’t cut through the outer fabric and lining.
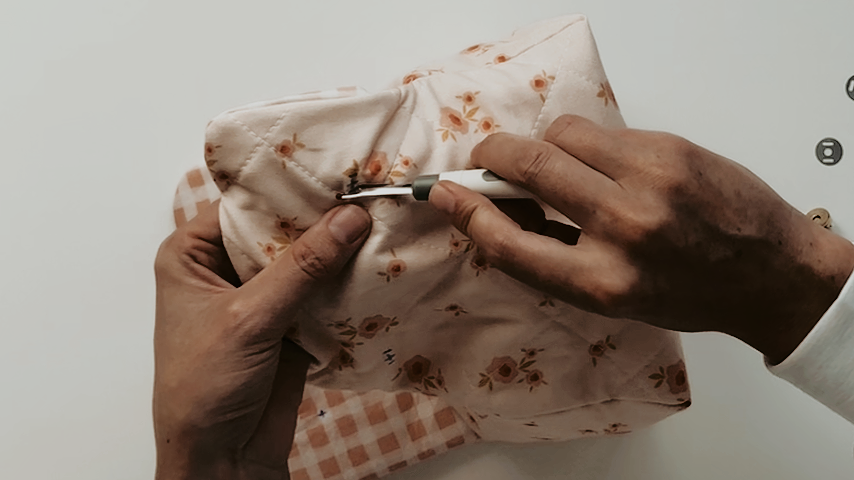
Slide your fingers through the opening to separate the top fabric from the lining, then use a seam ripper to cut the two slits. Press the point of the seam ripper through the end of one of the lines, then gently push up to use the bottom of the seam ripper to cut a small slit. It’s always better to cut these slits a little smaller than bigger.
Repeat to cut all 4 slits for the 2 magnets that go on the bottom flap.
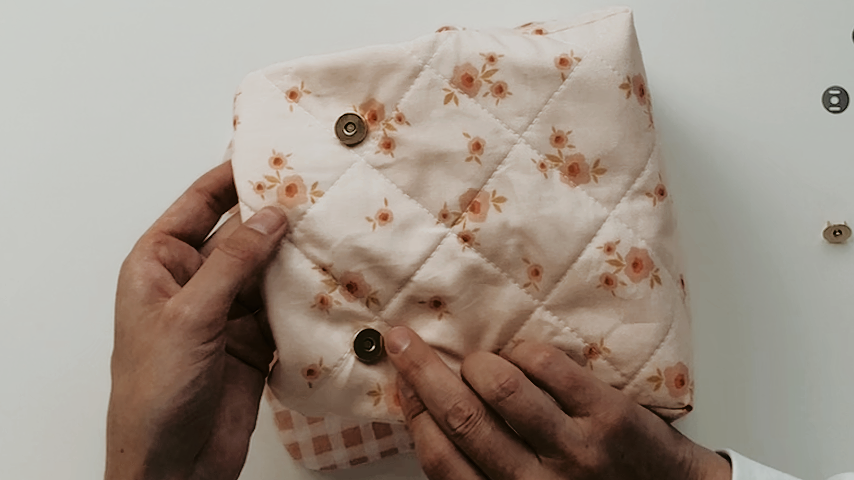
Push the prongs of the female magnet parts through the outer fabric of the bottom flap.
Use the opening in the flap to place the backing plate over the two prongs, then fold the prongs in to secure the magnet in place.
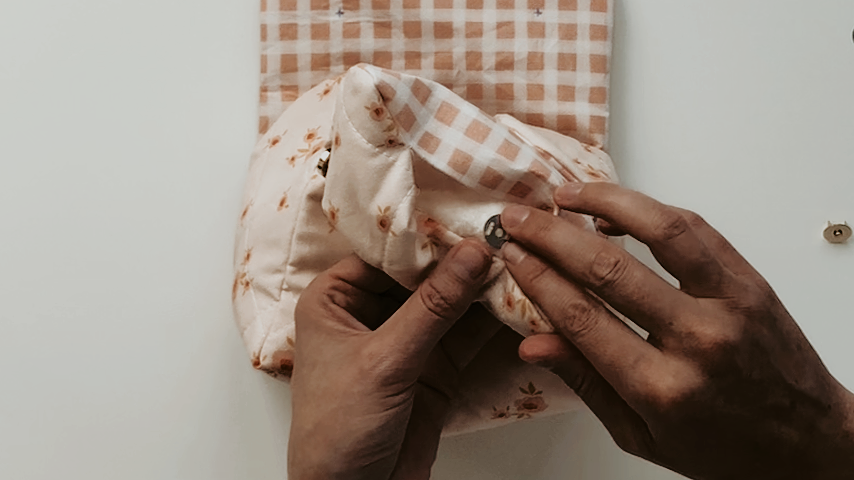
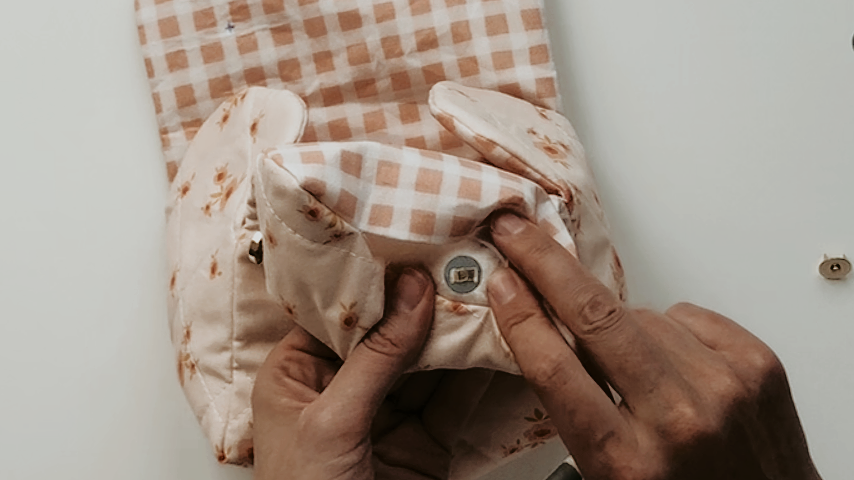
Repeat to add the male parts of the magnets to the bottom side of the top flap. Again, be sure to only cut slits through the lining fabric; don’t cut through the outer fabric.
Step 5
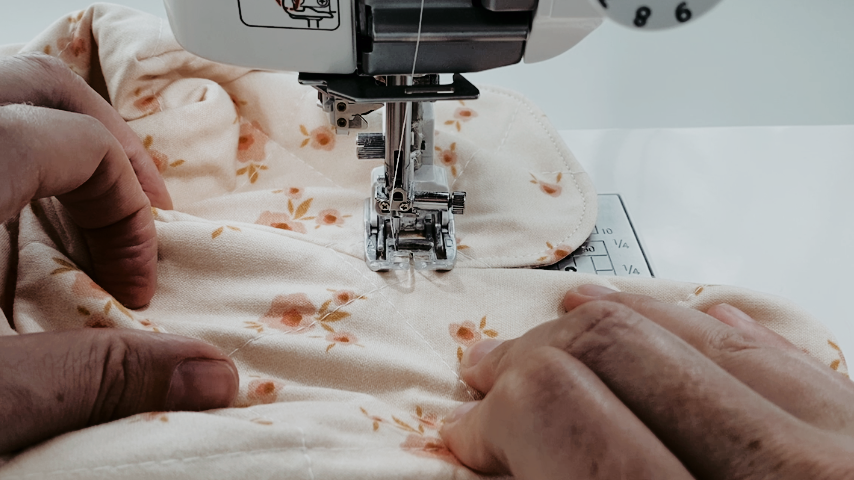
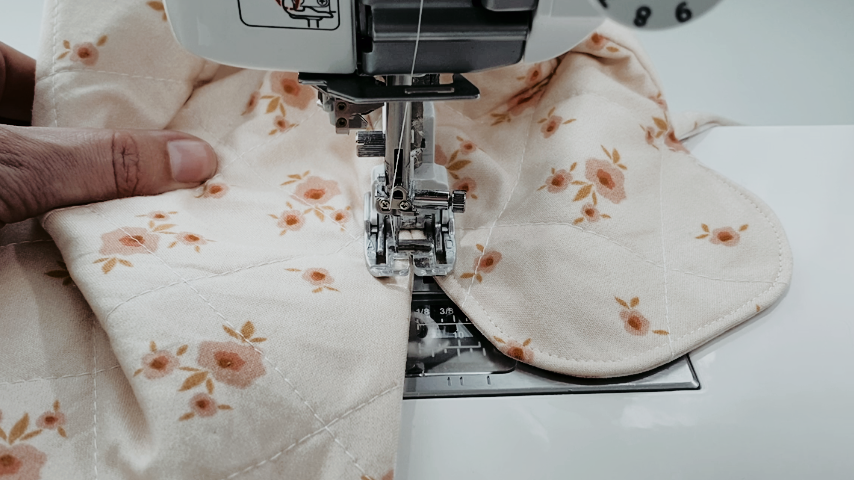
Topstitch around all 4 flaps, about 1/8″ away from the edge. I use a bit of a shorter stitch (e.g. 3 mm) so it makes going around the curved corners a little easier.
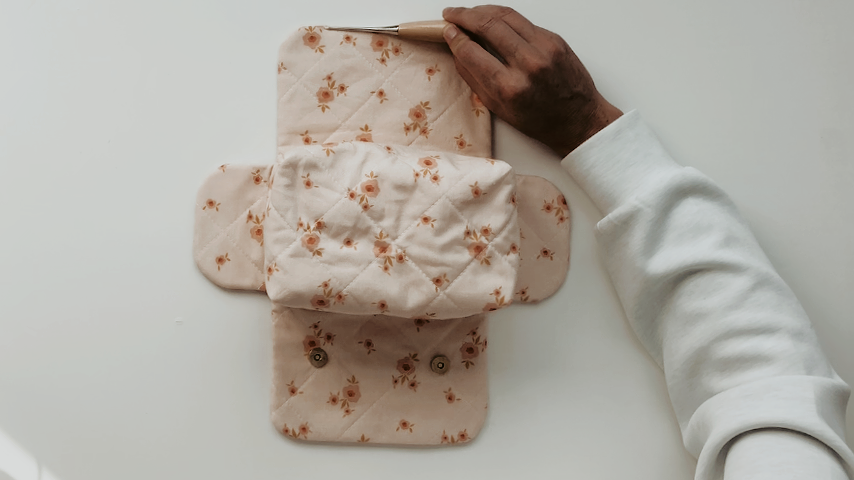
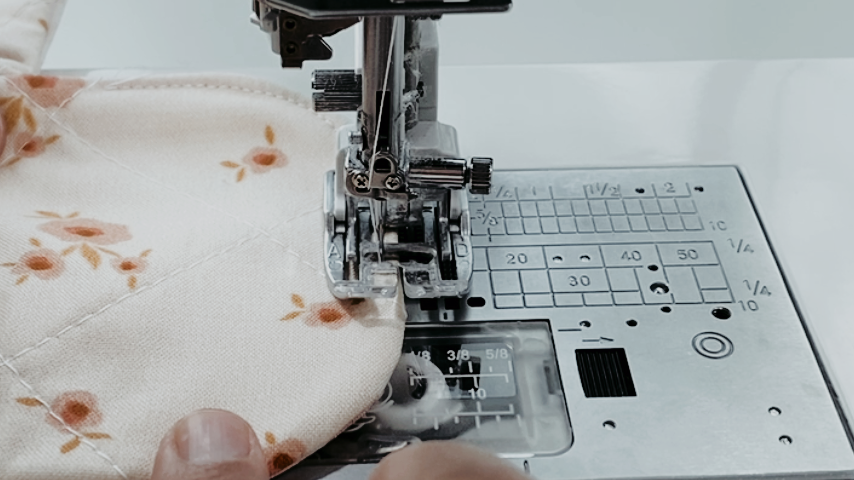
When you come to a corner, fold your case so the two flaps are almost parallel. Stop sewing when your needle is just past where the two flaps meet. With your needle down, lift the presser foot, pivot your fabric to sew straight across, then pivot again to start sewing back up the other flap.
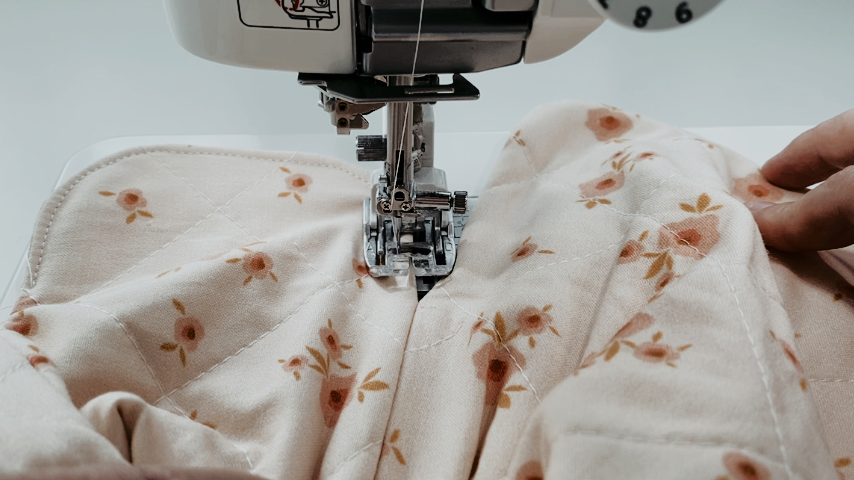
Your boxy makeup bag is complete!