Cat Kicker Toy Free Sewing Pattern (Corn on the Cob) | Beginner
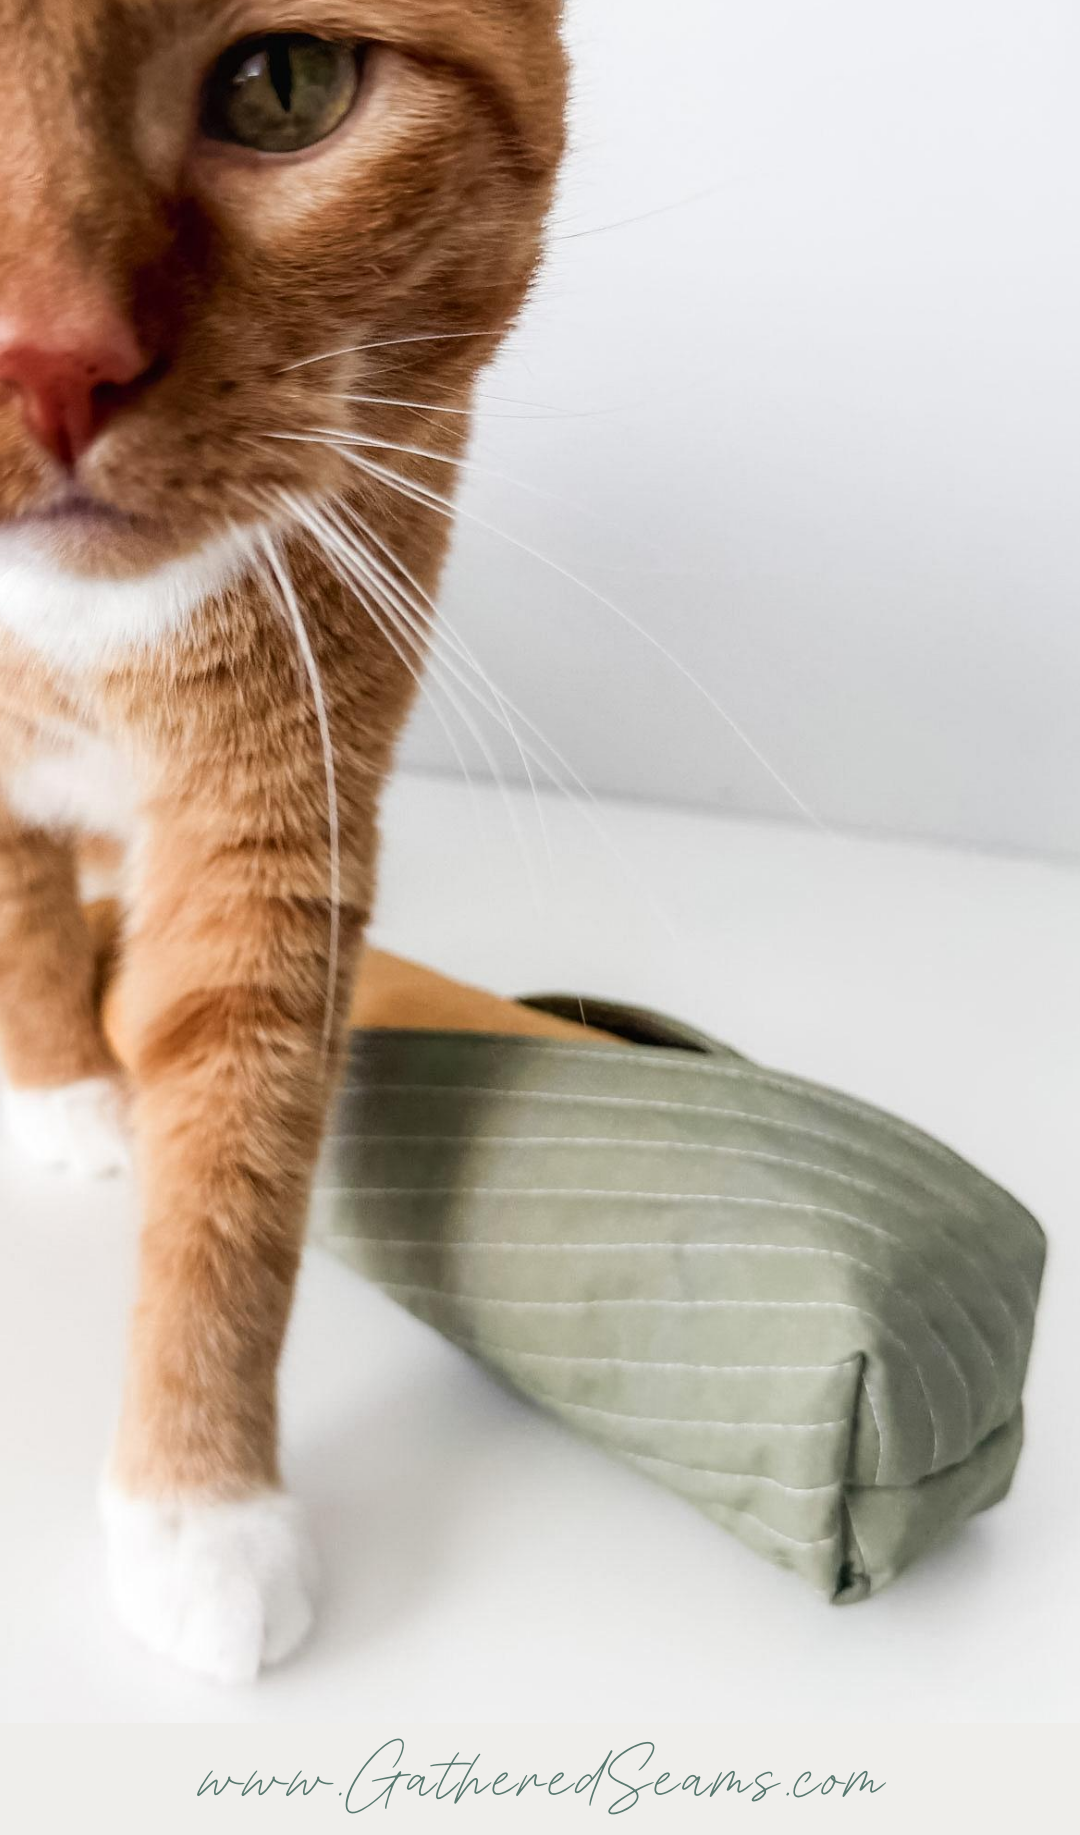
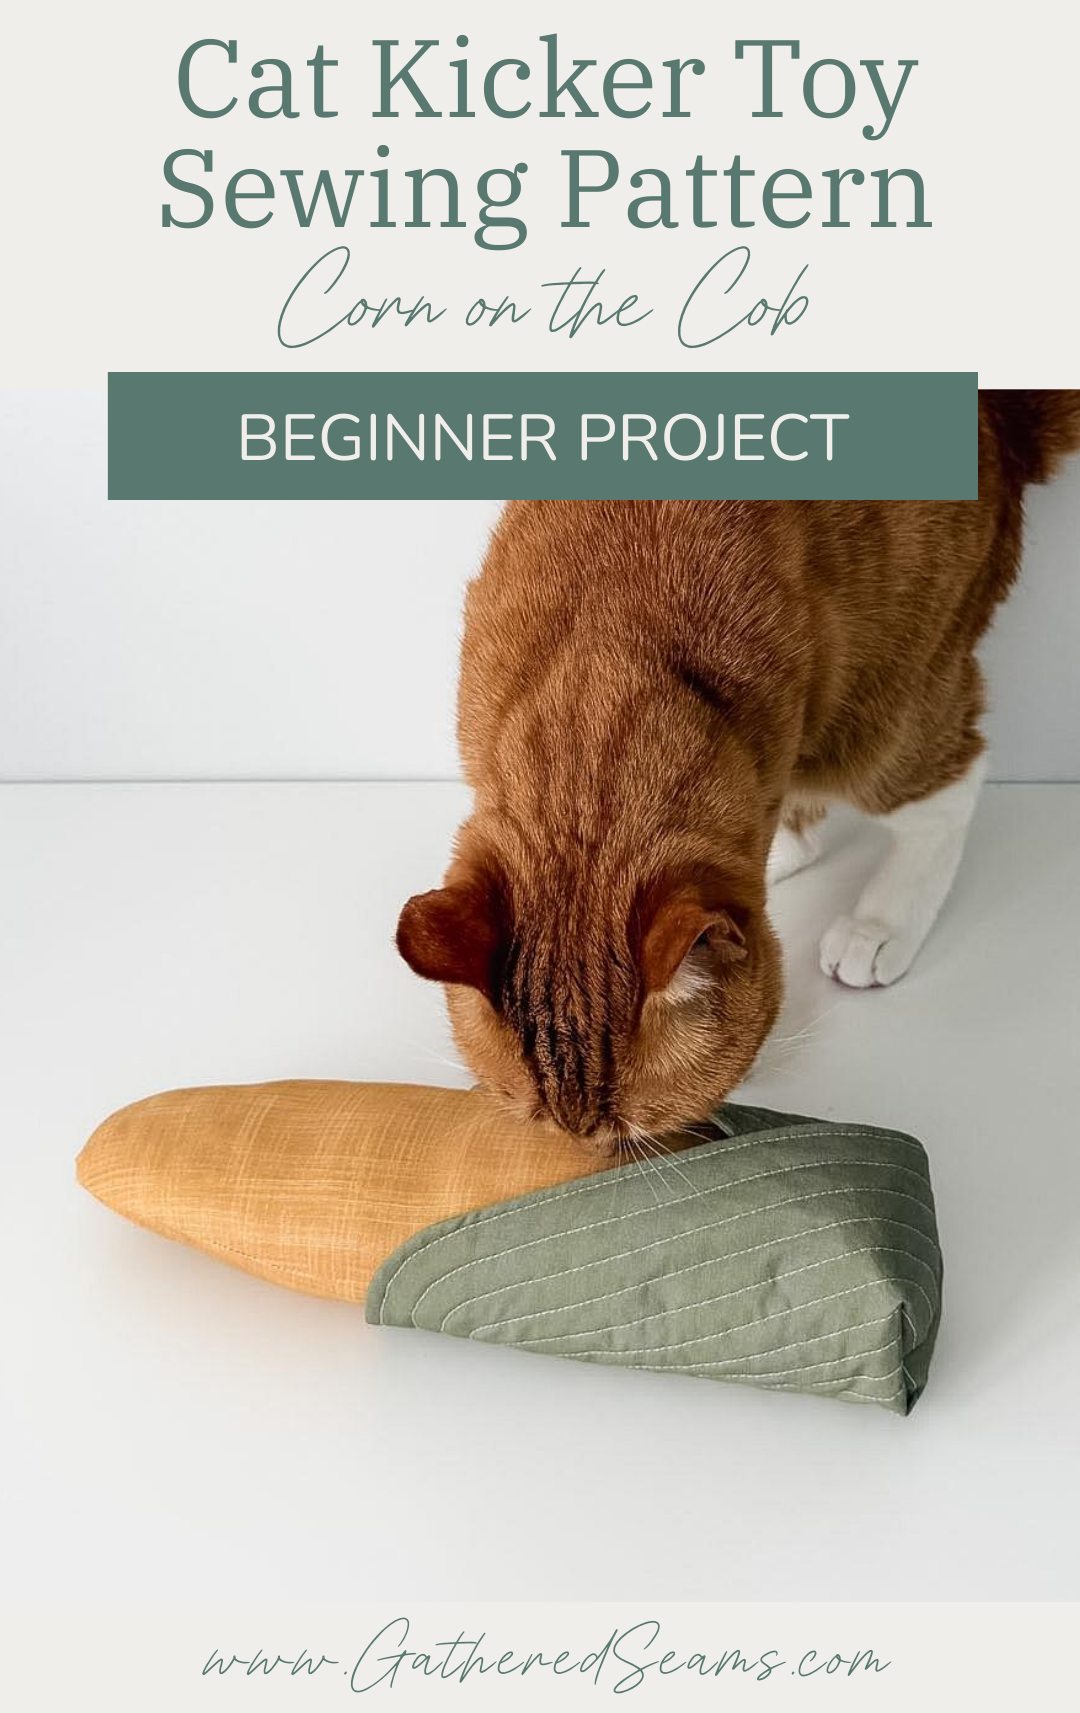
I have two sibling cats, and one of them (Arthur) loves his kicker toys. He loves to kick anything, actually…including his brother when they’re wrestling. And he also loves crinkle toys. So I thought I’d make him a new kicker toy for fall…an ear of corn.
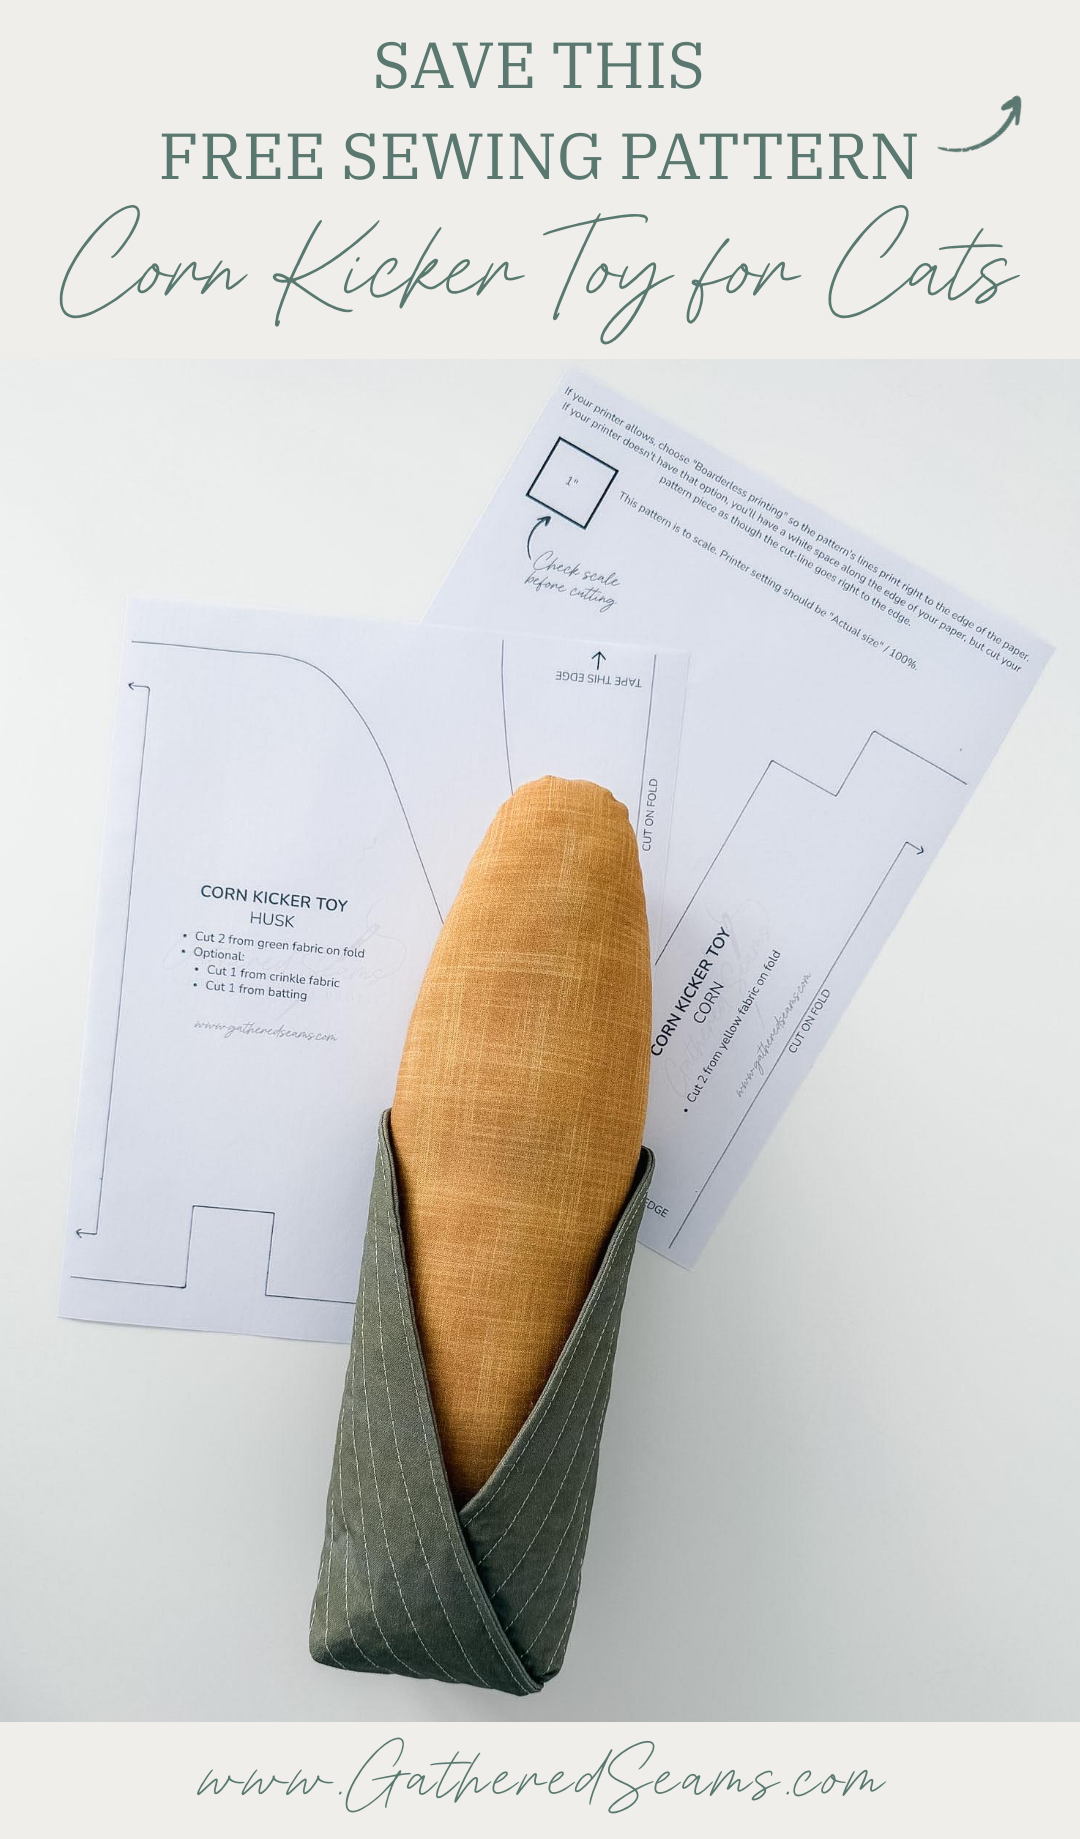
The corn portion is stuffed and has catnip sprinkled in (but that’s optional), and the husk has crinkle material (which is also optional).
This cat kicker toy is larger (Arthur is a fairly big boy). It’s about 12″ tall, and the base is approximately 3-1/2″ (wide) x 3″ (deep).
This sewing project is beginner-friendly.
Materials
As an Amazon Associate, I earn from qualifying purchases (see full disclosure here).
- Yellow fabric for corn. I suggest a more durable fabric such as:
- Cotton canvas
- Cotton twill
- Corduroy
- You could also use something with texture such as a polyester waffle knit
- Green fabric for the husk – this can be a lighter-weight fabric such as quilting cotton.
- Polyfill (I used polyester stuffing)
- Batting (optional; I used thin polyester batting for the husks to add some texture)
- Crinkle material (optional; I added this to the husk portion)
- Catnip (optional; I sprinkled this into the corn portion)
- Thread
Tools
- Sewing machine
- Walking foot (recommended for quilting your fabric. This is the universal one I’ve purchased for my other sewing machine)
- Temporary fabric pen or chalk
- Ruler
- Iron
- Scissors
- Pins or clips
- Seam ripper
- Dowel or stuffing tool
- Hand sewing needle
Free sewing pattern for a corn kicker toy
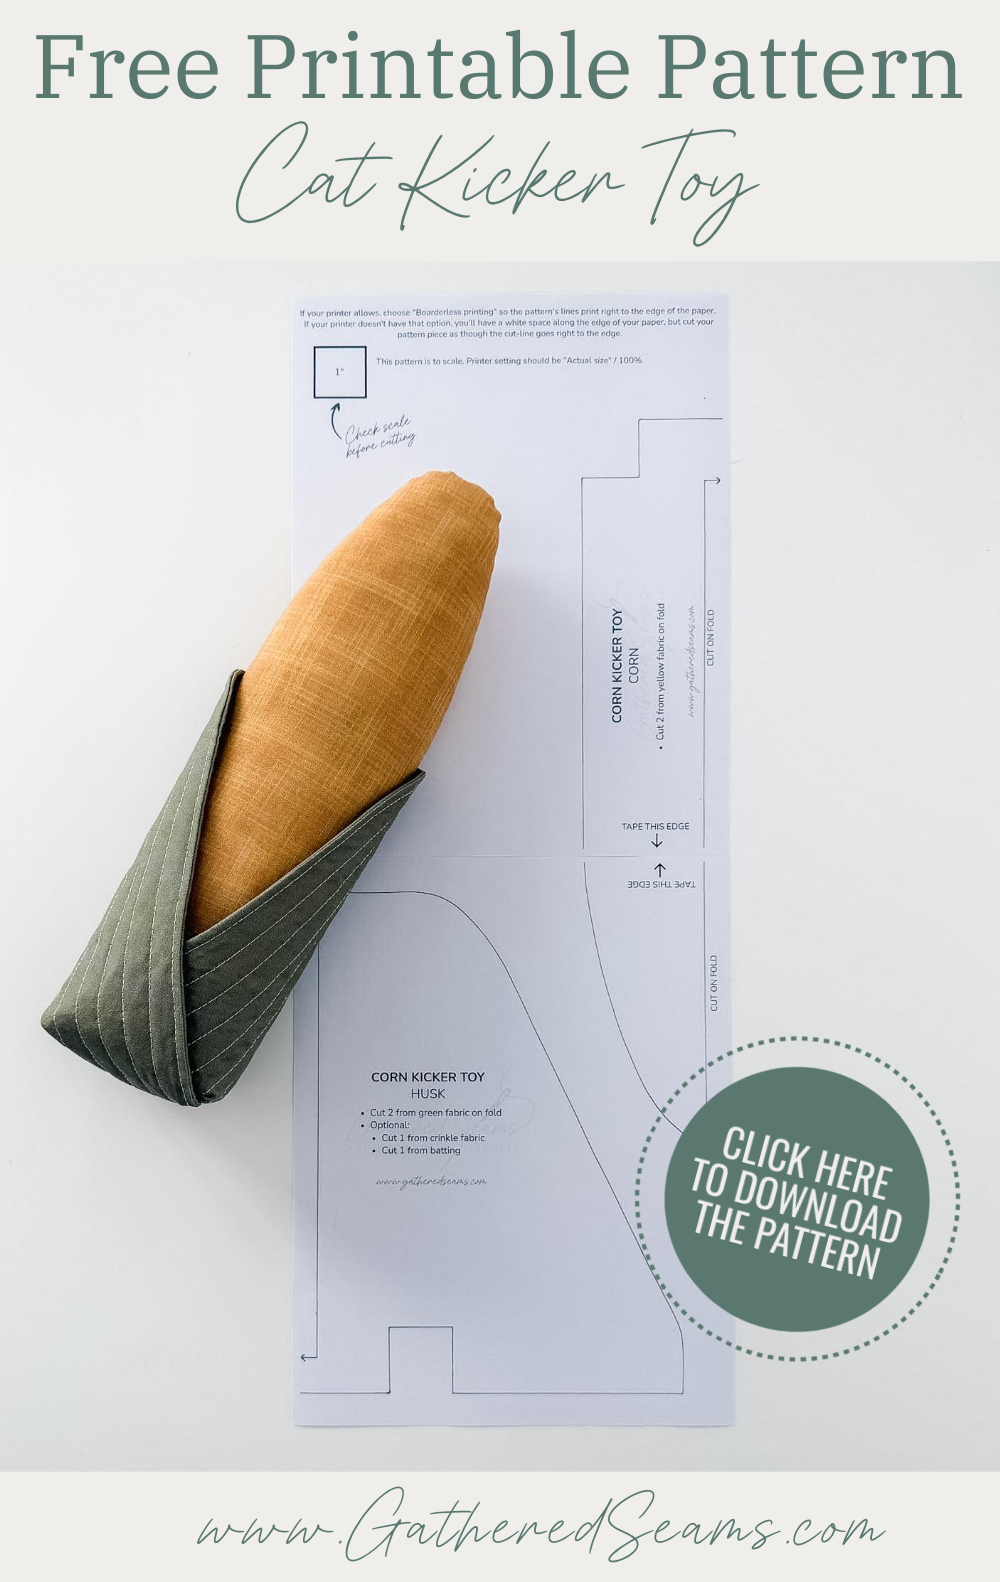

Download the cat kicker toy PDF sewing pattern and cut out your pieces.
You will need:
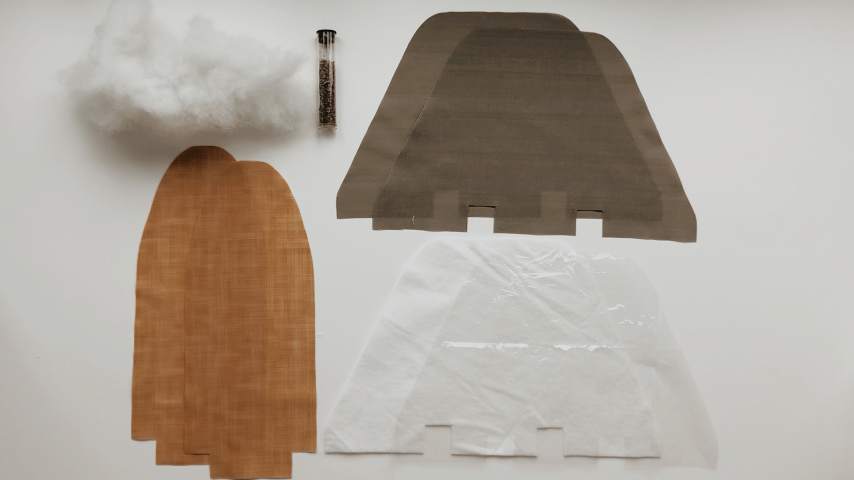
- 2 pieces of yellow fabric in the corn pattern piece (cut on the fold)
- 2 pieces of green fabric in the husk pattern piece (cut on the fold)
- Optional: batting and crinkle material cut in the husk pattern piece
You will also need:
- Polyfill for stuffing
- Catnip (optional)
Steps to sew a corn kicker toy
Step 1
Start by placing the two husk pattern pieces right sides together and clipping around the sides and top. If you’re adding batting and crinkle material, layer those on top.
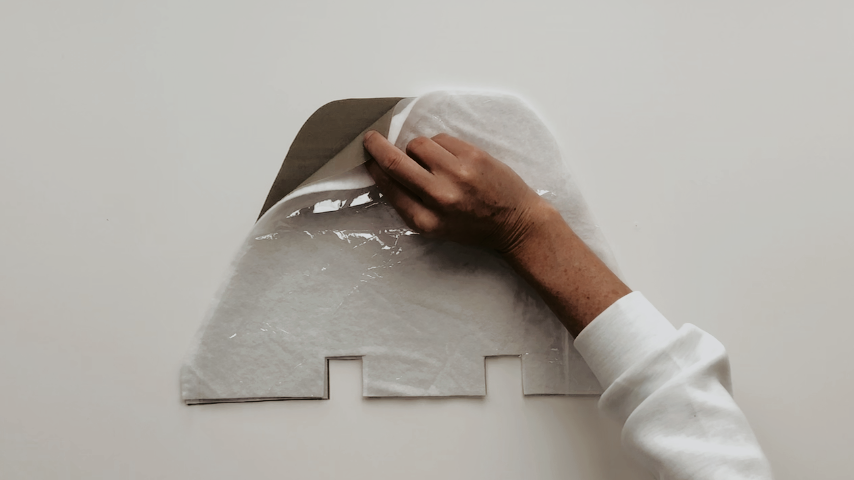
Using a 1/2″ seam allowance, sew around the outside edge.
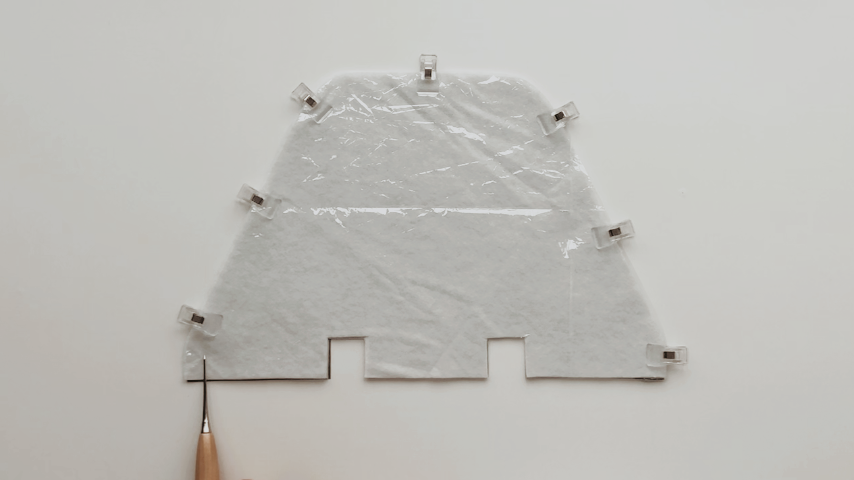
Trim your seam allowance in half, then grade your batting and crinkle material.
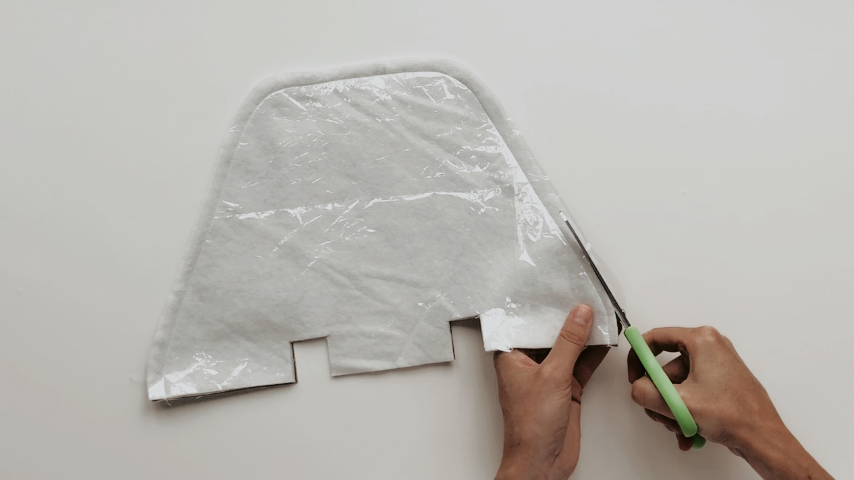
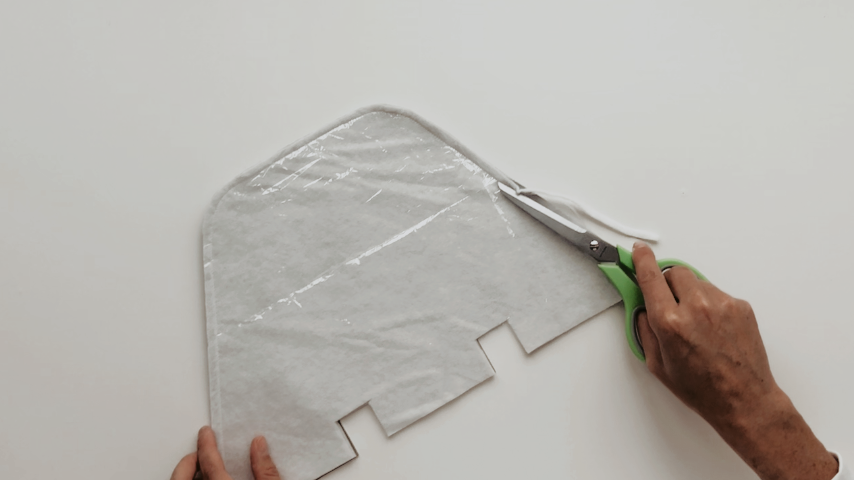
Use the tip of your scissors to cut notches around the top curves, being careful not to cut too close to the stitching.
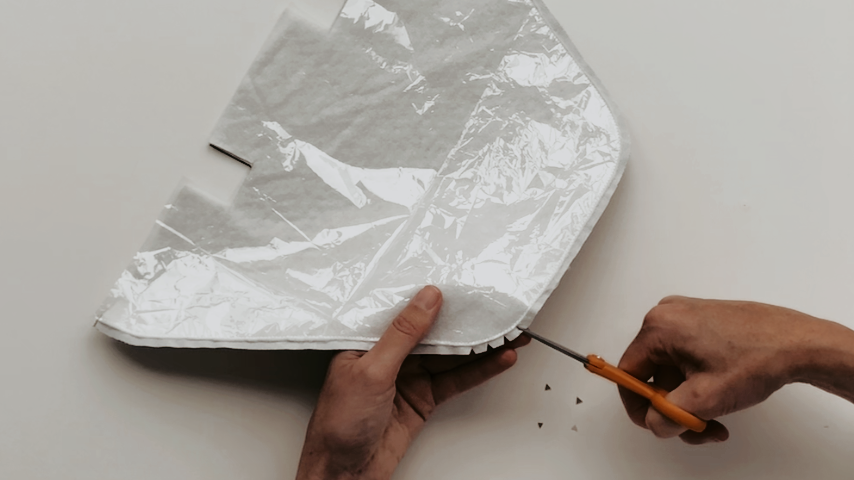
Turn the piece right side out, push out the seams, then use a seam roller to press the seams (don’t use an iron if you’re using crinkle material, unless the packaging states low-heat is okay.)
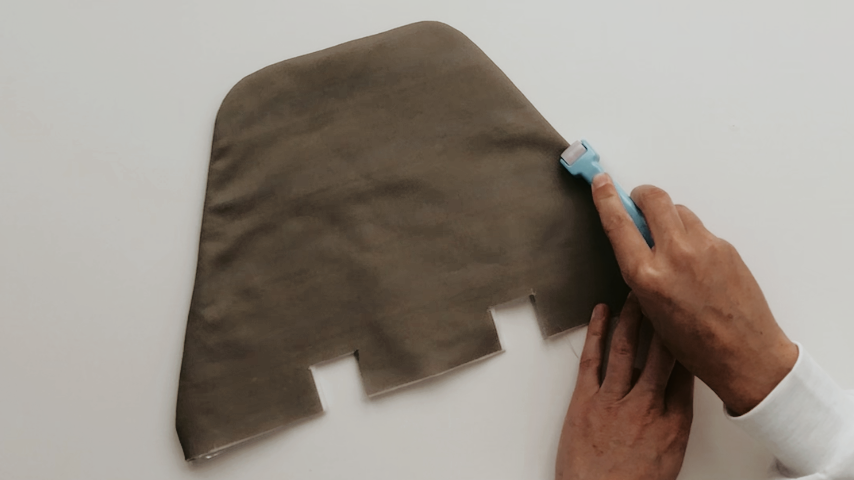
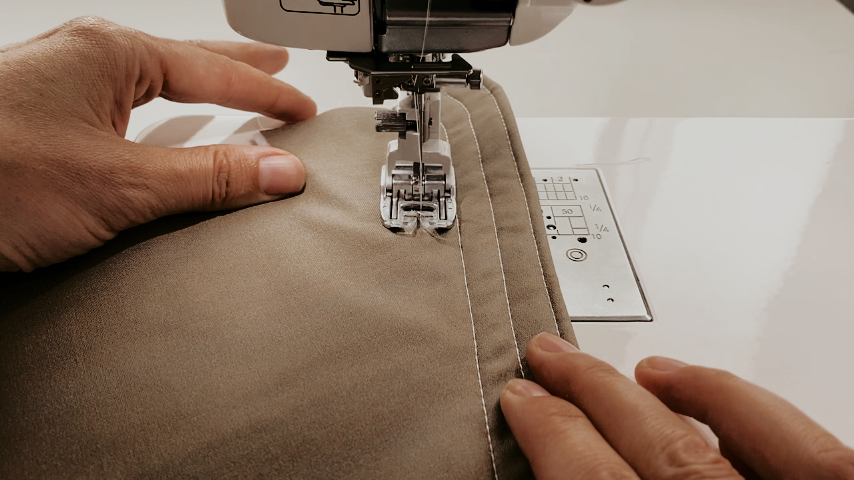
Topstitch around the seam, about 1/8″ away from the edge.
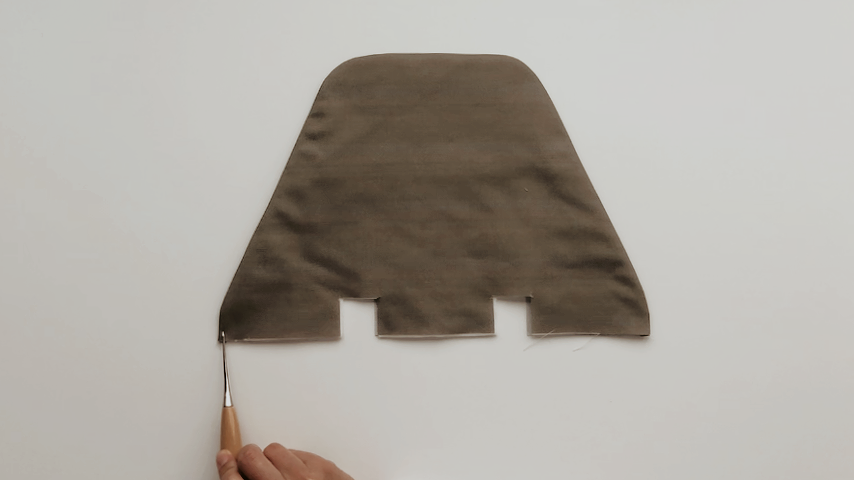
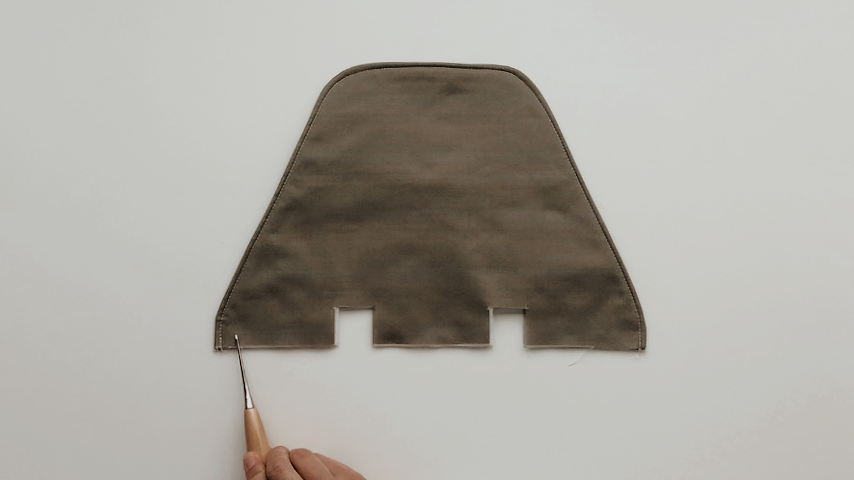
If you’d like to add some detail to the husks, add lines of stitching, about 1/2″ apart, following the topstitching around the edge.
Step 2
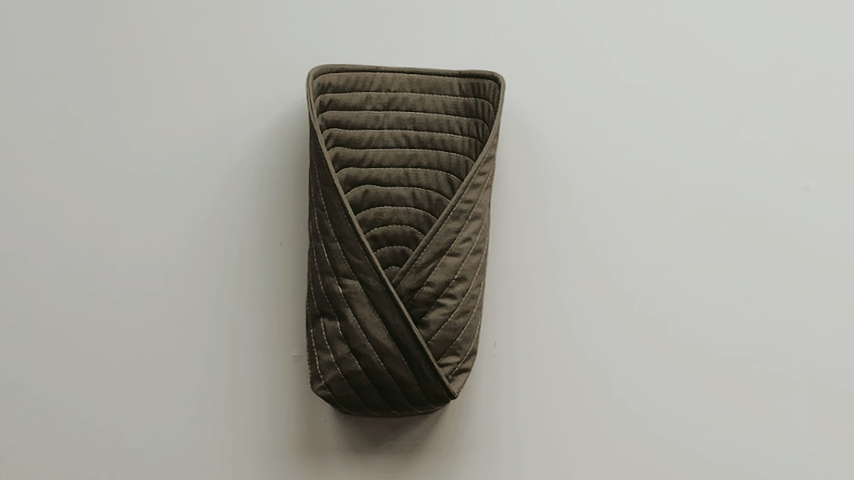
Fold each side in, so the outer edge meets the inside edge of the square cutout and the inside/outside edges of the square line up.
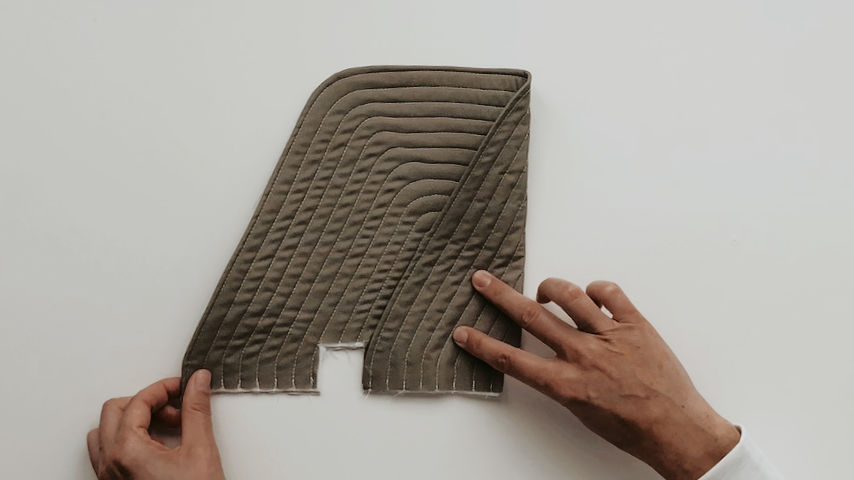
Use a 1/2″ seam allowance to sew the bottom seam.
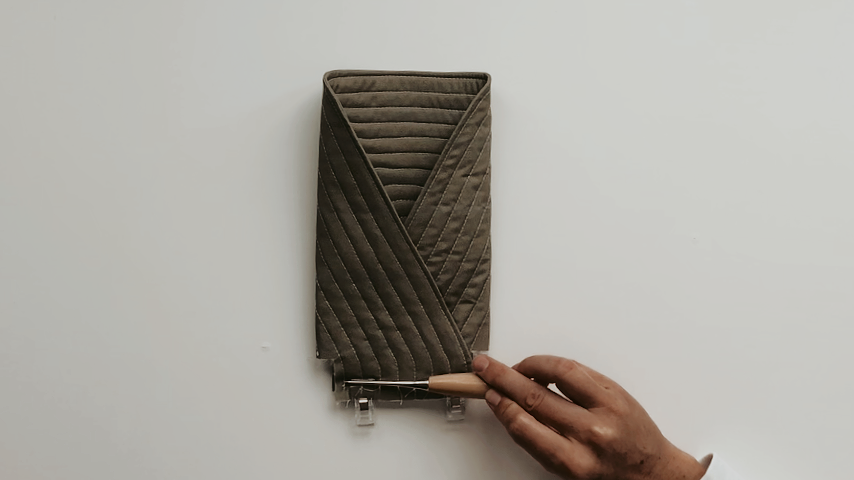
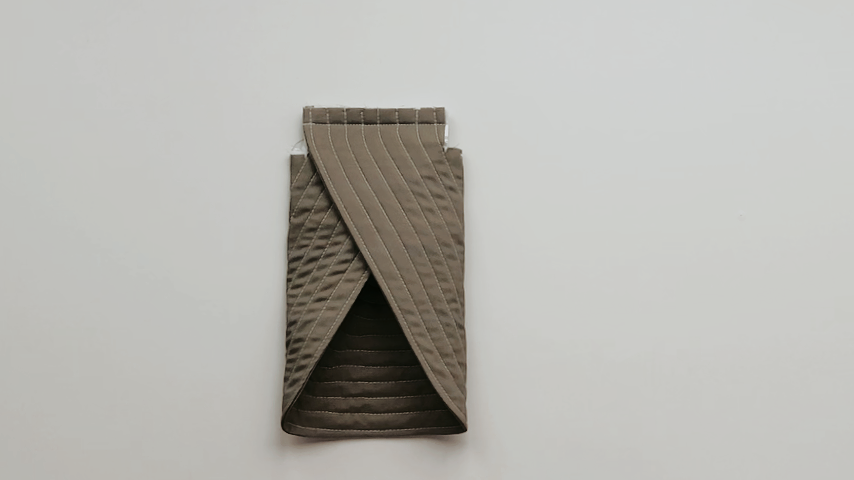
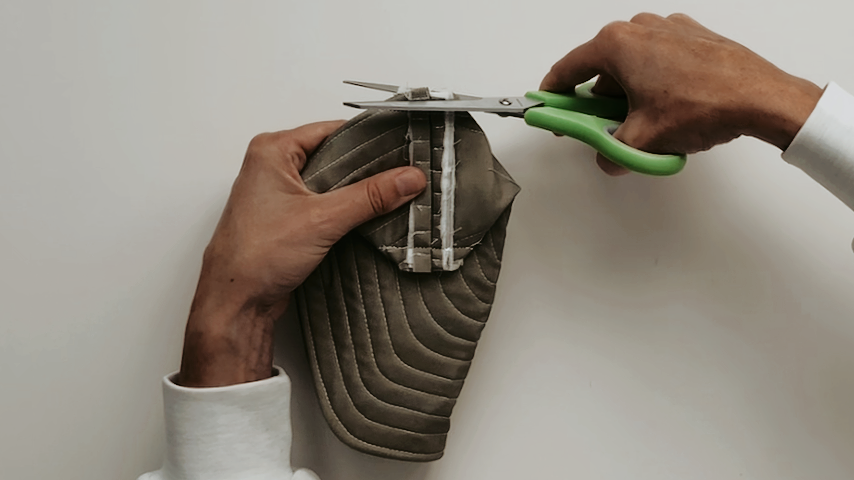
Fold the fabric so the top of the square cutouts meet the side edges of the square cutouts, and sew along them using a 1/2″ seam allowance.
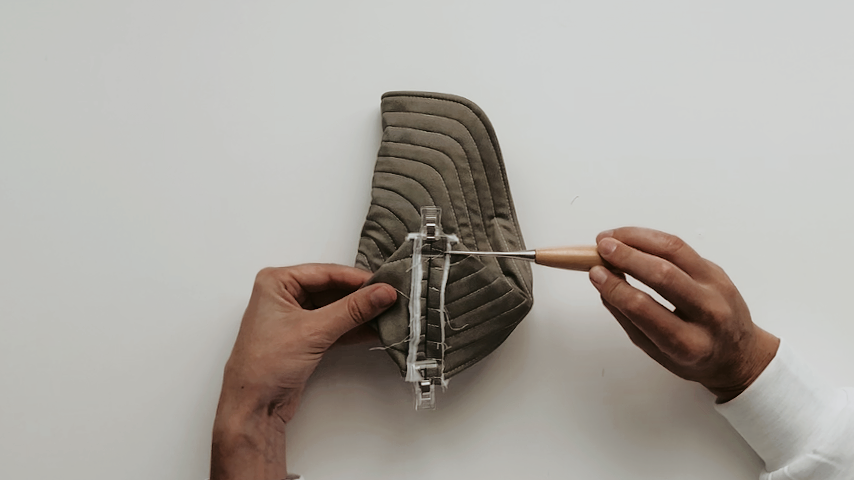
Trim the seam allowance in half.
Step 3
Place the two corn pieces right sides together and sew around the outside edge using a 1/2″ seam allowance.
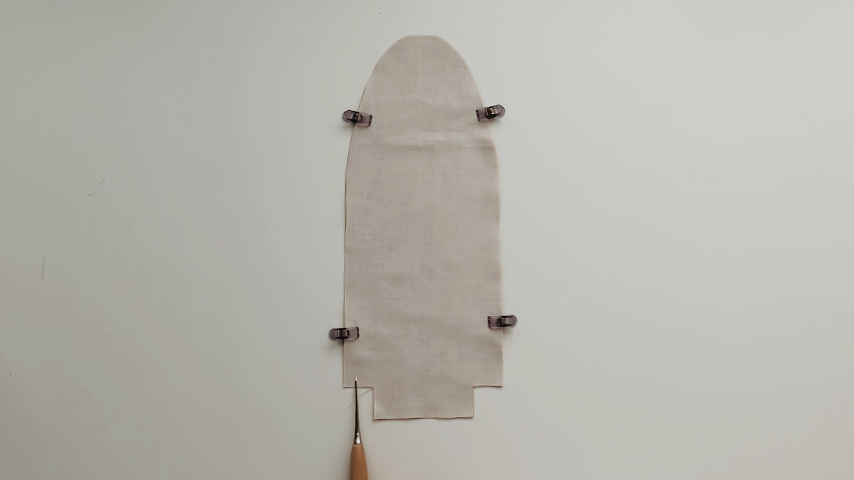
Trim the seam allowance in half.
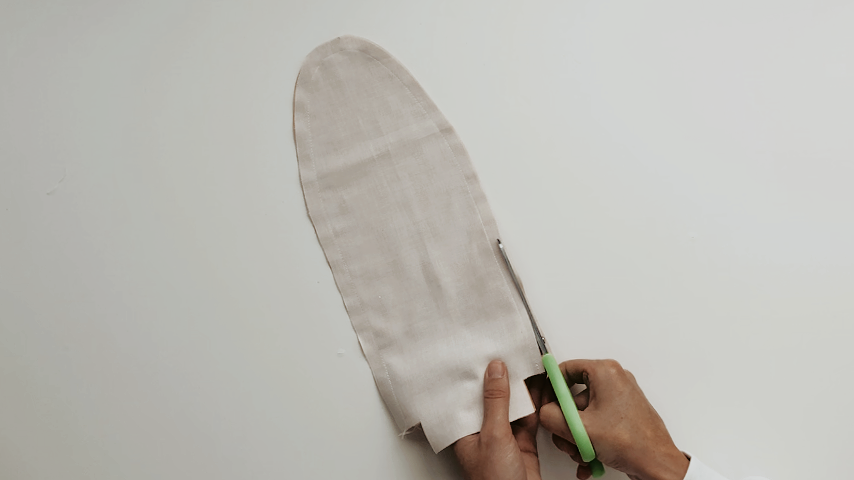
Clip notches around the top curve.
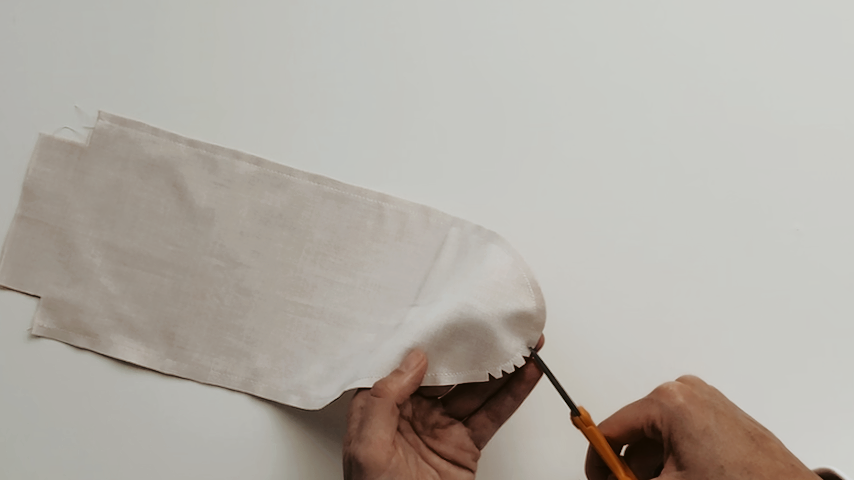
Mark 2 lines, about 3/4″ away from the outside bottom edges. You’ll backstitch at the start and end of those lines, and use a basting stitch (longest stitch length) between them.
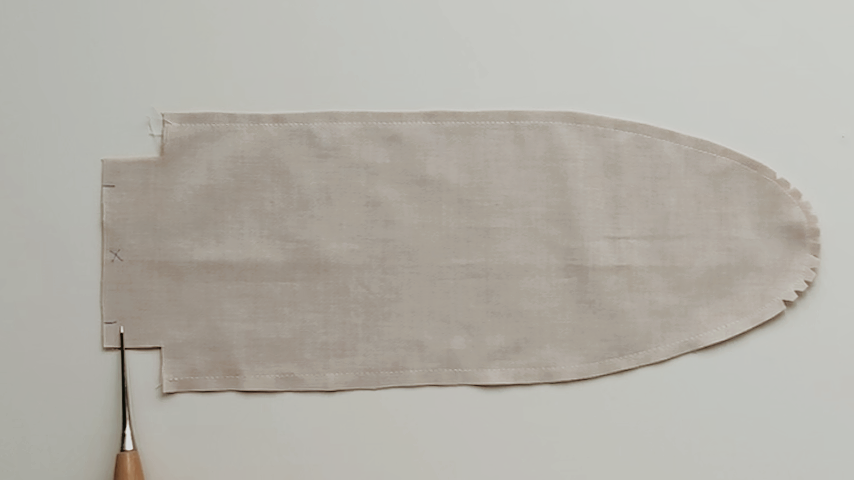
Press the bottom seam open, then use a seam ripper to remove the basting stitches.
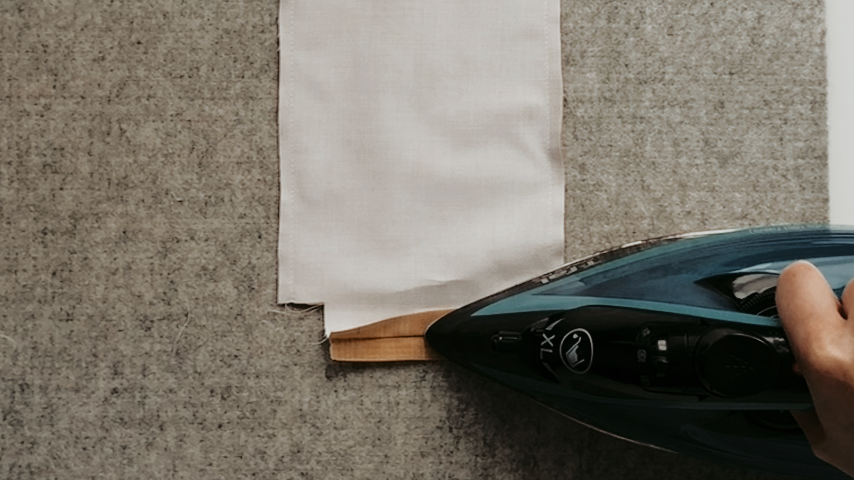
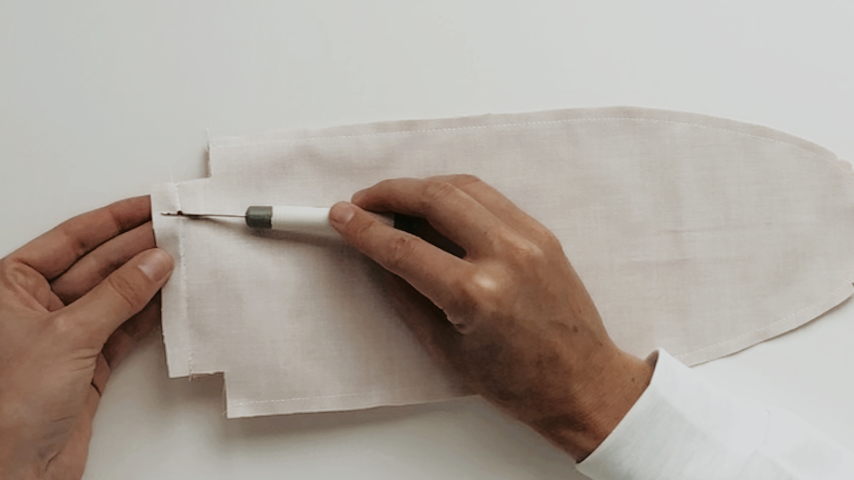
Fold your fabric to line the corner edges up and sew across them using a 1/2″ seam allowance.
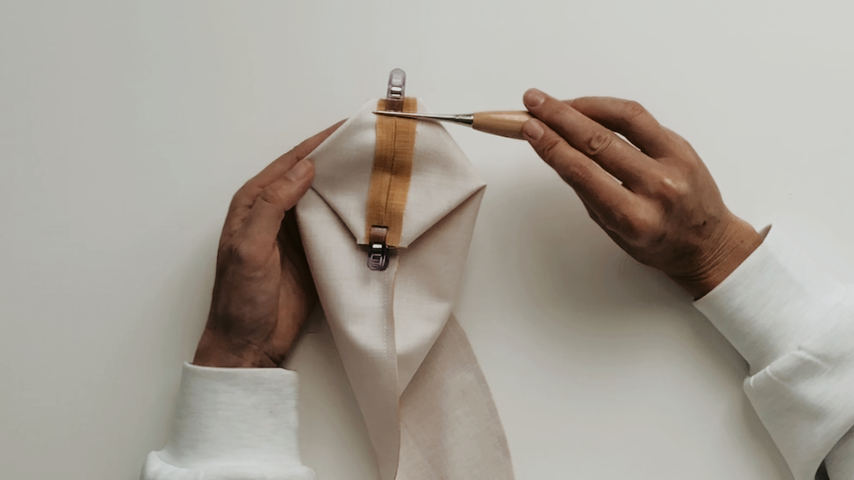
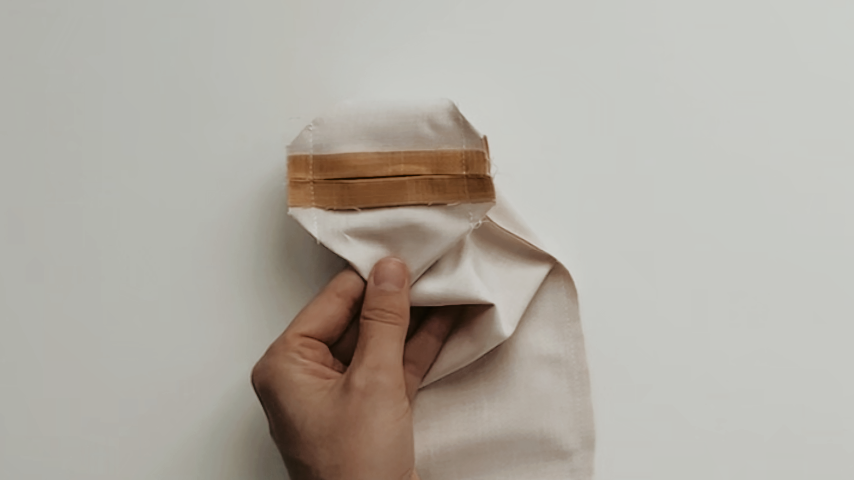
Step 4
Use the opening in the bottom to turn your corn piece right side out.
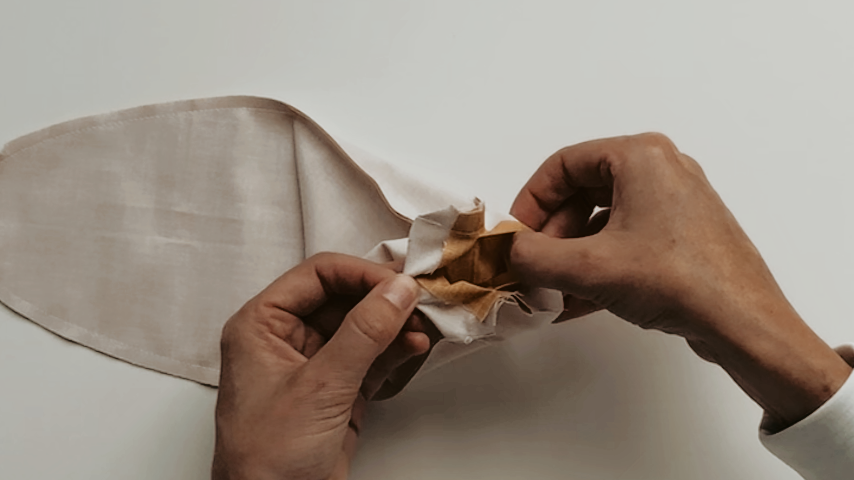
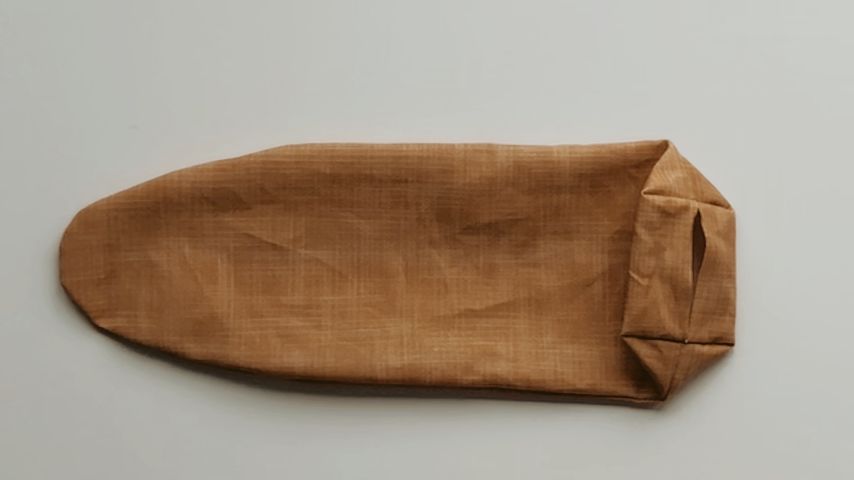
Stuff a little polyfill into the corn and use a dowel or stuffing tool to get it to the tip of the corn. Then sprinkle in catnip (optional).
Continue adding a bit of stuffing, pushing it down so your corn has a smooth shape, and sprinkling catnip in.
You can use a total of about 1 – 2 tablespoons of catnip.
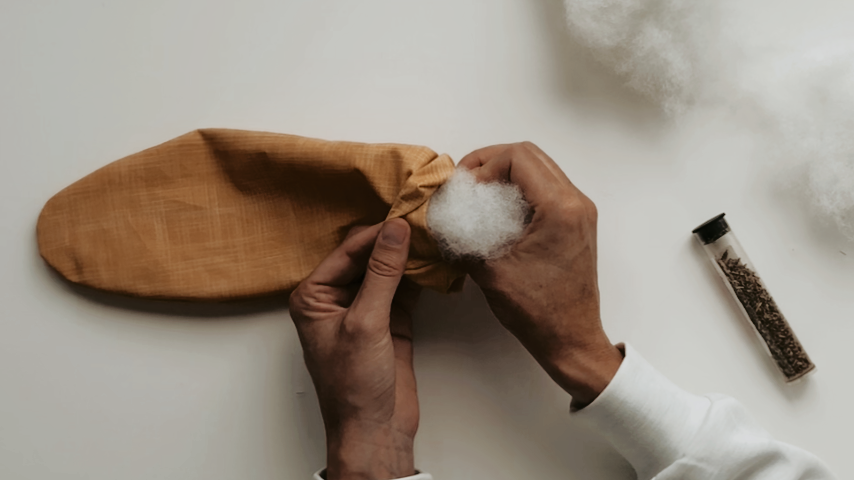
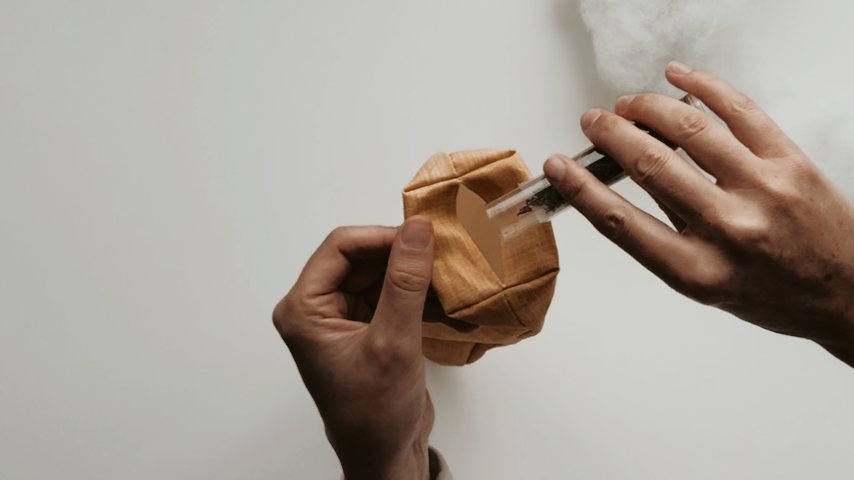
Stuff the corn until you’re happy with the shape. Then push the stuffing down far enough that you can sew the bottom seam closed.
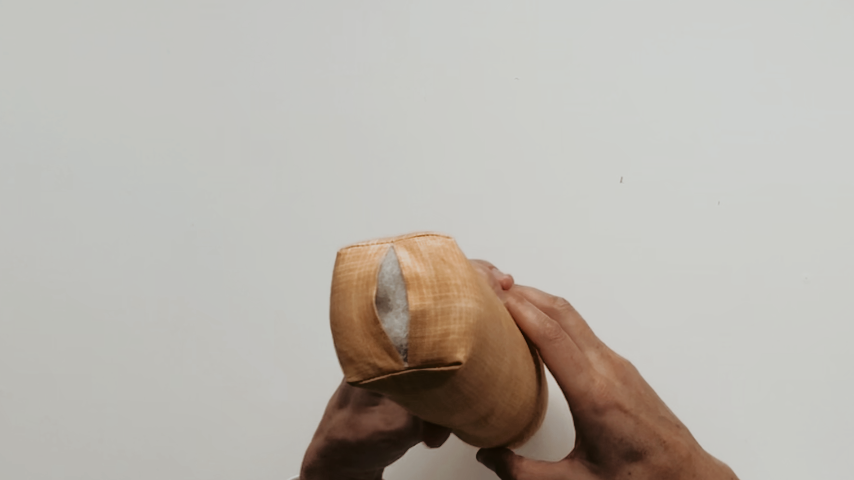
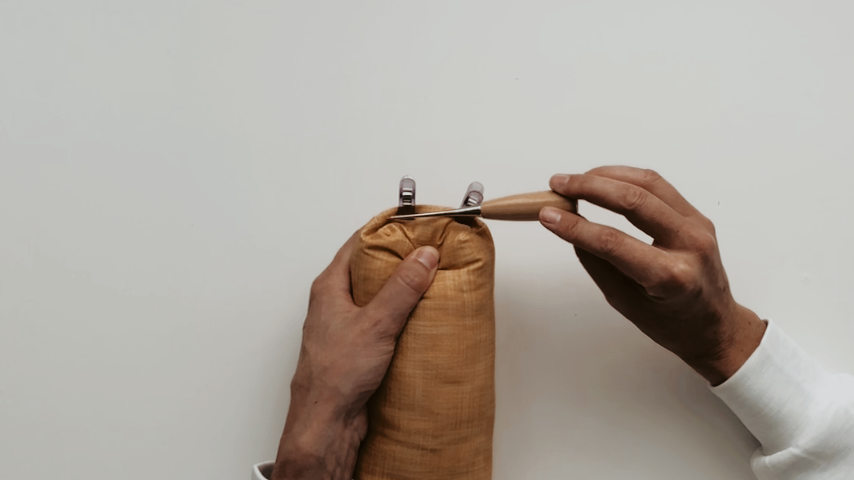
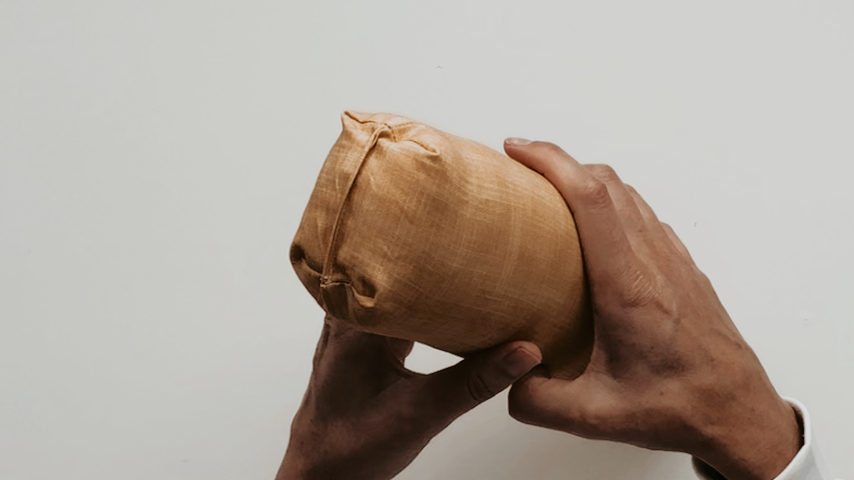
Once it’s sewn closed, you can squeeze the bottom of the corn to distribute the polyfill back to the bottom edge.
Step 5
Double up your thread and hand-sew the bottom side seams of the corn to the inside bottom side seams of the husk.
I start by double-knotting my thread to the corn, then I use a ladder stitch, attaching the corn’s seam to the seam allowance of the husk.
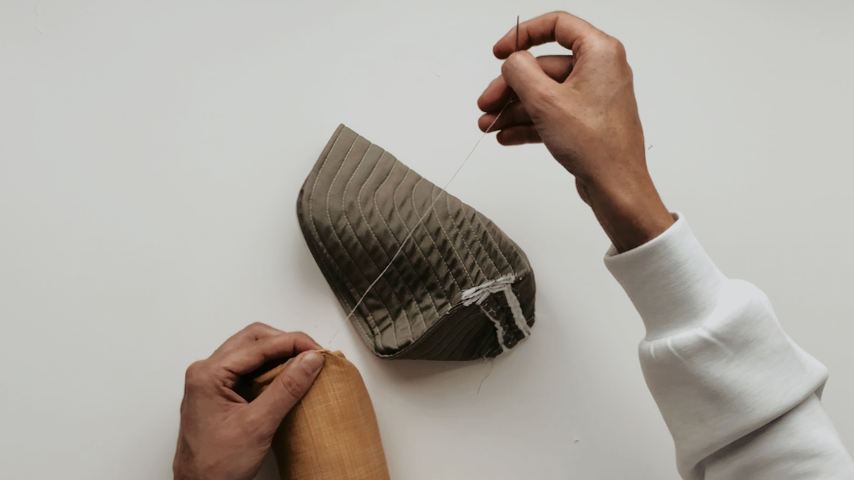
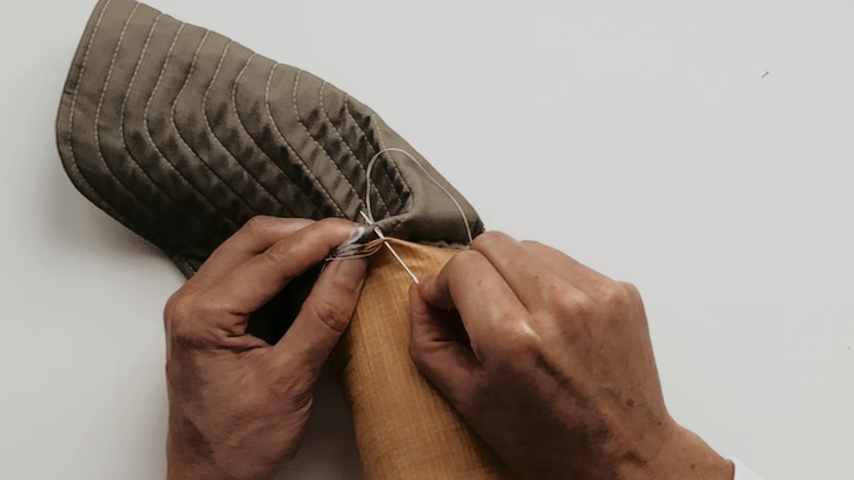
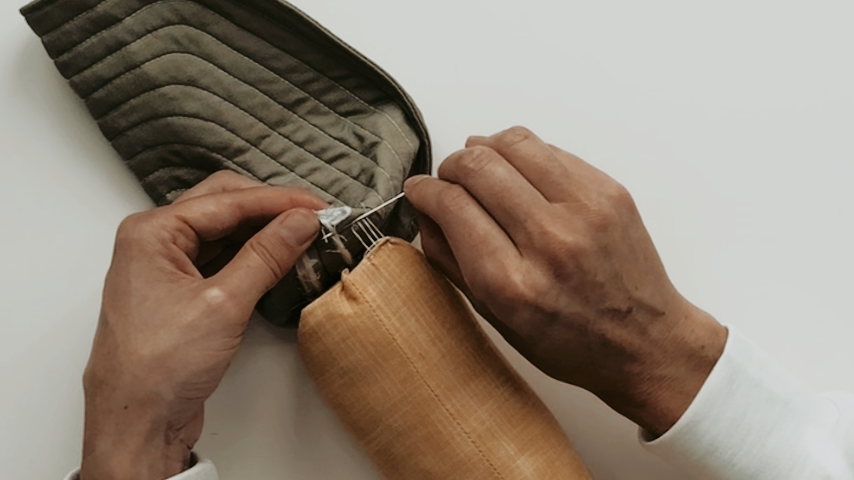
Tie a double knot at the other end of the corn. Repeat to attach the other side of the corn to the husk.
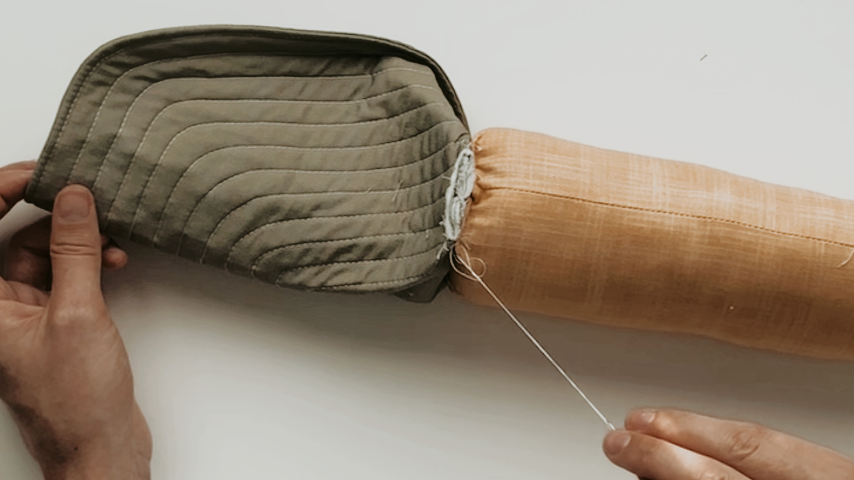
Your corn on the cob cat kicker toy is complete! Arthur says “good job!” 😉