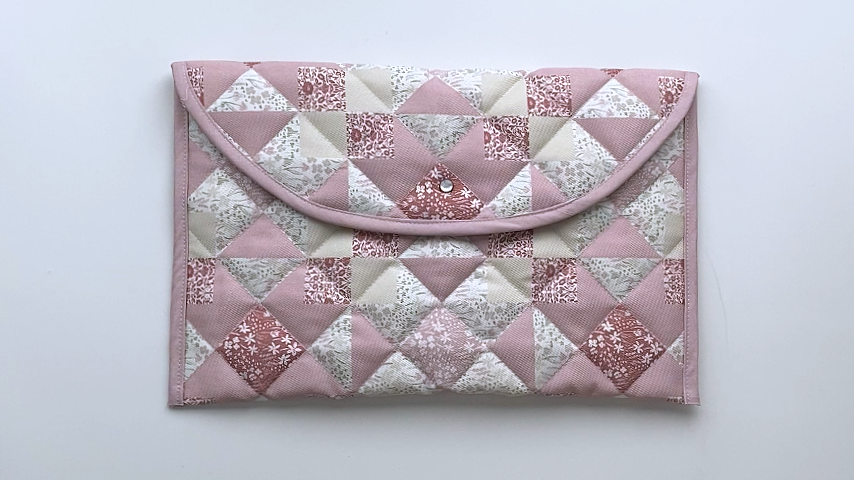
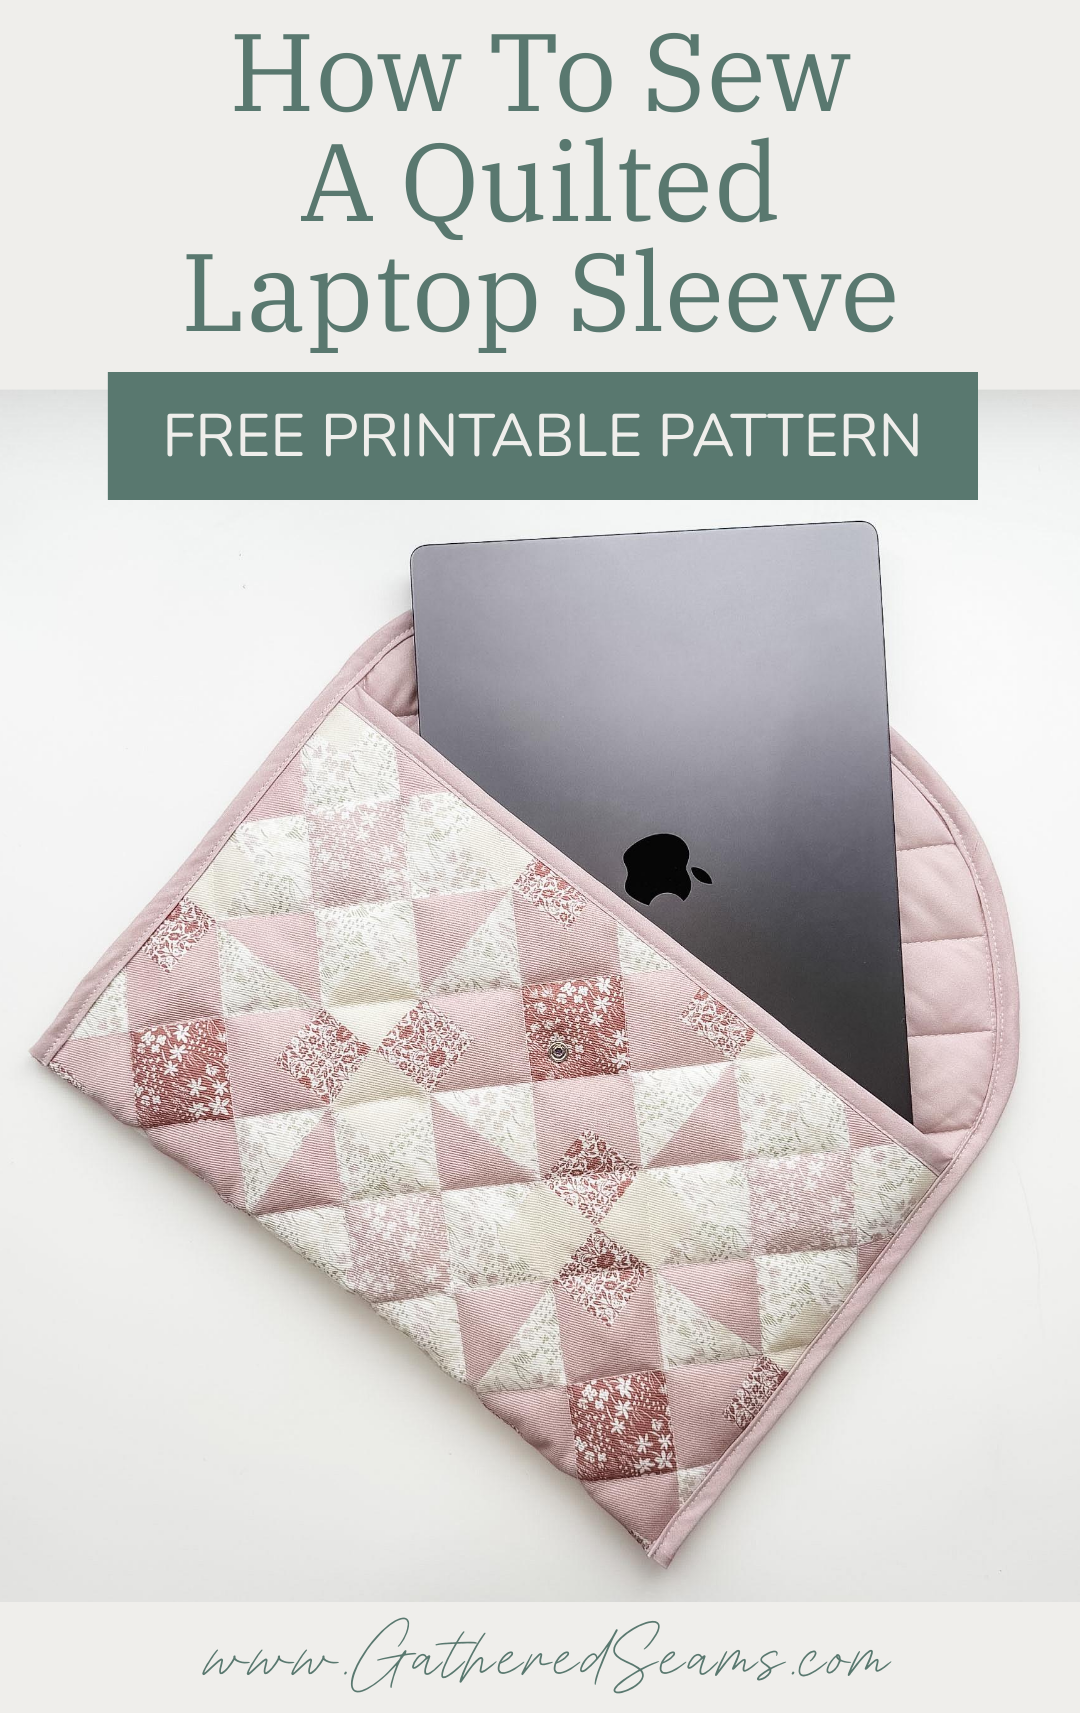
How To Sew a Quilted Laptop Sleep | Free Printable Pattern
A laptop sleeve is the perfect item to help protect your device when you have to take it to and from meetings, classes, work, etc.
This one is quilted, using 2 layers of high-loft batting to give it extra plushness and padding.
Its finished interior size is 16″ wide by 10-1/2″ tall, which should fit most sizes of laptops.
But please check the size of your laptop before starting this pattern to ensure it will fit.
You can always make this laptop case smaller by taking an inch or two off the width and height of the pattern.
A padded laptop sleeve would also make a great gift!
Other items to add to the gift
If you’re sewing a quilted laptop sleeve as a gift, here are a few other items you could add to bulk up the gift.
To sew:
- Pencil case
- Tote bag
- Cord organizer/charger pouch
- Notebook cover
- Home office items
- mouse pad
- wrist rest
- fabric baskets
To buy:
- A nice pen
- Notebook
- Sticky notes
- Any other tech items (e.g. earbuds, wireless mouse, etc.)
Materials
As an Amazon Associate, I earn from qualifying purchases (see full disclosure here).
- Outer material (I used a dogwood denim in a “cheater quilt” pattern, found here)
- Lining material (I used a quilting cotton, found here)
- Batting (this is the one I used) – consider the amount of protection you need. If the laptop cover is simply to prevent scratches when it’s in a bigger bag, then you could use one layer of polyester quilting batting. For more protection, you might use foam stabilizer. Fusible fleece and cotton batting are other options.
- 1/2” double-fold bias tape (2” wide when unfolded) – here’s how to make your own: How To Make Bias Tape
- Snap closure (alternatively, you could use Velcro, or create ties to secure the flap closed). Be mindful, if you’re using thick batting, you will need a bigger snap with prongs long enough to go through all the layers and attach to the other side. Or try a sew-on snap closure. Here are several options:
- Similar to what I used (however, it was finicky to get the prongs all the way through the layers of fabric)
- Heavy-duty (for thicker materials and batting)
- Sew-on closure
- For leather or thicker materials
- Fun colors (and when working with thinner batting)
- Thread
Tools
- Sewing machine
- Walking foot (highly recommended if you’re sewing quilting stitches. This is the universal one I purchased for my Baby Lock, which is a different machine than what’s shown in the photos)
- Hera marker (for marking quilting lines)(this is the one I use)
- Ruler (for marking quilting lines)
- Clips
- Temporary fabric marker (these are the ones I use)
- Scissors
- Iron
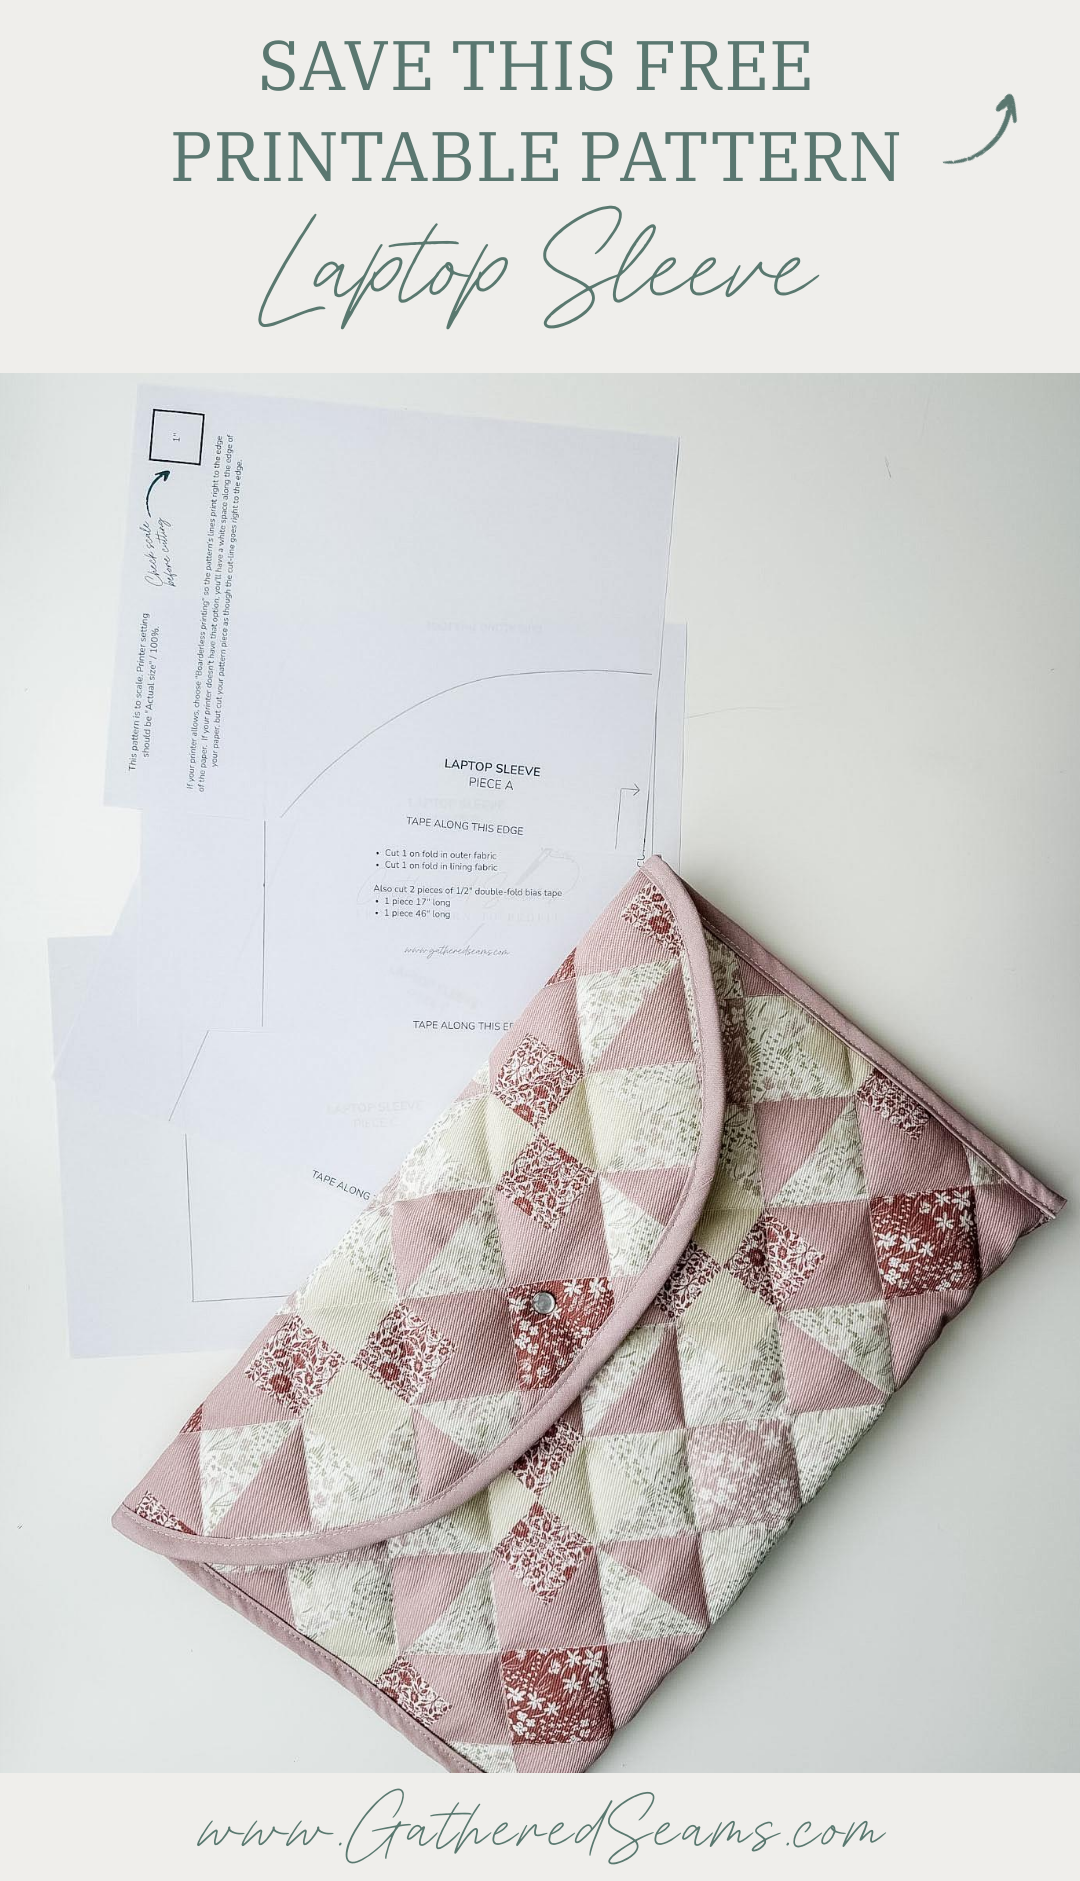
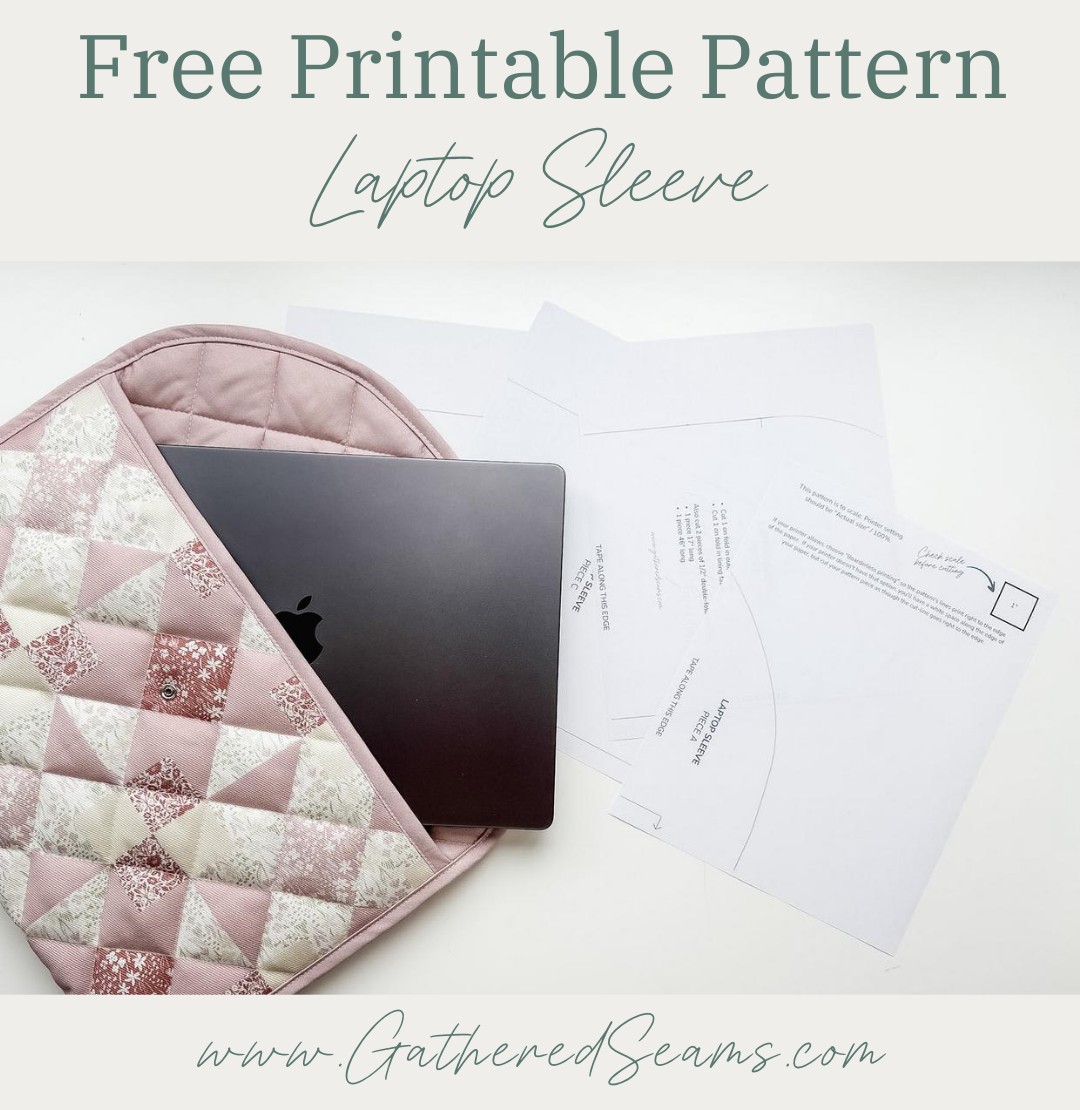
Free Printable Pattern for a Laptop Sleeve

Steps to sew a quilted laptop sleeve
Step 1
Download the free pattern, print it, tape your pieces together, and cut it out.
Your pieces of paper should not overlap; the edges should simply butt together.
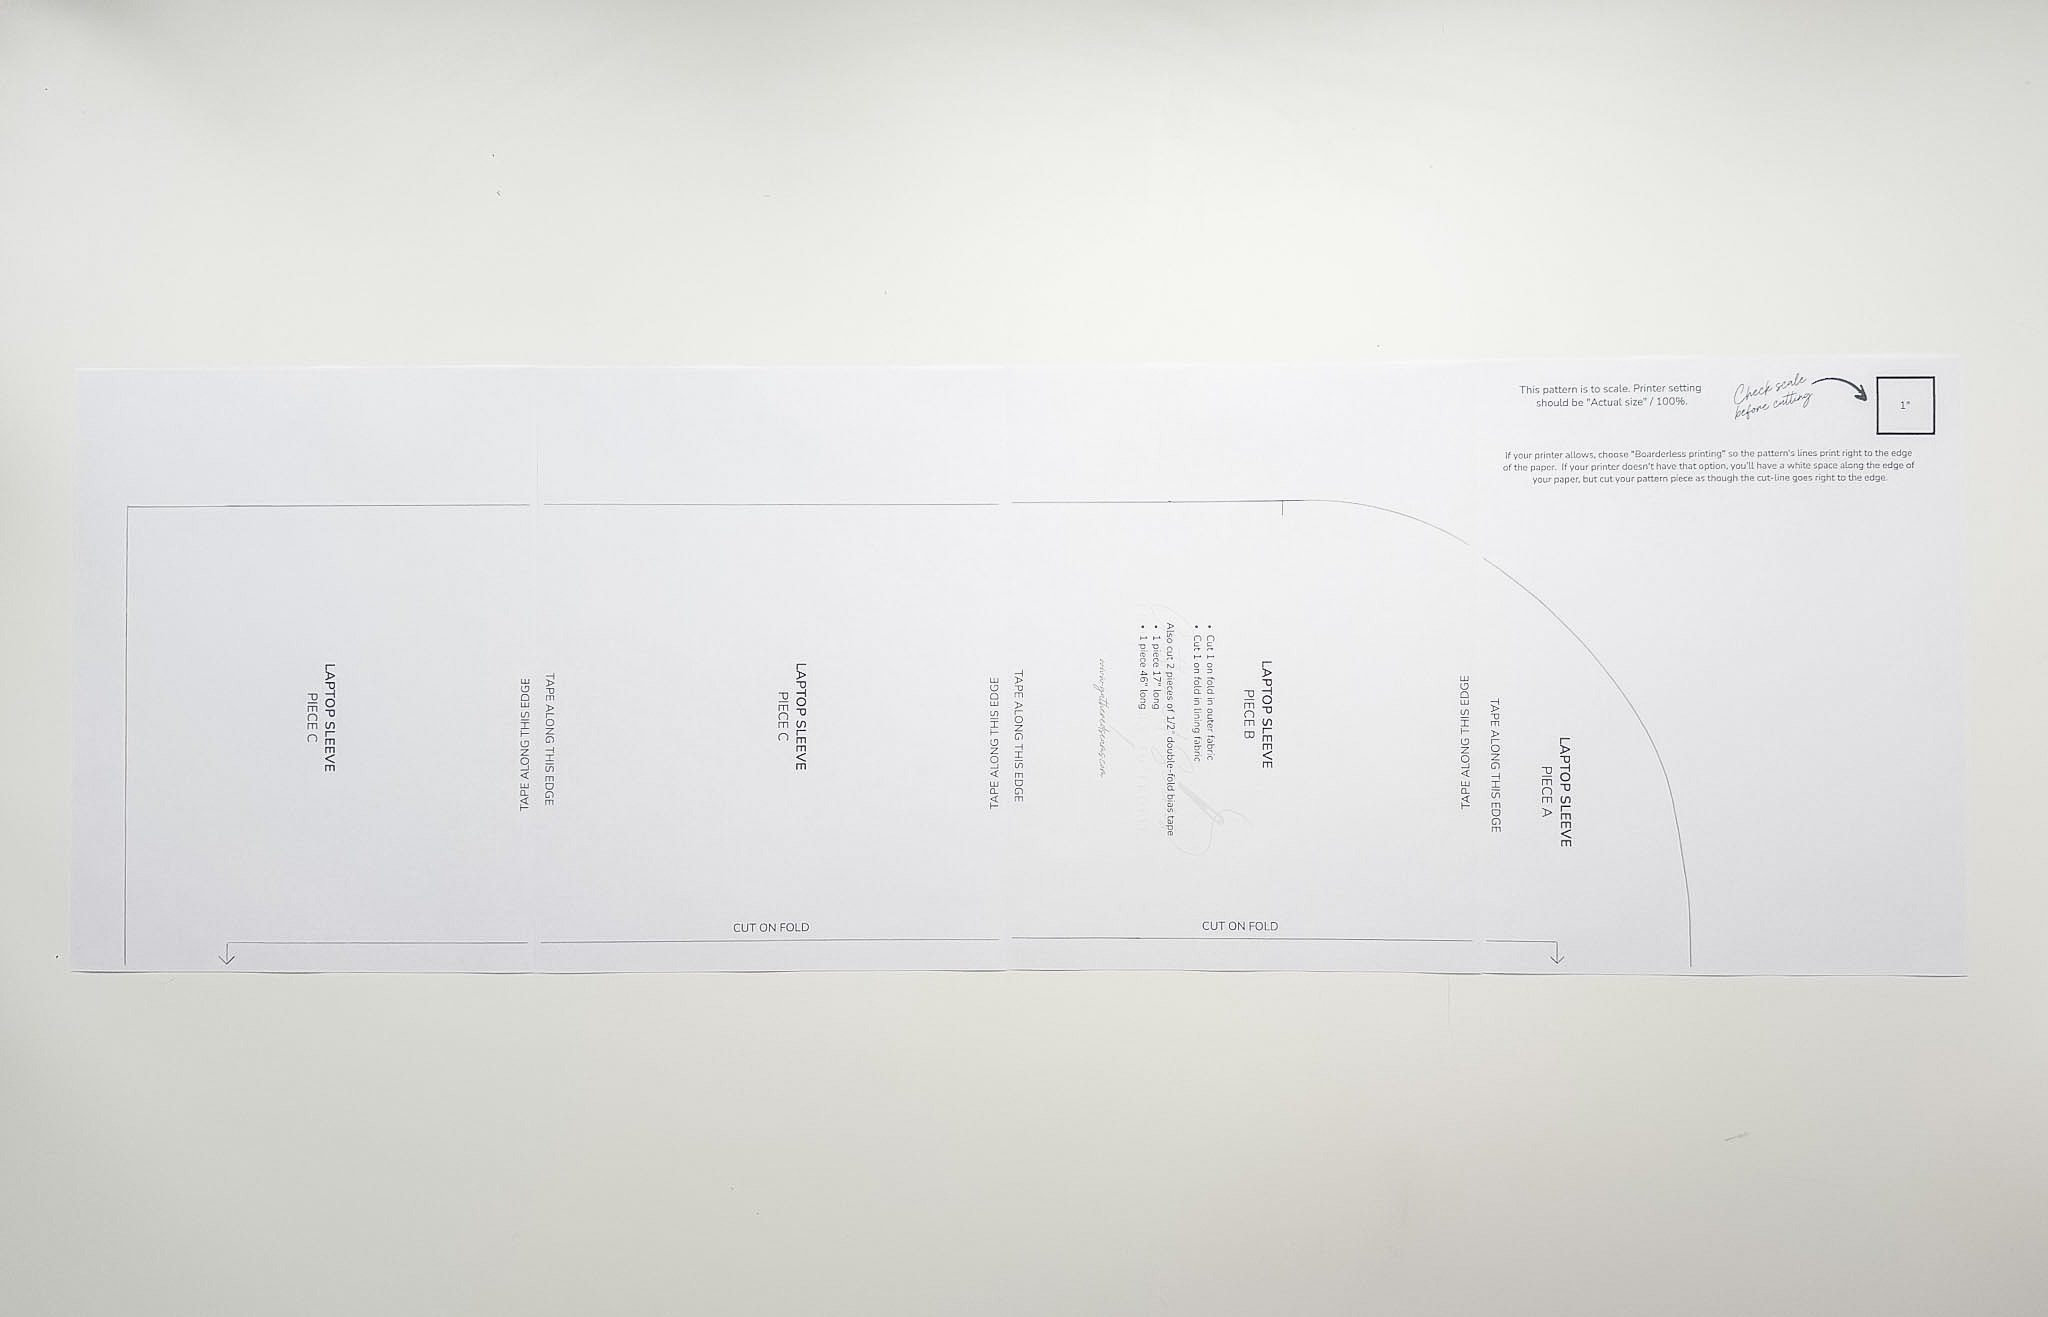
To save paper, I designed this pattern to be cut on a fabric fold. But if you prefer, you can print the pattern out twice, tape the second set together and cut it out, then flip one set of pattern pieces so the writing is face down, and tape the two sets together so you don’t have to cut the fabric on a fold.
*If you’re adding quilting stitches, cut your fabric slightly larger than the pattern pieces, add quilting stitches, then cut the layers of fabric to the pattern size.
You will need to cut:
- 1 piece in outer fabric
- 1 piece in lining fabric
- 1 – 2 pieces in batting
- 2 pieces of 1/2″ double-fold bias tape
- 17″ long
- 46″ long
Step 2
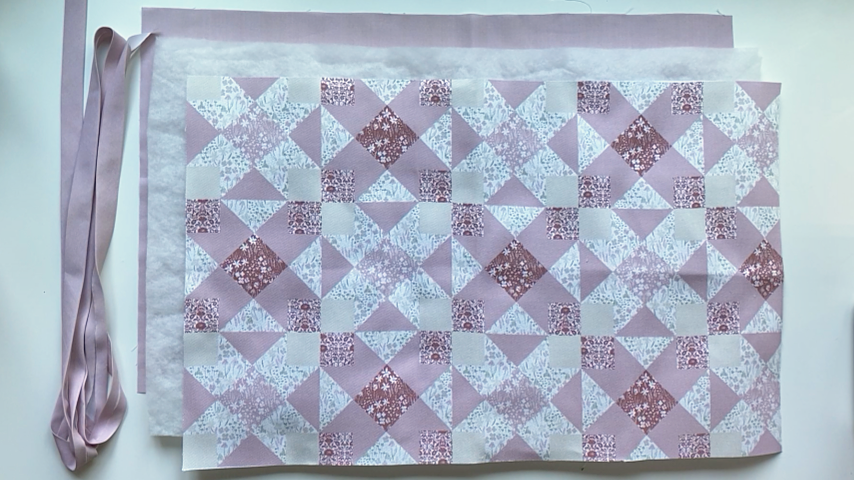
Layer your fabric and batting so that the outer fabric and lining are sitting wrong sides together. Then layer your batting between them.
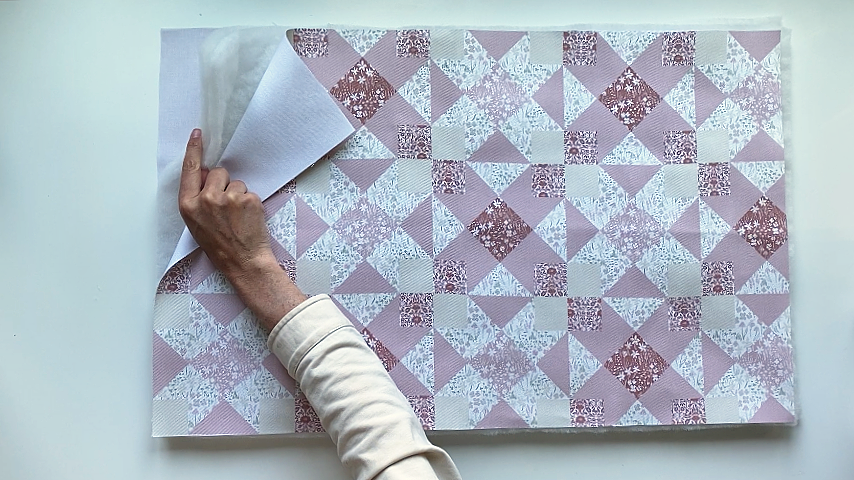
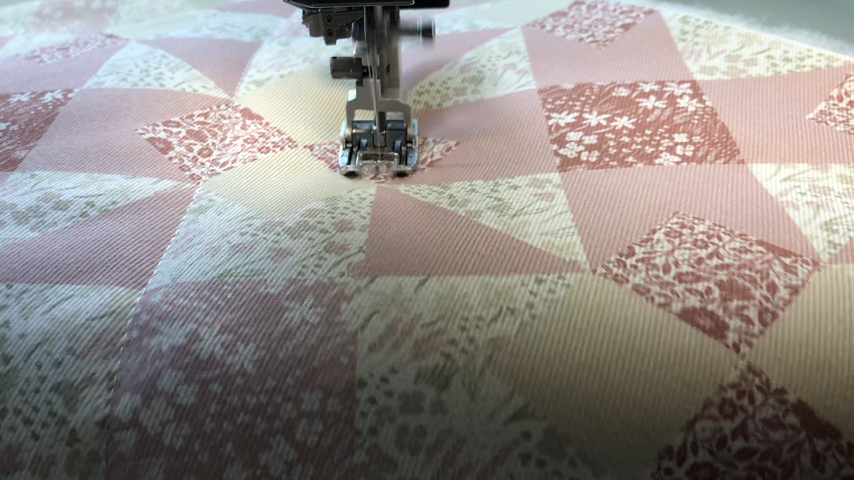
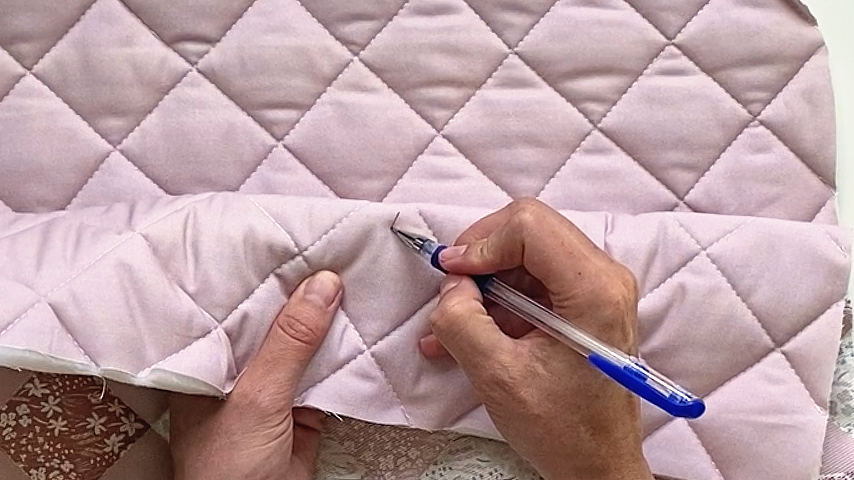
If you’re adding quilting stitches, mark the lines you’d like to follow (I created diagonal lines following the pattern on my fabric), then sew along them. Once all your quilting is complete, cut the fabric to the size of the pattern piece.
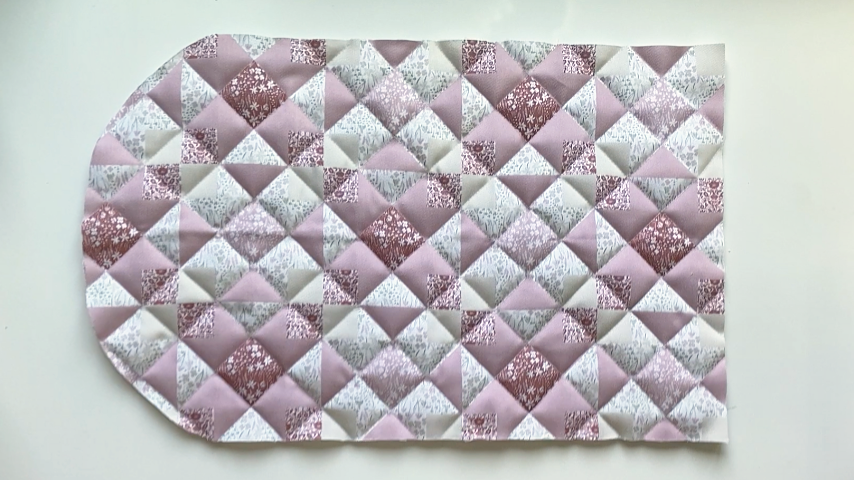
Step 3
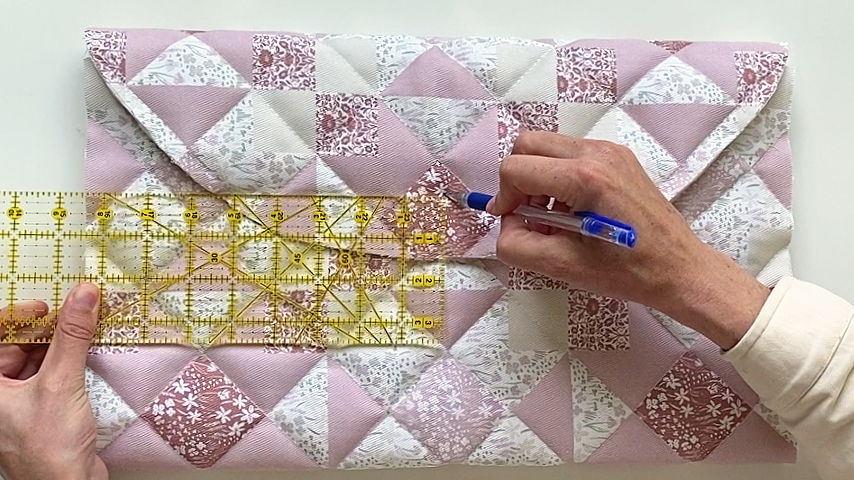
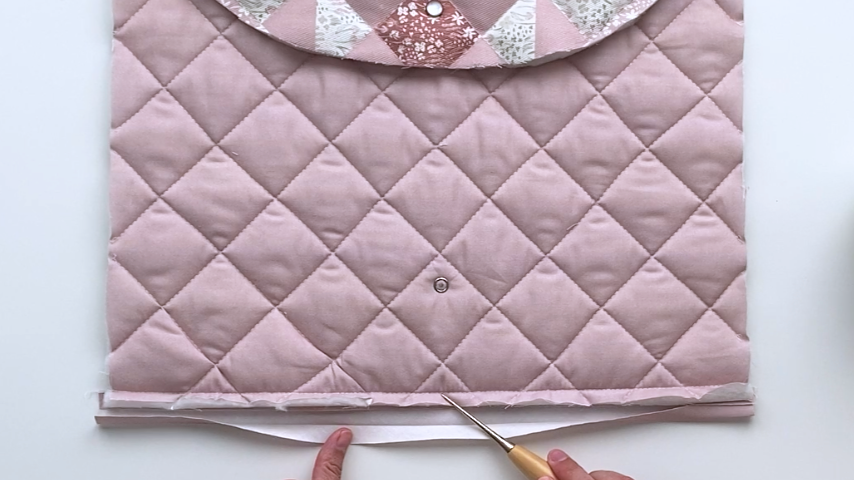
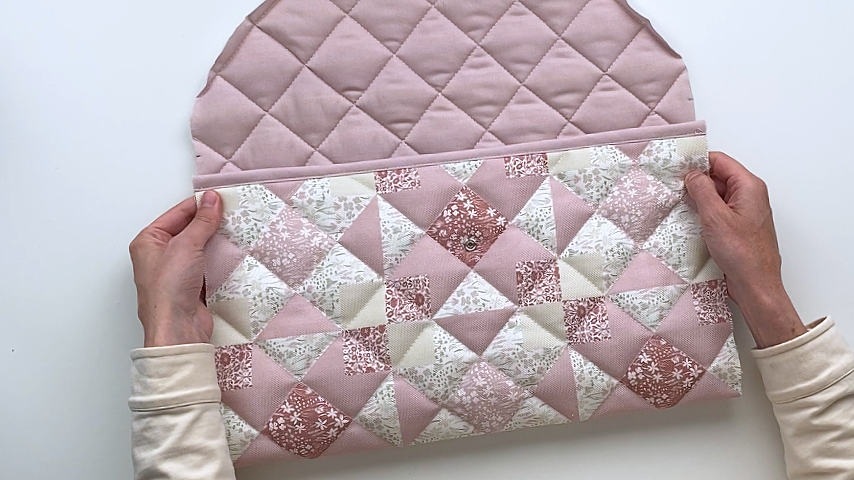
Using a temporary fabric marker, mark two lines on the lining side, as indicated on the pattern piece (21″ up from the bottom), which indicate where the bottom will fold up to.
Fold the bottom edge up to meet those lines.
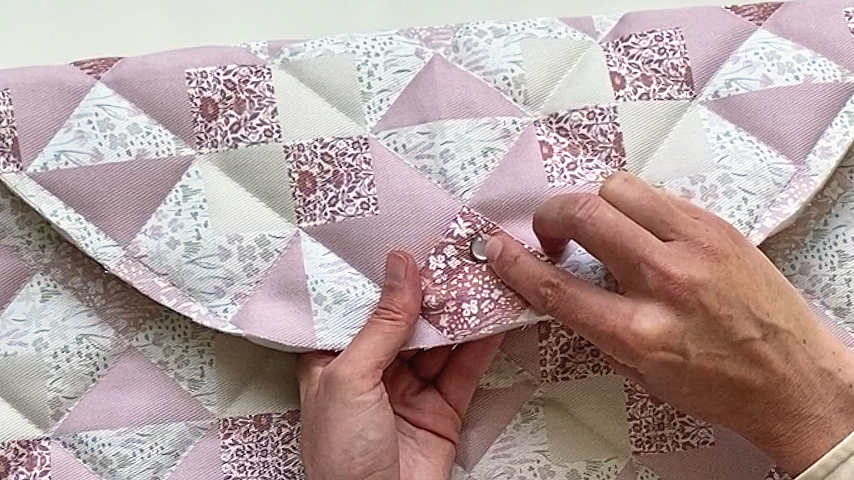
Add your snap closure.
I start by using a temporary fabric pen to mark the center (left to right) and about 1-1/2″ in from the top edge. You may need to adjust this slightly if you’re using a larger snap; you want to make sure it won’t be in the way of your presser foot when sewing the bias tape on.
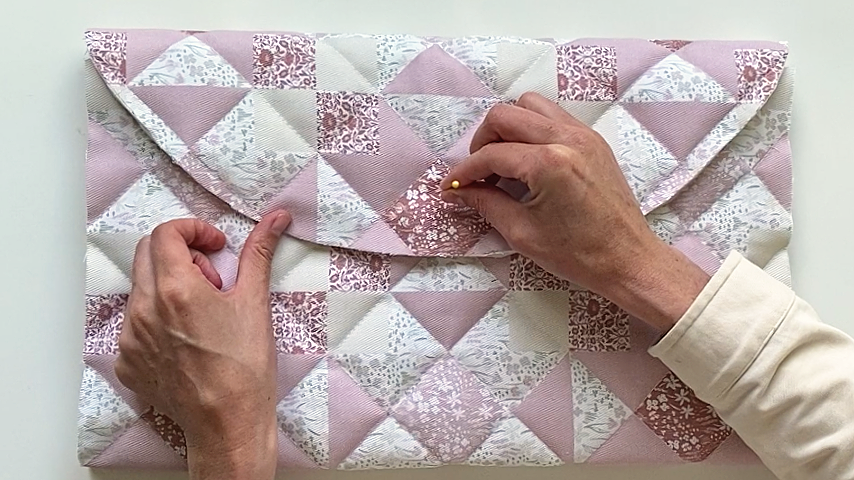
Then I fold the flap down (if you have your laptop handy, place it in the case so you account for the laptop’s thickness and know exactly how tight you want the flap be when closed). Use a pin to go straight down through the center mark, keep the pin in place, lift the fabric and mark where the pin is on the front of the laptop case.
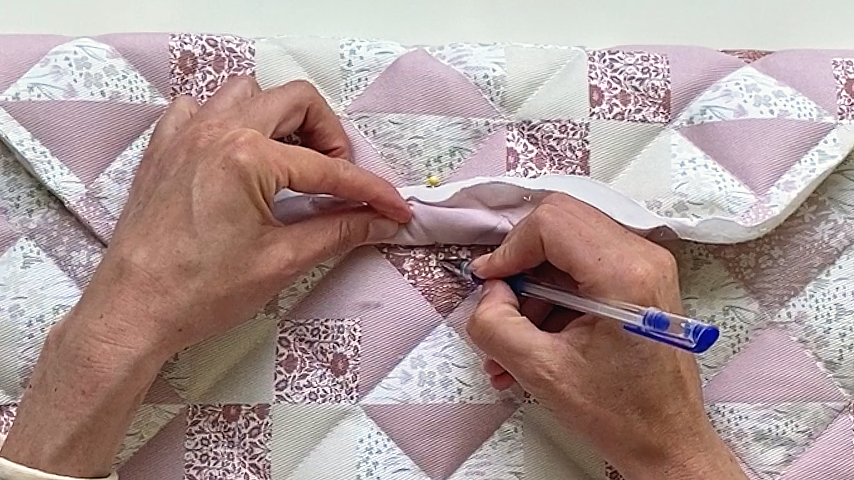
Then, use the pin again to go through that mark, and make a mark on the lining side of the case (if using a snap that goes through the bottom first).
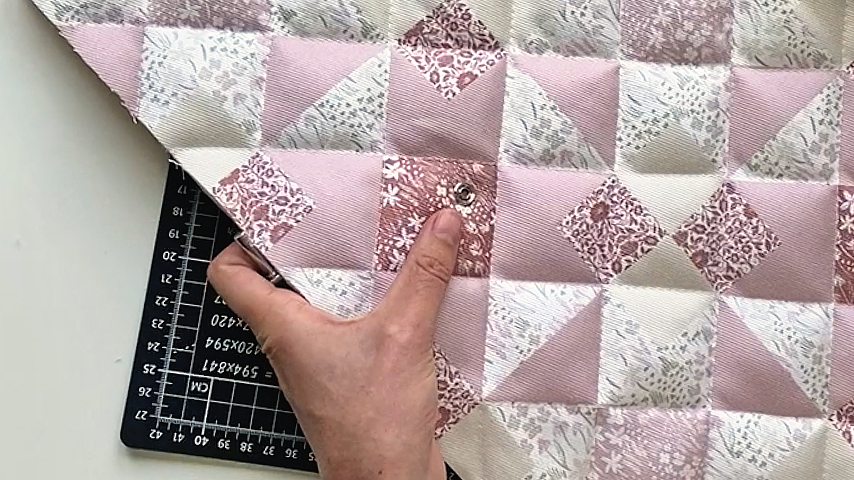
Attach the snaps following those markings.
Make sure the parts that snap into each other are on the inside of the top flap and the outside of the front of the case.
Step 4
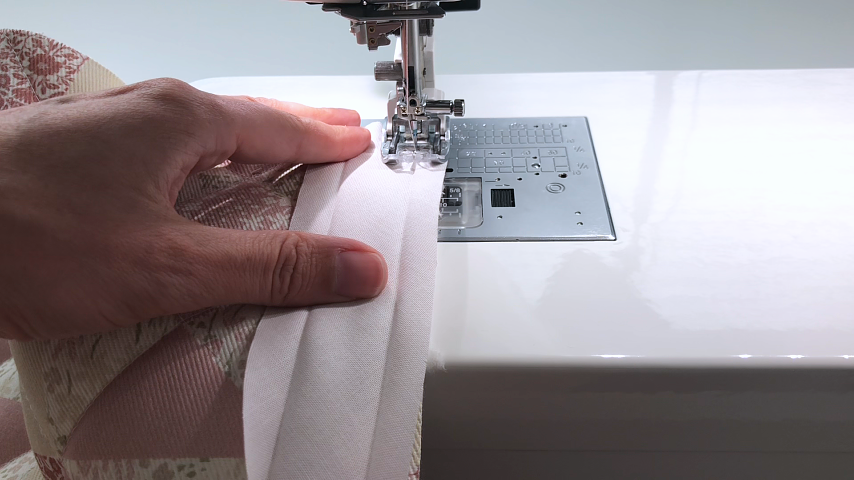
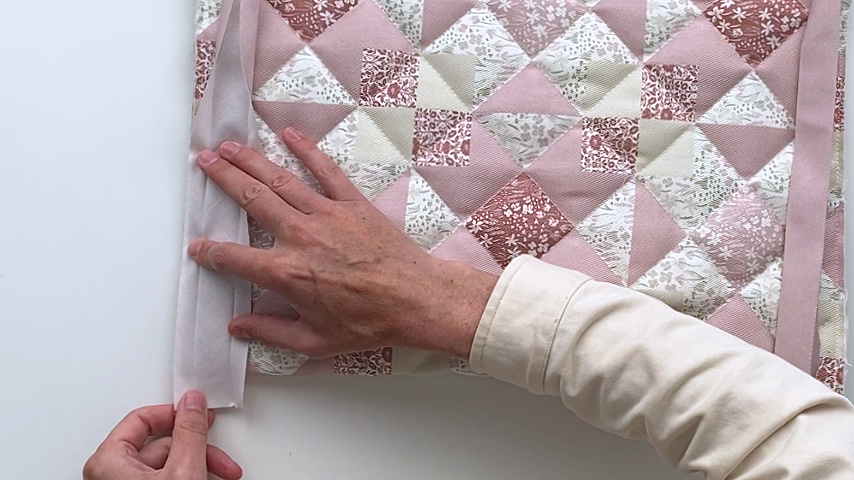
Sew the 17″ piece of bias tape to the bottom edge of the sleeve.
I sew it to the right side of the sleeve first.
Then fold the bias tape to the back, ensuring it covers the line of stitching, clip it into place, then topstitch from the right side (since it’s the side that will be seen) about 1/8″ away from the inside edge of the bias tape.
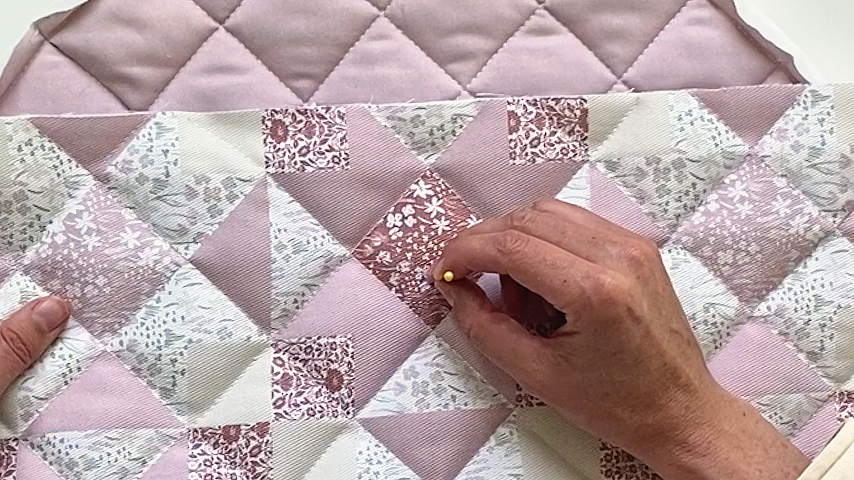
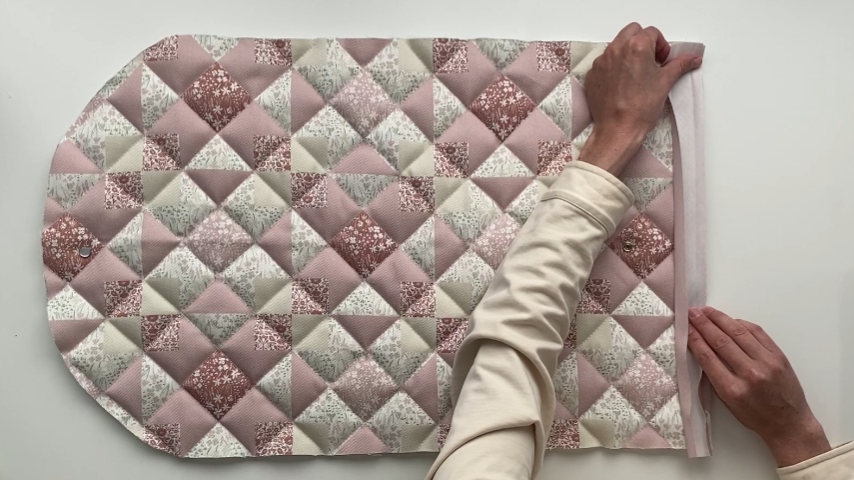
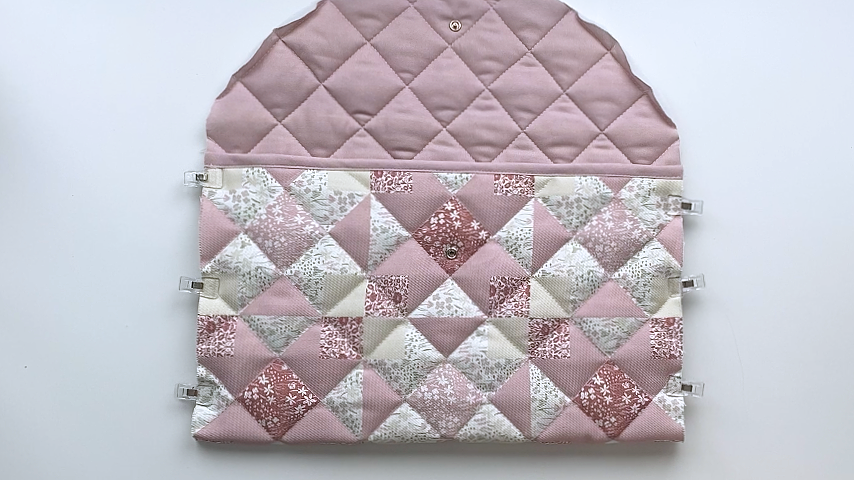
Fold the bottom of the sleeve up to meet the two lines drawn on in temporary fabric marker.
Make sure the top edge looks straight, clip into place, then baste the sides into place.

Step 5
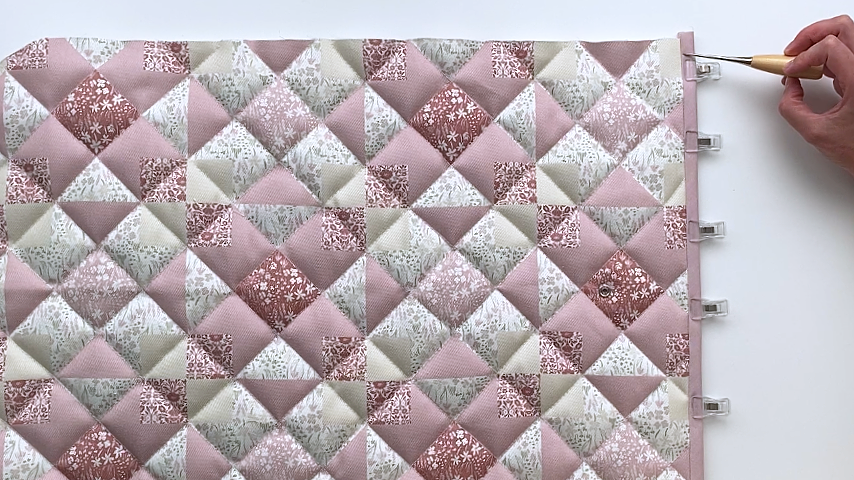
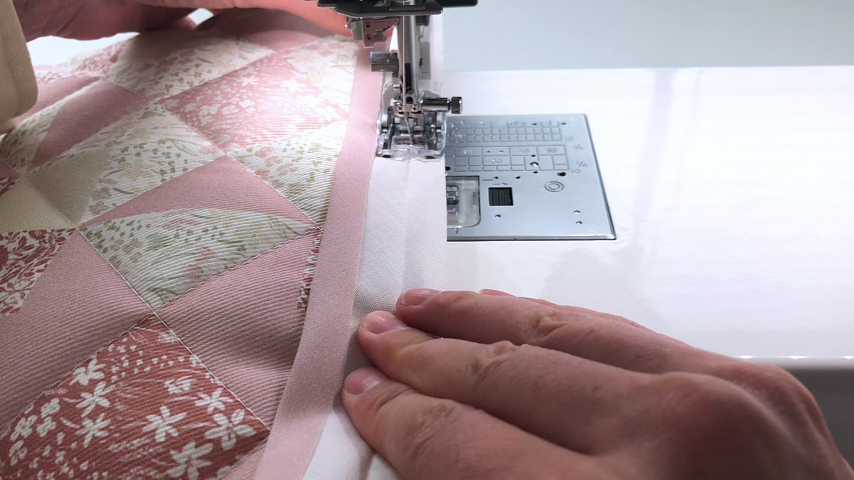
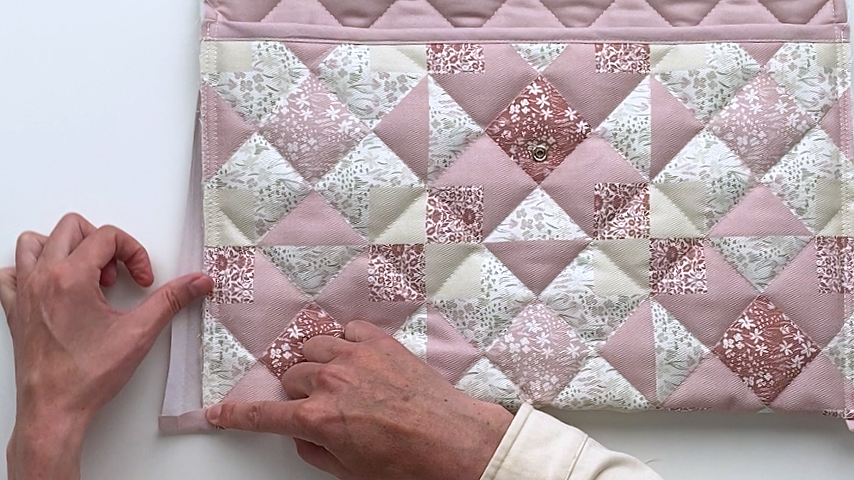
Now you can sew the bias tape around the outside edge of the case.
Start with the bias tape extending about 1/2″ further than the bottom edge of the case, and at the other end, leave the bias tape about 1/2″ longer than the case.
Sew in the first fold line of the bias tape to secure it to one side.
Fold the end up before folding the bias tape to the other side and clipping it into place.
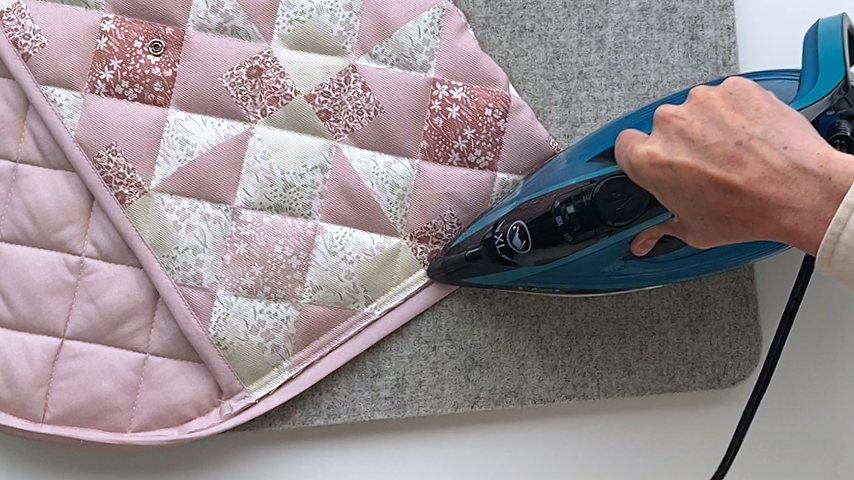
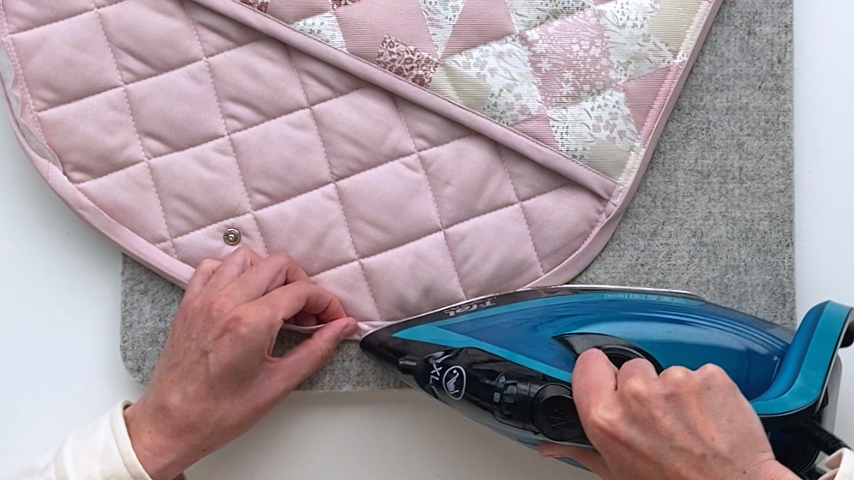
I like to use the tip of my iron to compress the edges of the case, which will make it easier to wrap the bias tape around all the layers.
I also press the bias tape as I go to help it form around curves and to create nice crisp folds. You may need to unfold the bias tape slightly to ensure it covers the line of stitching, and the iron will re-crease it.
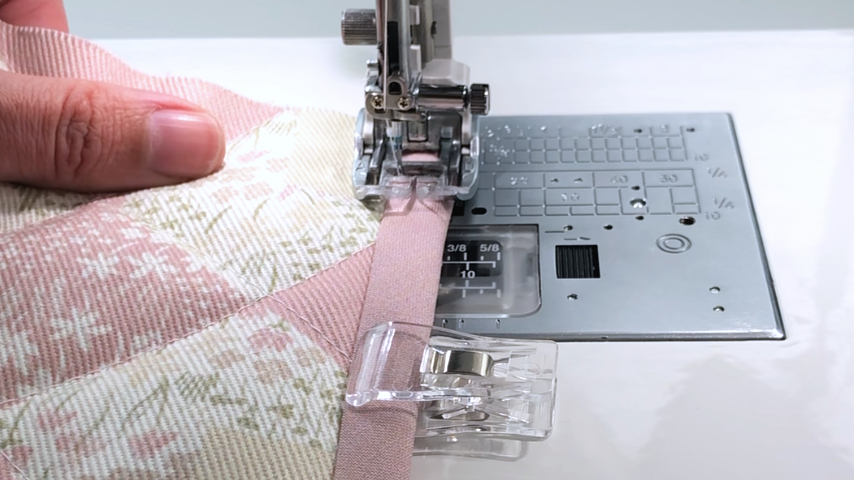
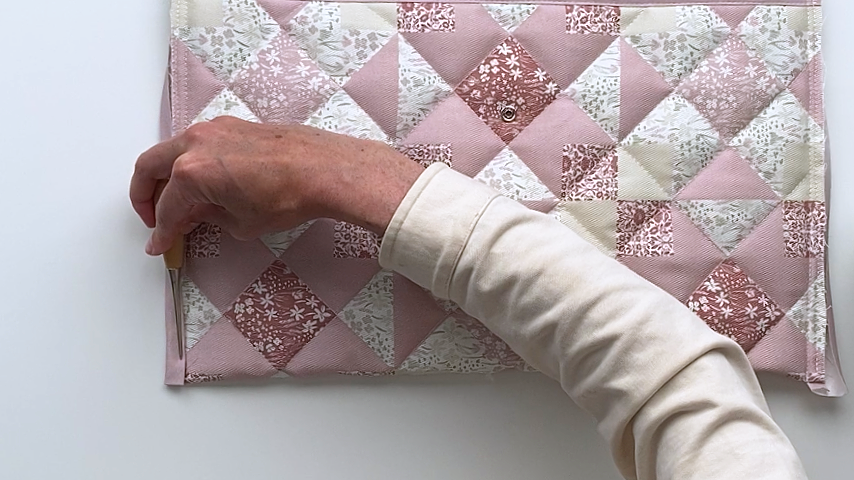
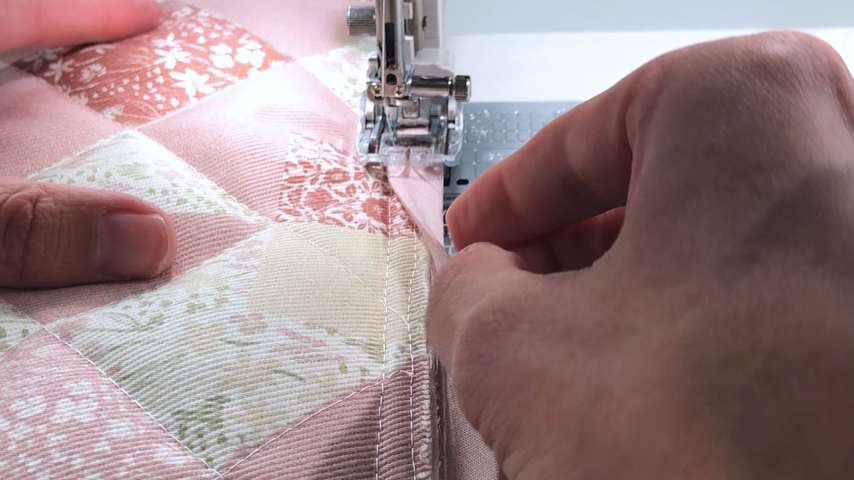
You can clip the bias tape into place so the folded edge is right on top of the line of stitching, but I like to skip the clips and adjust the placement as I sew, to ensure I’m really accurate with its placement.
This ensures the topstitching on the bias tape will look good from both sides.
You can see in the photo below that the inside edge of the bias tape is in line with the row of stitching:
When you come to the end, again, fold the bottom 1/2″ of bias tape up before folding the bias tape over the line of stitching (just as you did for the start of the bias tape).
And your laptop sleeve is complete!